

This post may contain affiliate links
Add Bake with Zoha as a preferred source on Google and find more of my tried-and-tested recipes.
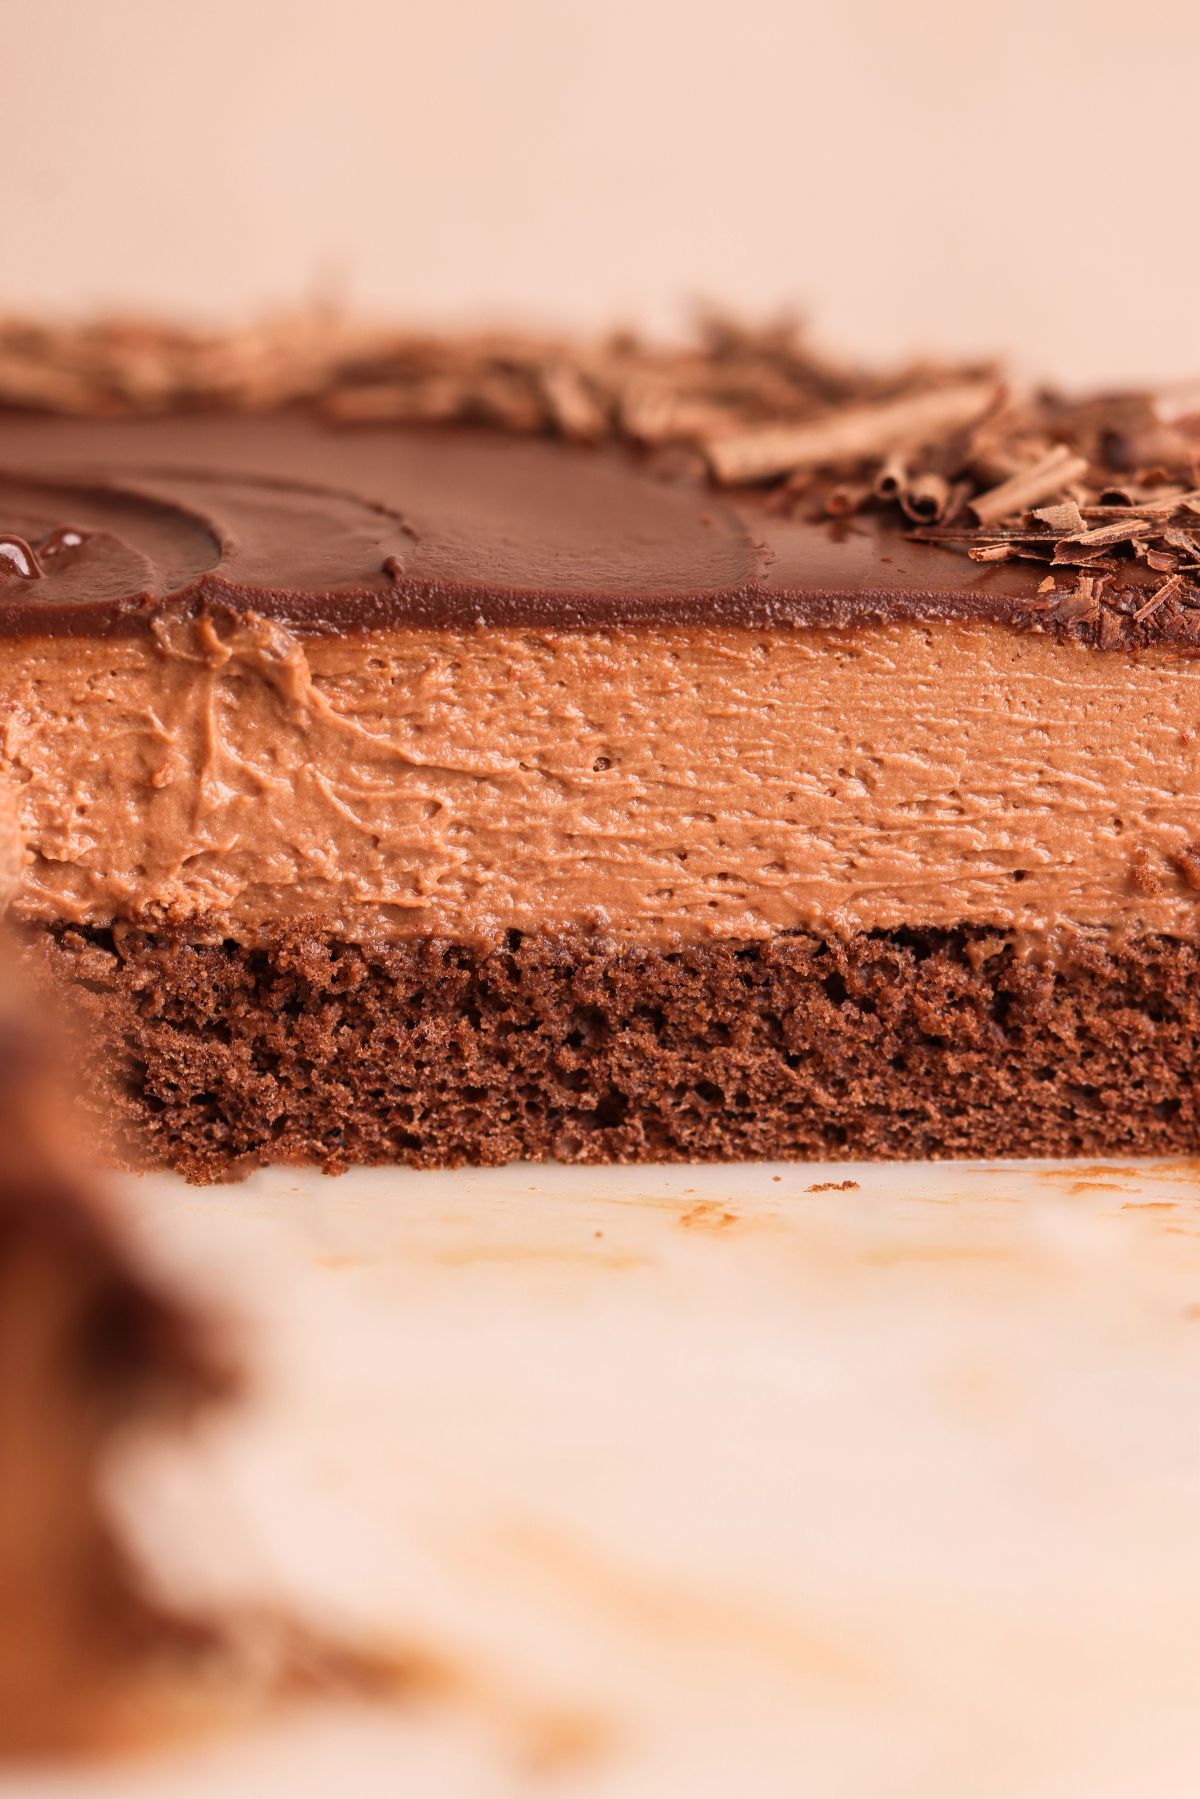
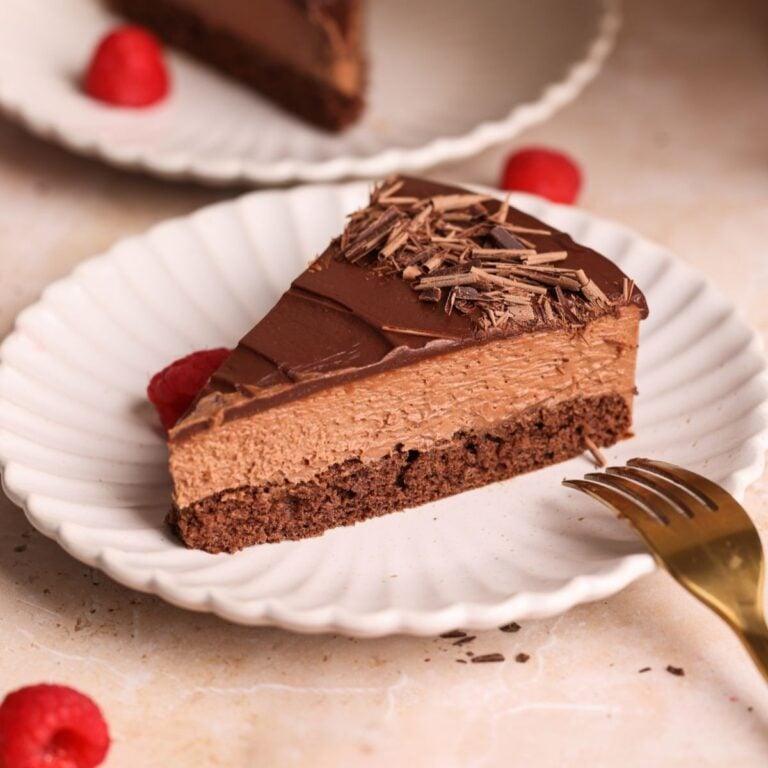
This Easy Chocolate Mousse Cake is the perfect quick and easy make ahead dessert, requiring only 8 ingredients and 20 minutes of work. It is made of a light and soft chocolate genoise sponge cake, a delectable, creamy and perfectly set 2 ingredient chocolate mousse (no gelatin!), and a silky chocolate ganache on top to bring it all together. The cake is light and delicious, tastes like chocolate cake and ice cream had a baby!
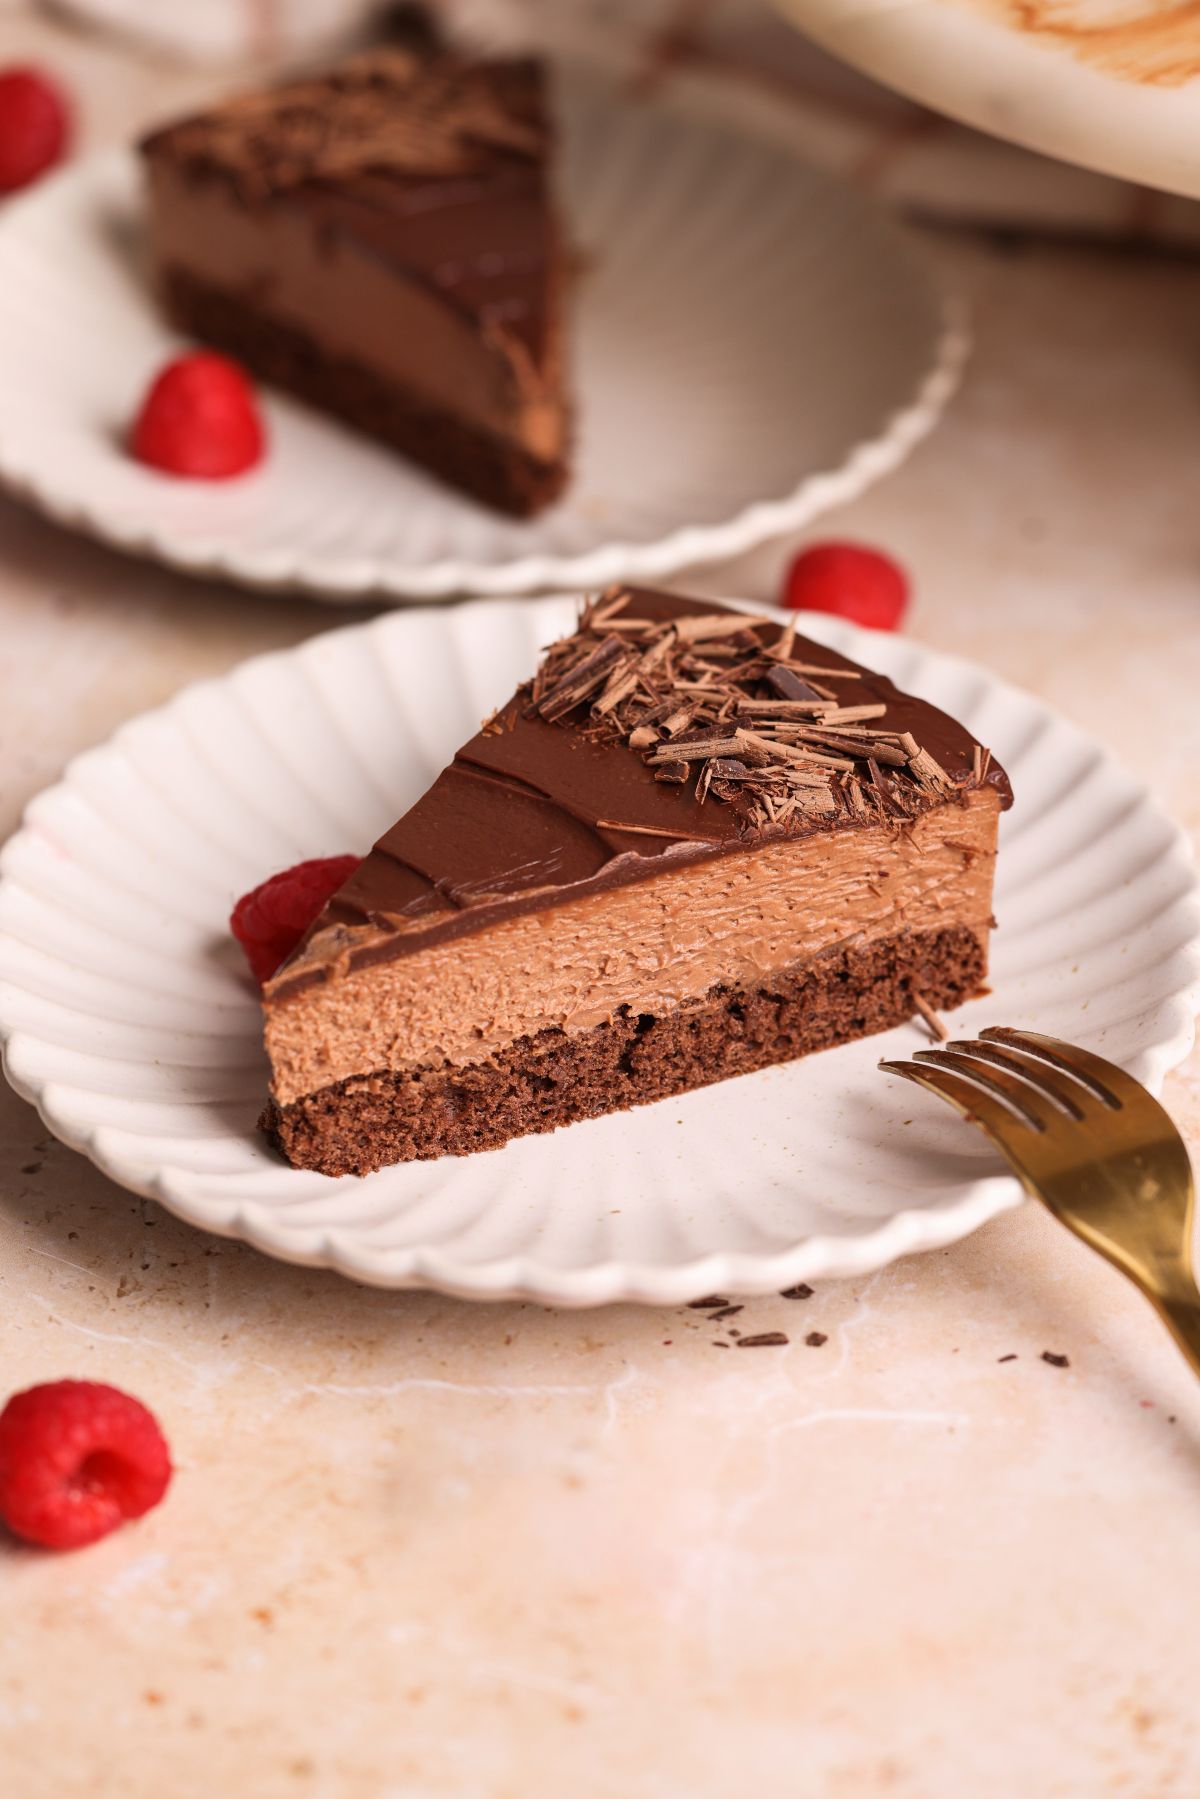
There are very few things that I love more than chocolate, and this chocolate mousse cake is one of my most favorite chocolate treats! This was the first “fancy” recipe I learned as a kid, and I became completely obsessed with it. My favorite thing about this mousse cake is that it is SO fuss free, and uses my easy 2 ingredient chocolate mousse recipe which is made with just chocolate and cream (no eggs, no gelatin, no complicated steps) and still has the most delicious chocolatey flavor and perfectly set texture.
I originally shared this recipe in 2023, but have since tested it multiple times and updated it with new photos and helpful tips.
3 Components Of This Cake
This cake has 3 basic components, one of which is optional:
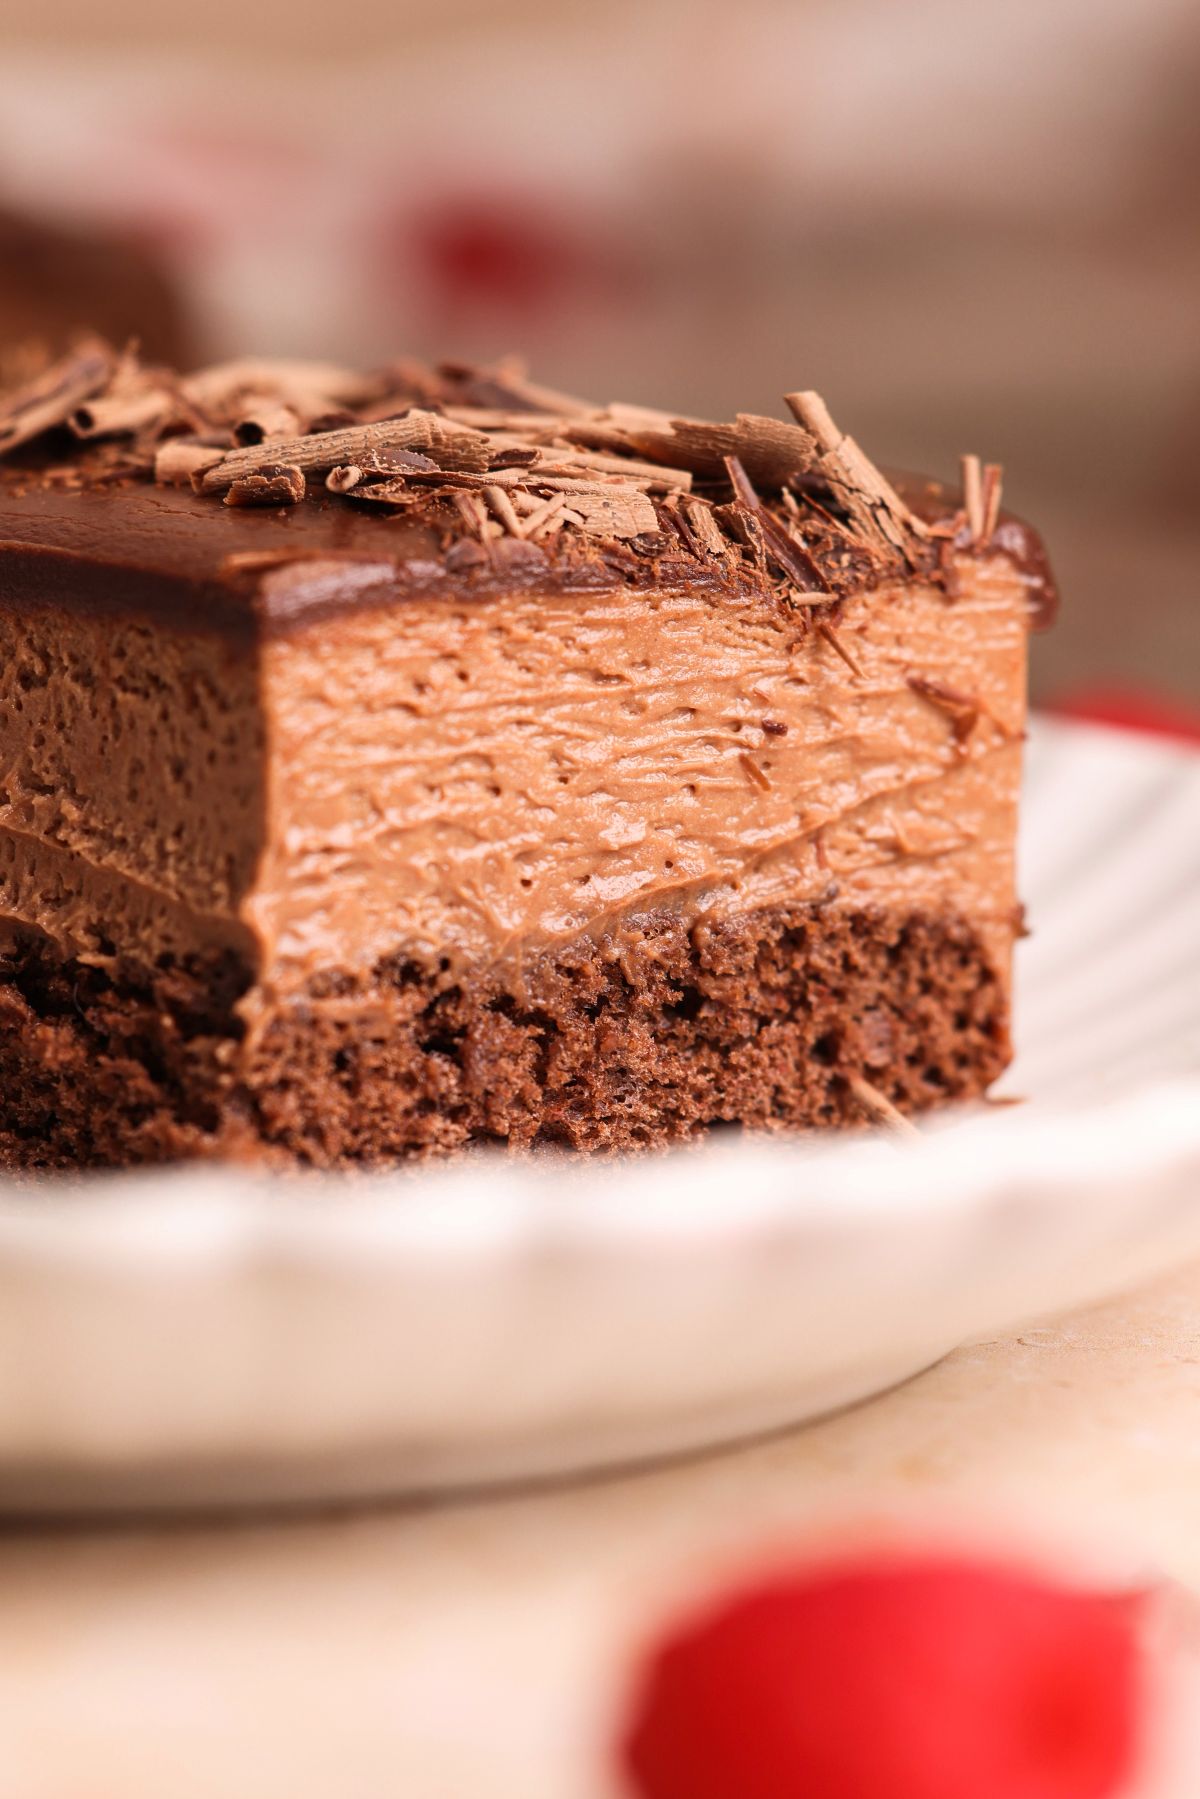
- A chocolate genoise sponge cake. A light, airy base that perfectly complements the light texture of the mousse. If you prefer something richer, swap it out for my moist easy chocolate cake (halve all the quantities and make 1 9″ cake). You can even make an easier, no bake “cake” with chocolate biscuits, like I do in my no bake chocolate mousse cake!
- Two ingredient chocolate mousse. The cake is topped with a light and creamy mousse made with chocolate and heavy cream
- Chocolate ganache (optional). If you want your cake to have a more finished look, pour over a simple chocolate ganache once it has chilled. Alternatively, you can decorate with some chocolate whipped cream, like the one I use in my easy no bake chocolate cheesecake
Picking The Right Chocolate
Of the 8 ingredients in this cake, chocolate is the most important as it defines the mousse’s flavor and texture.
- Quality: Use good quality chocolate bars or callets (NOT chips!). I recommend Lindt Excellence Milk and Dark chocolates for an easy grocery store option, or Callebaut Milk and Dark chocolates for a premium choice
- Type: For the perfectly set mousse, I recommend using semi-sweet chocolate (~50% cocoa), or a mixture of milk and dark chocolates. If you want, you can go with all dark chocolate and the mousse will be slightly firmer. However, I don’t recommend using all milk chocolate, as it makes a softer mousse that doesn’t hold shape for long at room temperature. If you use all milk chocolate, freeze the cake for 15 minutes before serving, or serve straight from a serving dish (e.g., pie dish)
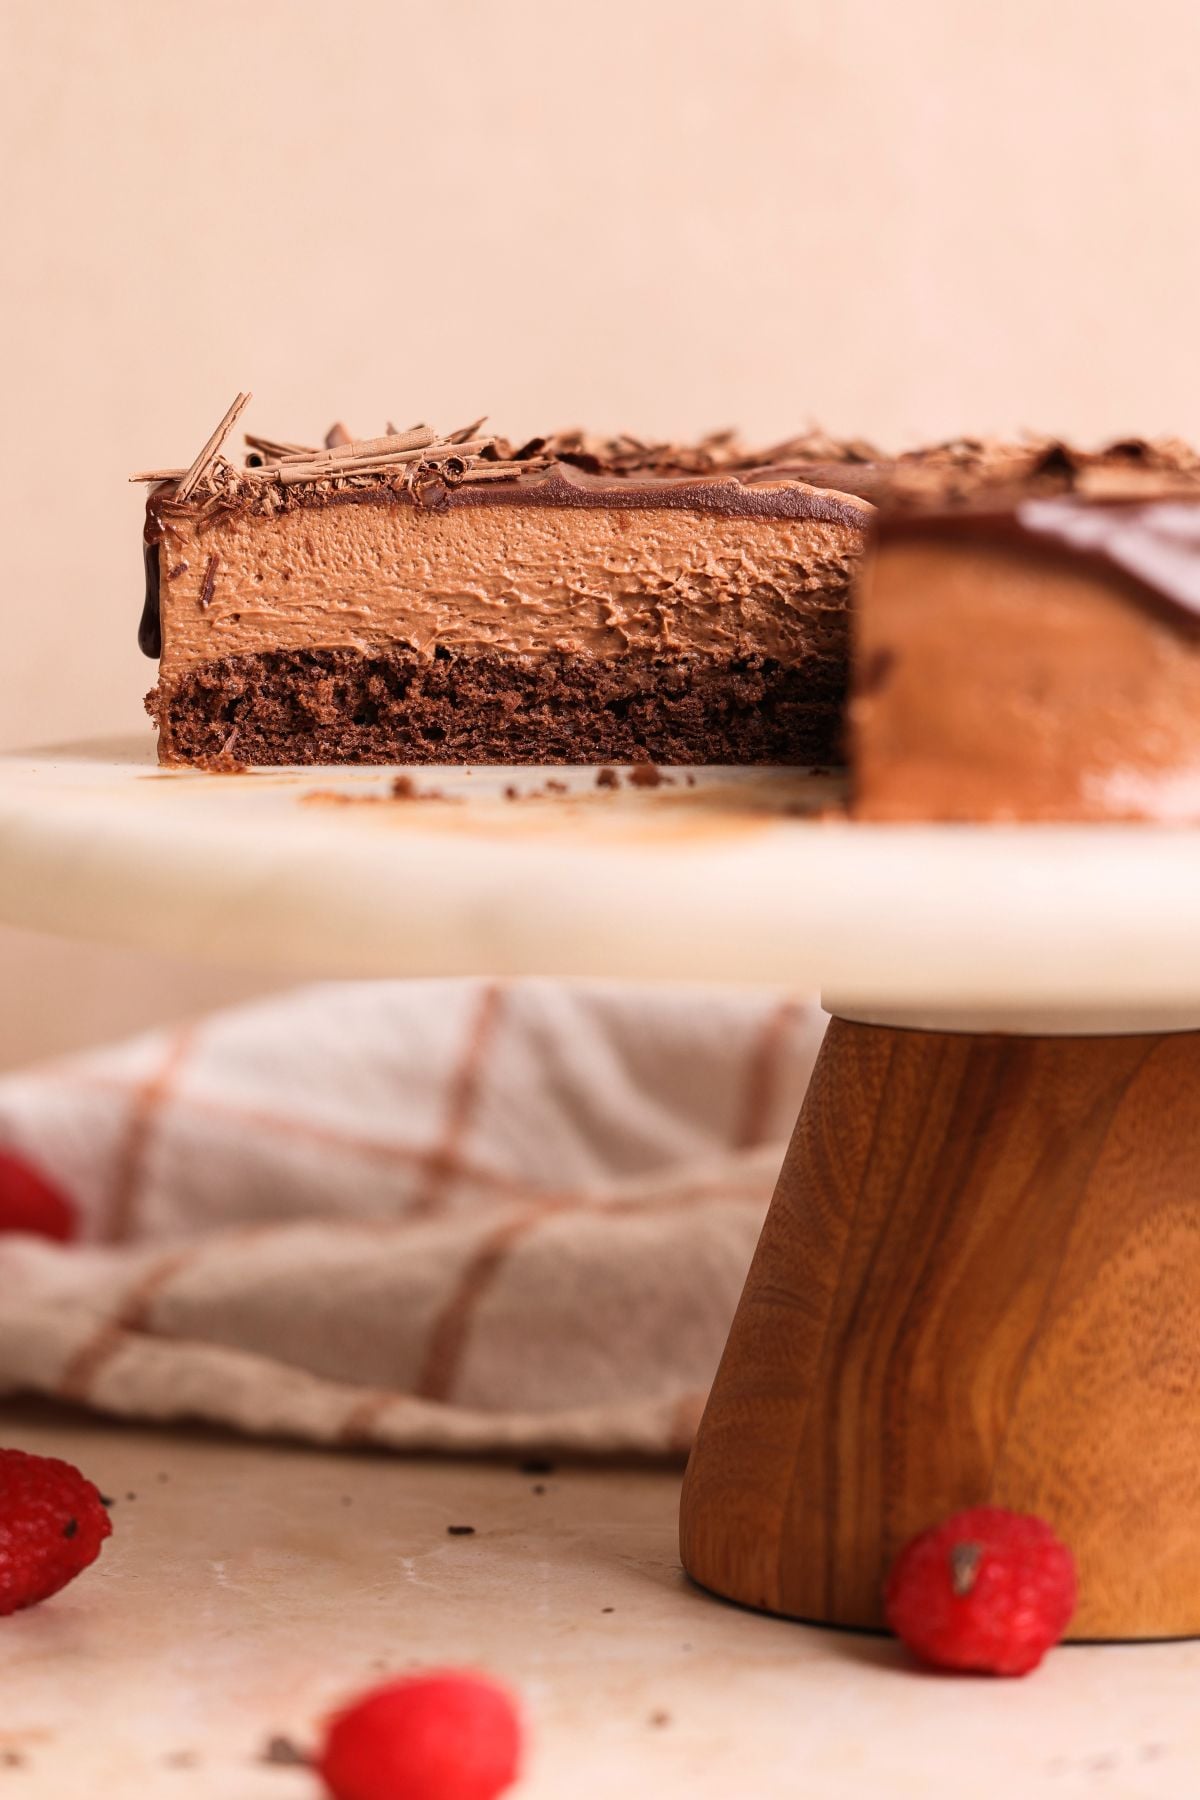
How To Make Chocolate Mousse Cake
1. Make the chocolate genoise sponge
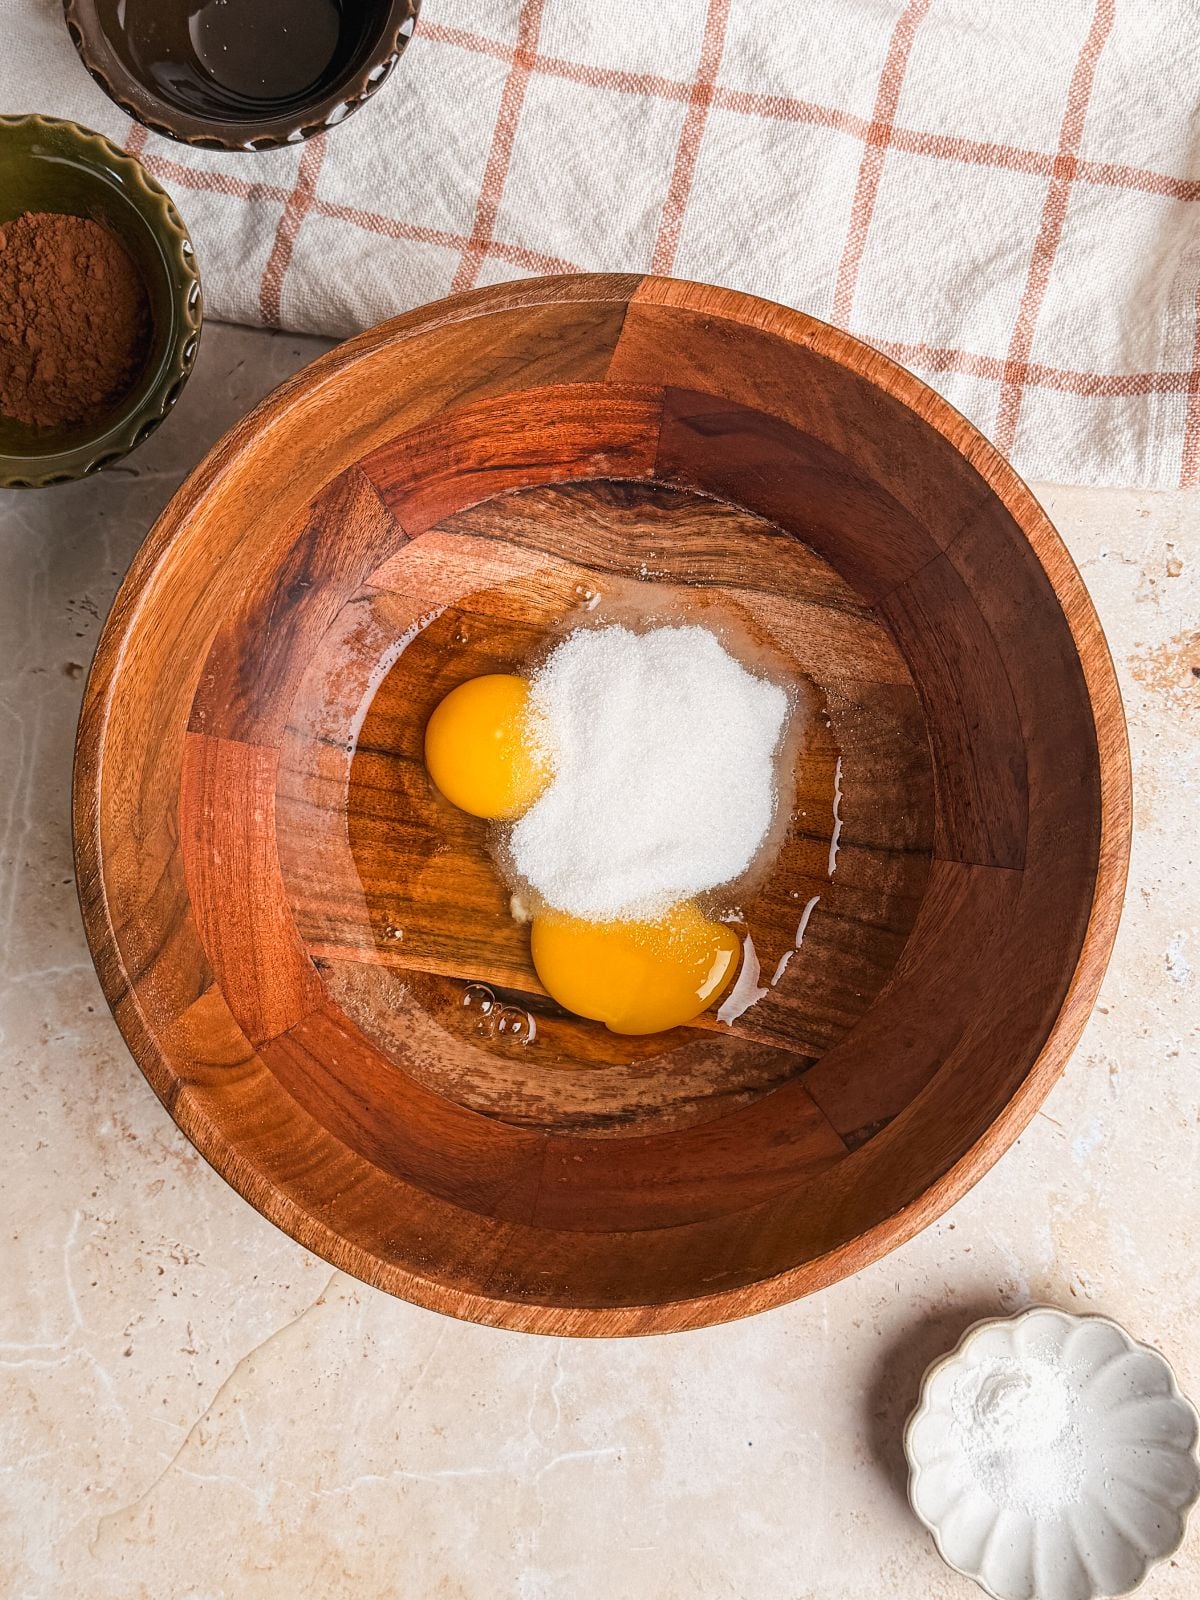
Add the sugar and eggs to a bowl.
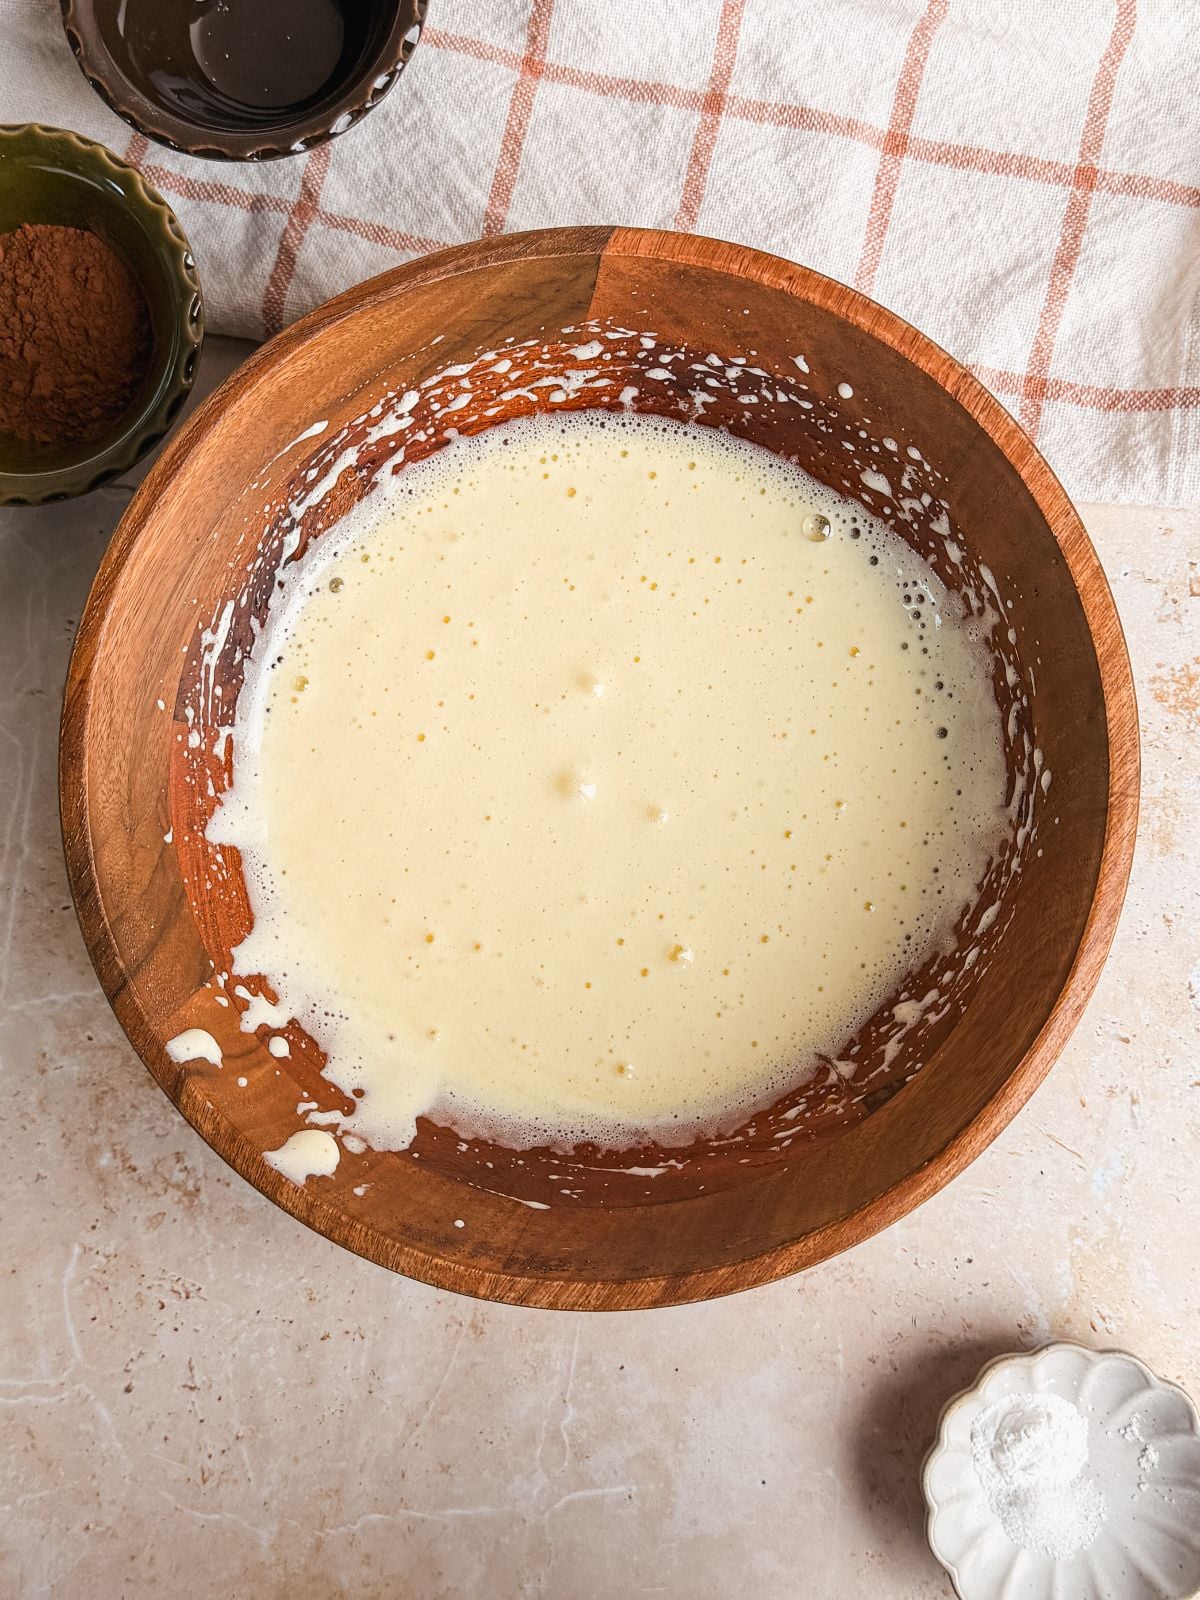
Whisk on medium-high speed for 3-5 minutes until the mixture is very light in color, triple in volume, and falls off the whisk in a ribbon. This is where you add air into the batter!
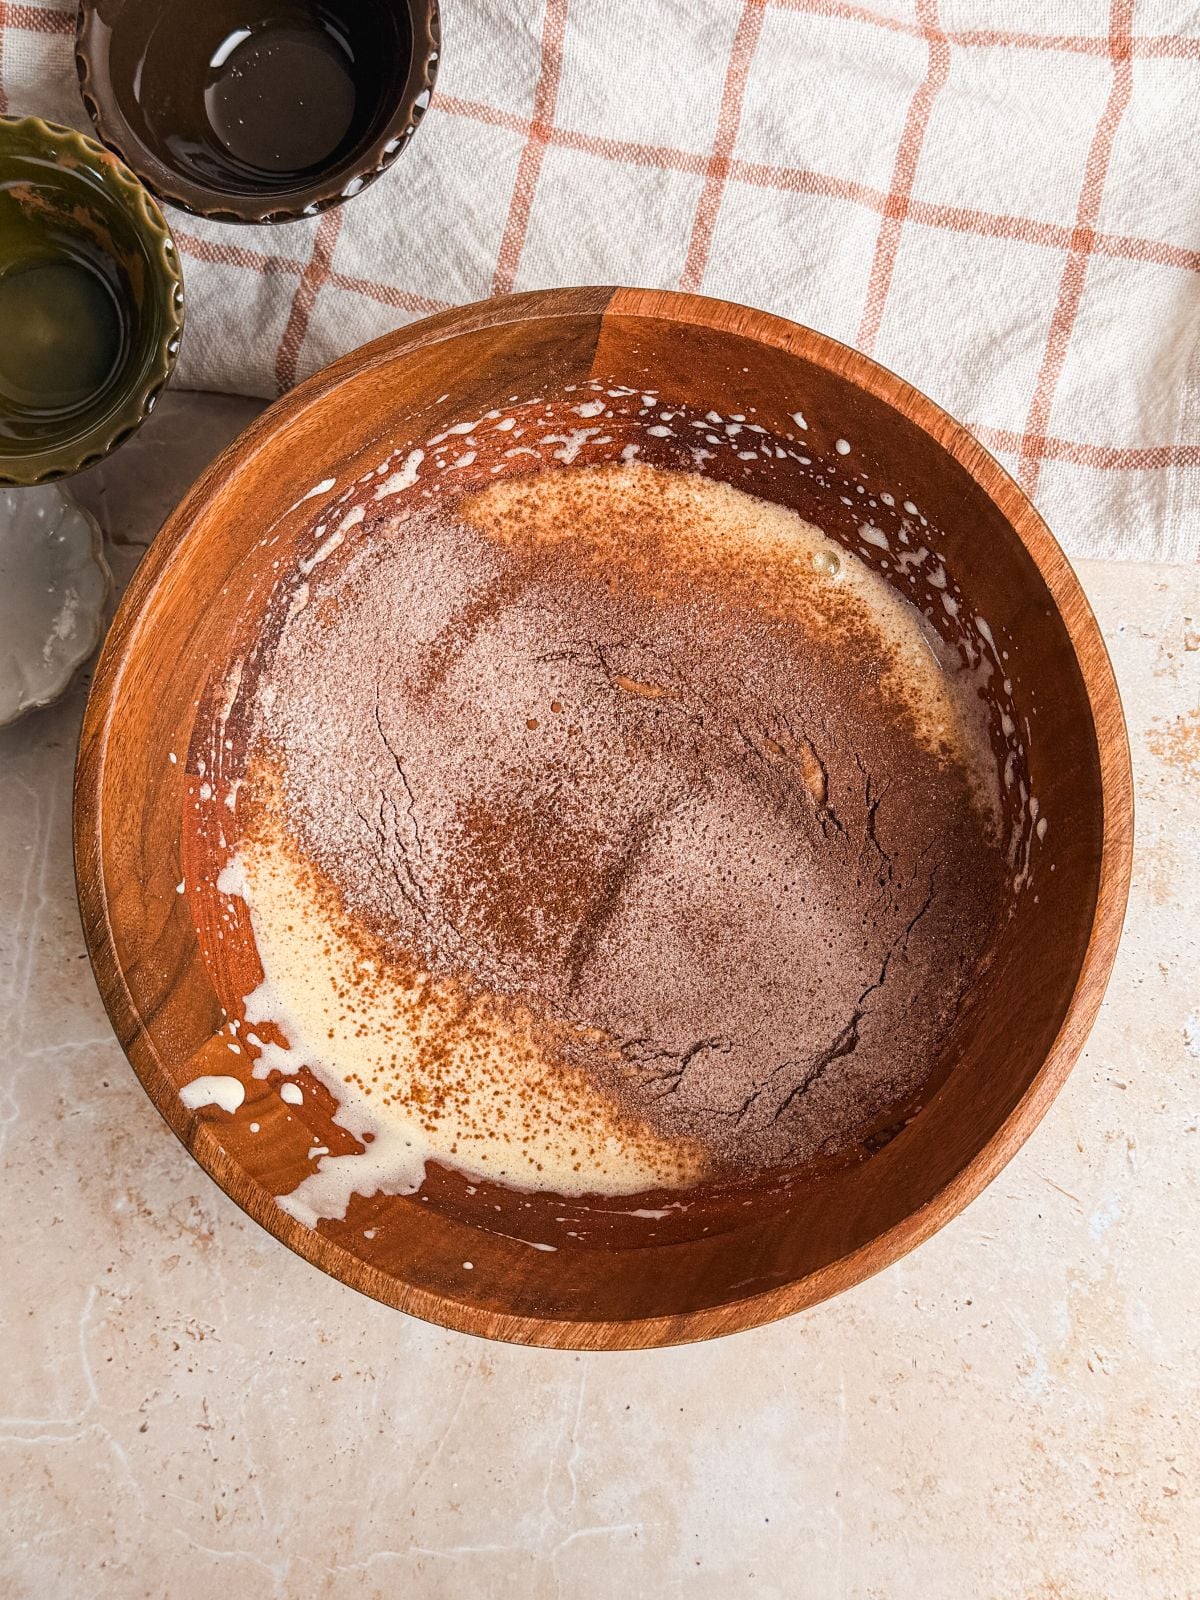
Sift in the flour, cocoa powder, baking powder and salt.
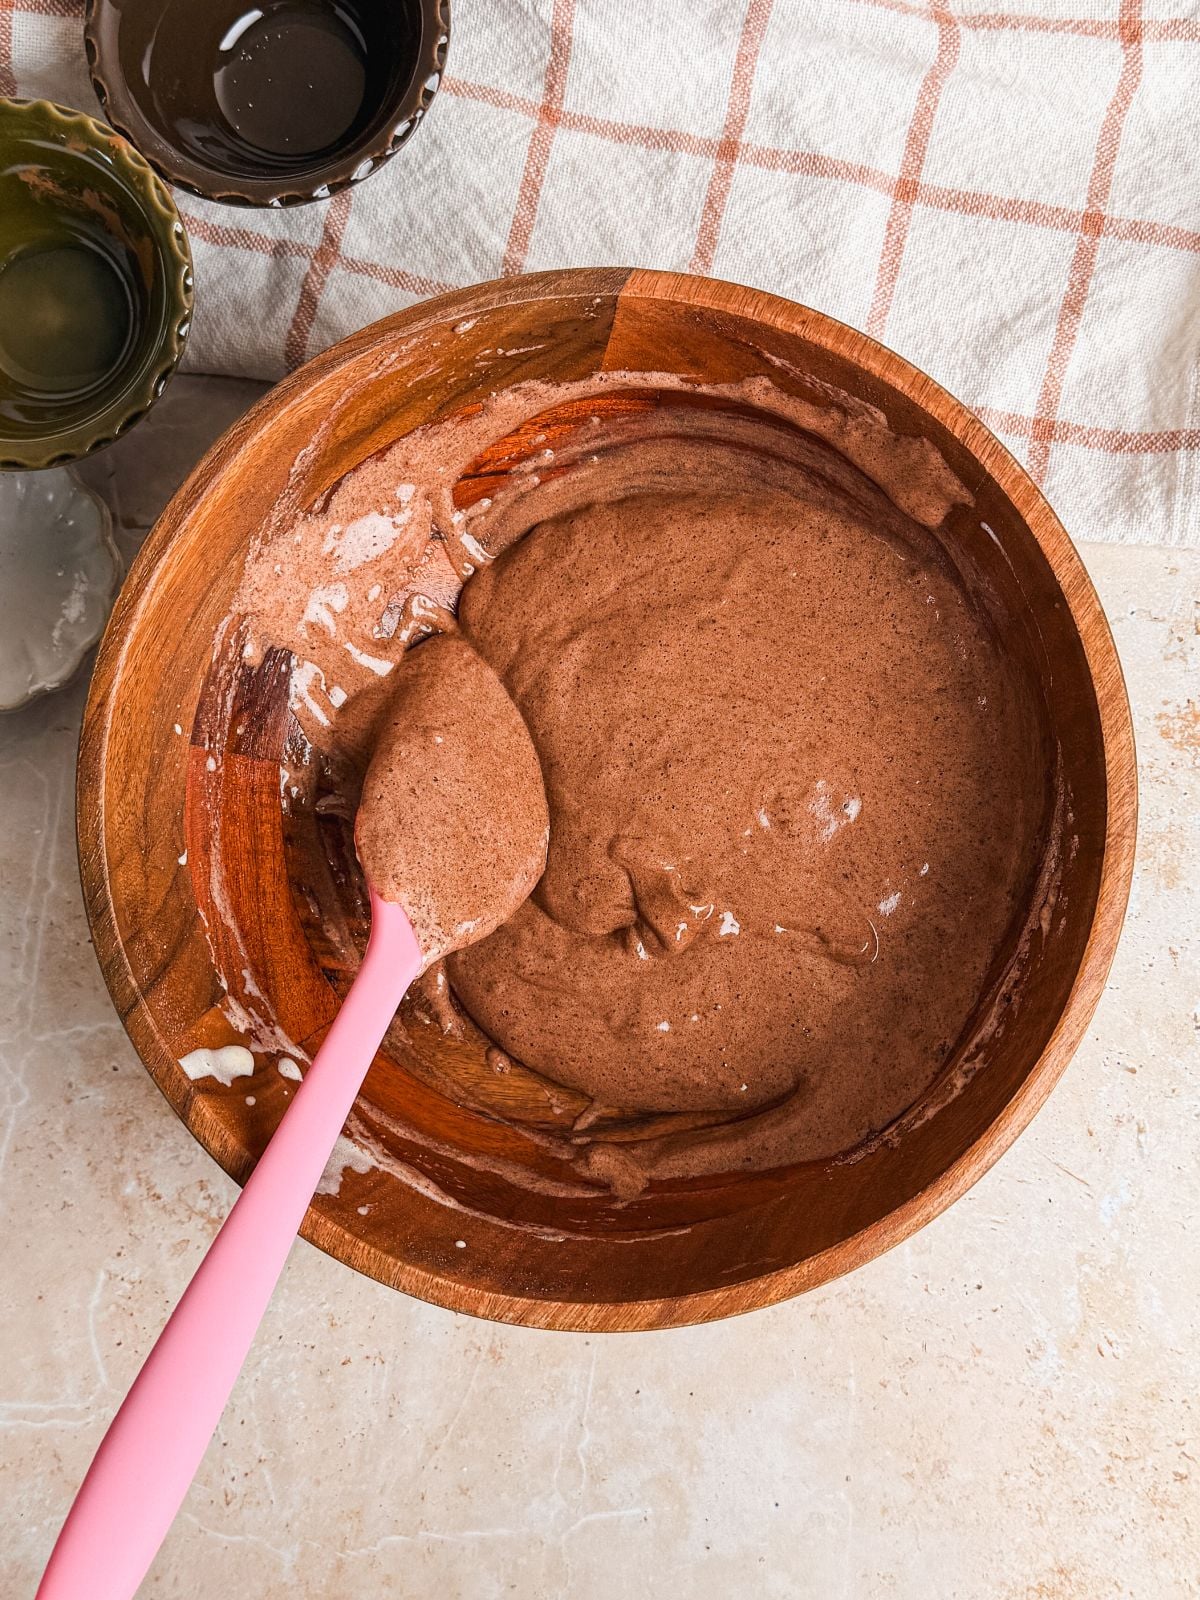
Use a rubber spatula to very slowly and gently fold the dry ingredients into the wet until just combined.
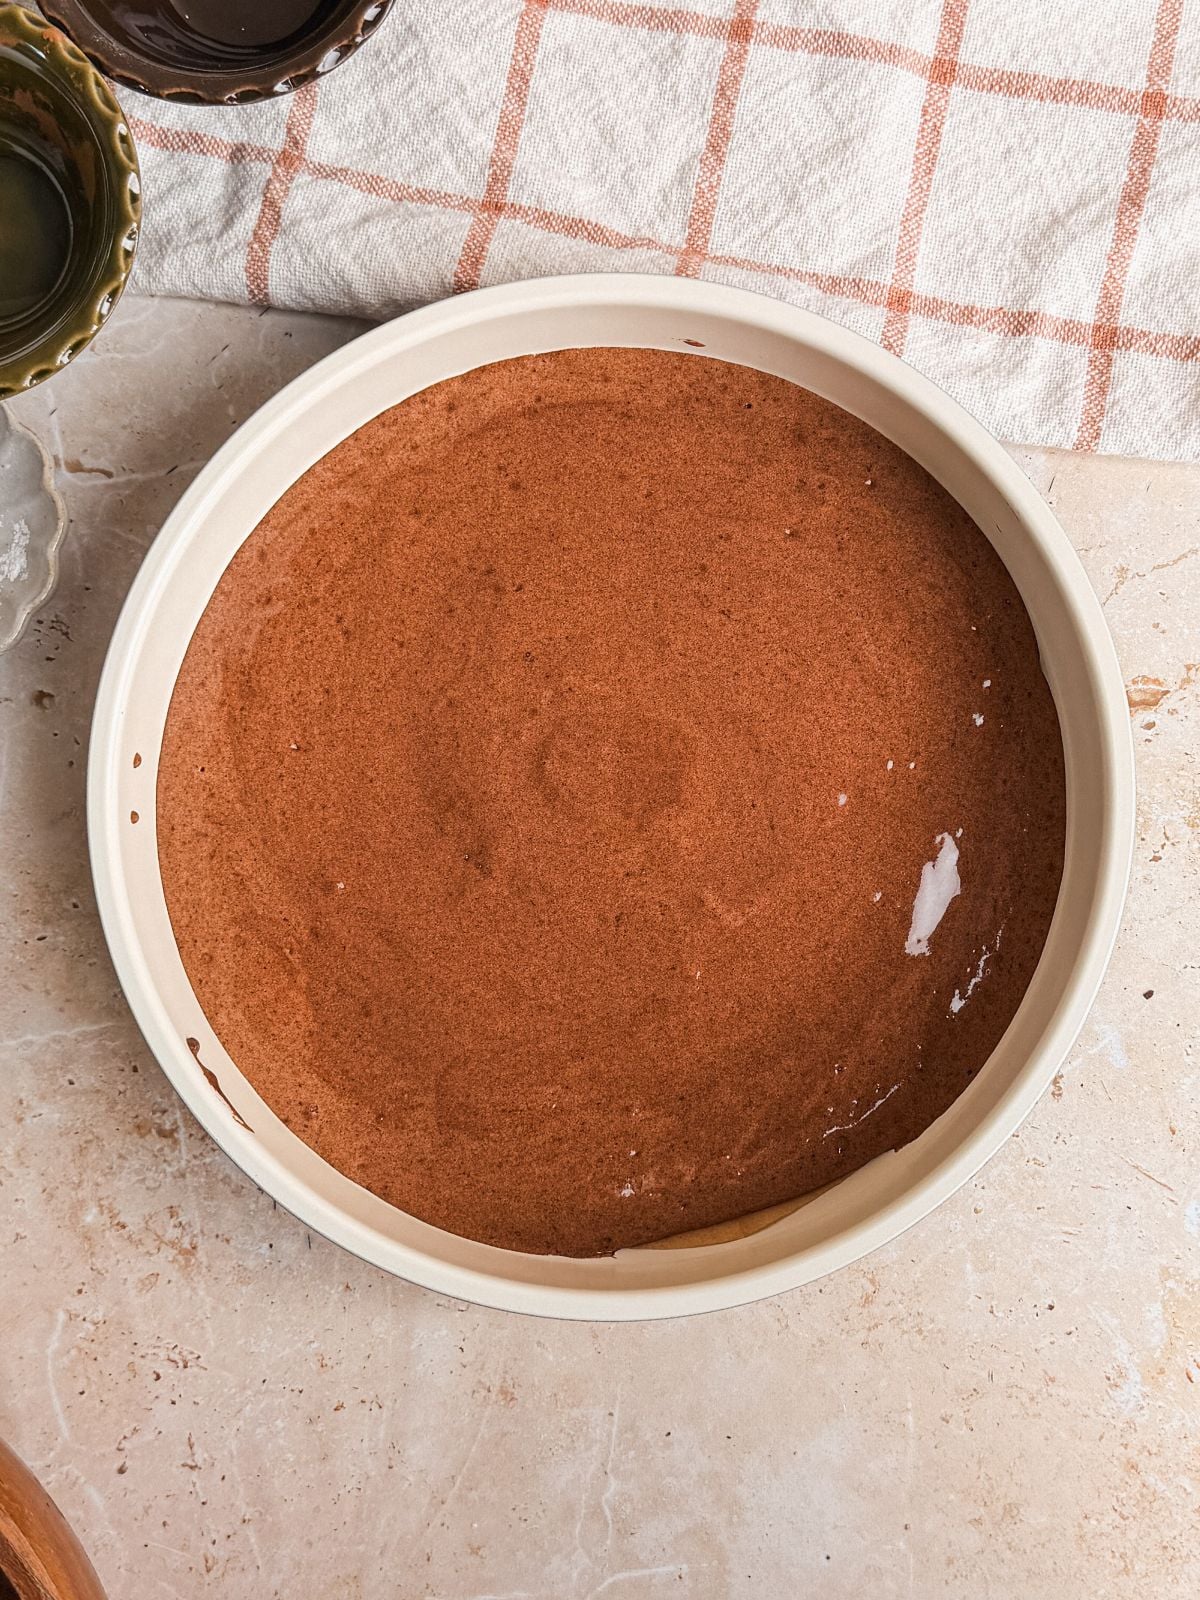
Carefully pour the batter into a 9″ cake pan with parchment paper (no butter / oil!).
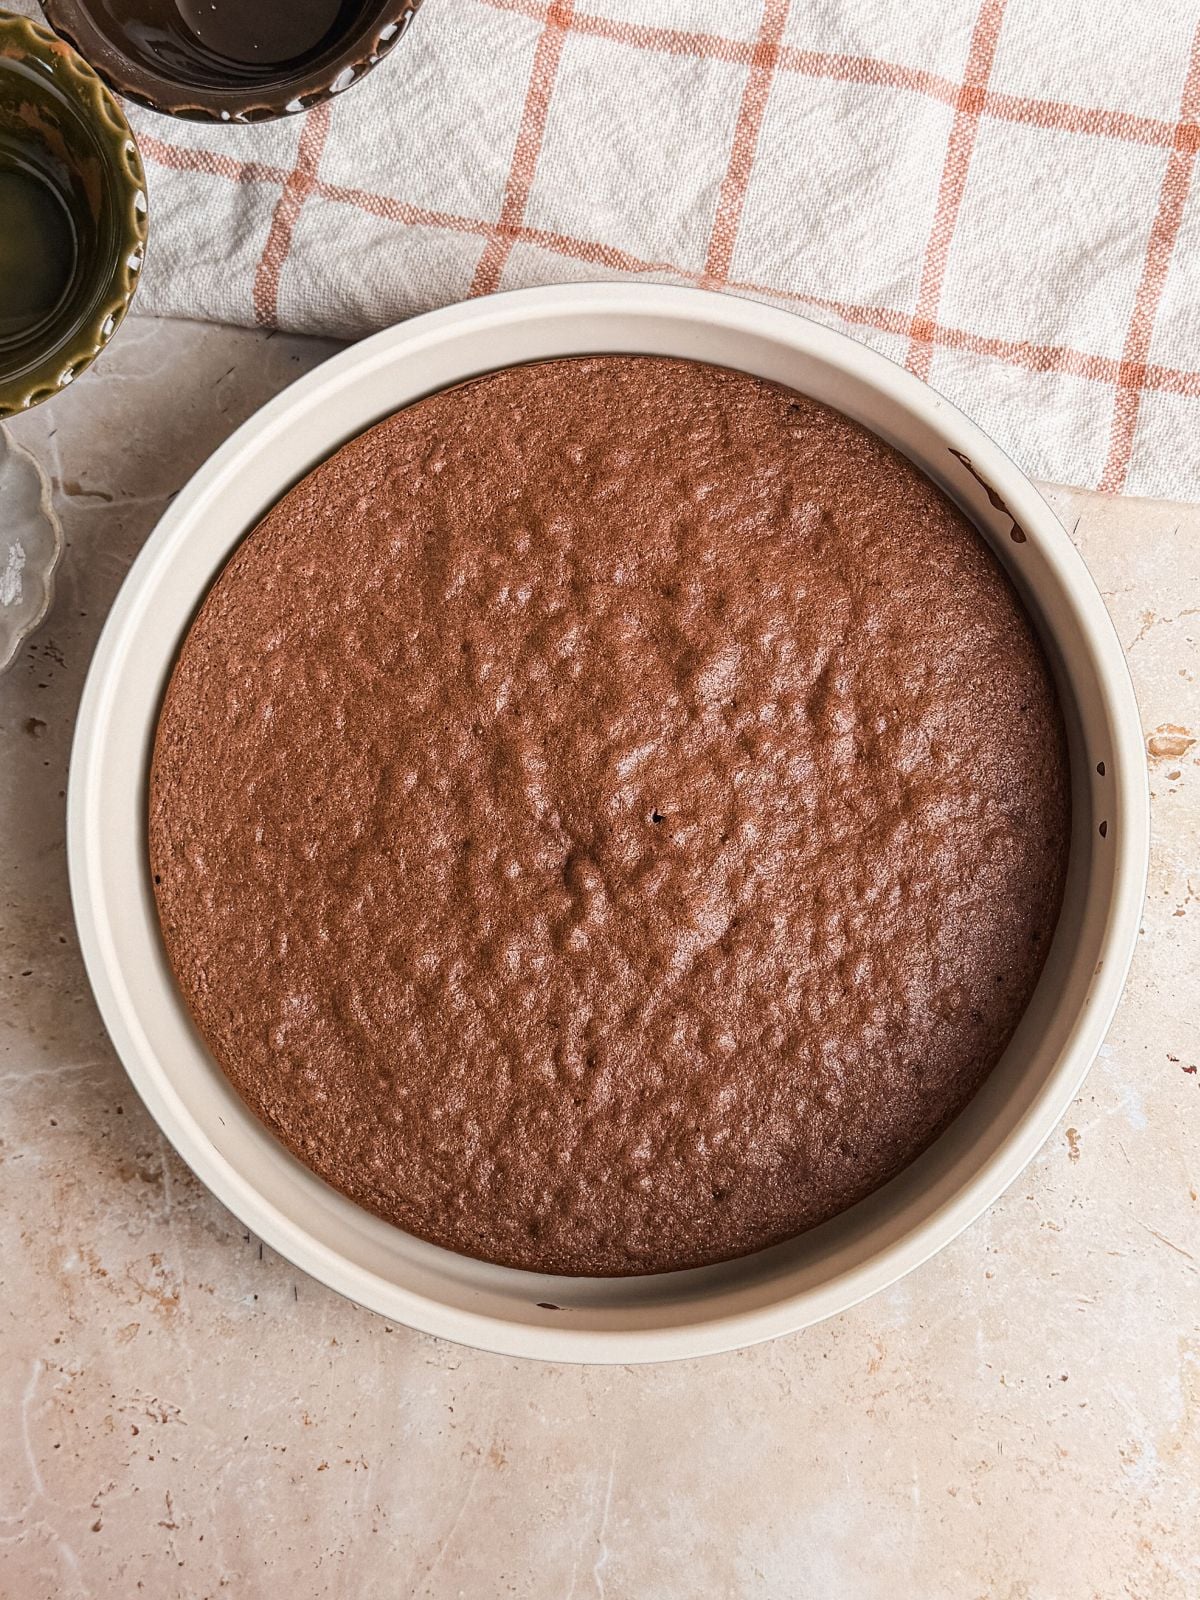
Bake at 350F until a toothpick inserted in the middle comes out clean. Let cool in the pan, then remove & set aside.
2. Make the mousse
For detailed tips, I highly recommend reading my blog post on making this 2 ingredient chocolate mousse.

Start by making a ganache. Microwave cream and chocolate in 15-20 second burst until most of the chocolate has melted.

Gently stir until a smooth, shiny ganache forms.

Separately, whisk heavy cream until it forms medium peaks.

Add a third of the whipped cream to the ganache and gently whisk it in.

Add that mixture to the rest of the whipped cream, and gently fold it in.

Try not to knock out the air. You should have a fluffy, smooth mousse mixture.
3. Assemble
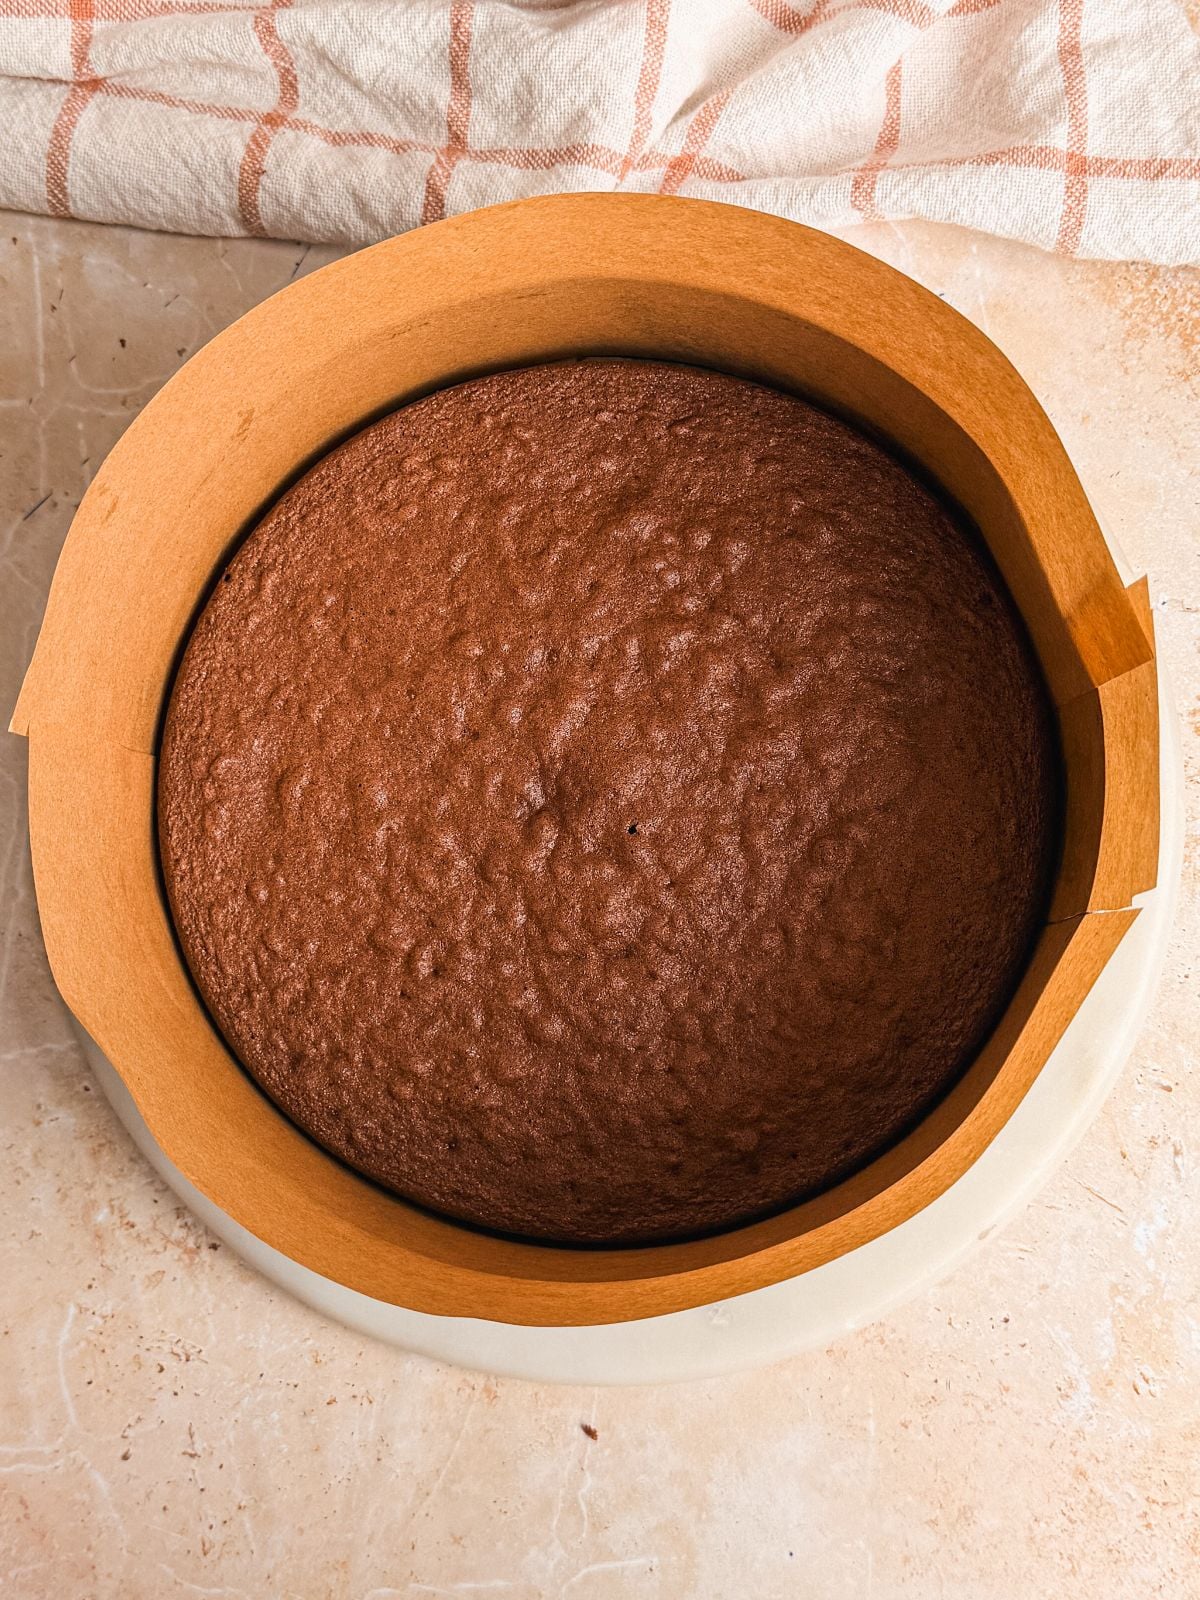
Line a 9″ springform pan with parchment paper on the bottom and sides. Place the cake inside.
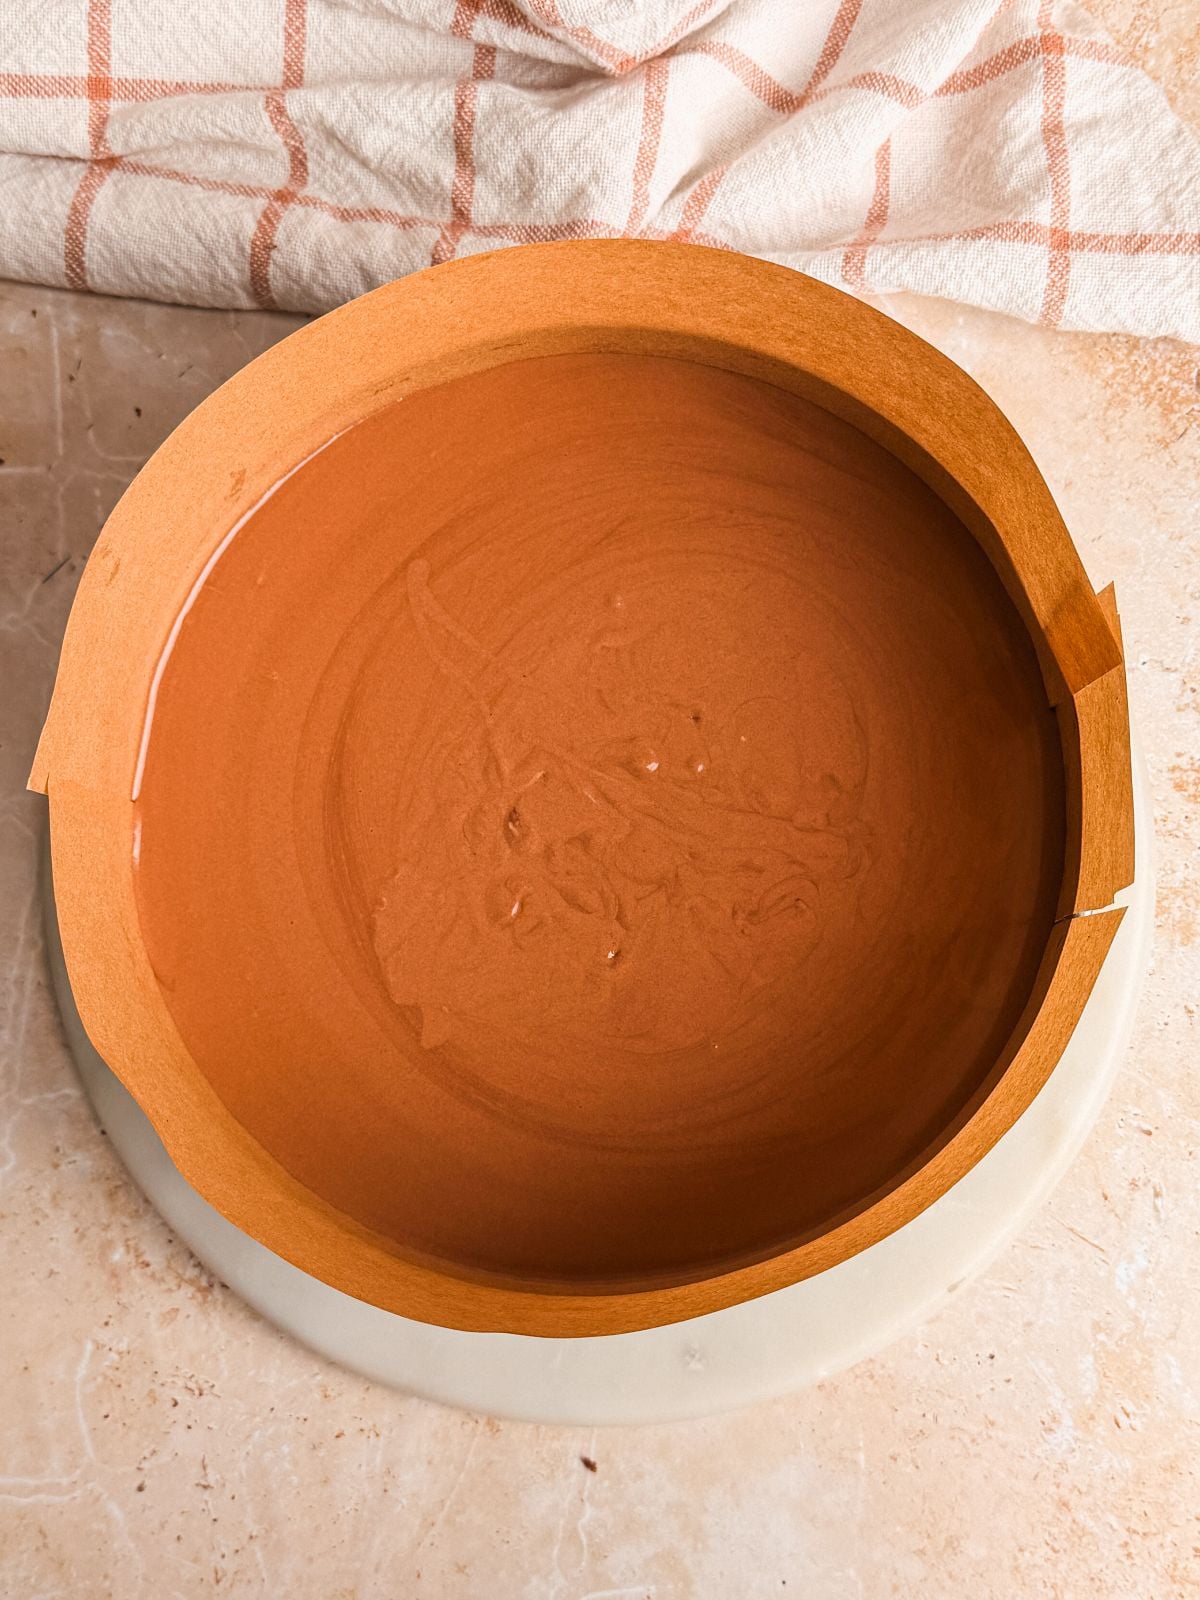
Pour in the mousse mixture on top and spread it out evenly.
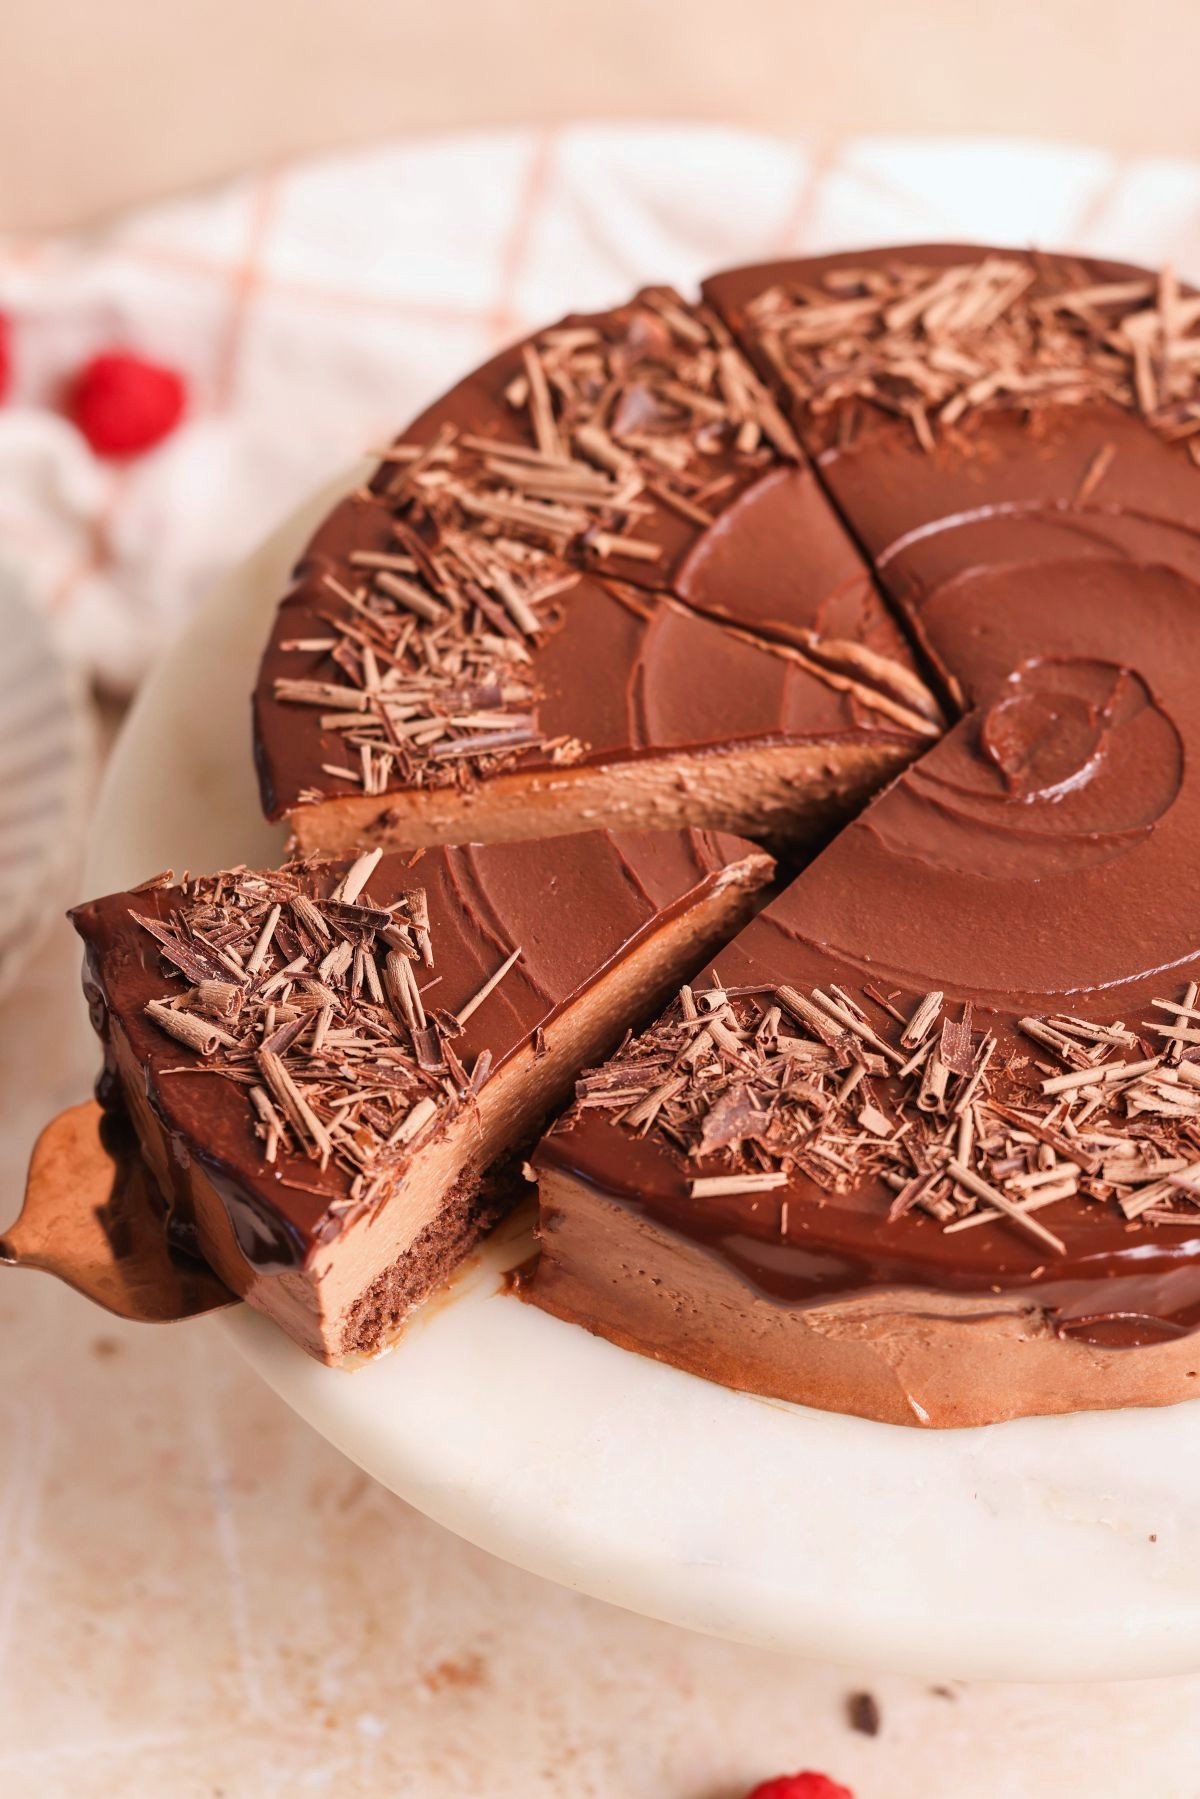
Refrigerate overnight, or for at least 6 hours, until the mousse is set. Then carefully remove from the pan (more tips below!). Make the ganache for the top, let it cool down slightly, then pour on top of the chilled cake. Decorate with chocolate shavings, serve & enjoy!
Tips To Perfect The Genoise Sponge Cake
This is a really simple recipe, but you need to keep a few things in mind to get the genoise sponge cake right:
- Weigh your ingredients, especially the flour and cocoa powder. Too much will result in a dry cake
- Whip eggs and sugar well until triple in volume and pale in color – this is how you aerate the batter
- Sift the dry ingredients to removes lumps and make them easier to fold in
- Fold the dry ingredients very gently and do not overmix! Go around in a circle and then lift from the bottom, repeat. You need to keep in as much air as possible so the cake is light, not dense
- Don’t overbake. A toothpick inserted in the middle of the cake should come out with just a few light crumbs. If you underbake, the cake will deflate, and if you overbake, it will become dry
- If your cake feels a bit dry, place it upside down and brush some simple syrup on it before adding the mousse
How To Remove Mousse Cake From Pan
One dilemma with mousse cakes is that you have to assemble them in a pan that can hold the mousse while it sets, but then removing them from said pan can be quite tricky. Don’t worry, though, as you have a few different options:
- Option 1: Acetate Collar. Wrap an acetate cake collar around the cooled sponge on your serving plate and secure with tape. Pour in the mousse and chill. Once set, simply remove the tape and unwrap, no transferring needed. I use this method for my mocha mousse cake with chocolate and mocha mousse layers
- Option 2: Springform Pan. Line the springform pan with parchment, assemble the cake, and once set, release the sides and peel off the paper. You can serve it on the pan base (I used this method but flipped the cake to remove the base – honestly, not worth the extra effort and risk!)
- Option 3: Serving Dish / Pie Dish. Instead of a pan, assemble the cake in a deep pish dish like this one, and serve directly from this dish like pie (you can even spoon it out!)
- Option 4: Regular Cake Pan (least recommended). If using a standard cake pan, line it with parchment or cling wrap and freeze the cake for 20 minutes before removing to help it stay firm
Email This Recipe
Enter your email and I’ll send this directly to you. Plus you’ll get new recipes from me every week!
Ingredients
Chocolate Genoise Sponge Cake:
- 2 large eggs
- 1/4 cup granulated sugar (50g)
- 1/3 cup all purpose flour (43g)
- 2 tbsp cocoa powder (12g)
- 1/8 tsp salt
- 1/2 tsp baking powder
Chocolate Mousse:
- 300g semi-sweet chocolate, chopped (~50% cocoa, or use an equal mixture of milk and dark chocolate like me)
- 2 ½ cup heavy cream (600g); chilled and divided into 1 cup (240g) and 1 ½ cup (360g)
Chocolate Ganache (optional):
- 80g chocolate (dark, milk or semi-sweet all ok)
- 1/3 cup heavy cream (80g)
Instructions
Chocolate Genoise Sponge Cake:
- Pre-heat the oven to 350F and line a 9″ cake pan with parchment paper on the bottom; don’t grease the sides of the pan
- Whisk the eggs and sugar using an electric or stand mixer for 3-4 minutes until they triple in volume, become light in color and fall off the whisk in a ribbon. Do not rush this step
- Sift in the flour, cocoa powder, salt and baking powder, and use a rubber spatula to fold very gently and slowly until they are just combined. Take care not to knock out the air in the batter, and do not overmix as that can cause the cake to become dense
- Pour the batter into the pan, shake to spread it out, and bake for ~12-14 minutes until a toothpick inserted in the middle comes out with light, moist crumbs (almost clean, no wet batter)
- Let the cake cool in the pan for 10 minutes, then carefully turn it out and place on a wire rack. In the meanwhile, prepare the mousse
Chocolate mousse:
- First, make a ganache with the chocolate and 1 cup (240g) heavy cream. Place the chopped chocolate in a bowl. Heat the cream on the stove until it just starts to simmer, and pour over the chocolate. Cover with a lid or plate and wait 3-5 minutes to allow the chocolate to melt. Then stir gently until you get a creamy smooth ganache. Let the ganache rest for 5 minutes
- Add the remaining 1 1/2 cup (360g) chilled cream to a large bowl. Use an electric hand mixer to whisk the cream for a few minutes until it reaches medium peaks and holds shape – take care not to overmix
- Add about a third of the whipped cream from step 2 into the ganache from step 1 (which should not be hot at this point), and use a rubber spatula or whisk to very gently and very slowly fold it in. Be gentle, and stop when they are mostly combined
- Add the whole mixture into the remaining whipped cream, and continue to gently and slowly fold. If you see any lumps of whipped cream, press down on them with your spatula to break them. Stop mixing as soon as the cream has fully mixed with the ganache. You should have a smooth and fluffy chocolate mousse
Assembly:
- Take a 9″ springform pan and line it with a parchment circle on the bottom and a strips of parchment on the sides, using a little butter or oil to stick the parchment to the pan (see images above). This will allow unmolding the cake easily
- Place the cooled cake inside the pan, and then pour over the chocolate mousse. Spread it evenly, and place in the fridge for at least 4 hours (or overnight) until the mousse has fully set
Chocolate Ganache (optional):
- If making a ganache to decorate, make it when the cake has chilled and you are ready to serve. Heat the cream to just boiling and pour over the chocolate in a bowl. Rest for 5 minutes, then stir to form a smooth ganache.
Decoration & Serving:
- Once the cake has set, carefully release the edges of the springform pan and lift them off. Peel off the parchment carefully, and smooth the edges of the cake as needed
- The ganache should be warm but not hot, and still a runny consistency. If it is not runny, microwave for 10-15 seconds until it is. Pour the ganache on top of the chilled cake, and use an offset spatula to spread it, allowing some of it to drip down the edges of the cake
- Decorate with chocolate shavings (optional), slice, serve and enjoy!
- Keep the cake cold, and don’t leave it out for longer than 15-30 minutes (depending on room temperature)
Video Tutorial
Notes
- Temperature: This chocolate mousse cake has no gelatin in it and relies on chocolate’s own solidification in the fridge to set. Therefore, it is important to keep it well chilled. Do not leave it out at room temperature for longer than 15-30 minutes, especially if it is hot, as it may start to soften and melt
- Serving: Instead of a 9″ circle pan, you can also make this cake in a 8×8″ square pan, a 9″ pie dish, or bake in muffin cups and assemble in individual dessert cups
- Assembling mousse cake: For more options on how to assemble and demold mousse cake, such as using an acetate collar or regular cake pan, read the blog post above
- Make ahead: You can make and assemble this cake ahead of time and keep refrigerated for up to 3 days before serving. Just make sure to wrap it well in cling film (or place in an airtight container) so the cake underneath does not dry out. Remove from pan and decorate with ganache when ready to serve
- Storage and freezing: After serving, store leftover cake in an airtight container in the fridge for up to 7 days, or in the freezer for up to 2 months
More Chocolate Recipes
If you’re a fan of chocolate, you will also love these recipes:
- Easy No Bake Chocolate Cheesecake with a crispy Oreo crust, a silky and luscious chocolate cheesecake filling and a ganache on top
- Chocolate Mousse Chiffon Cake which is made of layers of chocolate chiffon cake and chocolate mousse whipped cream
- Easy Chocolate Tiramisu made with only 7 ingredients and no eggs

Comments
Jaynor
Can this recipe be made and frozen completely?
Zoha
Yes! 🙂 You can freeze the mousse cake and then take it out when you want to eat it. Whipped cream does lose a bit of its lightness when frozen, though.
Asma Amer
So, as I decided, I tried this incredible recipe for eid, and it turned out better than what I imagined. Absolutely right amount of sweet and chocolate. Every guest loved it. And it actually tastes even better than it looks. You are right Zoha, Cadbury is the chocolate of choice for this incredibly easy cake. Try it everyone. You will be blown away.
Zoha
Yay, thank you so much for trying my recipe Mama <3
Arshe Baig
My cake is dry after I kept in fridge
I kept it all covered but
Asma
This is incredible MA. This definitely will be a centrepiece of my eid spread tomorrow. ❤️❤️❤️
Ambreen
Excellent recipe. And very easy. I make several times. It’s outstanding.
Syeda Fatima
اسلام عليكم ورحمة الله وبركاته.
I made this for my son’s high school graduation party and now I’m making it again for his older brother’s graduation from University. It’s a lovely cake to look at and to eat. Perhaps a bit too sweet for me with the milk chocolate, but a real hit with the youngsters. This cake might just as well end up being a traditional graduation cake in my family!!
Zoha
Thank you for the love! I hope you can also try with semi sweet chocolate as it will still work great 🙂
Zoha
I hope you loved it!
Mehrad
Yessss, I did love it. I just wondered doesn’t a mousse cake need gelatine or any stabilizer to set?
Btw, the sponge was usually sprayed by Rum or other popular wines, where I was associating in making it.