

This post may contain affiliate links
Add Bake with Zoha as a preferred source on Google and find more of my tried-and-tested recipes.
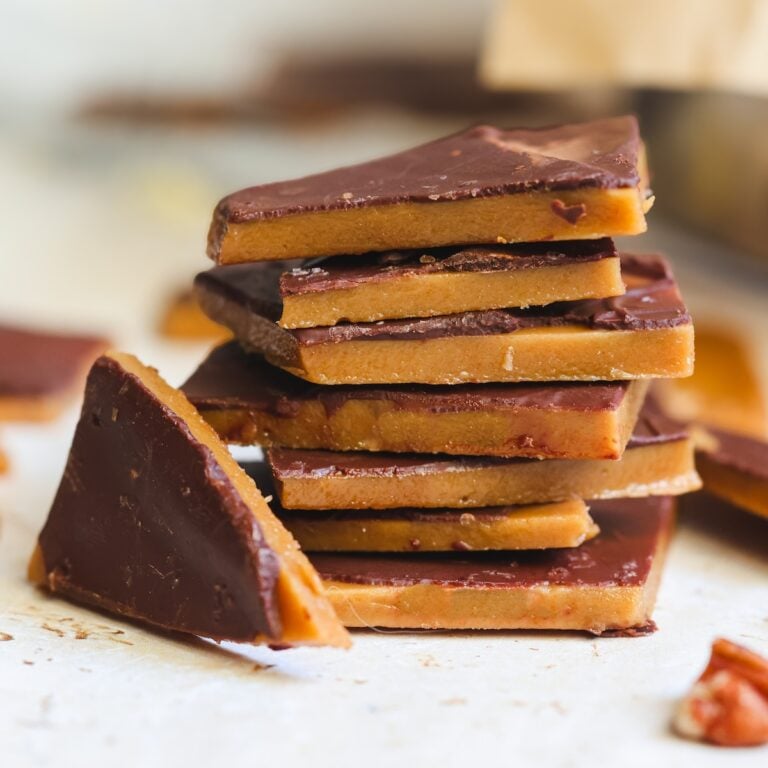
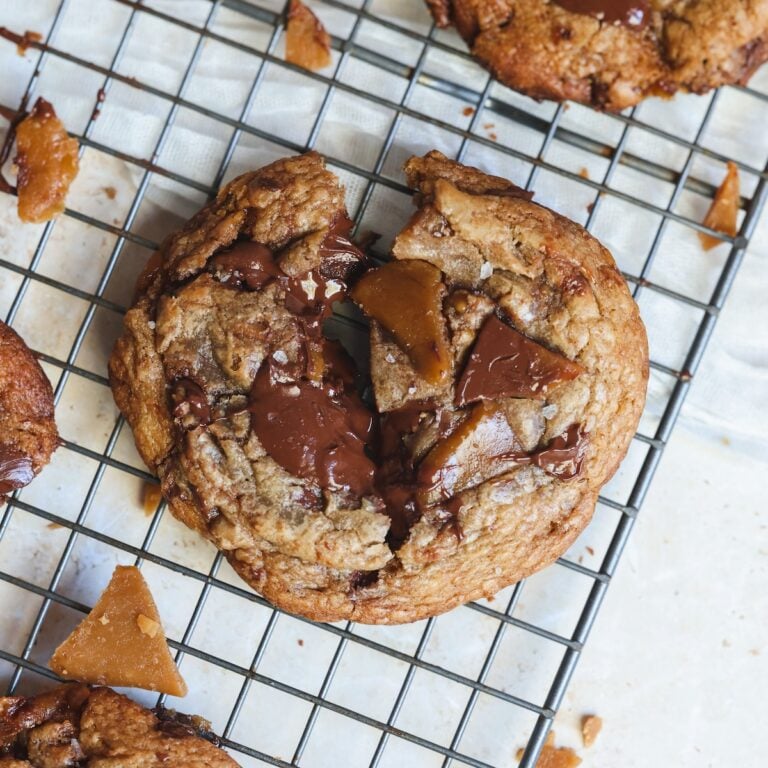
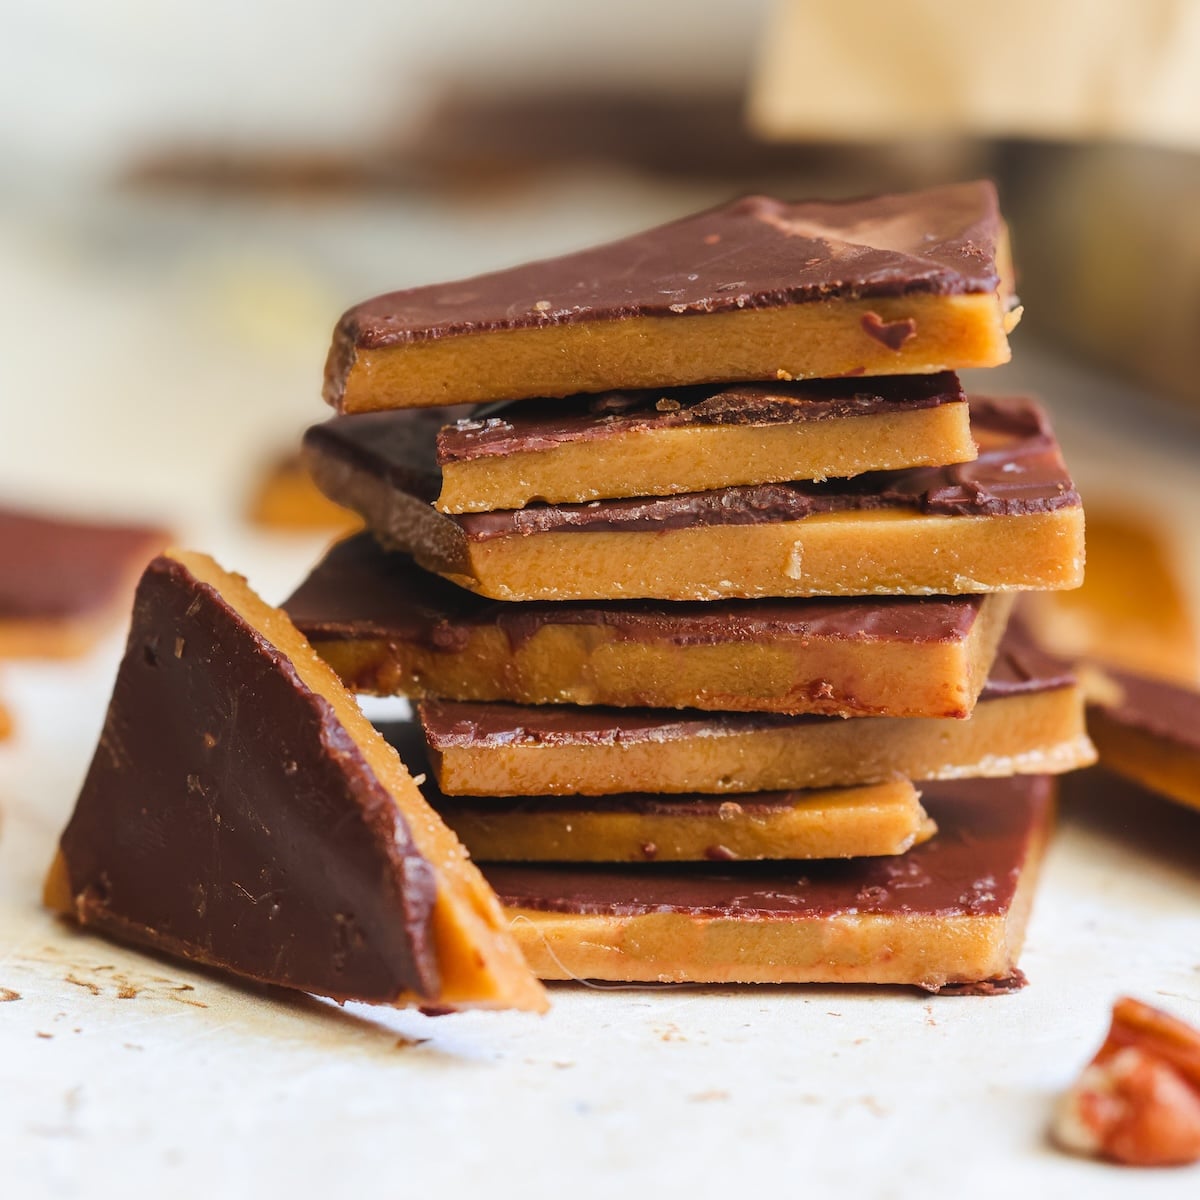
I know homemade toffee sounds like candy-making wizardry, but it’s actually just butter and brown sugar cooked in a pan. Two ingredients, 20 minutes of work, and you get a gorgeous buttery, shatter-crisp toffee that melts in your mouth and tastes about a hundred times better than anything you could buy in a bag. Eat it as is, cover it in dark chocolate with a sprinkle of flaky salt for a chocolate version, or break it into chunks and bake it into cookies and brownies. It also happens to be the easiest holiday gift you’ll ever make!
No, you don’t need a candy thermometer
Almost every toffee recipe will tell you a candy thermometer is non-negotiable. Not only do I disagree, I prefer NOT to use a thermometer. A thermometer gives you a number, but your eyes and nose tell you everything you need to know. Plus, it’s a pain to have to keep checking a thermometer while stirring.
In this recipe, I break the process of making toffee into 5 clear visual stages. Your job is pretty much the same throughout: stand at the stove and stir slowly. But these stages help you understand what’s happening so you don’t have to second guess yourself, and help you spot exactly when the toffee is ready. If you really do want to know the temperature, though, it’s 300F-310F.
Medium heat, all the way!
A lot of people get scared of over-heating toffee and think a lower flame = lower risk. However, I’ve found the opposite to be true! If your flame is too low, not only will the toffee take forever, it’s also more likely to separate or develop lumps. In other words, it makes your job harder. My recommendation is to use the medium sized burner on your stove at medium flame all throughout – and just keep stirring!
The 5 stages of making toffee
Here are the 5 stages of making toffee and what each will look like. I am intentionally not giving exact time cues, because time can vary depending on different factors (e.g., size of your burner, size of the pan, size of the batch, room temperature). Instead, focus on visual and texture cues. The toffee usually comes together within 20 minutes.
Stage 1: Melting
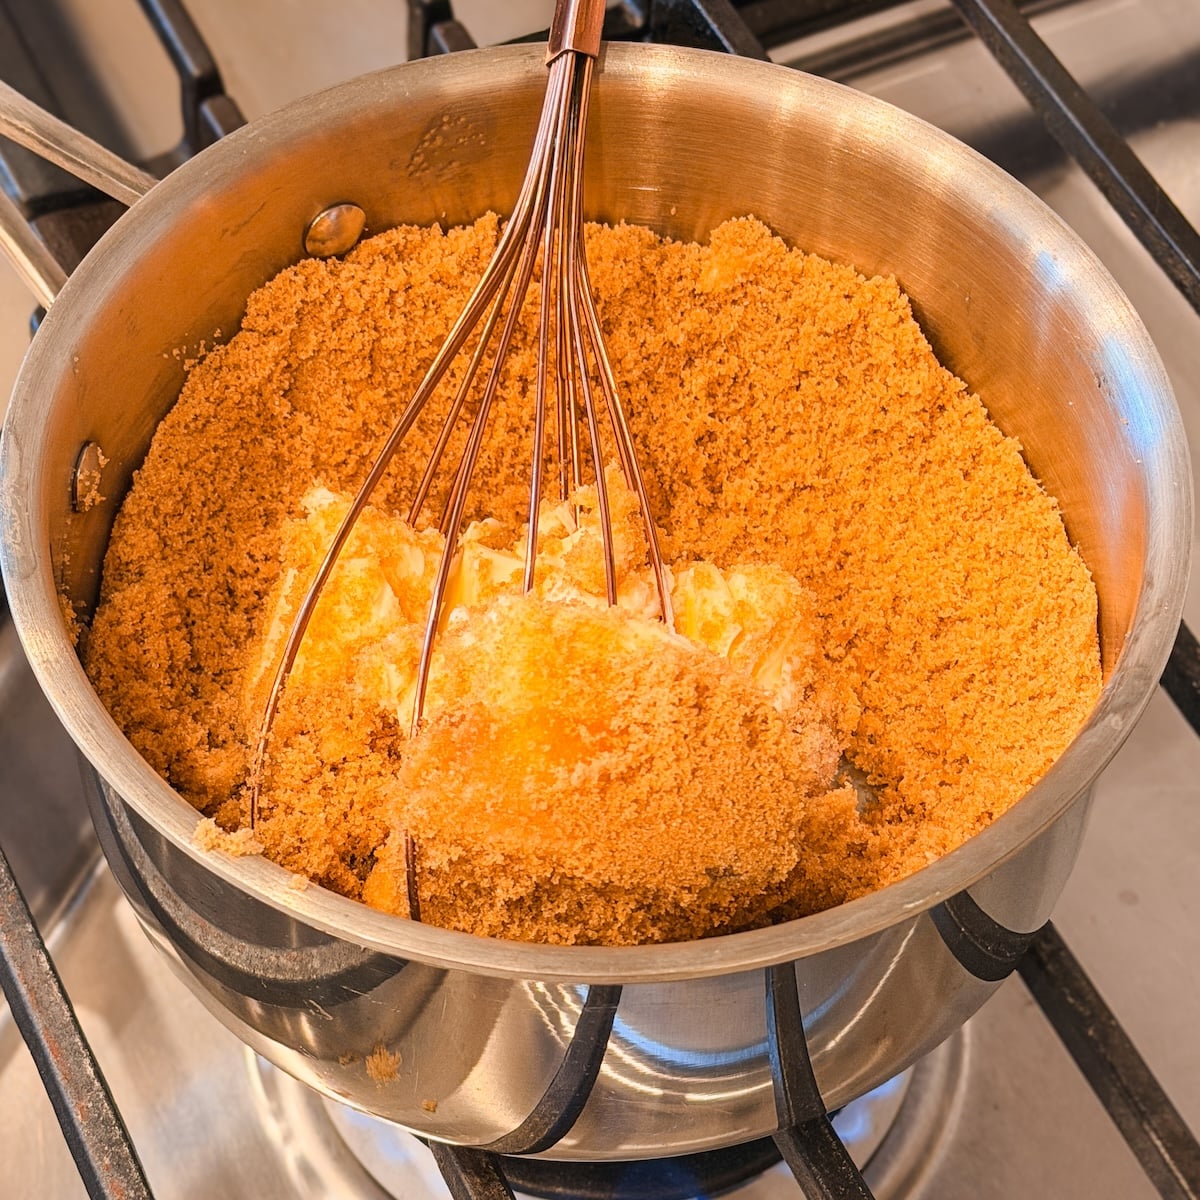
You add the butter and sugar to the pan together from the start (cut the butter into cubes to speed things up), and wait for the butter to melt, with an occasional stir. As the butter melts, the mixture will look grainy and lumpy. Break down any big lumps with your whisk and keep going. This is normal. Eventually the butter will fully melt and form a suspension with the sugar.
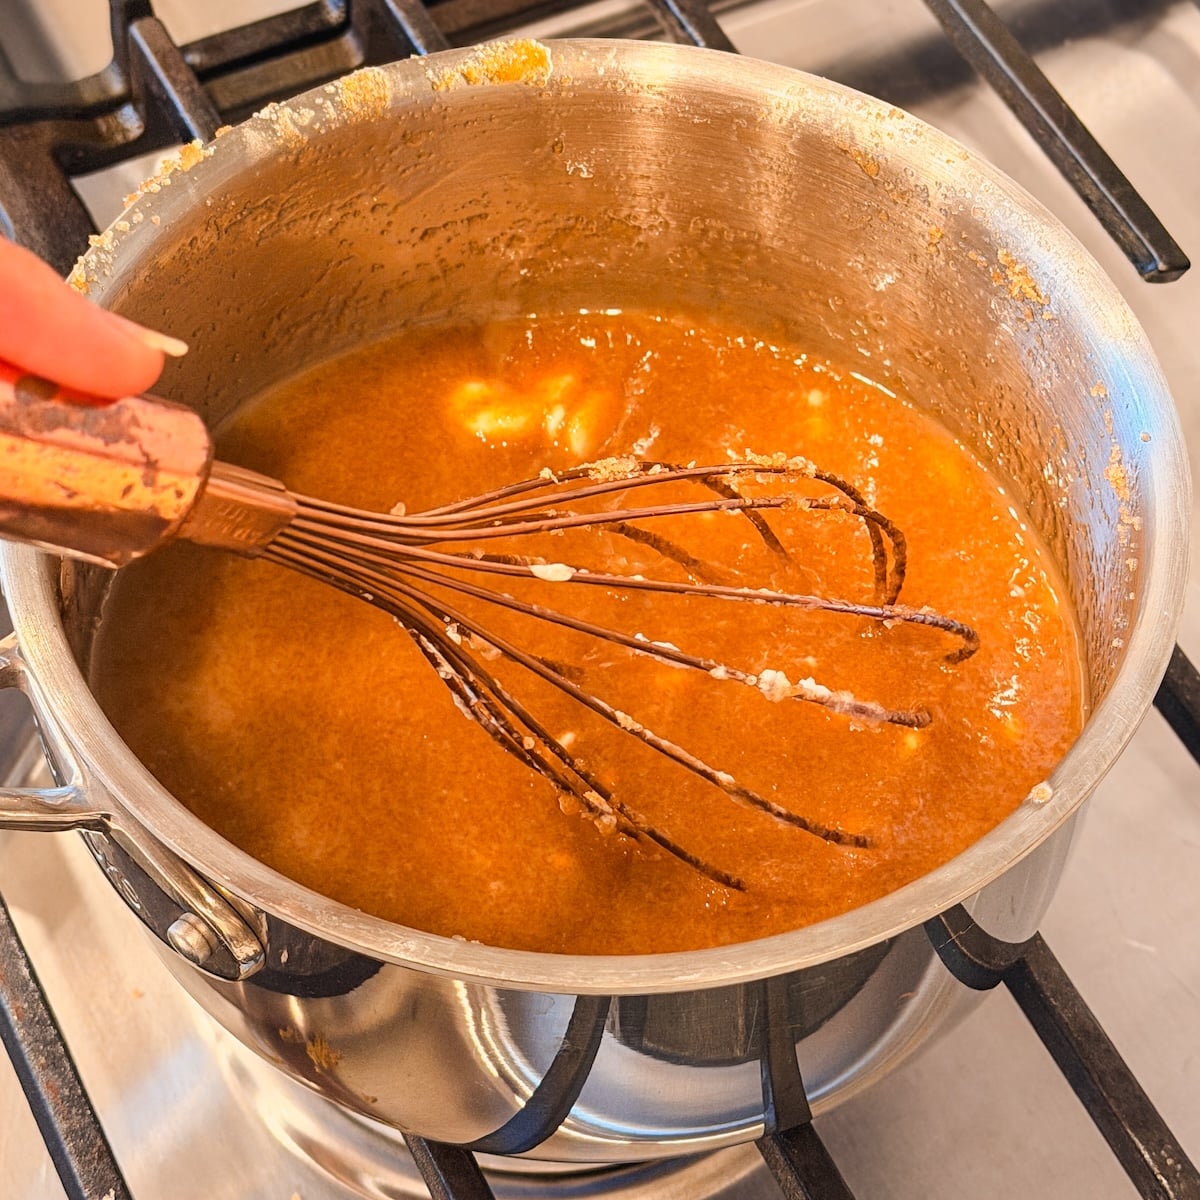
Stage 2: Separation
Next, it might look like the butter is floating on top of the sugar. You might get worried at this stage and think you need to do something different – you don’t. Just keep on stirring with a whisk (nothing too aggressive), and eventually the butter will form a cohesive sauce with the sugar.
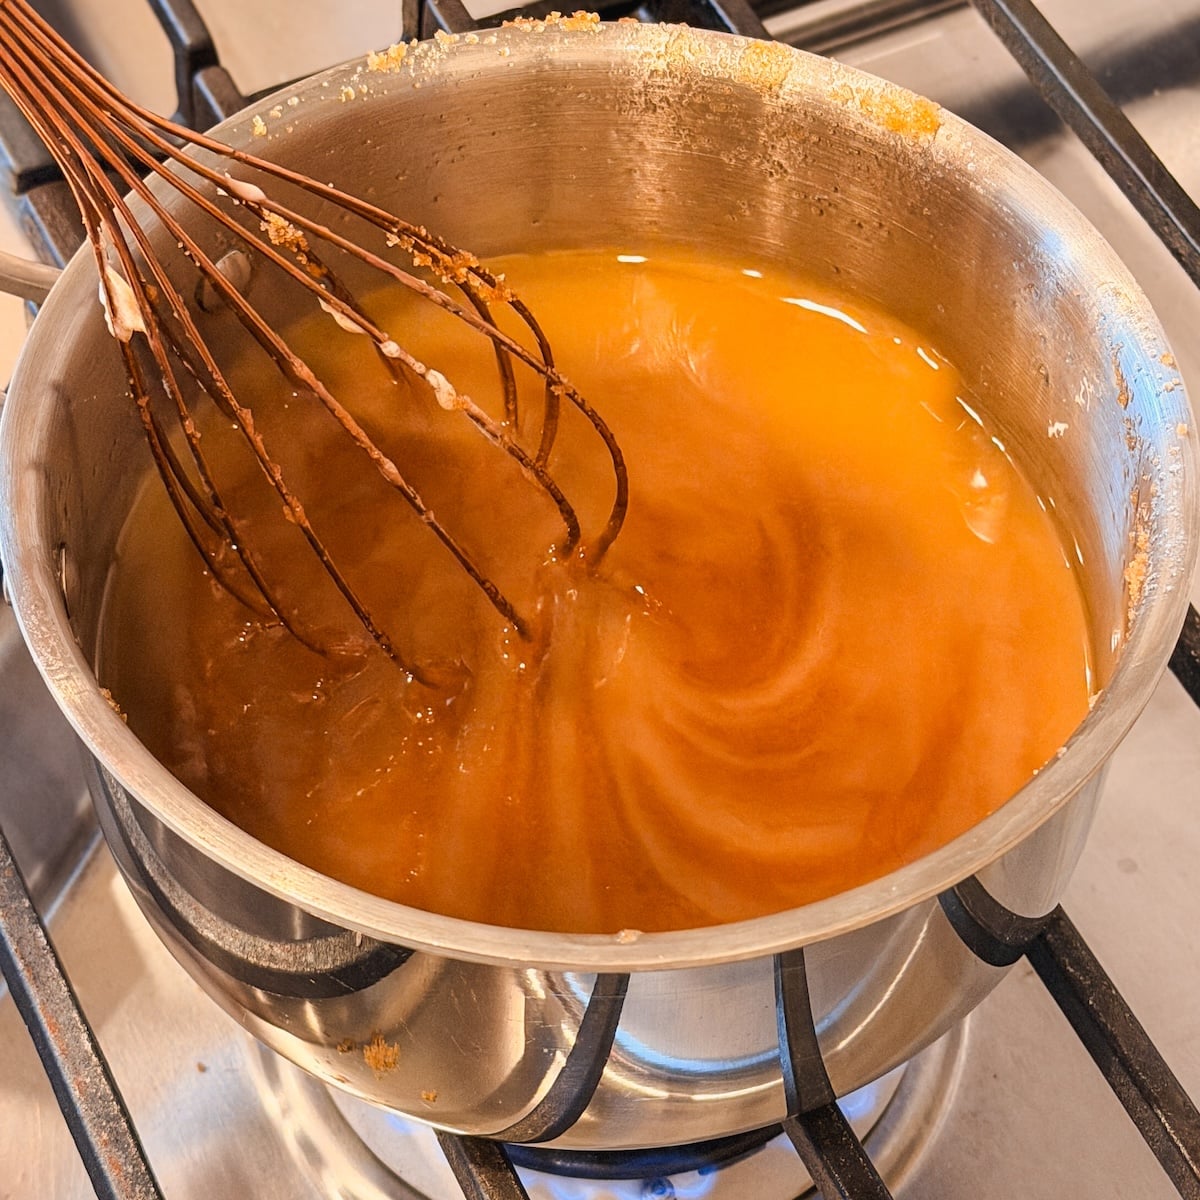
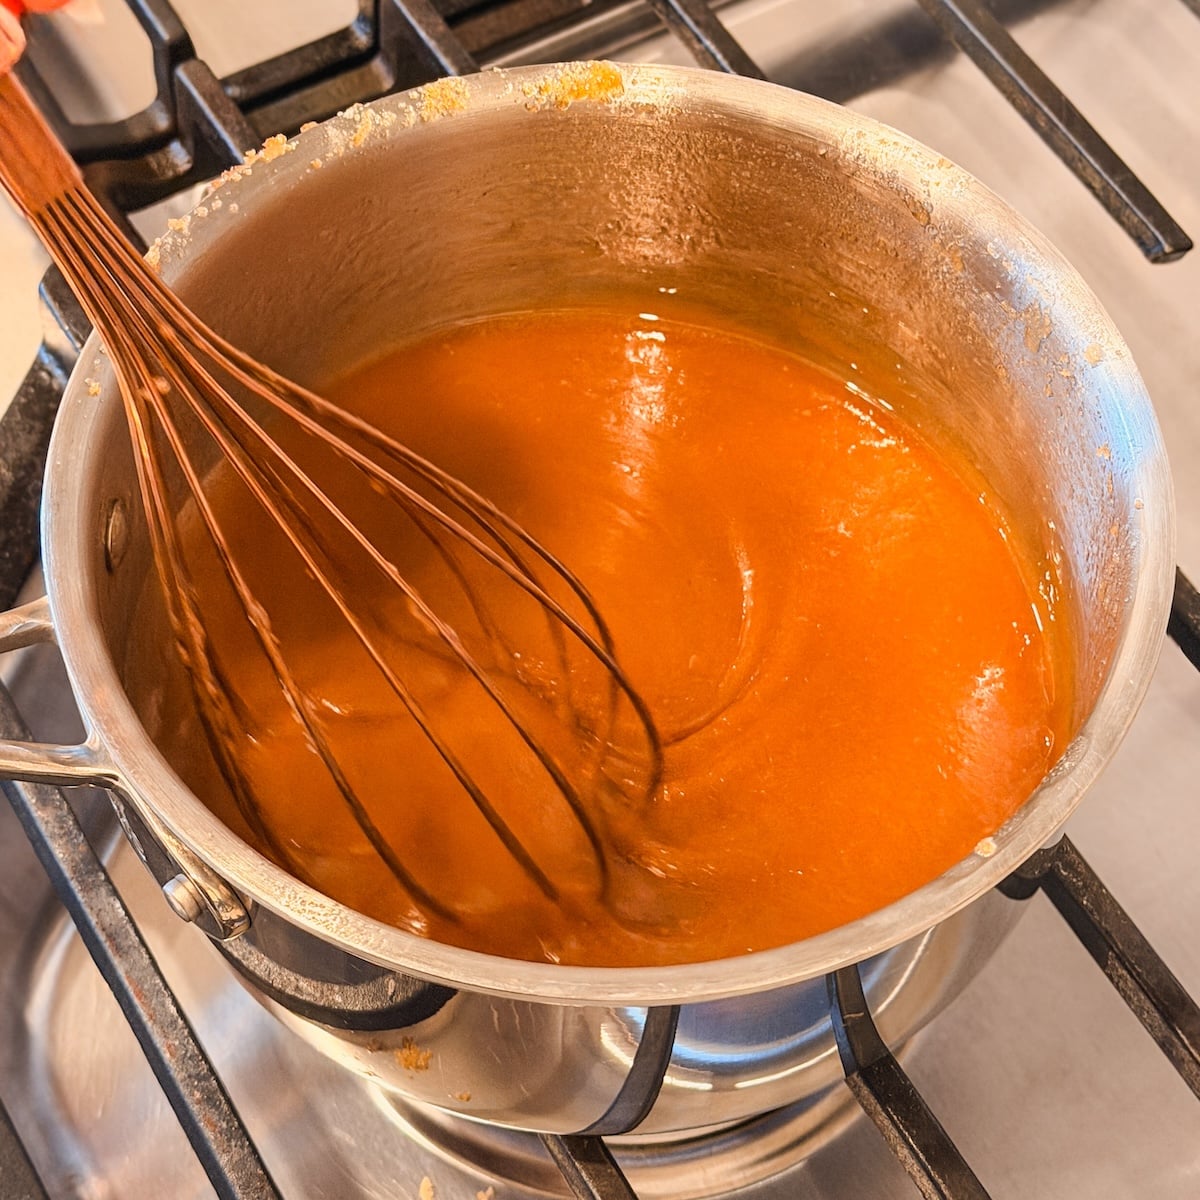
Stage 3: Bubbling
Next, the mixture will start to boil. First, a few bubbles around the edges (be careful!), then the whole thing will begin to froth and rise. This is the water in the butter evaporating. At this point, really make sure you don’t stop stirring.
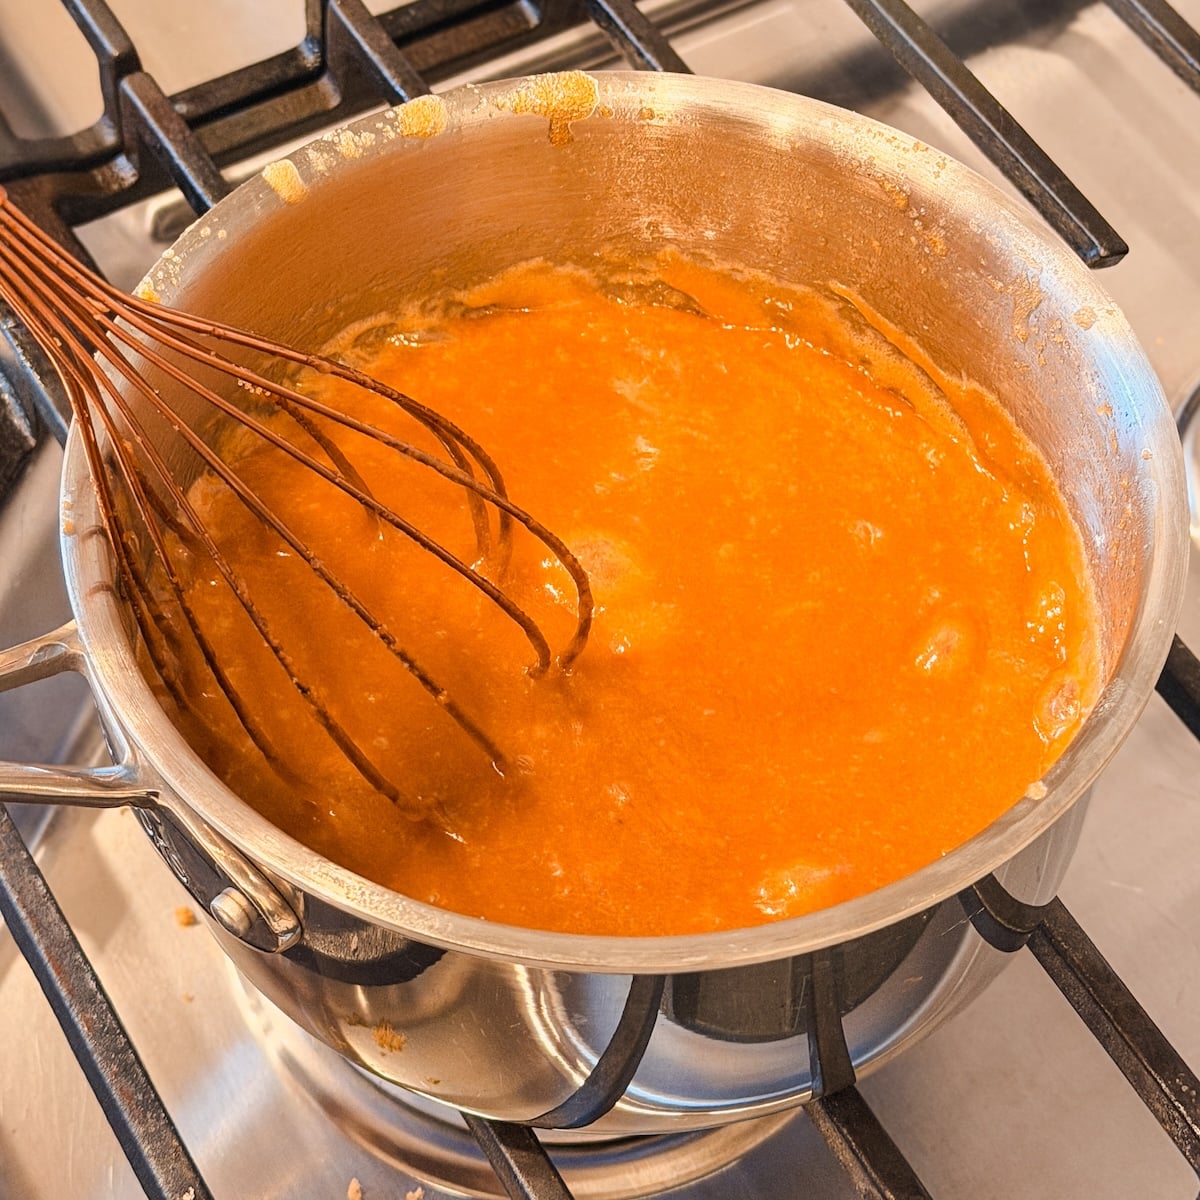
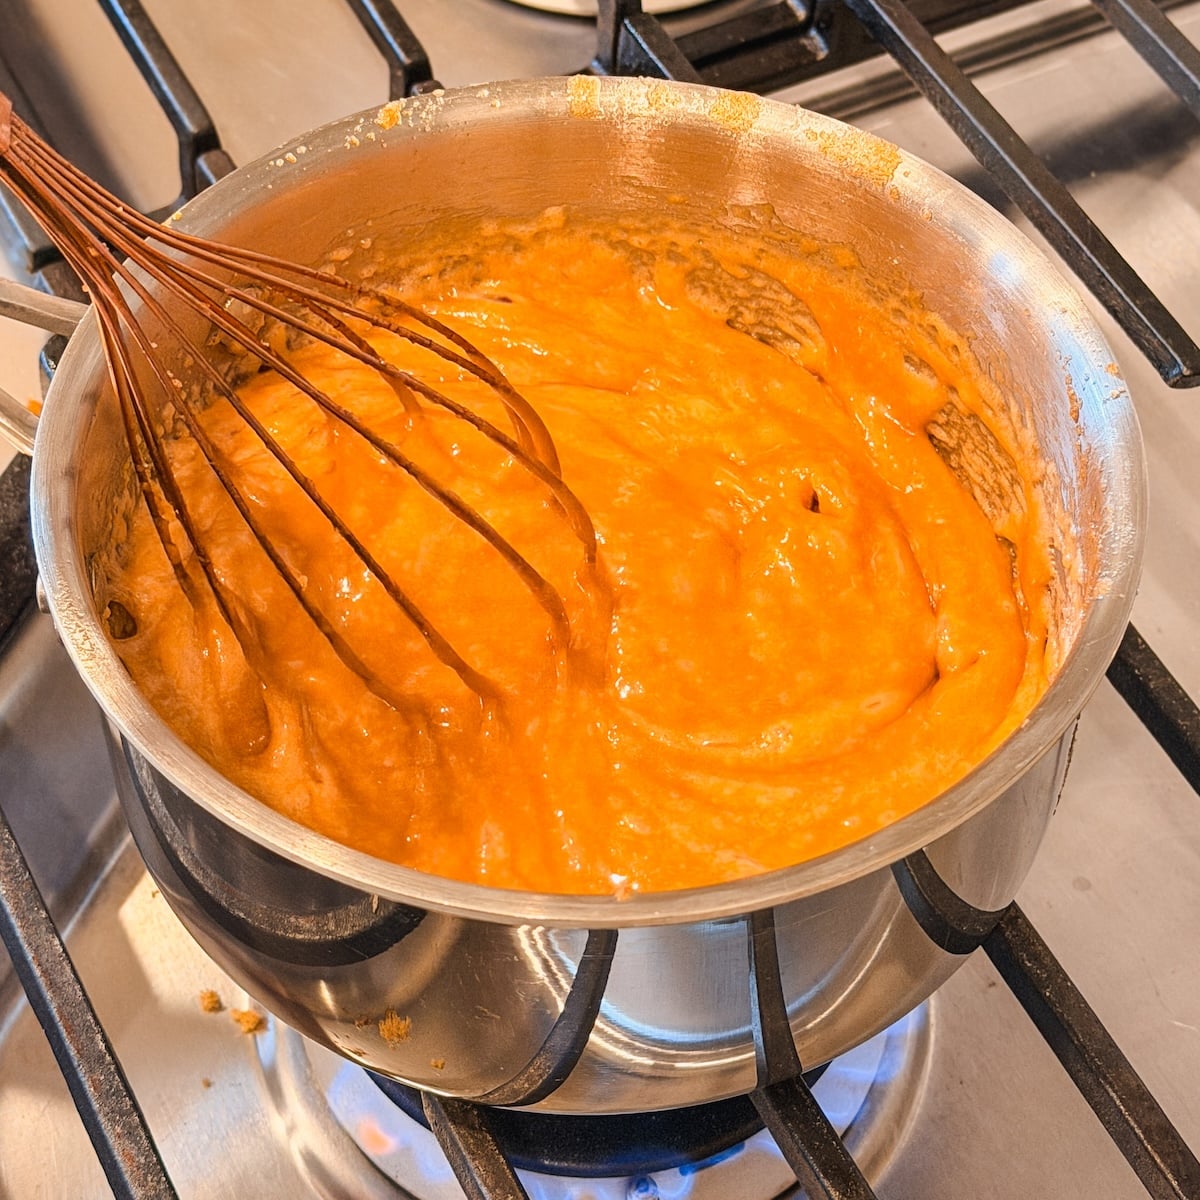
Stage 4: Coloring
When the bubbling stops (aka most of the water has evaporated), you’ll be left with a light golden sauce (it might still be grainy). Keep stirring (duh) until it becomes really smooth and shiny, starts to pull away from the edges of the pan, and develops a deeper golden color. It will also become fragrant and smell like caramel. Toffee cooks quickly at this point, so keep a constant eye on it – and if it is coloring too fast, turn down the flame slightly.
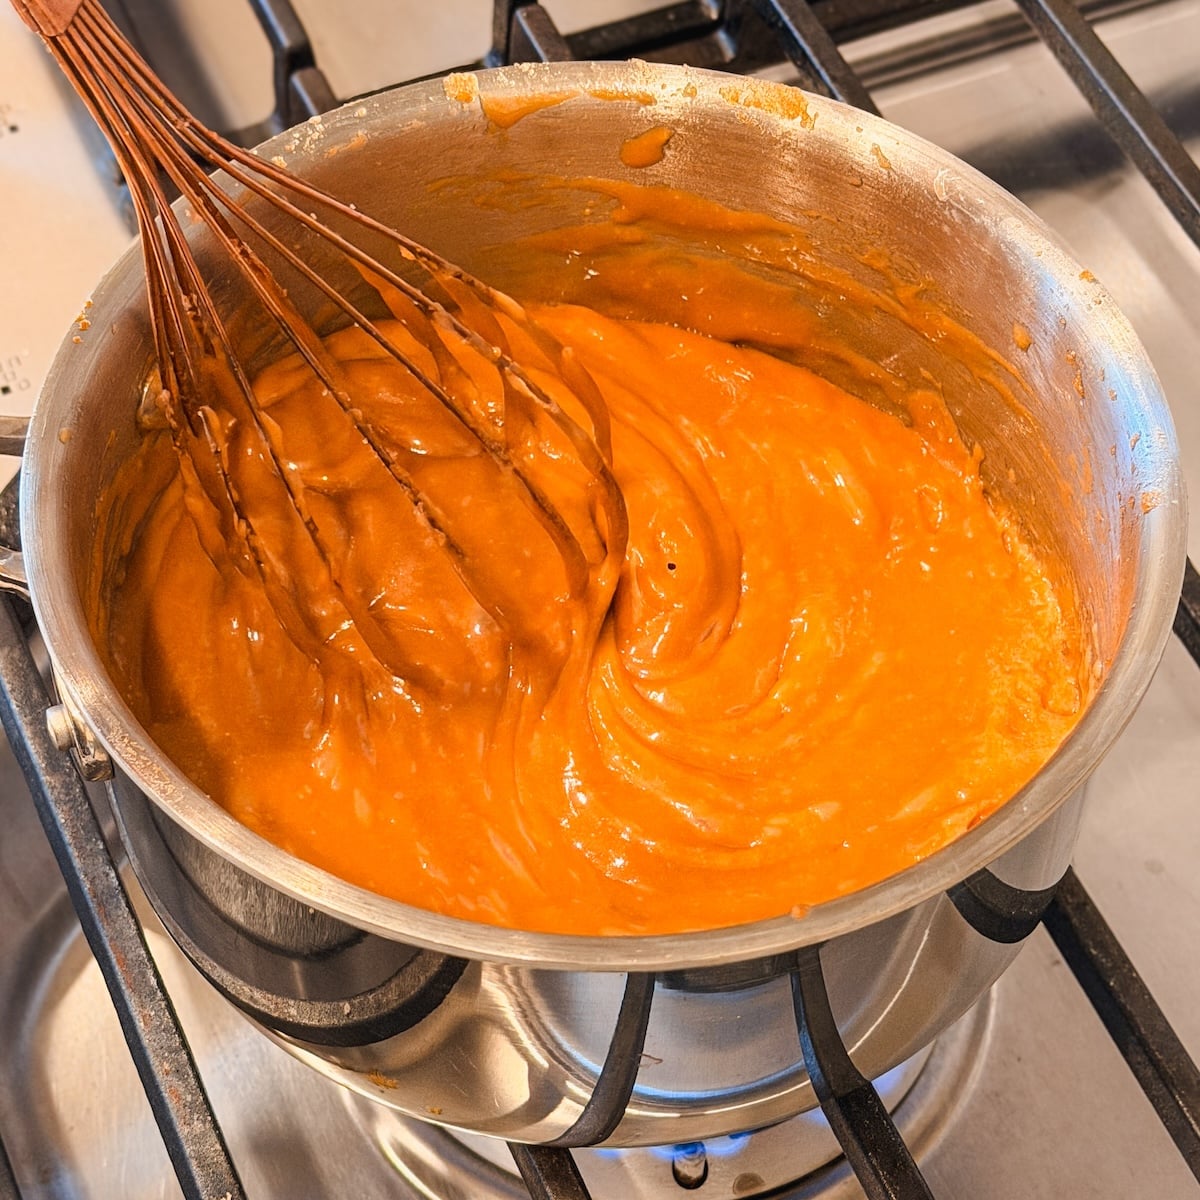
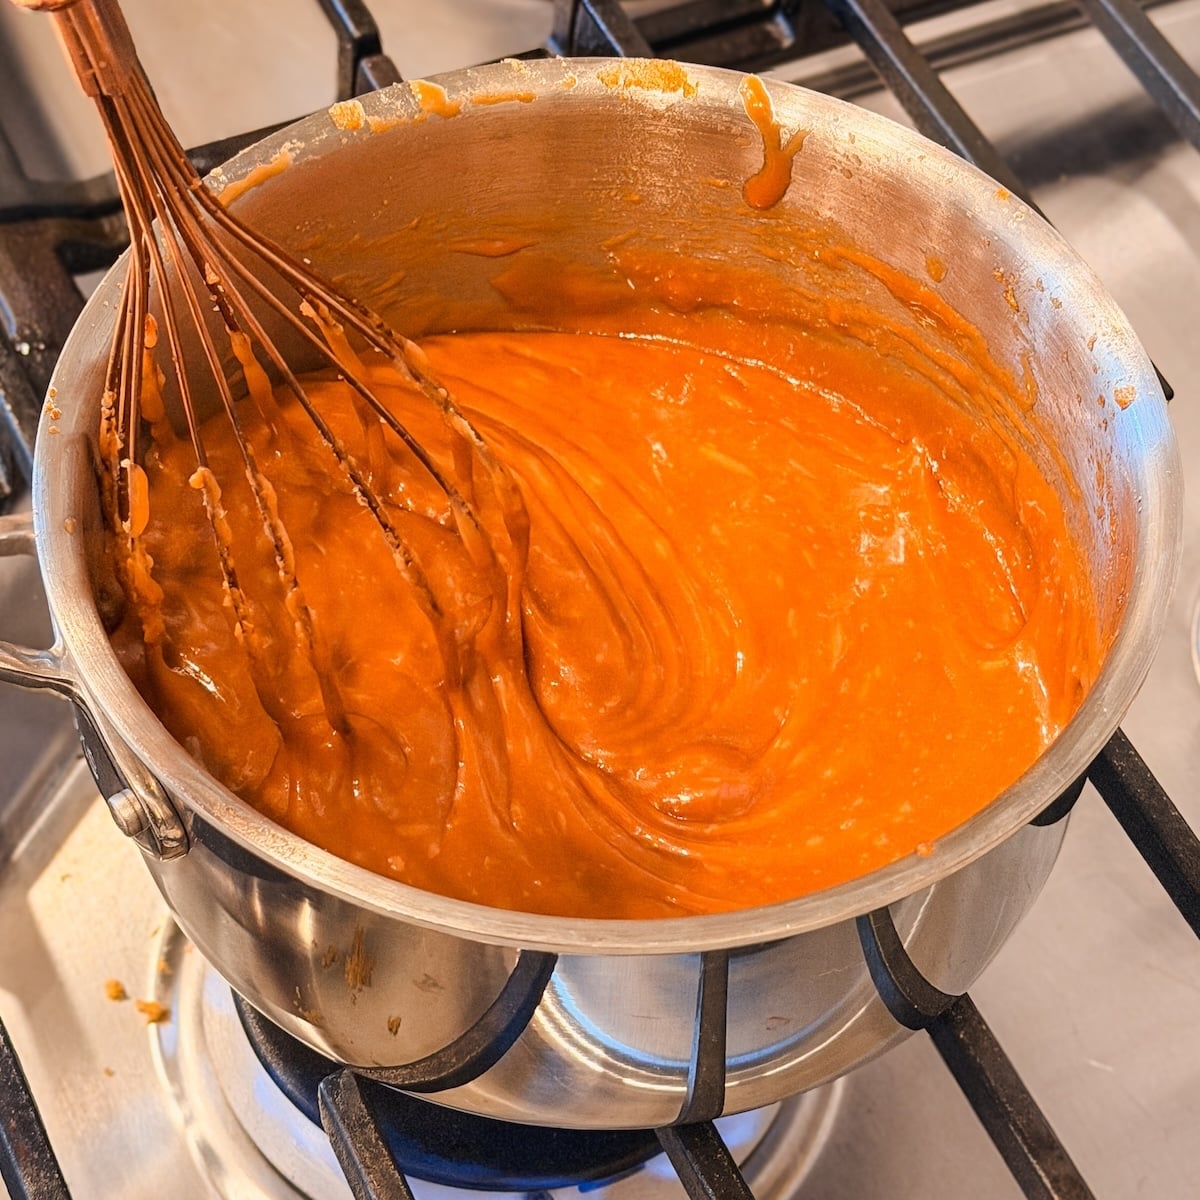
Stage 5: Gliding
This is when you start to check the toffee for doneness! The toffee will develop a deep caramel color and become very glossy. But the real tell is when it starts to collect around your whisk and slip or glide on the surface of the pan as you stir. It doesn’t feel like it’s sticking to your pan – almost as if you added a nonstick spray on your pan. This is usually around 20 minutes in, and the temperature should be between 300-310F (not that you need to check).
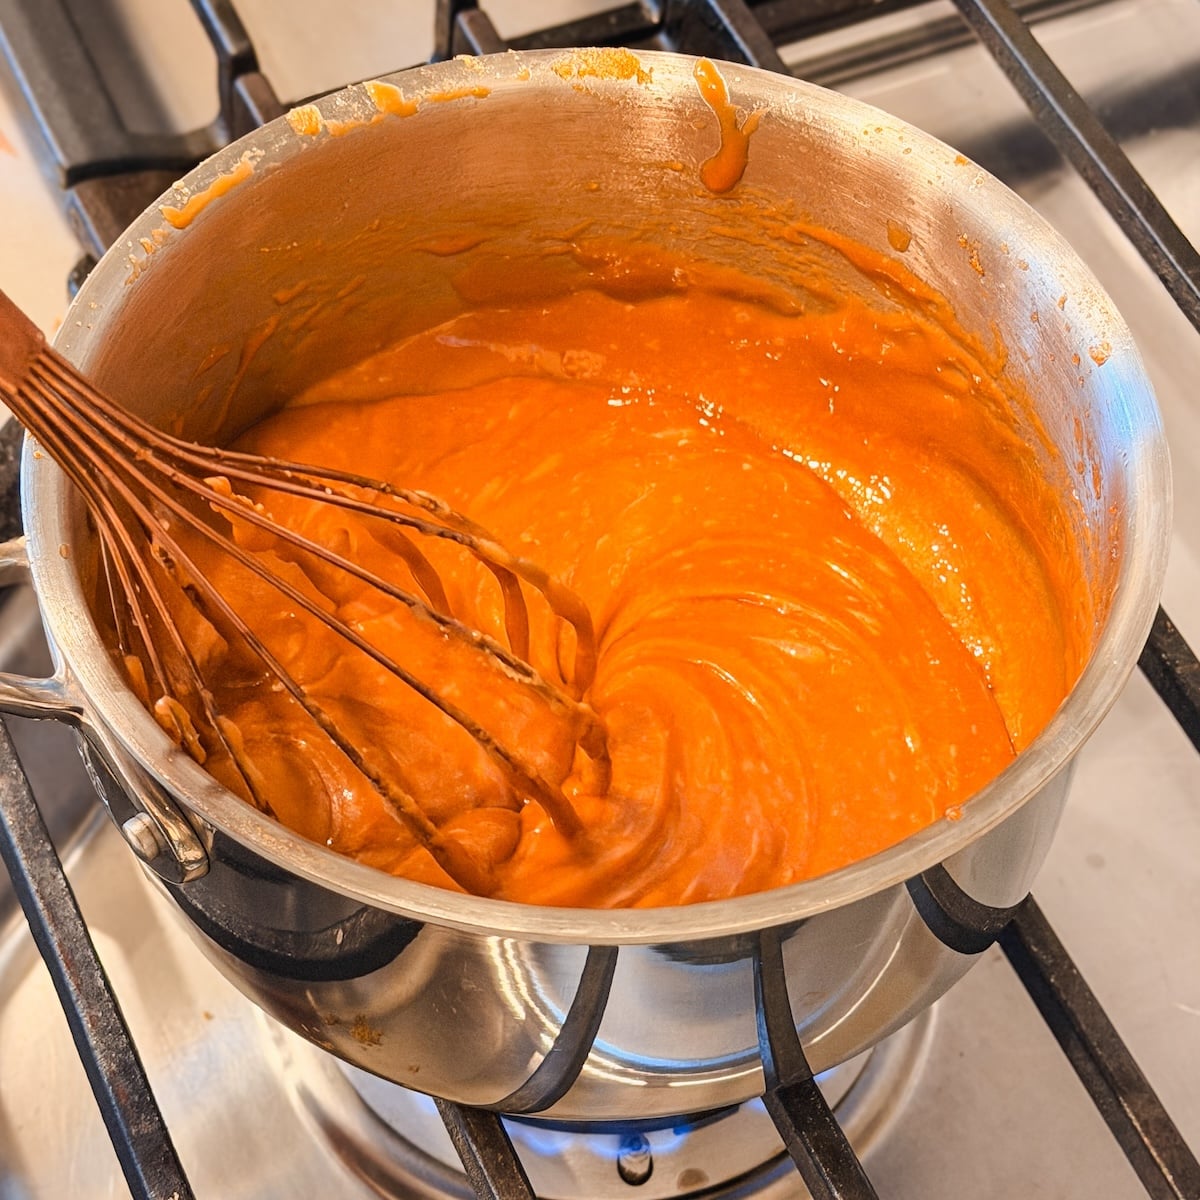
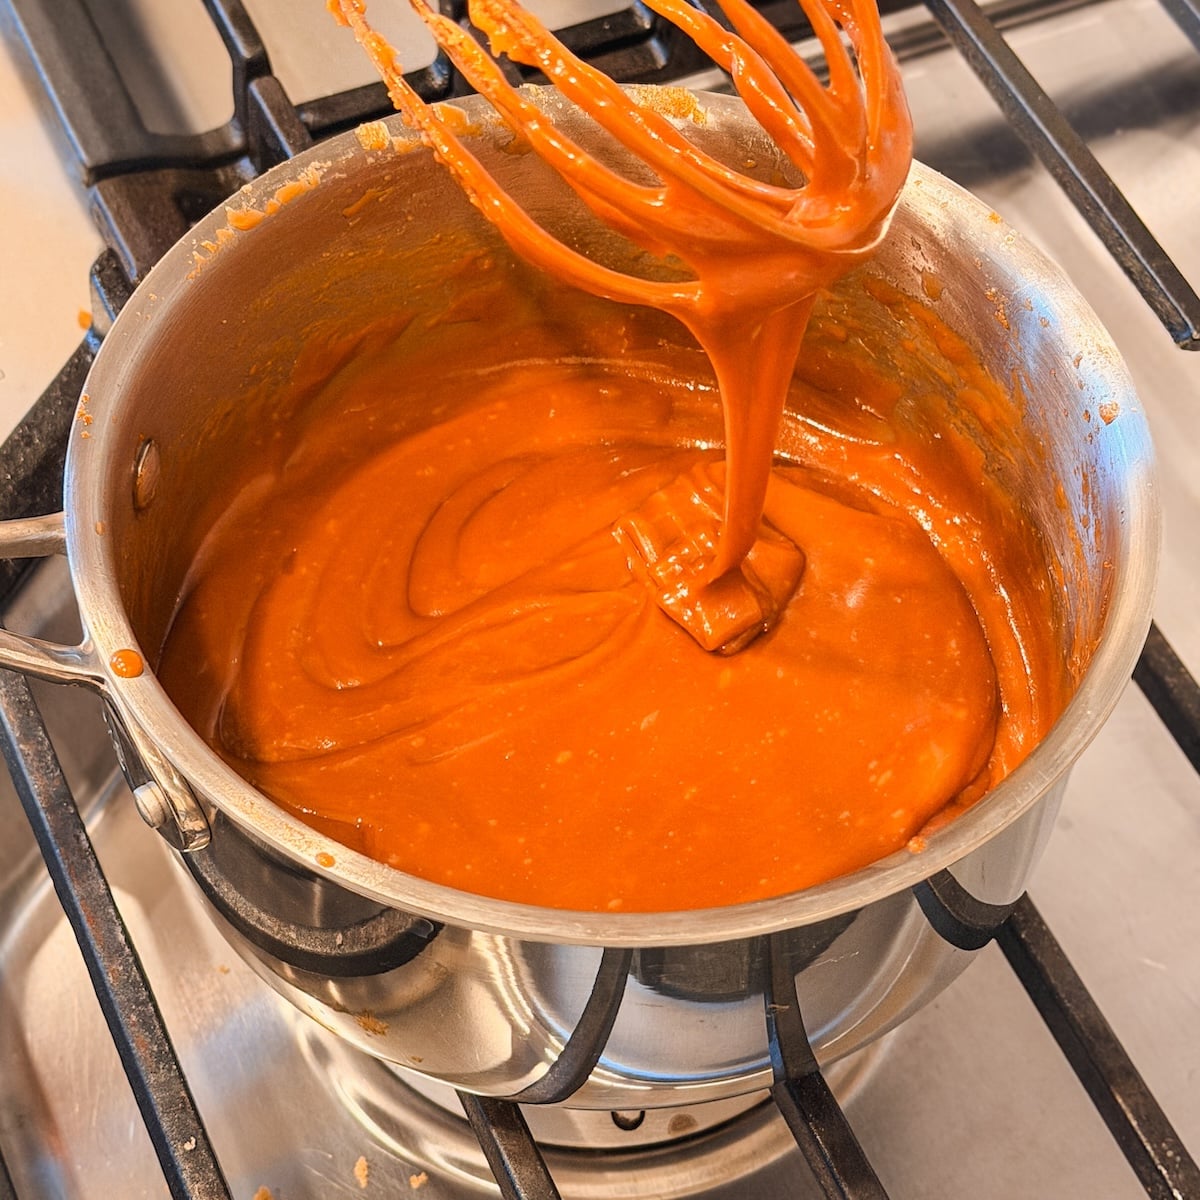
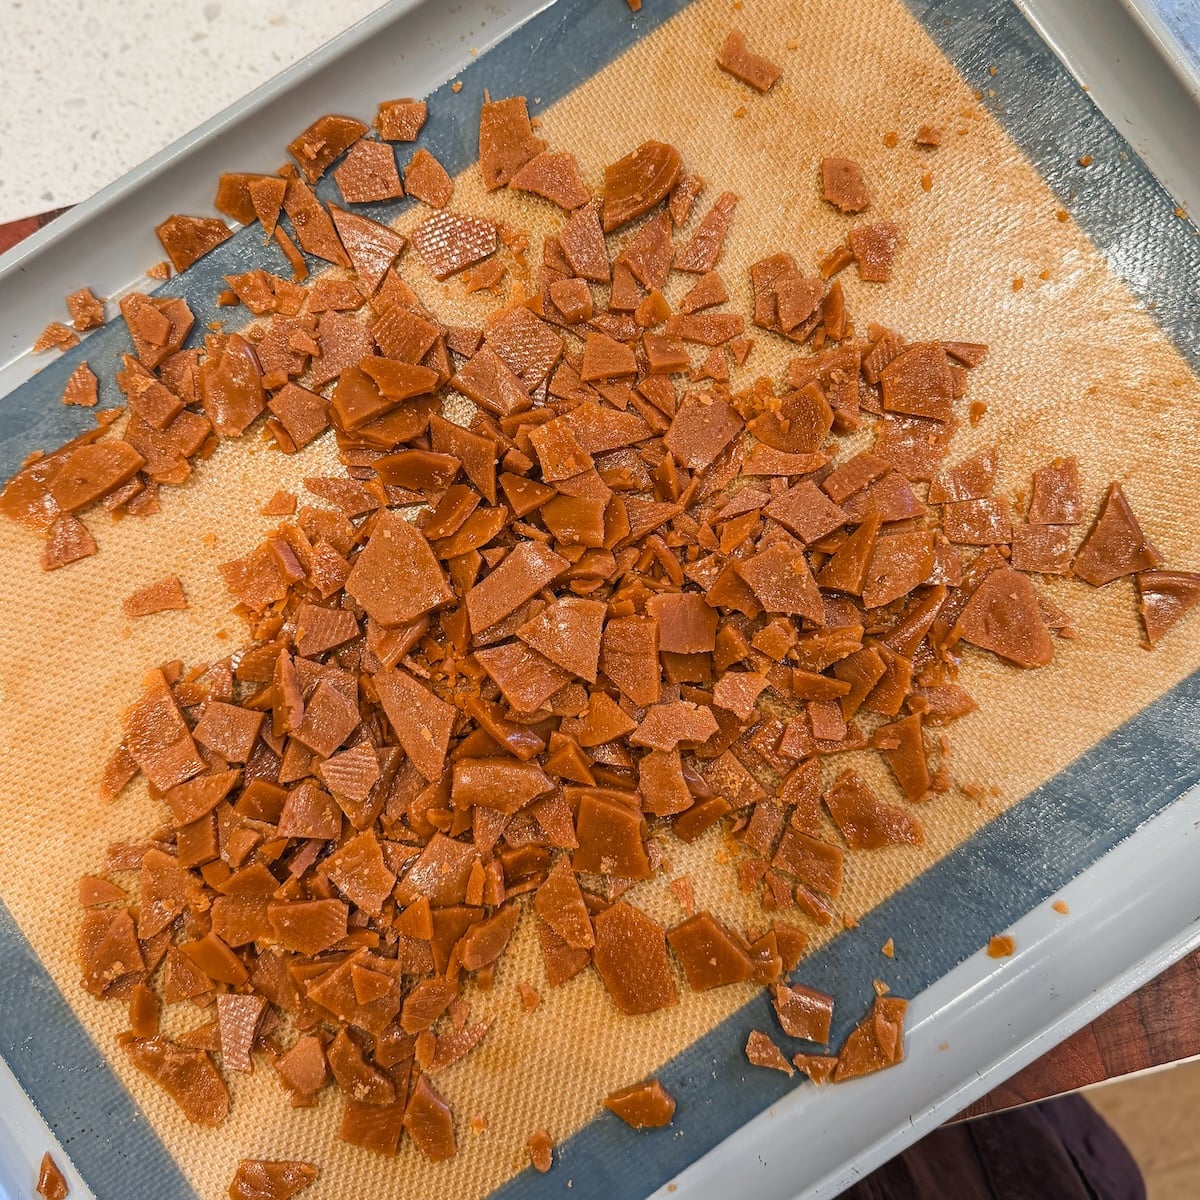
Once the toffee is cooked, work fast and spread it on a silicone mat on a baking sheet. It will harden to the perfect shatter texture, and you can break it down into shards or chunks. Store it in an airtight container at room temperature and it will stay crispy for weeks!
Use a stainless steel saucepan
I highly recommend using a stainless steel pan to make your toffee. It is light in color so you can easily see the color, but it also heats up more evenly AND retains heat better – making it easier to achieve a smooth toffee without any chunkiness.
Ways to use toffee
Here’s how you can use the toffee or make fun variations:
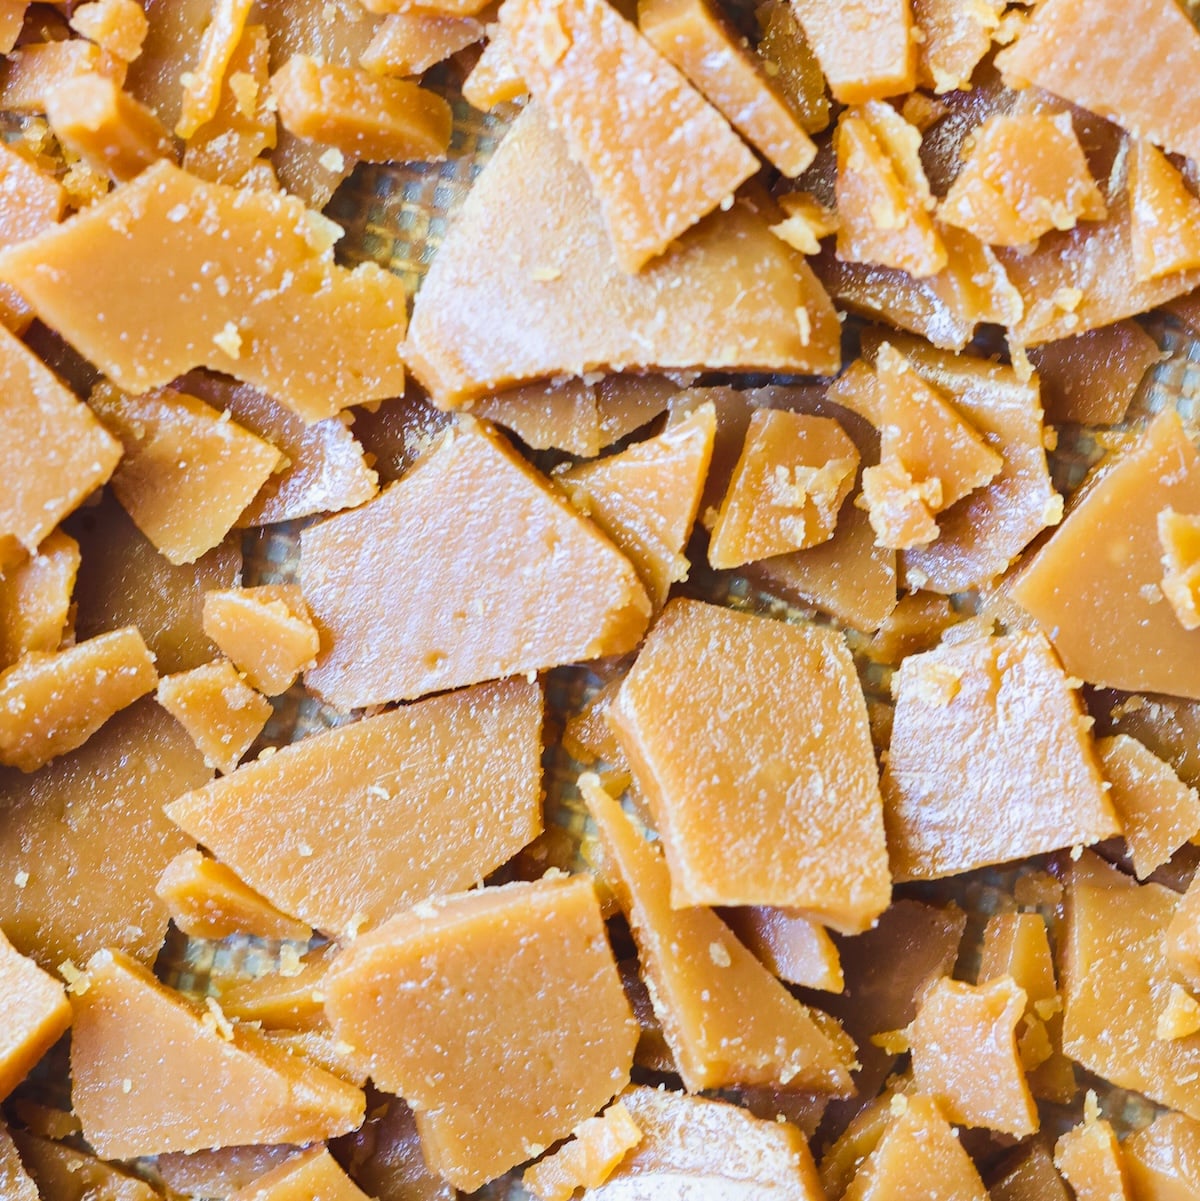
- Enjoy as is! Break it into shards and eat as a treat or gift away
- Broken into smaller chunks and bake into cookies, brownies, blondies, etc. I love using these in my butterscotch toffee chocolate chip cookies!
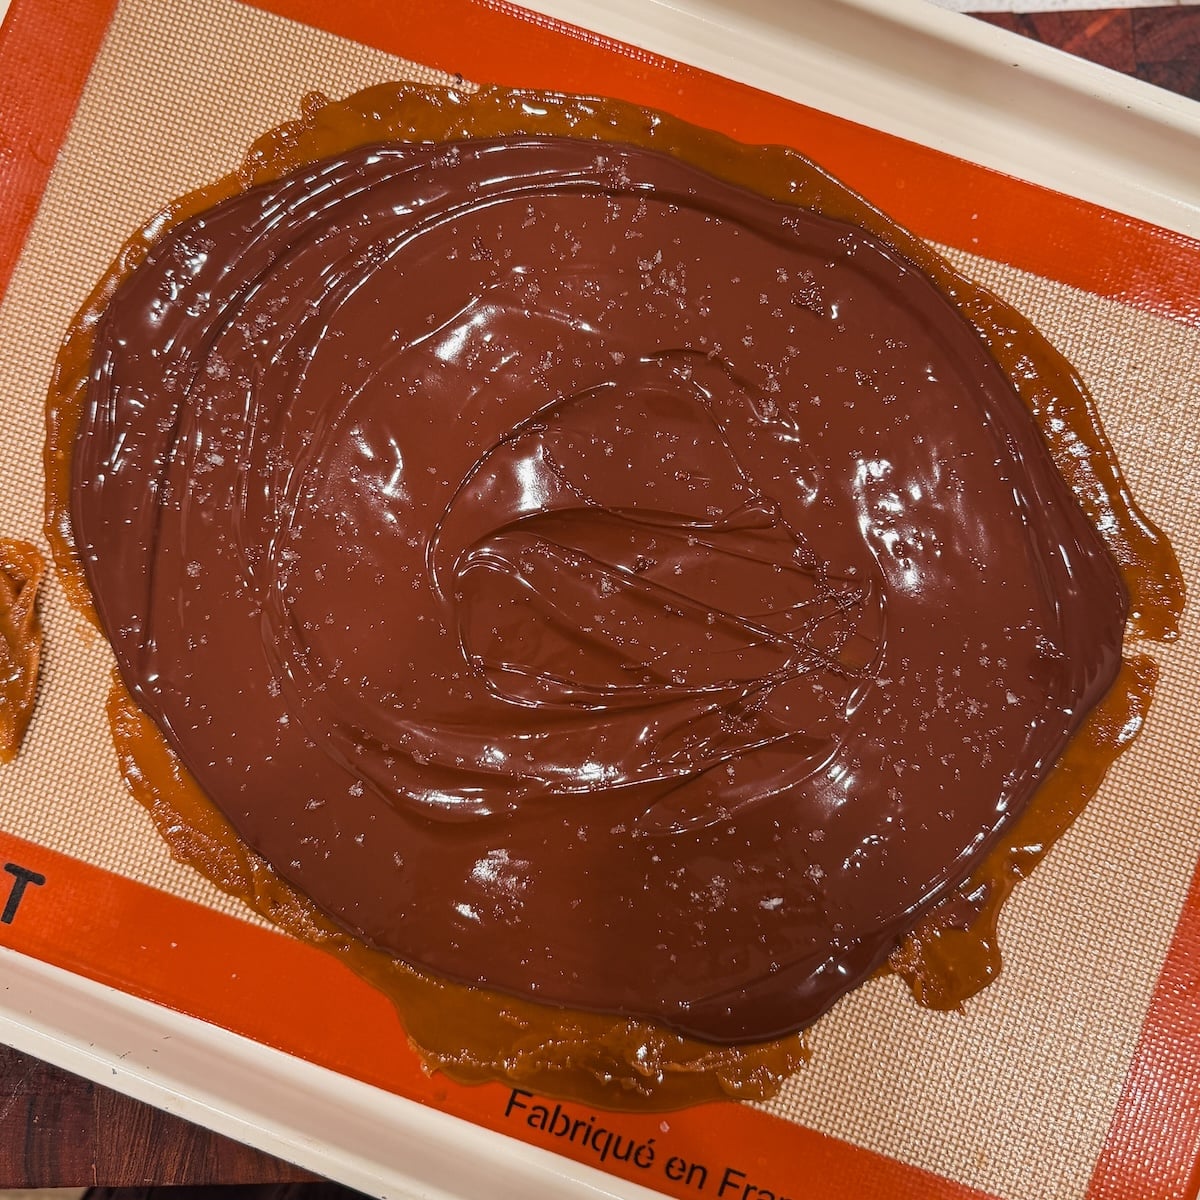
- Make a chocolate version. Spread melted chocolate on your toffee bark, sprinkle sea salt and let it set. It’s DELICIOUS
- Add nuts. Toast and chop up any nuts you like, stir them into your toffee quickly once its done and spread it out. You can also spread them onto your pan and pour the toffee or top, but in my opinion that’s harder
- Wrapped up as a gift. Break it into shards, pack into a tin or cellophane bags and you have the holiday gift everyone actually wants
Email This Recipe
Enter your email and I’ll send this directly to you. Plus you’ll get new recipes from me every week!
Ingredients
- 10 tbsp unsalted butter, cut into cubes (140g)
- 1 cup light brown sugar, packed (200g)
- 1/2 tsp salt (optional but strongly recommended)
- 1 tsp vanilla (optional)
- 200g dark chocolate for a chocolate version (optional)
Instructions
- Line a large baking sheet with a silicone mat and set it aside. Have everything ready before you start, because toffee moves quickly at the end.
- Add the cubed butter and brown sugar to a 2 qt stainless steel saucepan. Place over medium heat (medium burner, medium flame).
- As the butter melts, the mixture will look grainy and lumpy. Stir slowly and break down any large lumps.
- After melting, the butter may look like it’s floating on top of the sugar, which is normal. Keep stirring gently and it will come together into a cohesive sauce.
- After about 5 to 7 minutes, the mixture will start bubbling, first around the edges and then across the whole surface, and will froth up as the water cooks out. Keep stirring slowly and constantly from here on.
- The bubbling will settle down and you’ll have a slightly grainy golden sauce. Keep stirring, and it will pick up color and become smooth, shiny and fragrant. If it’s darkening too quickly, lower the heat slightly.
- Continue cooking until the toffee is a deep amber color, very glossy, and starts to slip and glide across the surface of the pan, gathering around your whisk. This is the sign that it’s ready, and takes around 20 minutes total. If using a thermometer, it should read 300 to 310F.
- Stir in the vanilla and salt if using, then immediately pour the toffee onto the prepared silicone mat and spread it evenly to about ¼ inch thick (you can go thinner depending on the use).
- If adding chocolate, spread the melted dark chocolate over the toffee right away and sprinkle with flaky sea salt.
- Let the toffee set at room temperature, or in the fridge for about 20 minutes, then break into shards or small chunks, as desired.
Video Tutorial
Notes
- Pan: a light colored stainless steel pan lets you see the color of the toffee as it cooks. Avoid dark nonstick pans.
- Heat: keep it at a steady medium throughout. Heat that’s too low makes the butter and sugar more likely to clump or separate. If you see too many lumps, keep whisking and turn up the heat slightly.
- Storage: store the toffee in an airtight container at room temperature and it can keep for weeks. Humidity will soften it, so keep it sealed!
Comments