

This post may contain affiliate links
Add Bake with Zoha as a preferred source on Google and find more of my tried-and-tested recipes.
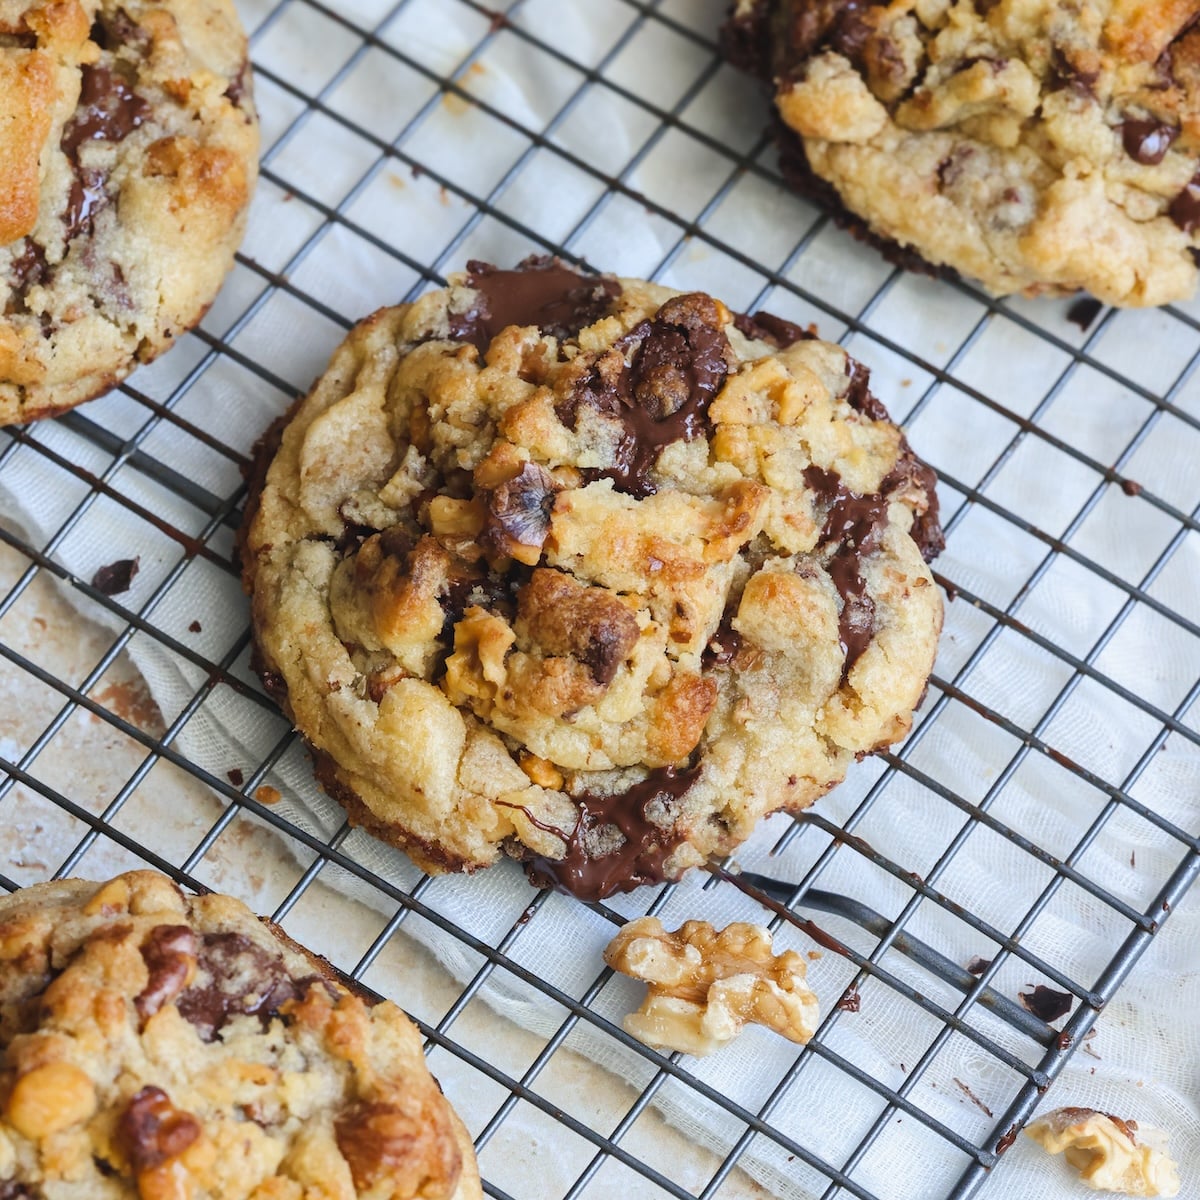
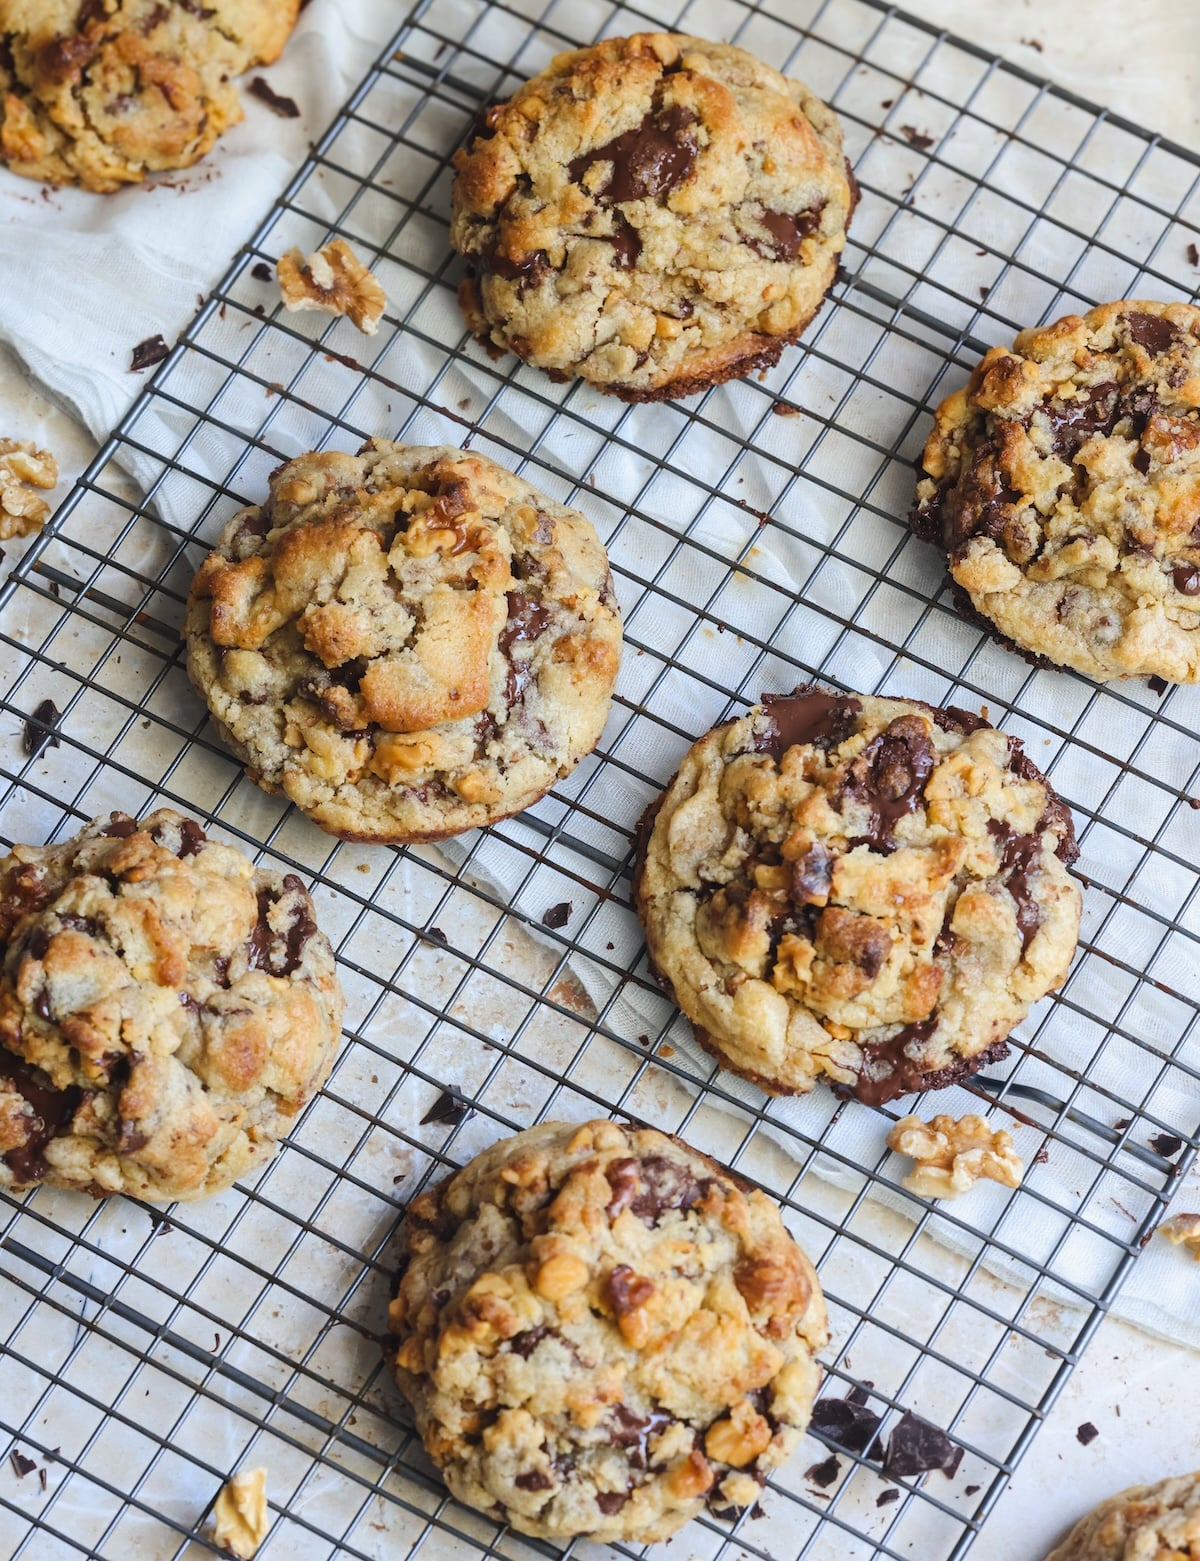
After 3 years of testing (and several defeats), I have finally perfected my Levain Chocolate Chip Walnut Cookie recipe! And calling it a “levain copycat” feels like a disservice – because while these cookies are inspired by Levain, they are so much better. They’re everything you want from a New York style cookie: thick and chunky with crispy craggy edges, gooey and fudgy centers and loaded with chocolate and walnuts. But unlike their inspiration, they are well balanced in flavor: not too sweet, generous on the chocolate, and with the perfect hit of salt. They are also surprisingly simple to make (no need for cake flour)!
I started with Levain’s ingredient label
I’ve been working on these Levain copycat (or “New York style”) cookies for a long time, and have tried many recipes that claim to be a dupe. However, nothing felt right. I even had the cookies shipped to me all the way from New York several times to taste and compare.
But then I had a genius idea: using the ingredient label! You see, Levain used to sell their cookies in grocery stores once upon a time. And that meant they had to list their ingredients on the packaging, in descending order by weight. And the label said:
- Flour
- Semi-sweet chocolate chips
- Butter
- Sugar
- Light brown sugar
- Walnuts
- Eggs
- Salt
- Baking powder (NO baking soda!!)
So I just reverse engineered the recipe from this list! It still took a handful of trials (and some science and math) to get things exactly right – but let me tell you, they are PERFECT.
Yes, they’re BETTER than Levain!
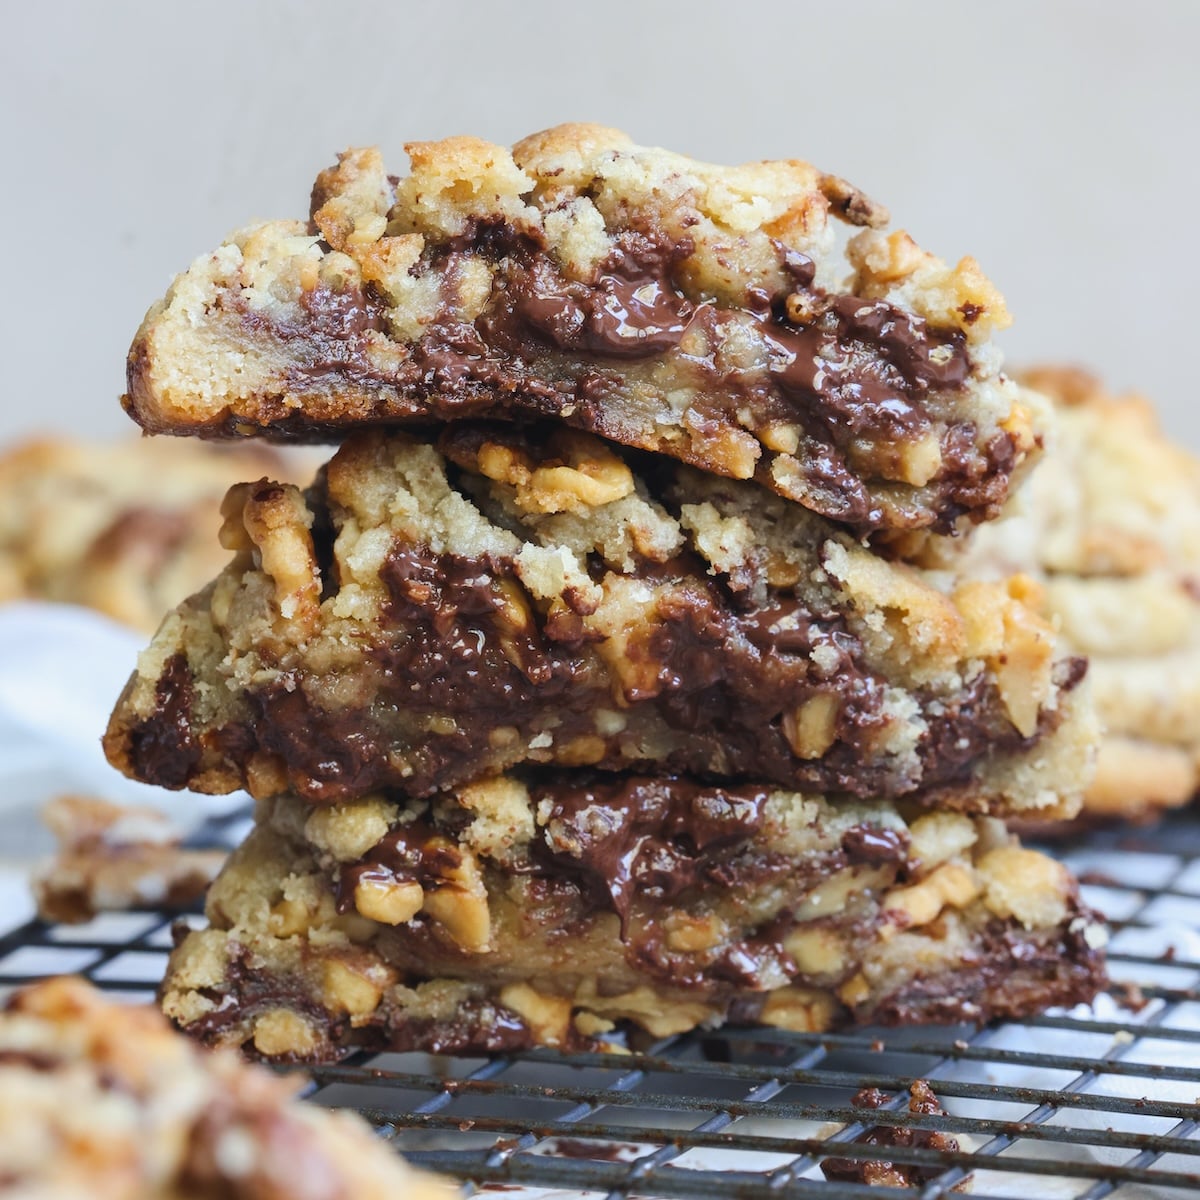
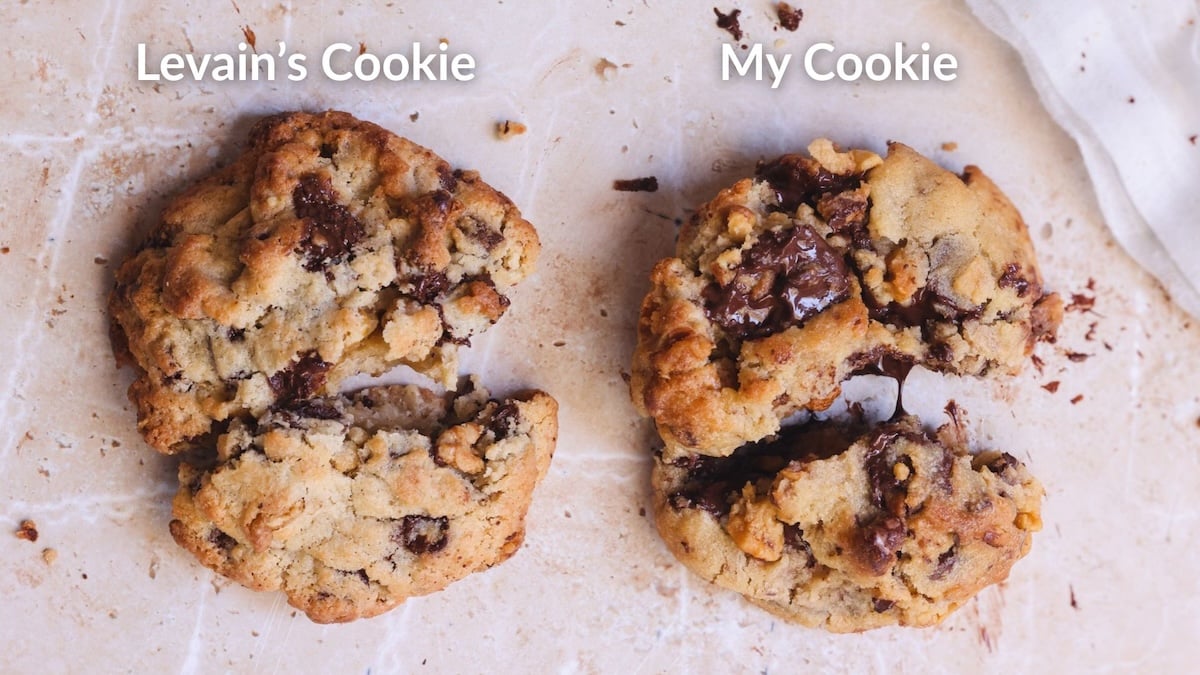
Although I set out to develop a perfect copycat recipe, I compared my cookies with Levain’s cookies side by side and the results were astonishing. They look the exact same and have the exact same craggy, crispy edges. But I liked the texture and flavor of my version even more than the original! Here’s what’s better about mine:
- Not as sweet. I reduced the sugar just enough for the cookies to not be overly sweet, while still maintaining the desired texture. My cookies tasted like cookies, while Levain’s tasted more like sweet fudge
- A bit more salty. Again, I need a balanced flavor!
- Better chocolate. In my recipe, I recommend using chopped semi-sweet chocolate anywhere between 50-60% cocoa (which isn’t too dark!). Levain uses sweeter chocolate chips, which don’t melt as well and taste sweeter. My top recommendation for chocolate, if you can get it, is Ghirardelli’s dark chocolate wafers!
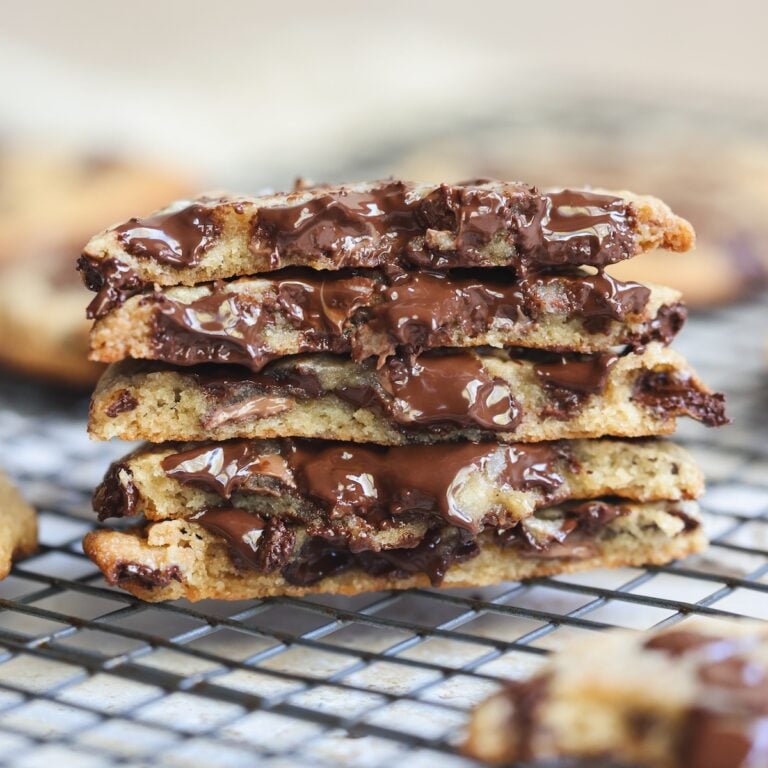
- Better texture. Levain’s cookies feel a bit too dense and fudgy in the middle, likely due to the higher sugar content, while mine are more soft, moist and gooey!
Step by step photos
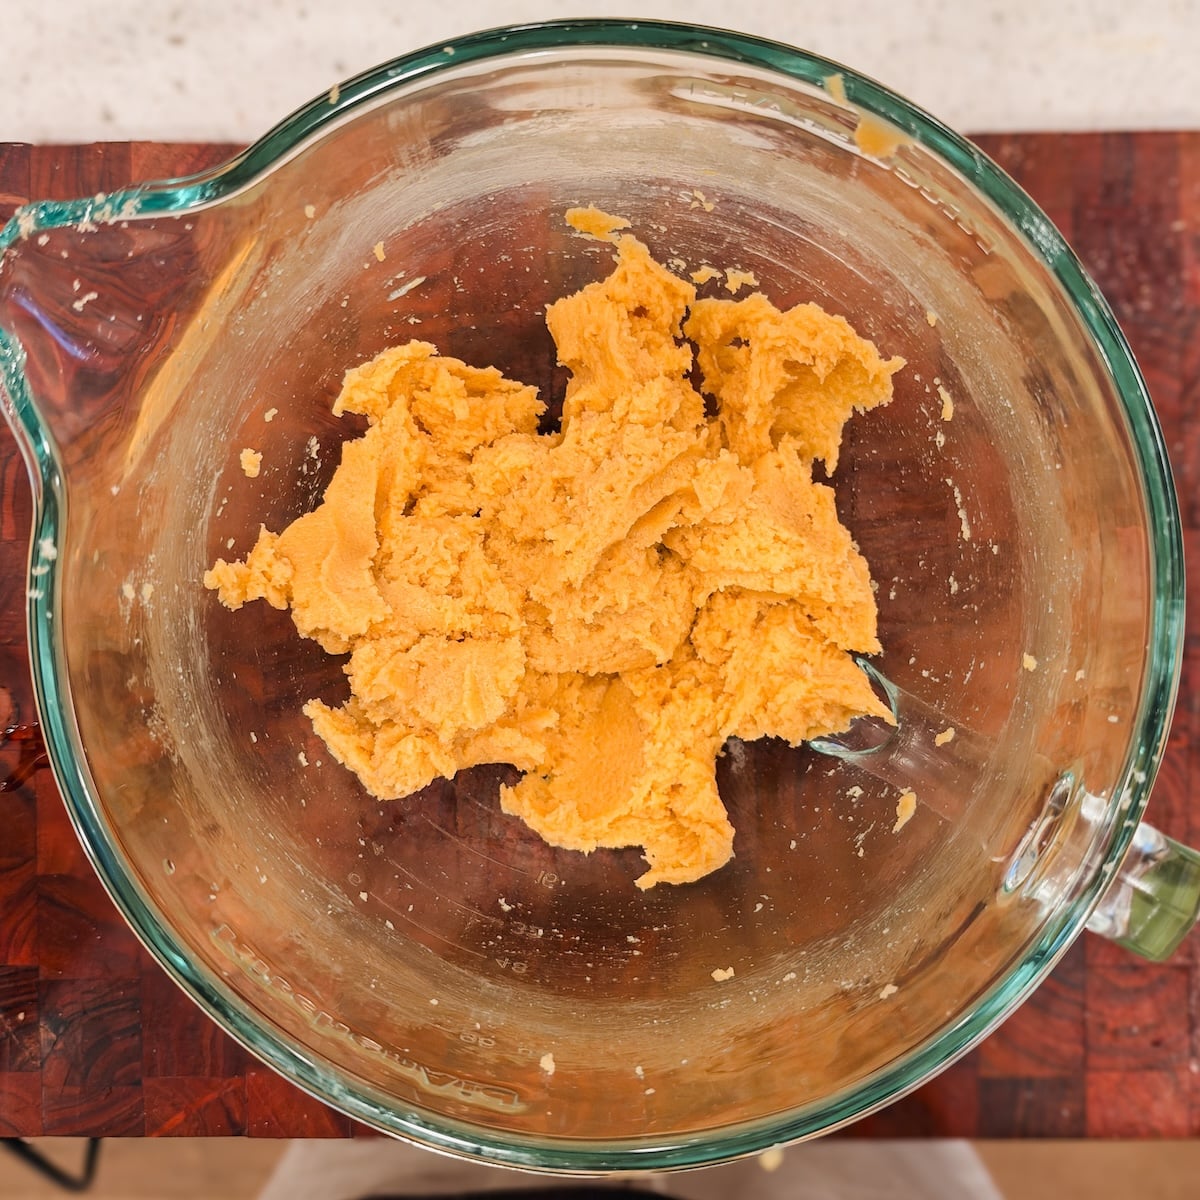
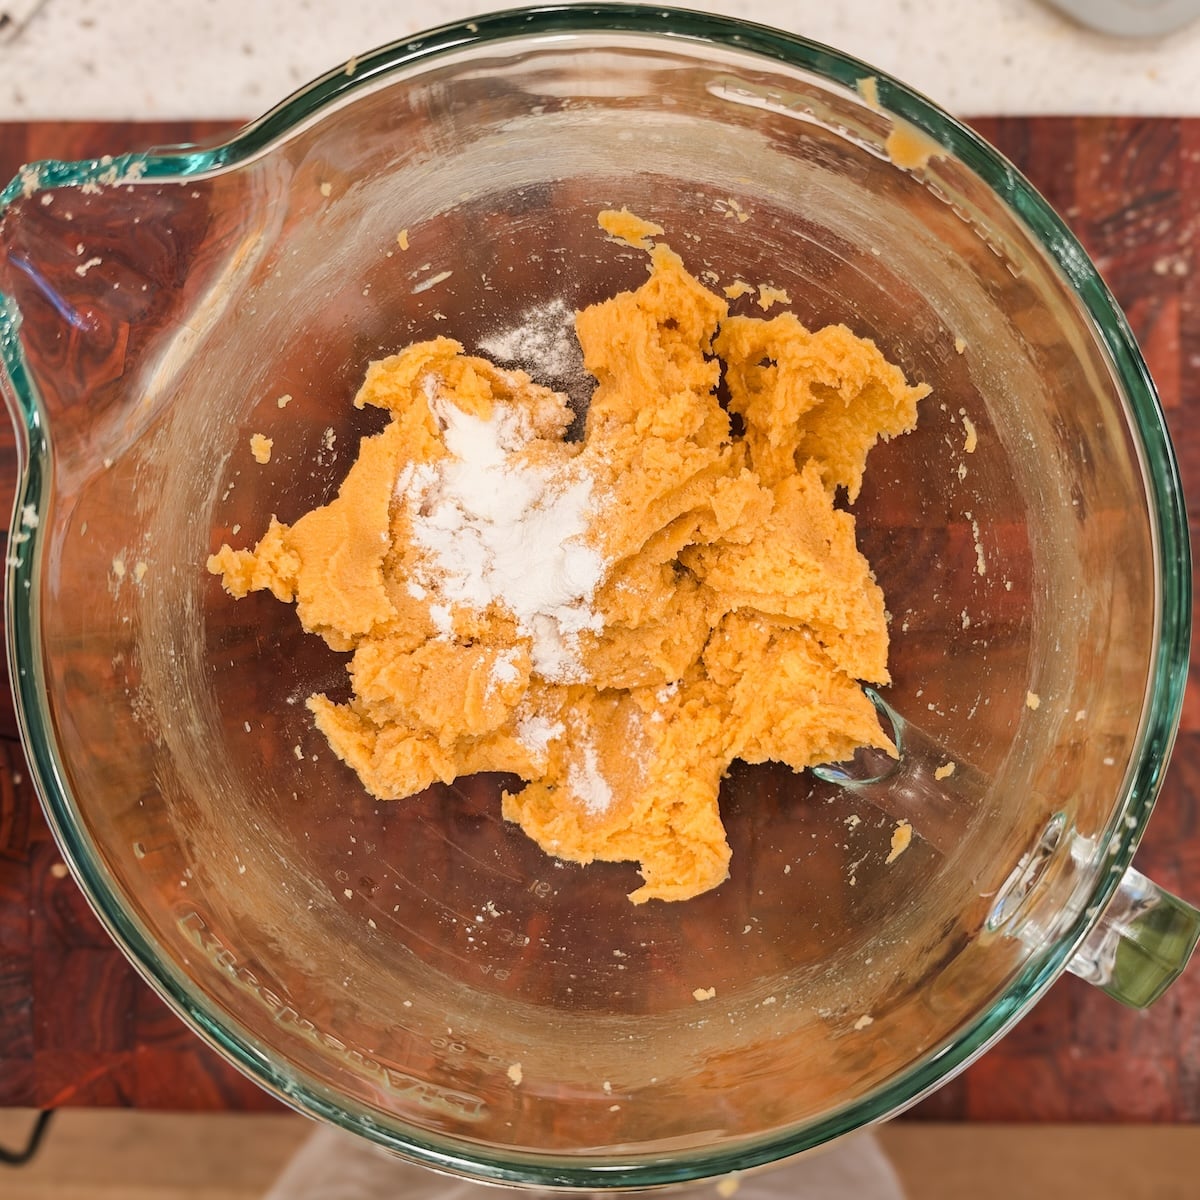
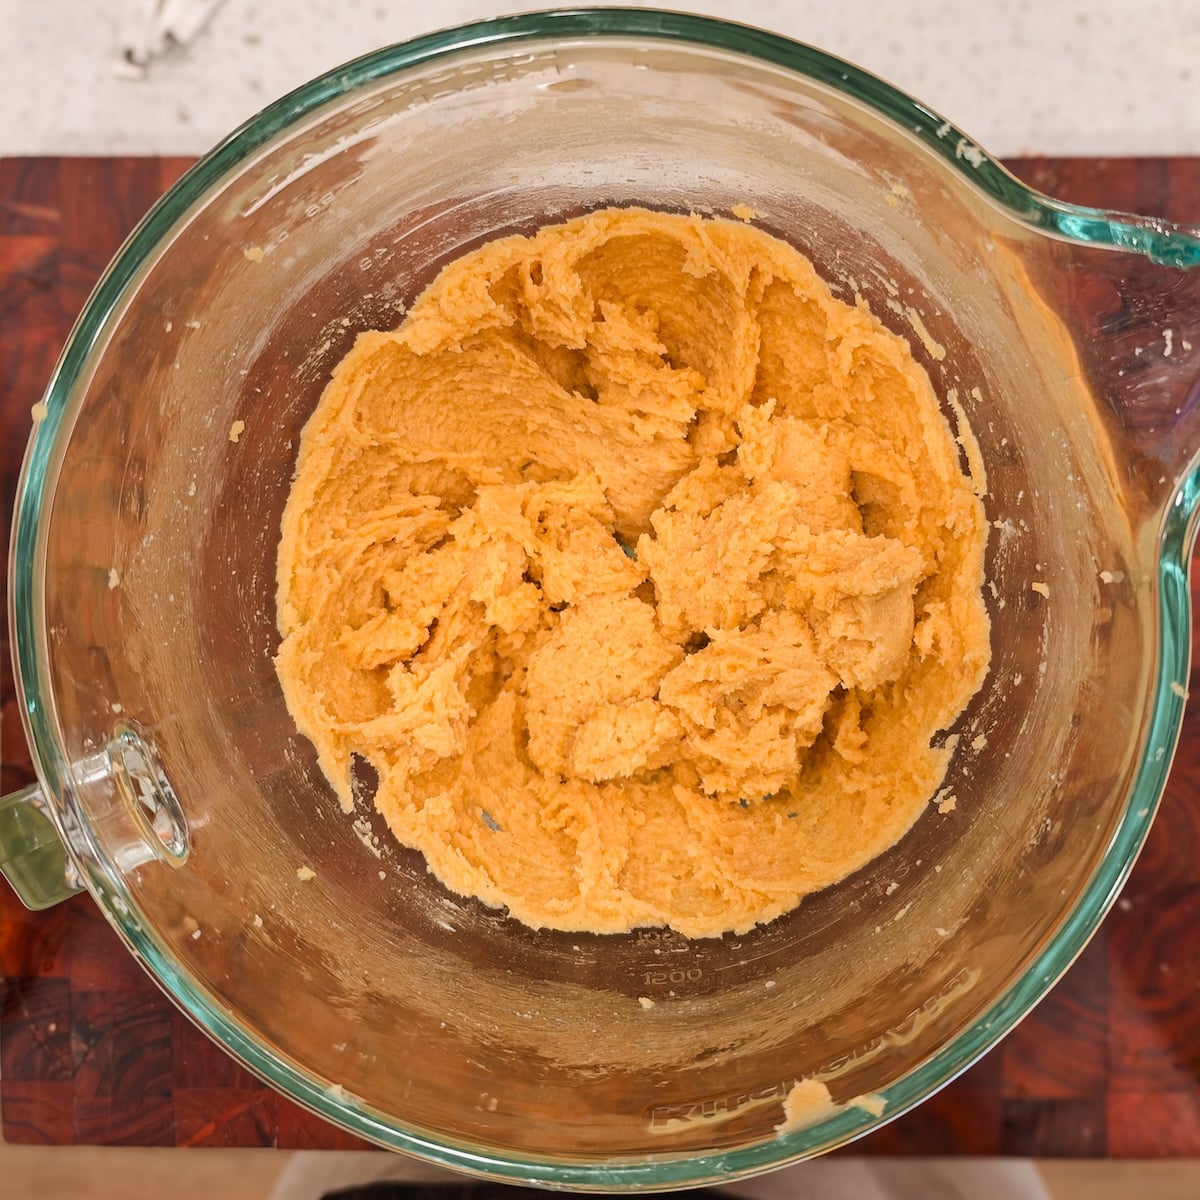
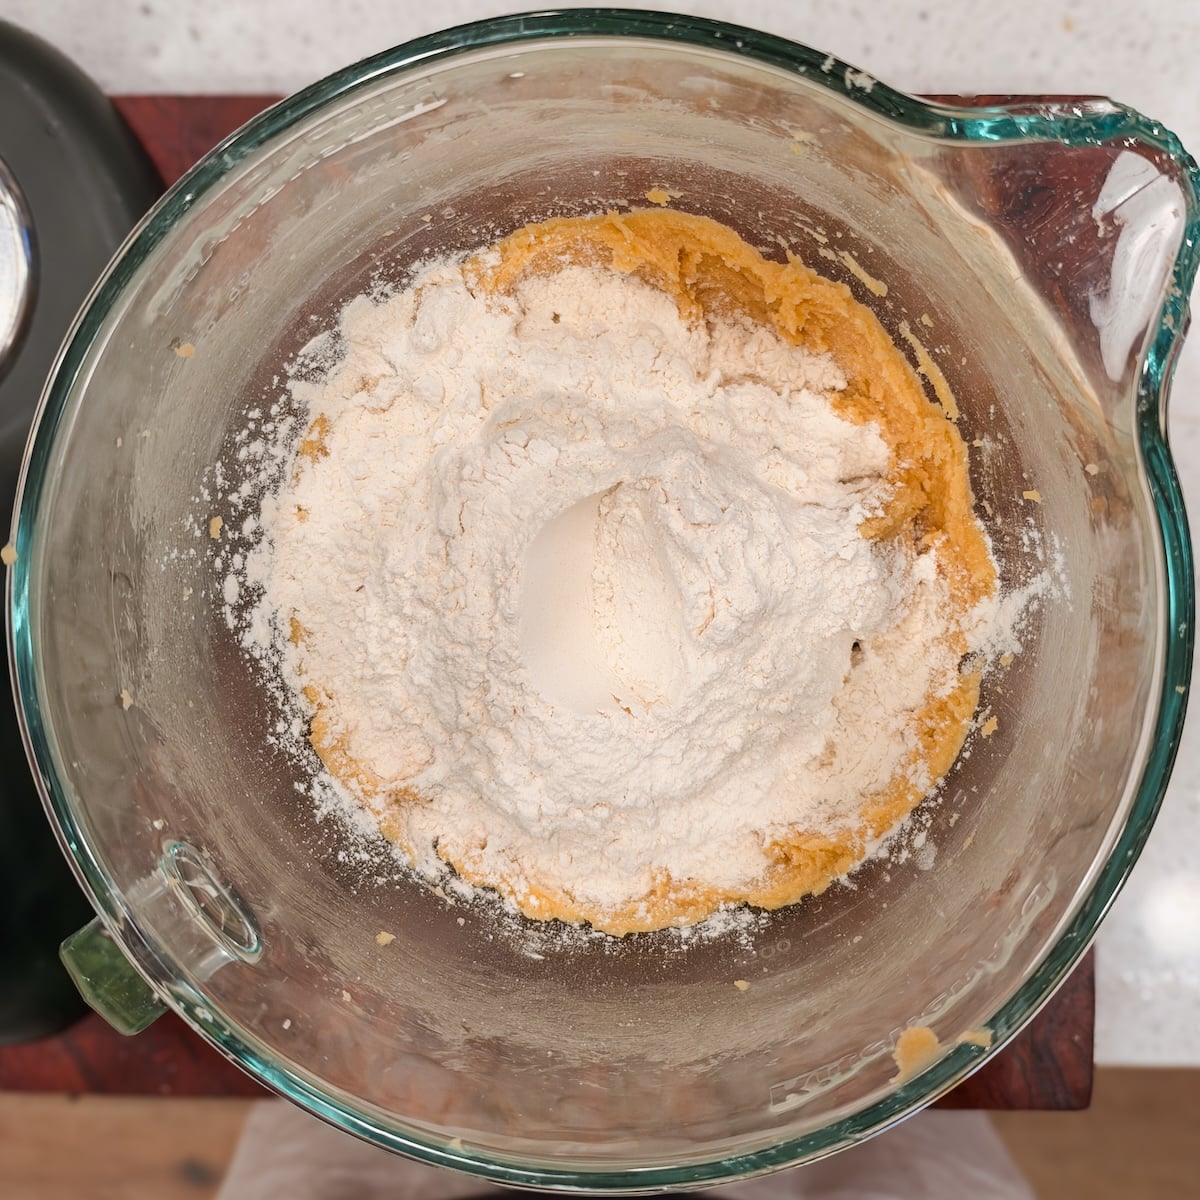
You don’t need to bake at 400F
Most Levain chocolate chip cookie recipes advise using a temperature of 400F to bake these cookies – this is to help ensure the cookies cook quickly on the outside before they’re able to spread too thin. However, I’ve tested my cookies at 350F, 375F and 400F – and 375F is the way to go! This is hot enough for the cookies to bake perfectly but not so hot that you risk burning them.
Zoha’s Top Tip

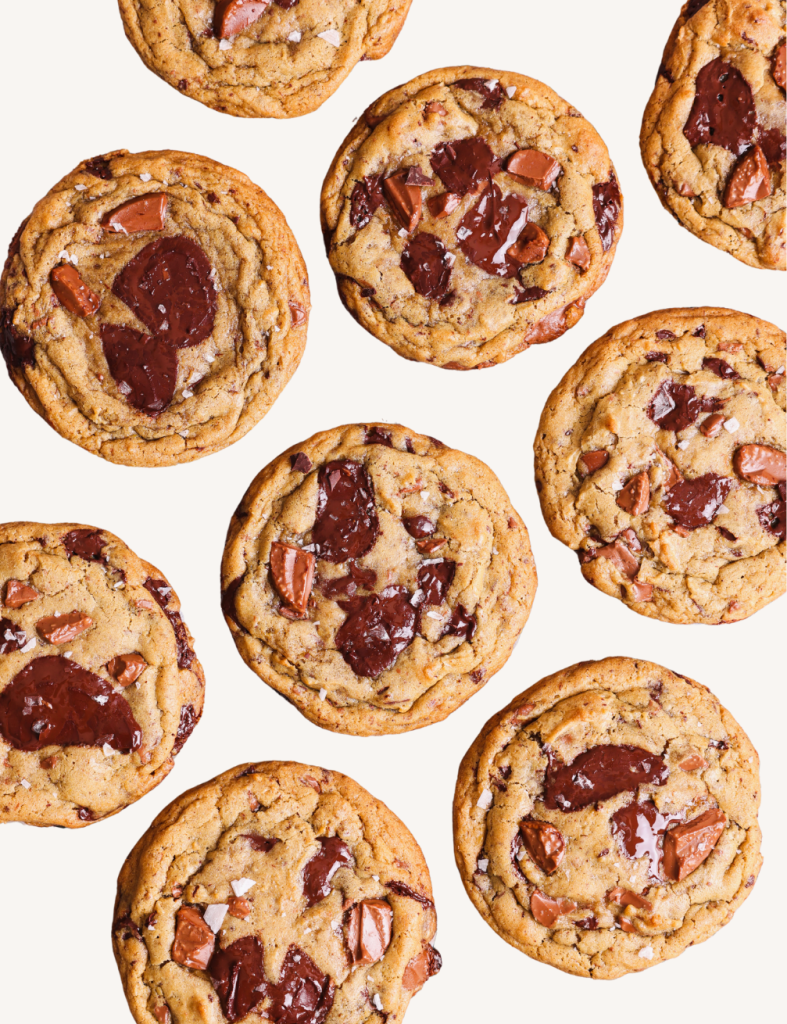
Wanna make Levain’s Two Chip Chocolate Chip Cookies instead? If you’re more of a chocolate person and/or don’t love walnuts – just replace the walnuts with 150g of milk chocolate instead. You could even add some homemade toffee bits instead, like I do in my butterscotch toffee chocolate chip cookies!
A few tricks to make these cookies work
In addition to the correct ingredient ratios (which I have already perfected for you), there are a few tricks you need to make the perfect levain style chocolate chip walnut cookies:
- Use cold butter. This works similarly to pie dough – using cold butter means some of the butter remains unmixed, in tiny lumps, which then creates a crispy texture in the cookies
- Mix very little. We want the dough to remain quite rough – again, like pie dough! At each stage, we mix only until the ingredients come together
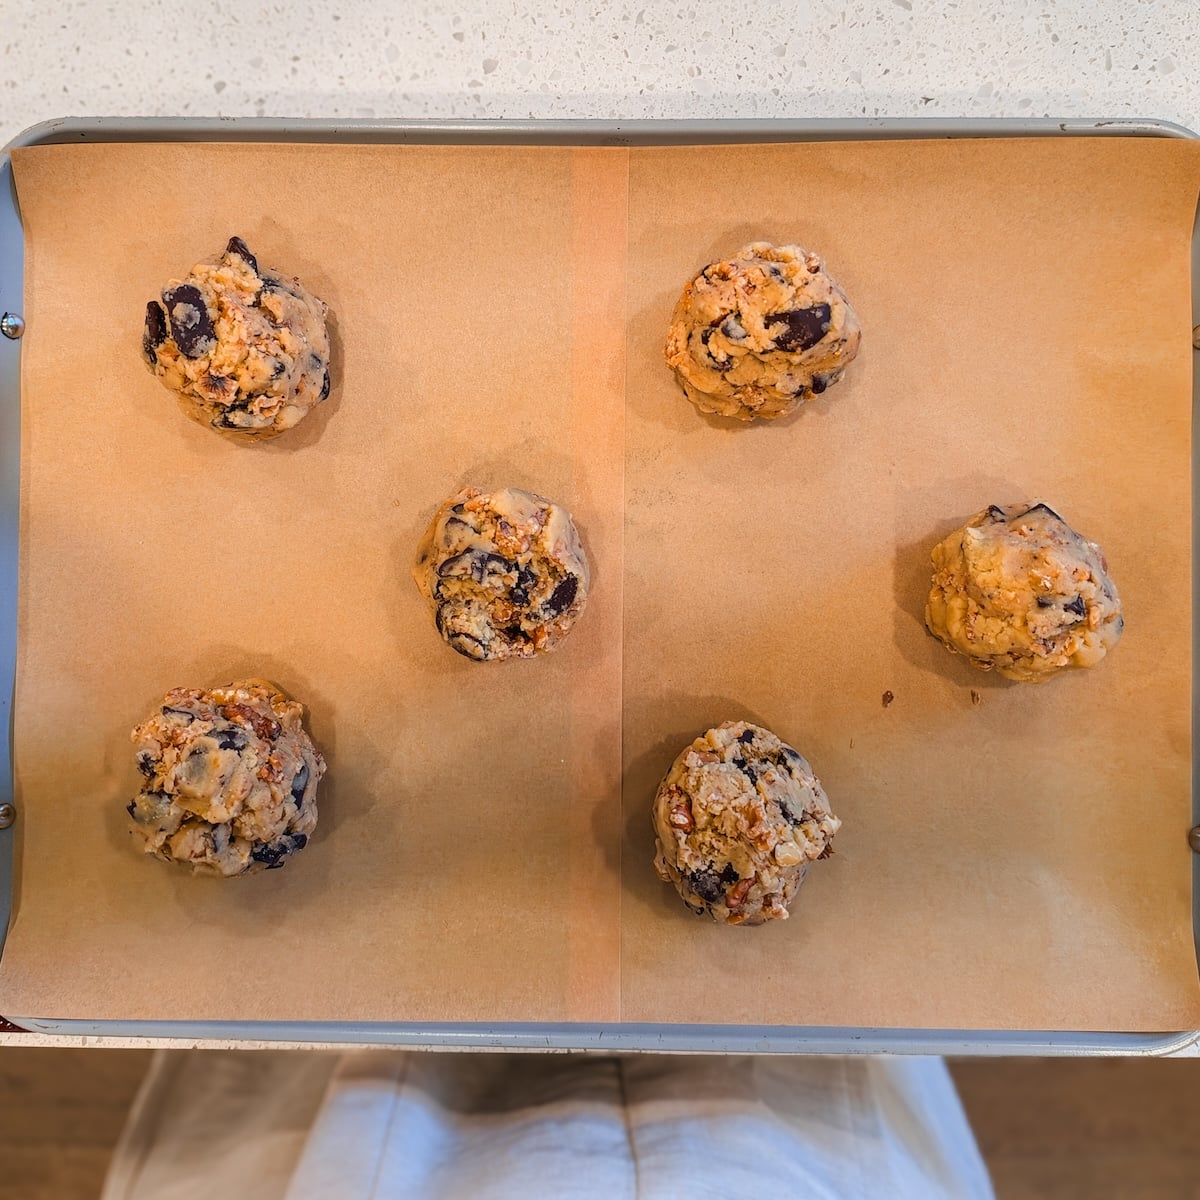
- Shape loosely. You want to pull together the chunks of dough into cookie balls very roughly until they just stick together and have some height. Rough cookie dough balls = crispier cookies as there is more surface area for the heat to enter from!
- Chill overnight. I know many levain copycat recipes skip the chilling but it is CRUCIAL. Commercially produced cookies are actually frozen solid before baking. The longer chill time is essential as it results in cookies that spread less and are more moist and fudgy inside. If you’re very hungry, bake one cookie after 2 hours of chilling (at least that much is needed!) but keep the rest in the fridge. You can also make my no-chill chocolate chip cookies if you need a cookie fix while waiting!
- Bake in a light colored sheet. I say this for almost all my cookie recipes, but using a light colored sheet will ensure your cookies do not over-brown on the bottom
- Slightly underbake. These cookies are done baking when they’re golden and crispy around the edges. At this point, they do still feel quite soft and slightly under-done in the middle. But remove from the oven and let them rest on the baking sheet for 15-20 minutes, and they will end up with the perfect gooey texture inside! I highly recommend baking 1 test cookie first so you know exactly how long to bake
Email This Recipe
Enter your email and I’ll send this directly to you. Plus you’ll get new recipes from me every week!
Ingredients
- 1 cup unsalted butter, cold and cut into cubes (226g or 2 sticks)
- 1 cup granulated sugar (200g)
- 3/4 cup light brown sugar, packed (150g)
- 1 large egg, cold
- 1 egg yolk, cold
- 1 tsp salt
- 1 tsp baking powder
- 2 3/4 cups all purpose flour (360g)
- 150g walnut halves or pieces, measured without shells and roasted
- 300g semi-sweet chocolate, between 50-60% cocoa, roughly chopped – I highly recommend Ghirardelli dark chocolate wafers
Instructions
- If your walnuts aren’t already roasted, start by baking them in the oven, preheated to 350F, for about 8 minutes or until they are crunchy and fragrant. Set them aside to cool down. Turn off the oven
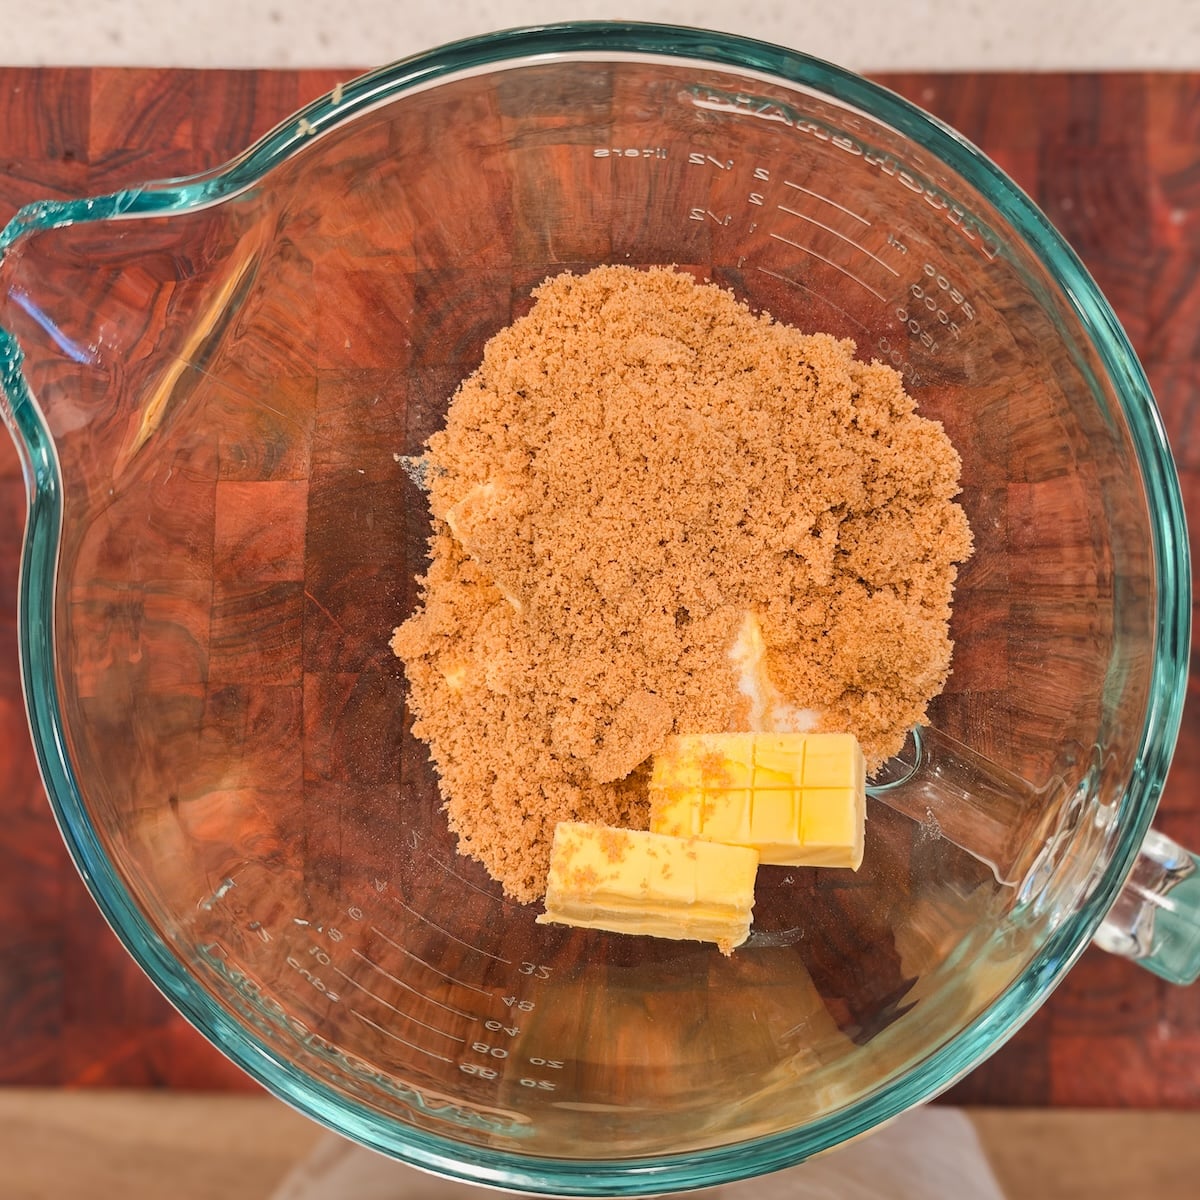
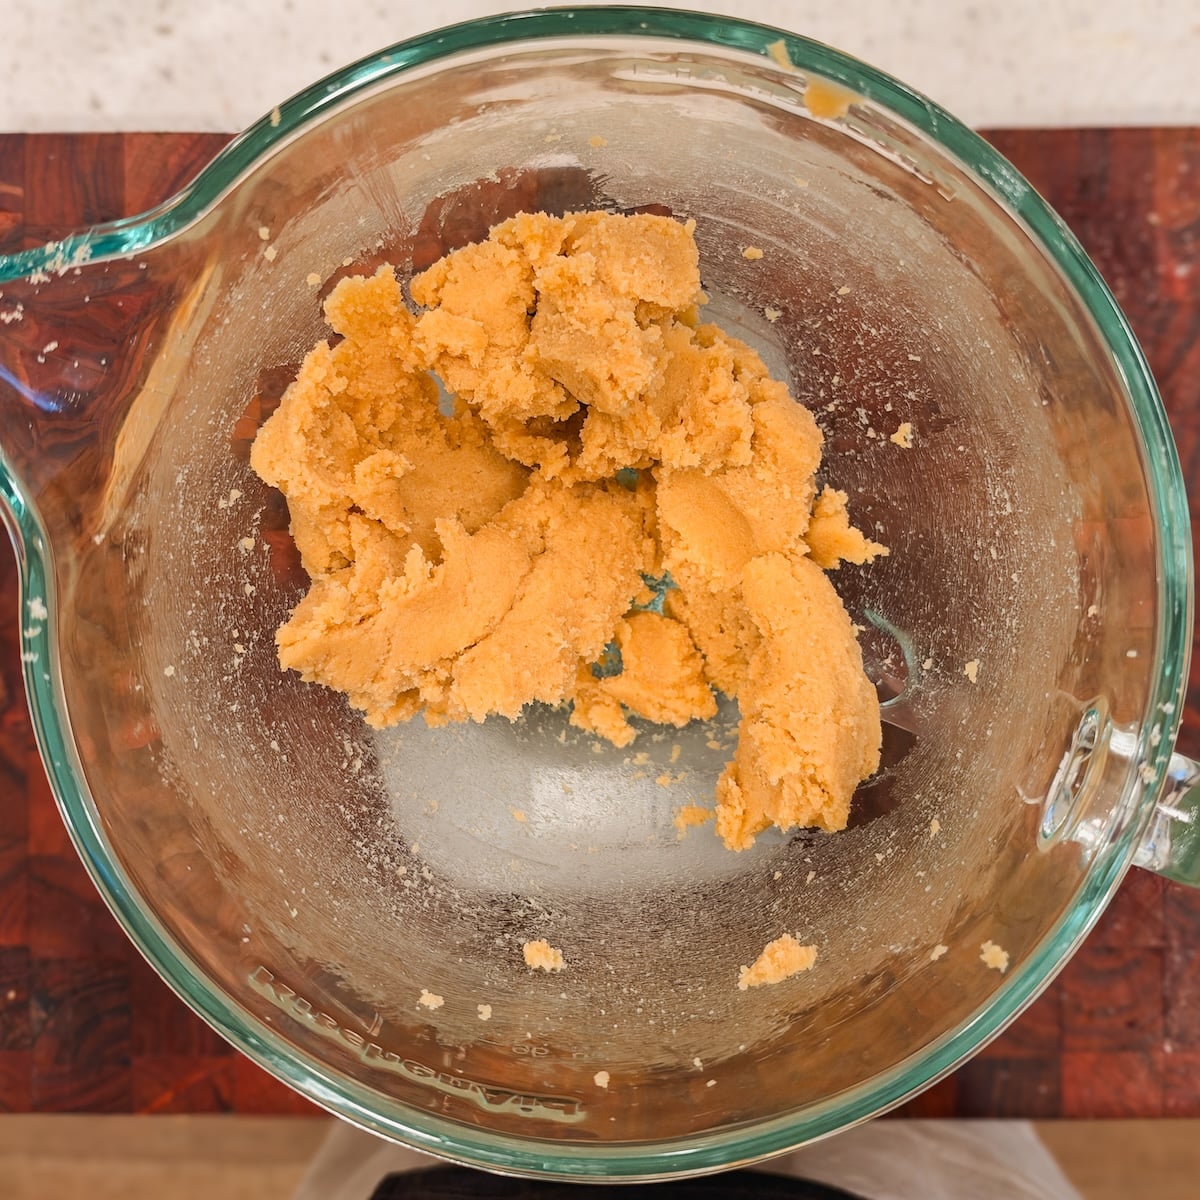
- Add the cold, cubed butter, granulated sugar and light brown sugar to the bowl of your stand mixer. Use the paddle attachment (also ok to use an electric hand mixer) to mix on medium speed until the mixture comes together into a really soft dough like consistency and the ingredients are evenly dispersed. It’s ok if you see small specks of butter. I recommend starting on low speed as the cold butter does tend to fly everywhere! This can take 2-3 minutes
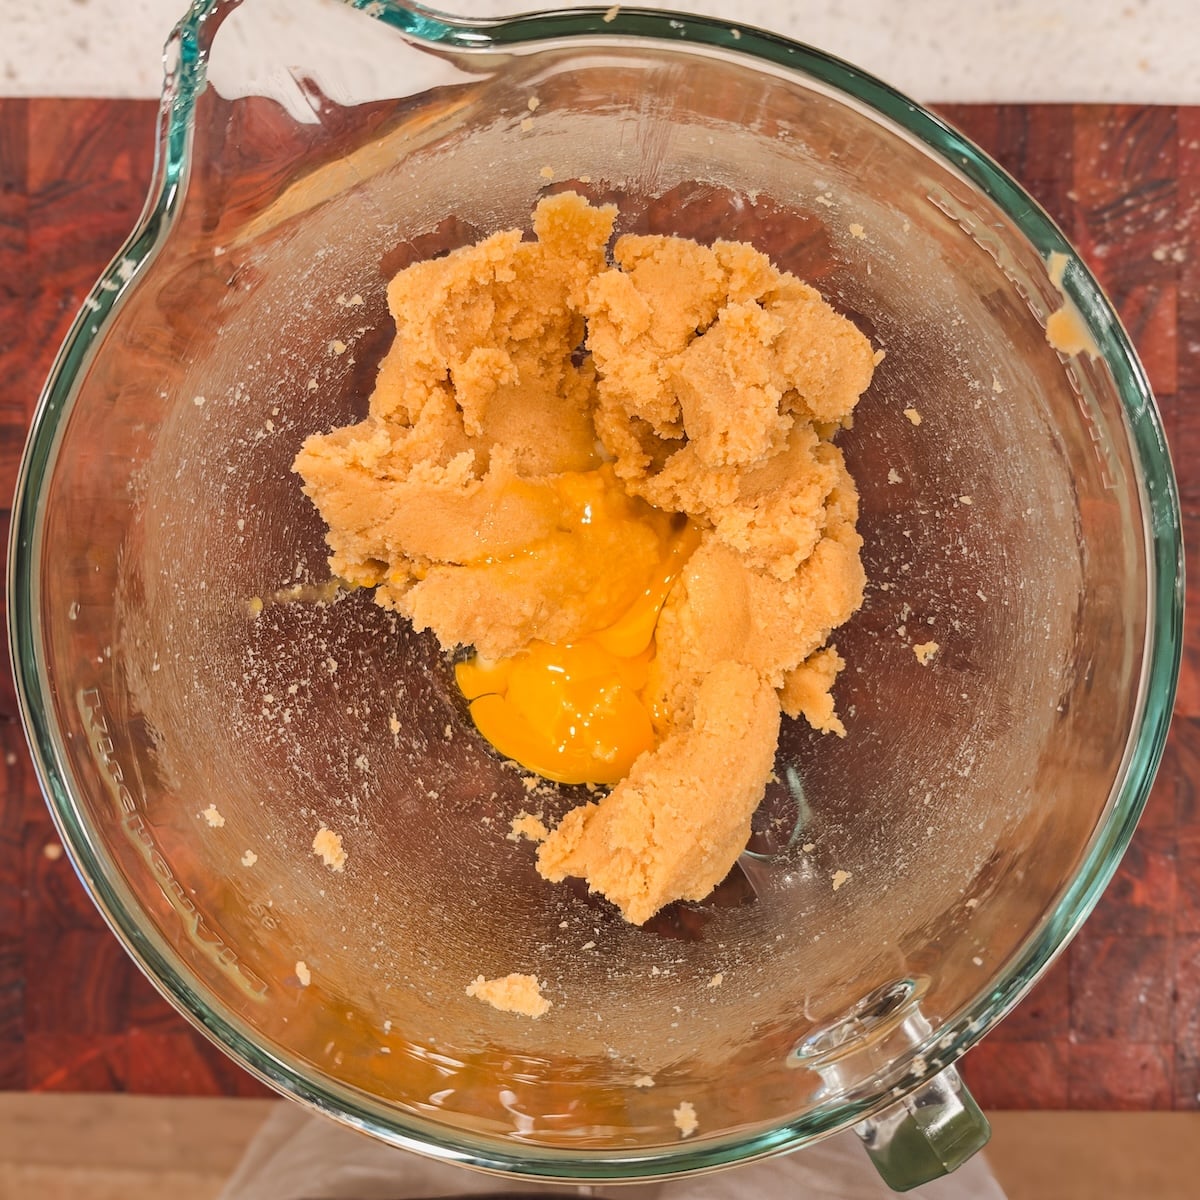
- Add the egg and egg yolk, and whisk again on medium-low speed until the ingredients are just combined. Do not over-mix. Scrape the bowl with a spatula at least once in the middle to ensure even mixing
- Add the salt and baking powder, and mix on low speed until combined
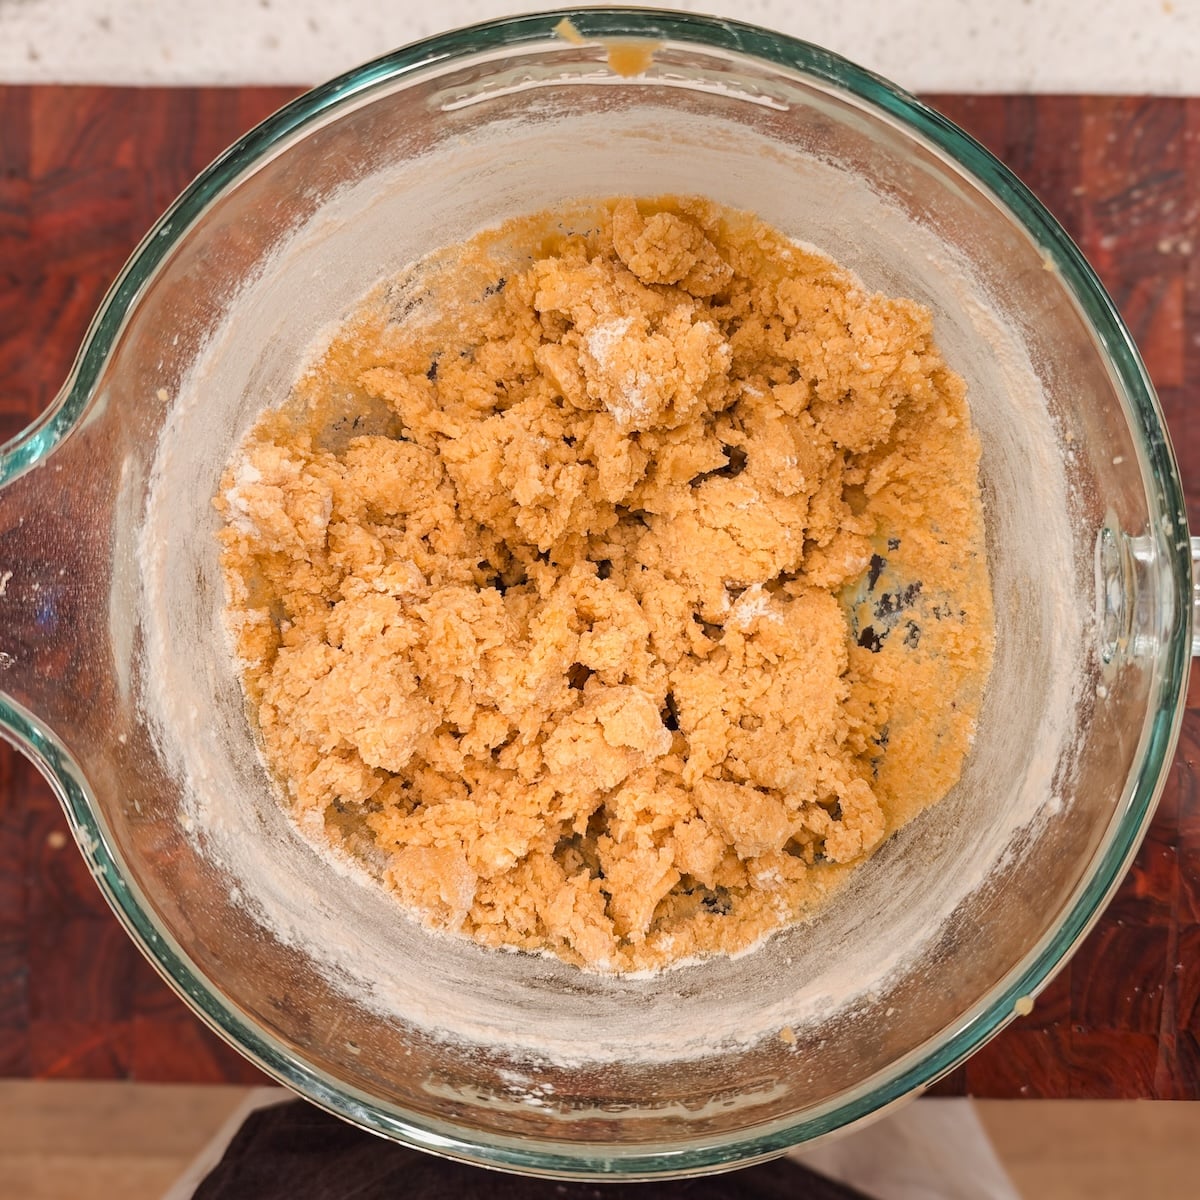
- Sift in the flour, and mix on low speed until the flour is almost mixed in. You should still see some streaks of flour – avoid over-mixing. The dough will feel a bit on the drier, clumpier side
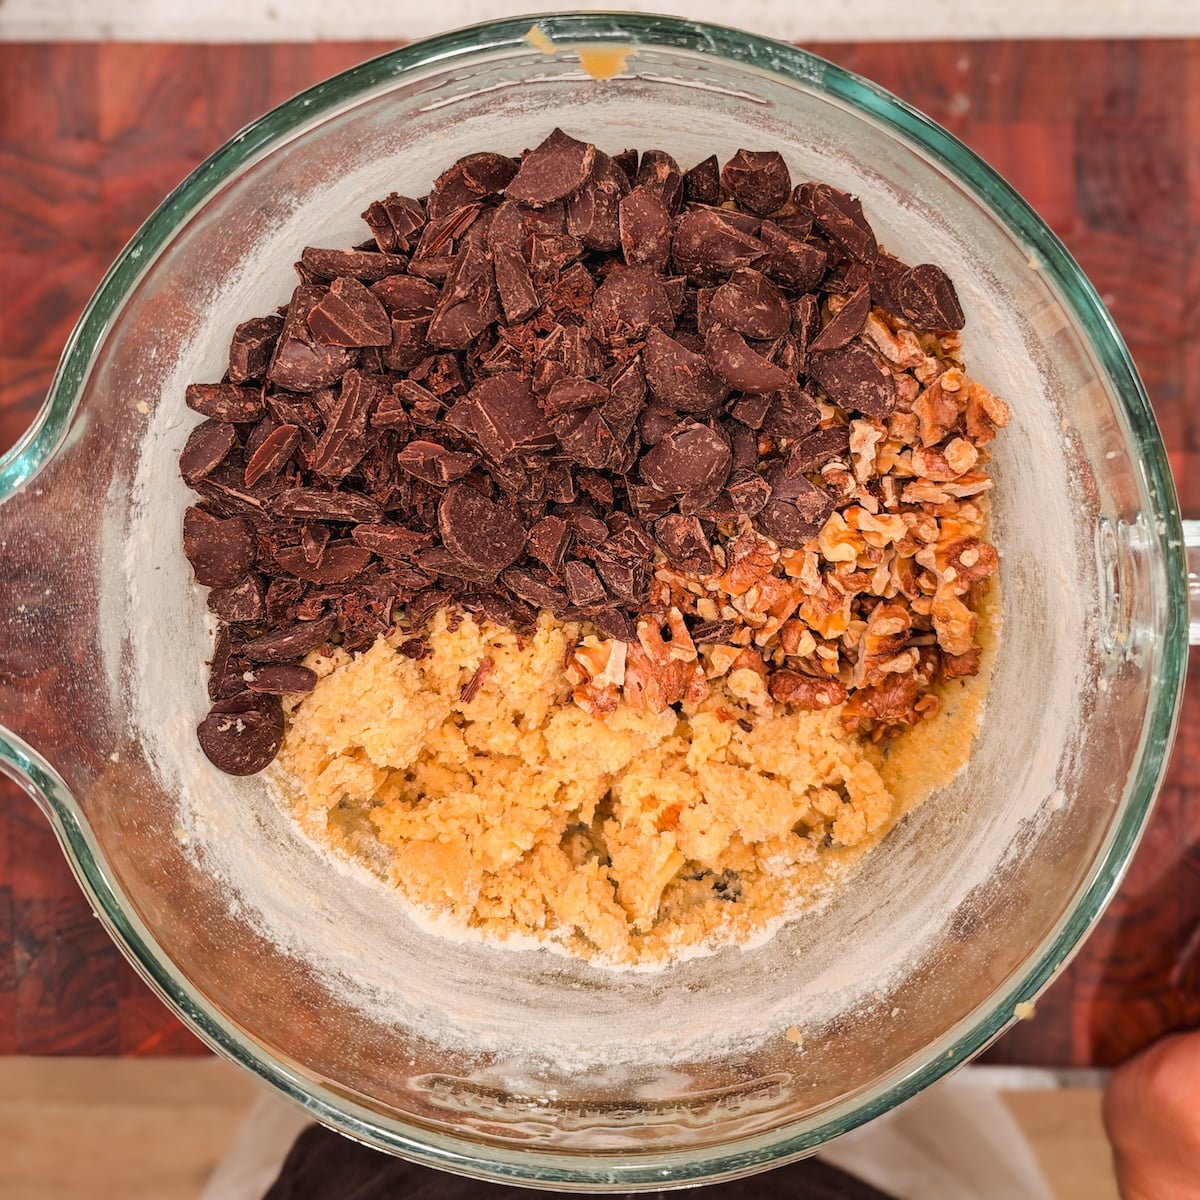
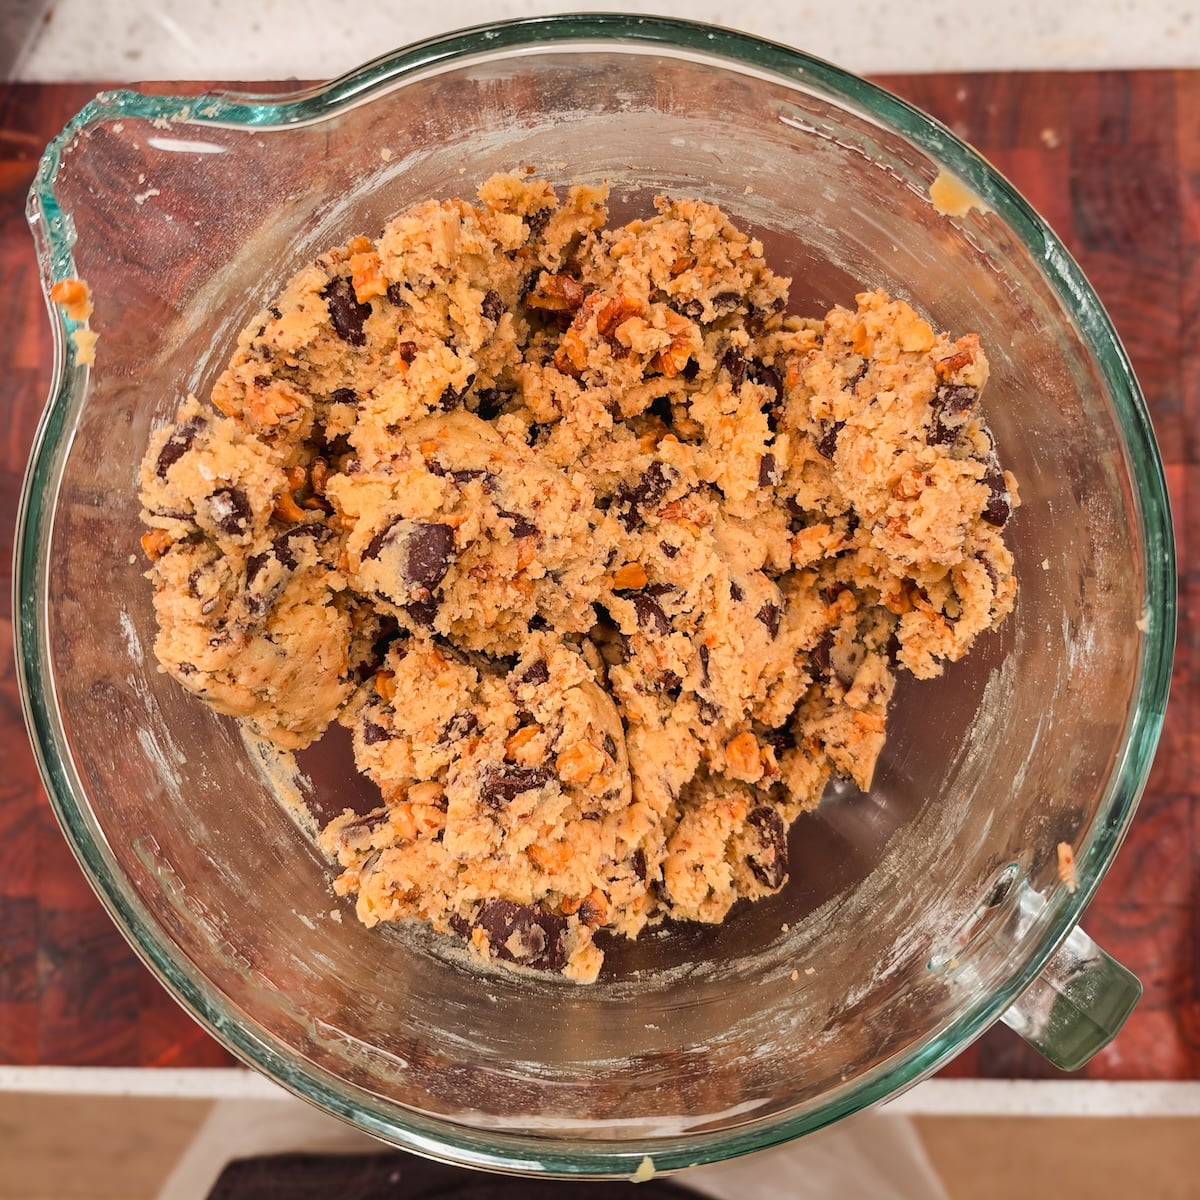
- Roughly chop the walnuts (ensuring they have cooled down) and chocolate. Add them to the dough, and mix on low speed until they are all evenly dispersed. The dough will have a rough, clumpy look – that’s ok! Do not over-mix, but make sure the mix ins are well distributed
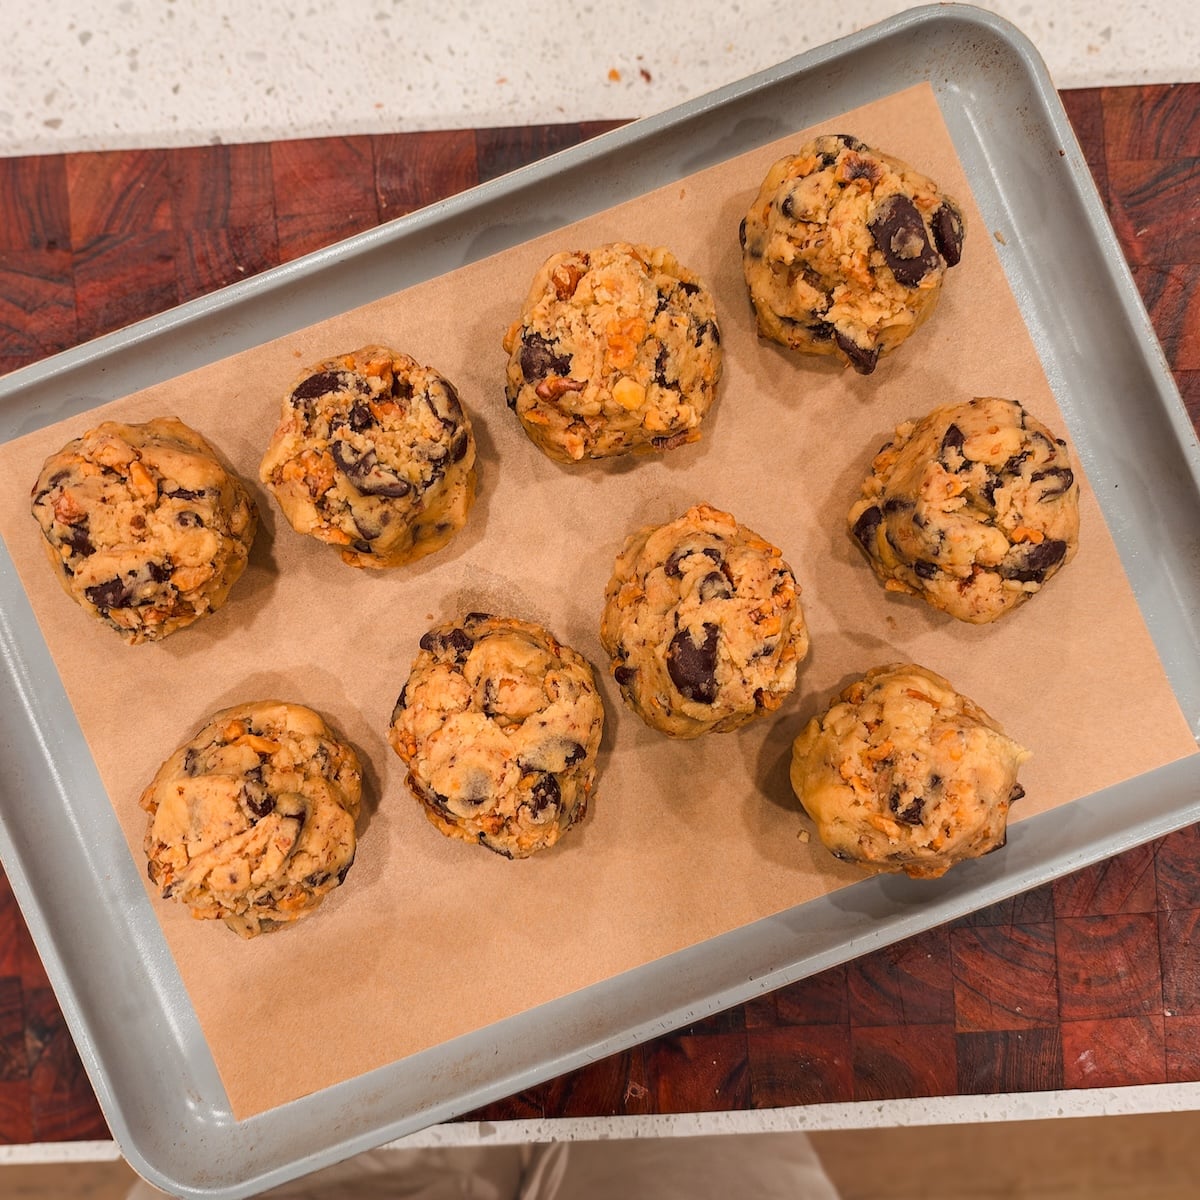
- Now form your cookie dough balls. Remove 5.5 oz (156g) of dough from the bowl and roughly bring it together with your hands. Do not apply pressure, do not try to smooth the cookie dough ball into a ball, and make it taller than it is wide. I also recommend ensuring there isn’t any visible chocolate on the bottom part of the ball, as that can burn during baking (if you see any chocolate on the bottom, pick it up and press it on top instead). Repeat until you have formed all cookie dough balls – you should have 9 balls with a little dough left over
- Place the cookie dough balls onto a sheet or plate, and refrigerate overnight (at least 12 hours recommended, 24 will make the cookies even better!)
- When you’re ready to bake, pre-heat your oven to 375F (conventional, no fan), and line 2 light colored cookie sheets with parchment paper
- Place the chilled cookie dough balls onto the baking sheets, keeping at least 2.5″ of distance between them.
- Bake the cookies for 15-16 minutes, until the cookies are light golden on top and crispy on the edges, but still soft to touch in the middle. Remove from the oven and let the cookies cool down on the baking sheet – they will continue cooking as they cool and set perfectly. If the cookies look too dark on the bottom when you remove them from the oven, gently pull the parchment paper off the baking sheet onto your counter so the cookies cool on your counter instead. I highly recommend baking one cookie as a test first so you know exactly how long to bake for!
- Serve and enjoy once the cookies are set!
Video Tutorial
Notes
Make ahead: These cookies are a great make ahead recipe! You can store the shaped cookie balls in the fridge, covered, for up to 1 week, or in the freezer for up to 3 months. You can bake the cookies fresh straight from the fridge or freezer whenever you want. If frozen, add 3-4 minutes to the baking time (or as needed)
Storage: Store leftover cookies in an airtight container at room temperature, and reheat in the microwave or toaster oven whenever you want to enjoy them. They are best consumed within a day of baking.
Comments