


This post may contain affiliate links
Add Bake with Zoha as a preferred source on Google and find more of my tried-and-tested recipes.
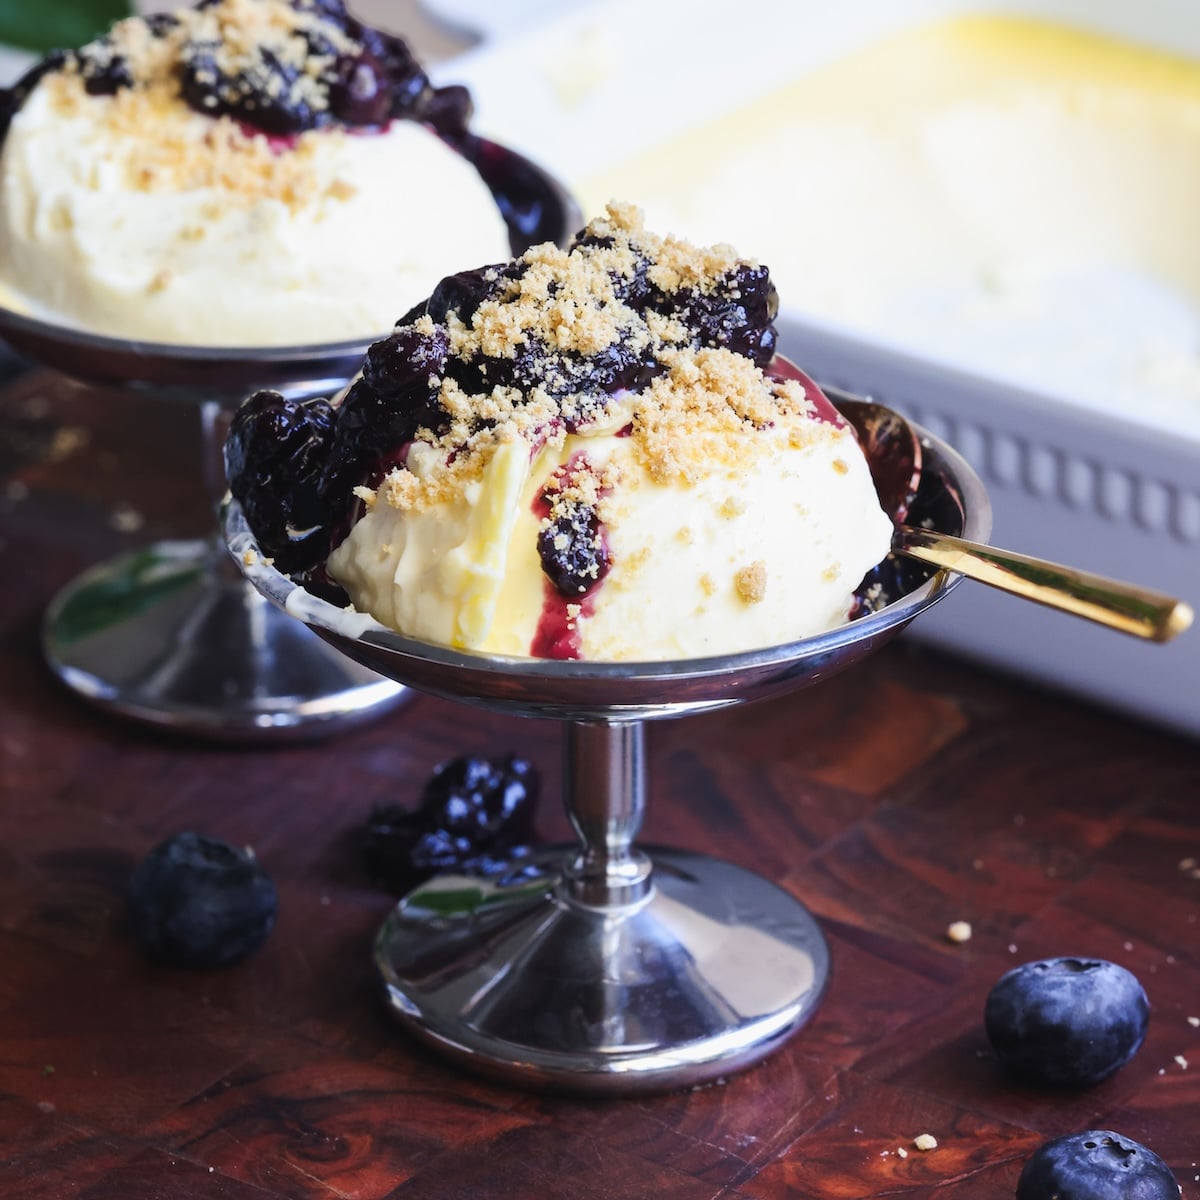
If I’m being honest, I’ve always been a custard hater… until now. This baked custard has actually changed my life and is, shockingly, one of my favorite desserts I have *ever* had. It is the easiest recipe I’ve ever shared, with just 3 ingredients and 2 minutes of work. Mix together egg yolks, heavy cream and sugar, strain and bake – no cooking, no tempering, no fuss. The texture is so sublime you won’t believe it: silky, creamy and luxurious, not eggy or lumpy. And the taste? Better than ice cream. Yes, I said what I said!
Custard made 10x easier!
Normally, custard is made by tempering a mixture of egg yolks in cream or milk, then cooking on low heat, whisking continuously, until the mixture thickens. It sounds simple in theory, but is actually one of the easiest desserts to mess up. It’s challenging to nail the consistency, and it curdles very very easily.
This baked custard removes the fuss, is completely foolproof, and gives you an even better result. I was inspired by my creme brûlée recipe, which is essentially baked custard with a bruleed sugar crust. I loved the custard part on its own and decided to turn it into its own recipe. Just like my creme brûlée, you don’t need to turn on the stove or temper the egg yolks. Just mix together the ingredients, strain into a baking dish, and bake.
The secret lies in the bake
The reason why this recipe works without tempering the egg yolks is the baking method. There are 2 important things here:
- Bake low and slow in a water bath. The water and steam ensure the custard doesn’t heat up too fast, which prevents the eggs from curdling
- Be careful not to over-bake. When done, the custard will have a film on top, feel semi-set on the sides, and jiggle in the middle when the pan is gently shaken (like jell-o!). Chill it in the fridge and it will set up beautifully.
These are the same principles I use for my New York cheesecake, which is known for its incredibly creamy texture!
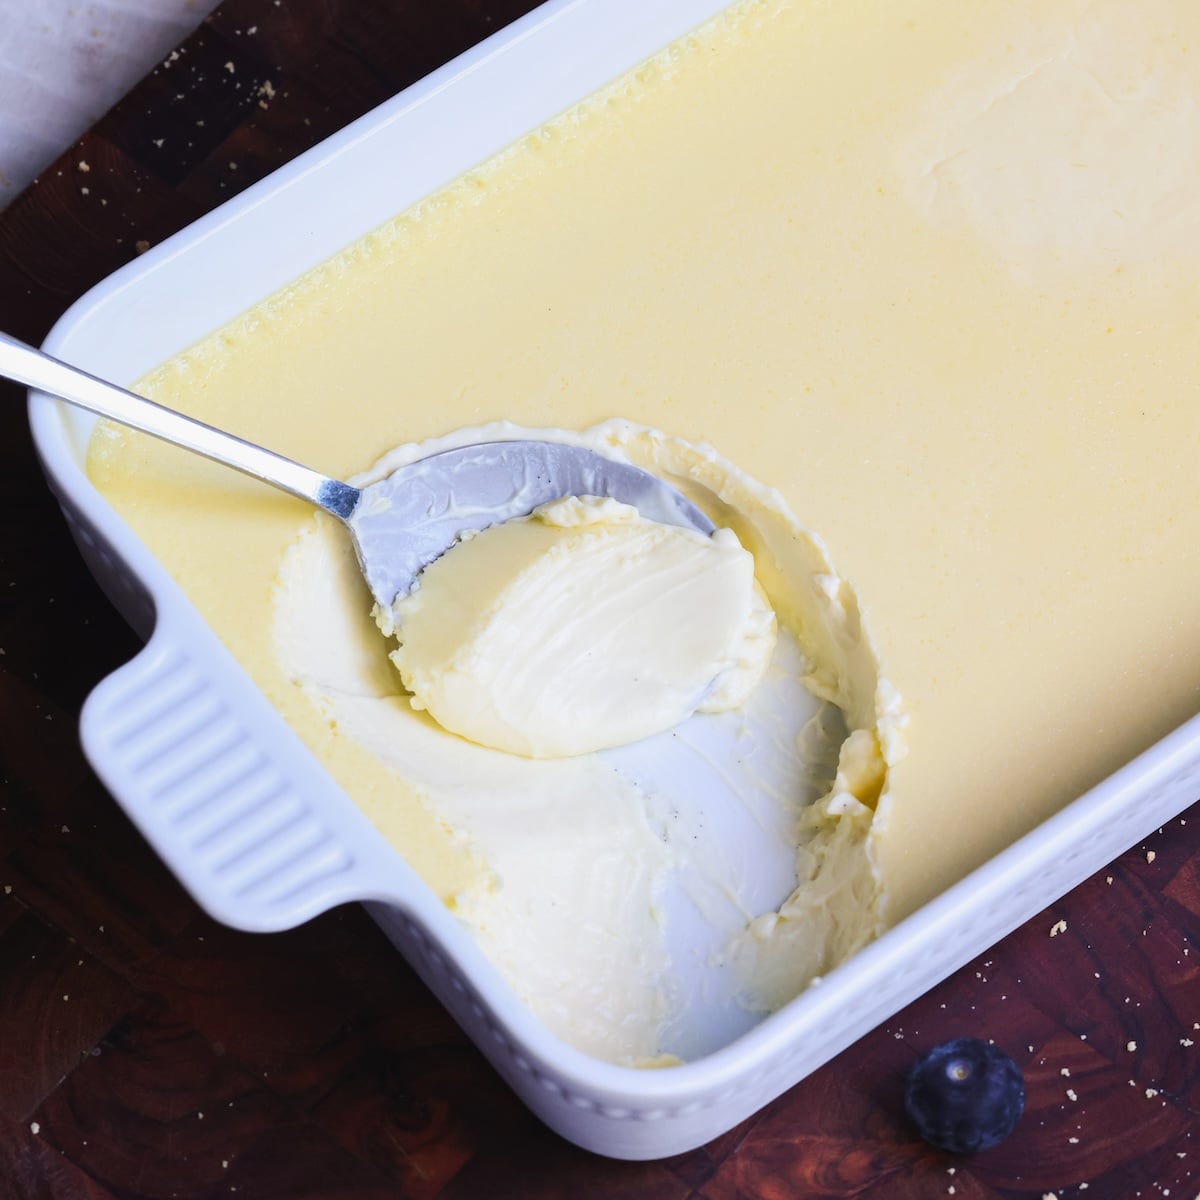
What to bake it in
I bake this custard in a 7″x11″ ceramic baking dish, but you can also use:
- A 9″ round pie dish for a similar baking time
- 3 8oz creme brulee ramekins, with a baking time of 30-35 minutes in a water bath
- 6 4oz ramekins, with a baking time of 30-35 minutes in a water bath
Ideas to serve it
Once the custard is chilled, you can spoon it out into serving cups and enjoy it on its own. But if you want a nicer presentation, here are a few ideas:
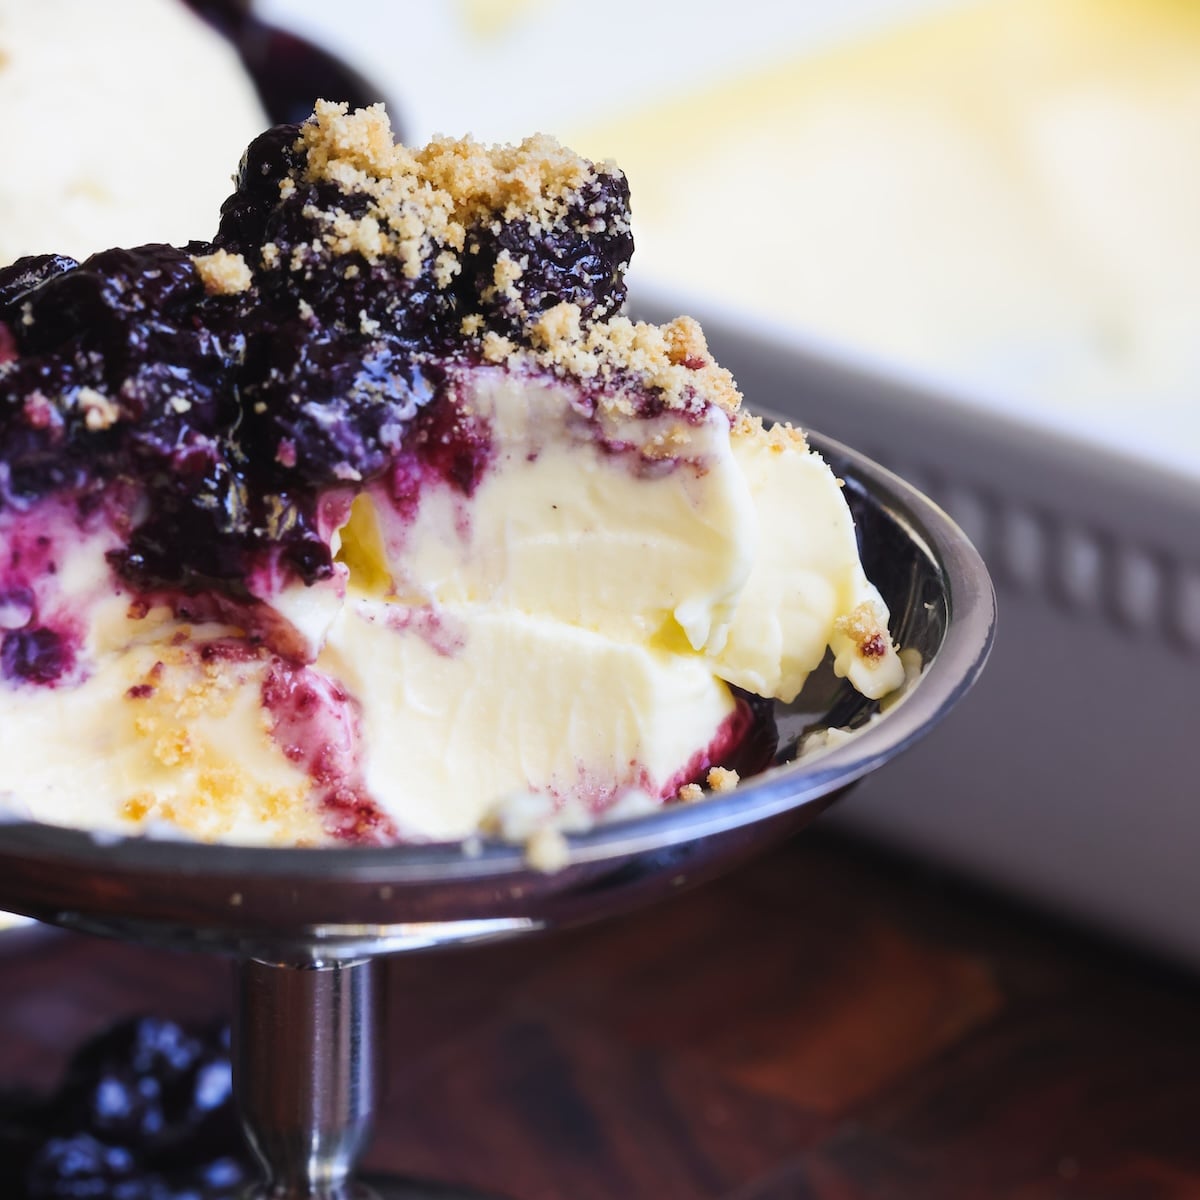
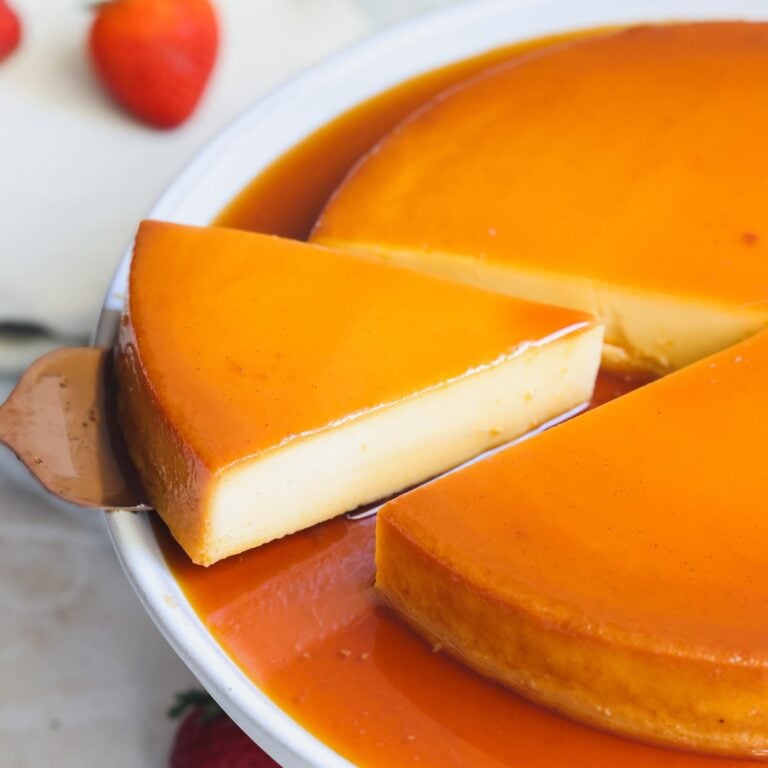
- Top it with a fruit compote. This is what I like to do, as shown in the pictures! My strawberry cheesecake recipe contains an easy compote recipe that works with all kinds of berries
- Add fresh berries. Nothing easier and they go so well with custard!
- Make a quick fruit glaze. To make an easy glaze, warm up any jam you like with a splash of water to thin it out. Even easier than a compote!
- Add a graham cracker crumble. If you’re a texture person, make a graham cracker crumble with crushed graham crackers and some melted butter (just like a cheesecake crust) and sprinkle it on top
- Try different sauces! Drizzle over a salted caramel sauce, chocolate ganache or even melted cookie butter – it’s up to you!
You can even use this recipe to make a custard pie! Pour the custard into a par-baked pie crust and bake like a pie (keep the temperature at 300F but remove the water bath so the crust doesn’t get soggy).
Creamiest 3 Ingredient Baked Custard
This silky baked custard made with egg yolks, sugar and heavy cream is even better than ice cream! No cooking, no tempering, no stove-top – just mix, strain and bake!
Yield:8 servings
- Prep Time:
- 2 mins
- Cook Time:
- 40 mins
- Chilling Time:
- 3 hrs
- Total Time:
- 3 hrs, 42 mins
Video Tutorial
Email This Recipe
Enter your email and I’ll send this directly to you. Plus you’ll get new recipes from me every week!
Ingredients
- 3 cups heavy cream or heavy whipping cream (720g)
- 8 egg yolks
- 1/2 cup granulated sugar (100g)
- 1 tbsp vanilla bean paste, optional but recommended
- 1/4 tsp salt, optional but recommended
Instructions
- Pre-heat your oven to 300F (conventional / no fan) and put a pot of water on the stove to boil. The water will be used for the water bath.
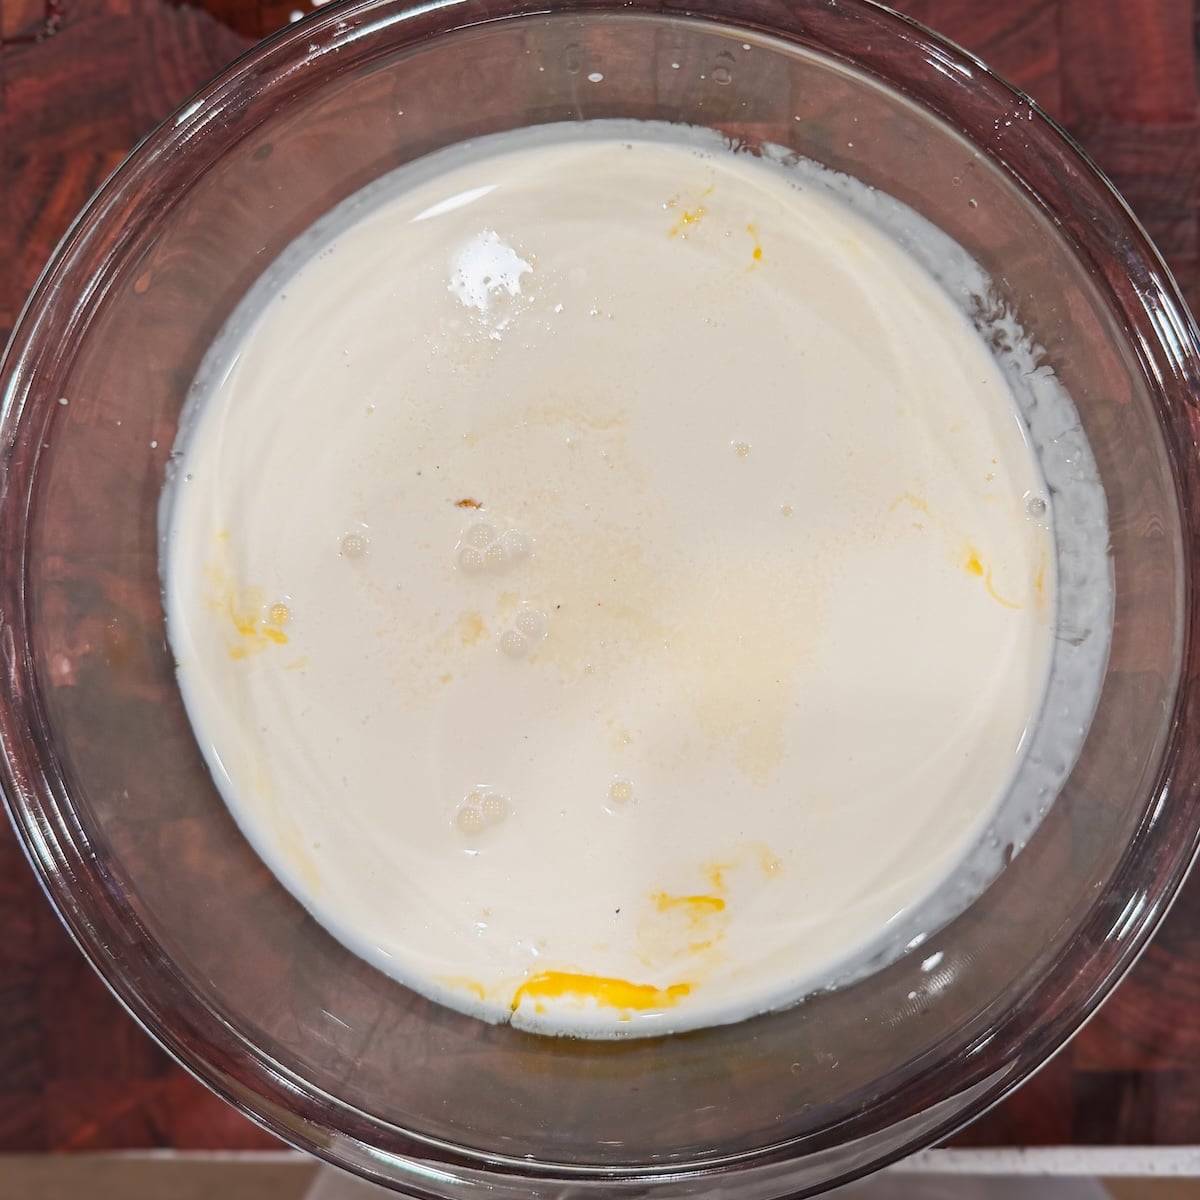
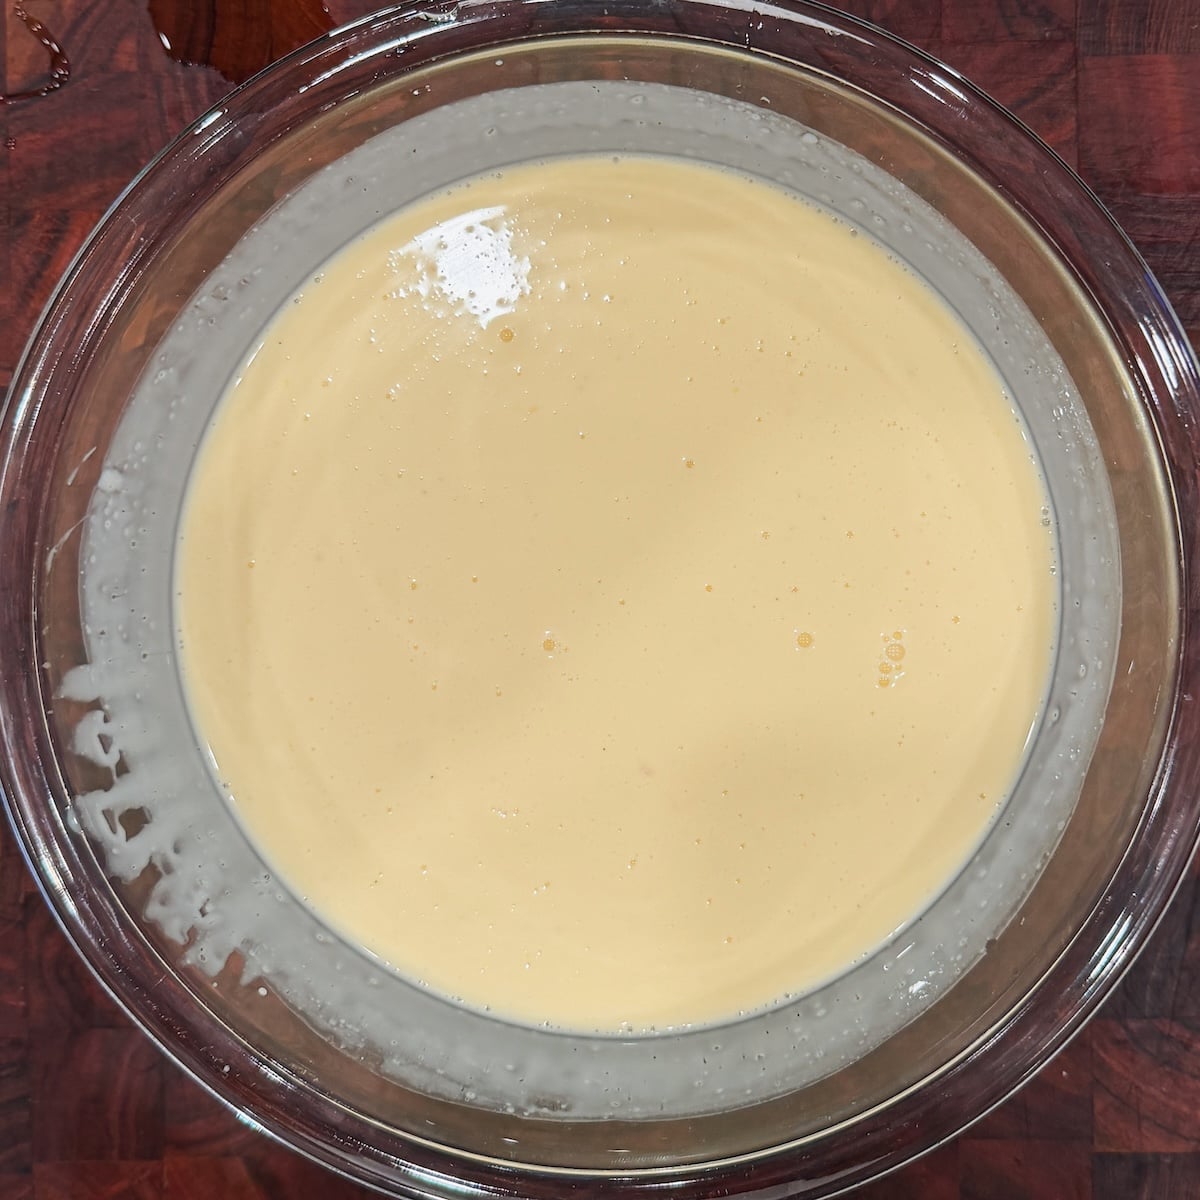
- Add the heavy cream, egg yolks, sugar and optional vanilla and salt to a mixing bowl. Use a hand whisk to gently whisk the ingredients together until the egg yolks and sugar have incorporated into the cream. Don’t whisk too much or too aggressively, as you don’t want to incorporate air bubbles into the custard.
- Pour the custard into a 7″x11″ ceramic dish or a 9″ round ceramic pie dish, passing it through a fine mesh sieve to remove any lumps or egg bits.
- Place a 13″x18″ baking pan in the middle rack of the pre-heated oven and pour about ~1/2″ of boiling water into it. Carefully place the custard dish inside this pan to create a water bath and close the oven door. If you don’t have a 13″x18″ pan, you can use another large baking pan/dish you have that the custard pan/dish will easily fit inside with room on all sides.
- Bake the custard for ~40-45 minutes, until the it feels semi-set around the edges but still has a jello-like wobble in the middle when you gently shake the pan.
- Carefully remove the custard pan from the oven, and transfer it to the fridge. Cool for at least 3 hours, or overnight, until the custard is chilled and set.
- Once chilled, spoon out the custard and serve it. It is lovely on its own, with some fresh berries, or with a compote on top!
Notes
Storage: Store leftover custard in an airtight container in the fridge.
Make ahead: You can prepare this custard 2-3 days in advance, cover the dish with cling wrap and keep in the fridge
Comments