

This post may contain affiliate links
Add Bake with Zoha as a preferred source on Google and find more of my tried-and-tested recipes.
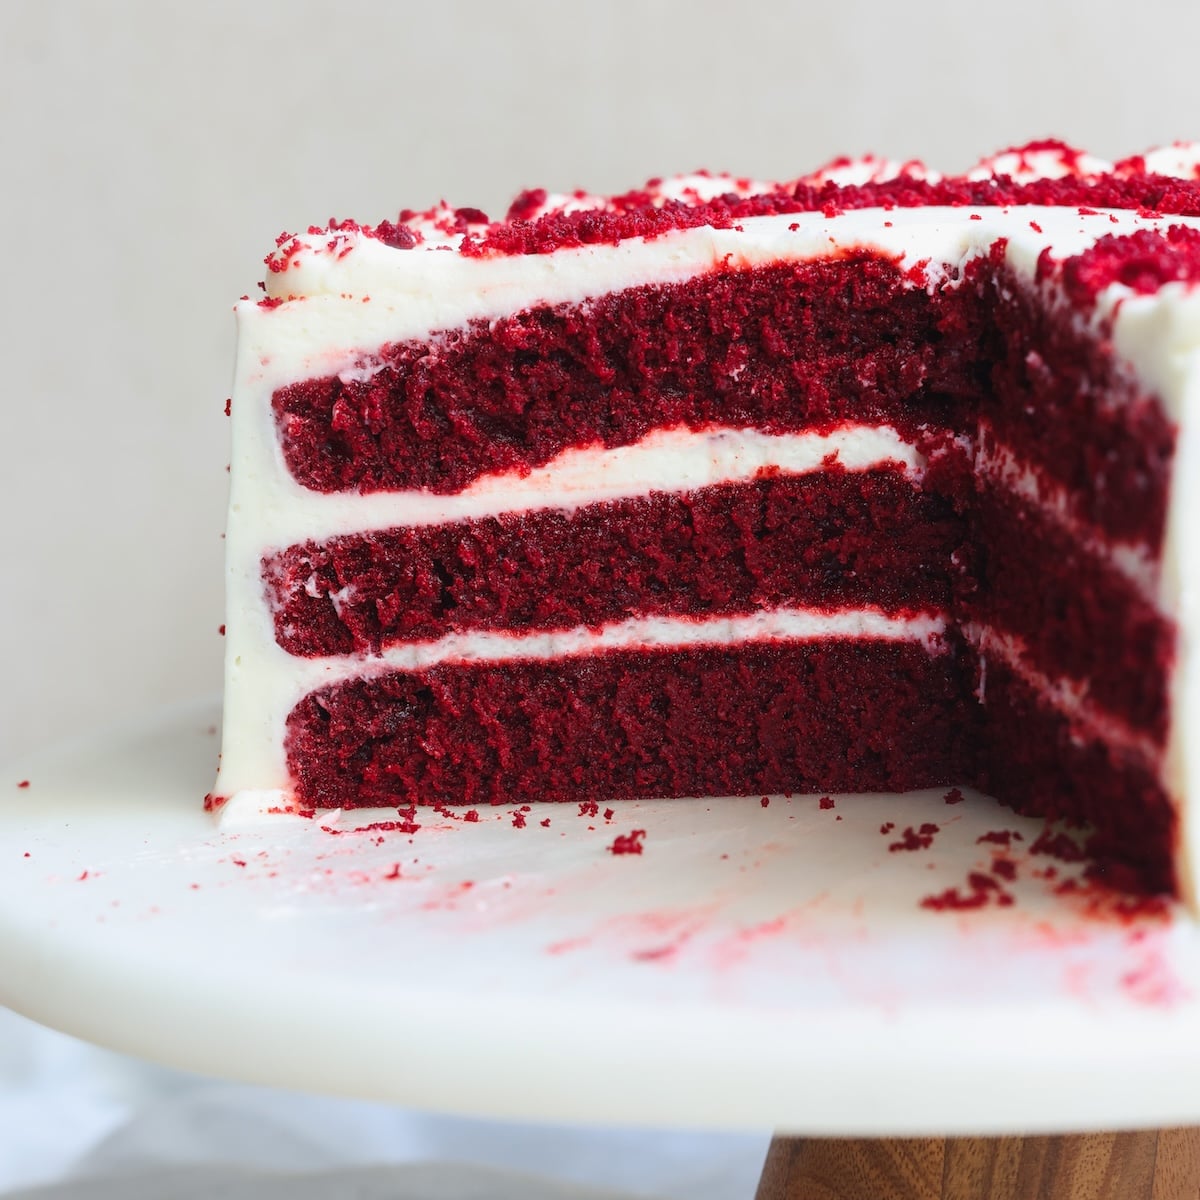
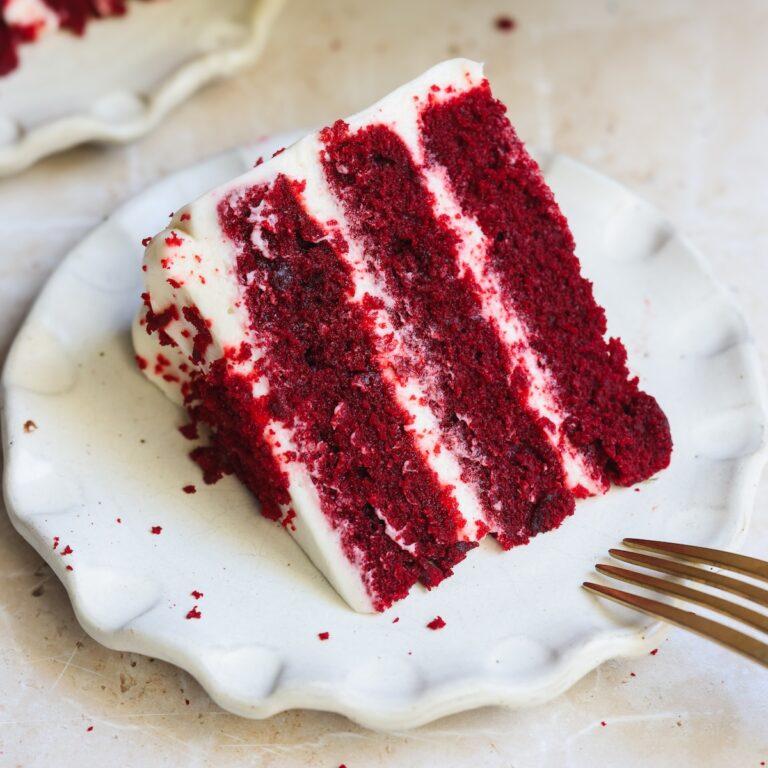
Finally, a Red Velvet Cake that actually lives up to its name – it feels in your mouth like luxury velvet feels on your skin. It’s the moistest cake you’ll ever have, with a tender, velvety, melt-in-your-mouth crumb that stays soft for days. The secret lies in my simple but game-changing technique: a simmering hot mixture of butter, oil, cocoa powder and water poured directly over the dry ingredients. The cake is made with basic ingredients (no buttermilk!) and slathered in a silky cream cheese frosting. It has a beautiful balanced flavor: slightly tangy with a hint of cocoa and vanilla, and not too sweet. Trust me when I say I’ve never had cake like this.
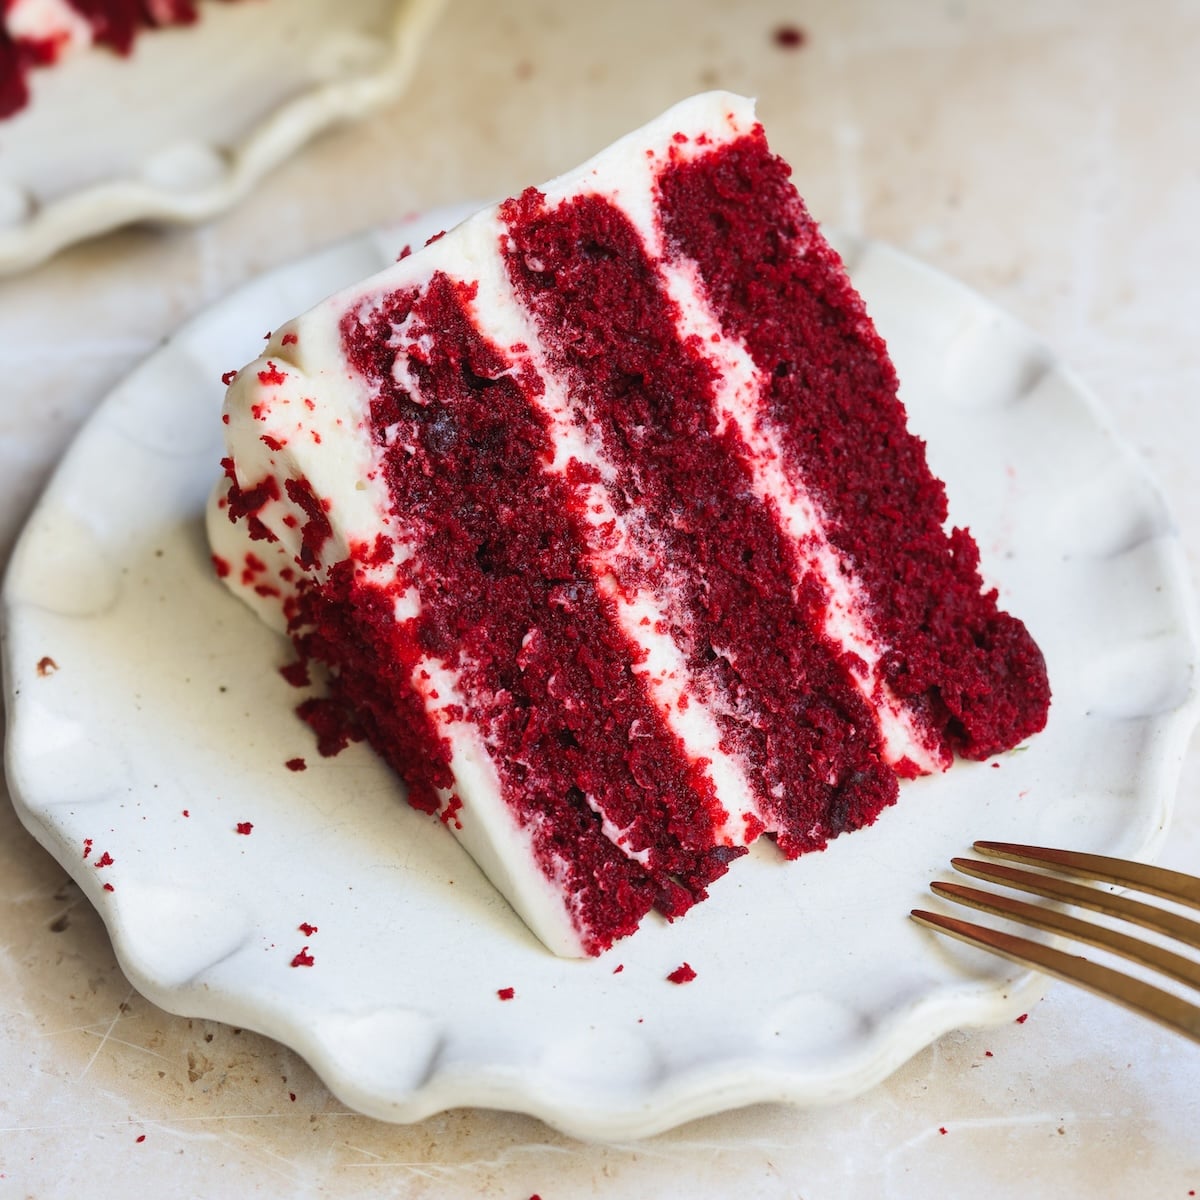
I baked this cake for my son’s three month celebration. It was such a hit! The most critical people said it was a perfect cake, the kids went crazy for it. Absolutely the best red velvet cake I’ve ever made (and had)!
– Wania, ★★★★★
I originally published this recipe in 2024, and although it was already pretty darn great, I’ve now given it an incredible upgrade. I will actually take this recipe to my grave (after passing down to my grandchildren, of course) – and that means a lot coming from someone who’s never fully satisfied! So, if you tried the original version and liked it, wait until you try this one.
My game-changing technique for the moistest texture
Most red velvet cake recipes follow a similar method: cream the fat and sugar, add eggs, alternate wet and dry. It works, but rarely produces anything remarkable.
This recipe takes a completely different, and frankly easier, approach (which, funnily enough, was inspired by my Texas Sheet Cake). A mixture of butter, oil, water, cocoa powder and red food color is brought to a simmer on the stove, then mixed into the dry ingredients. The heat helps break down the starch in flour before the cake even goes into the oven, giving the cake its unusually moist, velvety crumb. In fact, it works so well that you don’t even need buttermilk!
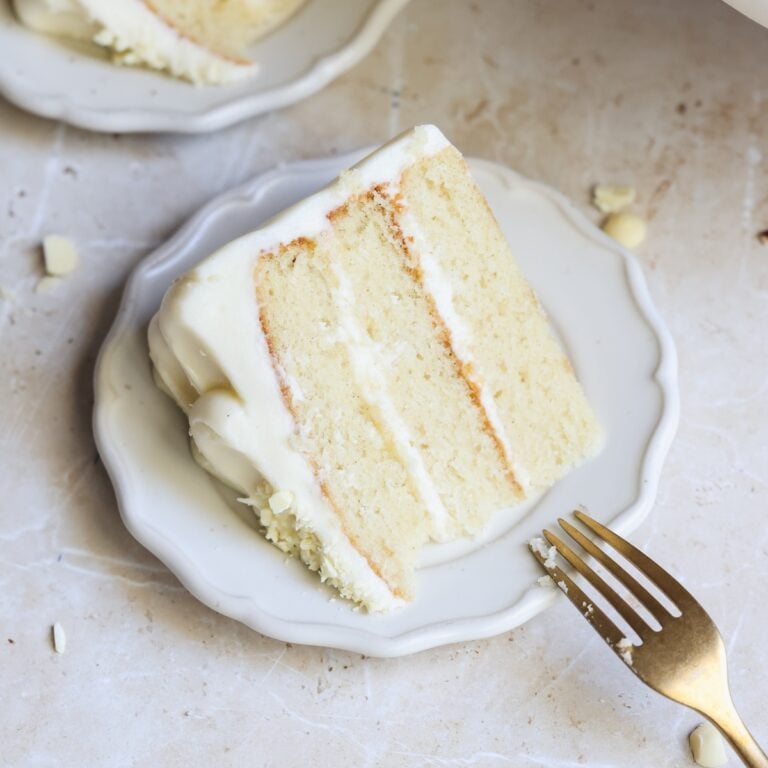
This technique also inspired my Vanilla Velvet Cake, which has the same plush, velvety texture.
The best red food color
I have tested different food colors for red velvet, including liquid, gel and powder, and gel food color is the clear winner. Specifically, I recommend this red gel food color by Ann Clark. Combined with Dutch processed cocoa powder, it creates the perfect deep red shade in this cake. It’s also extremely pigmented and you need only a small amount, which means it lasts forever. And if you wanna use it again, try my favorite red velvet chocolate chip cookies!
Step by step photos
The detailed recipe is provided in the recipe card at the bottom of this post, but let’s go over the steps with photos to help you visualize everything:
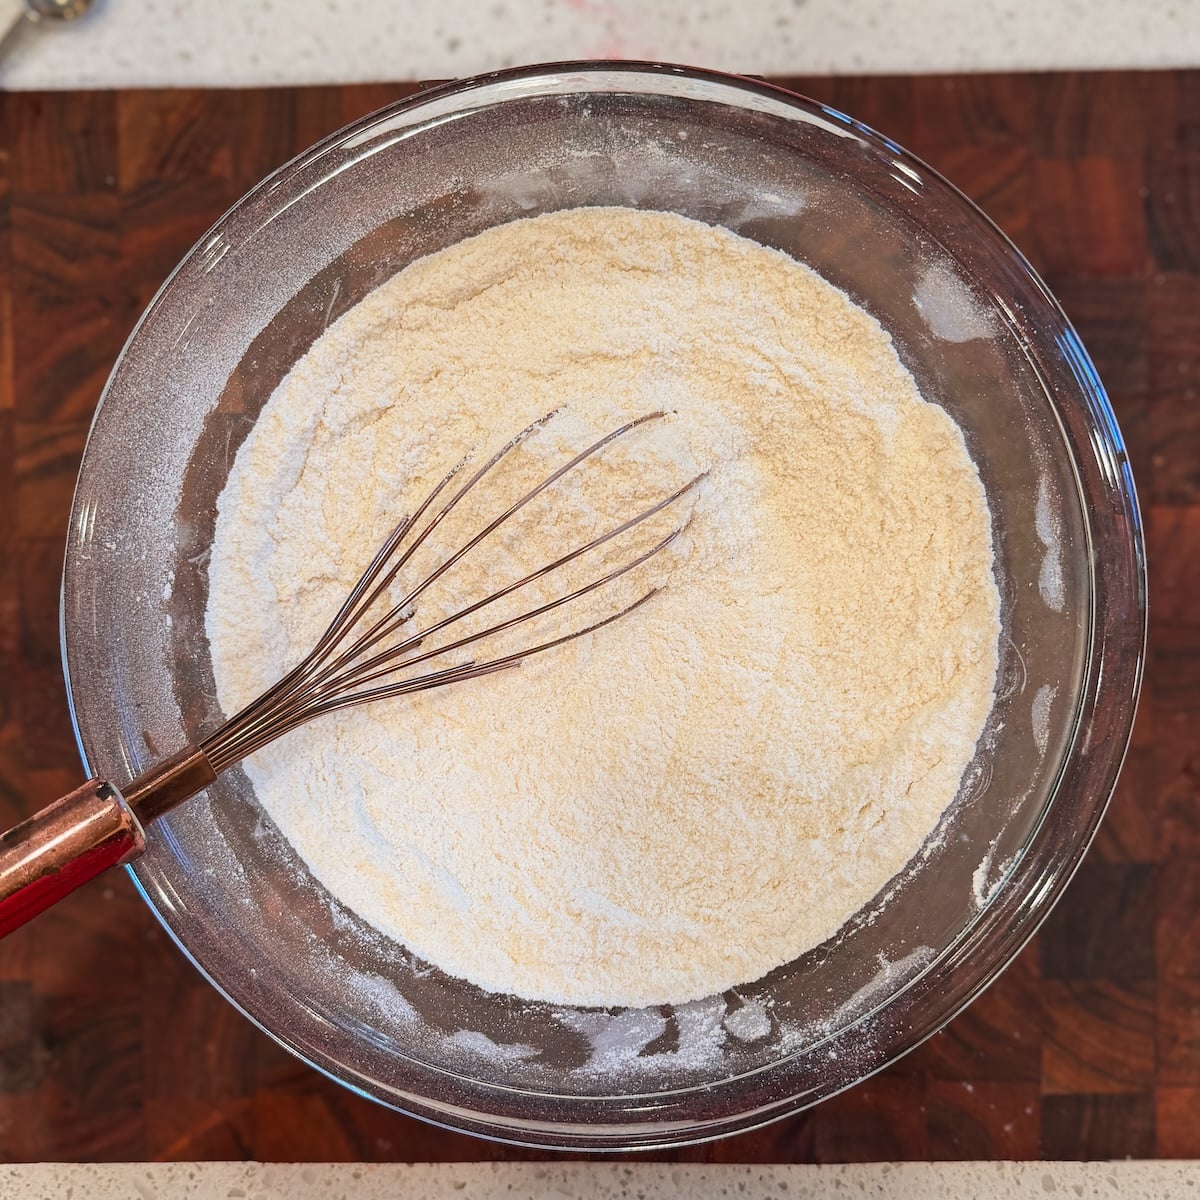
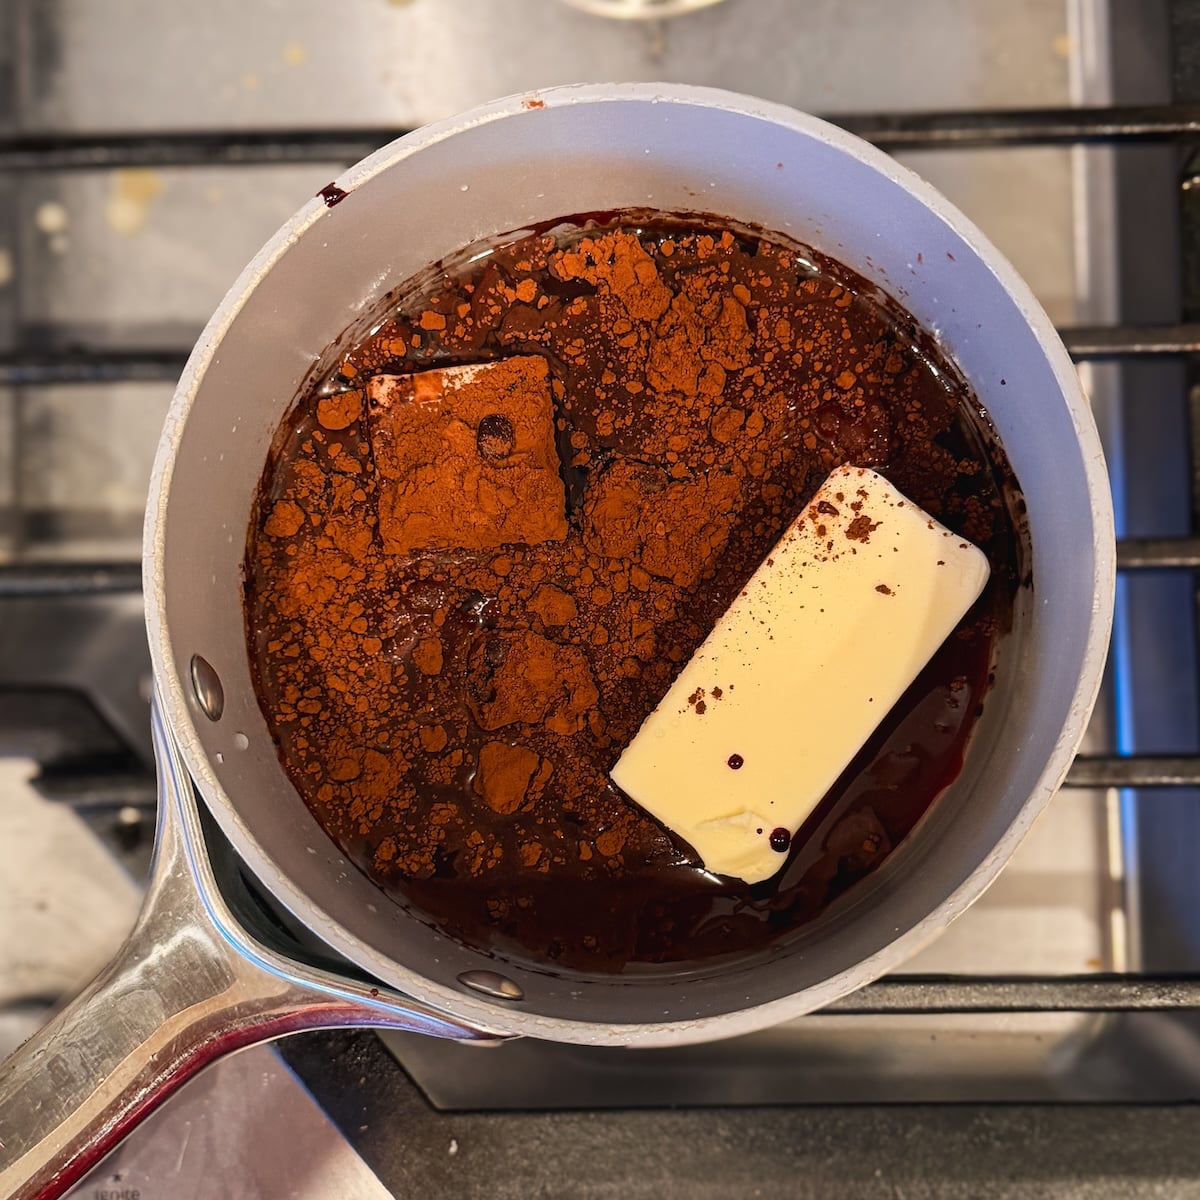
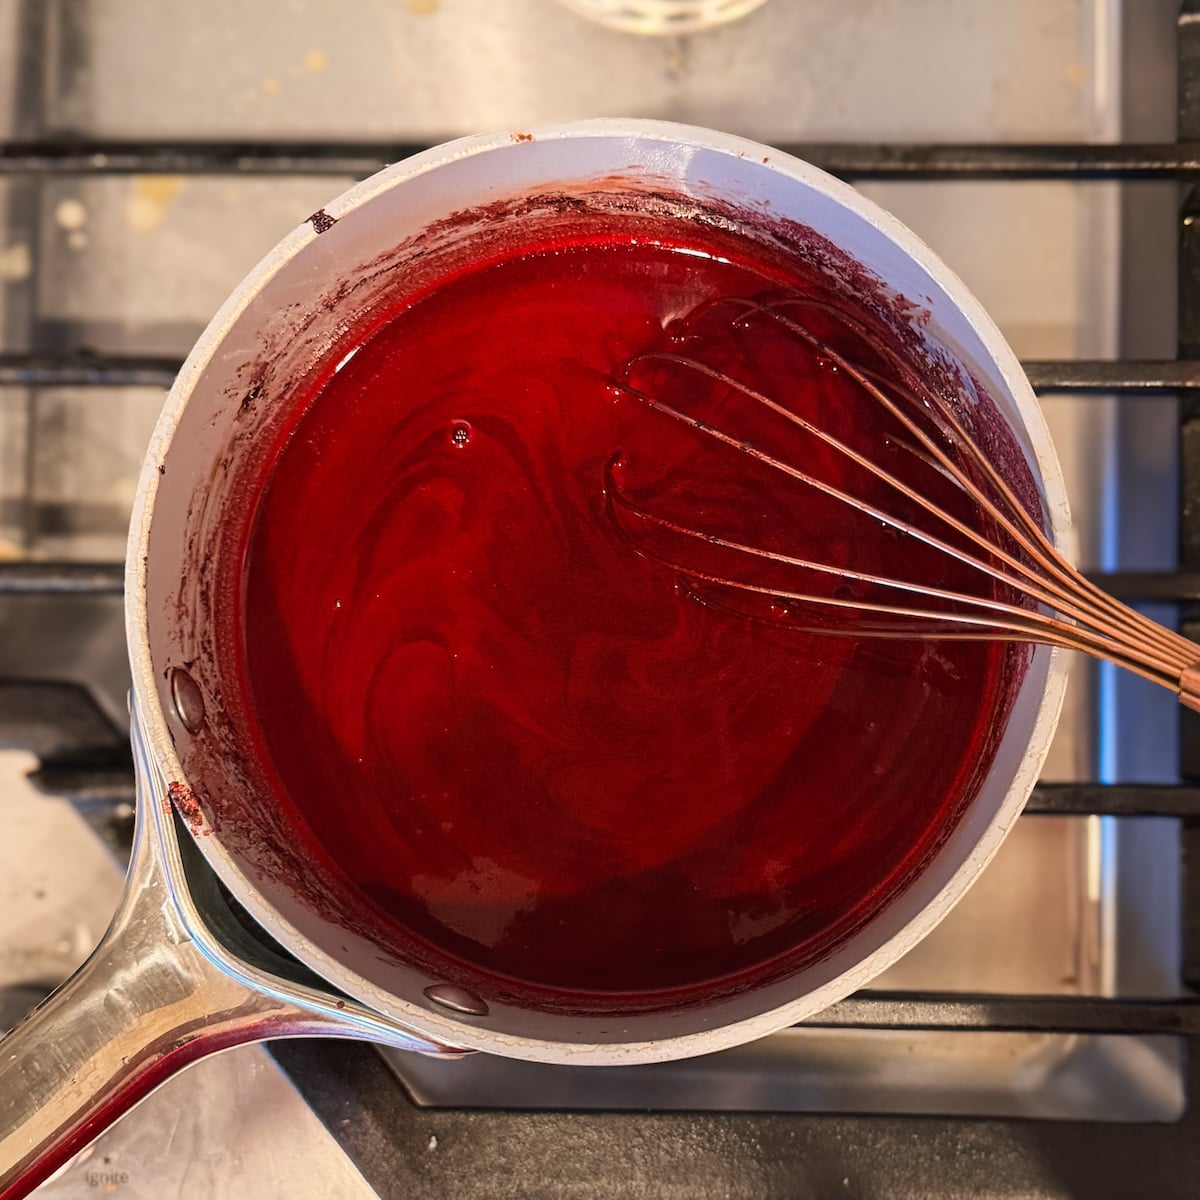
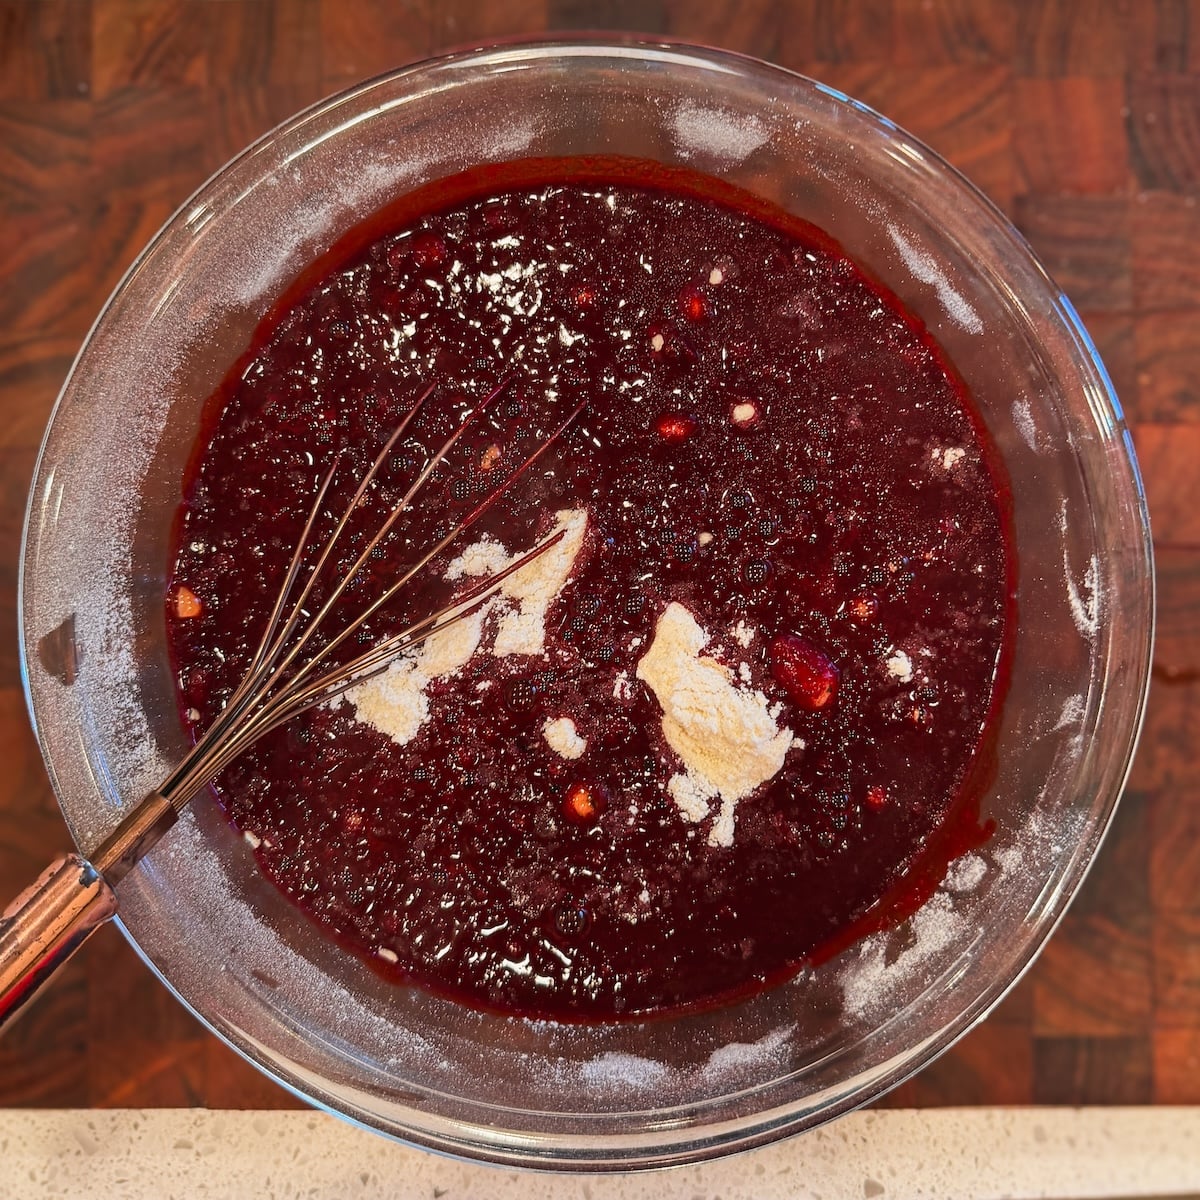
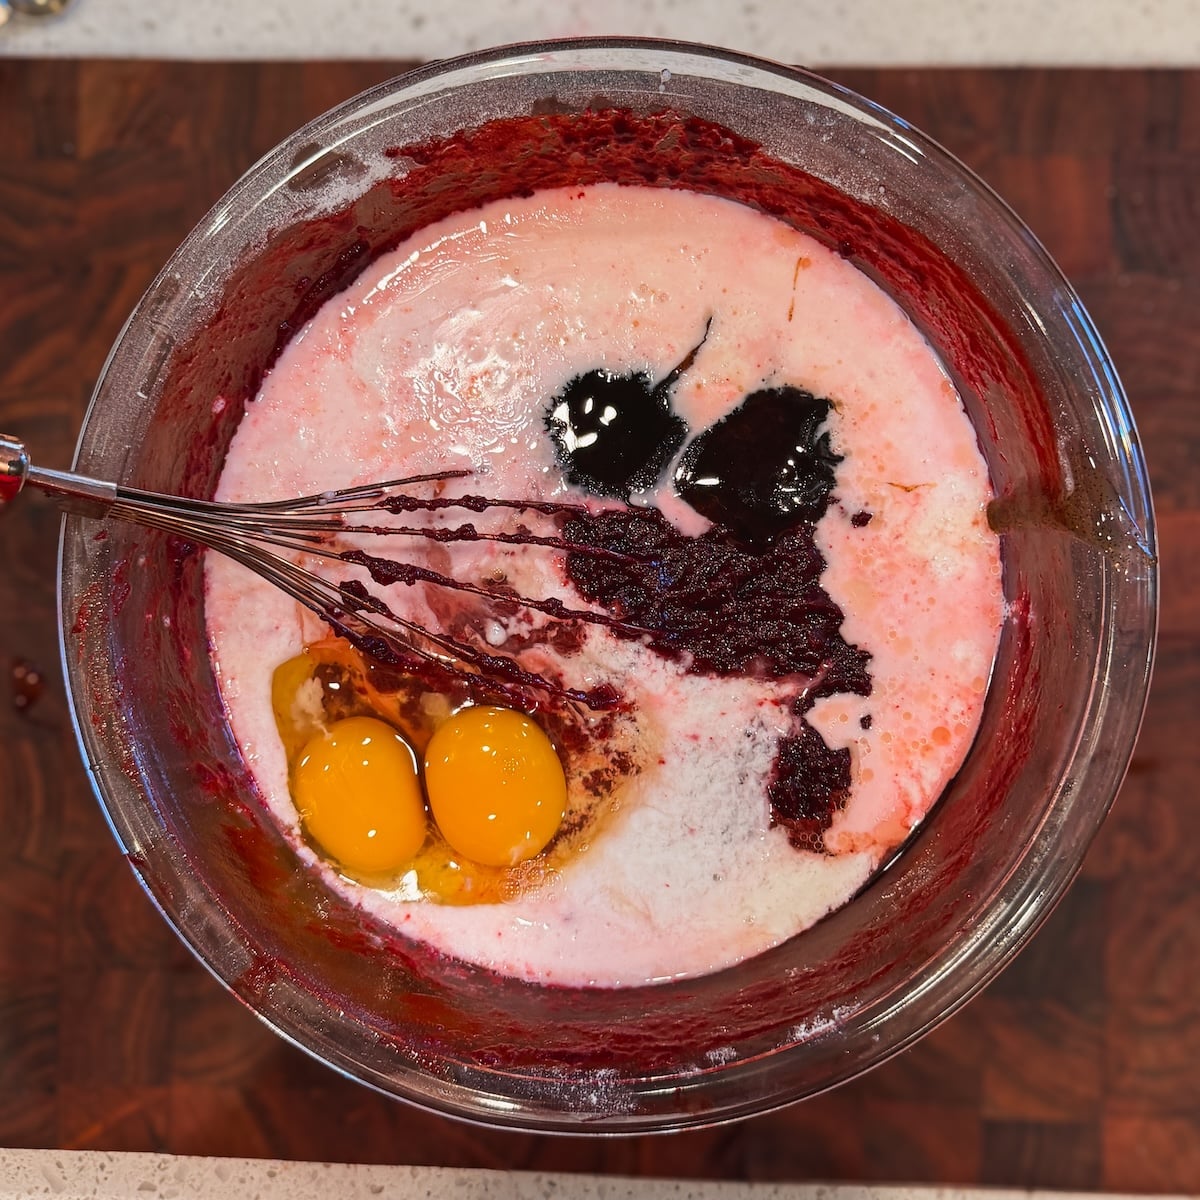
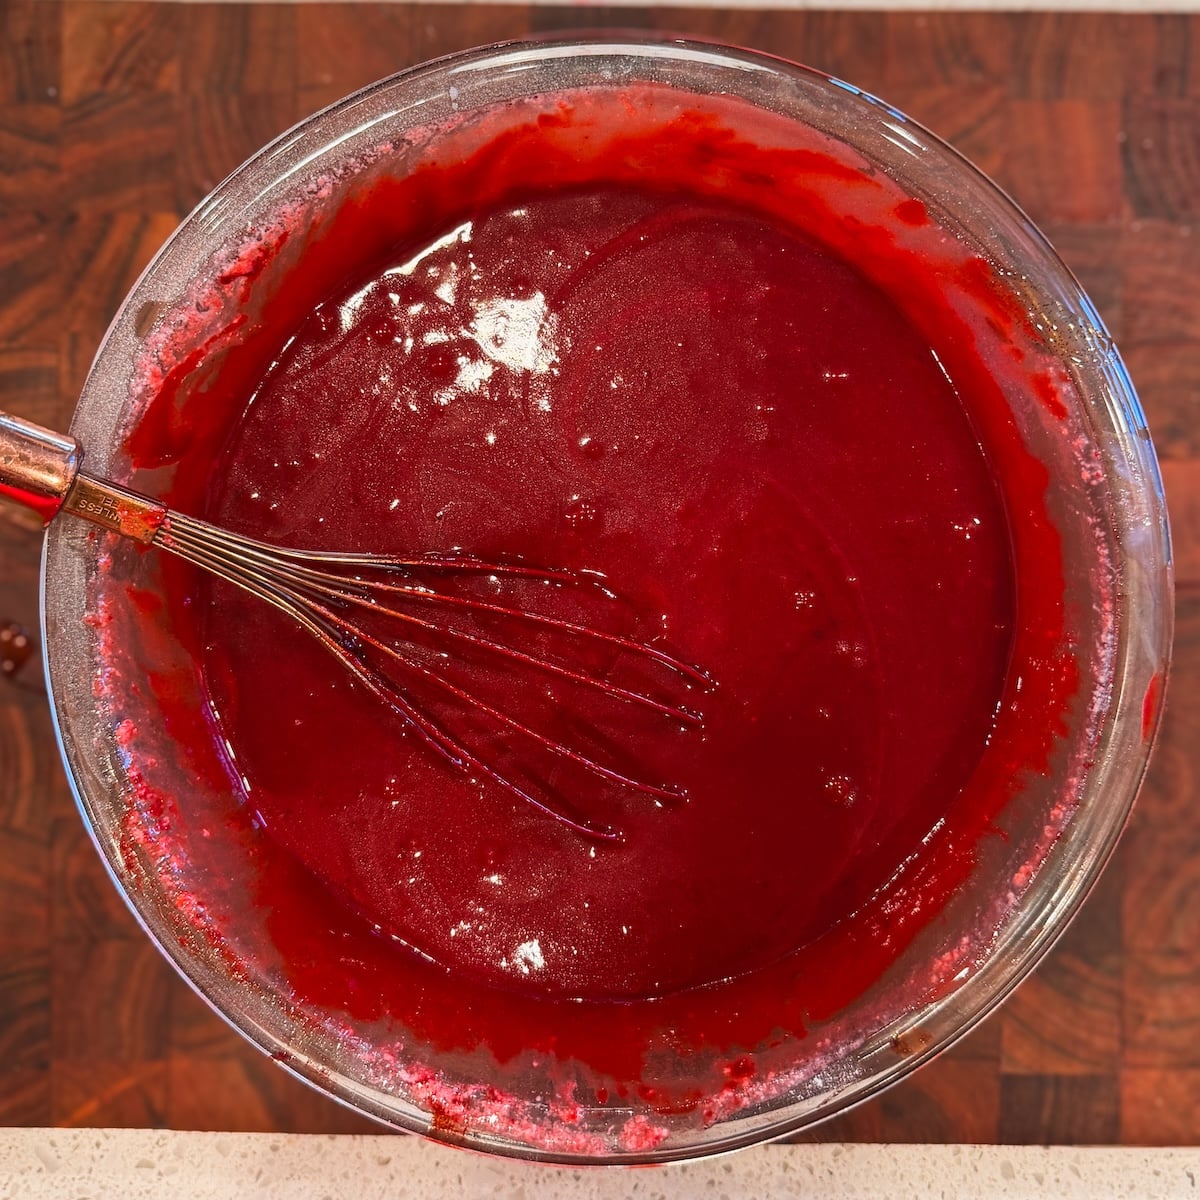
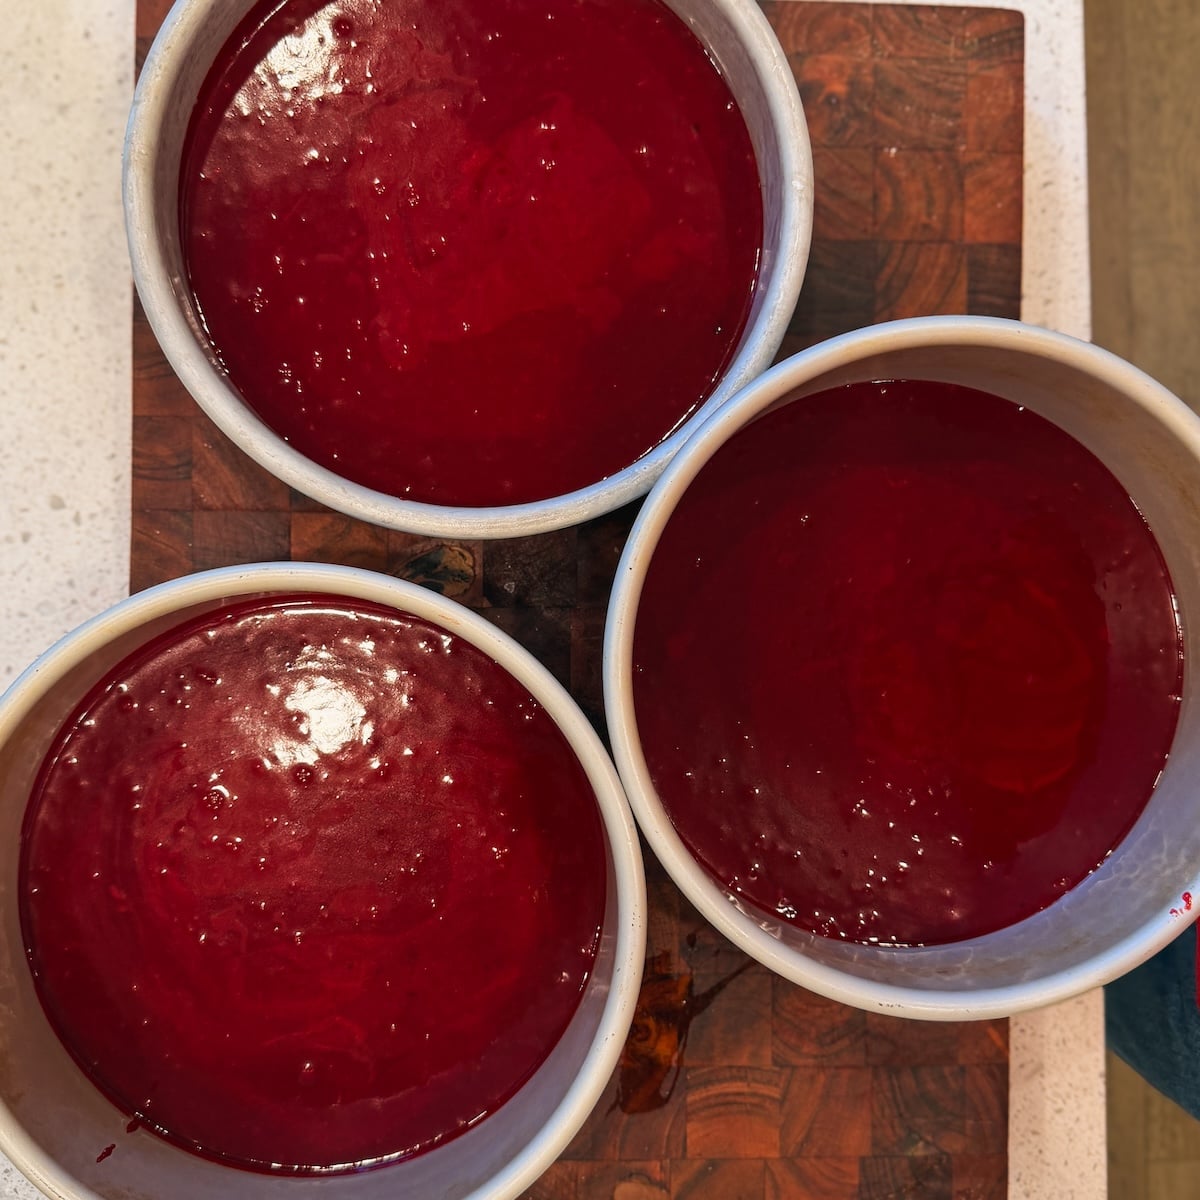
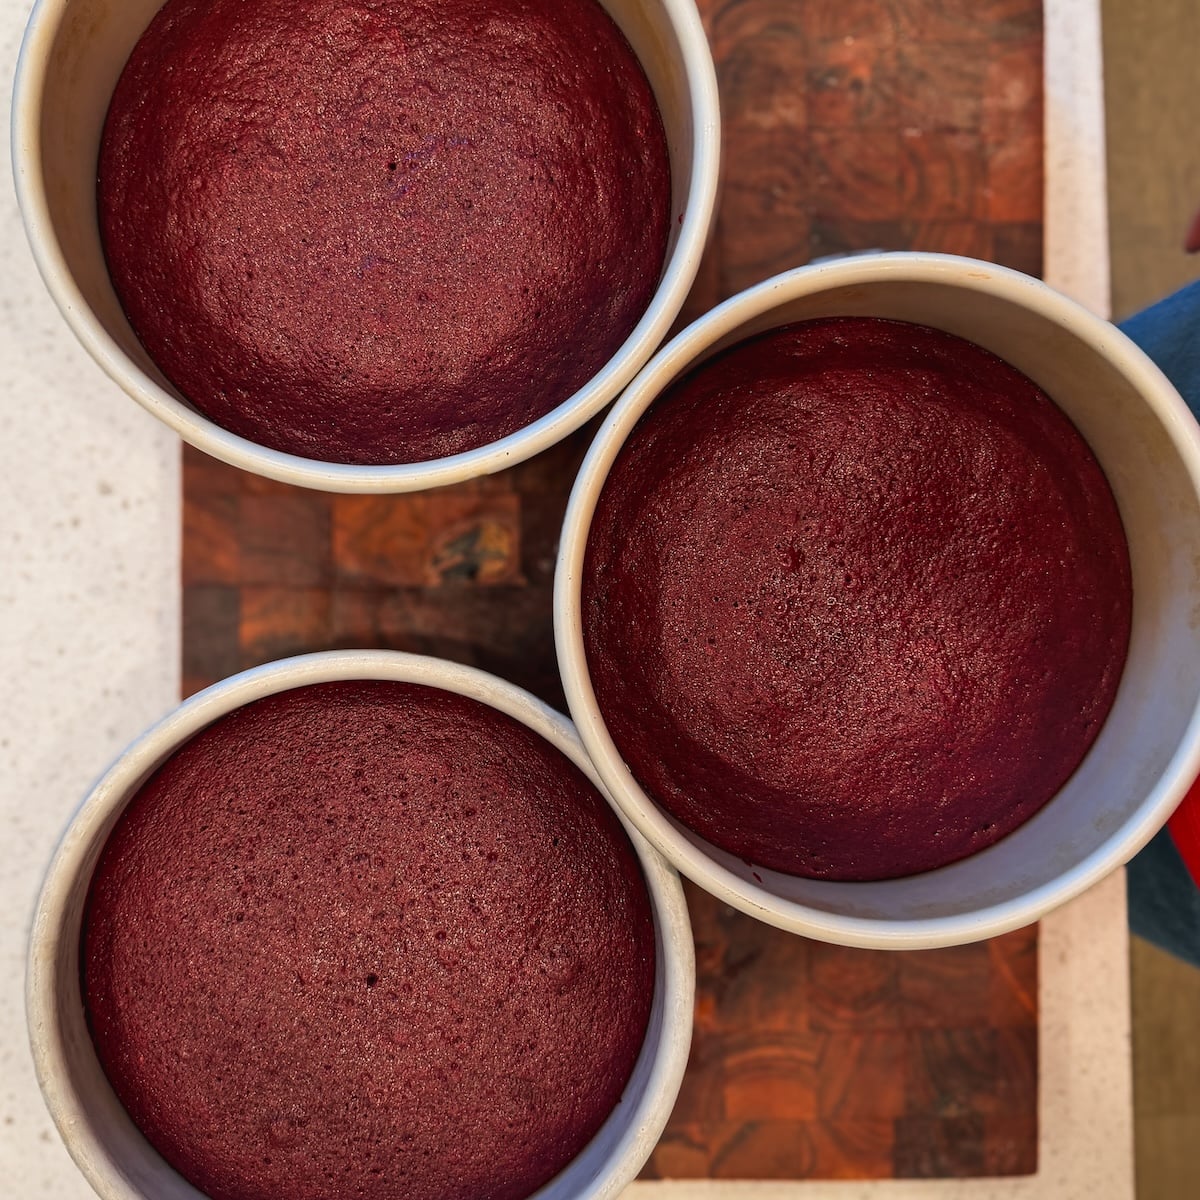
Make the cream cheese frosting, and frost the cakes once they have cooled down. Then serve and enjoy!
A note on holes
When you trim off the domes from the cakes, you might notice some holes in them. These are created from the fast reaction of baking soda and vinegar, and are completely normal. Don’t worry and proceed – you won’t be able to tell once the cake is assembled and sliced!
A few more tips before you make it
Here are a few important tips to help you perfect this recipe:
- Weigh the ingredients, especially the flour, for the best results. I love this inexpensive scale from Amazon
- Use Dutch Processed cocoa powder. It has a deep chocolate flavor so you get the pay-off without needing too much
- Never over-mix the cake batter. Always whisk slowly and only until the ingredients are combined and you don’t see unmixed lumps
- Don’t over-bake the cakes. Check with a toothpick around the 18 minute mark, you want it to have light, moist crumbs on it. Over-baking will cause the cake to become dry and crumbly
- Let the cakes fully cool down before you handle them. They are quite soft and delicate, and might break if handled warm
- Use full fat block cream cheese for the frosting – this gives you the best results. I always recommend Philadelphia!
- Bring the cream cheese and butter to room temperature. This will help them come together quickly and easily while still maintaining a spreadable consistency
Email This Recipe
Enter your email and I’ll send this directly to you. Plus you’ll get new recipes from me every week!
Ingredients
Red Velvet Cake:
- 2 1/2 cups all purpose flour (325g)
- 1 2/3 cups granulated sugar (330g)
- 1 1/4 tsp baking soda
- 1 tsp salt
- 10 tbsp unsalted butter (140g)
- 1/3 cup vegetable oil (75g)
- 3/4 cup water (180g)
- 2 1/2 tbsp Dutch processed cocoa powder (15g)
- 1 tbsp red gel food color
- 3/4 cup whole milk (180g)
- 5 tsp vinegar
- 2 large eggs
- 1 tbsp vanilla bean paste
Cream Cheese Frosting:
- 16 oz cream cheese, room temperature (2 8 oz blocks or 453g)
- 1 cup unsalted butter, room temperature (2 sticks or 226g)
- 1 tsp vanilla bean paste
- ½ tsp salt
- 3 cups powdered sugar, sifted (360g)
Instructions
Red Velvet Cake:
- Pre-heat oven to 325F (conventional, no fan) and line 3 8″ cake pans with parchment paper and oil/butter
- In a large bowl, sift in the flour, and add the sugar, baking soda and salt. Whisk the ingredients together thoroughly and ensure there aren’t any lumps
- In a saucepan, add the butter, vegetable oil, water, Dutch processed cocoa powder and red gel food color. Place on the stove on medium low heat, and stir until the butter has melted. Once the mixture starts to simmer, cook and stir it for one more minute
- Pour the hot liquid mixture onto the dry ingredients from step 2. Use a hand whisk to slowly and gently mix until the ingredients are just combined and no streaks of flour remain. The mixture might look a little split, don’t worry and don’t over mix
- In a glass, mix together the whole milk and vinegar. Add the milk and vinegar mixture, the eggs and vanilla bean paste to the cake batter. Slowly and gently fold until the ingredients are just combined. You should have a smooth red cake batter
- Divide the cake batter evenly between the 3 8″ cake pans. I like using a scale to do this so all cakes bake at the exact same time. Tap the pans on your counter hard 3-5 times to release any large air bubbles
- Bake in the pre-heated oven for ~18 minutes, or until a toothpick inserted in the middle of the cakes comes out with light, moist crumbs on it (no wet batter, but not completely clean either).
- Remove the cakes from the oven and let them cool in the pans for 15 minutes. Then carefully turn them out and let them fully cool down on wire racks
Cream Cheese Frosting:
- Add the room temperature butter, cream cheese, vanilla, salt and sifted powdered sugar to the bowl of a stand mixer. Use the paddle attachment to whisk on medium speed for 2-3 minutes until the mixture looks smooth, fluffy and spreadable. Scrape the bottom and edges of the bowl once halfway through. Do not over-mix, as that can cause the frosting to become runny
- If the frosting is too soft / runny, refrigerate for a few minutes until it reaches a spreadable consistency
Assembly:
- Working one cake layer at time, carefully trim off the dome to level them. You may notice some holes in the cakes – don’t worry, this is totally normal!
- Place the first layer on your cake stand or turntable. Slather with a generous amount of the cream cheese frosting and spread it evenly. Repeat until all three layers are stacked on top of each other
- Cover the cake with a thin layer of the frosting (crumb coat), spreading it as smoothly as possible. Refrigerate for 15 minutes
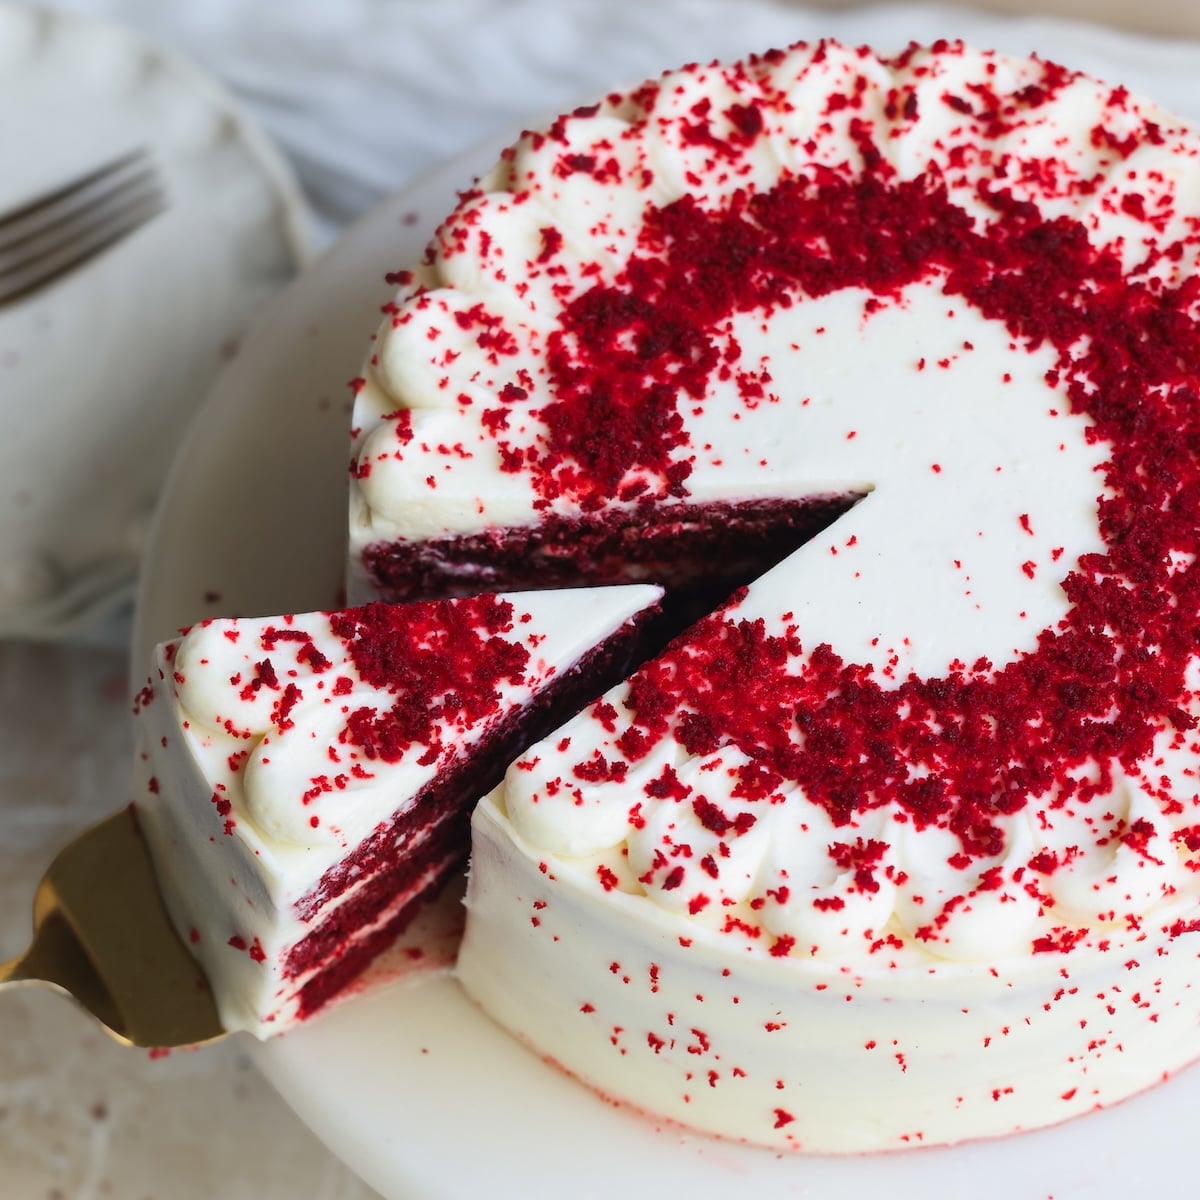
- Add the remaining frosting and decorate the cake however you like. I make crumbs using the trimmed off cake domes and use them to decorate
- Serve & enjoy!
Video Tutorial
Notes
- Cocoa powder: I strongly recommend using Dutch processed cocoa powder for the best flavor in this cake, but you can also use natural unsweetened cocoa powder if needed
- Scaling this recipe: If you want to make a smaller version of this cake, you can divide all quantities by 2 and make a 3 layered, 6″ cake instead
- Make ahead and storage: You can prepare this cake ahead of time and keep it covered at room temperature for up to 1 day, or in the fridge for up to 3 days. If serving from the fridge, first let it come to room temperature for 15-30 minutes so the texture is as soft as it can be! Keep leftovers in an airtight container in the fridge

Comments
Zubin
Hey Zoha I had this question for so long. Sone of your cake recipes have 3 eggs and if I want to half that recipe so what to do with eggs? How many eggs should I take then??
Zoha
You would technically need 1.5 eggs. So you can add 1 egg, break 1 egg in a separate bowl and break it down, then take about half.
Zoha
Cannot recommend it enough!
Swati Kulshrestha
hi Zoha,
what can i do to make it eggless?
can i replace with yogurt? how many grams
shahzeb
loved it even though im not a big red velvet cake fan
Lima Yaghmour
I made your previous red velvet cake recipe and I was really very very happy with it. I wanted to make it again but I was surprised you modified. Since I very much believe in you, I decided to try it. Still didn’t taste but I feel it didn’t rise as much as the old recipe. Keep in mind I work very meticulously with weight and very specific ingredients. I follow the steps very closely.
Zoha Malik
Hi Lima! Thank you for sharing your opinion. Personally I like the updated version much more which is why I made the updates 🙂
Zoha
That is also how I feel!
Romanas Šinkūnas
labai skanus tortas, ačiū
Aleph Livi
how much will it cost me?
Aniqa Tabassum
If I want to half the recipe which size mould should I use?
Zoha Malik
6″!
Rasheda Hancle
Hi! Can I turn this into a sheet cake? What baking times would you recommend?
Zoha
Hi there! I think it should be fine as a sheet cake 9×13 but will take a bit longer to bake. you’ll have to check with a toothpick!