

This post may contain affiliate links
Add Bake with Zoha as a preferred source on Google and find more of my tried-and-tested recipes.
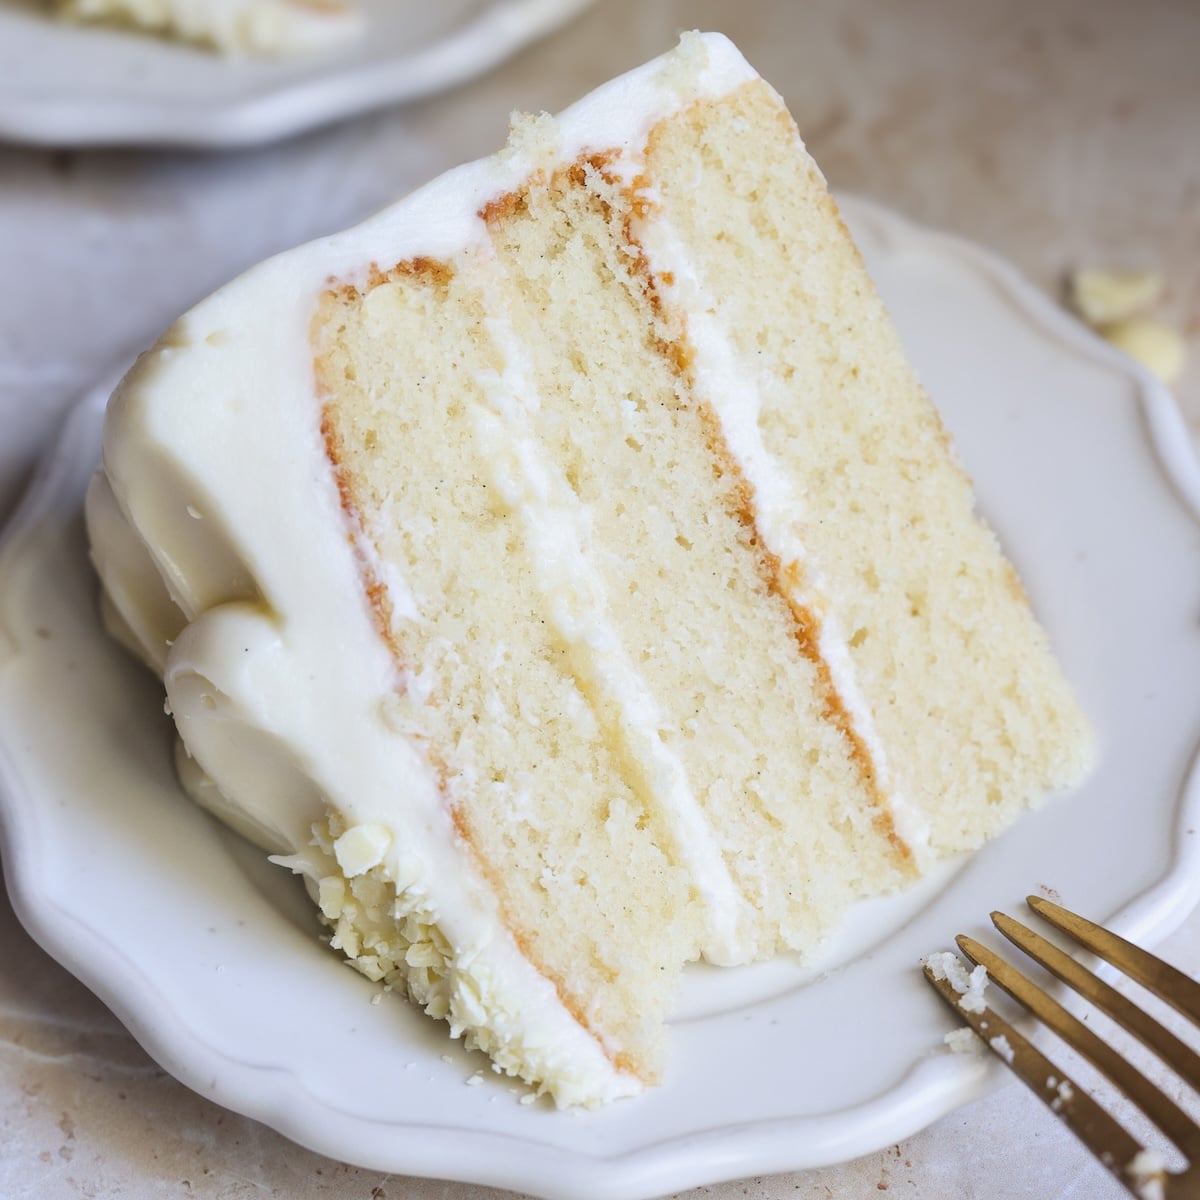
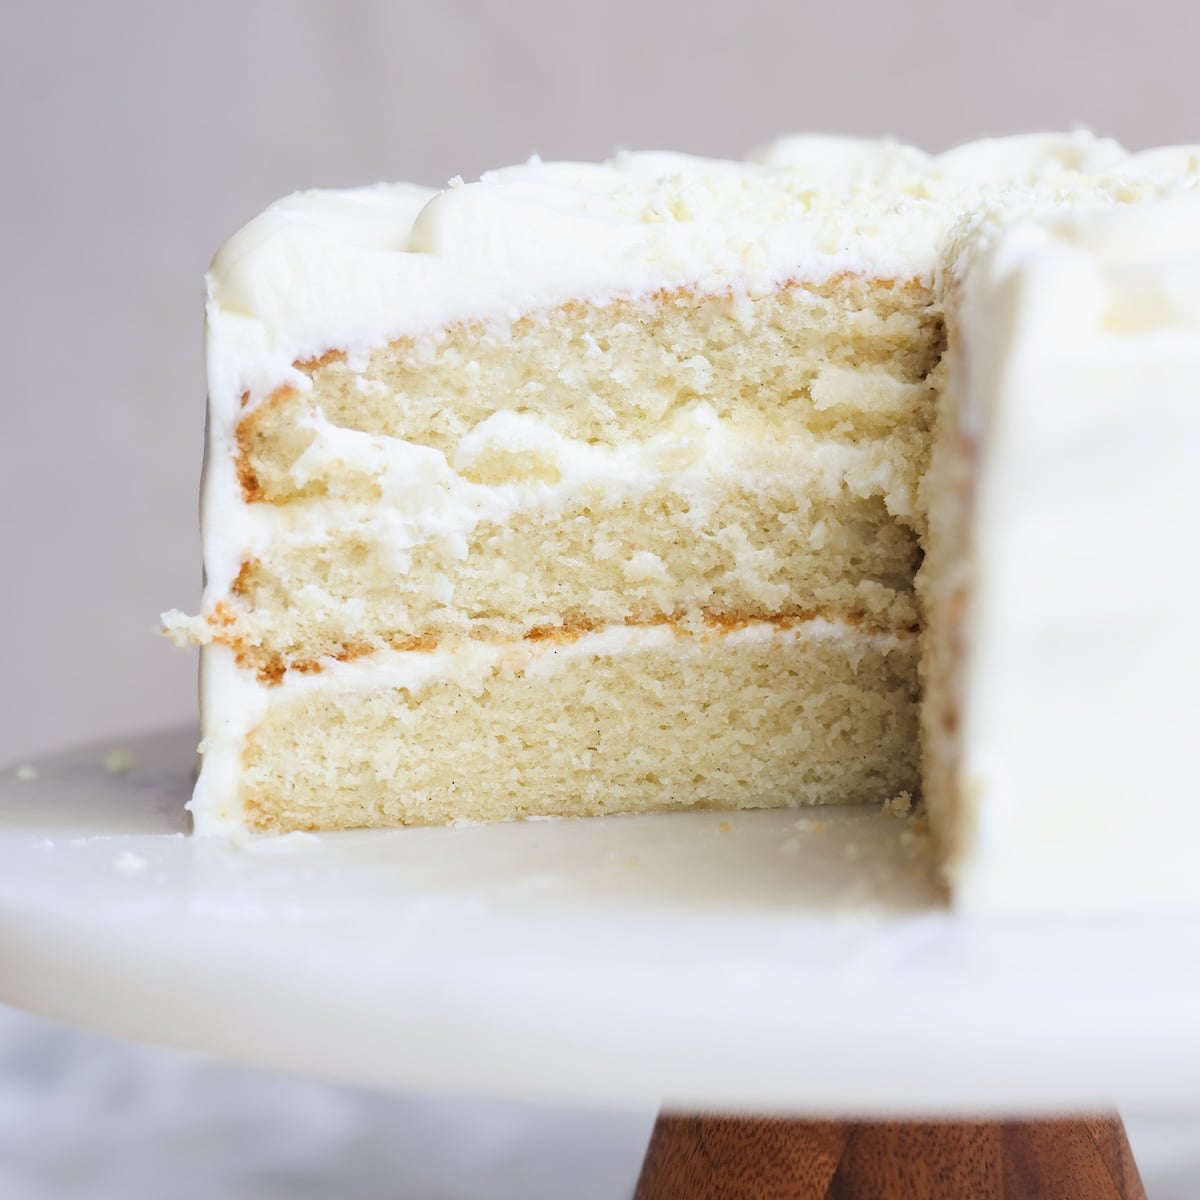
Your search for the *perfect* vanilla cake recipe ends right here – and I don’t say that lightly! I call this my “velvet” vanilla cake for a reason: it is as rich and moist as a chocolate cake, and as plush and velvety as a red velvet cake. It isn’t dry or dense or crumbly, doesn’t taste like sugar, doesn’t require complicated steps (you don’t even need a mixer for the batter), and actually stays moist for a week (even in the fridge). The secret? My hot batter technique and white chocolate! Slathered in a classic cream cheese frosting, it is, hands down, the best vanilla cake you’ll ever have.
What makes this recipe *truly unique*
I know there are thousands of vanilla cake recipes out there and I’ve tried pretty much every variation: creaming, reverse creaming, Japanese whipping, hot milk, white cake, yellow cake – you name it. But no vanilla cake has ever been truly perfect for me.
My goal with this recipe was simple: a vanilla cake that was as rich and moist and indulgent as my easy chocolate cake, but tasted like vanilla. Getting there, however, was not very simple!
It took me four (!) years of testing to nail this recipe, and here’s what makes it truly unique:
- White chocolate in the batter! This was the unlock I needed. White chocolate has cocoa butter and milk solids, and helps this cake achieve the rich, moist, melt-in-the-mouth texture of a chocolate cake
- Hot batter technique. This is the same technique I use in my red velvet cake and Texas sheet cake, both of which have the best texture. You bring a mixture of butter, oil, water and white chocolate to a simmer, and mix it directly into the dry ingredients. The hot water gelatinizes the flour (aka breaks down the starch) and creates a gel like structure. This is just a fancy way of saying it locks in the moisture, and results in an unusually tender, plush and velvety crumb (hence the “velvet” in the name!)
- Stays moist for a week! Yes, you read that right. The combination of butter, oil, water, milk and vinegar results in a cake that doesn’t dry out, even in the fridge (as long as it’s covered!)
- No cake flour needed. Most well-rated vanilla cake recipes require cake flour. But because of my technique, this cake turns out perfect with all purpose flour
- Simple and fuss free method. The cake batter comes together by hand in just 10 minutes – no mixer, no complicated or technical steps
You don’t taste the white chocolate!
Don’t worry – the white chocolate doesn’t overpower the vanilla. There’s just enough to add a subtle flavor depth and complement the vanilla flavor. It tastes really, really good (even if you’re not a white chocolate fan). If you want a stronger white chocolate flavor, try a whipped white chocolate ganache frosting!
Cream cheese frosting over buttercream!
I have to be honest – I am not the biggest fan of buttercream. It’s usually too sweet and heavy for me. So for this cake, I tested 3 options: Chantilly whipped cream, whipped white chocolate ganache, and cream cheese frosting. The cream cheese frosting was an easy winner: it’s quick and easy, and adds a delicious tangy flavor that complements the vanilla flavor of the cake.
Step by step photos
Let’s go over the steps with photos to help you visualize this recipe.
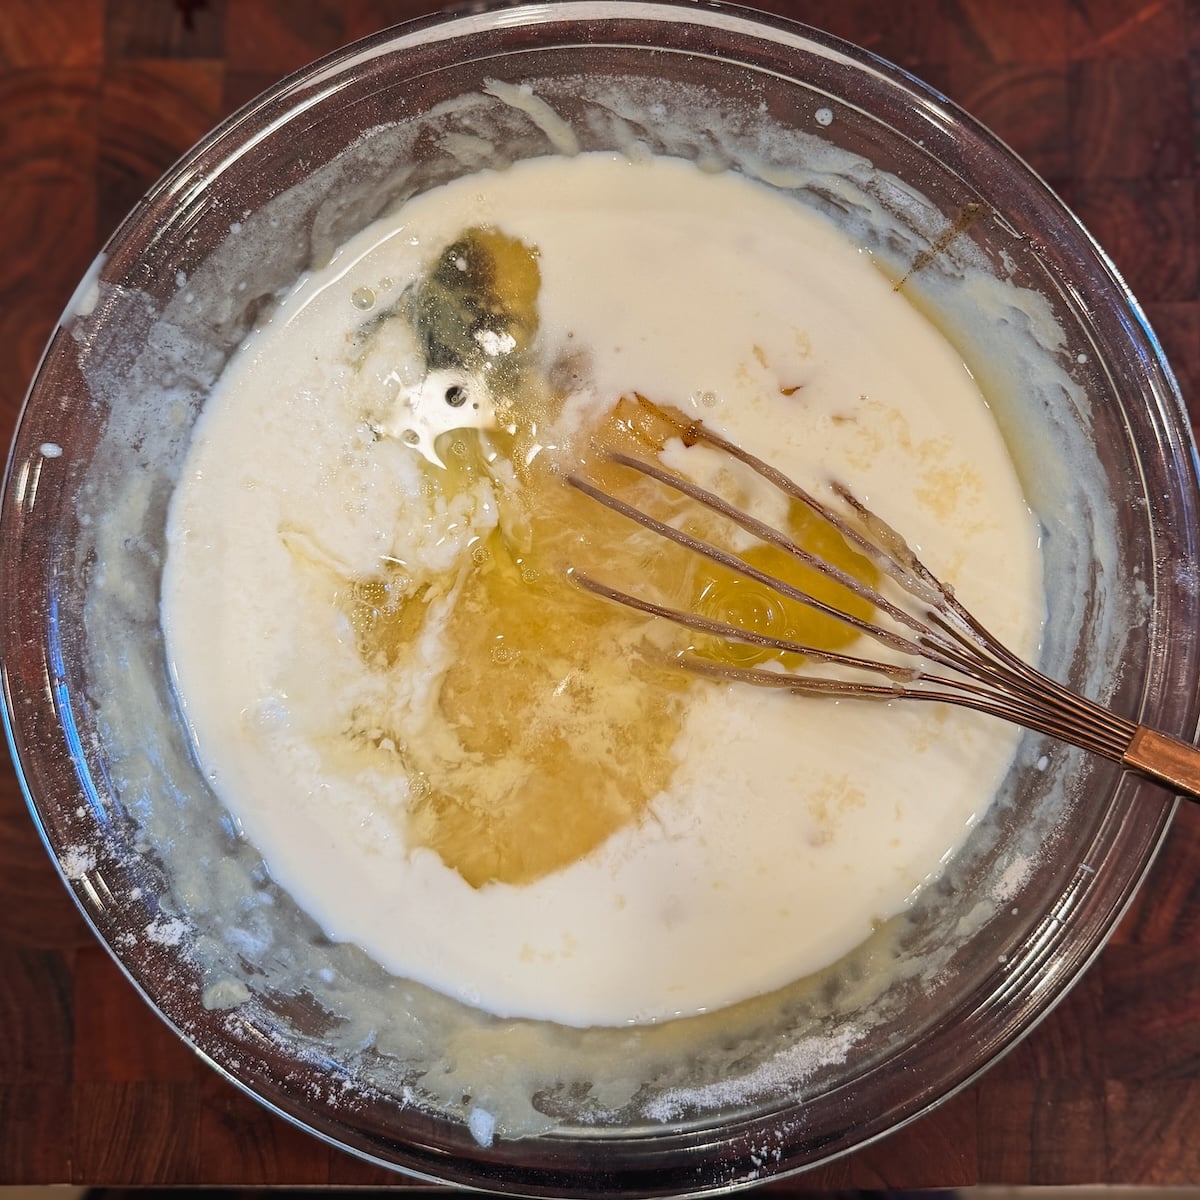
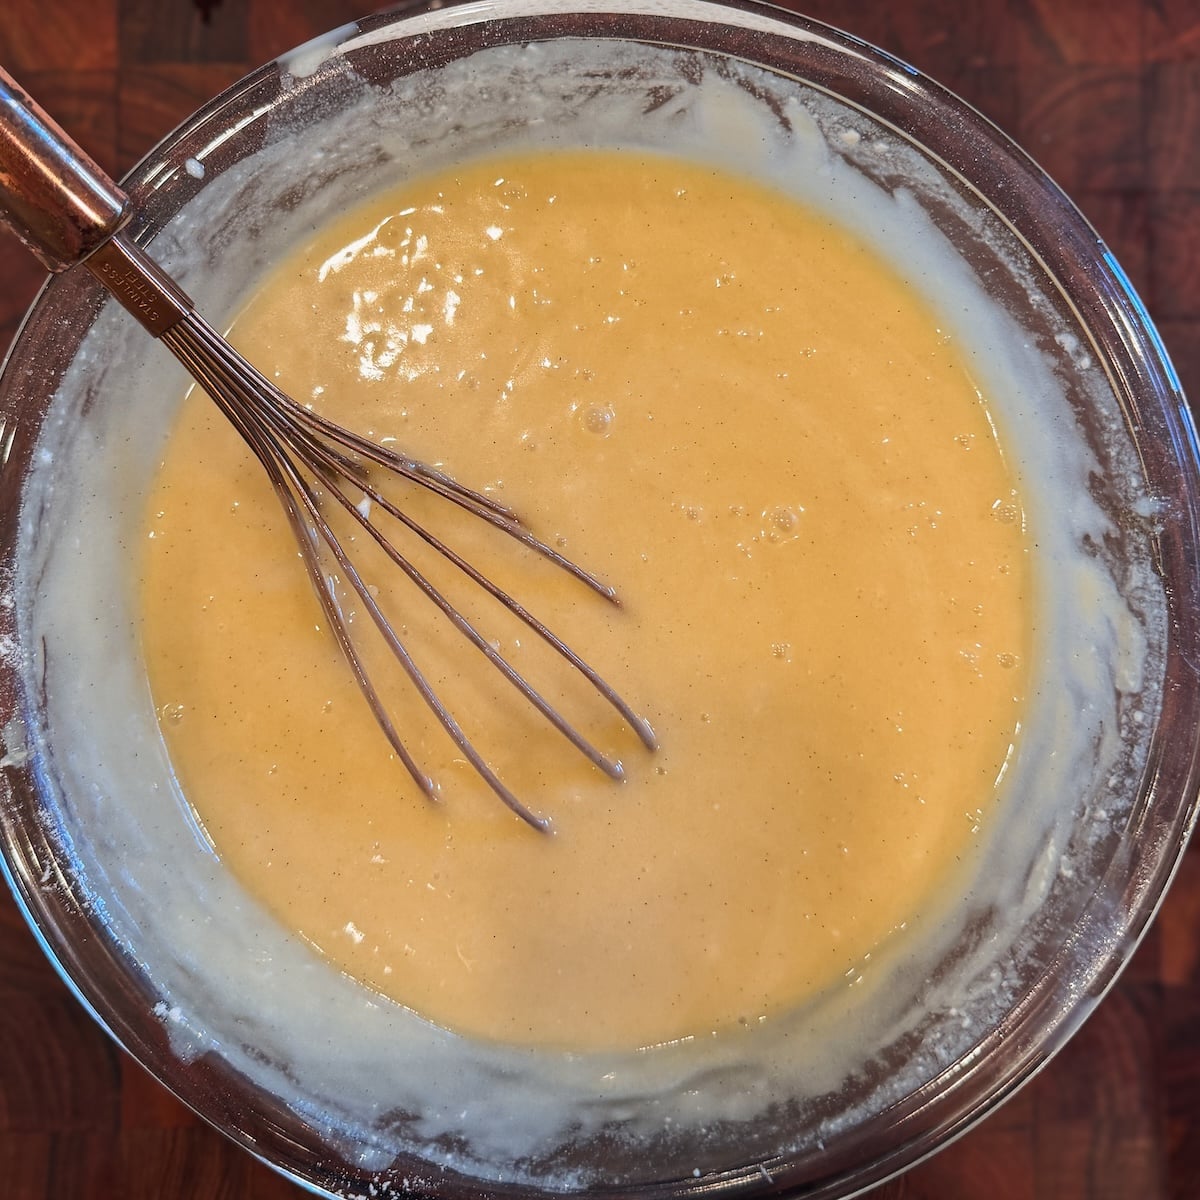
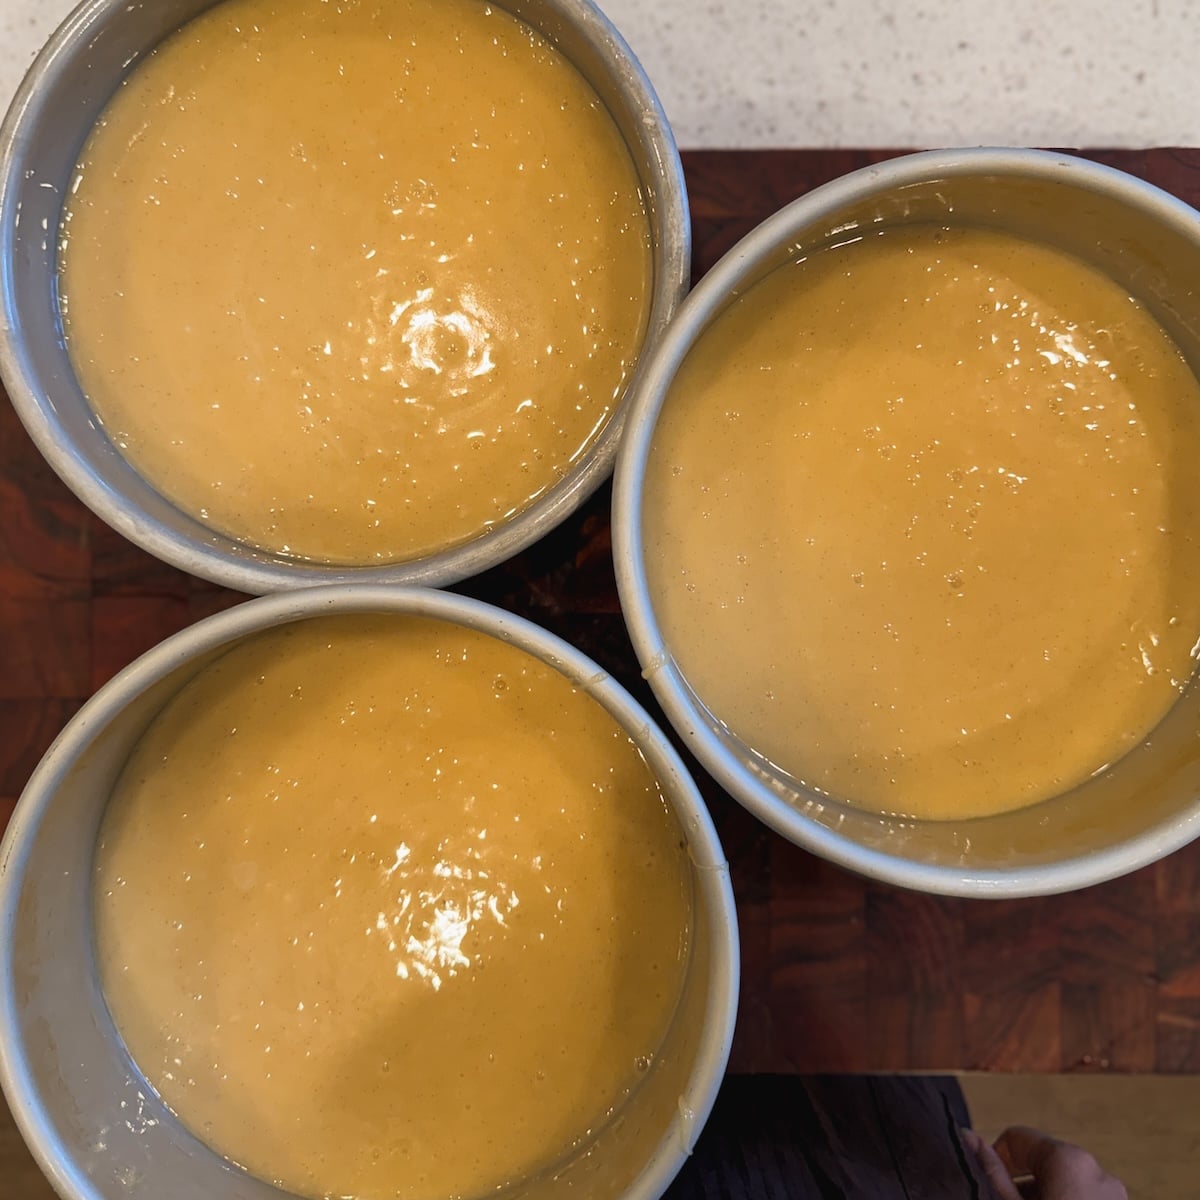
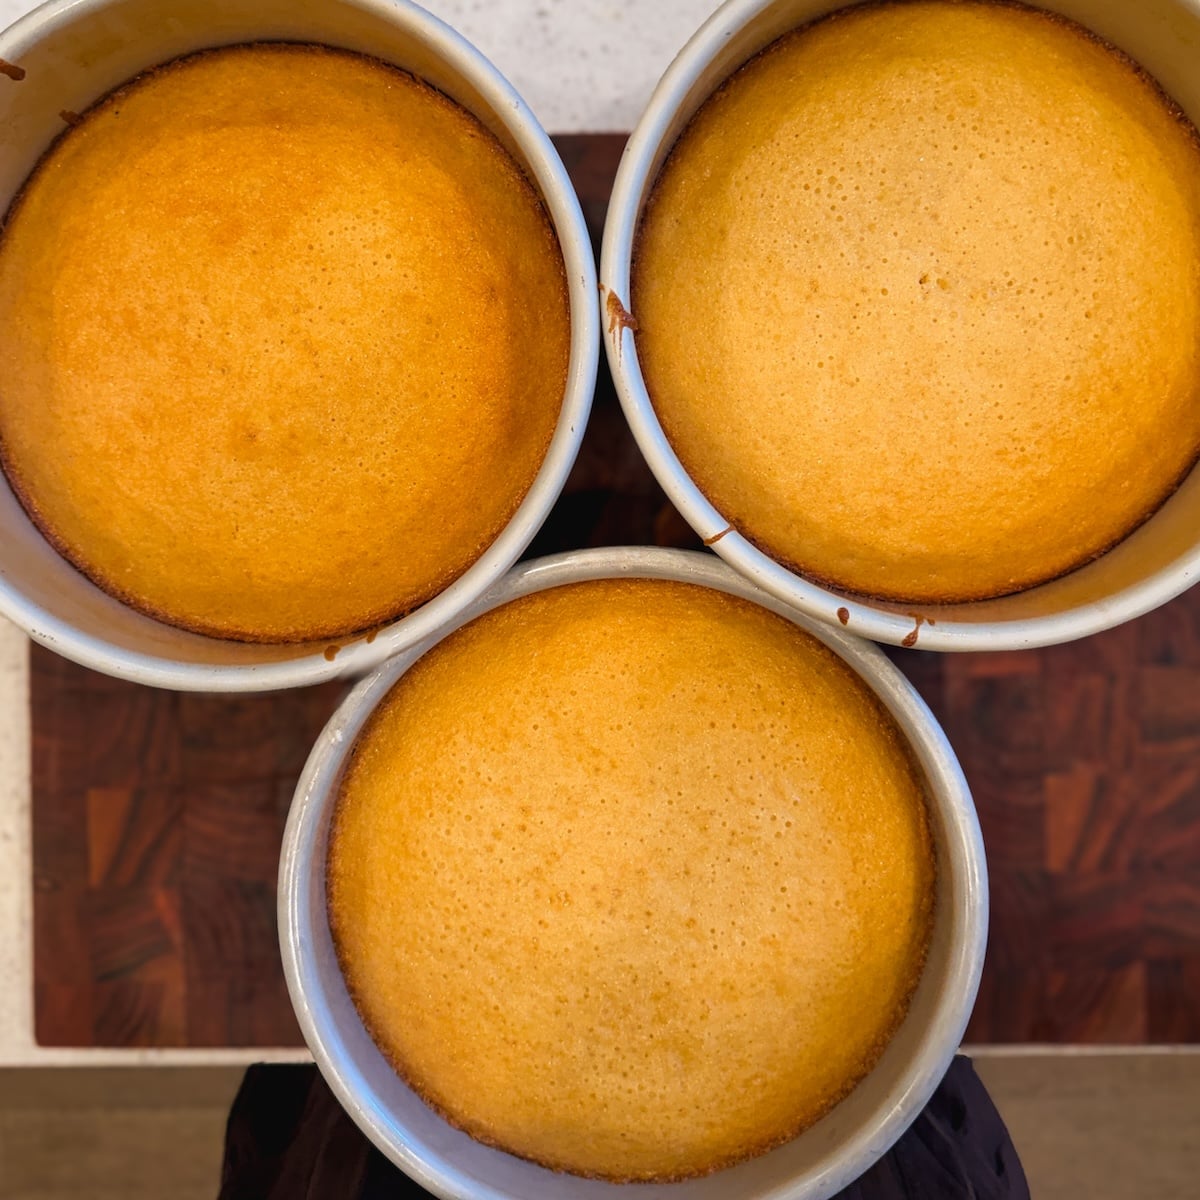
Then serve and enjoy!
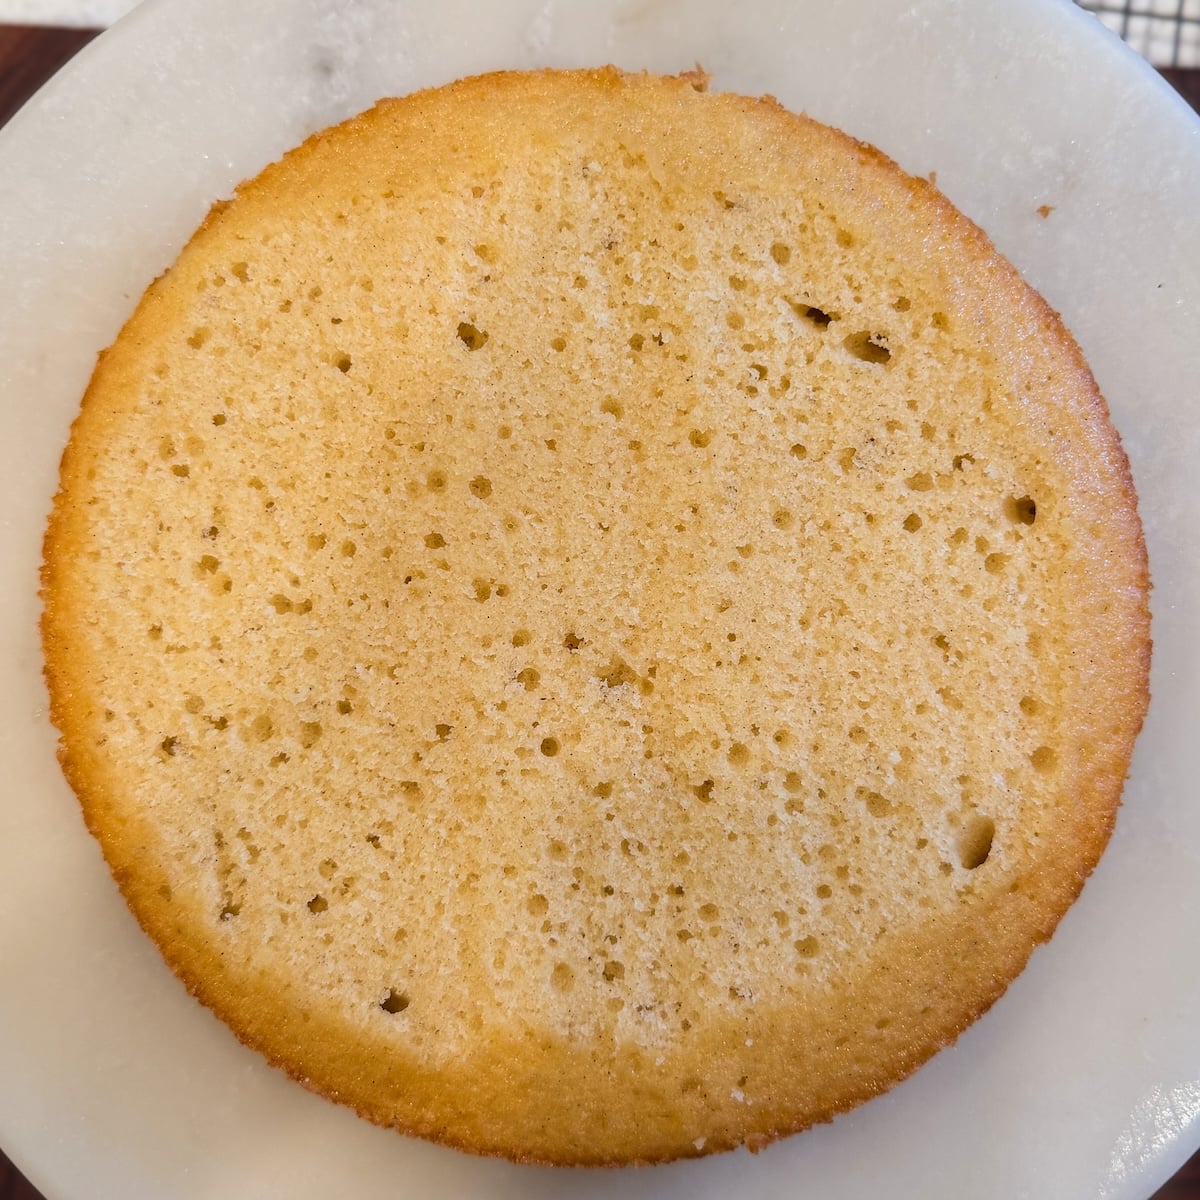
Don’t worry about the holes!
Because of the reaction of baking soda and vinegar, the cake might develop some holes in it (especially if your oven runs hot). Don’t worry about them – they are only visible from the top when you trim off the domes from the cakes, and don’t impact the texture of the cake whatsoever.
Scaling this recipe
Some notes on pans and scaling:
- Instead of 8″ pans, you may also use 9″ cake pans for this recipe, and the baking time will be closer to 18 minutes
- For a smaller cake, you can divide all quantities by 2, and use 3 6″ pans instead (resulting in a smaller, 6″ cake). You can also divide the quantities by 2 and bake 2 8″ layers (reducing baking time by 2-3 minutes) for a shorter cake
- For a larger cake, you can either add more layers, or make a sheet cake. These quantities can be used to make a thick 9×13″ sheet cake – the baking time will be higher (roughly ~30 minutes)
Pro tips before you make it
- Measure with a weighing scale for accuracy. This is especially important for the flour, as it’s easy to stuff too much into a measuring cup. If you do need to use a measuring cup, fluff up the flour first and transfer to the cup with a spoon, then level it off
- Use vanilla bean paste! This gives you the best, strongest vanilla flavor and specks of vanilla. However, if you can’t find it, regular vanilla extract will work
- Use good quality white chocolate. I recommend either Lindt, Ghirardelli or Tony’s Chocolonely bars, or this Callebaut white chocolate from Amazon
- Avoid over-mixing the batter. At every step, you only need to whisk until the ingredients are just combined and there aren’t any lumps. Overmixing can result in gluten formation, which means a rubbery, dense texture
- Use light colored baking pans. These dissipate heat more evenly and allow your cakes to rise better without getting too dark on the edges and bottom
- Bake in 3 layers! I highly recommend baking the cake in layers, instead of one thick cake that you divide into layers after baking. Thinner layers bake quickly and more evenly, resulting in softer cakes. If you only have 2 pans, you may do 2 layers – but I do not recommend one!
- Do not overbake. The cakes are done when a toothpick inserted in the middle has light, moist crumbs (no wet batter). Over baking can dry them out
- Use good quality cream cheese for the frosting. Full fat cream cheese that comes in blocks, such as Philadelphia, is always a solid choice
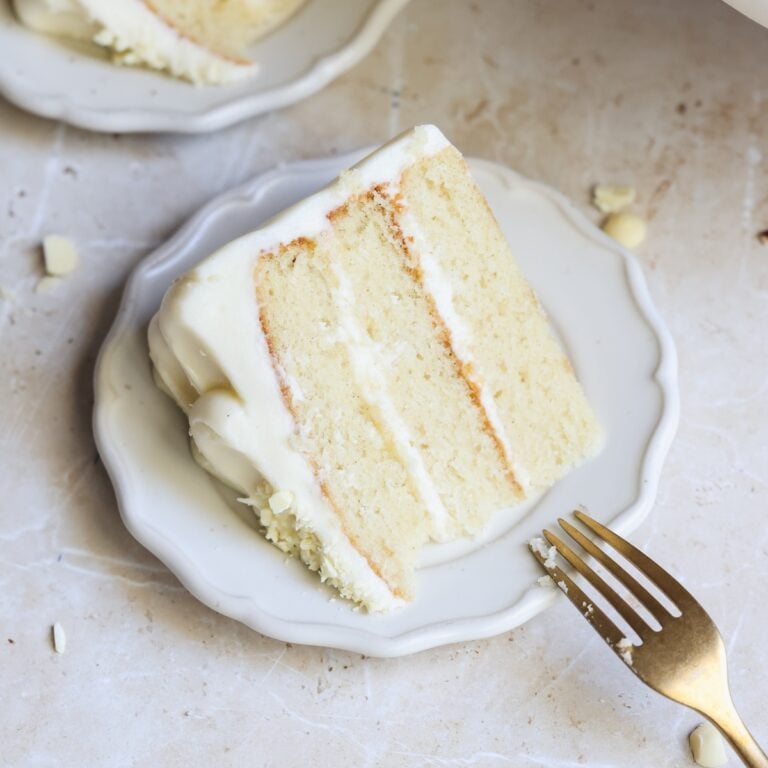
Velvet Vanilla Cake (SO Moist!)
A delicious vanilla cake that is as rich and moist as a chocolate cake, and as soft and plush as a red velvet cake! Made with white chocolate in the batter, and covered in cream cheese frosting.
Yield:12 servings
- Prep Time:
- 30 mins
- Cook Time:
- 20 mins
- Chilling Time:
- 40 mins
- Total Time:
- 1 hr, 30 mins
Email This Recipe
Enter your email and I’ll send this directly to you. Plus you’ll get new recipes from me every week!
Ingredients
Vanilla cake
- 2 1/2 cups all purpose flour (325g)
- 1 2/3 cups granulated sugar (330g)
- ¾ tsp baking soda
- ¾ tsp baking powder
- 1/2 tsp salt
- 1/2 cup unsalted butter (113g)
- 1/3 cup vegetable oil (75g)
- 3/4 cup water (180g)
- 120g white chocolate (a little over 4 oz, or about 1/2 cup of white chocolate chips)
- 1/2 cup whole milk (120g)
- 1 tbsp white vinegar
- 2 large eggs
- 1 tbsp vanilla bean paste
Cream cheese frosting
- 16 oz cream cheese, room temperature (2 8 oz blocks or 453g)
- 1 cup unsalted butter, room temperature (2 sticks or 226g)
- 2 tsp vanilla bean paste
- ½ tsp salt
- 3 cups powdered sugar, sifted (360g)
Instructions
Vanilla Cake:
- Pre-heat oven to 325F (conventional, no fan) and line 3 8″ cake pans with parchment paper and oil/butter
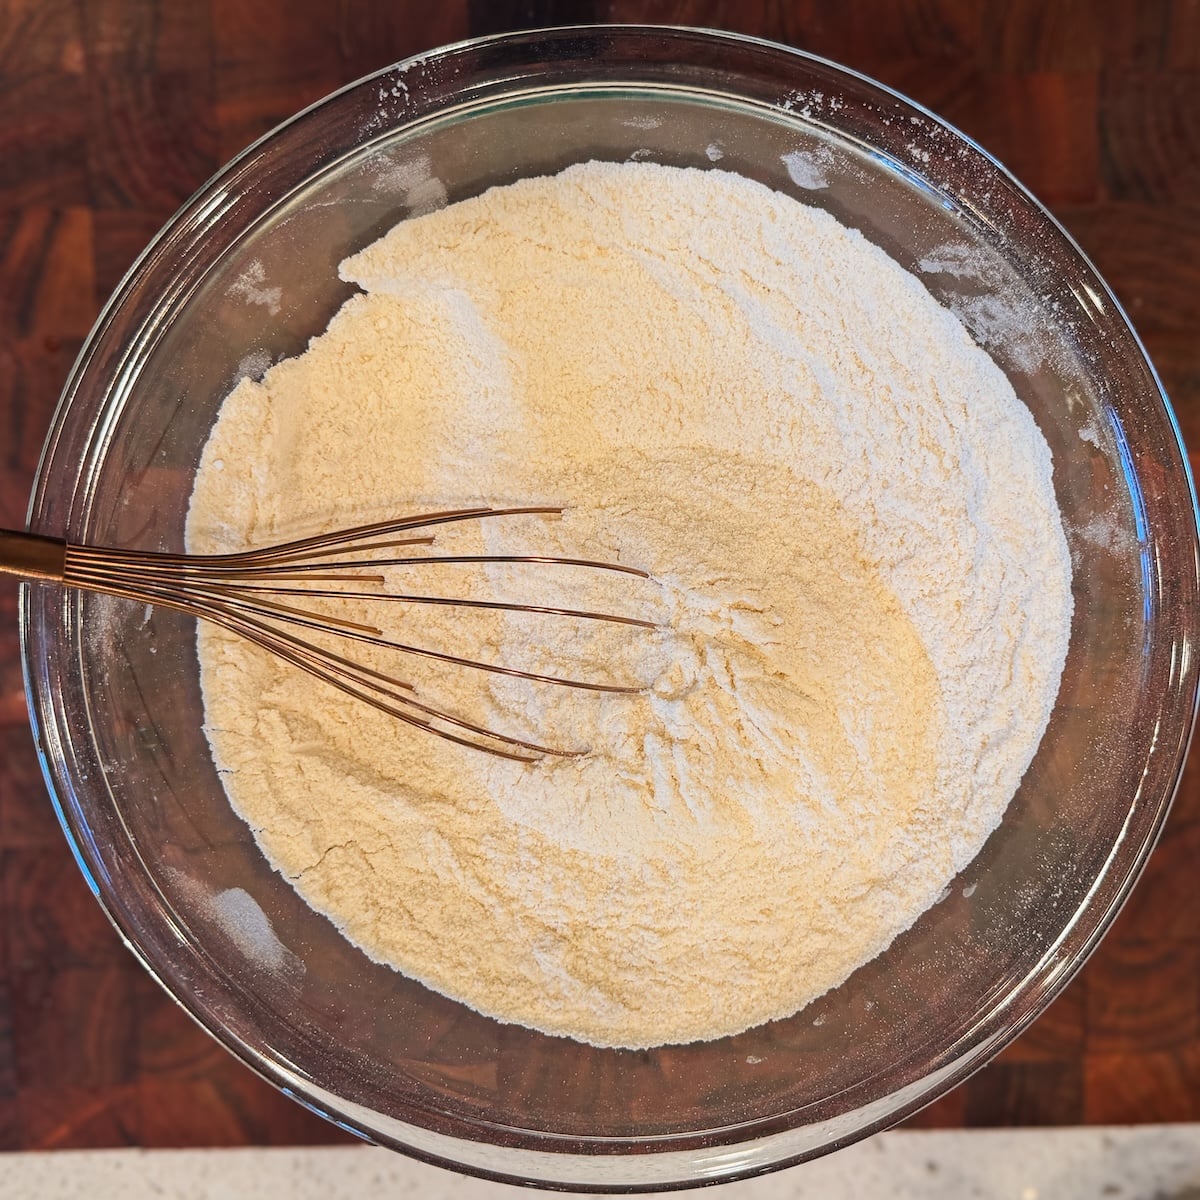
- In a large bowl, sift in the flour, and add the sugar, baking powder, baking soda and salt. Whisk the ingredients together thoroughly and ensure there aren’t any lumps
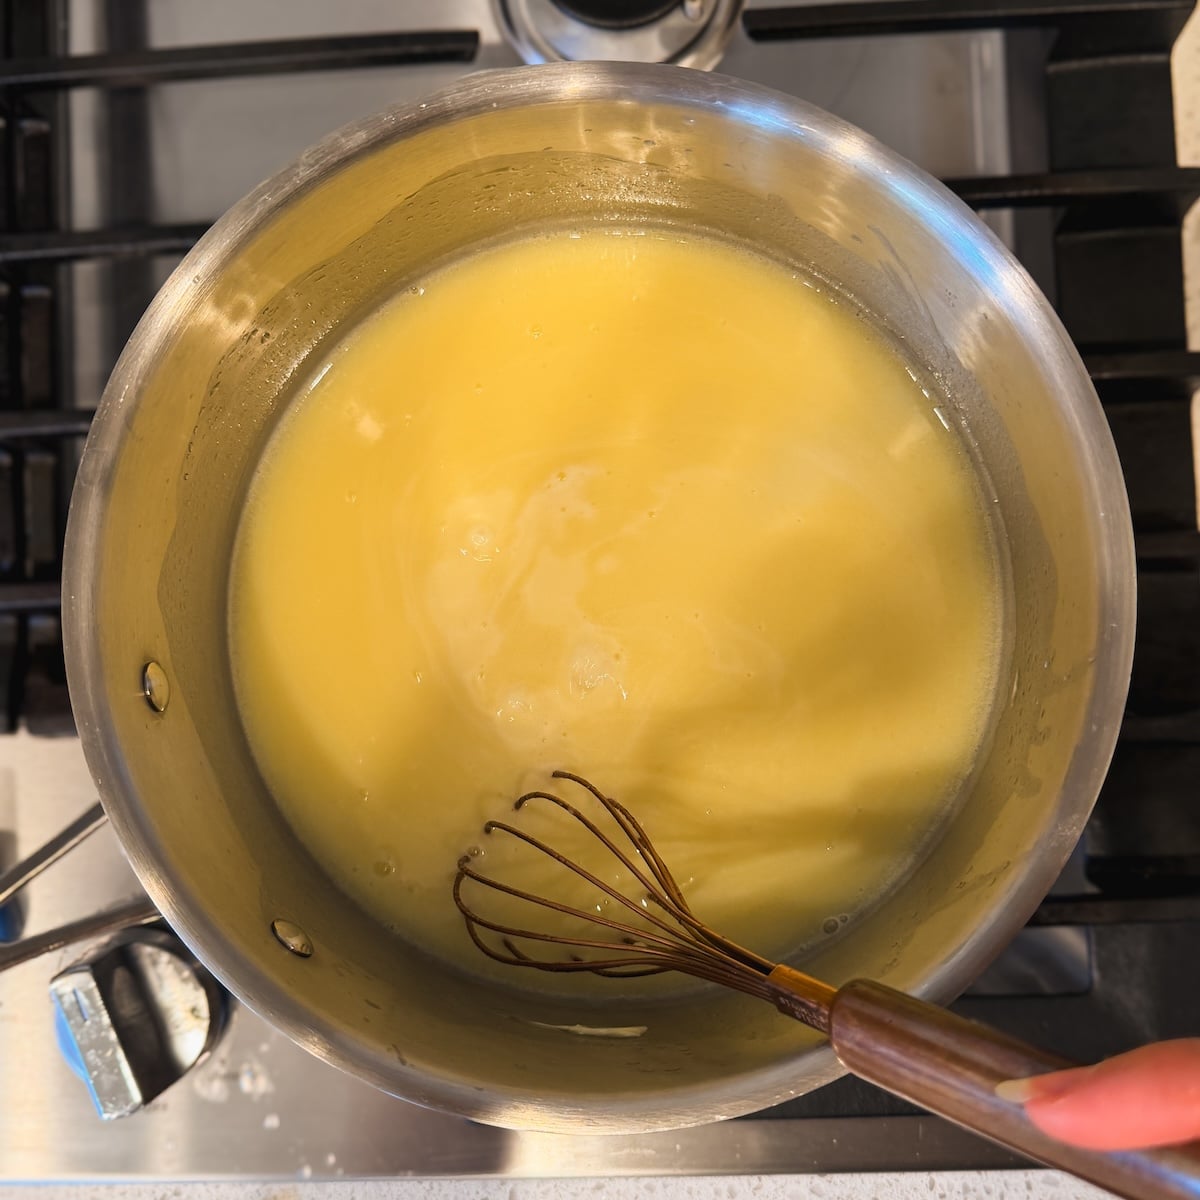
- In a saucepan, add the butter, vegetable oil, water, and white chocolate (chopped or chips). Place on the stove on medium low heat, and stir until the butter and white chocolate have melted. Once the mixture starts to simmer, cook and stir it for one more minute
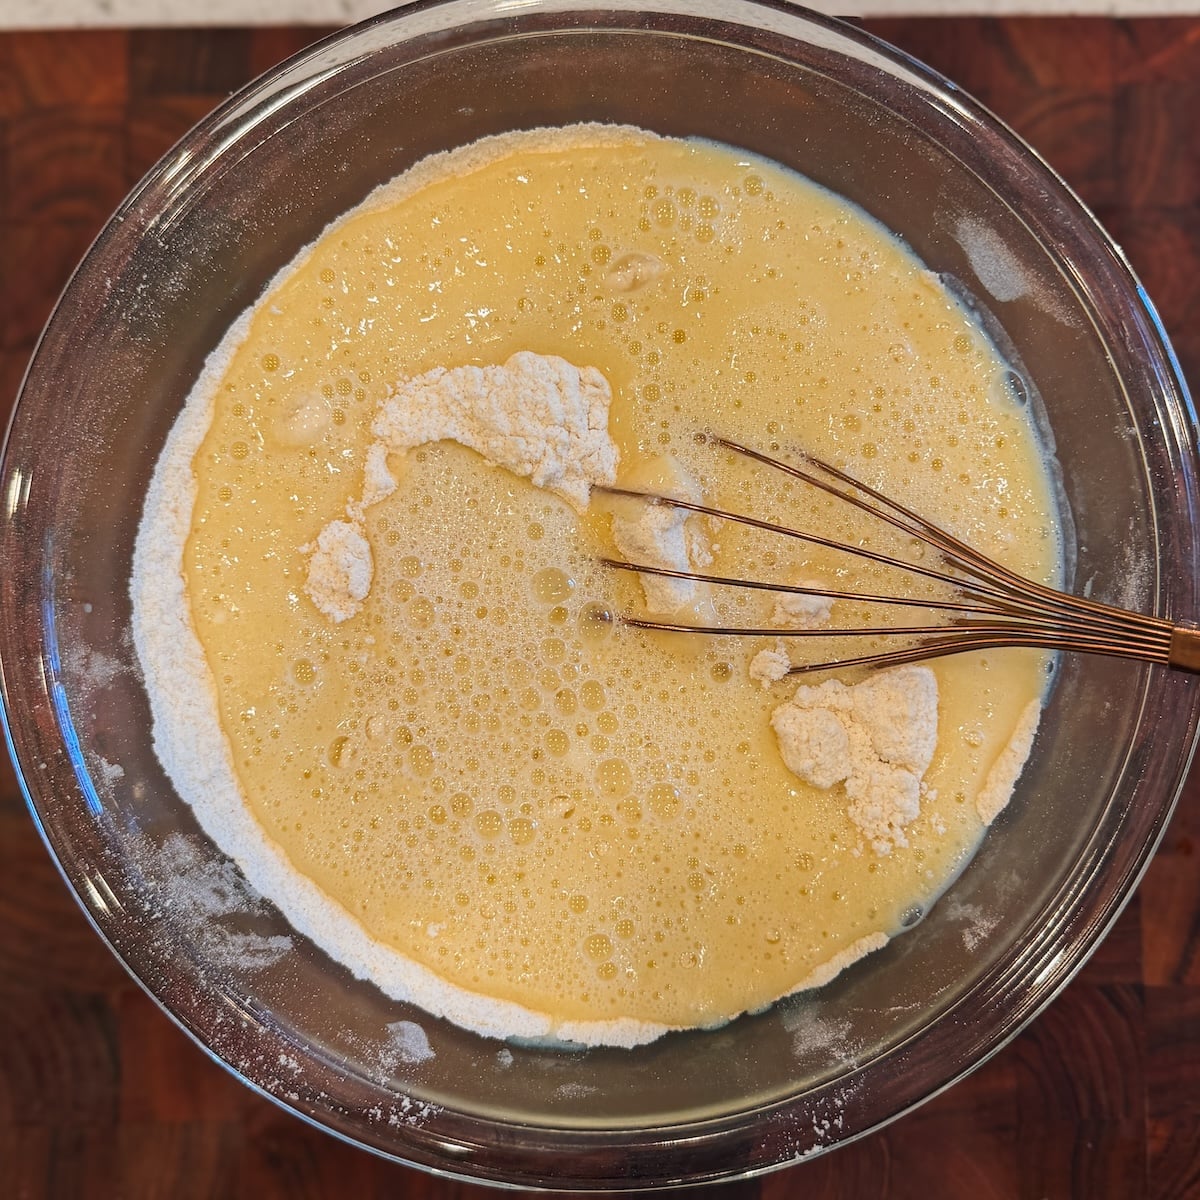
- Pour the hot liquid mixture onto the dry ingredients from step 2. Use a hand whisk to slowly and gently mix until the ingredients are just combined and no streaks of flour remain. Do not over-mix
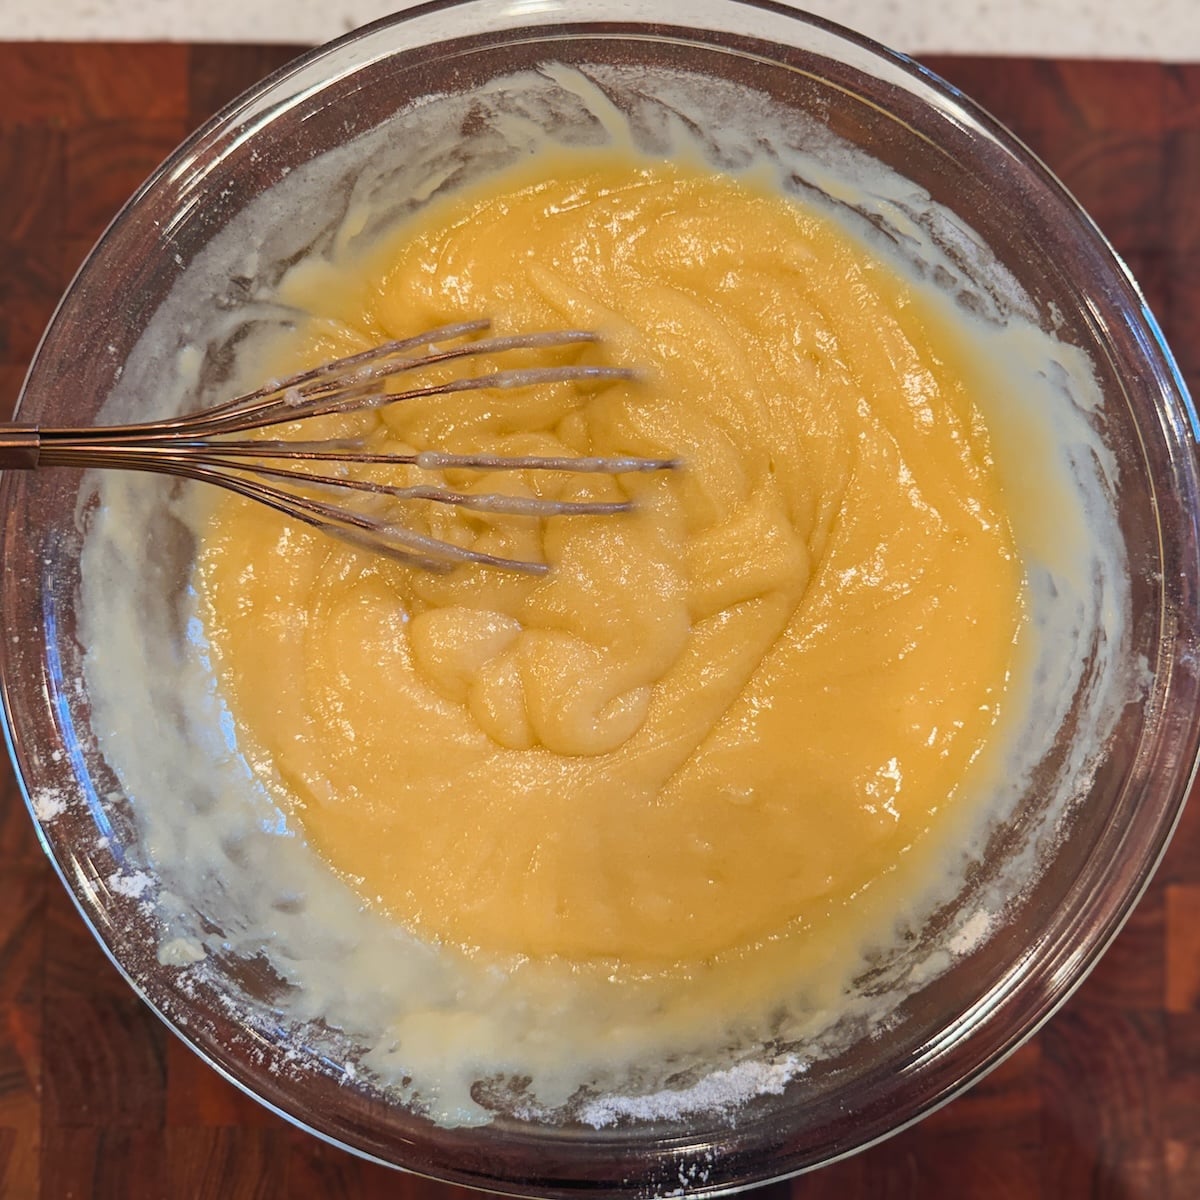
- In a glass, mix together the whole milk and vinegar. Add the milk and vinegar mixture, the eggs and vanilla bean paste to the cake batter. Slowly and gently fold until the ingredients are just combined. You should have a smooth vanilla cake batter now!
- Divide the cake batter evenly between the 3 8″ cake pans. I like using a scale to do this so all cakes bake at the exact same time. Tap the pans on your counter hard 3-5 times to release any large air bubbles
- Bake in the pre-heated oven for 18-20 minutes, or until a toothpick inserted in the middle of the cakes comes out with light, moist crumbs on it (no wet batter, but not completely clean either)
- Remove the cakes from the oven and let them cool in the pans for 10 minutes. Then carefully turn them out and let them fully cool down on wire racks. Don’t leave the cakes inside the pans after 10 minutes as they might develop crusts on the sides and bottom
Cream Cheese Frosting:
- Add the room temperature butter, cream cheese, vanilla, salt and sifted powdered sugar to the bowl of a stand mixer. Use the paddle attachment to whisk on medium speed for 2-3 minutes until the mixture looks smooth, fluffy and spreadable. Scrape the bottom and edges of the bowl once halfway through. Do not over-mix, as that can cause the frosting to become runny
- If the frosting is too soft / runny, refrigerate for a few minutes until it reaches a spreadable consistency
Assembly:
- Working one cake layer at time, carefully trim off the dome to level them. You may notice some holes in the cakes – don’t worry, this is totally normal!
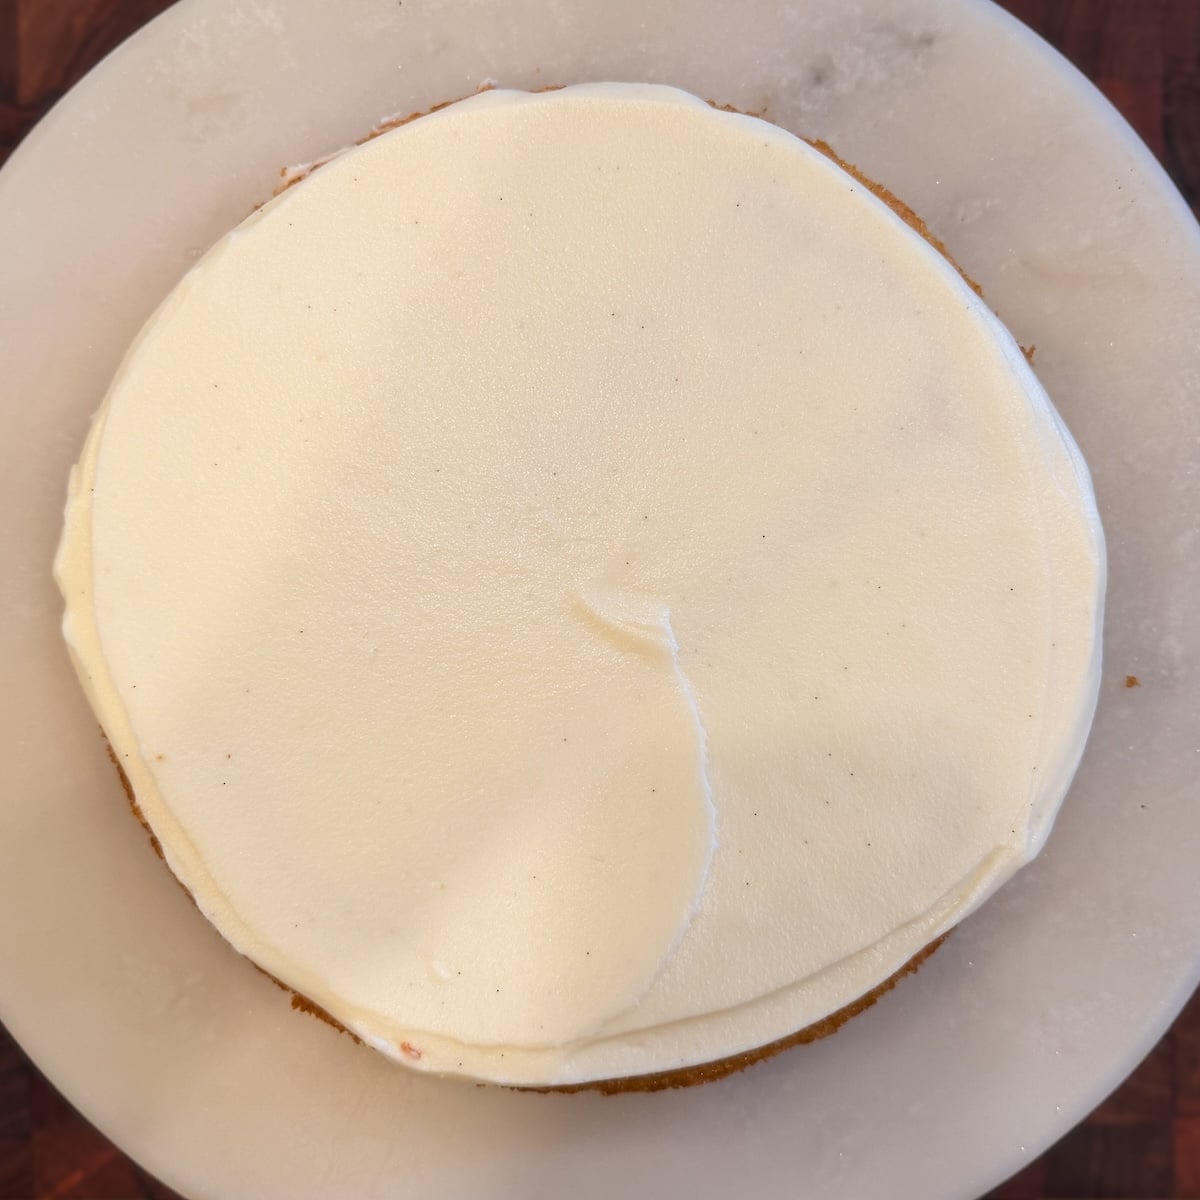
- Place the first layer on your cake stand or turntable. Slather with a generous amount of the cream cheese frosting and spread it evenly. Repeat until all three layers are stacked on top of each other
- Cover the cake with a thin layer of the frosting (crumb coat), spreading it as smoothly as possible. Refrigerate for 15 minutes
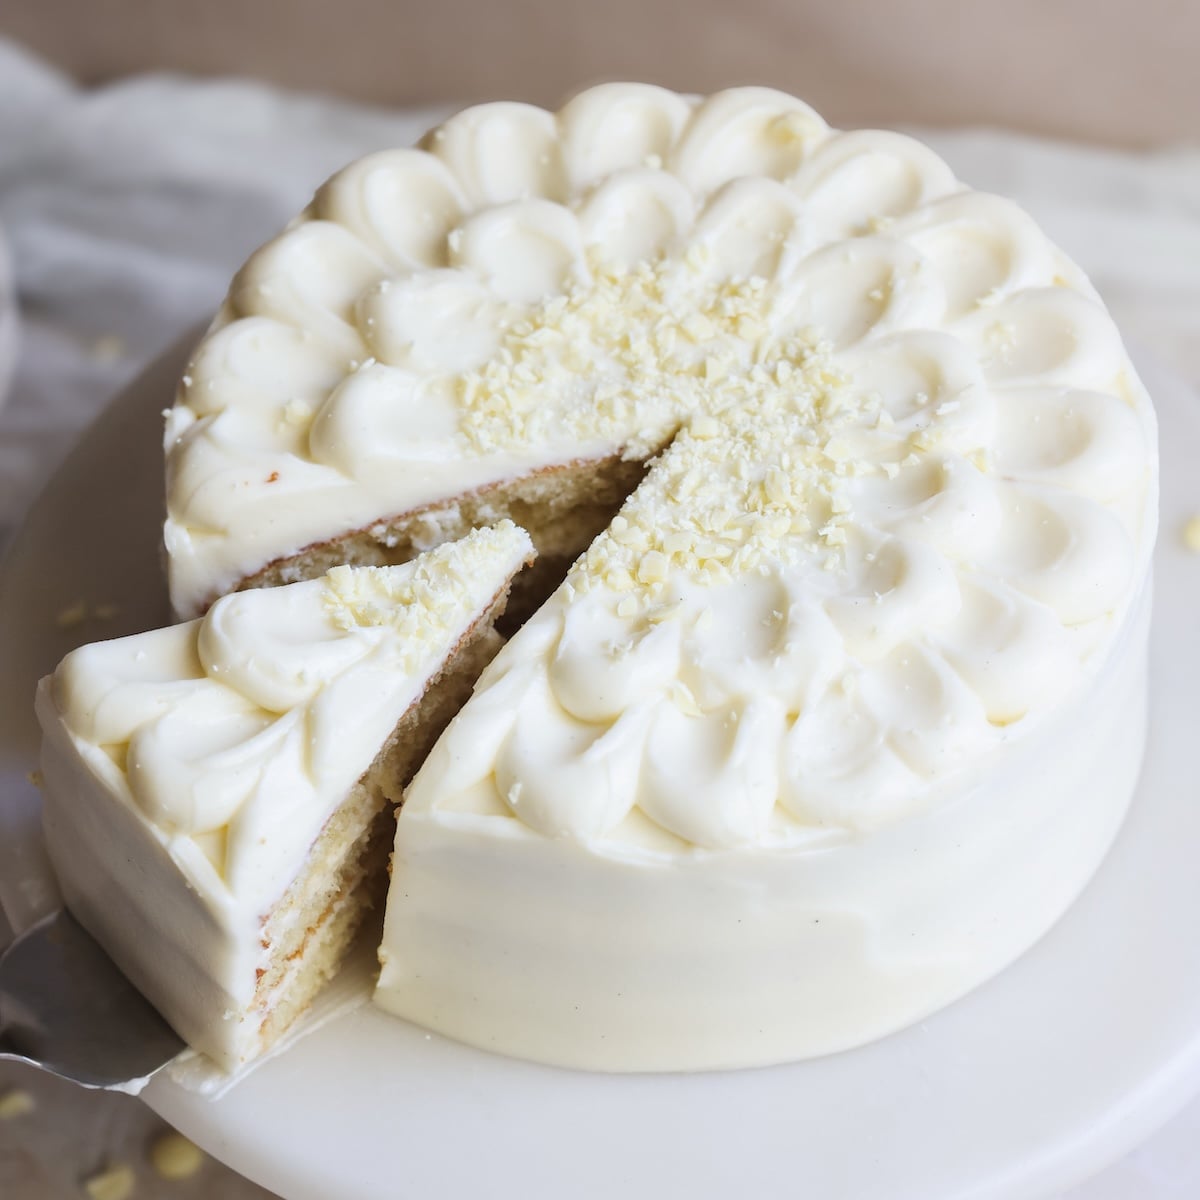
- Add the remaining frosting and decorate the cake however you like. I piped some dollops and garnished with white chocolate flakesServe & enjoy!
Video Tutorial
Notes
Make ahead: If preparing ahead of time, you can wrap the individual cakes in cling wrap and keep them in the fridge for up to 2 days. Then make the cream cheese frosting fresh, and frost the cake fresh. You can also keep the frosted cake, covered in a cloche, at room temperature for 1 day, or in the fridge for up to 2 days, before serving (you can even keep it longer, but this is the ideal window!)
Storage: Store leftovers in an airtight container in the fridge for up to a week, and let the cake sit at room temperature for 15 minutes before eating.

Comments
Emi
Loved this recipe! It was so moist and delicious which is really hard to find for a homemade from scratch recipe! It is a new family favorite!
Zoha Malik
Emi, you have no idea how much that means to me! Thank you so much!
Jennika Jones
My family devoured this cake recipe which I followed precisely, except I used my own frosting recipe. The cake was moist and light-ish. For my personal preference, it was lacking in flavor. I could taste neither a vanilla cake nor a white chocolate (essentially also vanilla) cake. I wondered if the vinegar amount of a full tablespoon was too high. Im not a professional baker so I don’t really know food science but I’m going to try to improve upon this recipe to suit my own taste a little better. The texture was perfect.
Zoha Malik
Thank you for the review, Jennika! I wonder what kind of vanilla you used?
Sam
Hi! I never really liked vanilla cake recipe as much as I wanted to. But I love your recipes so I’m giving this a try! I was wondering why a chantilly whipped cream doesn’t go well with this? Or is it just that the cream cheese frosting goes better? I was planning on making this and using you recipe for Chantilly whipped cream. I’d love to know why one worked better than the other so I can decide which to go with!
Thanks
Zoha Malik
Hi there! They both work – they’re just different. You can def try Chantilly whipped cream (see the recipe for my no bake berry chantilly cake for that). It will be lighter and less sweet
Becky Rudella
I haven’t tried this recipe yet, but I’m giving it 5 stars for your perseverance in creating what seems like a delicious vanilla cake. Just wondering — did you test buttermilk instead of whole milk/vinegar? If so, I’d love to know the results.
Zoha Malik
Hi Becky! Thank you so much for the kind comment. I use a mixture of milk and vinegar as I don’t love buying ingredients for one off recipes. Additionally, we have a little extra vinegar here, like red velvet cake, to help achieve that texture 🙂
Fatima muhammad
I was looking for sponge recipes then I came across this..I have been baking for 3 years now but I’m still scared of doing it 😂may we please get a video?
Zoha Malik
Hi! There’s a video in the recipe card above 🙂 you can do it!
Maryam Bhayat
Can this recipe be made into cupcakes?
Zoha Malik
Yes! They turn out delicious!
Sonakshi Bansal
The recipe is great! Though, I was wondering if whipped caramel would pair well with it?
Zoha Malik
It’s a really yummy base vanilla cake, you can definitely play around with different frostings and fillings 🙂
Linda Waltho
Loved this recipe
Zoha Malik
Thank you Linda!!
Safia Bacchus
Can I use this recipe for vanilla cupcakes? If so, what’s the baking temp and time?
Zoha Malik
Hi Safia! Yes. Time depends on the size. I baked for about 18 minutes
Denise
Can’t wait to make this! Can I use the Ghirardelli white wafers for the white chocolate? Also can I use 2- 9 inch cake pans, and what adjustments need to be made?
Zoha Malik
Yes to Ghirardelli! I recommend 3 pans because thinner cakes bake up softer. But if you don’t have a choice, 2 9” pans work too. You can serve it as a 2 layered cake with a thicker frosting!