

This post may contain affiliate links
Add Bake with Zoha as a preferred source on Google and find more of my tried-and-tested recipes.
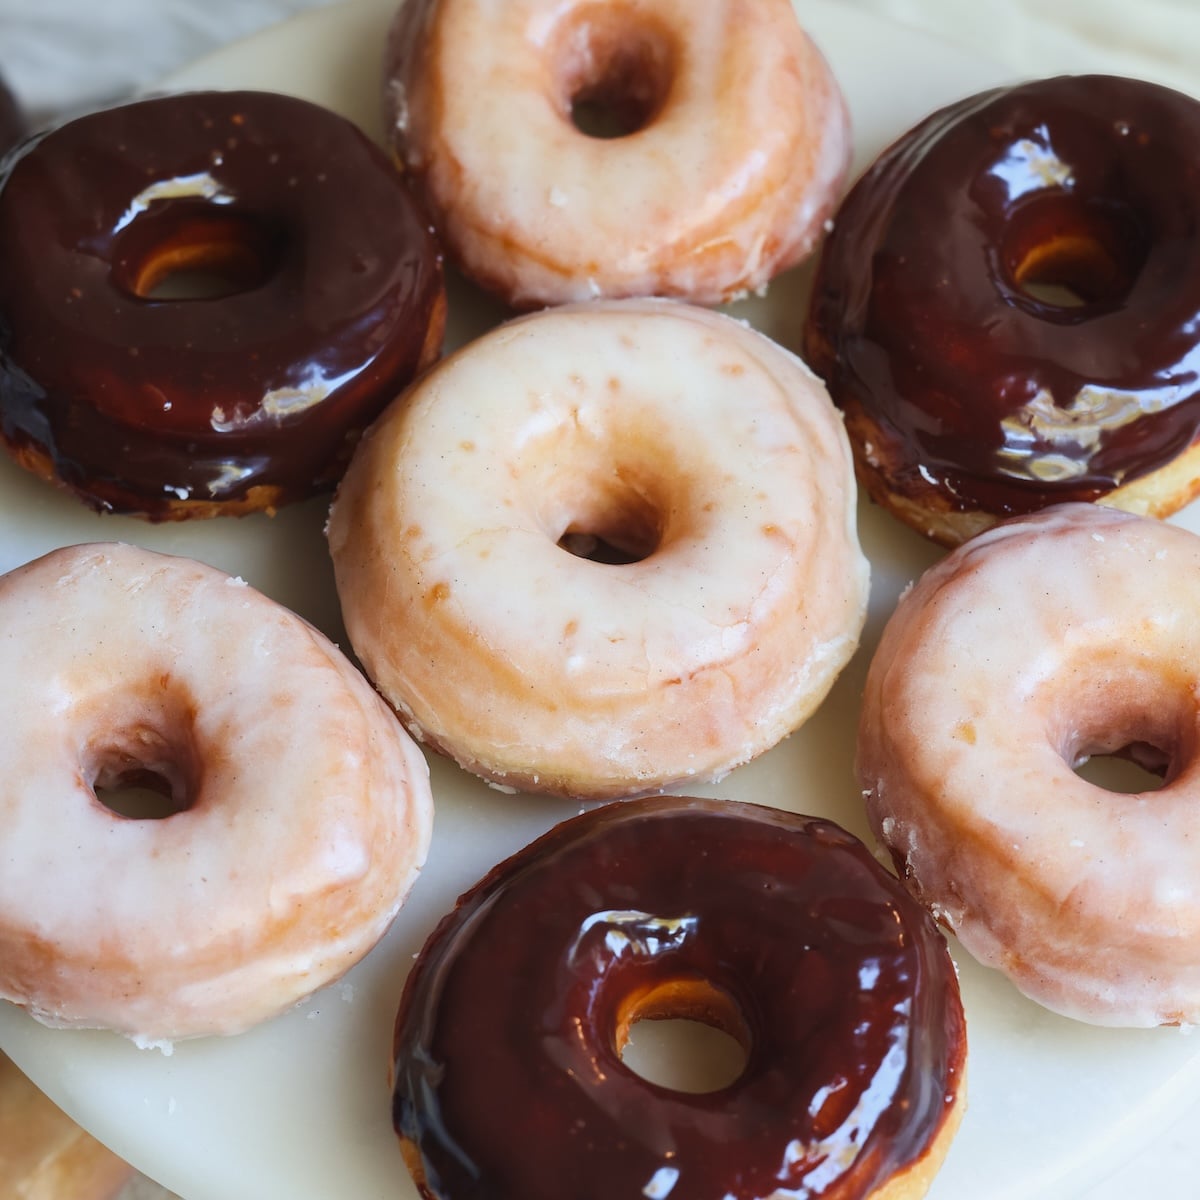
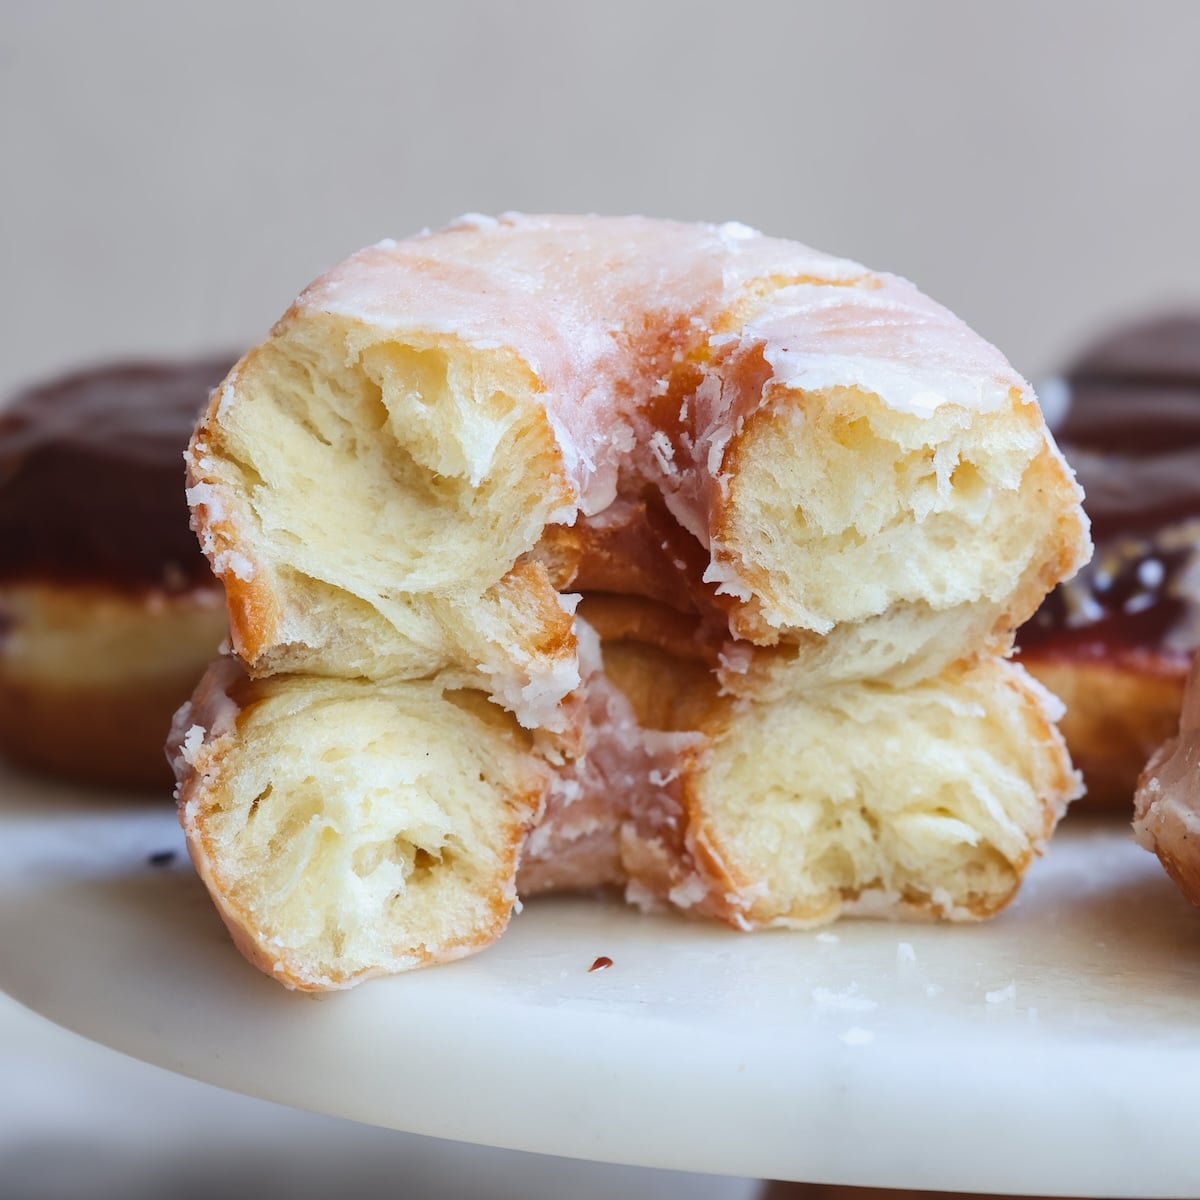
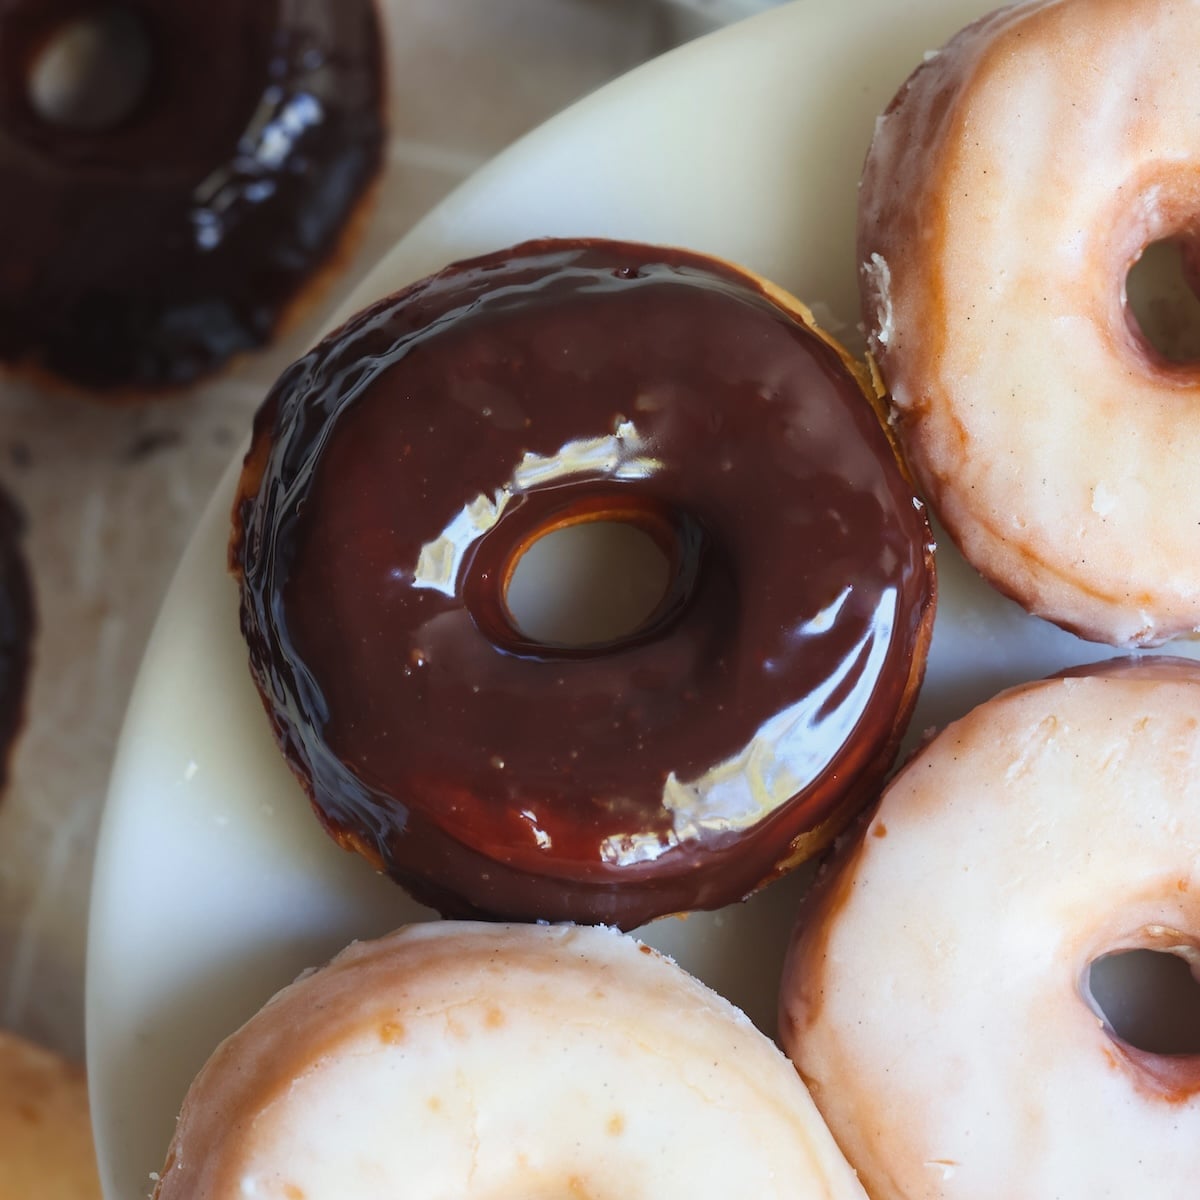
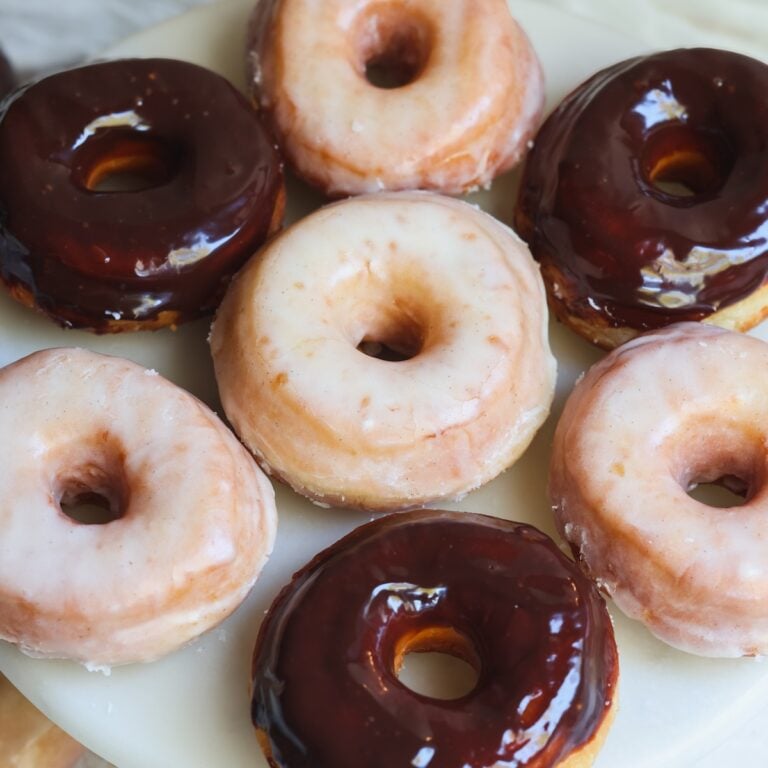
These Brioche Donuts are the result of 2 years of testing. I made them every month for my son’s milestone photos, tweaking and perfecting every detail until I got them just right – and I can genuinely say they’re unlike any donut I’ve had. The secret is an enriched brioche dough with a higher quantity of butter and eggs than most donut recipes. This gives the donuts a delicious buttery flavor and tender, melt-in-the-mouth texture while still being light and pillowy soft – just like brioche bread! Covered in either a classic vanilla glaze or a rich chocolate glaze, they taste every bit as good as they look and, unlike most bakery donuts, are not too sweet.
The oil temperature is make or break
This might be surprising for you to learn, but the single most important thing in perfecting this donut recipe (or really any donut recipe) is getting the temperature of the oil right. Most recipes call for 350F, but my hot take is that is too hot. When the oil is hot, the donuts cook quickly and form a crispy crust on the outside, which doesn’t allow them to rise fully. This results in dense, undercooked centers and an unpleasant dark color on the outside. If the oil is not hot enough, on the other hand, the donuts can take so long to cook that they become greasy.
The perfect medium? 320-330F. Monitor the temperature with an oil thermometer and adjust the flame as needed to keep it in that range – and your donuts will puff up beautifully while developing a golden crust.
Frying a test donut is non-negotiable
Normally I’d say I *recommend* frying a test donut first, but for this recipe I’m saying it’s mandatory. Different factors like your burner, pan size, amount of oil and kitchen temperature impact how quickly your donuts fry, even if you’re regulating the oil temperature. Frying one test donut first will give you an exact idea of where you need to keep the flame and how long you need to fry to get the perfect cook.
Step by step photos
Let’s quickly go over the steps with photos to help you visualize this donut recipe.
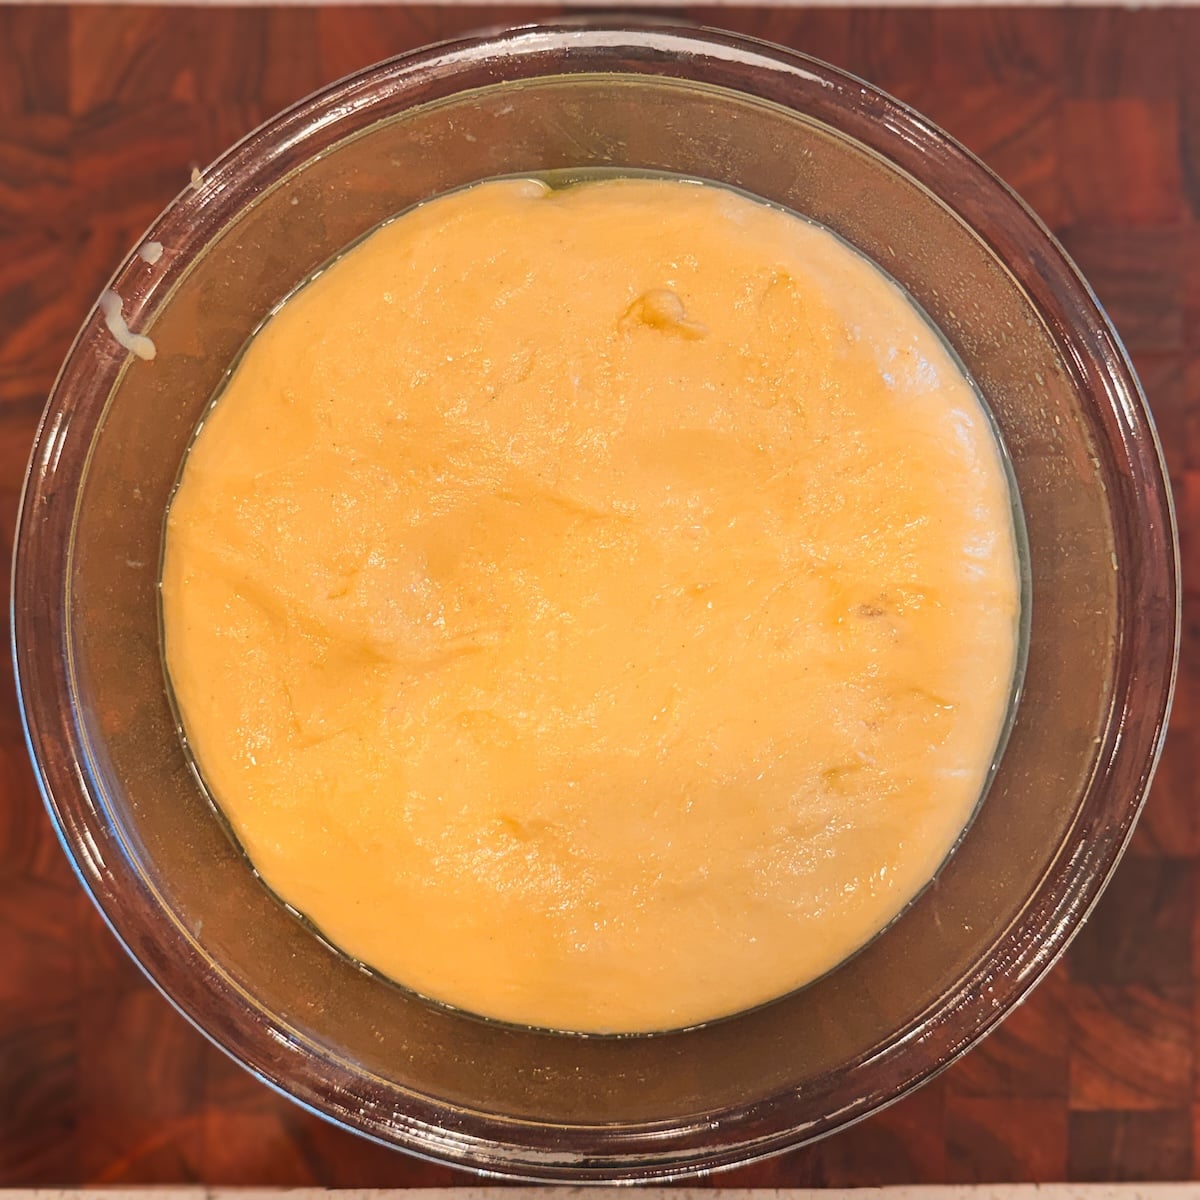
1. Knead and first rise
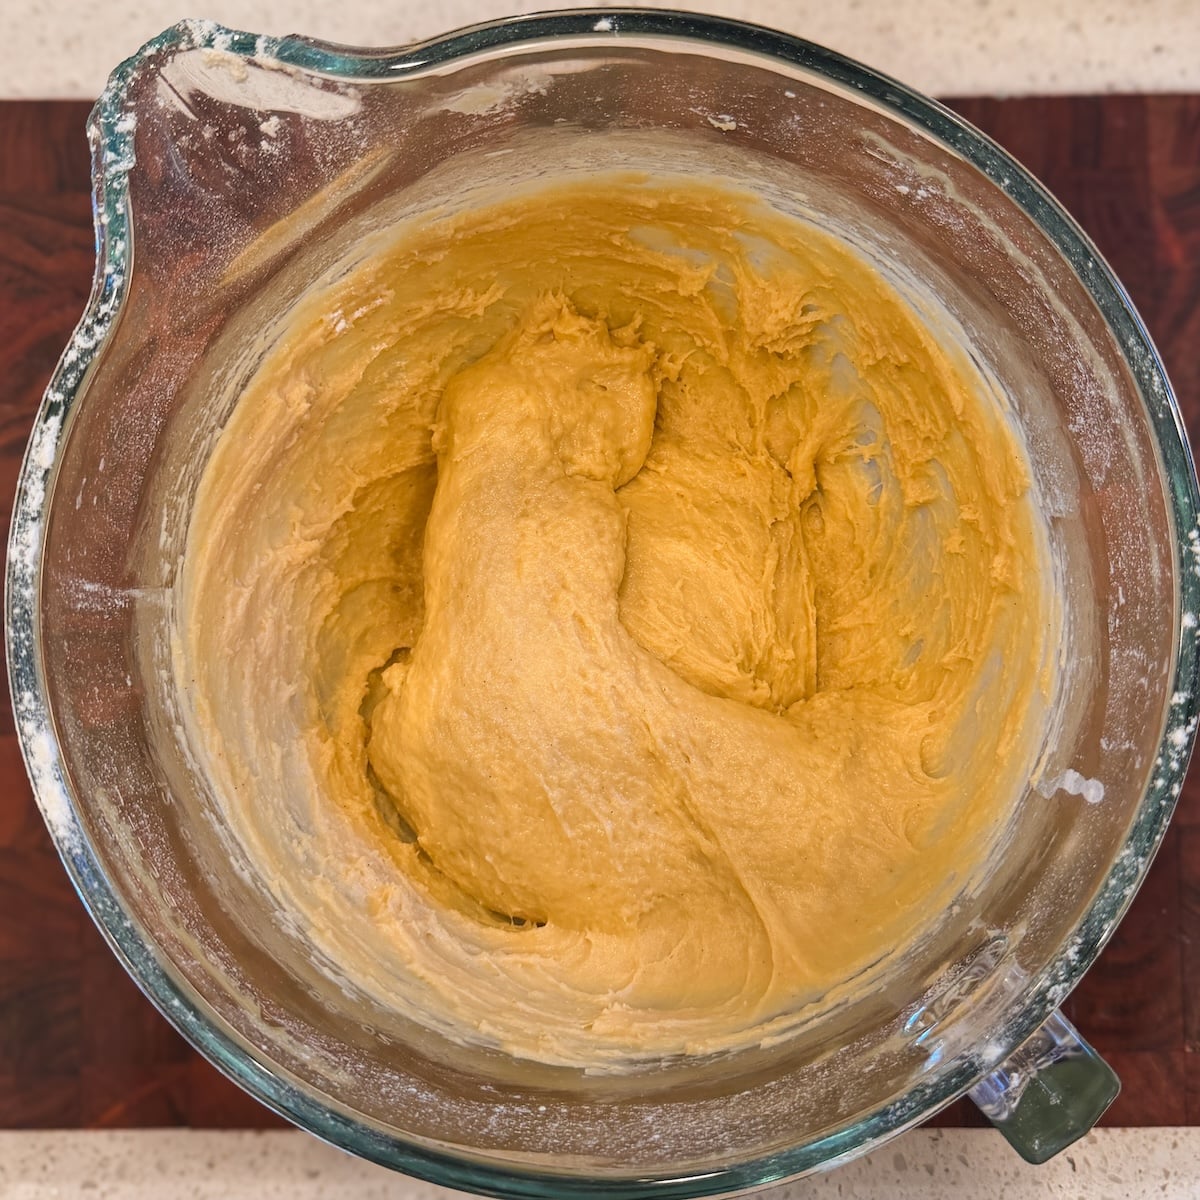
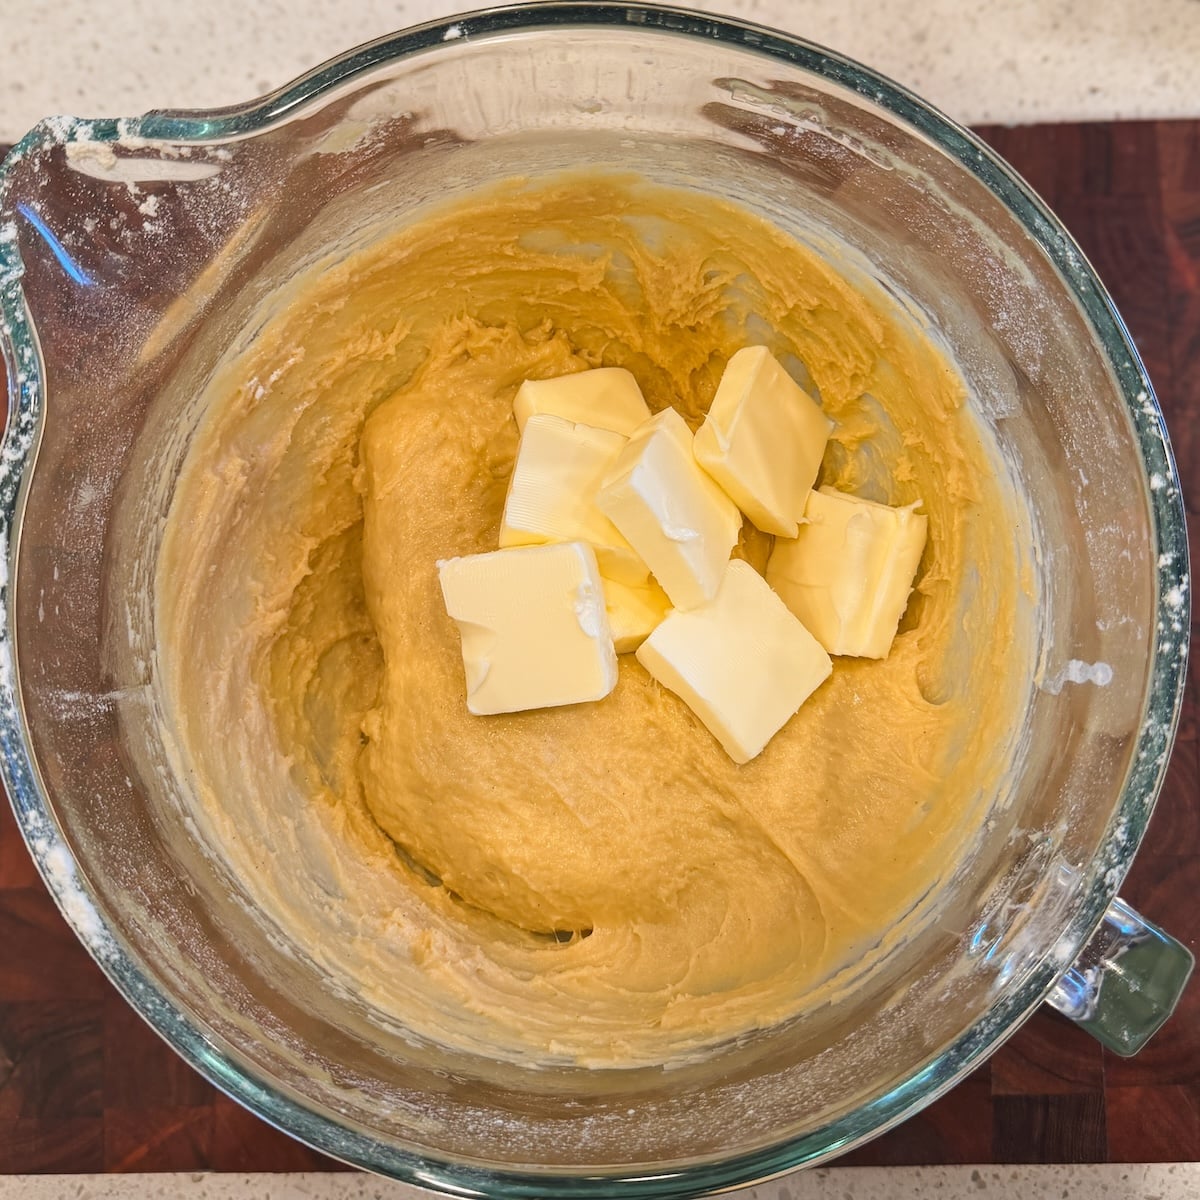
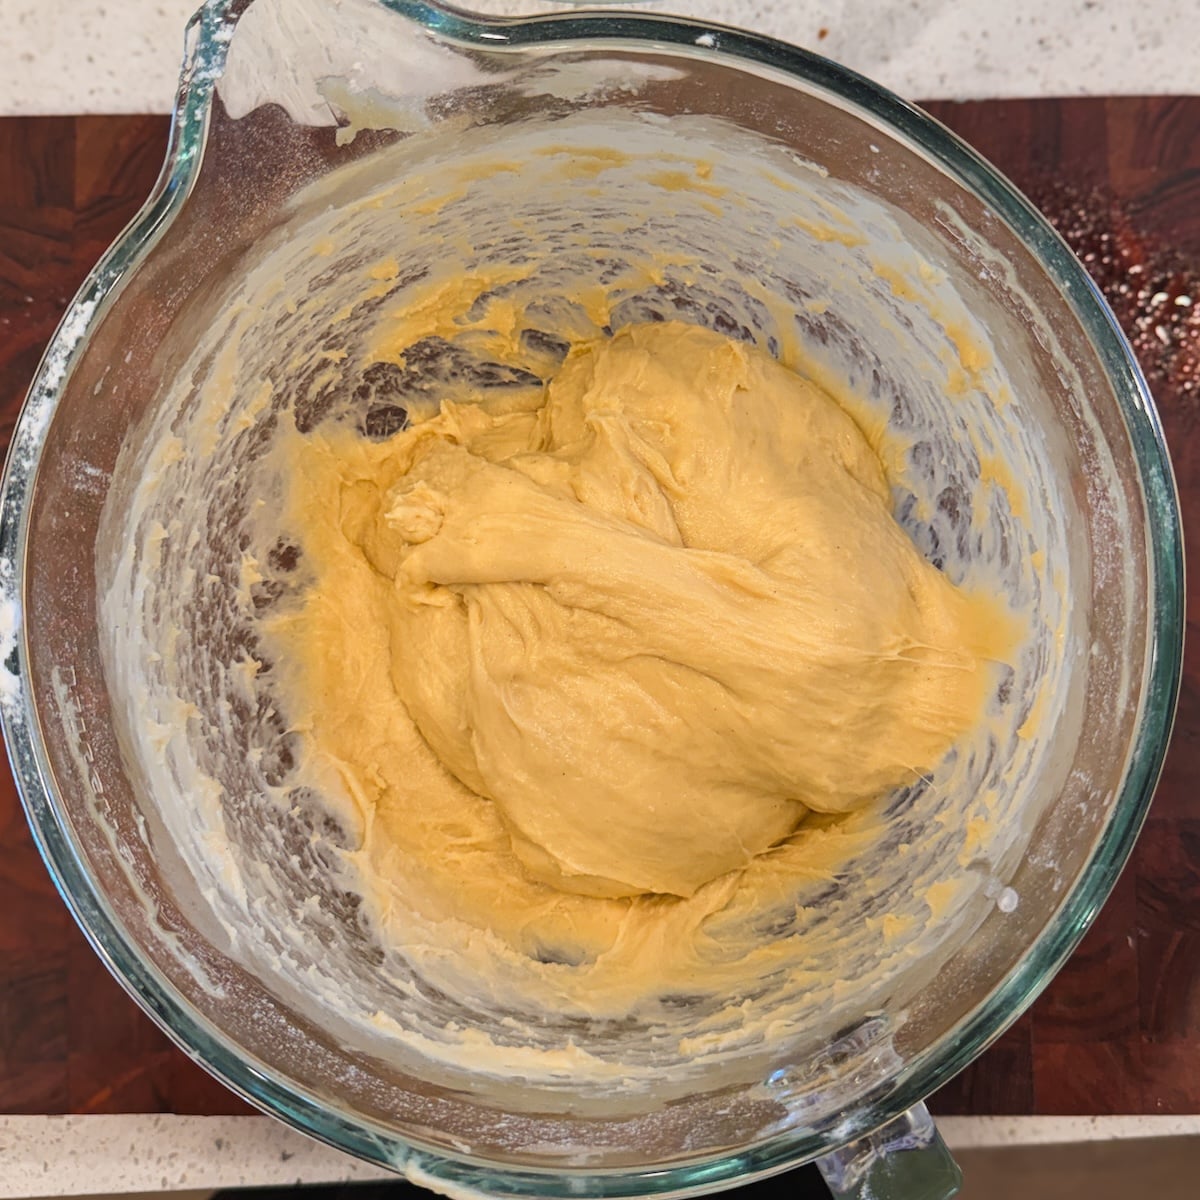
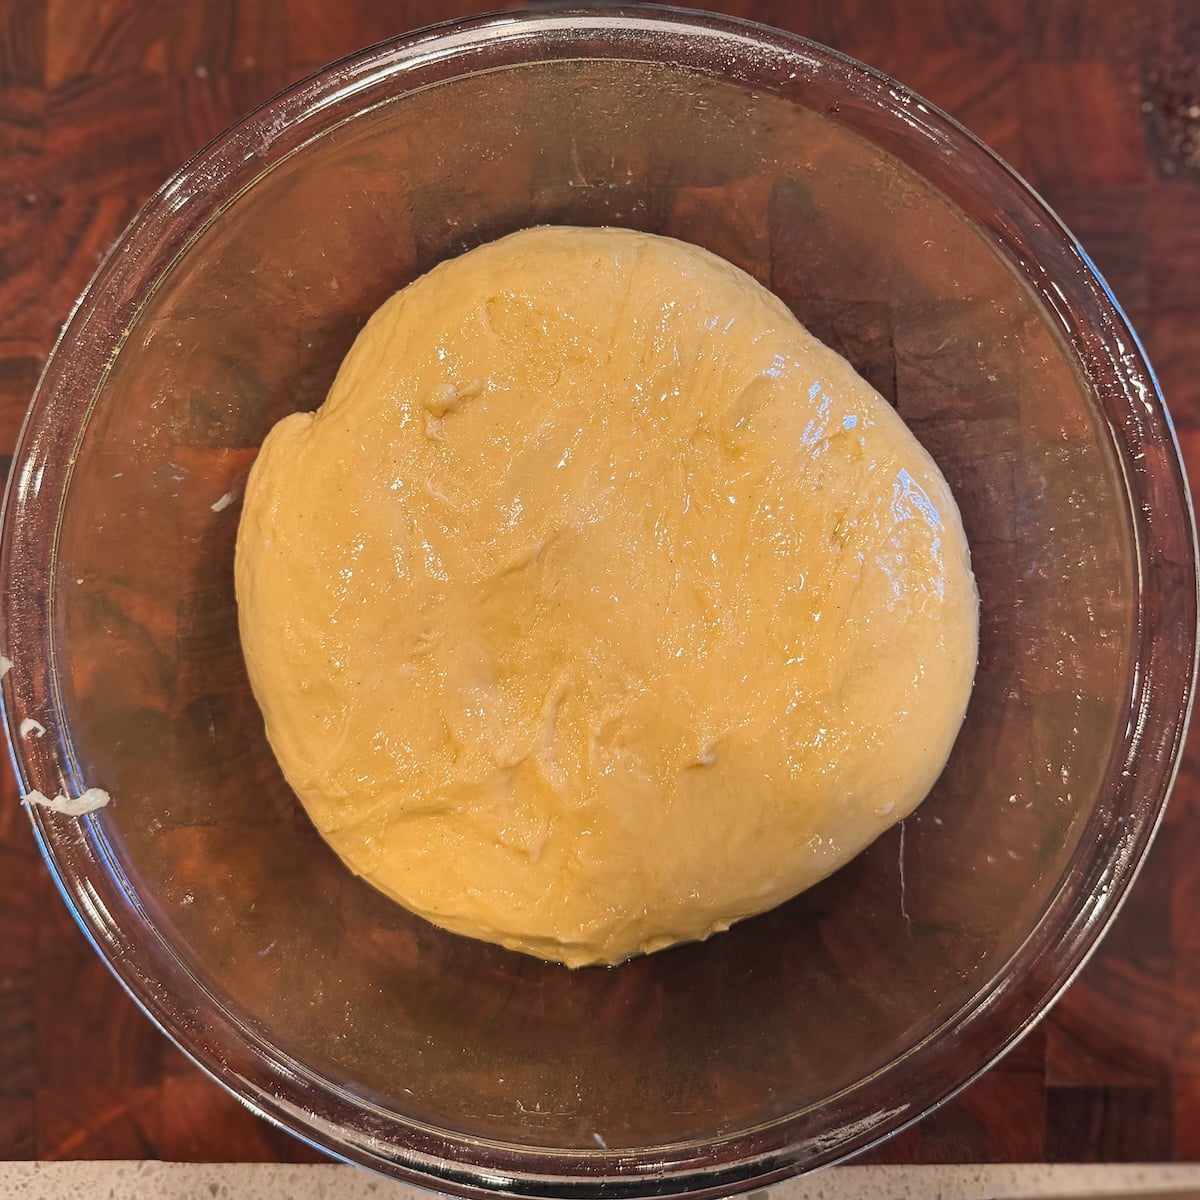
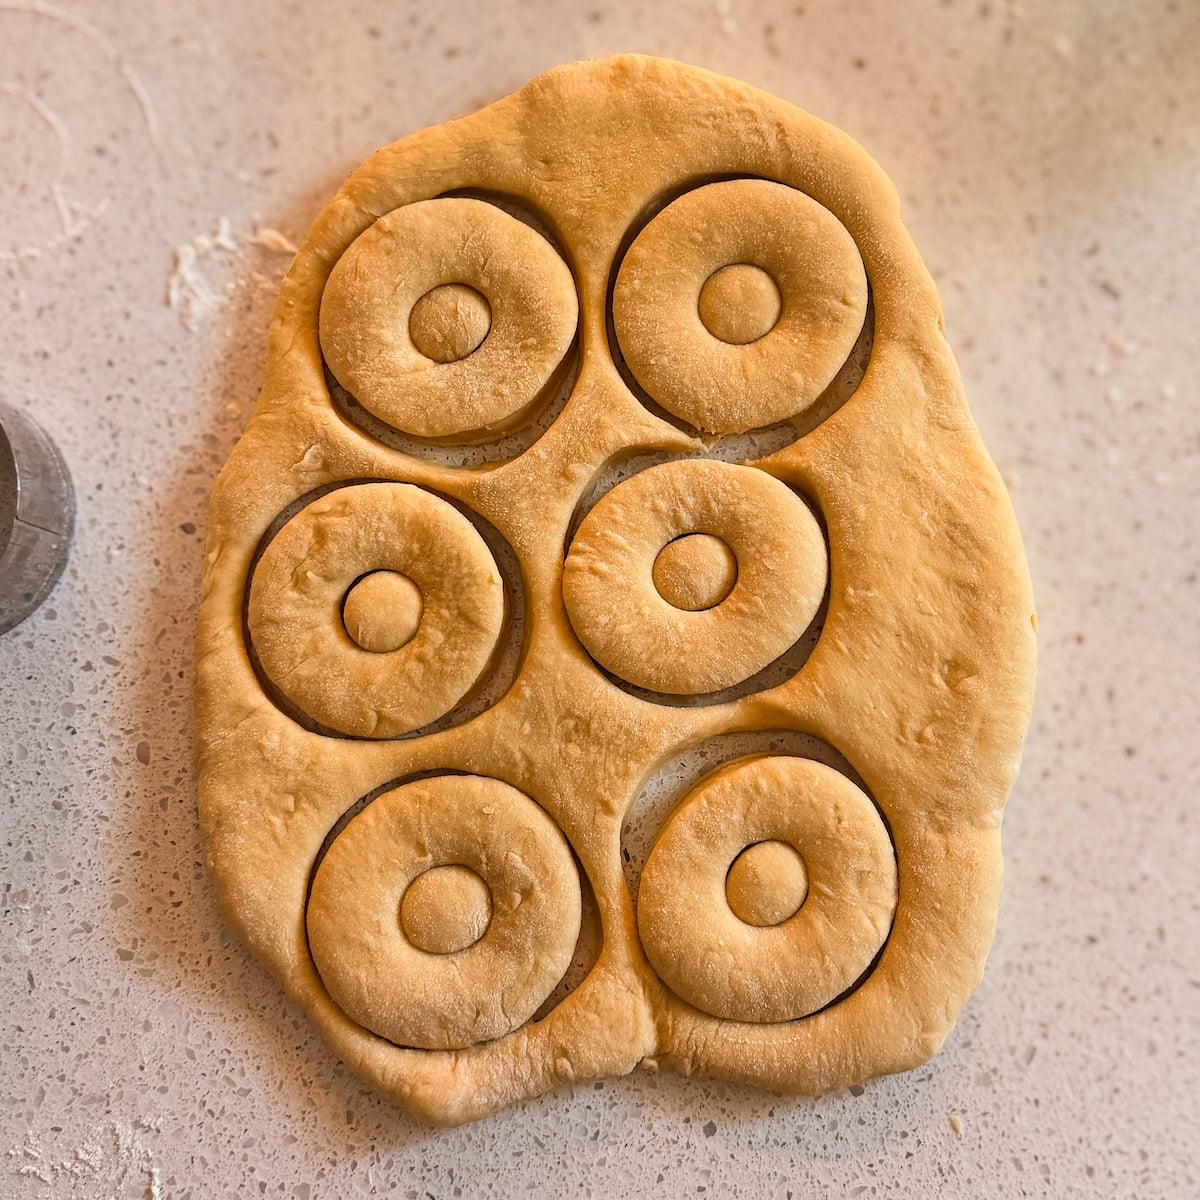
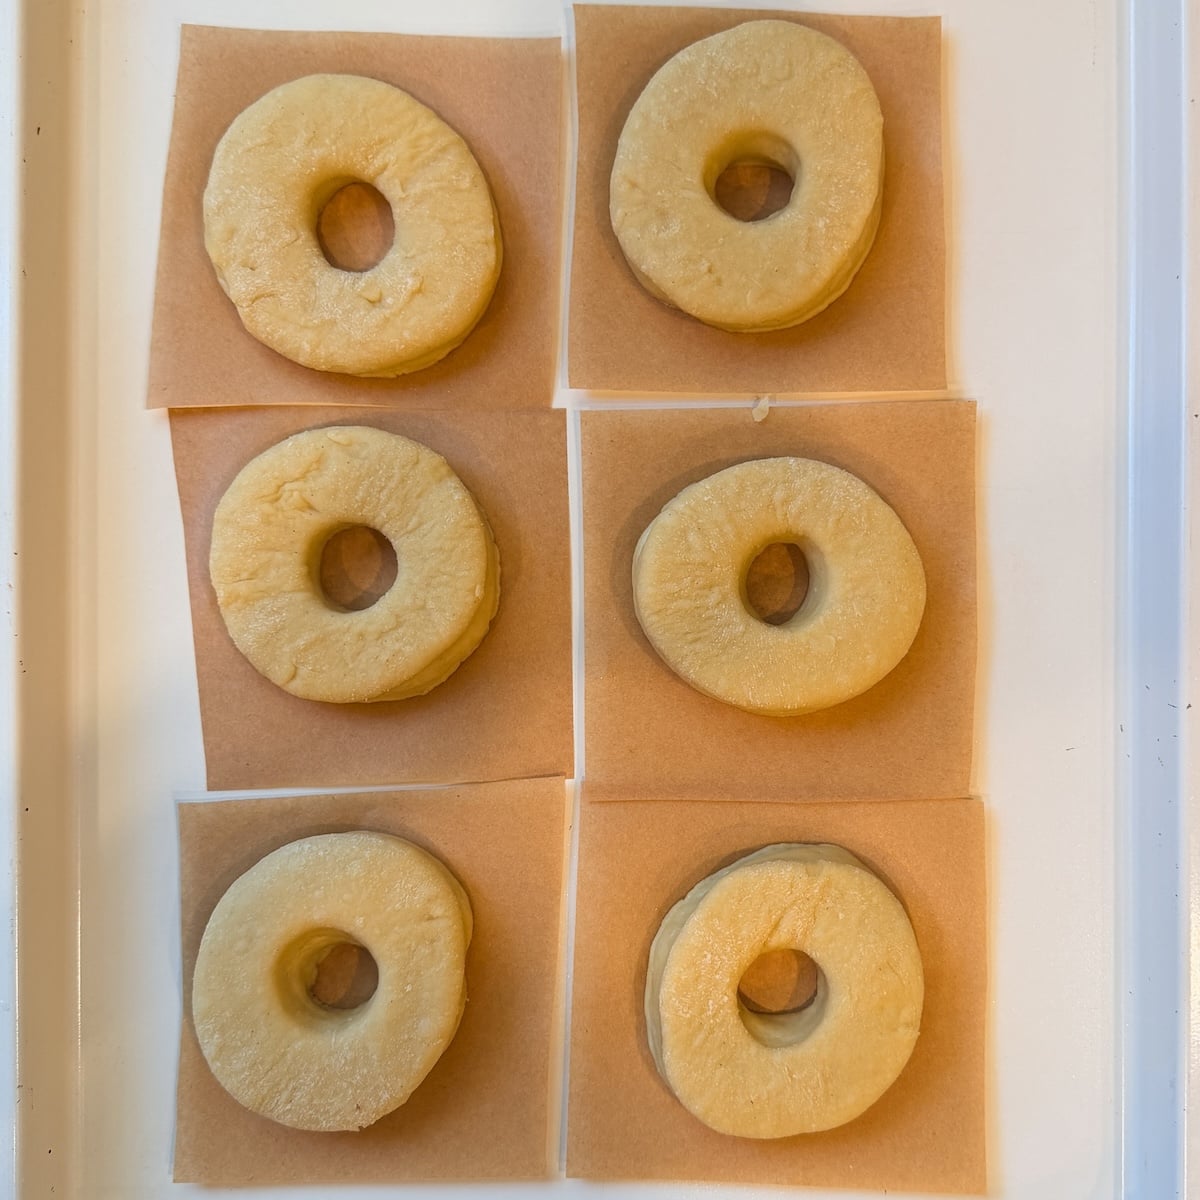
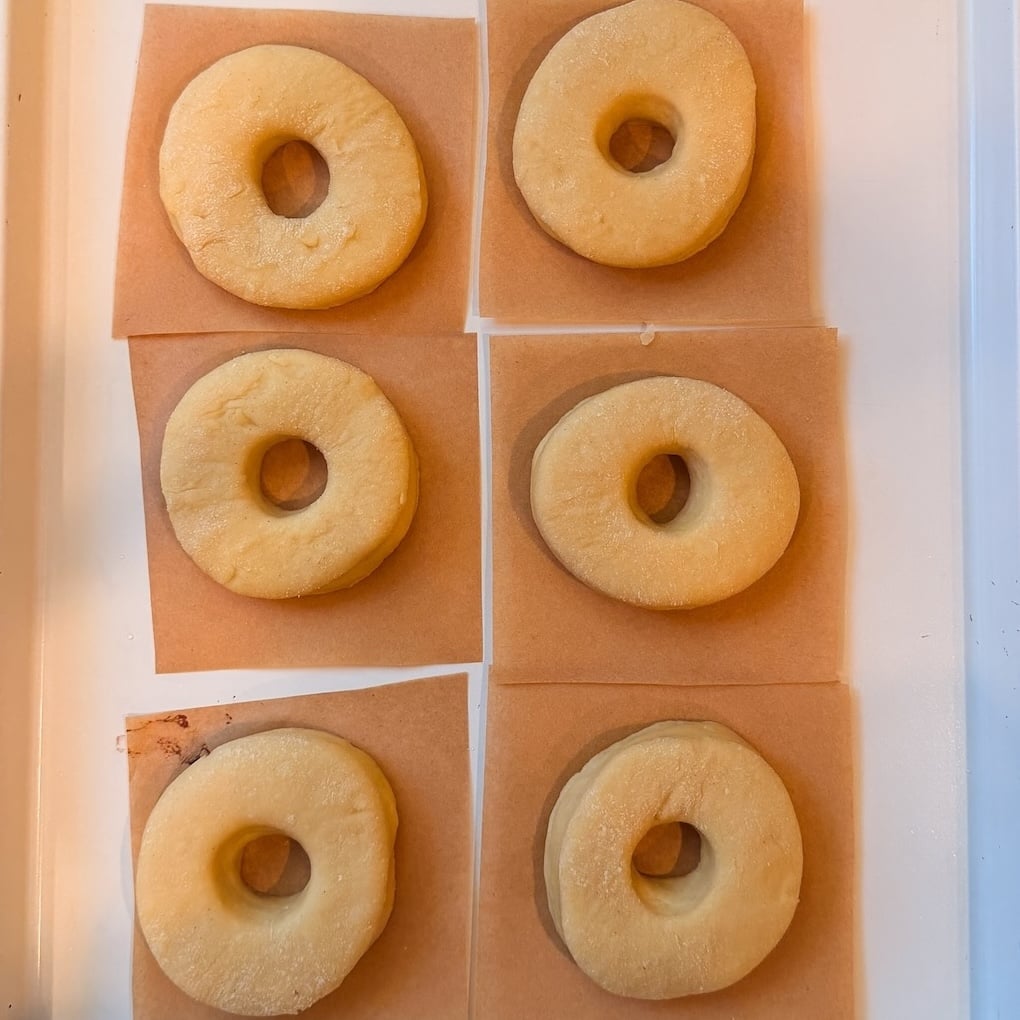
2. Shaping and second rise
3. Frying
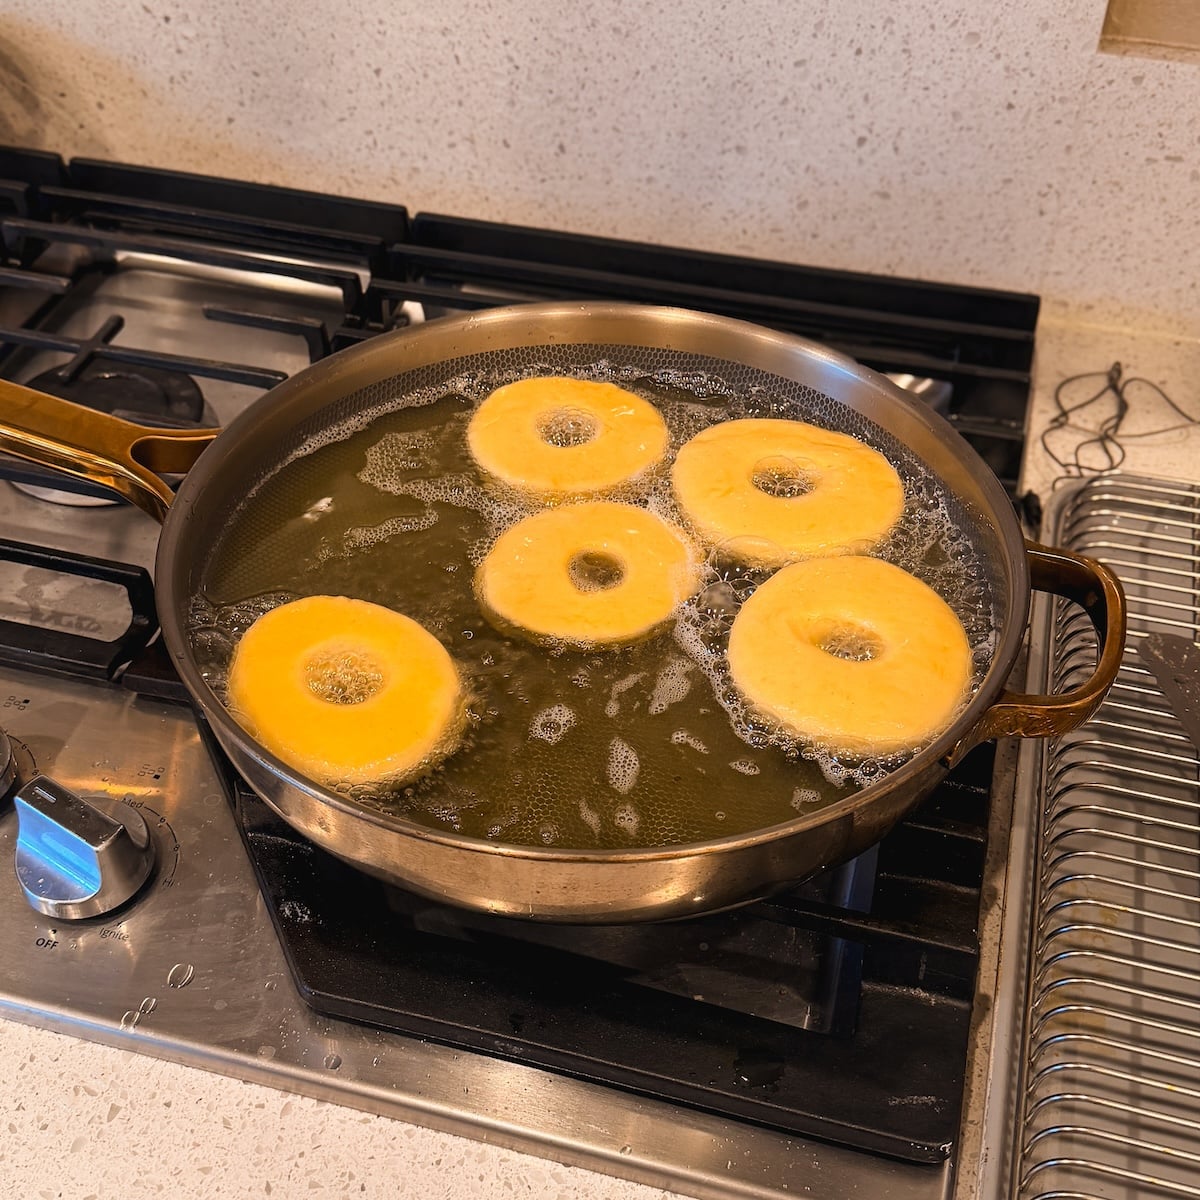
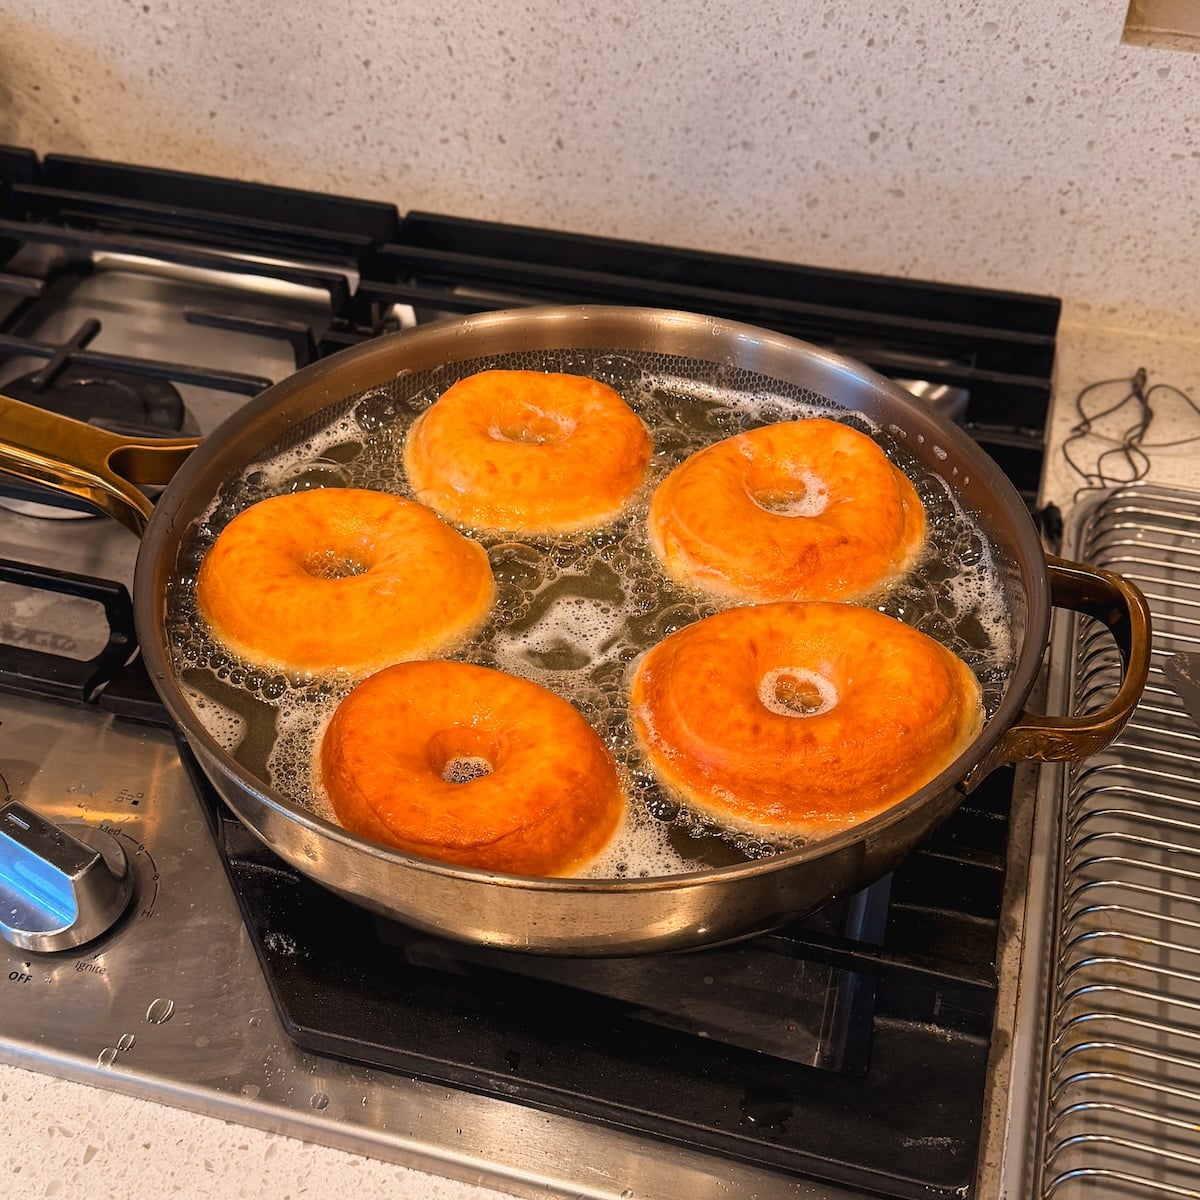
4. Glazing
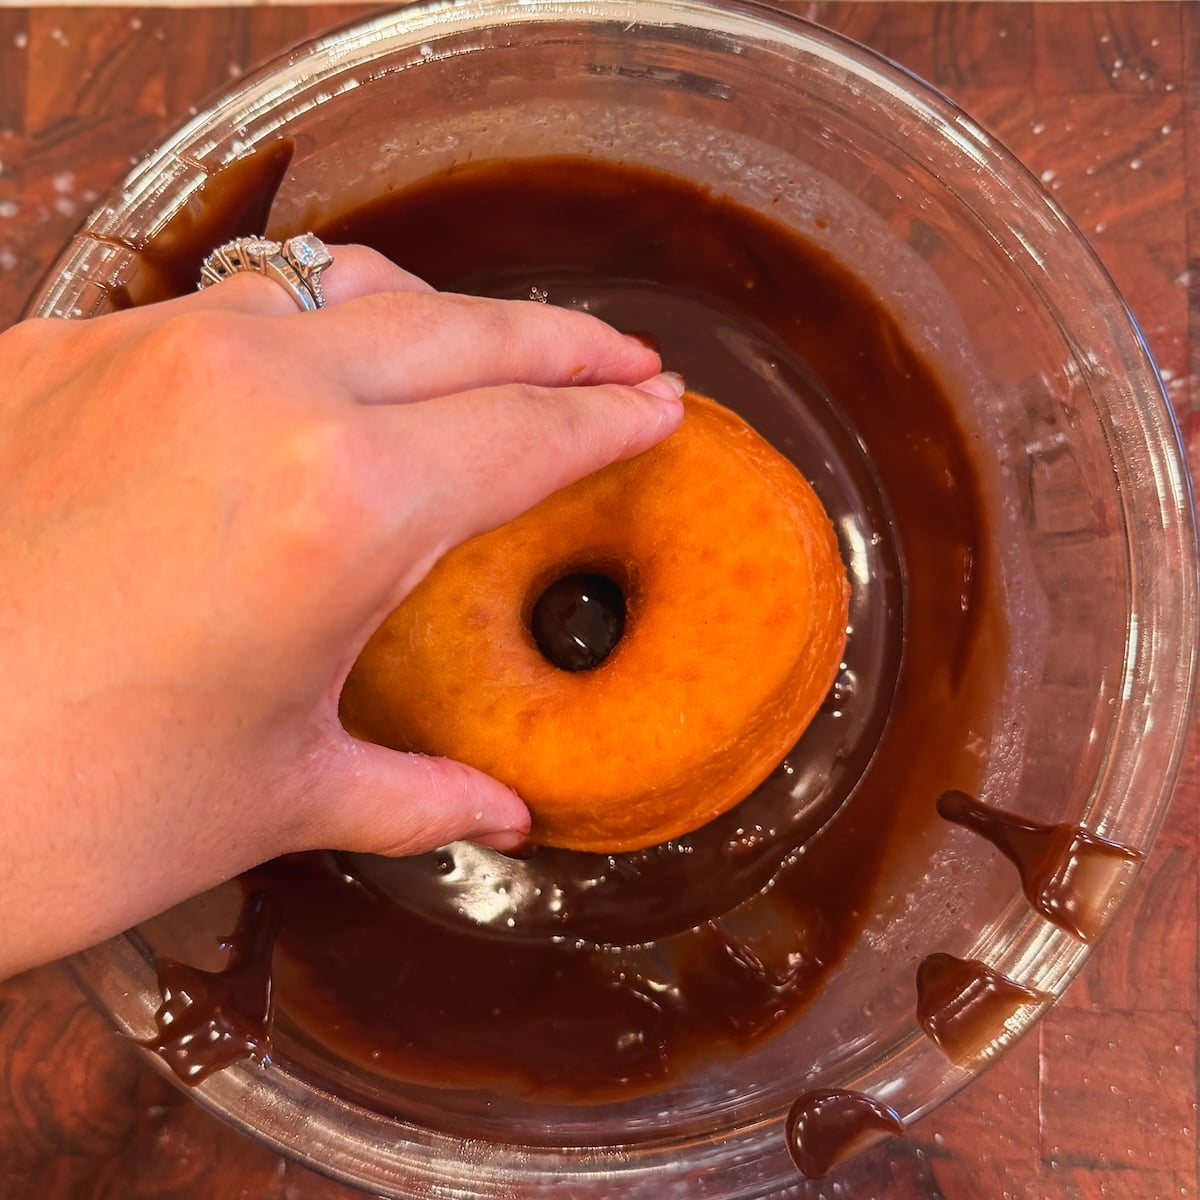
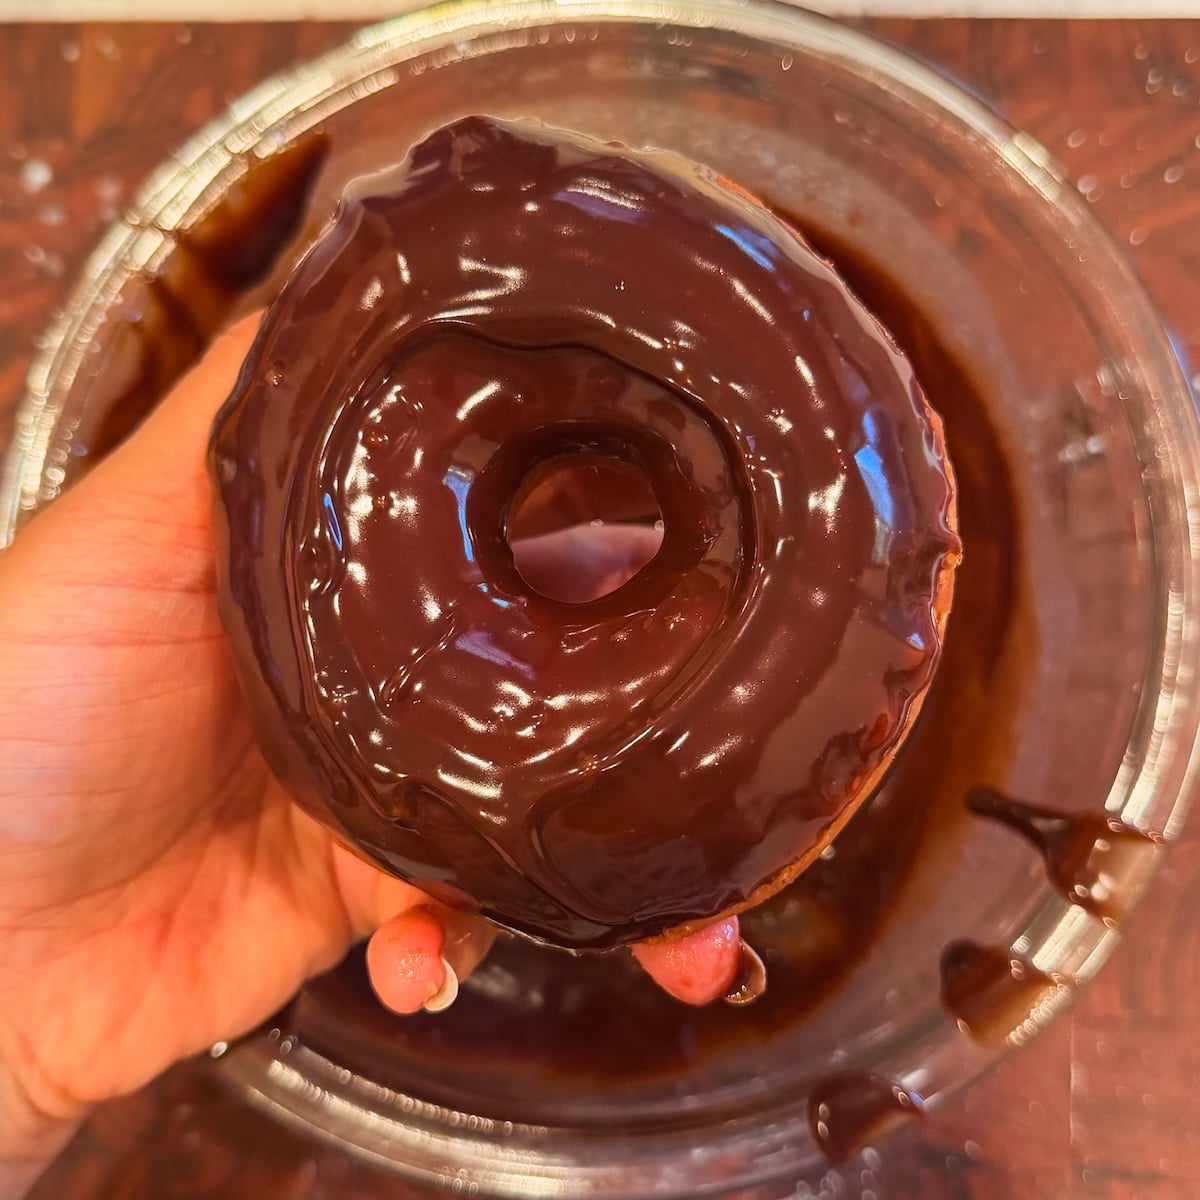
Serve and enjoy! If you feel adventurous, you can also upgrade these into filled donuts, like my Nutella donuts with a Nutella filling, or my Creme Brulee donuts with a custard filling and caramel coating.
3 more lessons from 2 years of testing
- Kneading. Kneading properly is very important to allow the donuts to rise. Since this is a highly enriched dough, I recommend using a stand mixer with a dough hook as kneading by hand will be very messy (not impossible, though!). After adding the butter, make sure you knead the dough long enough until it passes the window-pane test: you should be able to stretch a small piece of dough between your fingers until light passes through without it tearing
- Proofing. Most dense donuts have not been proofed properly! I recommend doing the first rise in a warm spot in your kitchen until the dough has roughly doubled in size. For the second rise after shaping the donuts, I recommend keeping them in a cooler spot in your kitchen until they look smooth and puffed up. Avoid keeping them in a hot spot or next to your stove while frying, as they can over-proof and develop large air pockets which soak oil during frying
- Shaping. When rolling out the dough, make sure you add enough flour that it doesn’t stick. If at any point the dough pulls back or doesn’t roll out easily, let it sit for 5-10 minutes so the gluten can relax. Cut the donuts when the dough is relaxed and not sticking to the surface – this will ensure they maintain their perfect round shape and don’t shrivel back up
Pillowy Soft Brioche Donuts Recipe (Chocolate And Vanilla Glaze!)
Fluffy, melt-in-the-mouth donuts made with a rich brioche dough and covered in chocolate or vanilla glaze. Easy to make and better than any bakery!
Yield:15 donuts
- Prep Time:
- 30 mins
- Cook Time:
- 30 mins
- Resting Time:
- 2 hrs
- Total Time:
- 3 hrs
Email This Recipe
Enter your email and I’ll send this directly to you. Plus you’ll get new recipes from me every week!
Ingredients
Donut dough:
- 1/2 cup whole milk (120g)
- 1/4 cup water (60g)
- 4 tsp instant yeast
- 1/2 cup granulated sugar (100g)
- 4 large eggs
- 2 tsp salt
- 1 tsp vanilla
- 4 1/2 cups all purpose flour (585g)
- 10 tbsp butter (140g), room temperature
Classic vanilla glaze: (for half the donuts)
- 1 cup powdered sugar (120g)
- 2 tbsp milk
- 2 tbsp melted butter (28g)
- 1/2 teaspoon vanilla bean paste
- Pinch of salt
Chocolate glaze: (for half the donuts)
- 75g semi-sweet chocolate, finely chopped
- 1/4 cup heavy cream (60g)
- 1/4 cup powdered sugar (30g)
Instructions
Donut dough:
- Add the milk and water to a bowl/glass and microwave for ~30 seconds or until the mixture is warm to touch (~110F). Don’t make it too hot!
- Add the warm mixture to the bowl of your stand mixer. Add the yeast, sugar, eggs, salt, vanilla and flour. Use the dough hook attachment to knead on medium-high speed (6 on a KitchenAid) for 5 minutes until a shaggy, sticky dough forms
- Cut the room temperature butter into cubes. Add it to the dough. Knead for another 5-7 minutes on medium-high speed until the butter is fully incorporated and the dough looks smooth and stretchy. It will still be a little sticky to touch, that’s fine. Check if the dough passes the window-pane test by stretching a small piece between your thumbs and index fingers. You should be able to stretch it thin enough that light passes through without ripping it.
- Transfer the dough to a clean bowl sprayed with oil. Smooth it out, cover the bowl with cling wrap, and place in a warm spot in your kitchen for 60-90 minutes, or until the dough has doubled in size. I like to put the bowl in my oven, turned off but with the light bulb on.
- Once the dough has risen, it’s time to shape the donuts. Cut parchment paper into 15 4×4″ squares and place them onto 2 baking sheets
- Generously flour a clean surface and your rolling pin, and tip the dough out from the bowl. Punch down any large air pockets, and use the rolling pin to roll it out into a 1/2″ thick sheet. If it feels sticky, dust with more flour until it no longer sticks. If the dough gives resistance to rolling and keeps springing back, let it rest for 5-10 minutes and it should relax
- Once the dough has been rolled out to 1/2″ thick and is fully relaxed, use a donut cutter to cut out donuts. You can also use any circular object in your kitchen that is 3.5″ wide, and a 1″ piping tip to cut the holes. Pull away the scraps of the dough. Gently pick up the donuts one by one and pull out their donut holes carefully without de-shaping them. Place them onto the parchment squares
- Roll up the scraps and donut holes into a smooth ball, and roll out again. Repeat the same steps to cut out more donuts as many times as you can, until almost all the dough has been shaped into donuts. Make small donut balls with any leftover dough
- Place the baking sheets with the donuts inside them in a cool spot in your kitchen (~70F). Let them rise again for 30-45 minutes until they look puffed up and smooth on top
Glazes:
- While the donuts are rising, prepare the glazes. Make the vanilla glaze by mixing together the powdered sugar, milk, melted butter, vanilla and salt in a bowl until smooth
- For the chocolate glaze, add the chocolate and cream to a microwave safe bowl, and microwave in 30 second increments, stirring in between, until the chocolate is melted. Mix in the powdered sugar until a smooth glaze forms
Frying and glazing:
- In the last 10 minutes of the second rise, prepare the oil for frying. Add ~2″ of vegetable oil to a wide bottomed frying pan, and place on the stove on medium heat. Use an oil thermometer to measure the temperature, and heat until the oil reaches 320F, then turn the flame to medium-low. You want to maintain the temperature between 320F and 330F during the frying process. If it drops too low, turn up the heat. If it rises too quickly, lower the flame
- Fry one test donut first (I like to take the one that looks the worst!). Fry for 3 minutes per side, flipping carefully, then remove and drain. Let the donut cool down for 2-3 minutes and cut it open. If the donut colored too fast, is raw or dense inside, or didn’t rise properly, the oil is likely too hot. If it still looks raw inside without having a dark color outside, the oil might be too cold. If needed, you can fry another test donut. Keep the rest of the donuts away from the stove during the frying process so the heat doesn’t cause them to over-proof
- Now fry the rest of the donuts. I recommend frying 3-5 at a time, keeping the flame at medium-low, and monitoring the oil temperature so it’s between 320F-330F. In the right conditions, the donuts should take 3-4 minutes per side (6-8 minutes total) to cook perfectly. However, the exact time and temperature will be based on the test donut you fried before. Drain the donuts on a wire rack after frying
- It’s best to glaze donuts when they’re still warm. If your glazes have thickened up by now, microwave them for 10-20 seconds and stir again so they’re runny. Dip the donuts into the glazes one by one (half vanilla, half chocolate), shaking off any excess, and place them on a wire rack. Let them cool down until the glazes have set (the chocolate glaze takes longer than the vanilla glaze). Then serve and enjoy!
Video Tutorial
Notes
- Glazes: The quantities for the glazes in this recipe are such that you will get 6-7 classic donuts and 6-7 chocolate donuts. If you want to make only one type of glaze, you can do that and double its quantities
- Proofing overnight: If you want, you can do the first rise of the donut dough overnight in the fridge. Shape the donuts the next morning, and do the second rise at room temperature. The second rise will take longer (~60 minutes) as the dough will be cold to begin with
- Making them smaller: These donuts turn out quite big and fluffy (how I like them!). But if you want them smaller (more Krispy Kreme esque), simply roll the dough to 1/4″ instead of 1/2″. Cut the donuts the same size, proof and fry. They will take ~2 minutes per side to cook through and be smaller and thinner
- Make ahead and storage: I do not recommend making these donuts ahead of time as their texture is best enjoyed on the same day. Keep them uncovered at room temperature for 1-2 hours, or in an airtight container at room temperature for up to 1 day

Comments
hafsah
i accidentaly added whole wheat flour instead of white flour and i think it would be better with white, but they were still amazing!!
Zoha Malik
AW that’s amazing!
Ginny Watson
Can I use a 3 inch cutter and make them whole?
Zoha Malik
Yes, totally! Whole donuts need to be fried for longer to be cooked inside – cook 1 or 2 first as a test
Meghana
Hi! Tried this recipe and the donuts ended up a little dense. Definitely not close to the light, airy texture I was expecting to get. Where did I go wrong?
Zoha Malik
Hi Meghana! Could have been underproofed or your oil was too hot, which cooked the donuts before they had the chance to fully rise
Fatima Siddique
The best
Tanjila Mahbub Mim
I’ve never made doughnuts before, but I followed this recipe and it turned out perfect. I ended up eating 10 out of 18 alone 😂, so you can imagine how good they were. Definitely give it a try—you’ll love it.
Zoha Malik
hahaha I love to hear that :’) Thank you!!
I go by empire online!
I found zoha on Instagram, tried her recipes and fell in love instantly!
Zoha Malik
Made my whole day!
Asvira ISSOUFALY
Please, can I make the dough the day before and let it sit in the fridge overnight ?
Zoha Malik
Yes, you can keep it covered in the fridge overnight. Shape the next day, then give ~60 minutes for the second rise (or until they have puffed up)
Ayesha
I just love it
Zoha Malik
Thank you, Ayesha!!
Elena
Best donuts ever! It was a right game to keep a consistent temperature but it was well worth!
Zoha Malik
WOOO thank you so much, Elena! Made my day!
Nabila
Awesome details. Very helpful. Can’t wait to try. Keep up the wonderful work.
Your videos and website has somehow made me start loving brown colour! You look great in brown, MashaAllah. BarakAllahu feek
Zoha Malik
Thank you so much, Nabila! This is so incredibly kind of you! 🙂
Fathima Dil
Hey Zoha
Can I make these with bread flour instead of apf?
Zoha Malik
Hi Fathima! Yes, if you have it on hand that should be ok 🙂
Nabila
Awesome 😍😍
Just one question! Which cream will be used for chocolate glazing, simple cream or whipping cream?
Aakanksha
Amazing recipe and thank you for the detailed steps ! Love from India. I’m planning on trying it today . If I want to proof it overnight should i knead the dough put it aside for sometime , knead it again and then put it in the refrigerator before shaping and second proofing tomorrow ?
Zoha Malik
Hi there! For an overnight proof, just knead the dough, cover and put in the fridge. By the morning it should be ready for shaping – and the second proof after shaping will take a bit longer depending on the temperature of your kitchen.
Zoha Malik
Depends where you’re from, but I am using heavy cream/heavy whipping cream which is the same thing in the US 🙂
Roseylen
I made this today and it’s simply delicious,Thank you for sharing such a beautiful recipe.Love from New Zealand
Zoha Malik
I am so so pleased to read that, Roseylen! Thank you!
Adeen Tauseef
Hi Zoha!
so i just wanted to ask what steps should be taken to prevent donuts from soaking too much oil? mine comes out good when they’re fresh, but once it cools down , they’re soo much oily that literally oil drips off when you bite.
Zoha Malik
Hi Adeen! That sounds to me like overproofing. Did your donuts feel like they didn’t rise properly and hold height (kind of deflated)? If you overproof them, they will form very large air bubbles that will burst during frying and absorb oil.
Haajarah
In loveeeeeee… tooo good. Not as pretty as yours but they taste amazinggggg
Zoha Malik
I saw and they looked goooood! Thank you!!
Trudy Govender
You are an amazing talented young vibrant baker who shares ideas and THOUGHTS without hesitation. We greatful to you. No one Wil come close to ur baking. So keep sharing. Thank. You
Nazeema
Hi there. Thank you for your generosity in sharing your recipes. Allah reward you.🙏
Zoha Malik
Trudy, you are so kind! Thank you for the support – it’s what makes this so fulfilling for me 🙂
Paulina
Hi Zoha!
Love all of your recipes! I was just wondering what should we do if it doesn’t pass the window pane test? Thank you!
Omniyah
Hi zoha thank you for sharing your recipes with us .
I made these donuts and they turned out amazing, super soft like pillows. My question is: can I bake them instead of frying them, and how will it look like ?
Zoha Malik
So happy to hear that, Omniyah! Unfortunately donuts cannot be baked as they turn out more like buns. Air frying would be better
Zoha Malik
Hi Paulina! You knead a bit longer in that case 🙂
Umeimah Zia
hi Zoha, Can I halve this recipe? will they turn out fine? my husband isn’t much into sweets so the whole batch would be more than enough for us
Zoha Malik
Hi Umeimah – yes, half should be good too!