

This post may contain affiliate links
Add Bake with Zoha as a preferred source on Google and find more of my tried-and-tested recipes.
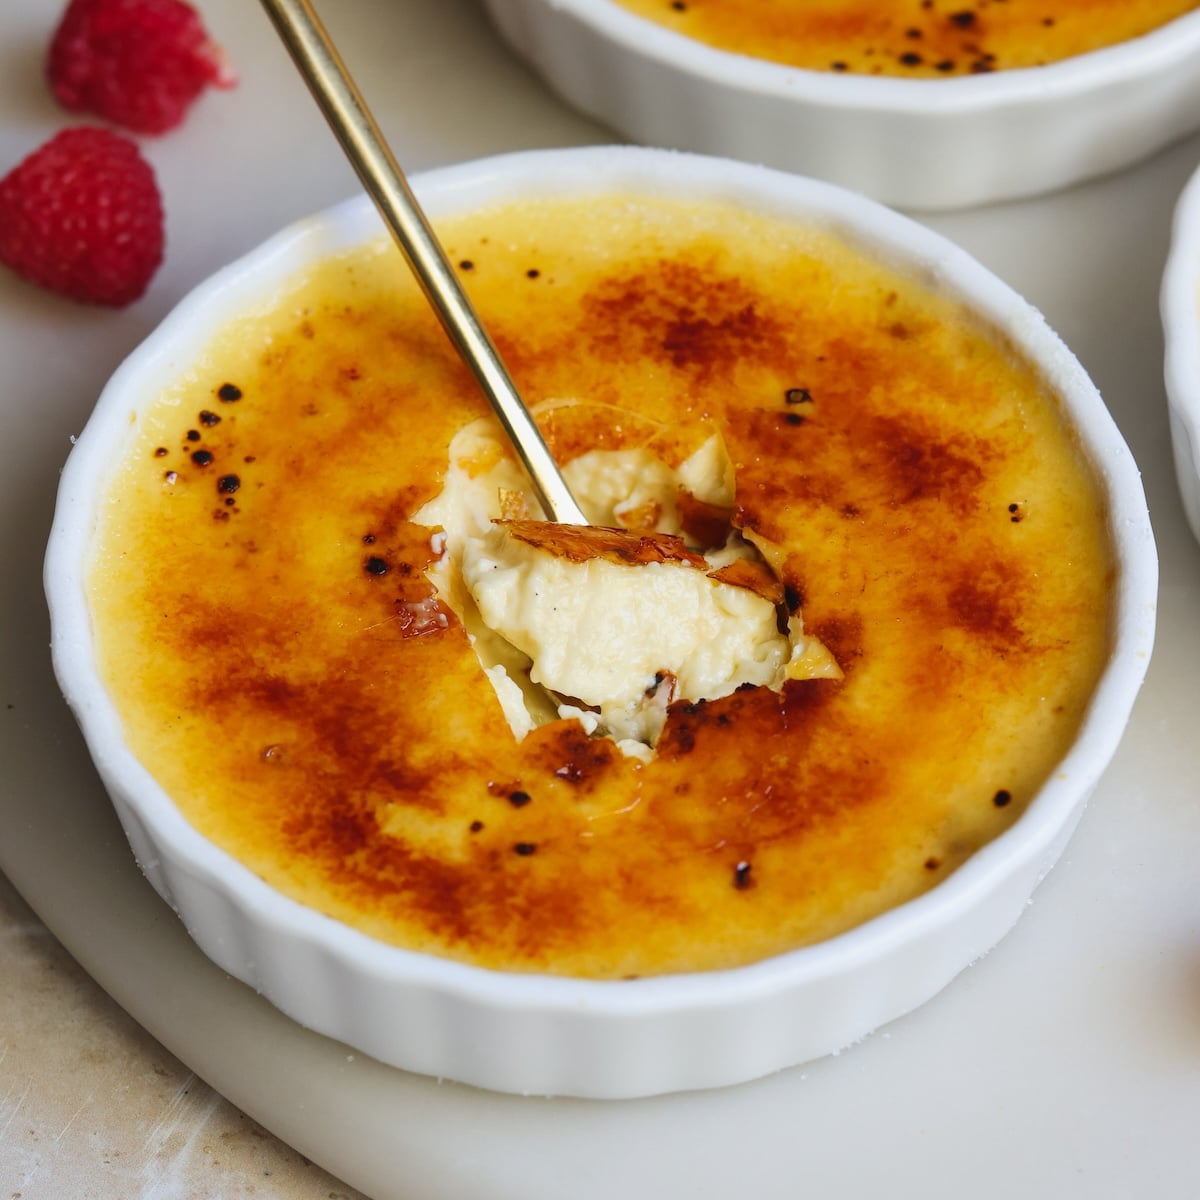
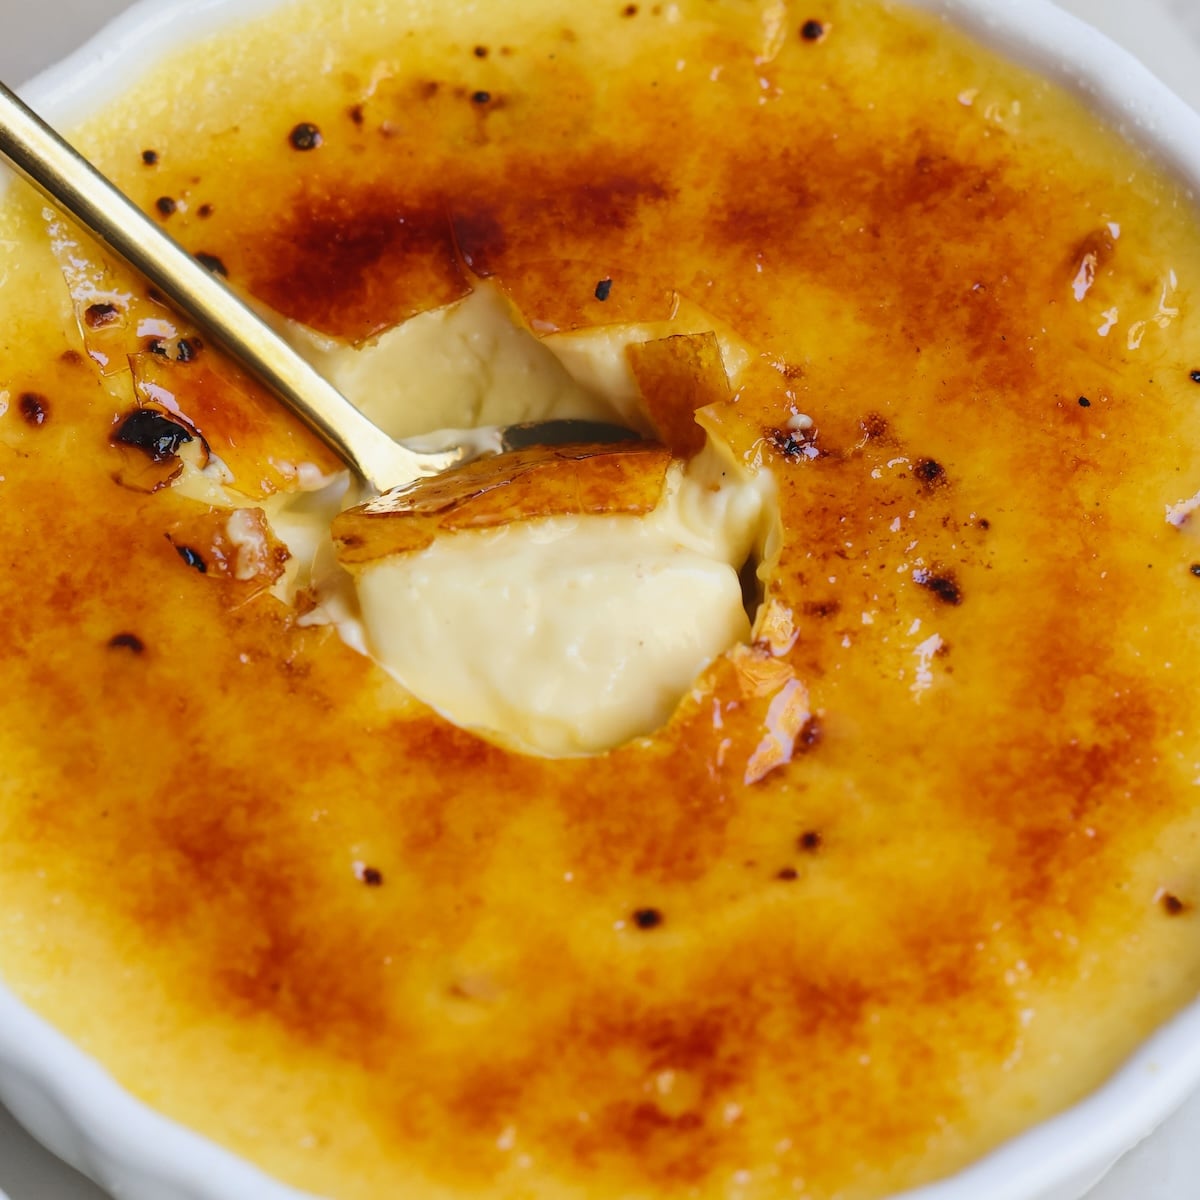
This is the perfect Vanilla Creme Brulee with a rich, creamy custard and a thin, crispy caramel coating. My recipe is easier than most: it skips the traditional egg-tempering step and takes only 5 minutes of active work! Just mix the 5 ingredients (heavy cream, egg yolks, sugar, salt and vanilla), bake in a water bath, chill, and brulee. And while the best way to achieve the crispy caramel top is using a blowtorch, I am also sharing 3 alternate methods if you don’t own one.
I’ve made this recipe four times over the past few months, and it’s become a go-to whenever we have guests. It turns out perfectly and gets rave reviews. I haven’t messed it up once (which is saying something!). A fantastic recipe!
– Rosemarie, ★★★★★
Not only is this one of my most popular recipes, it is also a personal favorite – I even made it on live TV recently! It is my go to make-ahead dessert which feels restaurant quality without any effort. When I’m in the mood to put in some more work, I love to take it up a notch with my incredible Creme Brulee Cheesecake.
Hot take


You don’t need to temper the eggs!
Most creme brulee recipes make the custard by pouring hot cream over the egg yolks to “temper” them and – I’ll admit – mine started the same way. But what makes this recipe different (and simpler) is you can just mix the ingredients directly without heating anything on the stove.
Tempering is the process of heating eggs slowly to prevent them from scrambling. But because this recipe uses a water bath (which can’t exceed 212F) and a low baking temperature (300F instead of the usual 325F), there’s no sudden heat spike to protect from in the first place. I know it might sound too good to be true – I myself was skeptical – but after a lot of testing, I can assure you the result is just as perfect and creamy without the extra work!
What to bake it in
I recommend making creme brulee in ramekins as it’s meant to be an individual-serve dessert. This recipe works perfectly for 2 different types of ramekins (ceramic, not metal!):
- 8oz Creme Brulee Ramekins: These are different from regular ramekins as they are shallow and wider, giving a larger surface area for the sugar coating, which is why I love them! My recipe makes enough for 3 of these
- 6 4oz Ramekins: Alternatively – if you don’t want to get special ramekins – you can use classic 4oz ones. I recommend dividing the custard between 6 ramekins to have the perfect ratio of the caramel coating to custard
All steps, including baking time, are the same regardless of which type of ramekin you use.
Step by step photos
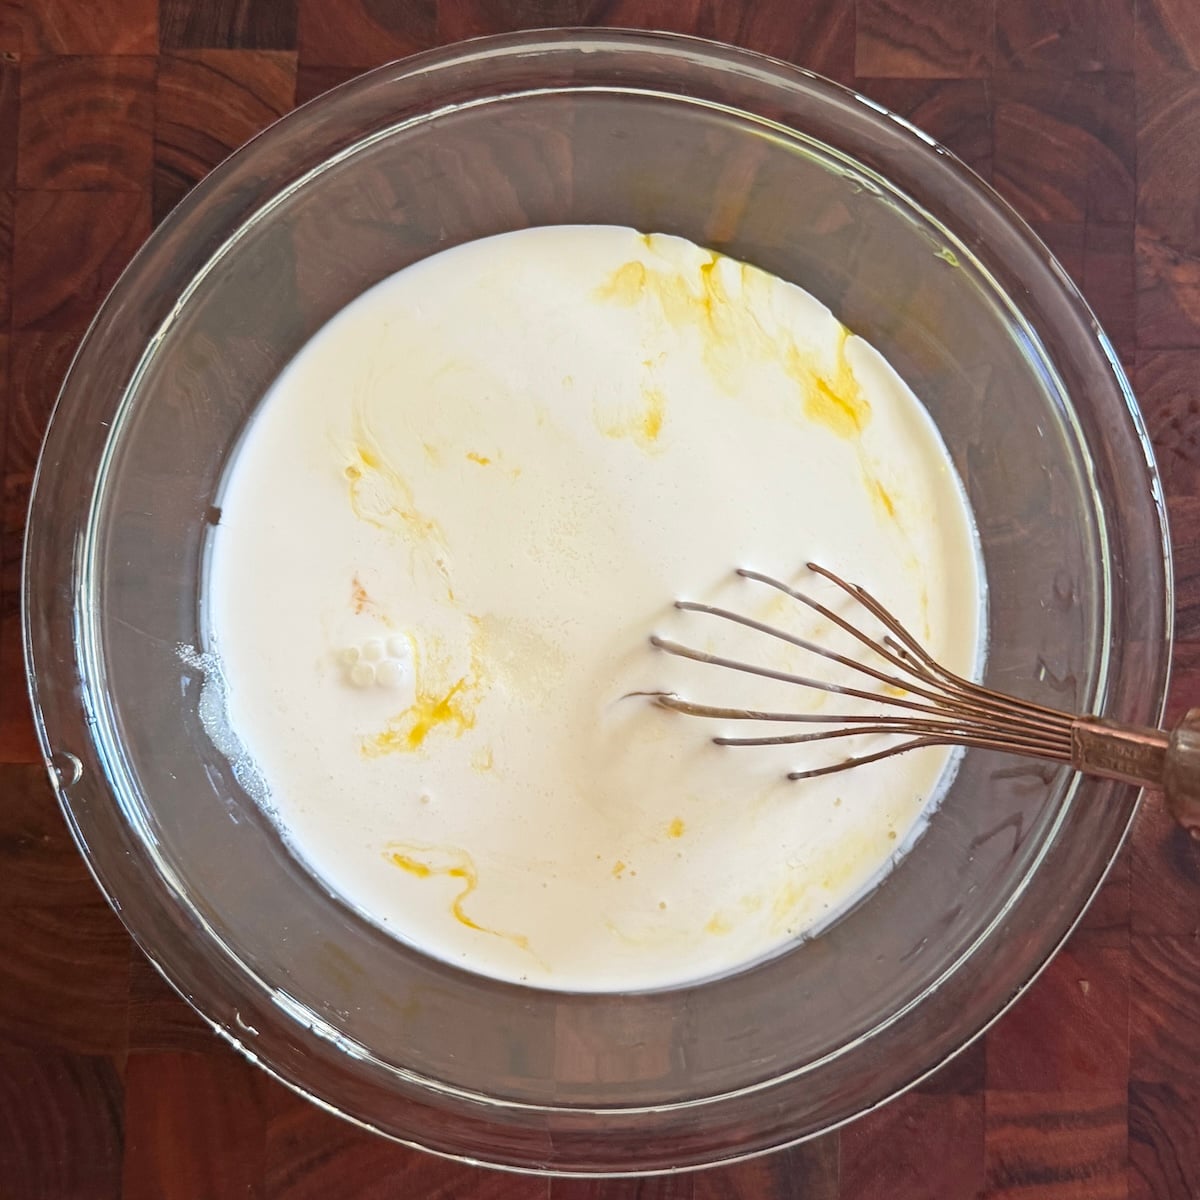
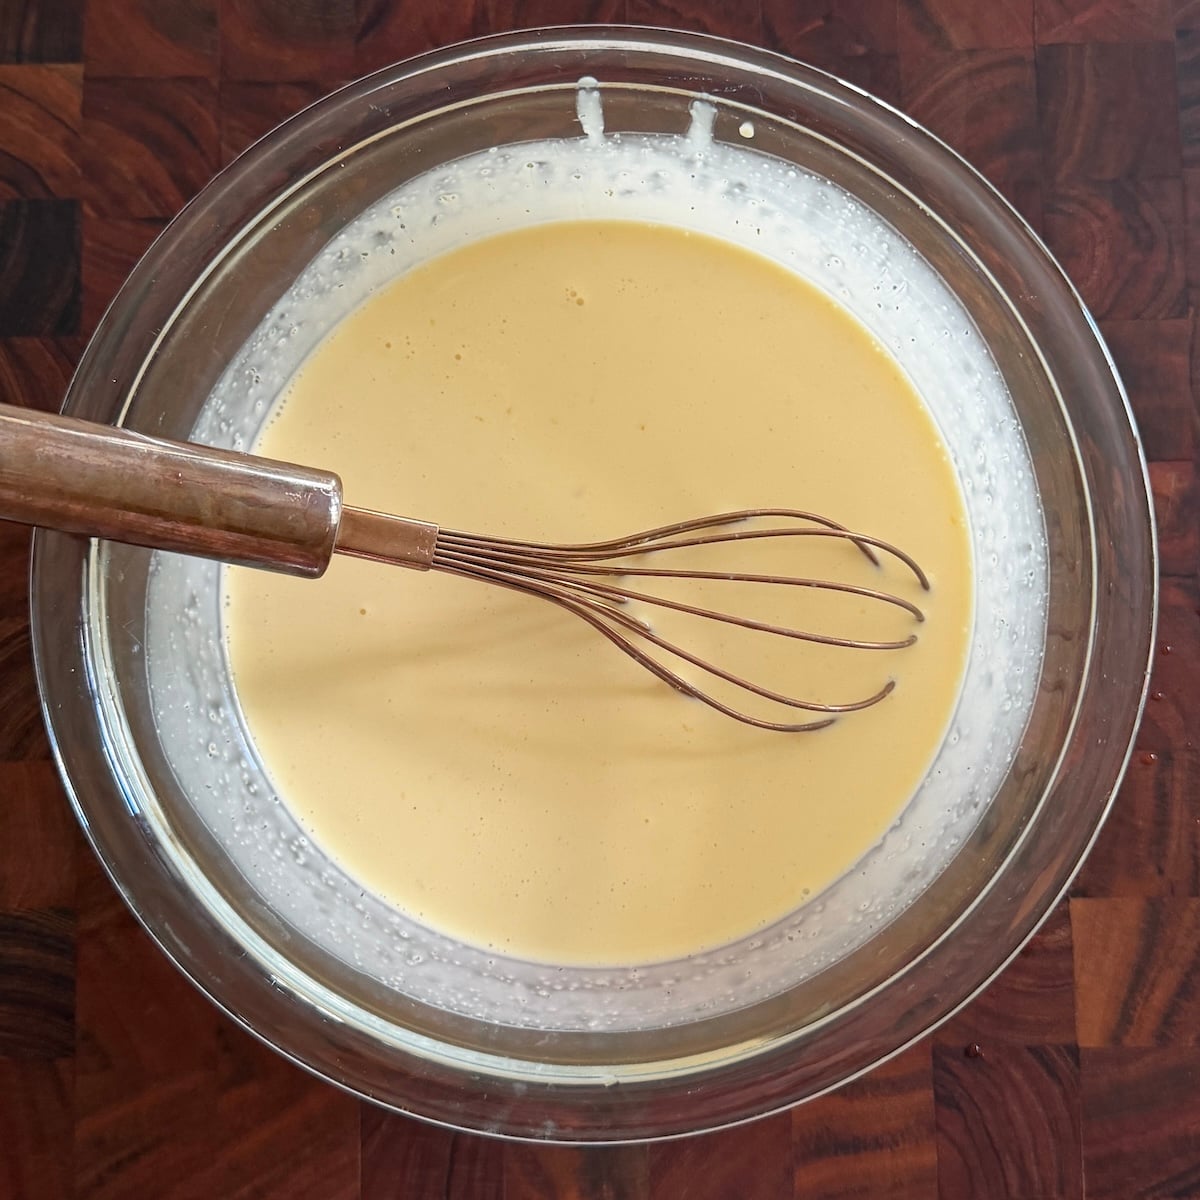
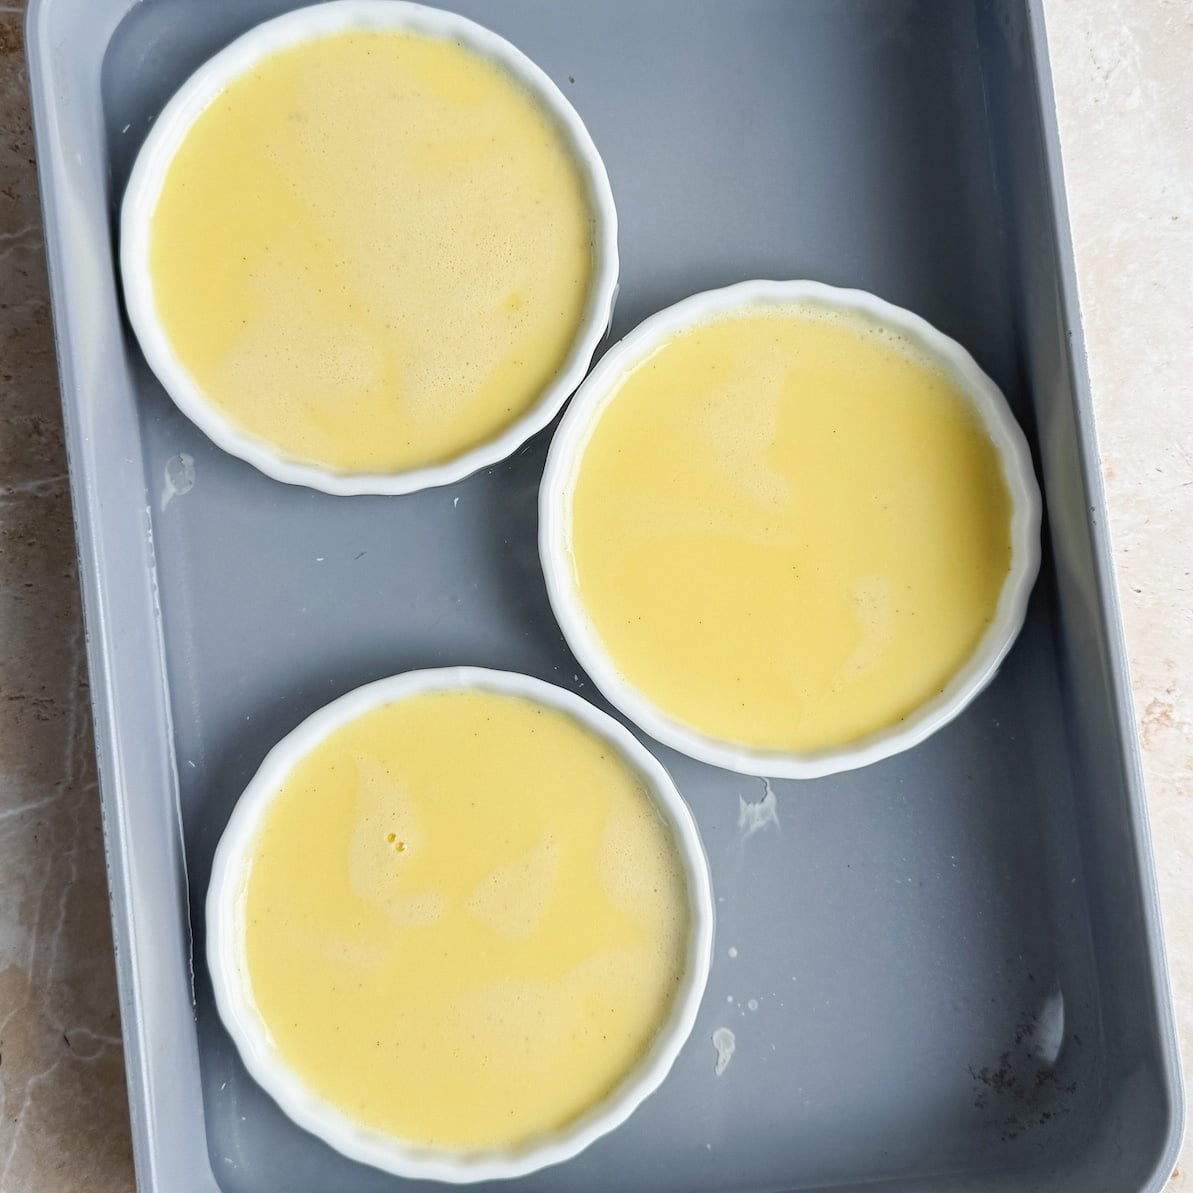
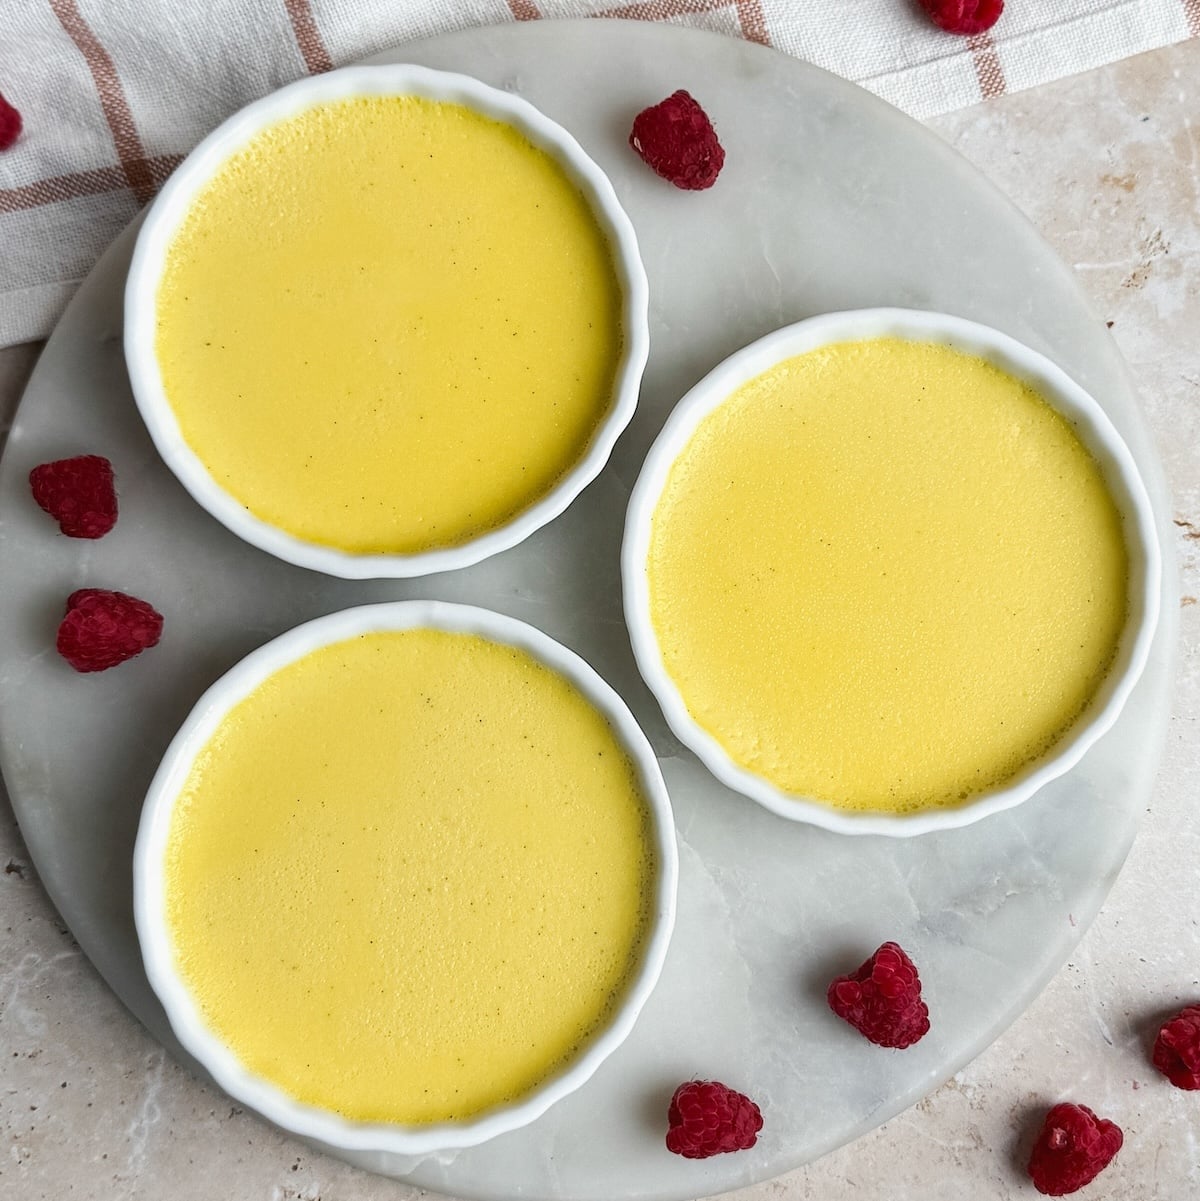
Let’s quickly go over the steps with photos to help you visualize this quick and easy recipe:
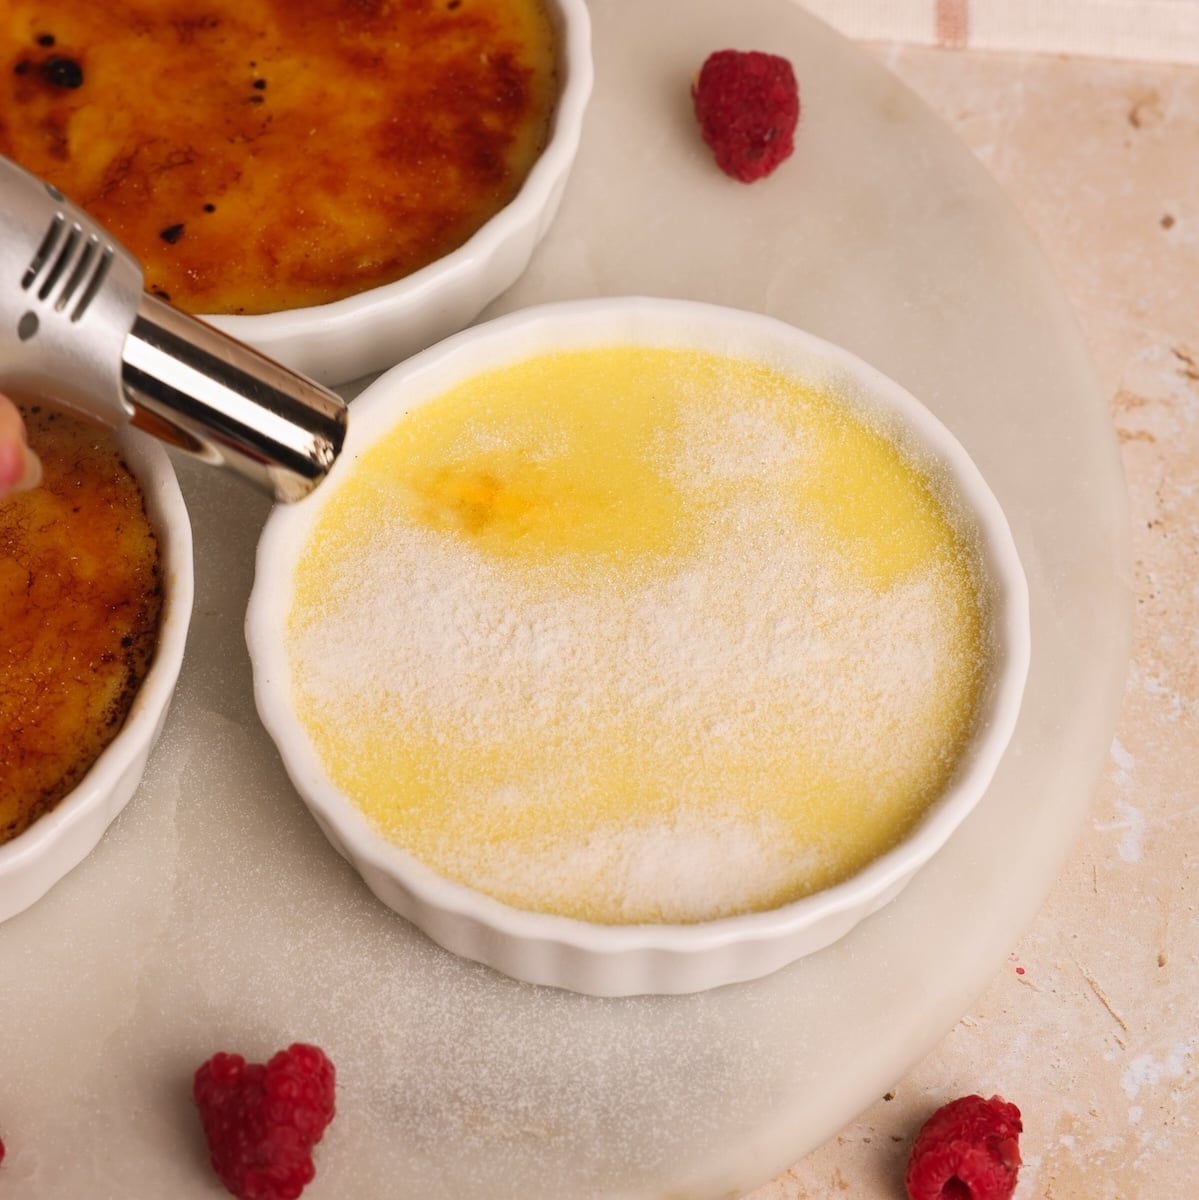
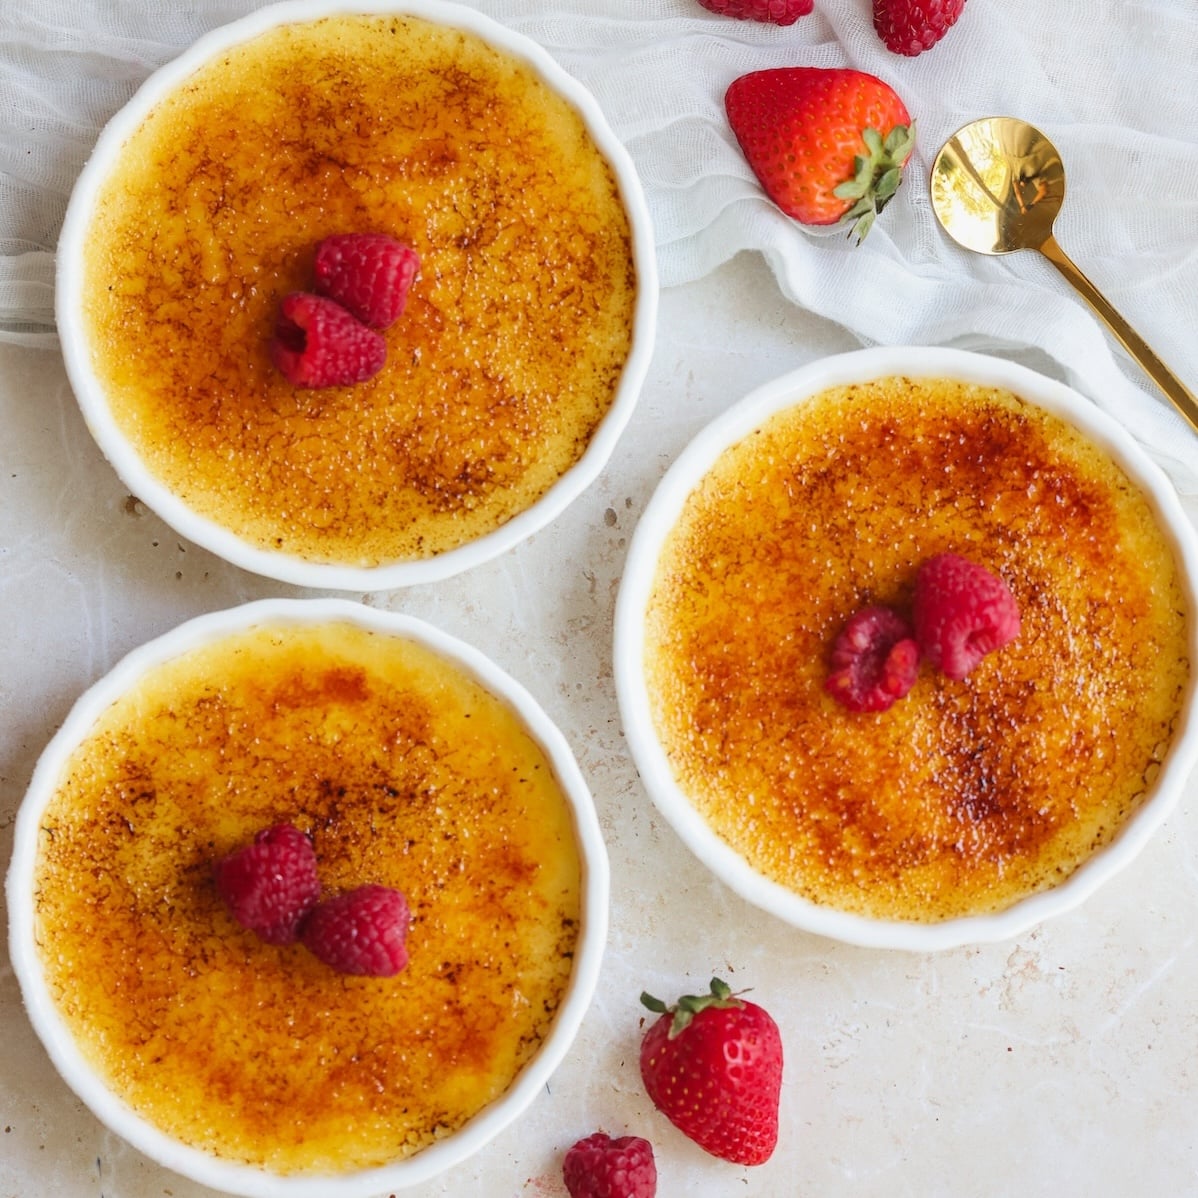
No blow torch? No problem!
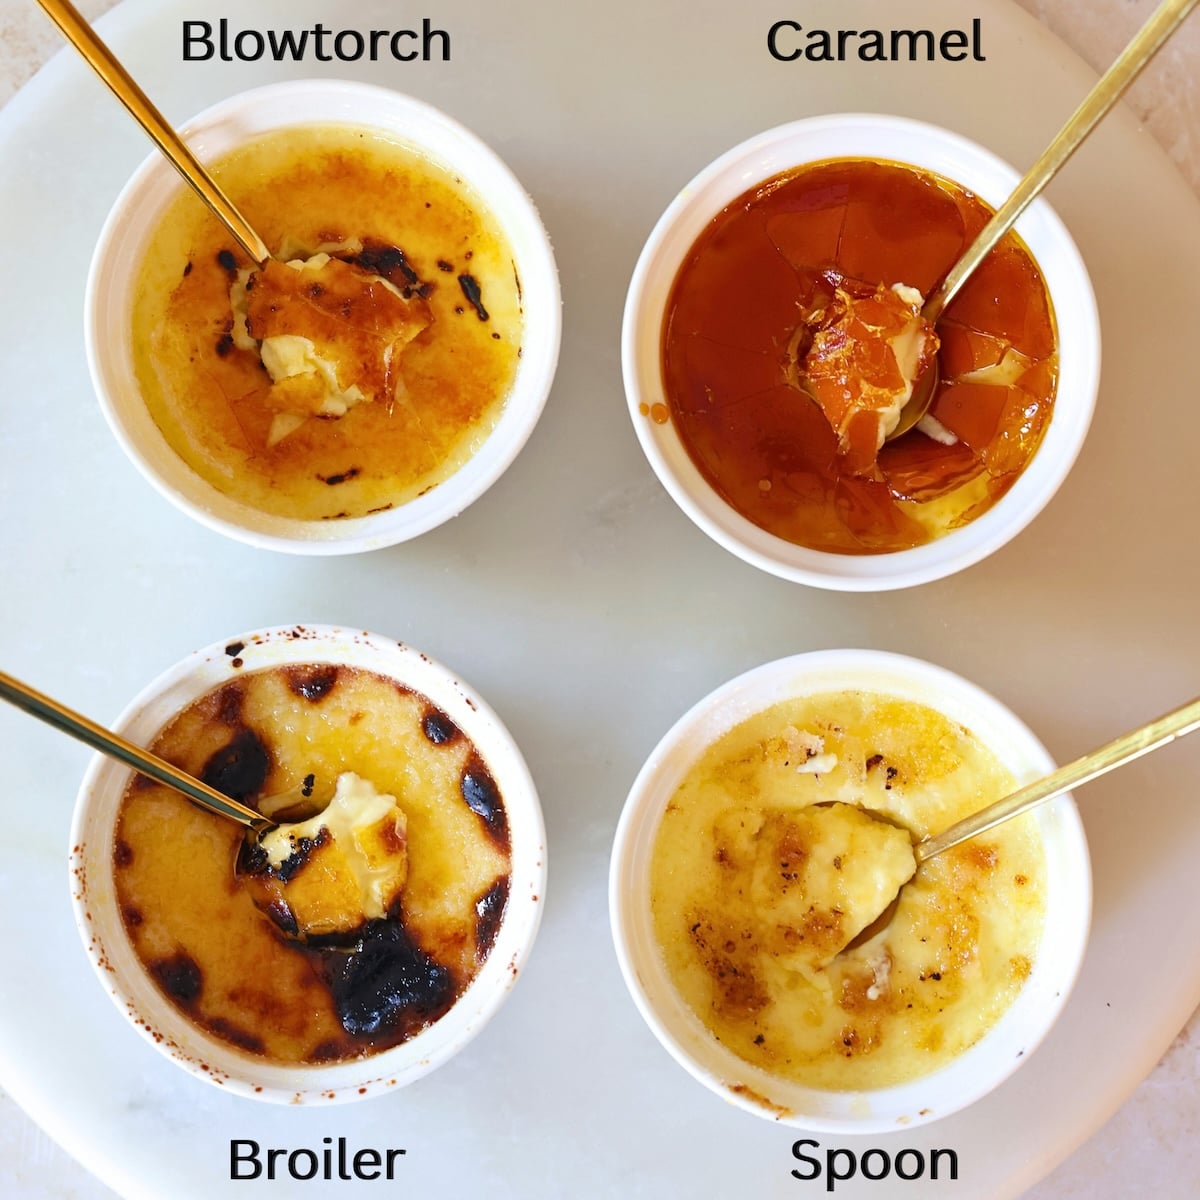
Using a basic blowtorch is the most efficient and effective way to brulee the sugar on top of a Creme Brulee – this is the one I use under $15. But if you’re in a pinch and don’t have access to one, here are three alternate options for you:
- Use the broiler. Pre-heat your oven with the broil / grill setting for 5 minutes. Sprinkle a thin layer of sugar on the creme brulee, and place in the top rack of the oven. Watch closely for 2-3 minutes until the sugar on top is melted and torched, then carefully remove from the oven. Next to a blowtorch, this is the simplest method, but it also heats up the custard a bit. I recommend freezing the custard for 15 minutes before starting to minimize this
- Use a hot spoon. For this method, sprinkle a very thin layer of sugar on the creme brulee. Heat the back of a metal spoon on your stove, directly on the flame, and gently press onto the sugar. Keep repeating and you’ll see the sugar starts to sizzle and melt. This method works surprisingly well, but doesn’t result in a very even layer as the spoon tends to stick to the sugar and lift it off
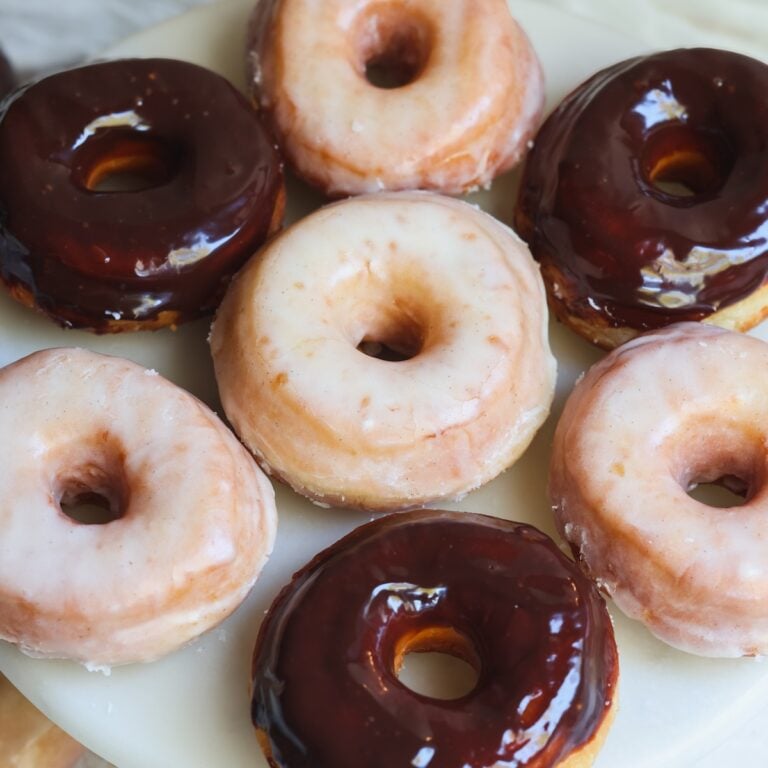
- Make a caramel instead. This is a bit more involved, but you can also make a wet caramel (see the one I made in my Creme Brulee donuts) and carefully pour onto the chilled creme brulee. Spread into a thin layer by tilting the ramekin in different directions. This method works best when the creme brulees are very cold but the caramel is hot, and the thinner the caramel layer, the better!
Final tips before you make it
Here are some final tips to will help you perfect this simple Creme Brulee recipe:
- Use good quality vanilla. The best option is to use a vanilla bean (cut it in half and scrape the seeds). The next best option is vanilla bean paste, but if you’re unable to find it, a regular vanilla extract will do
- Whisk the custard gently! We want to combine the ingredients without adding a lot of air bubbles into the custard
- Pass the custard through a fine sieve mesh before adding to the ramekins. This will remove any little lumps and get the silkiest texture
- The amount of water matters. If you put too much water in the water bath, the Creme Brulee will take longer to bake, and if you put too little, it will bake too fast. I recommend exactly 1/2″ of boiling water in the water bath, which results in a baking time of 30-35 minutes
- Don’t over-bake! Creme Brulee should be set around the edges but quite jiggly in the middle when you gently shake it straight out of the oven (kind of like jell-o). Baking longer will result in a more eggy texture, while underbaking will result in a runny custard
- Don’t be afraid to torch the sugar properly. It should become a deep golden color, and smell like caramel. It’s ok even if it gets slightly burnt!
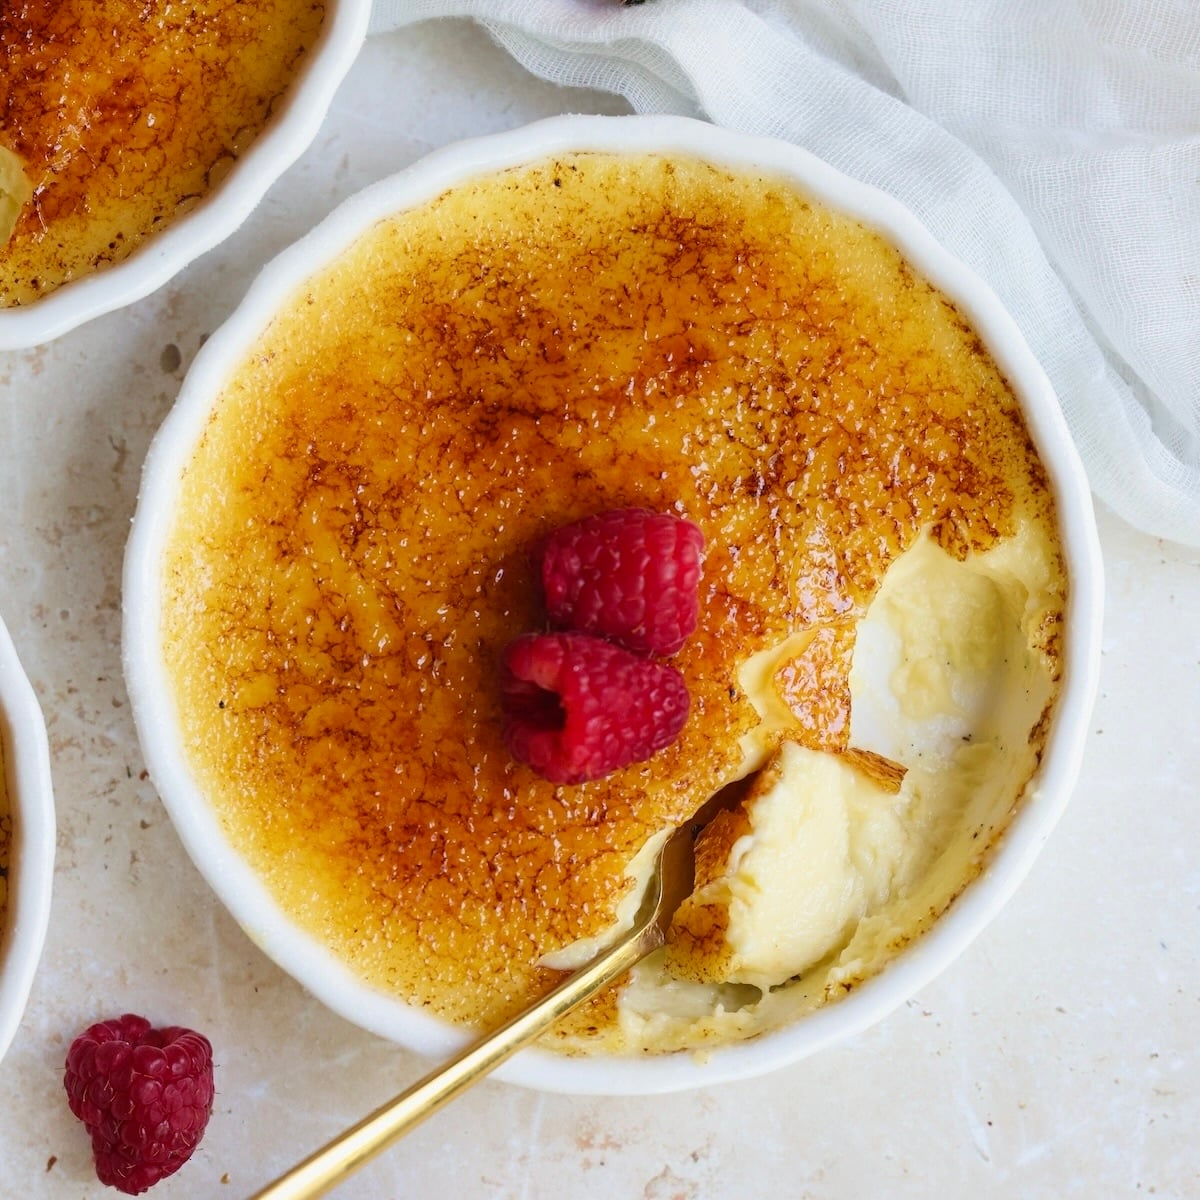
- Serve within 1-2 hours of torching. The crispy coating will eventually become more moist and chewy as it absorbs moisture from the custard underneath
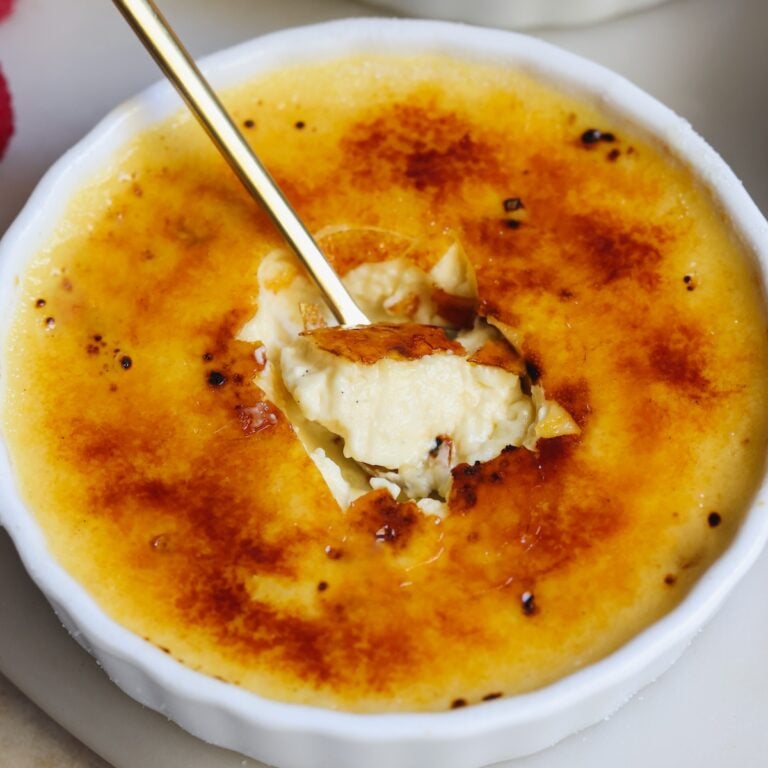
Easy Vanilla Creme Brulee (Mix & Bake!)
The perfect Vanilla Creme Brulee made with 5 ingredients and 5 minutes of work: mix, bake and brulee. Silky, creamy and not-too-sweet with a thin and crispy caramel coating.
Yield:6 servings
- Prep Time:
- 5 mins
- Cook Time:
- 30 mins
- Chilling Time:
- 2 hrs
- Total Time:
- 2 hrs, 35 mins
Email This Recipe
Enter your email and I’ll send this directly to you. Plus you’ll get new recipes from me every week!
Ingredients
- 1 1/2 cups heavy cream or heavy whipping cream (360g)
- 1/2 vanilla bean pod (cut in half and scrape out the seeds) or 1 tsp vanilla bean paste (vanilla extract works in a pinch)
- 4 large egg yolks
- 1/4 cup granulated sugar (50g) + more for the brulee coating
- Pinch of salt
Instructions
- Pre-heat oven to 300F (conventional / no fan), and put a few cups of water to boil. This will be used for the water bath
- Add the heavy cream, vanilla, egg yolks, sugar and salt to a mixing bowl. Use a hand whisk to gently whisk the ingredients together until the egg yolks and sugar have incorporated into the cream. Don’t whisk too much or too aggressively, as you don’t want to incorporate air bubbles into the custard
- Place 3 8oz Creme Brulee ramekins or 6 4oz ramekins in a 9×13″ pan, leaving even spacing between them. Pass the custard through a fine mesh sieve to remove any lumps, and divide it equally between the ramekins
- Carefully pour boiling water into the 9×13 pan (not cold!), avoiding the ramekins, until it reaches ~1/2″ in depth. Adding too little or too much water can significantly impact baking time, so I recommend being precise. This is the water bath
- Carefully lift the pan with the water and ramekins in it and place it inside the oven. Bake for ~30-35 minutes, until the creme brulees are set around the edges but still have a jello-like wobble in the middle when you gently shake them
- Remove from the oven and carefully lift the ramekins from the tray using a spatula, and immediately transfer them to the fridge. Cool for at least for 2 hours, or overnight
- Once chilled, sprinkle a thin layer of granulated sugar on each ramekin such that the custard is completely coated (especially around the edges!), and use a blowtorch to caramelize the sugar. Hold the blowtorch at a 45 degree angle ~2″ away, and gently swirl it in little circles. Work one area at a time until the sugar melts and caramelizes into a deep brown color before moving to the next area
- Serve & enjoy! Creme Brulee is best eaten within 1-2 hours after torching; the caramel coating becomes sticky over time
Video Tutorial
Notes
- Heavy cream: You can use heavy cream, heavy whipping cream, whipping cream, double cream or fresh cream – as long as it has 35%+ fat content. I do not recommend replacing it with milk, even partially
- Make ahead and storage: Creme Brulee is an excellent make-ahead dessert. You can bake the custard and keep it in the fridge for up to 4 days, well covered. Then add the sugar and blowtorch it right before serving to maintain its crisp texture. After torching the sugar, you should consume the Creme Brulee within a few hours (keep refrigerated).
- Scaling the recipe: This recipe makes around 24oz of custard (enough for 3 8oz ramekins). You can easily double or triple all quantities to make more creme brulee – I recommend keeping each individual serving around 3/4″ thick
- Leftover egg whites: Since this recipe uses only egg yolks, you will have egg whites left over. You can use them for recipes like omelettes, macarons, or my favorite cheesecake pavlovas

Comments
Katie
it turned out amazing 👏
Zoha
Wooo!!
Bryan
PSA: please do not hold the ramekin while torching the Creme Brulee (like the lovely woman in the video). Human skin does not respond well to being torched 🤪
Zoha
You’re right, thank you haha
idk
tasty
Judy R Richardson
Absolutely delish! Easy to follow. Will definitely make again.
Zoha
Amazing, thank you so much!
Beth H
This was fantastic! Creme Brulee has always been my favorite dessert but! I thought it was difficult to make. It wasn’t! We’ve made this several times since discovering it! We double the recipe because everyone wants more than one ramekin! Thank you so much for sharing this simple but delicious dessert.
Zoha
It’s so easy, isn’t it!? So glad you liked it 🙂
Sophie David
This recipe looks amazing and I just wanted to inquire about how I must change the measurements. I am making this for me and a friend, so I will use imitation vanilla instead of vanilla extract (she cannot have alcohol, it is not halal). What way should I change it from the vanilla bean paste to adapt for this? Thank you.
Zoha
Hi Sophie! You can use the same quantities and it should be totally ok 🙂 Also, Trader Joe’s has a great alcohol free vanilla flavor with vanilla beans!
Irving k ubri
incredible recipe, make it yesterday!!
I used vanilla extract since im not sure where to find the other stuff and i used a bit more than I wanted and it came out perfect.
Zoha
Amazing! 🙂
Michael
Made this to impress a girl and we both agreed it’s the best crème brûlée we’ve ever had
Zoha
ah I am so glad to be of service!
Alexis
Wouldn’t putting the hot ramekin from the oven directly in the fridge cause it to shatter?
Zoha
Hasn’t been an issue for me! 🙂
S. B.
just made the recipe, its currently setting in the fridge and looks excellent. I’ll get back to everyone who might care about my not so important opinion
Zoha
Your opinion is certainly important! How was it?
RR
Do we have to cover the ramekin to put in refrigerator or open is fine too
Scott Dorval
I was using 4 ounce ramekins and I could only get three out of the recipe is written.
Lydia
Awesome!!! Just finished and it came out great!! Everyone loved it.
Rachel
Excellent recipe! I made twice and each time it tasted better and better! Everyone loved it!
Gia
I made this recipe 3x and always easy and yum! Thanks for sharing!
Rosemarie Dhavale
I’ve made this recipe four times over the past few months, and it’s become a go-to whenever we have guests—especially our kids’ friends. It’s always a delicious and fun experience for everyone!
Before this, I had never made crème brûlée, but the clear, straightforward instructions made it completely approachable. I even decided to invest in a blowtorch and some vanilla bean paste, and both were absolutely worth it. The depth of flavor from the vanilla bean paste is on another level compared to extract—undeniable and totally worth the extra cost.
Each time I make this, it turns out perfectly and gets rave reviews. I haven’t messed it up once (which is saying something!). Huge thanks for such a fantastic recipe!
Zoha
I am so glad you like this recipe, thank you SO much, Rosemarie! Means the world to me!
Houston
Pretty sure I’ve left a comment but just incase, anyway this is my go to recipe for creme brûlée cause this recipe guarantees a delicious end result if you do it correctly. I double this recipe cause I make larger batches when making this. It still turns out perfect. I also refuse to try any other recipes now cause this one is perfect 😂❤️
Zoha
Aw, thank you SO much, Houston! 🙂 Means the world to me!
Robert
turned out great, if you just have liquid vanilla extract no vanilla paste or vanilla bean don’t worry i just used the paste measurements for the vanilla extract and it came out great
Zoha
Thank you, Robert!
Kelley
Love making crème brûlée and this recipe is perfect if you want a delicious at home crème brûlée ❤️ everyone in my house demolished them 😂
Zoha
Aww thank you so much, Kelley!!
Kal-El
Decent process. I’ve had better, but there is also many worse options.