

This post may contain affiliate links
Add Bake with Zoha as a preferred source on Google and find more of my tried-and-tested recipes.
Whether you call it the best Matilda chocolate cake or the fudgiest chocolate cake is up to you, but what I can tell you is that you’ll never have a more scrumptious chocolate cake than this. It is rich, moist, fudgy and chocolatey, and what makes it extra special is my delectable and shiny dark chocolate fudge frosting. Bruce would have had no trouble finishing this up 😉
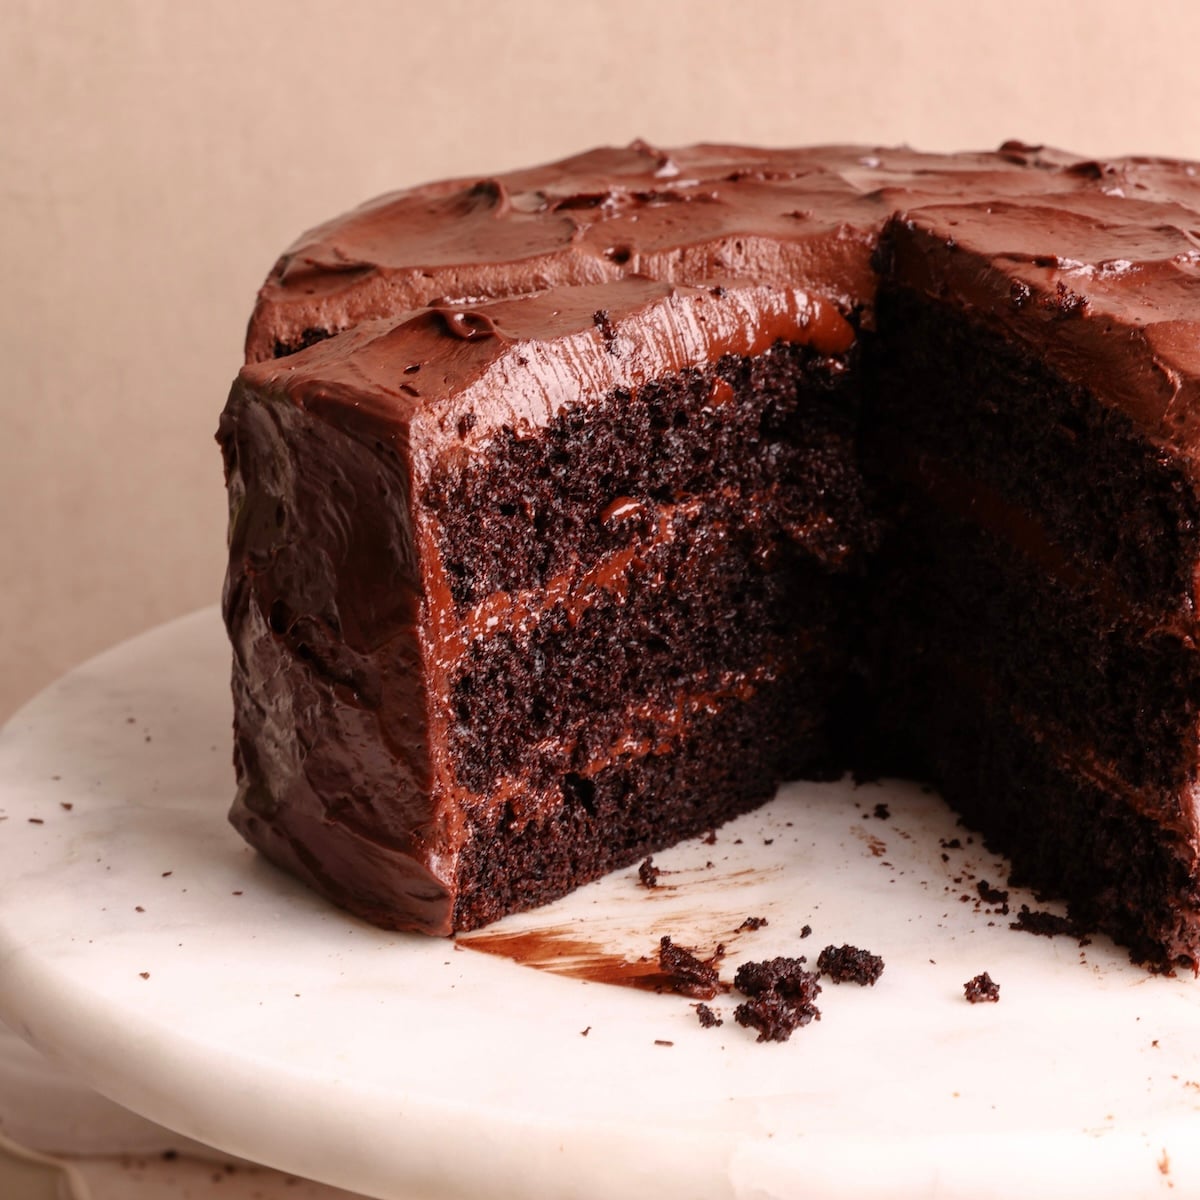
This Matilda chocolate cake will blow your mind
As a proud chocoholic and chocolate cake connoisseur, I’ve shared some incredible recipes already, including my Chocolate Malt Cake with an Ovaltine cream cheese frosting, and Easy Chocolate Cake with a ganache frosting that comes together in 15 minutes.
But I wanted to take it one step further and create the *ultimate* chocolate cake – especially inspired by the Matilda Chocolate Cake that has stuck with our whole generation. After a lot of testing, especially on the frosting, this cake made my (and your) Matilda dreams come true:
- It tastes like chocolate. Not sugar, not cocoa powder, not anything else
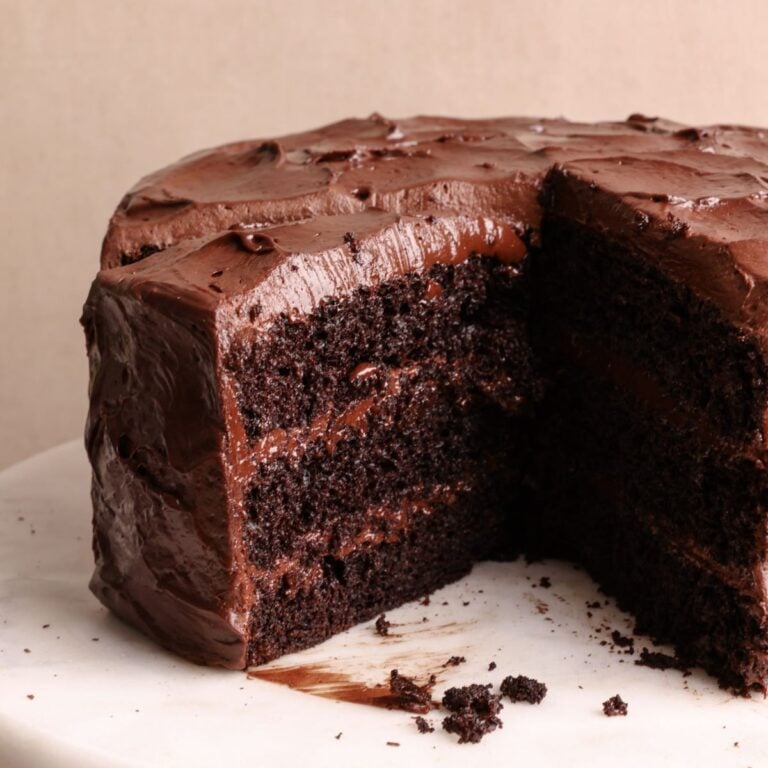
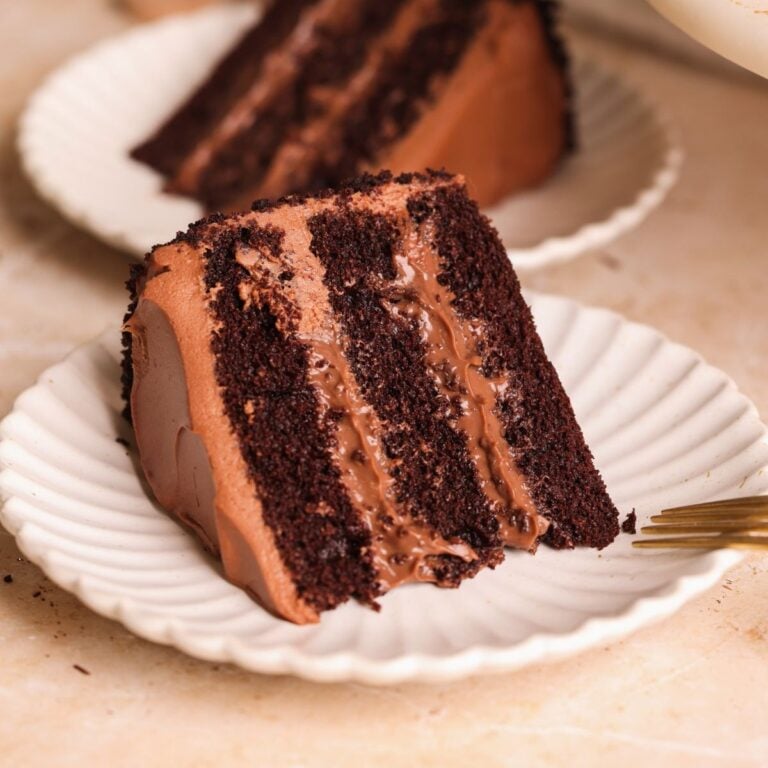
- It is rich, moist and fudgy without being heavy. It is a hard balance to strike – getting a rich texture without making the cake muddy or dense, and this cake gets it right. You’ll be able to eat a slice (or two) with no problem
- The frosting is just pure perfection. It tastes like chocolate, not sugar, and has the perfect consistency which is spreadable but remains shiny and soft
- Most importantly, this is a fuss-free recipe. You get all of the above without any complicated steps or unnecessary hassle. In fact, I’d venture to say less experienced bakers can get this cake right too!
This chocolate cake is to die for. Usually the icing layer can be cloyingly sweet – but in this one it is not. I don’t think I’ve ever had this chocolate flavor profile before!
– Momina, ★★★★★
Tried it as soon as I saw the recipe and oh my god! It is the BEST chocolate cake I’ve ever made and tasted. 100/10. Honestly, you’re a magician!
– Marium, ★★★★★
This cake tastes like luxury. Exactly what a chocolate cake should be. And that frosting – I could eat a whole bowl.
– Sarah, ★★★★★
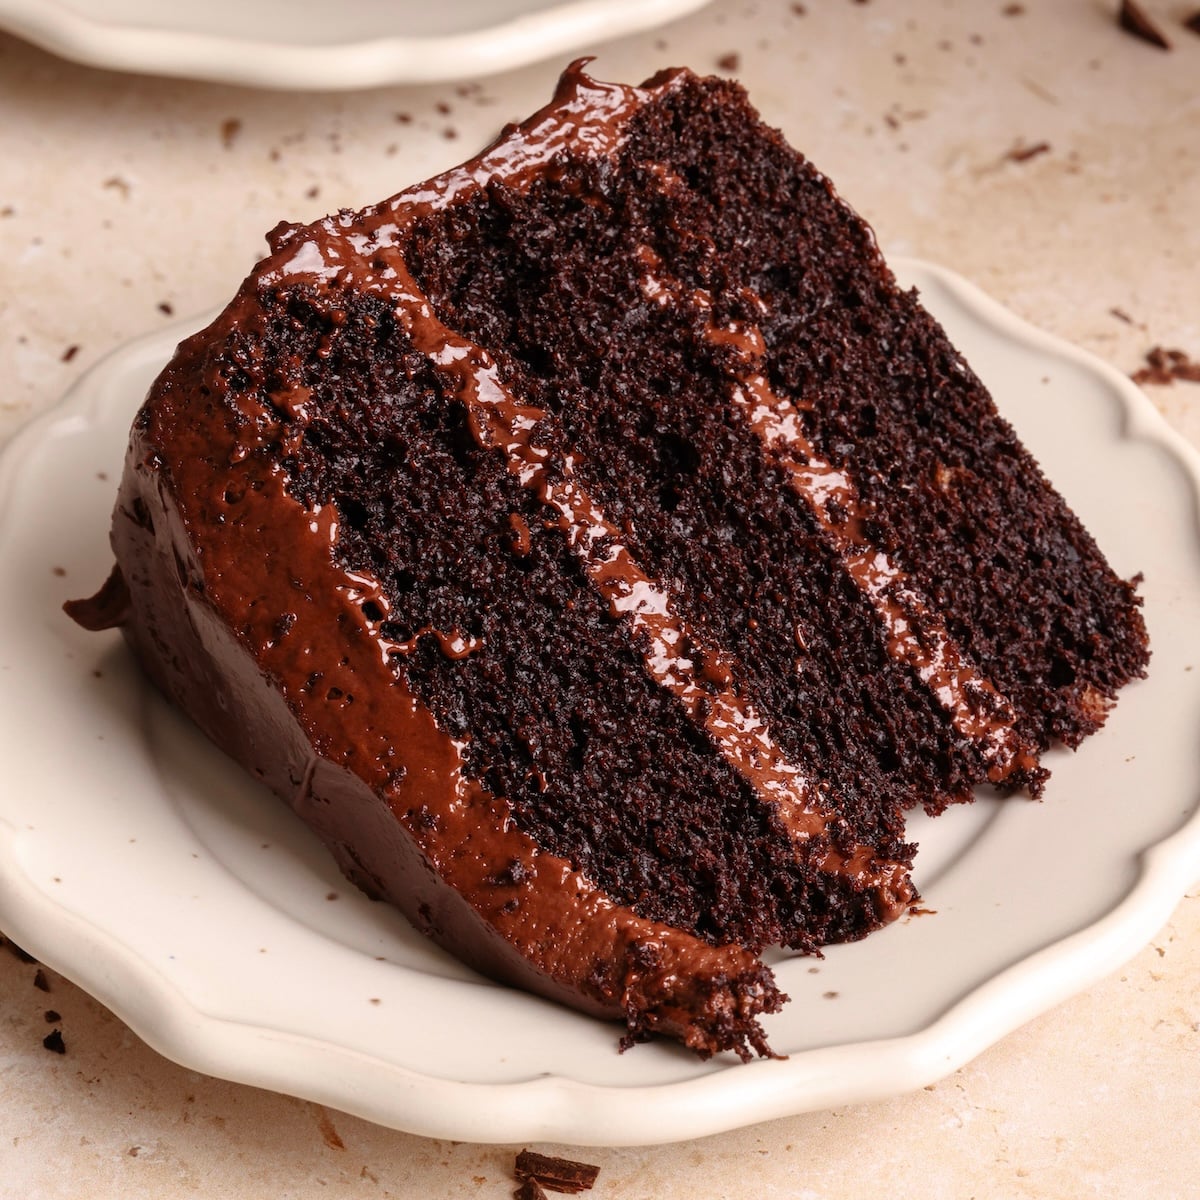
A few secrets make the cake special
I know there are countless versions of chocolate cakes online, but here’s what I believe makes this specific recipe work so well:
- A combination of white and brown sugar. The brown sugar adds depth of flavor and moisture
- Dutch Processed cocoa powder and an optional hint of black cocoa. Dutch cocoa powder does not taste acidic and has a much more rich chocolate flavor. My favorite is the Rodelle Dutch processed cocoa powder from Walmart! For an even darker color, I love adding a small amount of black cocoa powder
- A combination of buttermilk and sour cream. Both ingredients react with baking soda to give the cake a wonderful rise and add richness to the cake
- Bloomed cocoa powder in hot water. The cocoa powder is mixed with boiling water and then folded into the batter. The direct contact with hot water blooms the cocoa powder very effectively, uncovering its bold chocolate flavor and aroma
- Hint of coffee. You’ve heard it before: it enhances the chocolate flavor. Don’t skip it!
The frosting is to DIE for
Just like the Matilda chocolate cake, the star of this cake is the frosting! My Dark Chocolate Fudge Frosting is a hybrid of cream cheese frosting and chocolate ganache, and an absolute dream to work with. A generous amount of dark chocolate gives it a rich and chocolatey flavor, while the cream cheese and heavy cream keep it soft, spreadable and shiny. I’ve also updated the recipe to make it simpler, removing the corn syrup some people were having trouble finding.
A note on the frosting’s consistency
Because melted chocolate is a main ingredient in this frosting, its consistency will change with temperature. I find it best to use after resting for 20-30 minutes at room temperature. If it feels too soft or runny, chill it (usually just 10 minutes in the fridge will do the trick!). If it feels too firm (especially if you refrigerated it, which I don’t recommend), either let it warm up at room temperature, or remove about 1 cup, microwave for 20 seconds until runny and carefully fold through the rest of the frosting to make it softer.
Step by step photos
The detailed recipe is given in the recipe card below, but let’s go over the steps with photos to help you visualize everything.
1. Make the cake
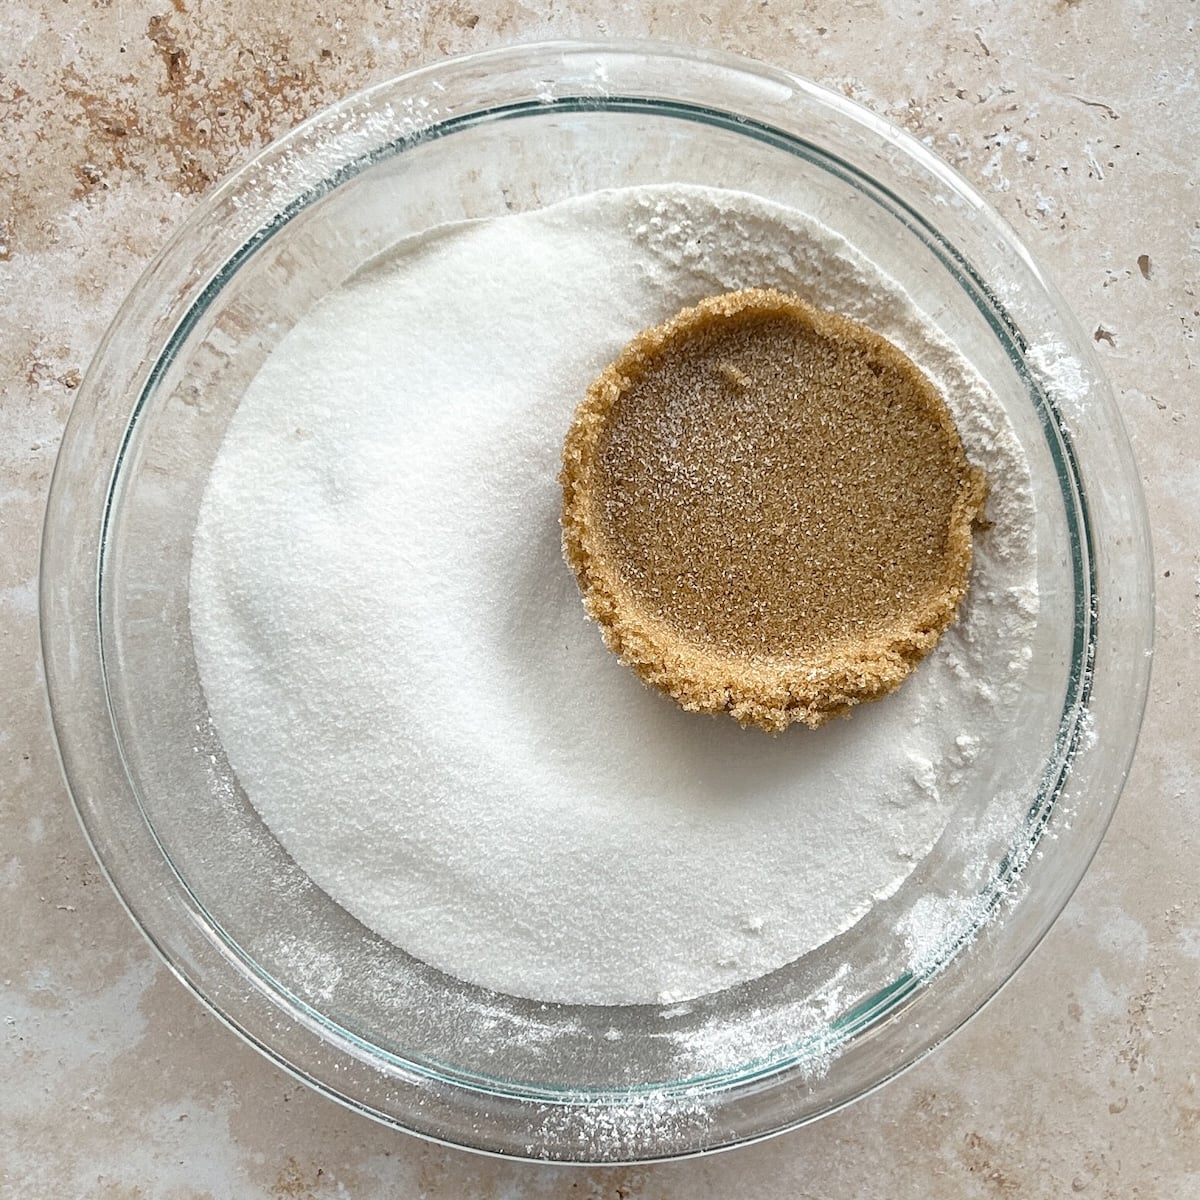
Add the dry ingredients except cocoa powder and coffee to a bowl.
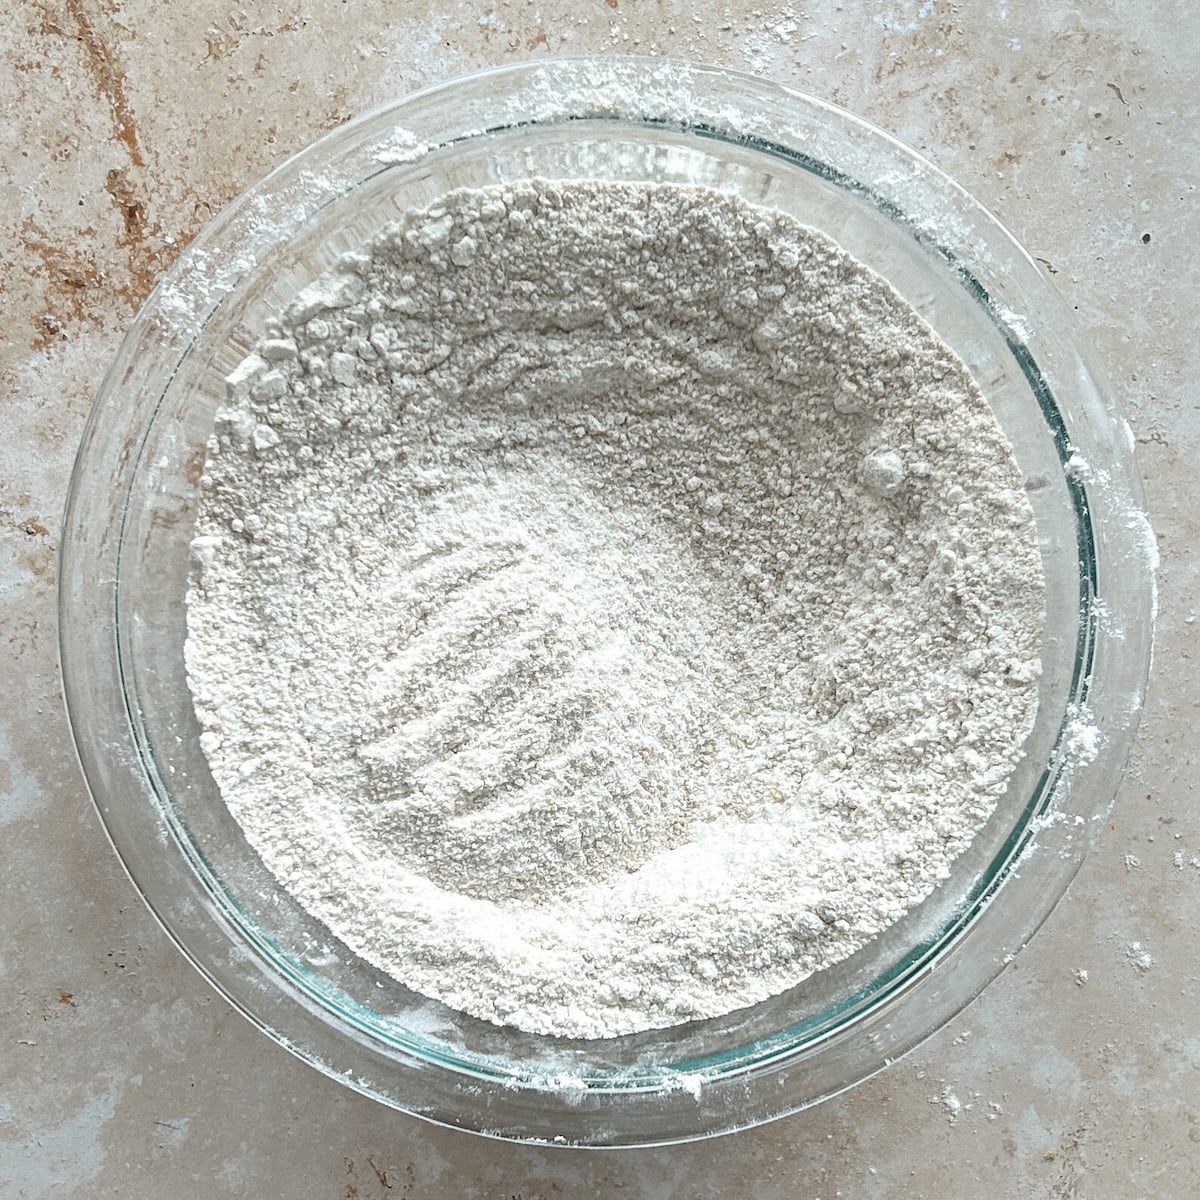
Whisk to combine and break down any lumps.
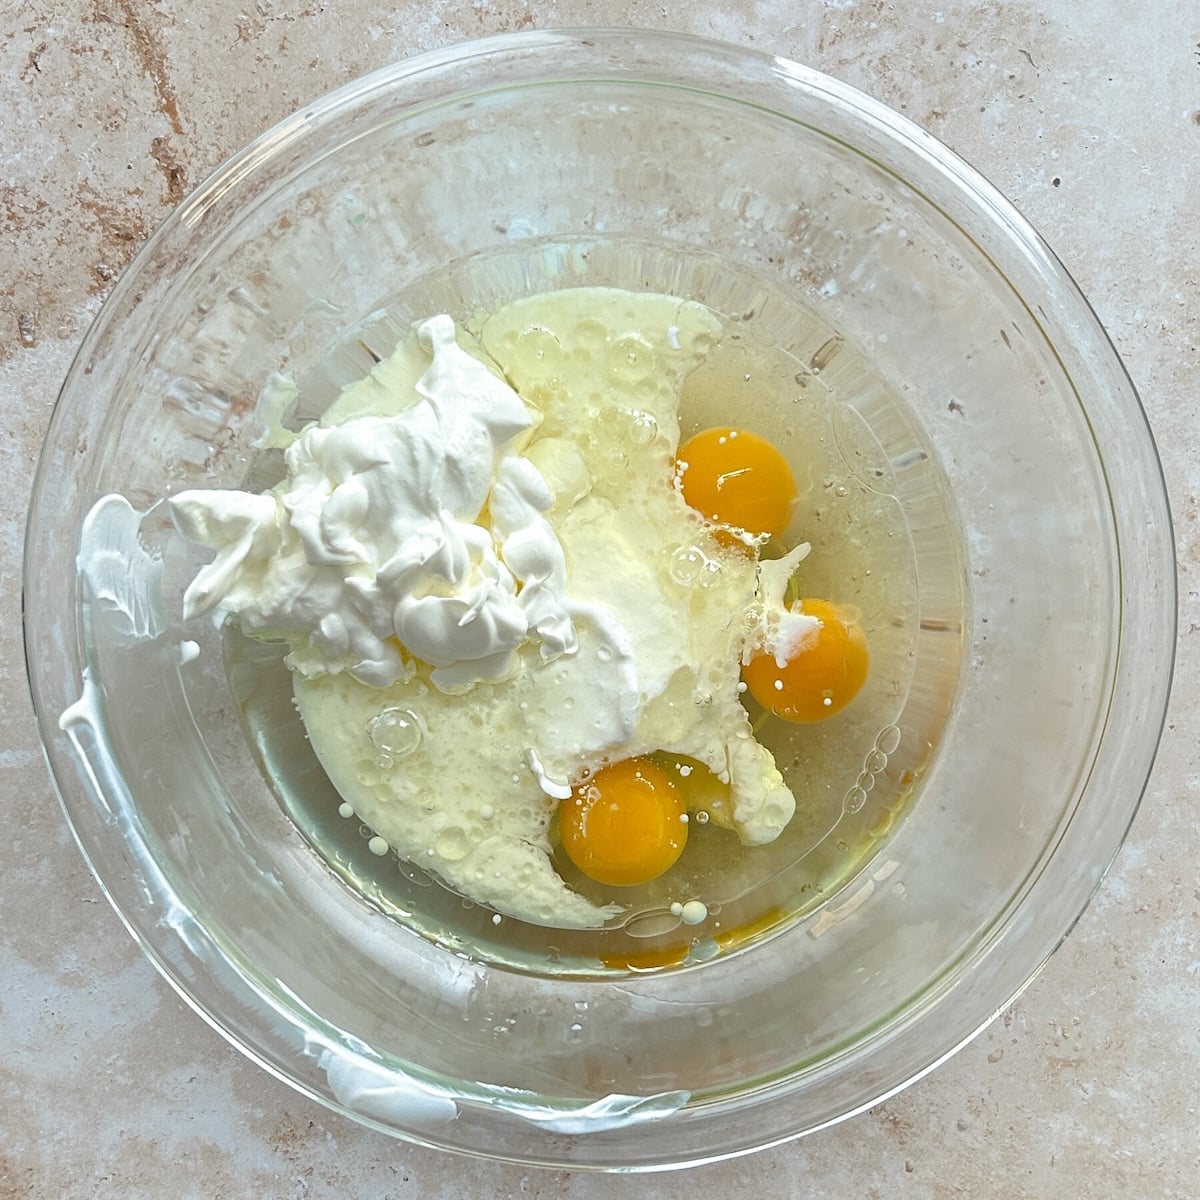
Add the wet ingredients except the hot water to a separate bowl.
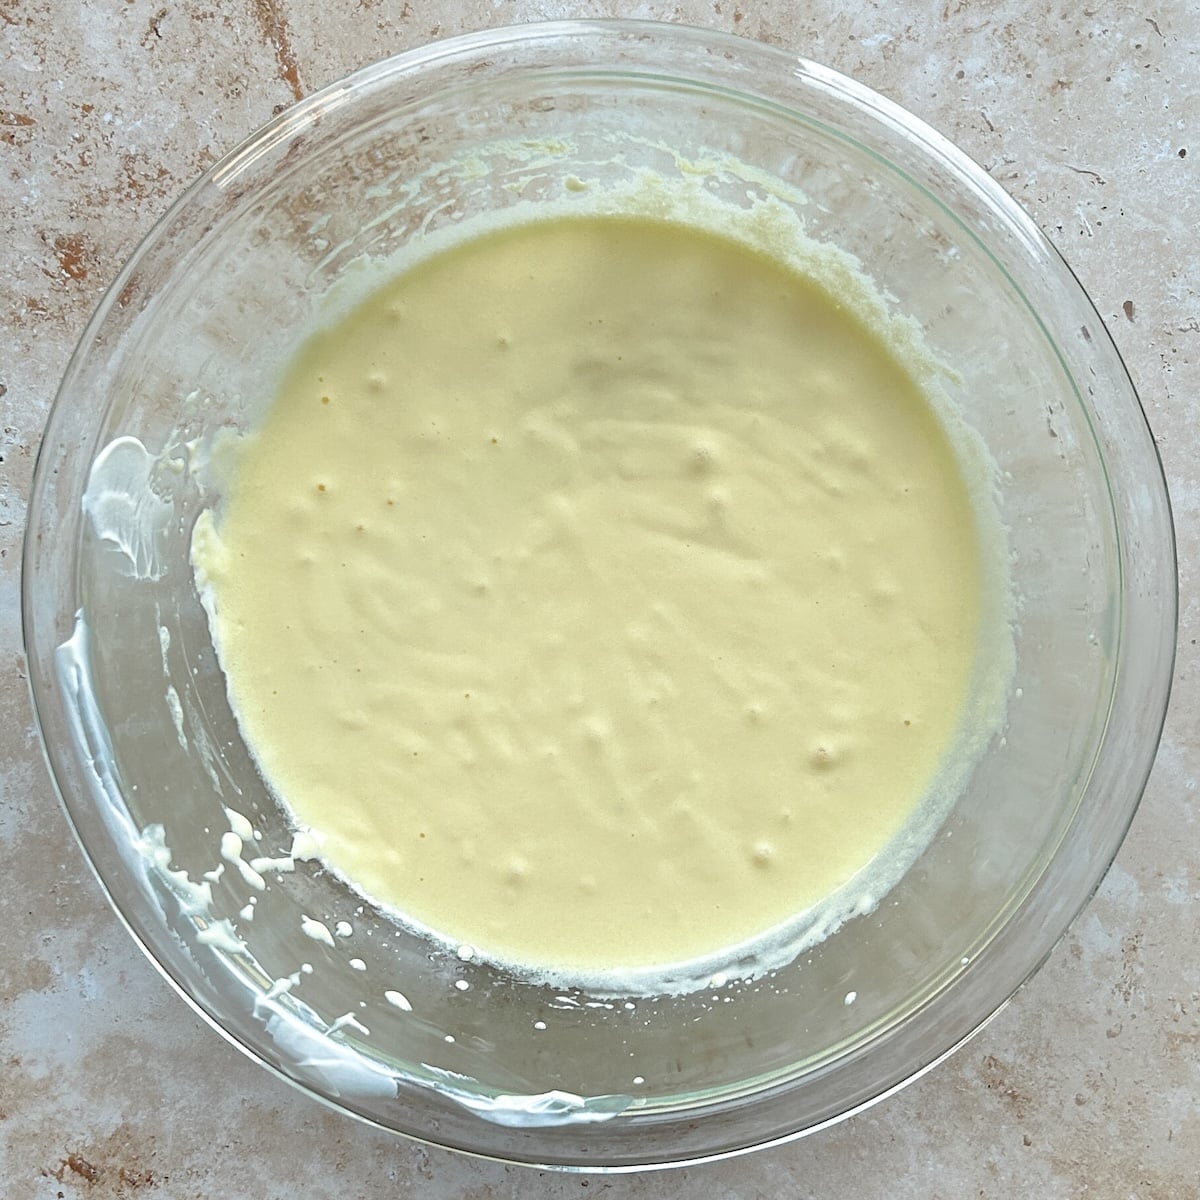
Whisk until smooth and combined.
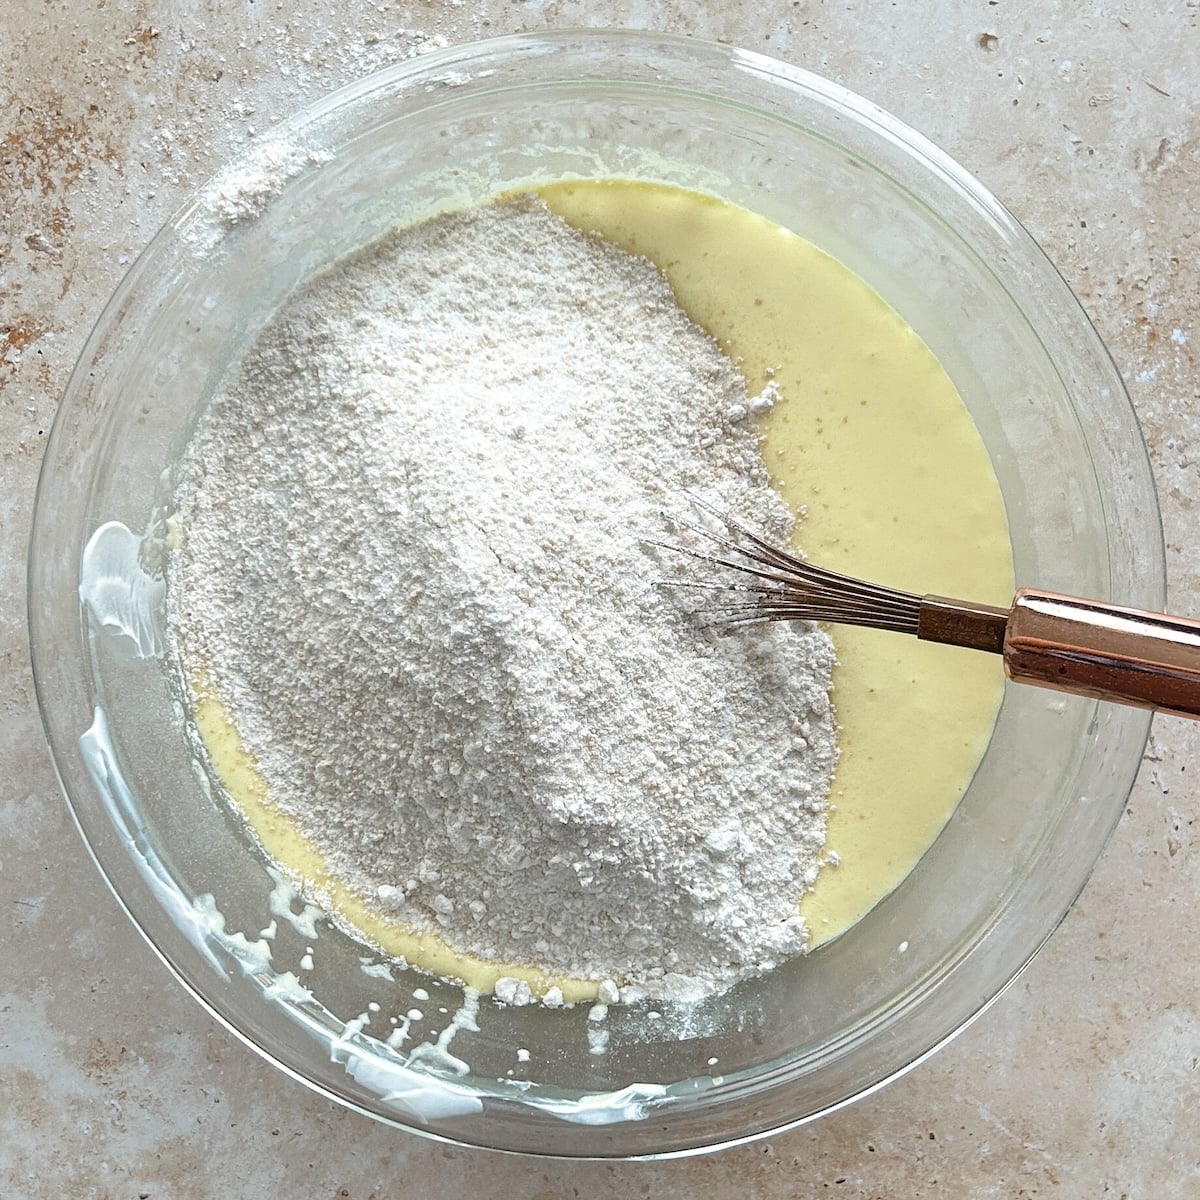
Add the dry ingredients to the wet ingredients.
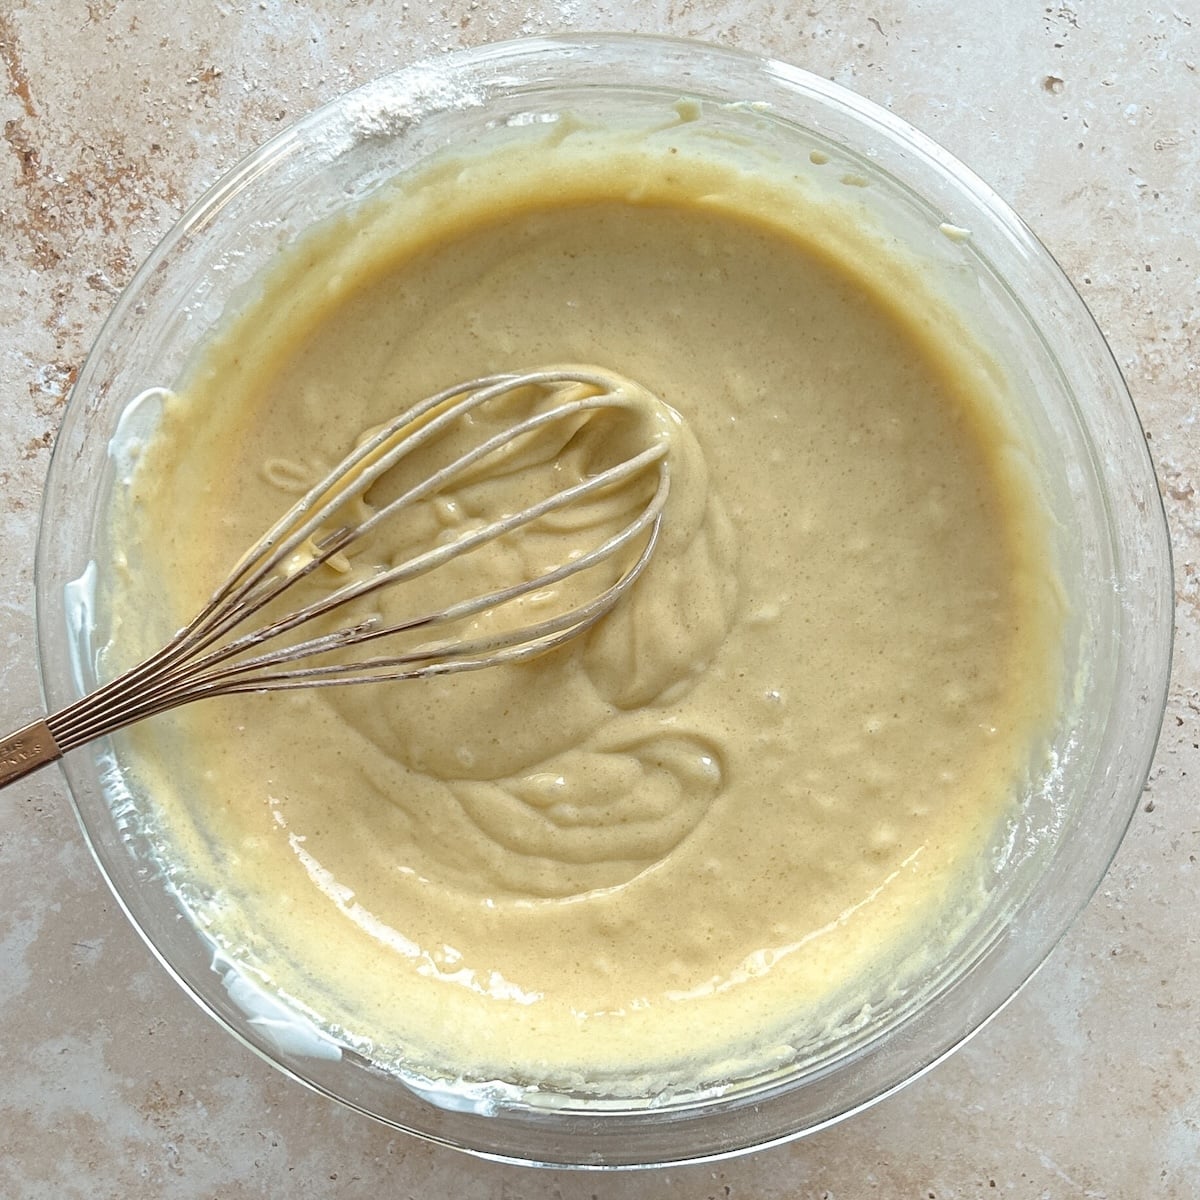
Whisk slowly and gently until just combined, and no lumps are visible.
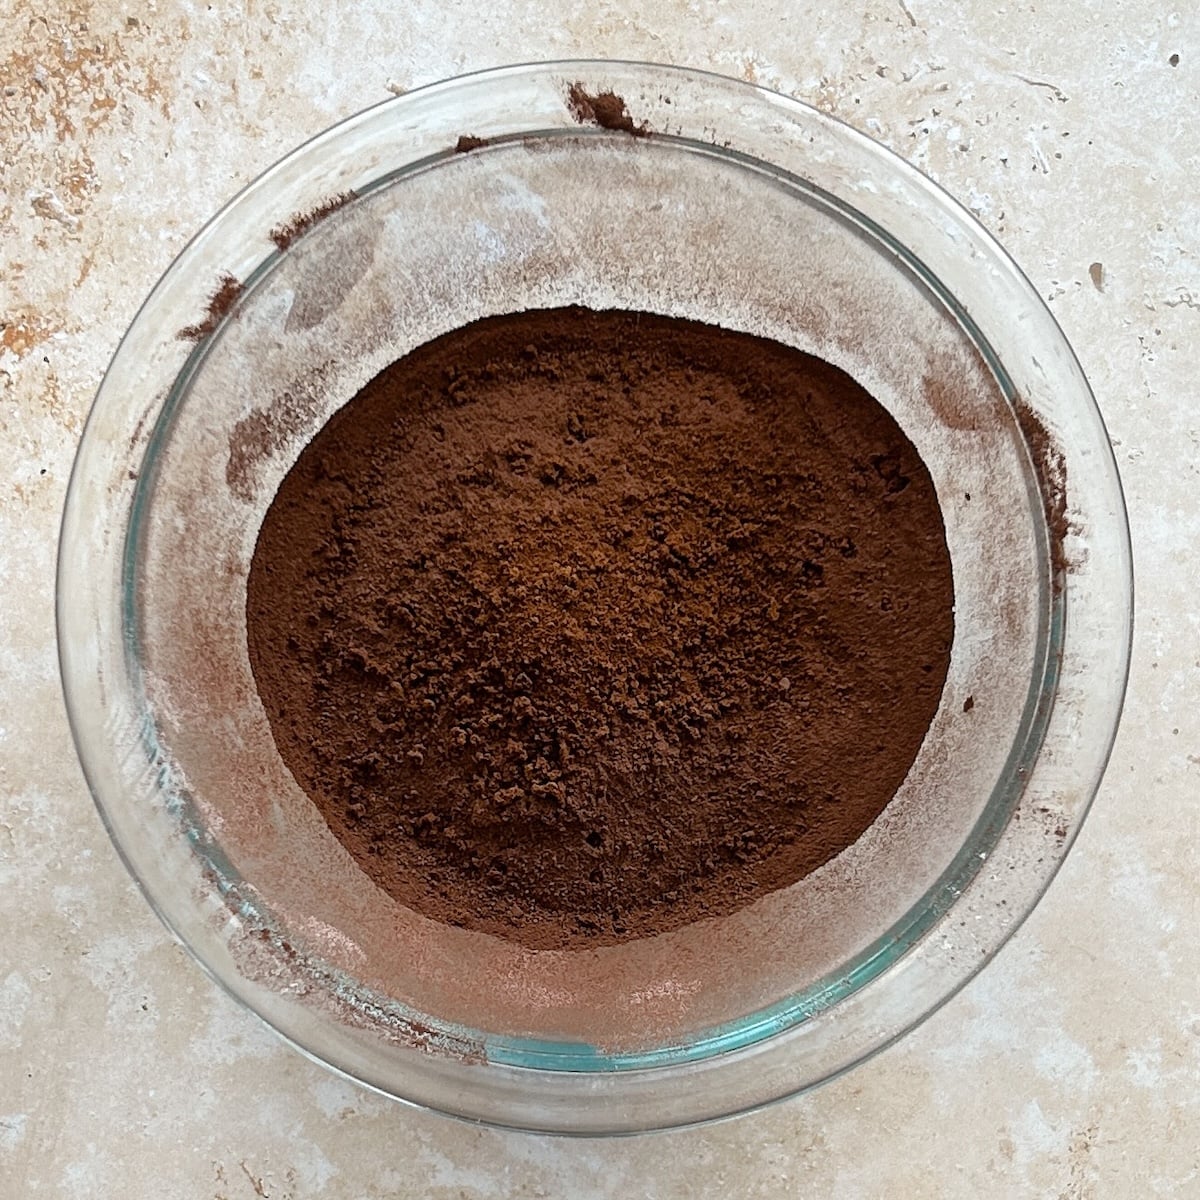
In a separate bowl, add the cocoa powder and instant coffee, and pour over the boiling water.
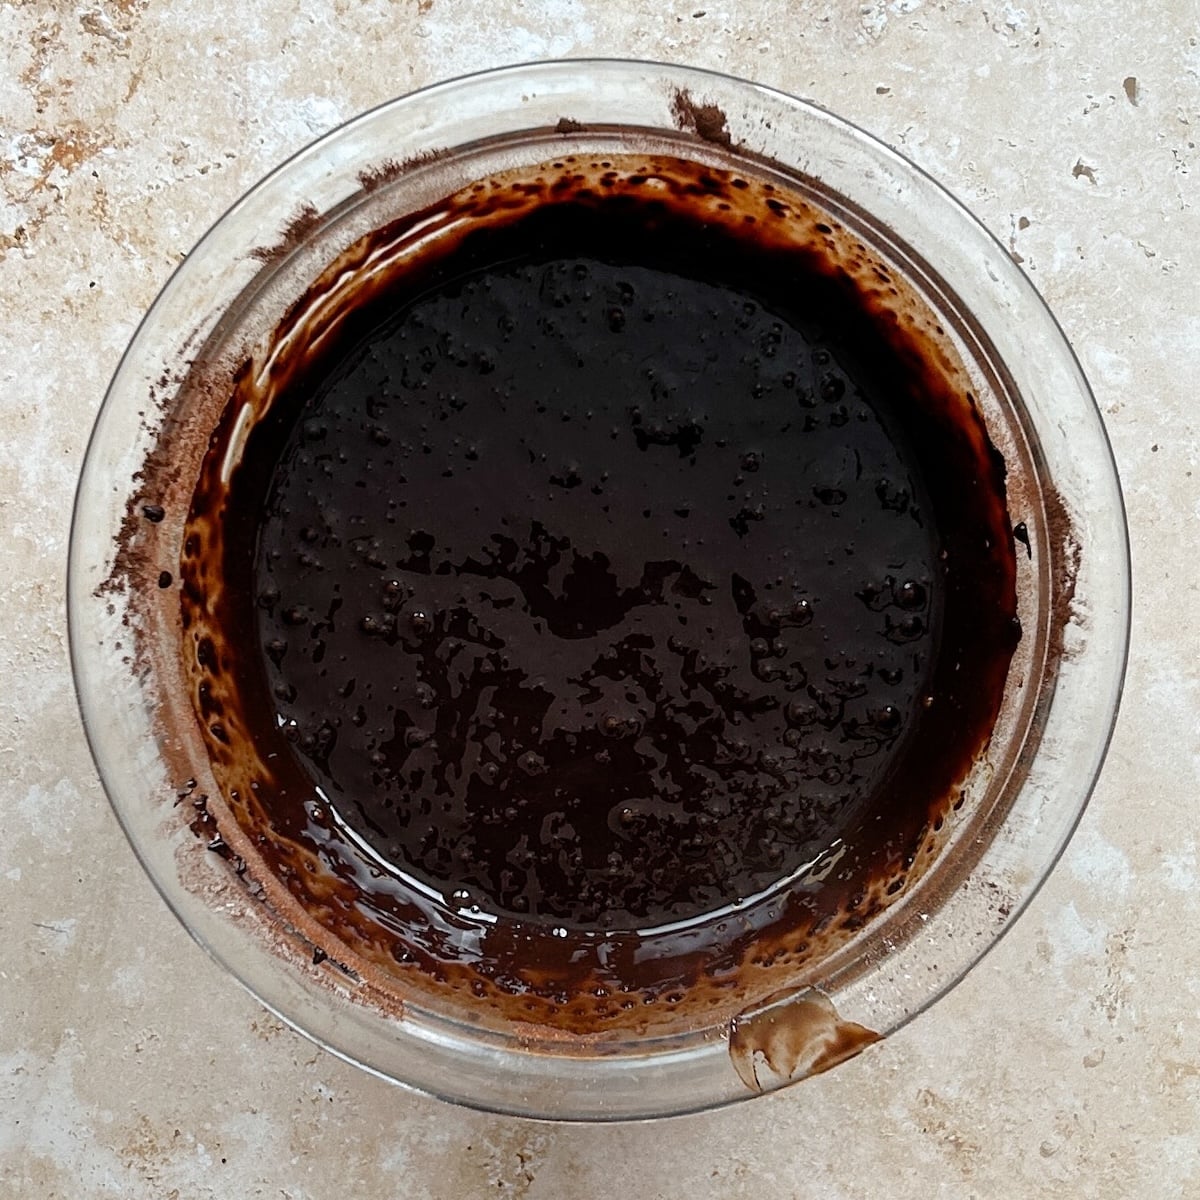
Mix until smooth and shiny. This step blooms the cocoa powder!
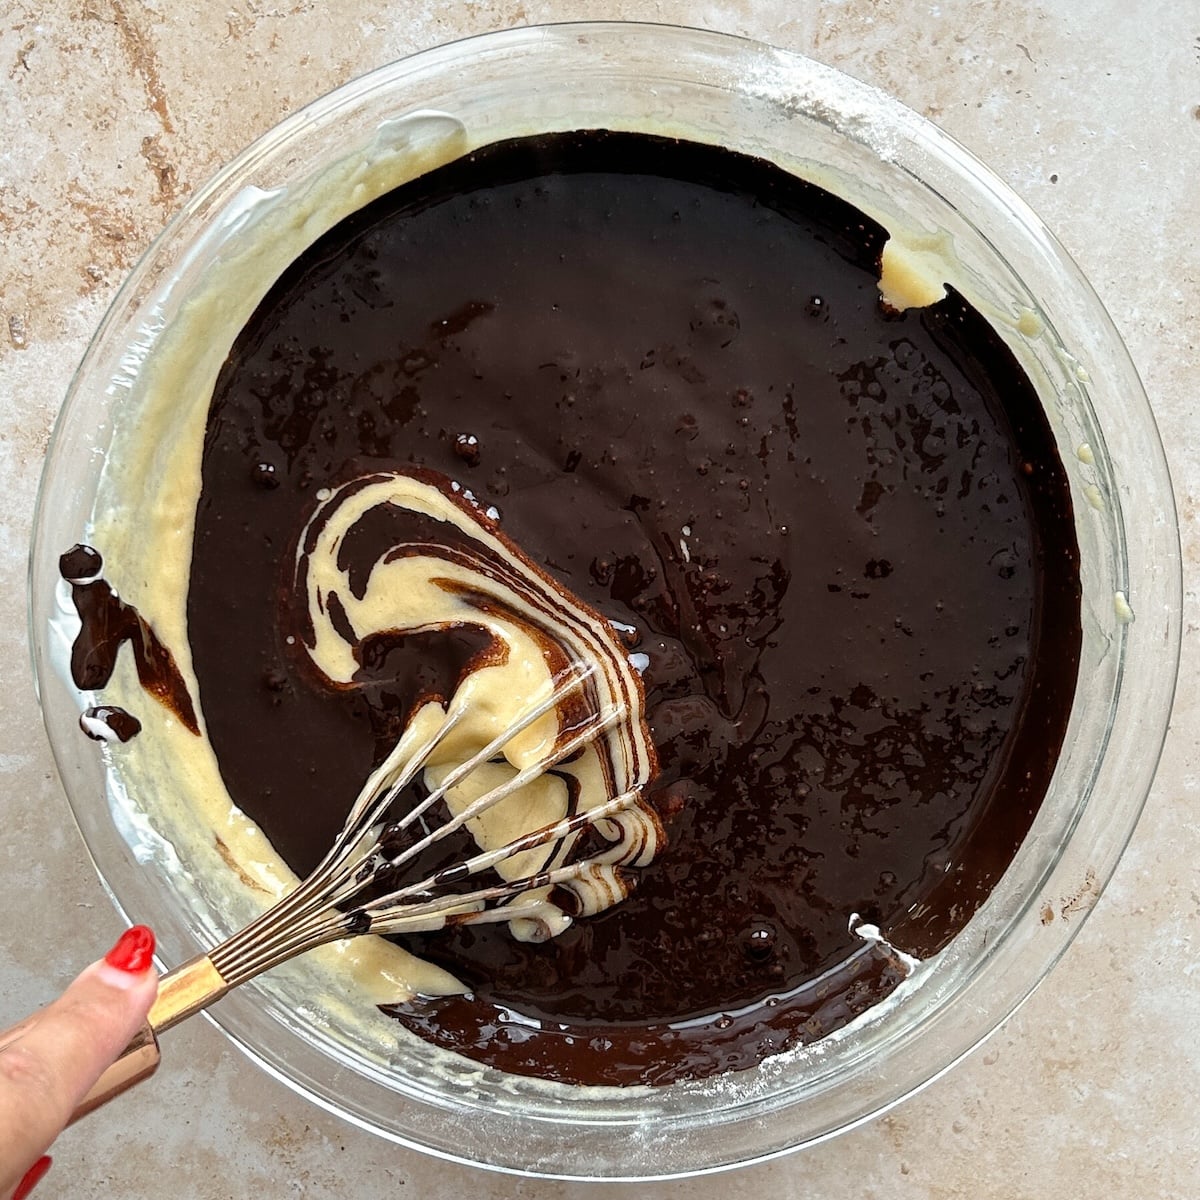
Add the bloomed cocoa mixture to the remaining batter.
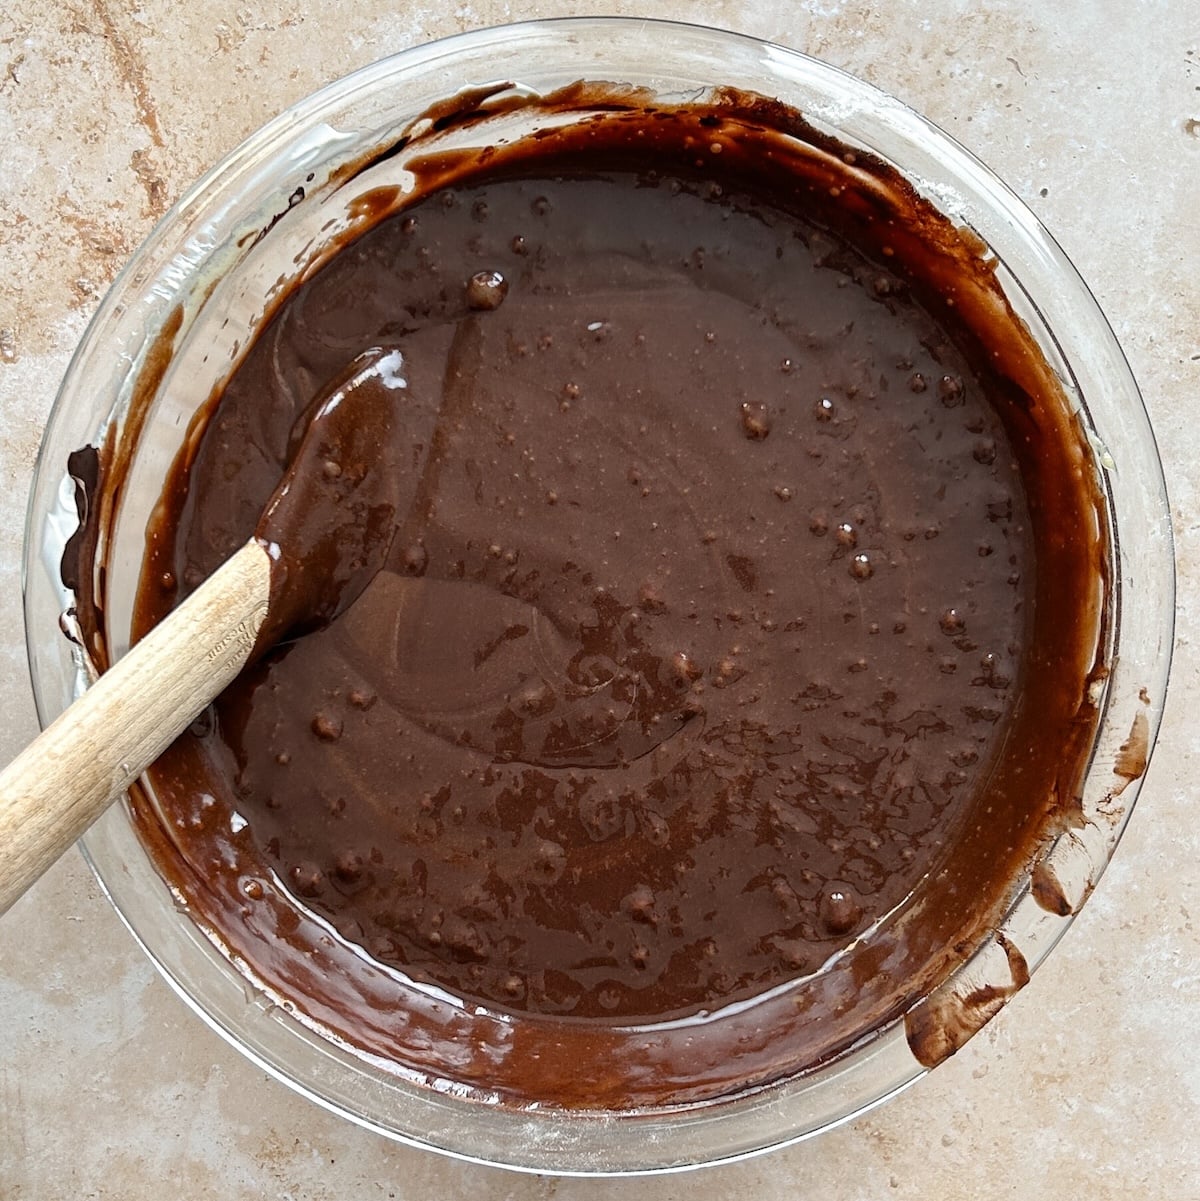
Whisk gently until just combined; taking care not to over-mix.
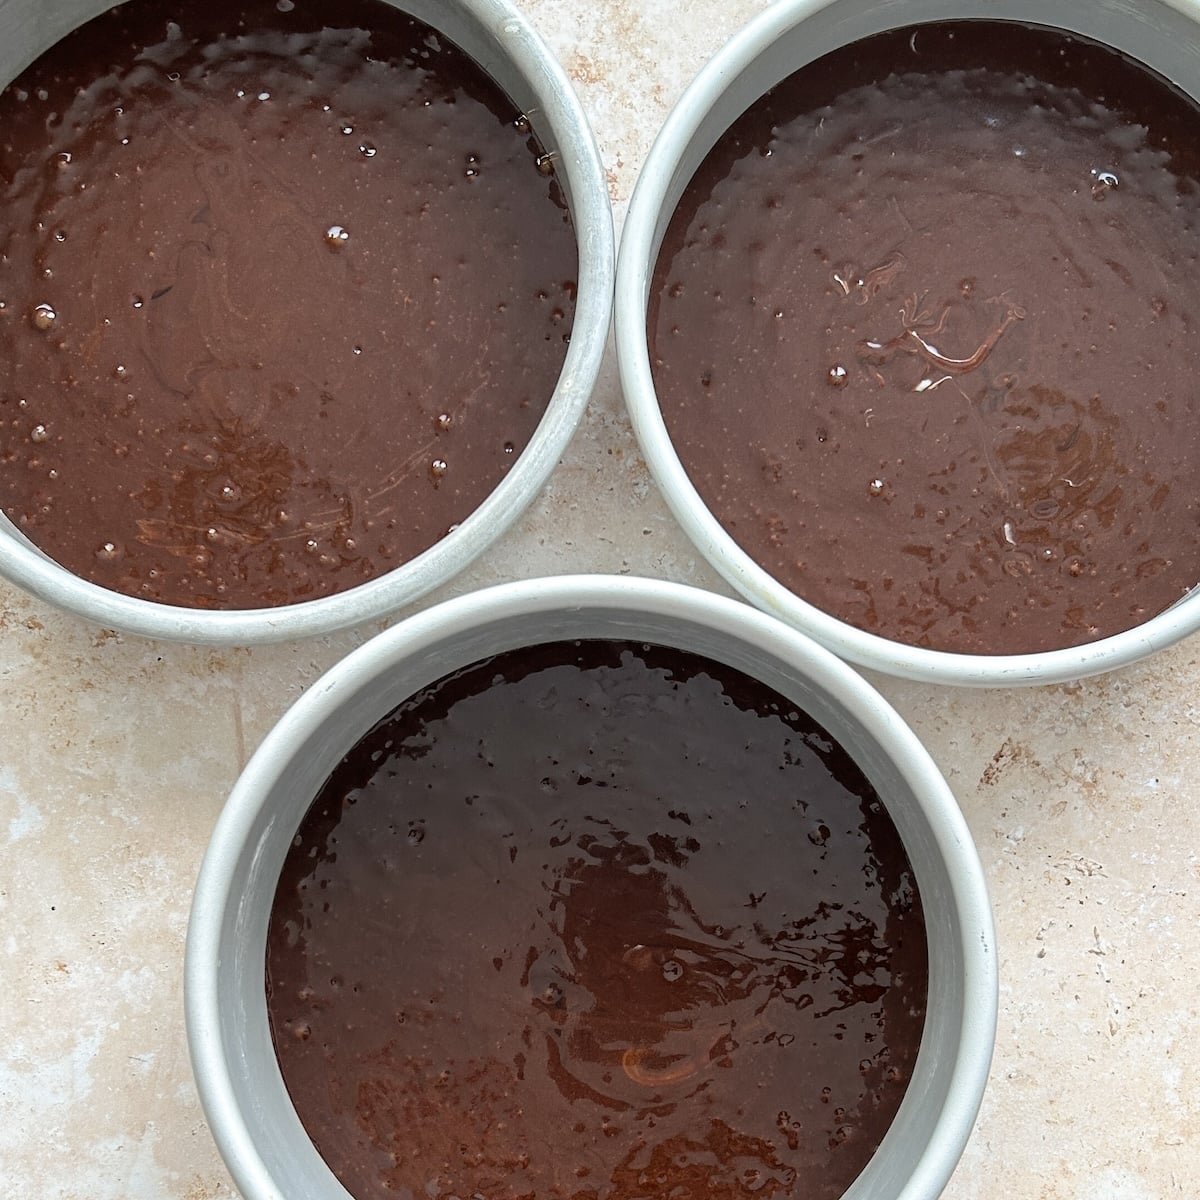
Divide the batter evenly between 3 8″ or 9″ pans.
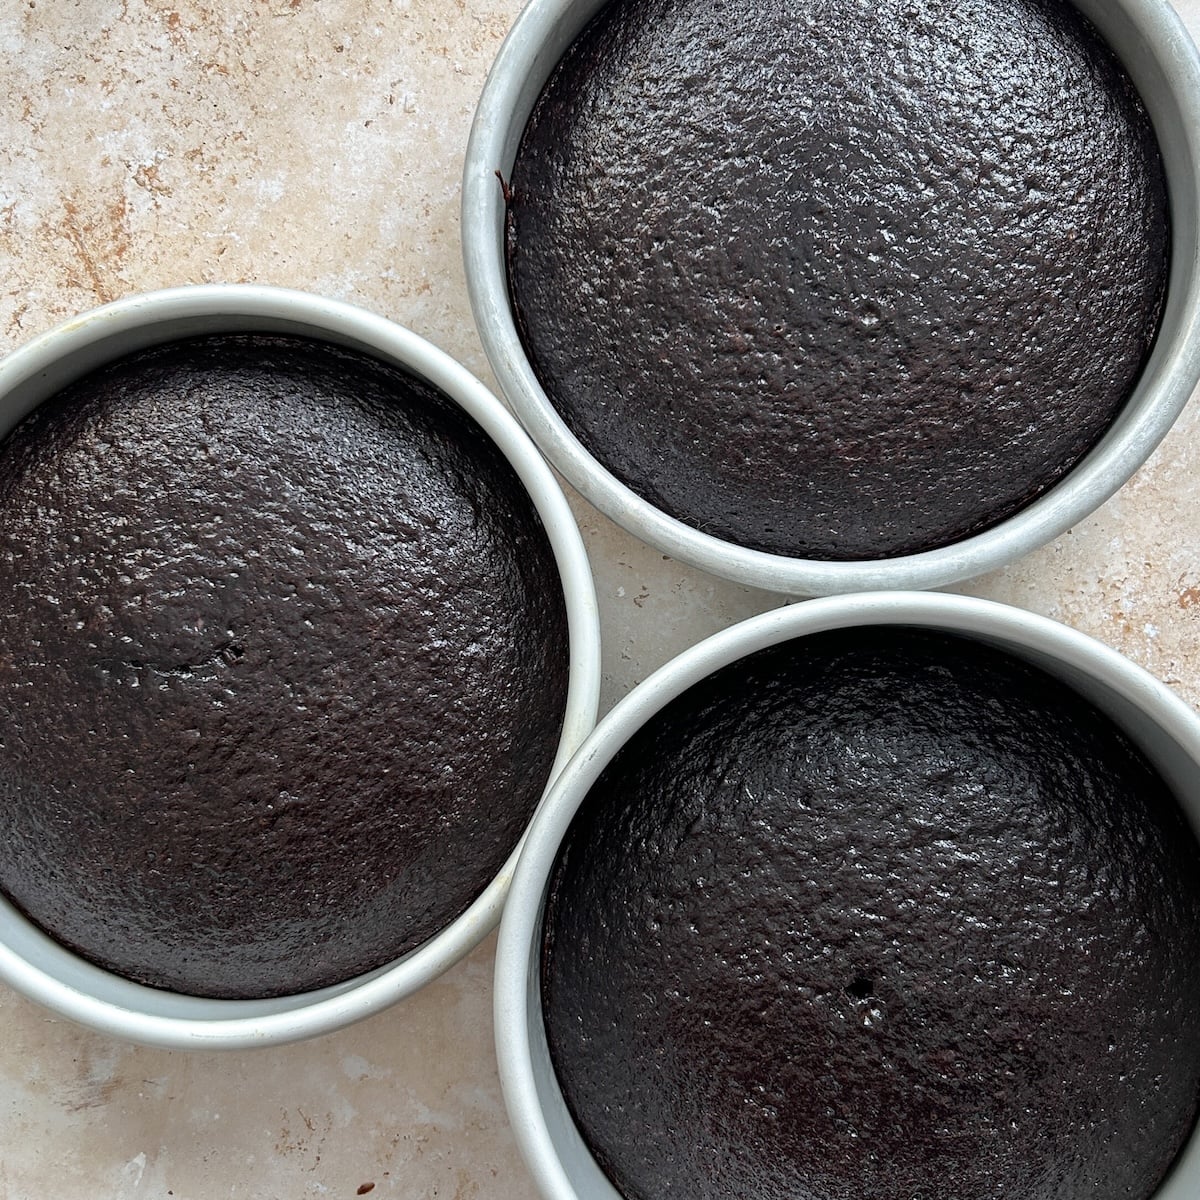
Bake until just cooked; avoid over-baking as it can result in a dry texture!
2. Make the frosting
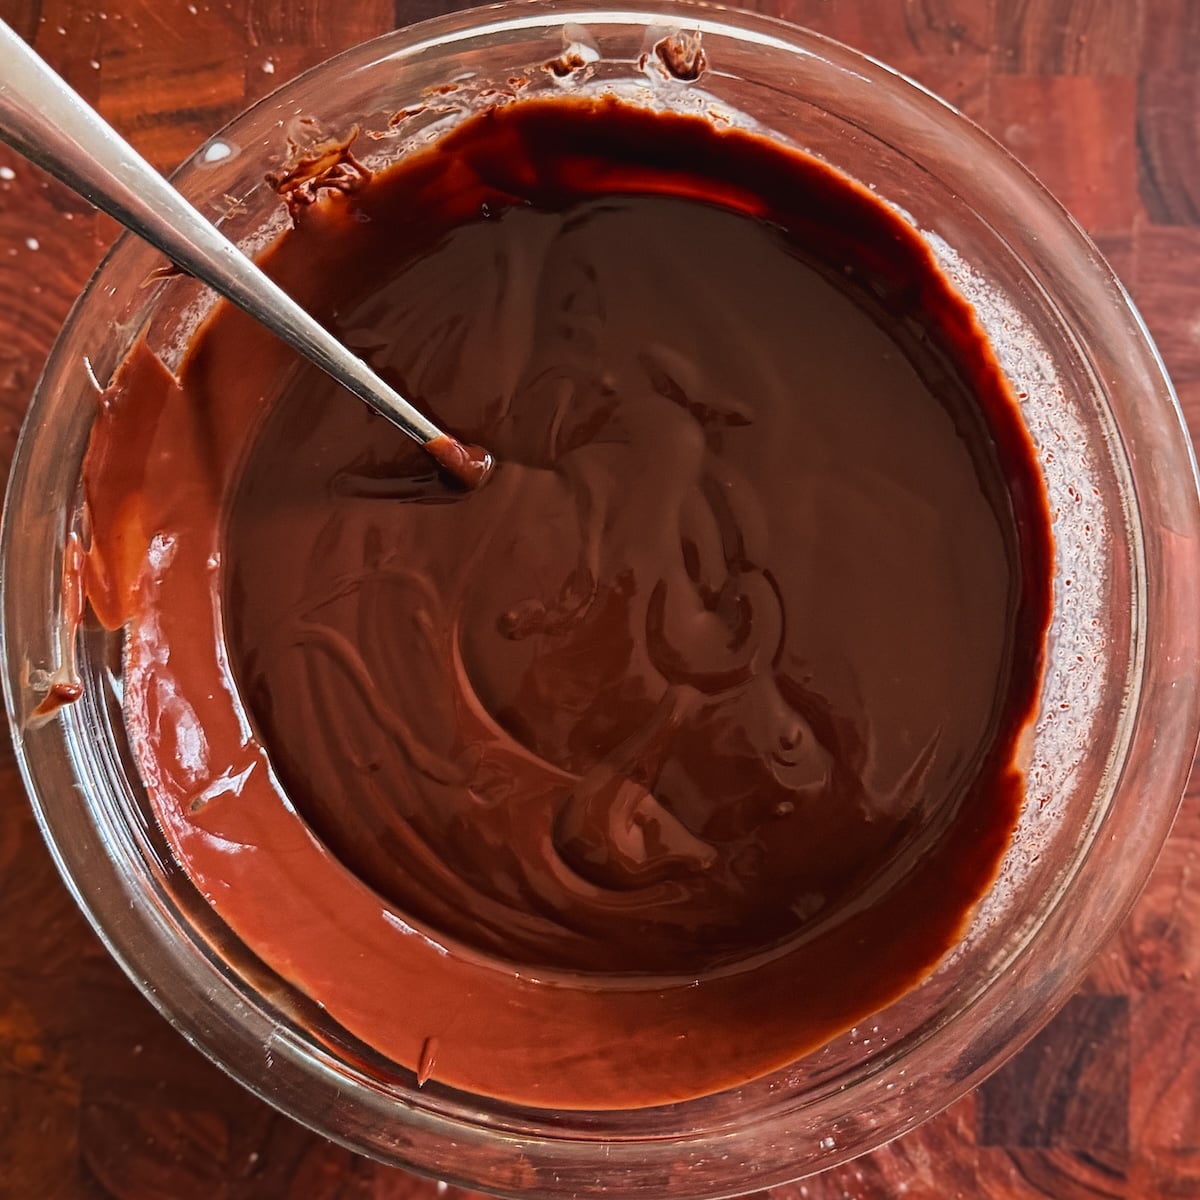
For the frosting, start by microwaving the heavy cream and dark chocolate until they form a smooth ganache.
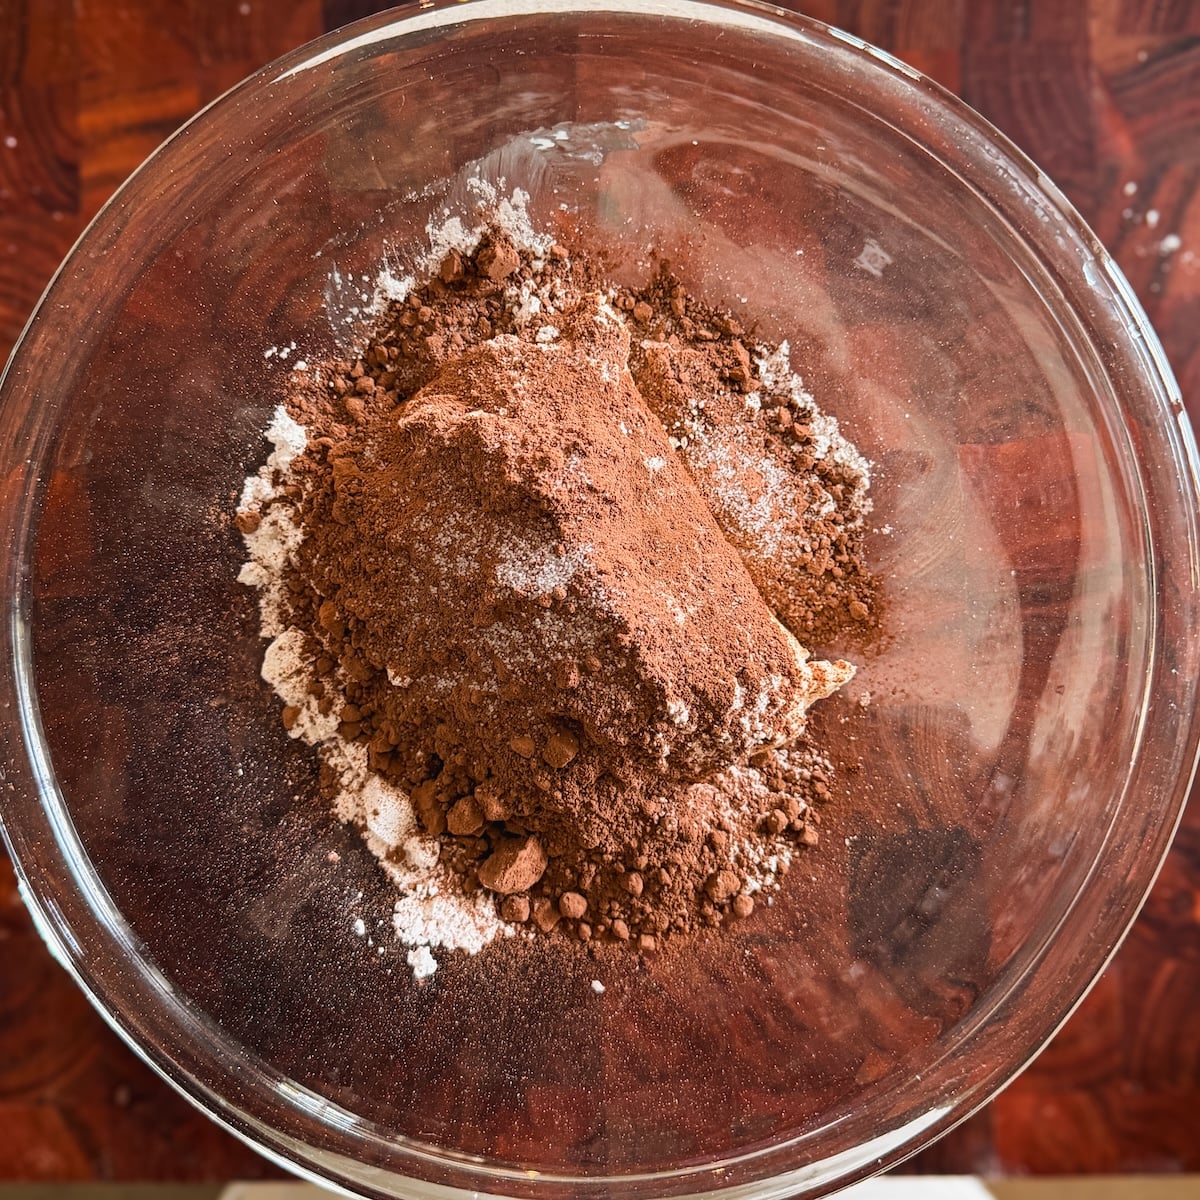
In a large bowl, add the cream cheese, powdered sugar, cocoa powder and salt.
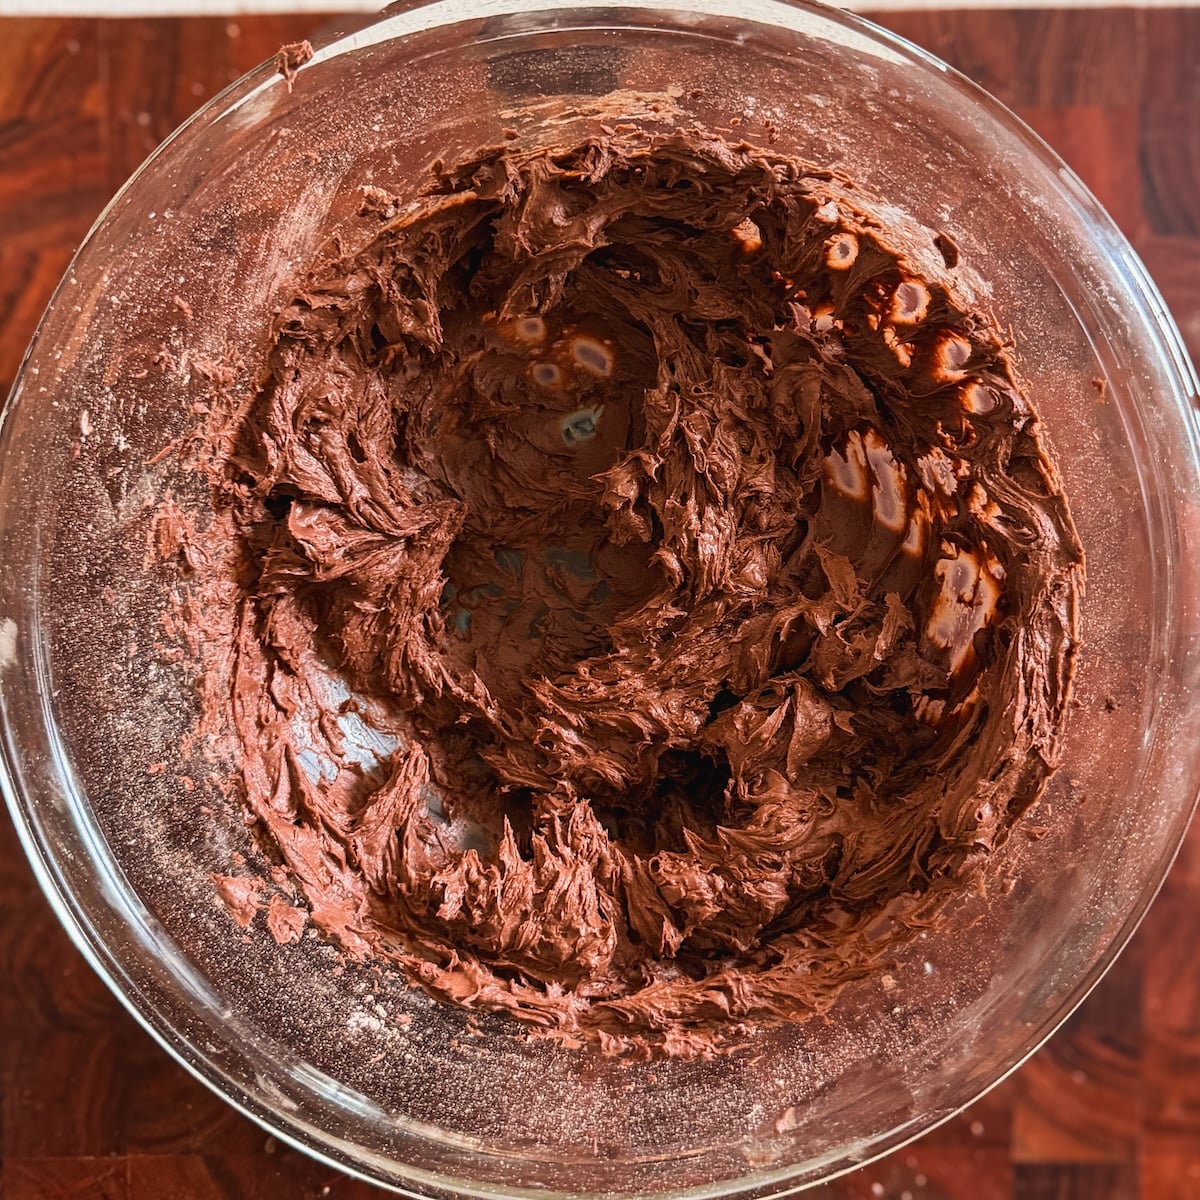
Whisk until the mixture is smooth and creamy with no lumps.
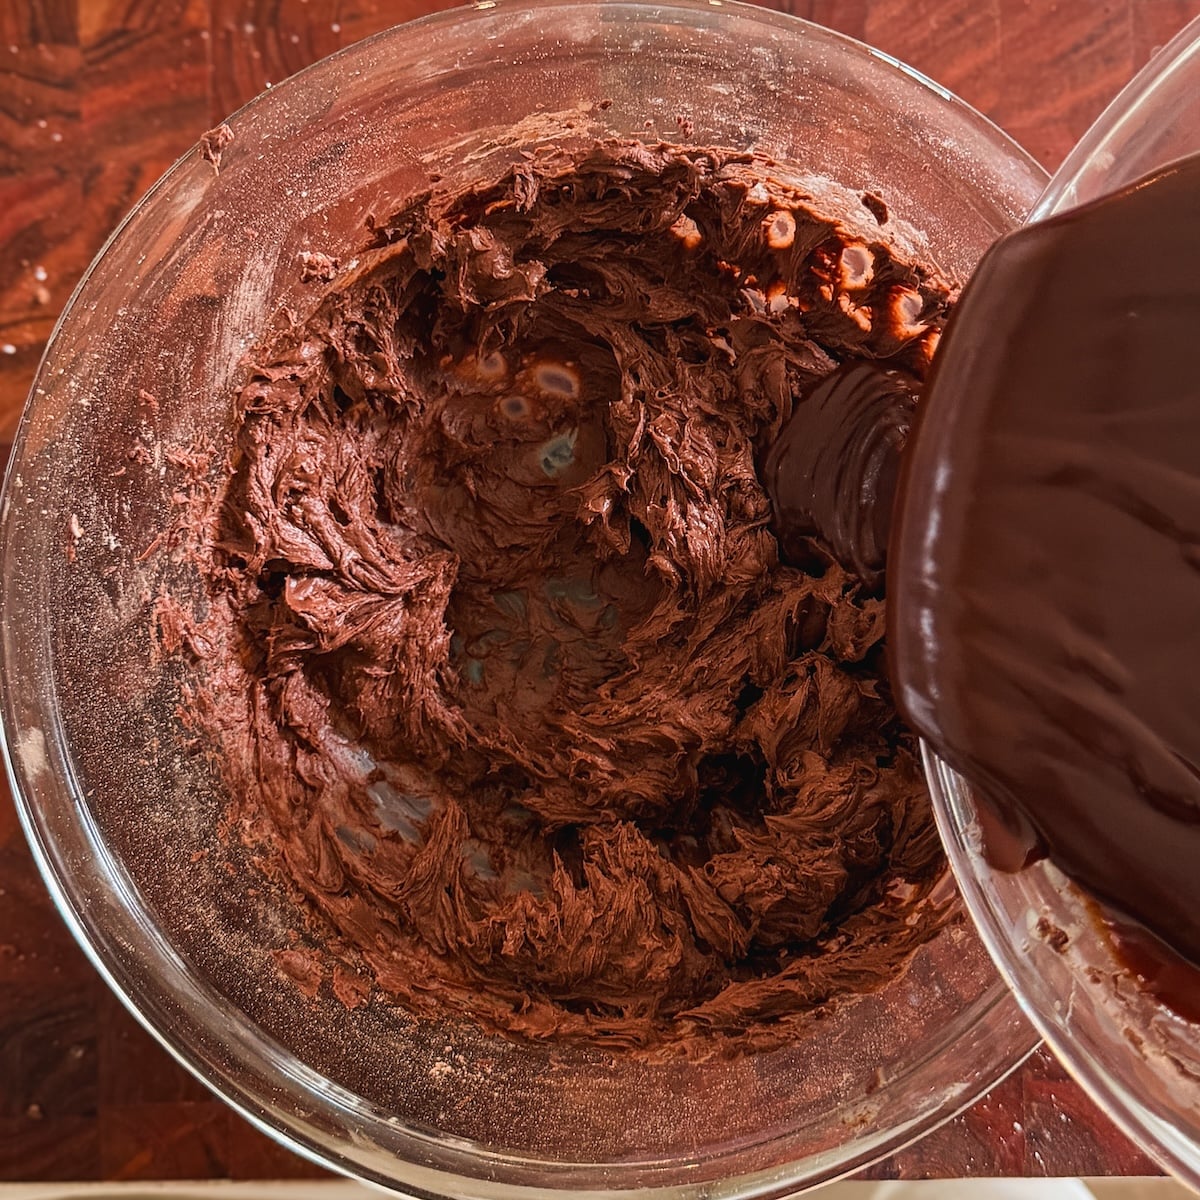
Add the warm (NOT hot!) ganache into the frosting.
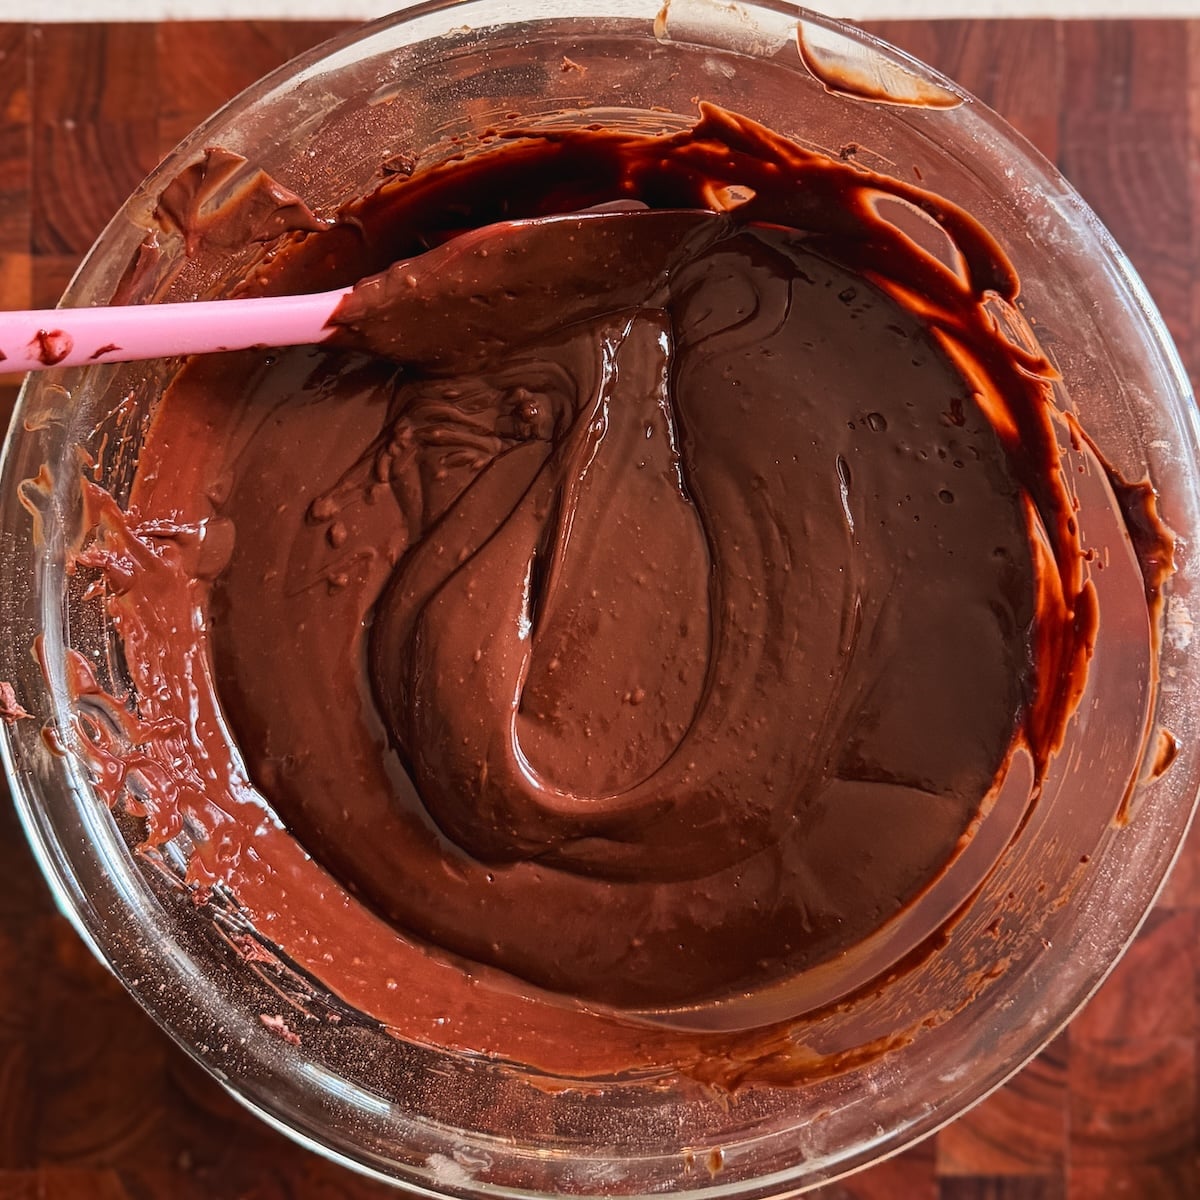
Whisk for ~60 seconds or until the ganache is fully mixed in. The frosting will be soft and runny at this point.
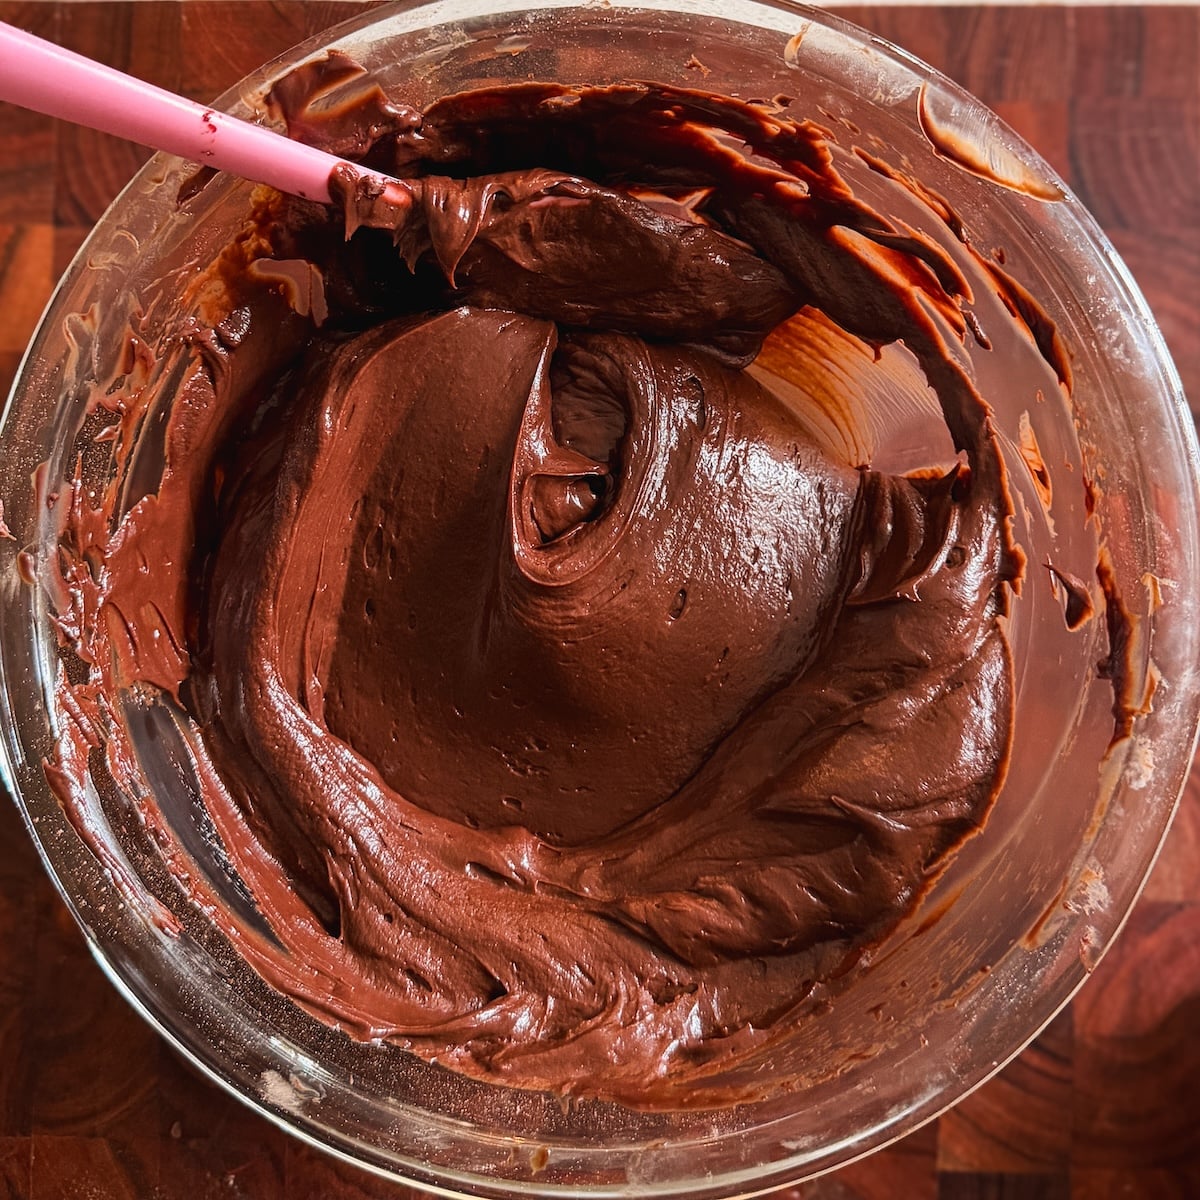
Let the frosting rest at room temperature for 30 minutes and it will become spreadable.
3. Assemble
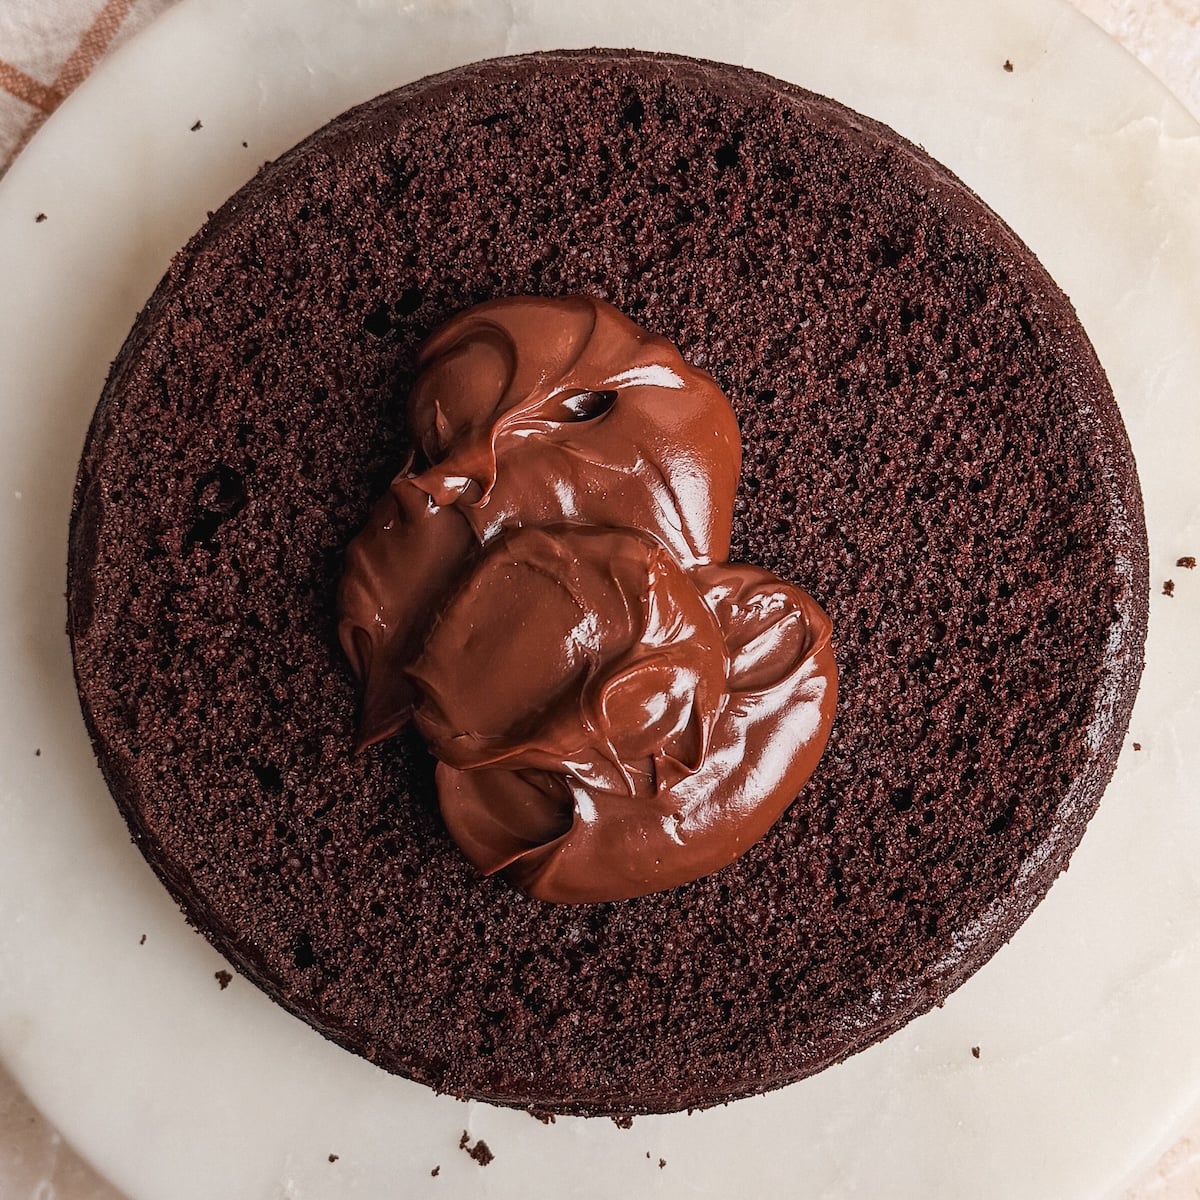
When the cake and frosting have cooled, trim the domes from the cakes and layer them generously with the frosting.
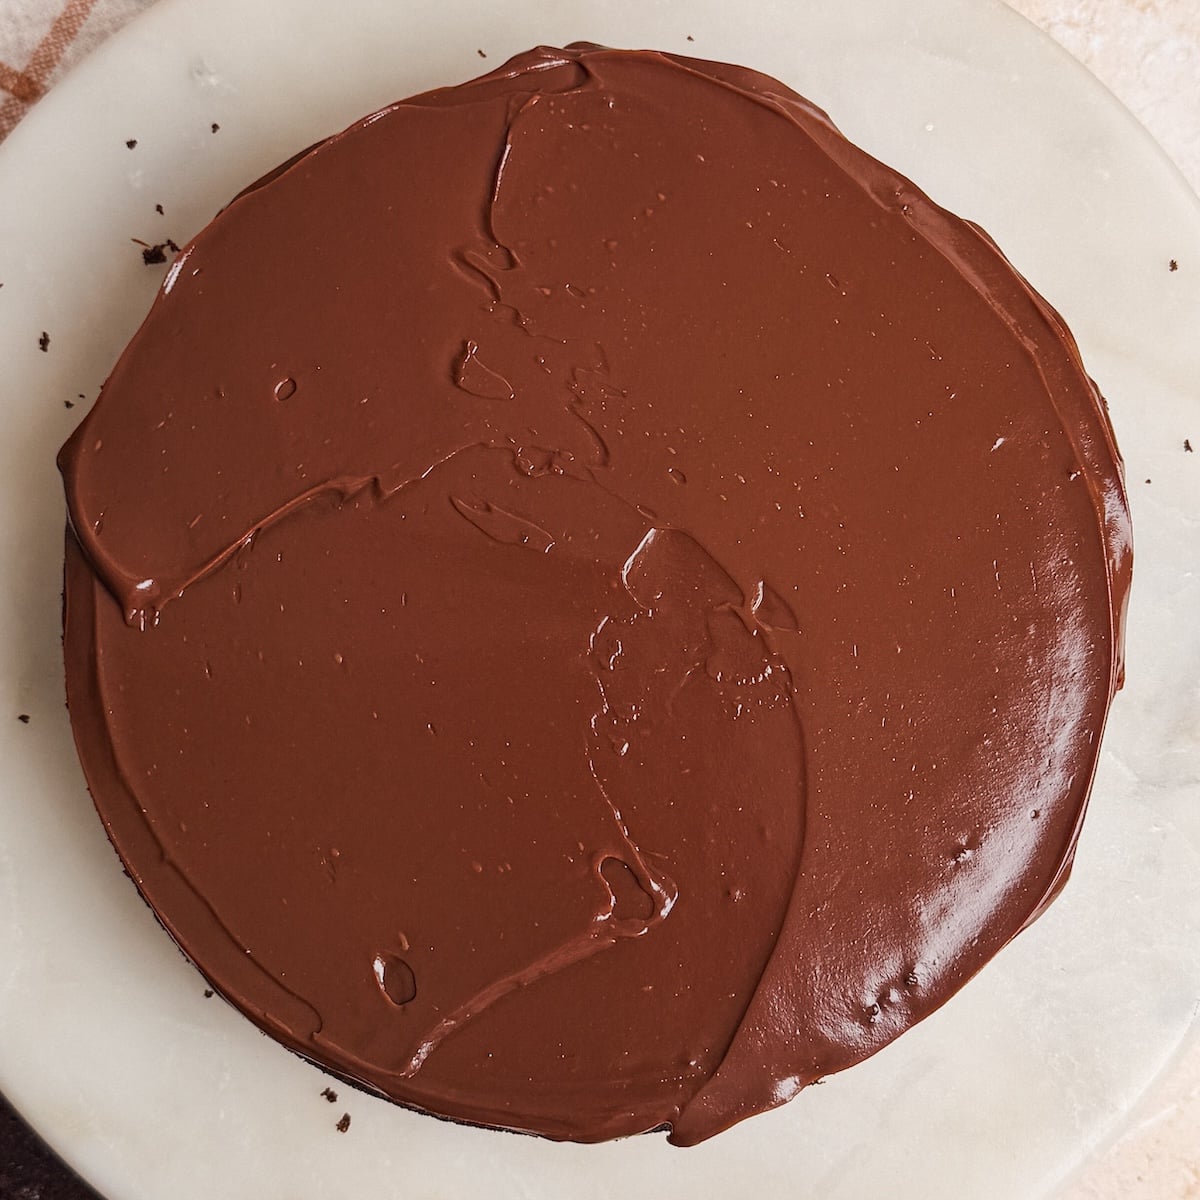
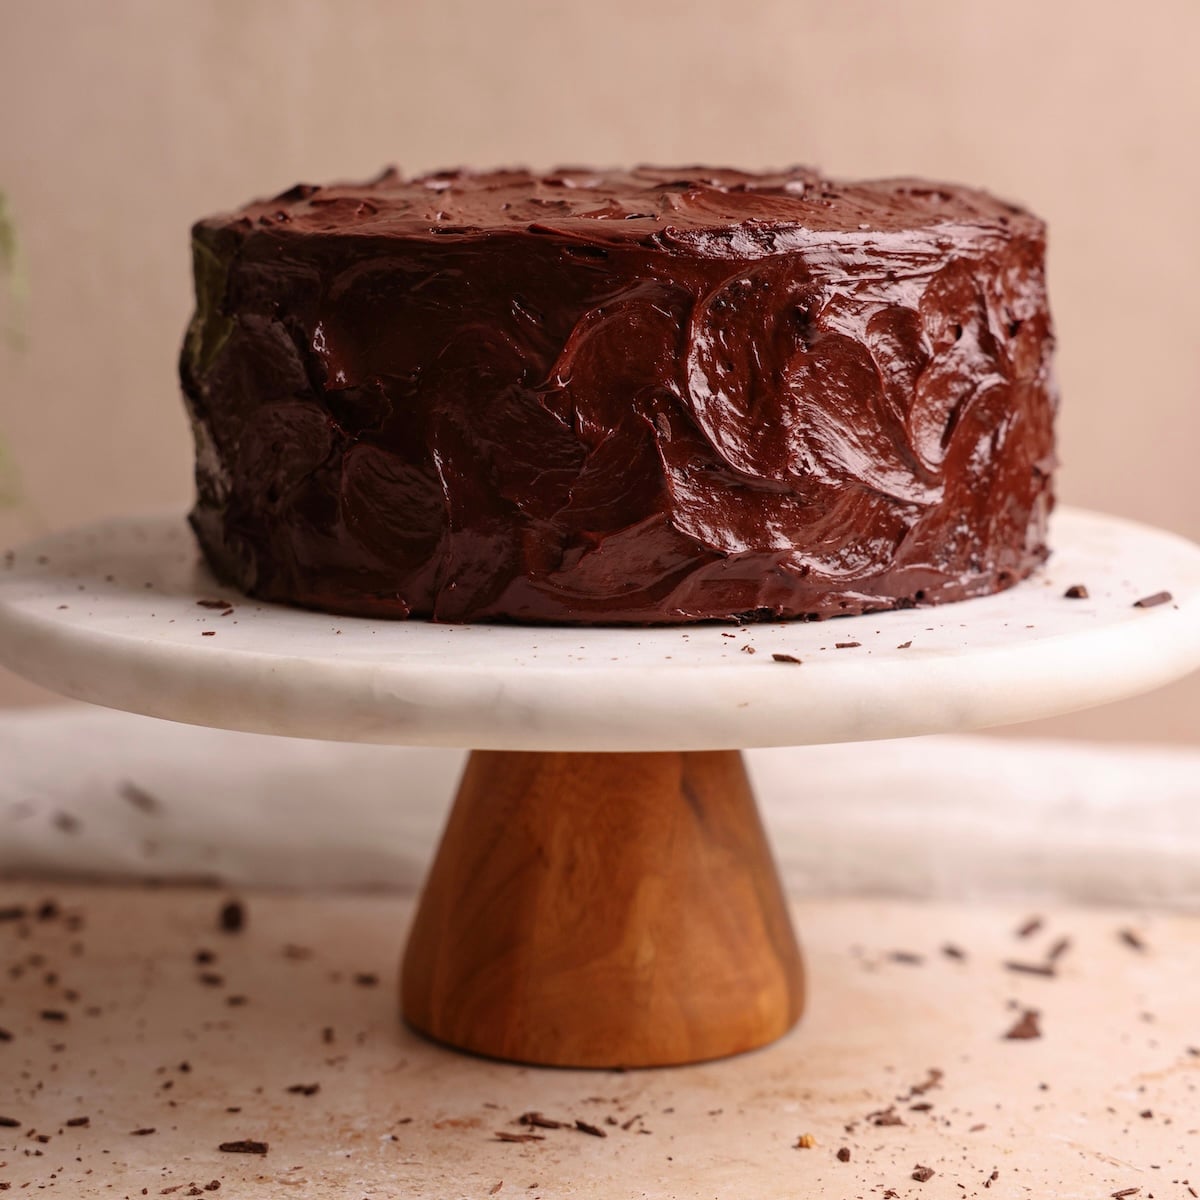
Cover the whole cake with the frosting. You can use a spatula to create a rustic look like pictured below!
Serve & enjoy!
Pro tips before you make it
A few important tips:
- Weigh the dry ingredients, especially the flour, for the best results. I love this inexpensive scale from Amazon
- Use Dutch Processed cocoa powder
- Never overmix the cake batter. Always whisk slowly and only until the ingredients are combined and you don’t see big lumps
- Don’t overbake the cakes. Check with a toothpick around the 20 minute mark, you want it to have light, moist crumbs on it. Overbaking will cause the cake to become dry and crumbly
- Let the cakes fully cool down before you handle and frost them. They are quite soft and delicate. I like to keep them in the fridge for 1 hour before I work with them
- Use high quality dark chocolate for the frosting. I have the best results with Callebaut 55% dark chocolate!
Email This Recipe
Enter your email and I’ll send this directly to you. Plus you’ll get new recipes from me every week!
Ingredients
Chocolate Cake:
- 2 cups all purpose flour (260g), sifted
- 1 1/2 tsp baking powder
- 1 1/2 tsp baking soda
- 1 cup granulated sugar (200g)
- 2/3 cup light brown sugar (135g)
- 1 tsp salt
- 3 large eggs
- ⅔ cup vegetable oil (133g)
- 1/3 cup buttermilk (80g) – mix 1/3 cup whole milk (80g) + 1 tsp vinegar to make your own
- 1 cup sour cream (240g)
- 3/4 cup cocoa powder, Dutch Processed preferred (75g)
- 2 tsp instant coffee
- 3/4 cup boiling water (180g)
Dark Chocolate Fudge Frosting:
- 300g dark chocolate, chopped – I recommend 55-60% like this one
- 1 1/4 cup heavy cream (300g)
- 8 oz cream cheese, room temperature (226g)
- 1/3 cup cocoa powder (33g)
- 1 cup powdered sugar (100g)
- 1/4 tsp salt
Instructions
Chocolate Cake:
- Preheat oven to 350F (no fan) and prepare 3 8″ pans with parchment paper and butter
- In a bowl, combine the flour, baking powder, baking soda, granulated sugar, light brown sugar and salt. Whisk together until no lumps remain
- In a separate bowl, whisk together the eggs, vegetable oil, buttermilk and sour cream until smooth
- Add the dry ingredients to the wet in 2 additions, and gently whisk and fold until they are just combined and no big lumps remain. Do not over-mix
- In a separate small bowl, add the cocoa powder and instant coffee. Pour over the boiling water and whisk until a smooth shiny mixture forms
- Pour the cocoa mixture onto the remaining batter, and gently fold until a chocolate cake batter forms
- Divide the batter evenly between the 3 prepared cake pans
- Bake for ~22-24 minutes until a toothpick inserted in the center comes out with light moist crumbs attached
- Let the cakes cool in the pans for 20 minutes, then carefully remove them and place on a wire rack. Let them cool completely (I recommend at least 1 hour)
Dark Chocolate Fudge Frosting:
- While the cakes cool, make the frosting. Add the dark chocolate and heavy cream to a microwave safe bowl. Microwave in 20 second increments, stirring in between, until the chocolate melts and a smooth, shiny ganache forms. Make sure there are no chocolate lumps in it. The ganache should be warm, not hot. Let it cool down for 5-10 minutes
- To a separate bowl, add the room temperature cream cheese and sift in the cocoa powder, powdered sugar and salt. Whisk on medium speed until the mixture becomes smooth and creamy (1-2 minutes). Scrape the bowl once or twice as you do this
- Pour in the warm ganache, and whisk on low speed for about 60-90 seconds until a smooth mixture forms. Scrape the bowl in the middle to ensure everything is well combined. Do not over-mix
- At this point, the frosting will be very soft and runny. Just cover the bowl and let it rest at room temperature for 20-30 minutes, and it should reach a firmer, spreadable consistency. I don’t recommend chilling this frosting in the fridge as it can easily become too firm. If that happens, remove about 1 cup and microwave it for 20 seconds or until runny, then slowly fold through the rest to make it softer
Assembly:
- Once the cakes and frosting have cooled down, it’s time to assemble
- Use a large serrated knife to carefully trim off the domes from the cakes
- Layer them on top of each other with a generous layer of the frosting in between (don’t be stingy!). Cover the cake with a thin layer of frosting (crumb coat) and refrigerate for 20 minutes. Then slather on the remaining frosting all over
- Serve & enjoy! This cake is best eaten at room temperature
Video Tutorial
Notes
- Cocoa powder: If you can’t find Dutch processed cocoa powder, you may use natural, 100% unsweetened cocoa powder. If you want a deep, dark chocolate cake, you can also substitute 10g of the Dutch processed cocoa powder with 10g of Black cocoa powder
- Sour cream: If you can’t find sour cream, you can try making it at home with my homemade sour cream recipe. Some readers have also had success with full fat yogurt
- Chocolate for the frosting: This frosting recipe has been especially developed for dark chocolate and has a beautiful flavor which complements the cake. I recommend anywhere between 50-60% for the perfect sweetness and consistency. If you use a higher dark chocolate (e.g., 70-80%) for flavor preference, I recommend increasing the heavy cream to 1 1/2 cups (360g) – this will definitely be a dark frosting! On the flip-side, I do not recommend using milk chocolate as the frosting will not firm up properly. If you still want to use milk chocolate, reduce the heavy cream to 1 cup (240g)
- Shiny frosting: As the chocolate in the frosting sets, it might start to look dull. Before serving, use a blow dryer at the lowest setting and gently wave it 1 foot away from the cake. This will warm up the frosting enough for it to become shiny!
- Coffee: I do not recommend skipping the coffee as it enhances the chocolate flavor. You won’t taste it! However, if you have an intolerance, you may skip it
- Storage: This cake is best eaten at room temperature, or even slightly warmed up in the microwave (by the slice). You can keep it in an airtight container in a cool place for 2-3 days. Any longer and transfer to the fridge for up to 1 week combined. If refrigerating, I recommend microwaving for 10-20 seconds before eating
- Make ahead: You can prepare this cake in advance and keep it at room temperature (~70F) for 1-2 days! Just make sure it is properly covered. I let it chill for 15-20 minutes so the frosting sets, then wrap in cling wrap and keep at room temperature

Comments
April
This cake was extremely moist. I followed the directions and cooled in the fridge for about an hour before icing. it came out great. the frosting is very rich and was plenty for my cake. I wasn’t able to find the 70% cacao, but did find the 60%. I would love to try again once I find the correct one.
Hareem
can we melt the dark chocolate in the microwave for frosting?
Zoha
Yes! 20 second increments and mix between each
Sehrish
I am making this cake for the 100th time literally! It is so good
Zoha
Made my day omg
Kenneth Ray
can you use dark brown sugar instead of light brown sugar
Zoha
Hi Kenneth! That should be ok
Maria
I really want to bake this but was wondering if you have any tips on making it for 6 inch pans for a mini version. It’s just too much cake for my husband and me. Thanks for any advice.
Zoha
Hi Maria! You can make half of all the quantities for a layered 6″ cake 🙂
Mishkat
Oh my god!!!!
It was sooo soooo goood!!!!! I made this cake for a birthday party and it was an instant hit!!! I swapped the cream cheese frosting with a soft ganache filling as i was playing with ganache consistencies and flavours too for the same cake. It paired beautifully with the cake. Thank you for the amazing recipe 😊
Zoha
You made my day, thank you!
Maha
I made this cake what do u mean by -22-24 min , I’m a little confused the cake has been in the over for 23 min I’m increasing the time to another 22 min assuming when u wrote -22 that was 40 plus minutes from an hour..hope i don’t loose the batter , it lookes too yum to go to waste, Matilda cake recipe.
Zoha
Hi Maha, 22 to 24 minutes is just a range, you are not supposed to add the time. This means the cake will take between 22 to 24 minutes to bake, but it’s always good to check with a toothpick.
Zubi
thank you Zoha for this amazing recipe,I tried it for the first time and love it.The frosting too tastes delicious.
Zoha
Aw, thank you so much, Zubi!!
Kanza
Hi can i make the frosting ahead keep it in fridge and use it later?
Zoha
Hi Kanza! Yes, but it will become firm. In that case remove some frosting, melt in the microwave, and mix through the rest until the entire batch is soft and easy to work with again. Generally chocoalte frostings firm up if left to sit for a while
Yasir Samir
I made this for my niece’s birthday. We live in the UK so I had to convert as much as possible to metric. I used golden syrup instead of corn syrup, and double cream instead of heavy cream, and I used golden caster sugar instead of the granulated sugar, but other than that, followed the recipe precisely.
The cake was a huge success. The comments from my family were that it was the best chocolate cake they had ever eaten, ever. Given my brother is nearly 60 and my dad over 80, that’s a lot of chocolate cakes that this triumphed over.
One thing I would suggest is a nice glossy dark chocolate mirror-glaze. I will try that the next time I make this. And the requests have already started coming in.
Zoha
thank you SO much, Yasir! Really appreciate your honest and detailed review 🙂
Monique
I was a bit dubious but oh my goodness – this was soooooo moist and delicious and next level of cake heaven. Bruce Bogtrotter would be all in!
Zoha
hahaha, i love it! Thank you!
Nola
I love all your recipes, they are the best. Quick question, I have some leftover mascarpone, could I use it instead of sour cream in the cake recipe? WDYT?
Zee
Hi Zoha, thank you for this fantastic recipe. You helped me (a non-baker) achieve brilliant results!! One thing – my frosting was very bitter.. what ratio of dark chocolate did you use? 🙂
maya
maya
sarah
is there any substitute for corn syrup?
Fran
Amazing recipe, can’t fault it! But when I melt my chocolate with honey (we don’t have corn syrup in the UK) I put the runny mixture aside and within a couple of minutes it completely solidified and clumped. why is this? I was worried because the recipe said the mixture should be runny?
Samina
Hi sis, i was wondering what the purpose for using corn syrup is ease? Cant wait to make this. xx
Farah Faisal
so easy recipes and all cakes taste so good 👍🏼😊
Mathilda’s dog
Best chocolate cake we have ever made. 10/10 experience
amina ravat
Asalamualykum Zoha
thank you for the recipe
exceptionally delicious.
easy to make
10 🌟
I’ve made its twice.
not sure why my star icon is stuck at 4
xoxo amina
south africa
Zoha
Thanks for the review, Amina! 🙂 I was able to update the rating