

This post may contain affiliate links
Add Bake with Zoha as a preferred source on Google and find more of my tried-and-tested recipes.
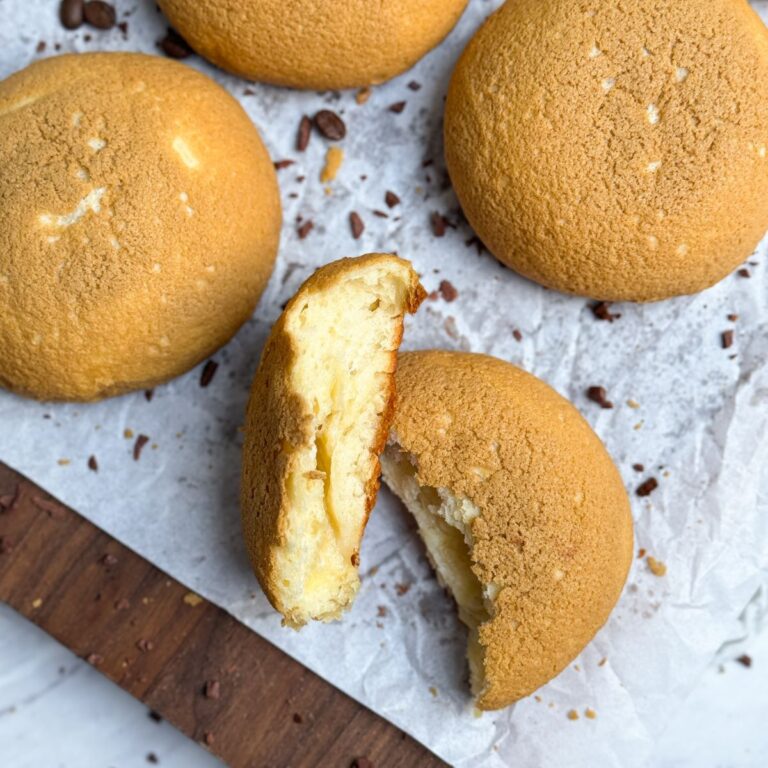
These Papparoti Coffee Buns are about to become your favorite breakfast bread, ever. A popular recipe originating from Malaysia, these are incredibly soft and fluffy buns filled with butter and a crunchy coffee crust on top. I have been getting requests to make them for years, and never understood the hype until I made them myself. They are spectacular – I gobbled up 3 of them while still filming this recipe!


Read the full blog post below for detailed notes, tips, tricks, photos and videos.
WHAT ARE PAPPAROTI COFFEE BUNS?
This is a recipe with a few too many names, so allow me to clarify for you! These coffee buns originated in Malaysia, and were inspired by Mexican “conchas“, hence the name “Mexican Coffee Buns” (even though they’re not from Mexico). They were popularized by chains like Papparoti and Rotiboy in Malaysia and all over Asia, and are often called “Papparoti” or “Rotiboy”.
Essentially, Papparoti / Coffee Buns are slightly sweet, very soft and fluffy buns filled with butter, and are topped off with a signature sweet and crunchy coffee-flavored crust. They are sweet, salty, and coffee-y, and an absolute delight to eat!


PROCESS WITH PHOTOS
The detailed recipe is given in the recipe card at the bottom of this post, but let’s quickly go over the process with photos for my visual learners!
First, mix the ingredients for the dough, and knead for 10-15 minutes until a smooth, soft and stretchy dough forms:


Cover the dough and let it rise until it doubles in size:


Divide the dough into 8 pieces:


Roll each piece into a ball, and lightly flatten it out:


Place a cube of cold butter in the middle, and pinch back into a ball, ensuring you tightly seal the edges:


Let the buns rise a second time:


For the coffee crust, first cream together the butter and sugar:


Whisk in the egg and coffee:


Lastly, whisk in the flour and cornstarch:


Pipe the coffee mixture in swirls on top of the buns once they’ve risen:


Bake & enjoy!


FREQUENTLY ASKED QUESTIONS
Yes, you can replace the active dry yeast with instant yeast with no change to the method.
You can replace the egg in the dough with 1/4 cup full fat yogurt. However, I am not aware of a good substitute for the egg in the coffee crust.
Proofing is a critical step to get right for the best, soft and fluffy buns. This is the same exact dough (slightly smaller batch) as my garlic butter dinner rolls, and I highly recommend reading that blog post as I have shared detailed tips on proofing and kneading bread in it.
The buns will develop a crispy, light golden crust all over them. You can carefully poke a roll, and it should spring back.
Ideally, these buns should be consumed within a day of baking them. However, you can eat them for 2-3 days. I recommend storing them in an airtight container at room temperature, and reheating in the oven until they become slightly crispy again on top.

Check out these popular related recipes on the blog!
 Easy Garlic Butter Dinner Rolls
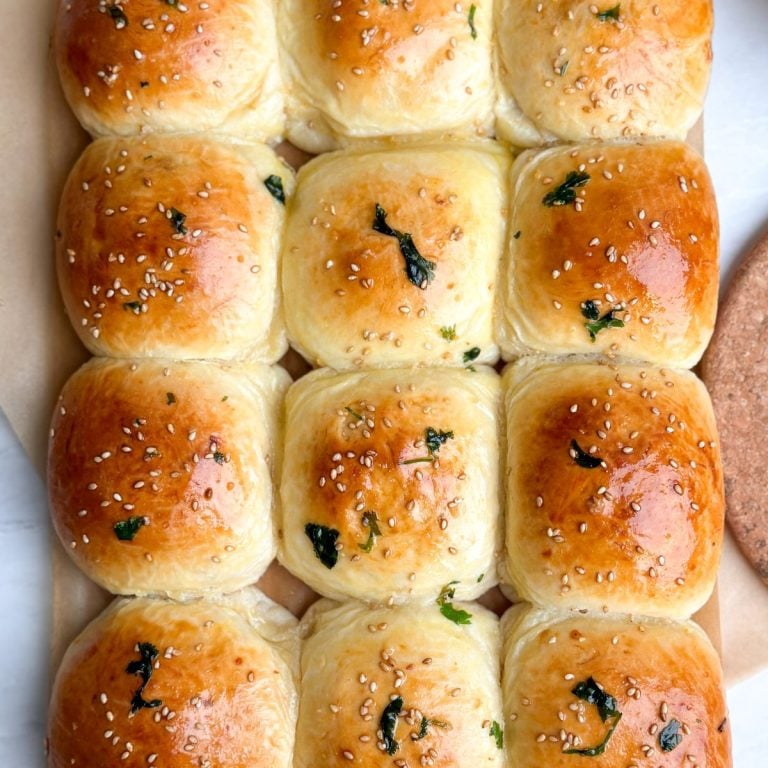 Tandoori Chicken Naan Buns
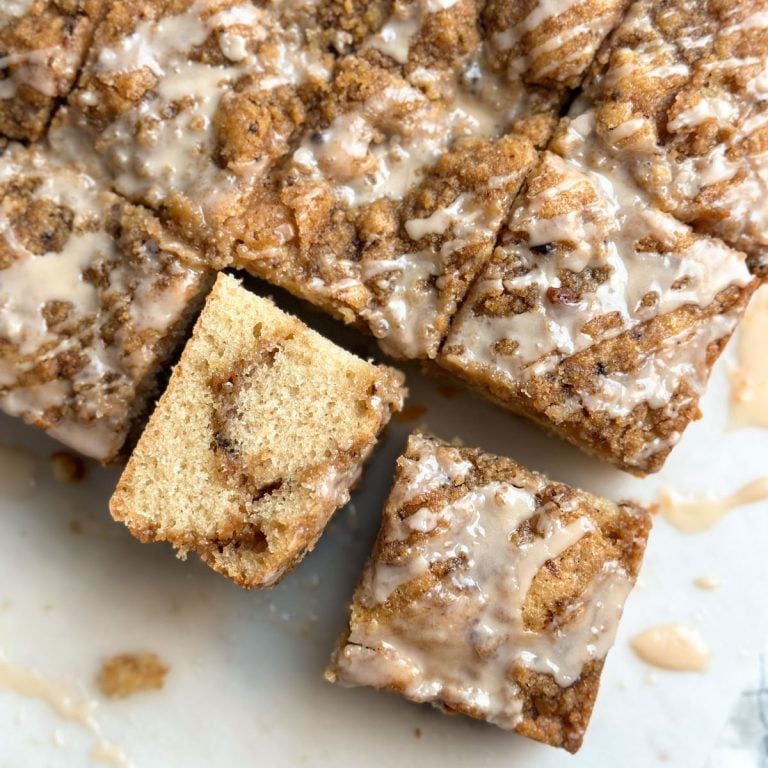 The Best Coffee Cake With Coffee
 Japanese Milk Bread


Email This Recipe
Enter your email and I’ll send this directly to you. Plus you’ll get new recipes from me every week!
Ingredients
Buns:
- 2/3 cup whole milk (160g), warm (~110F)
- 1/4 cup sugar (55g)
- 2 teaspoons active dry yeast
- 2 1/2 cups all purpose flour (325g)
- 1 large egg
- 1 teaspoon salt
- 1/4 cup unsalted butter, softened (60g)
- For filling the buns: 1/2 cup salted or unsalted butter, cold and cut into 8 equal cubes (113g)
Coffee crust:
- 5 tbsp butter (70g)
- 1/4 cup sugar (55g)
- 1 large egg
- 2 tsp instant coffee mixed in 2 tsp water
- 1/2 cup all purpose flour (65g)
- 1 tbsp cornstarch
Instructions
- To make the buns, stir together the warm milk, sugar, yeast, flour, egg, salt, and 1/4 cup softened butter
- Use a large bowl to stir together the ingredients until they form a shaggy dough
- Turn out onto a clean surface, and knead with a push-pull motion using your palms for 15 minutes. The dough will be sticky at first, but will become smooth and stretchy with time, so do not add more flour. You know the dough is done kneading when it passes the window-pane test (stretch a piece of dough slowly between your fingers until it becomes almost paper thin without ripping)
- You can also knead the dough using the hook attachment of your stand mixer for ~10-12 minutes
- Transfer the dough to a large clean bowl sprayed with a little oil. Cover with cling wrap and place in a warm, humid spot to let the dough rise until it at least doubles in size. This typically takes around 90 minutes
- Once risen, punch the dough and turn it out onto a clean surface. Divide it into 8 equal pieces
- Roll each piece into a tight, smooth ball
- Using a small amount of flour, flatten each ball into a disc, about 3.5″ in diameter
- Place 1 cube of cold butter in the middle, and then pinch the dough back into a ball so the butter is in the middle of it. Make sure there are no cracks or openings that the butter can leak out of, and try your best to get the butter in the middle of the ball
- Place the shaped buns in a large baking sheet with parchment paper, leaving at least 3″ of space between each bun
- Let the buns rise a second time in a warm spot until they are puffed up. This usually takes 30-45 minutes
- In the meanwhile, prepare the coffee crust. First, whisk together the butter and sugar until the look fluffy and light in color. Add the egg and coffee (mixed in water), and whisk again. Then sift in the flour and cornstarch, and whisk until just combined
- Transfer the coffee crust mixture to a piping bag and make a small opening in it
- In the last 20 minutes of the second rise, pre-heat your oven to 350F (conventional)
- Once the rolls have risen again, carefully pipe the coffee crust topping onto each bun, starting from the top and tightly swirling around until you get to the widest part of the bun. You want a generous amount of topping on each bun!
- Bake the buns for ~18-20 minutes until they have a light golden, crispy crust on top and are cooked through
- Let the buns cool down for 15-20 minutes
- Serve & enjoy!
Video Tutorial
Notes
- Store the papparoti coffee buns in an airtight container at room temperature for 2-3 days, and reheat in the oven before enjoying


Comments
Indhu G
It’s so so tasty…!! It’s a favorite recipe of our home and my 2-year-old loves it so much. I made it so any times and its so good…!!
Zoha
Awww, I am SO happy to read that :’)
Mahnoor H Sheikh
My husband and I are HUGE fans of coffee buns, but unfortunately papparoti closed down in Karachi😪 This recipe, however, fulfilled all our cravings as it turned out exactly like pappa roti /mamabunz in KSA 😍😍 (I however made a little mistake while making these and forgot to seal a few buns properly and they ended up leaking butter 😭 lesson learnt for next time though 🙈)
Zoha
AHH you have no idea how much this means to me!!!!
Anum Baig
Amazing recipe!
Zoha
Thank you, Anum!
Farah
Made this for my family and it was a hit! As we live in Dubai, and go to Paparoti to enjoy their tea and Paparoti bun frequently, I had to try this recipe to see if they turned out like the real deal. and the recipe totally didnt disappoint! Thanks Zoha
Zoha
Awww thank you so much, Farah!!!
Zoha
Thank YOU!!!
Asma Amer
My daughter made these for me and they were absolutely delicious. Very soft inside with crispy coffee crust.
Nita Shah
I love this dough recipe! its my go to! I use it for all my bun fillings
Zoha
AWW thank you!
Zoha
<3 love you mama
Mudassira
Tried this 3 days ago and so glad. It was a spur of the moment decision to make something sweet and without a second thought I got this printed and started! So easy to follow and came out amazing. Everyone loved it
Zoha
So glad that you liked them!