

This post may contain affiliate links
Add Bake with Zoha as a preferred source on Google and find more of my tried-and-tested recipes.
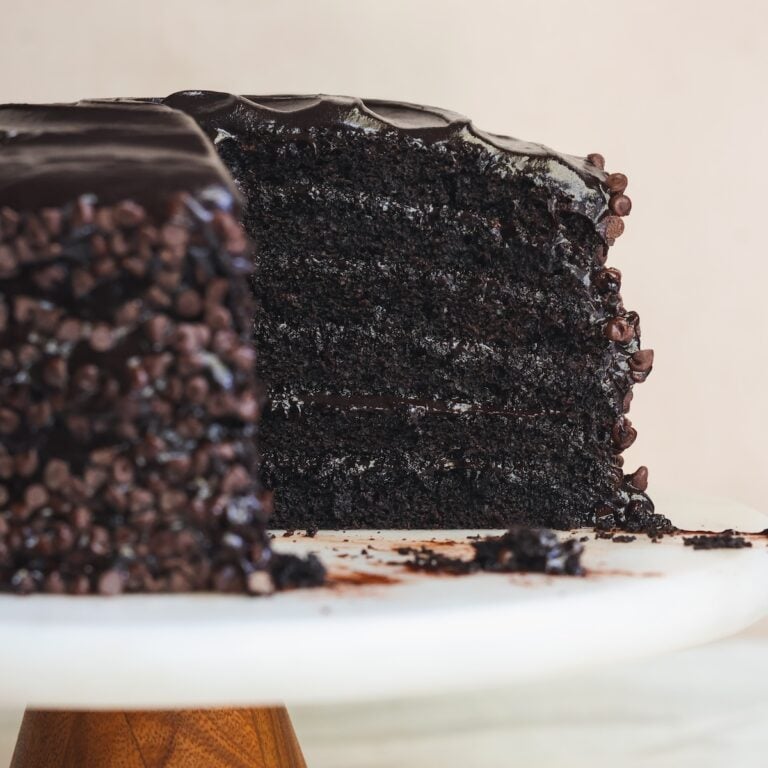
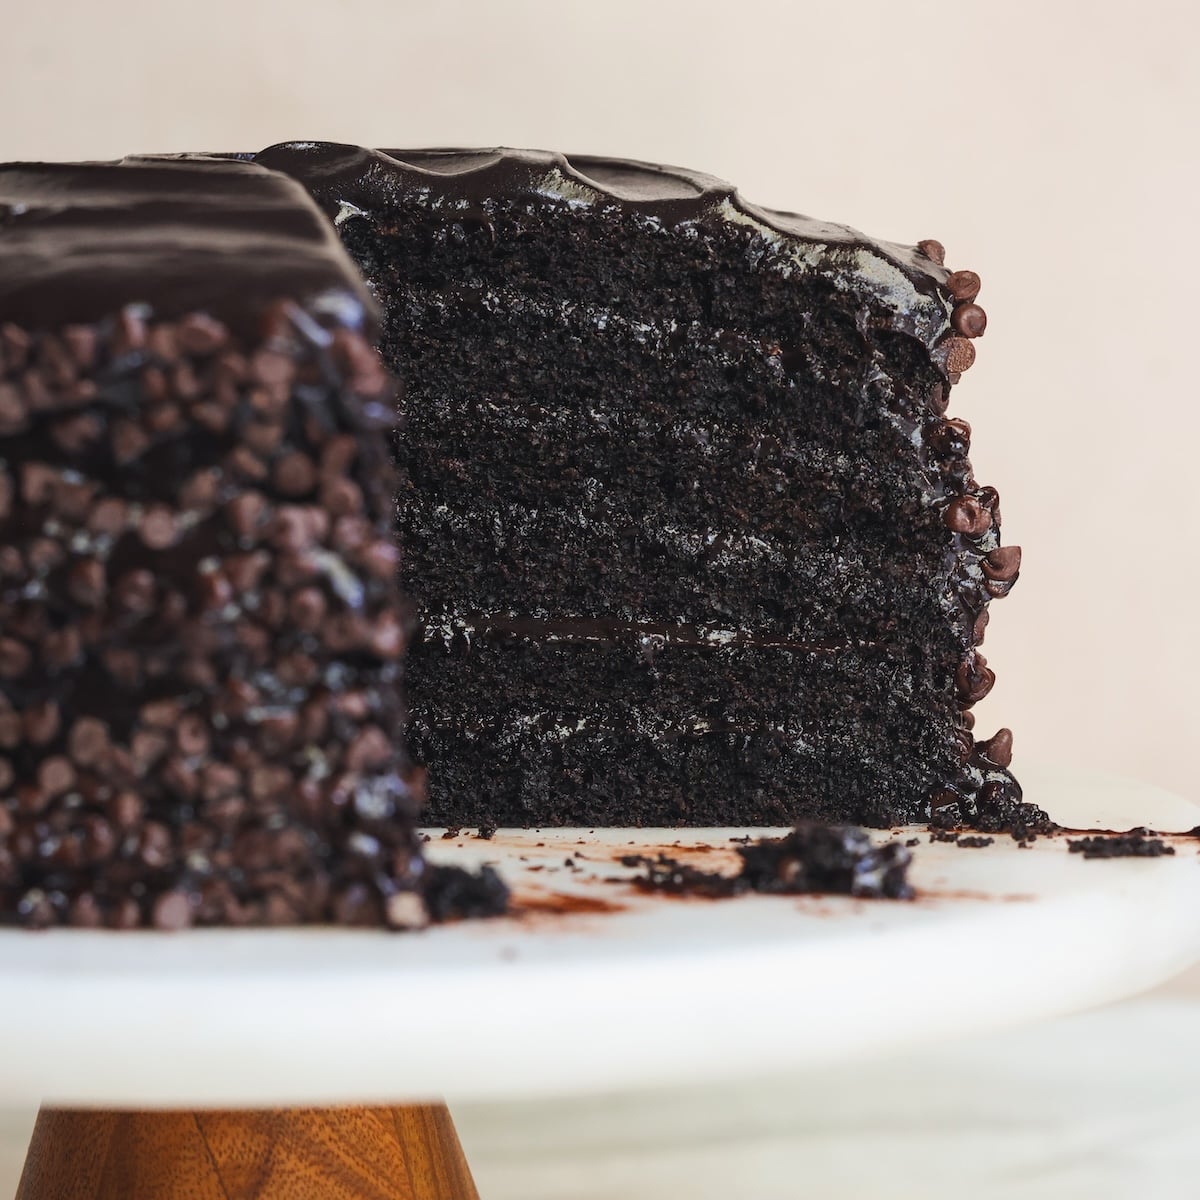
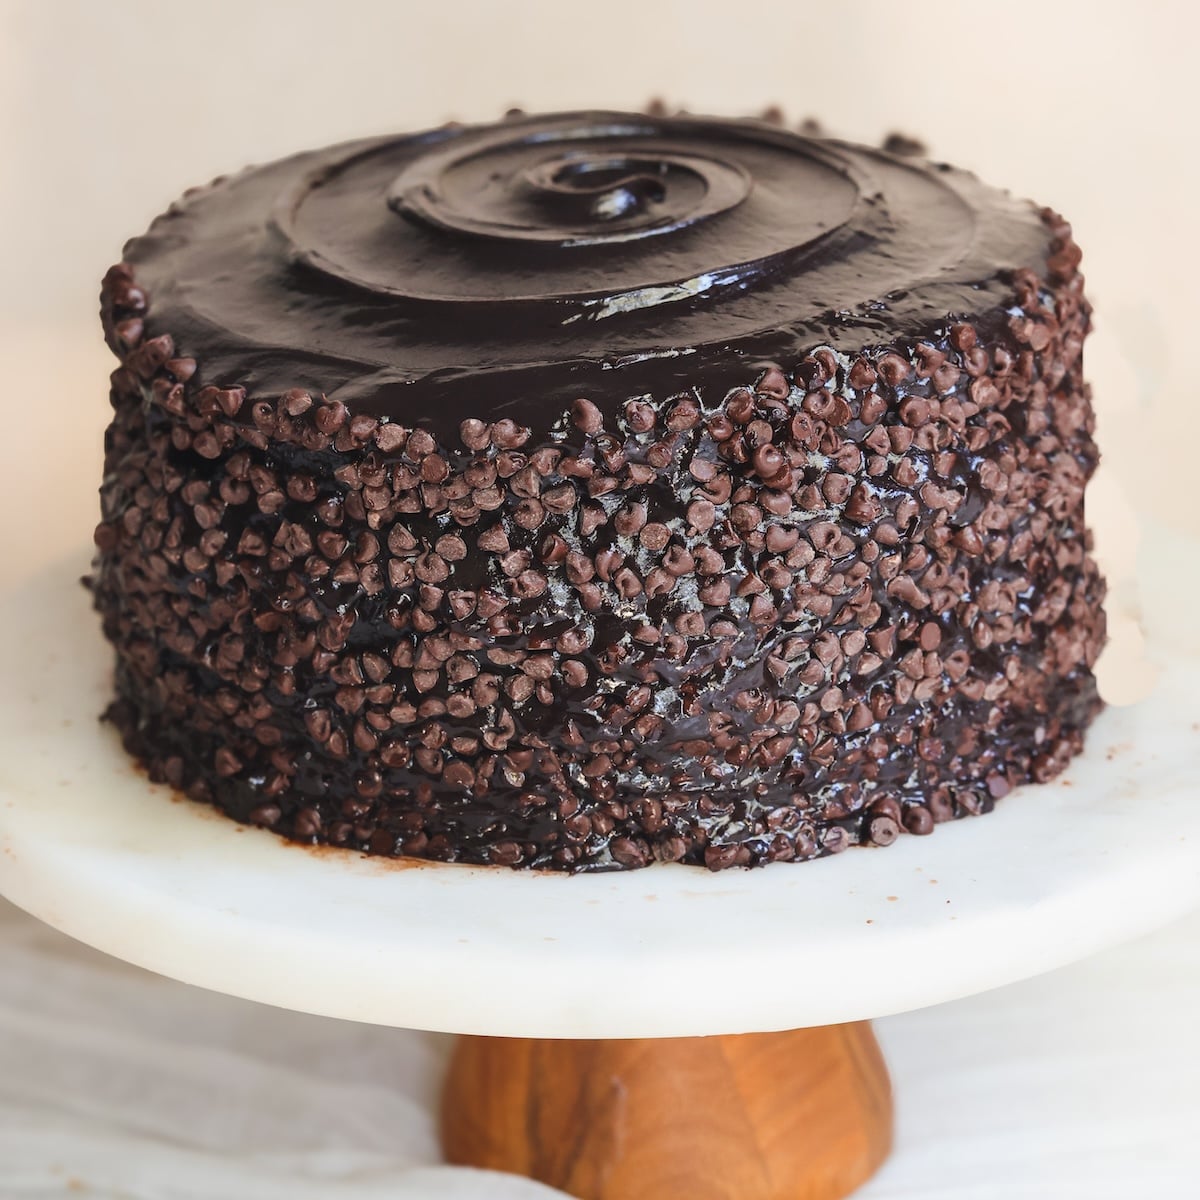
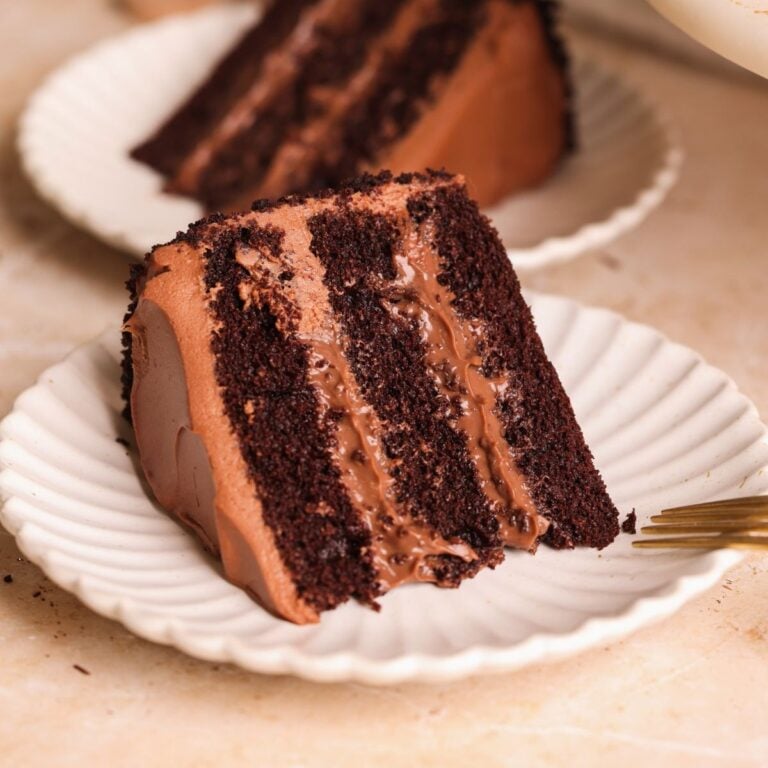
Six layers of dark, decadent chocolate cake layered with a glossy, sticky chocolate fudge frosting: this is my Chocolate Fudge Cake, and it embodies the word “fudgy”. Inspired by The Cheesecake Factory Linda’s Fudge Cake, this cake is much more chocolatey and much less sweet. And the best part? You don’t need chocolate or a mixer to make this chocolate cake! Both the cake and the frosting are made with good quality cocoa powder instead, and are really easy to make. It is a show-stopper, tastes unbelievably decadent, and is perfect for your dessert tables this holiday season.
Better than Cheesecake Factory!
Although The Cheesecake Factory Fudge Cake is not bad, I personally find it a bit too sweet. It has a fake sugary aftertaste that lingers, and for how chocolatey it looks, it doesn’t taste chocolatey. My version fixes all those issues and then some. And it’s not just me saying that – I did a side by side taste test with my friends and every single one said mine was superior!
Here’s what makes my chocolate fudge cake incredible:
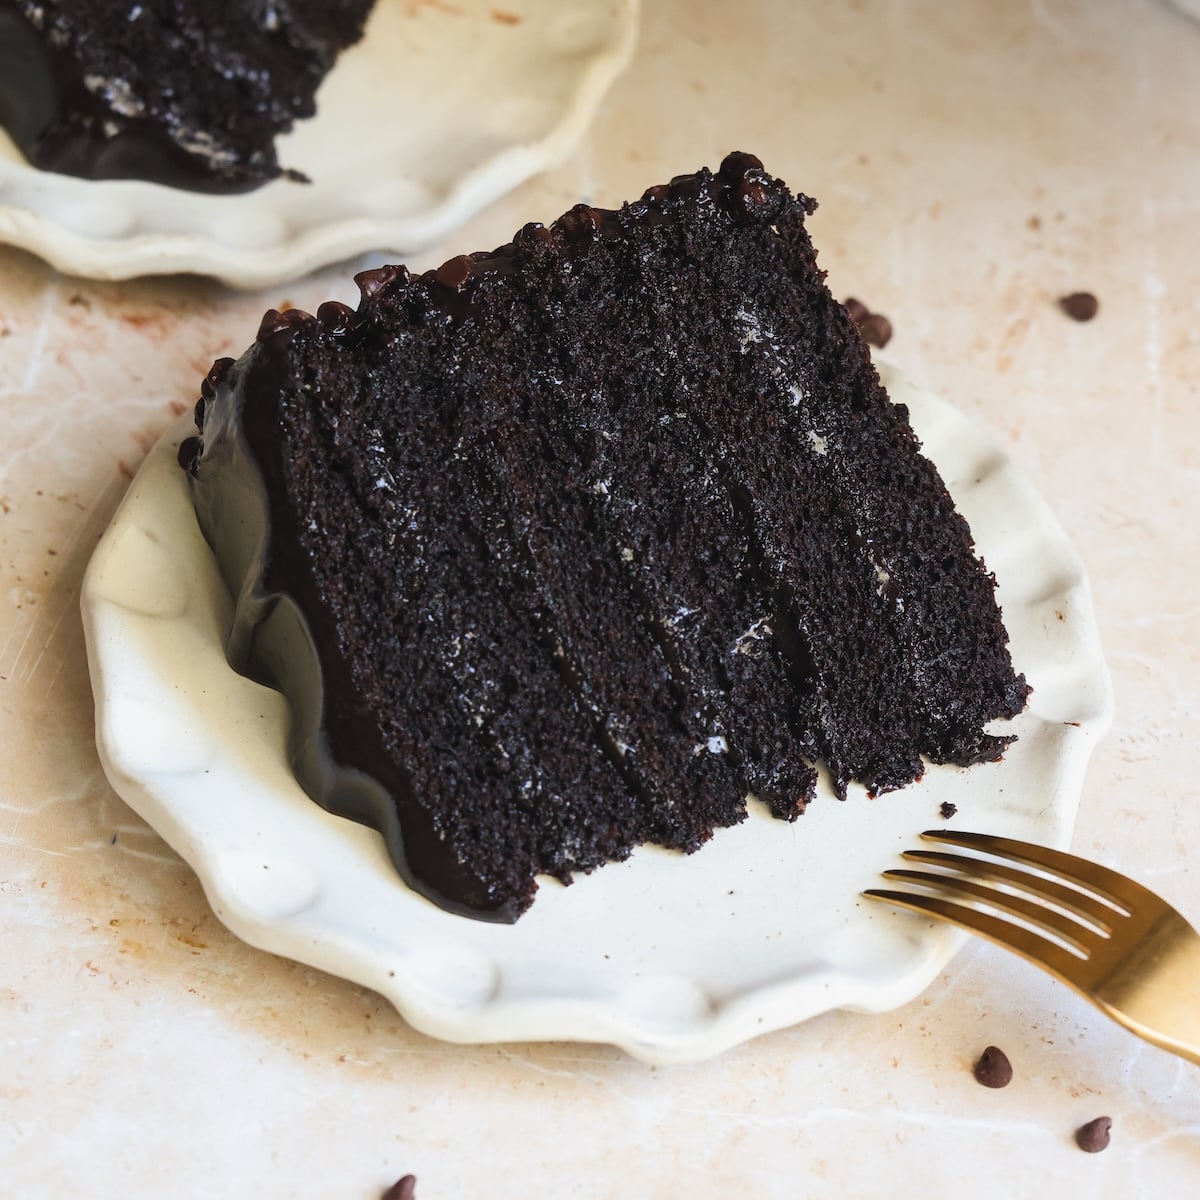
- The cake is actually chocolatey. It uses two types of cocoa powder: Dutch processed cocoa powder and black cocoa powder, resulting in a deep, almost black color and a very rich, smooth chocolate flavor.
- An incredible chocolate fudge frosting. This is my mind-blowing 4 ingredient fudge frosting. Made with butter, cocoa powder, powdered sugar and milk – no mixer needed – it sets up into a beautiful, shiny chocolate frosting. It also has far less sugar than most frostings!
- Bloomed cocoa in the cake and frosting. The cocoa powder is bloomed in both components. For the cake, I mix it directly in boiling water – a trick I also use in my easy chocolate cake and Matilda chocolate cake. The frosting is cooked to bloom the cocoa powder. This means we are enhancing the chocolate flavor and smell thoroughly
- An easy recipe. Both components need minimal effort to make, and you don’t even need a mixer – yay!
Step by step photos
The detailed recipe is in the recipe card below, but here is an overview of the steps with photos to help you visualize everything:
1. Make the frosting
Cook the frosting ingredients – transfer to a pan, cover and let it set in the fridge. Check out my chocolate fudge frosting recipe for more detailed tips and step by step photos.
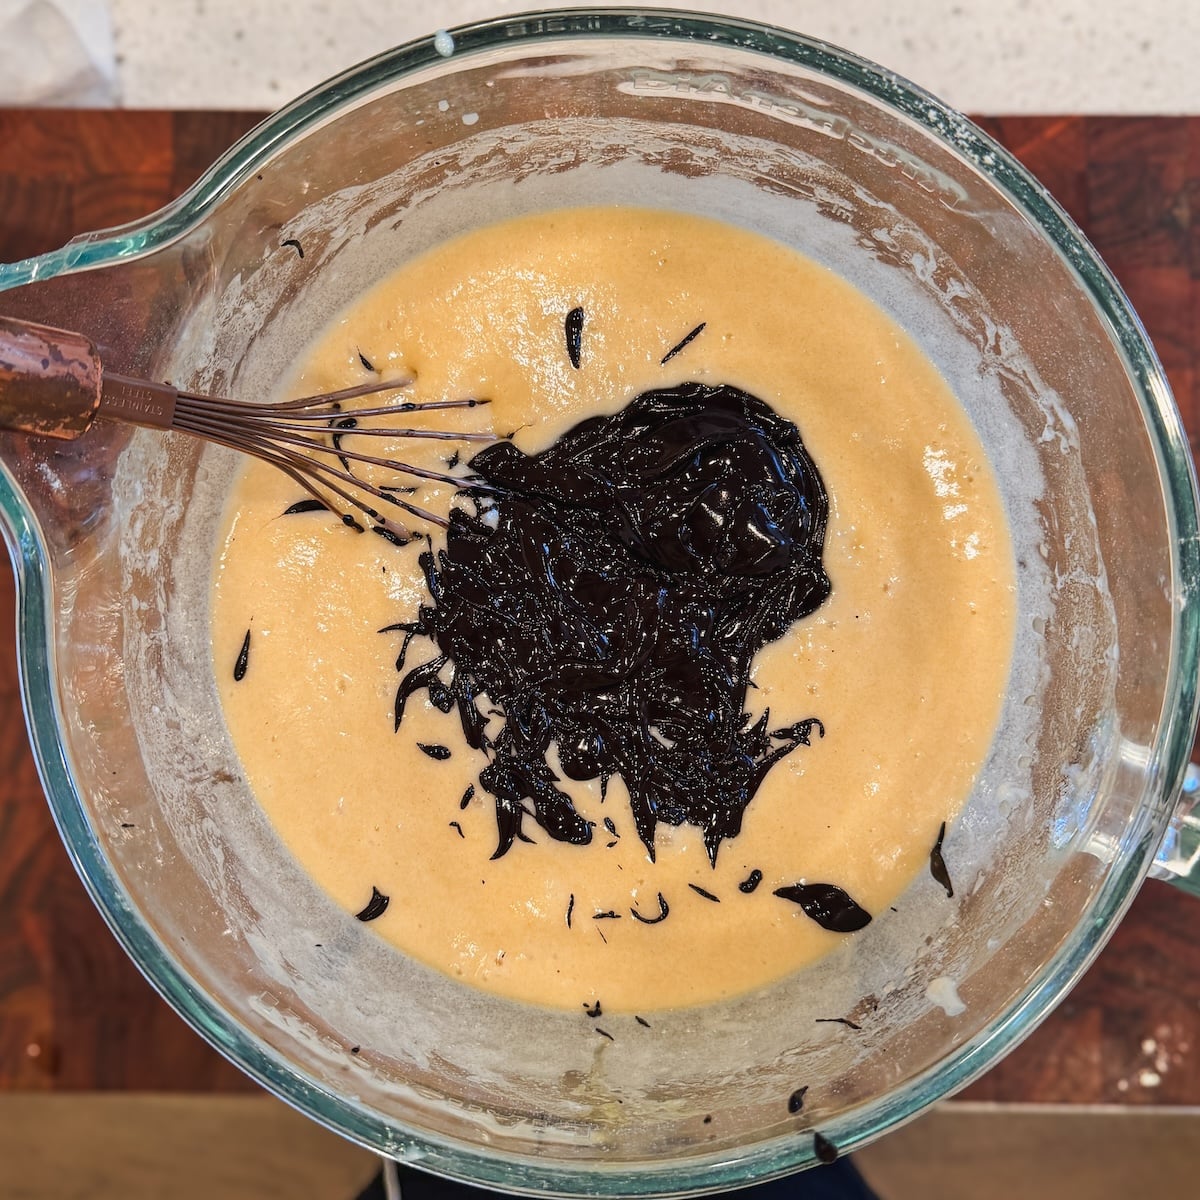
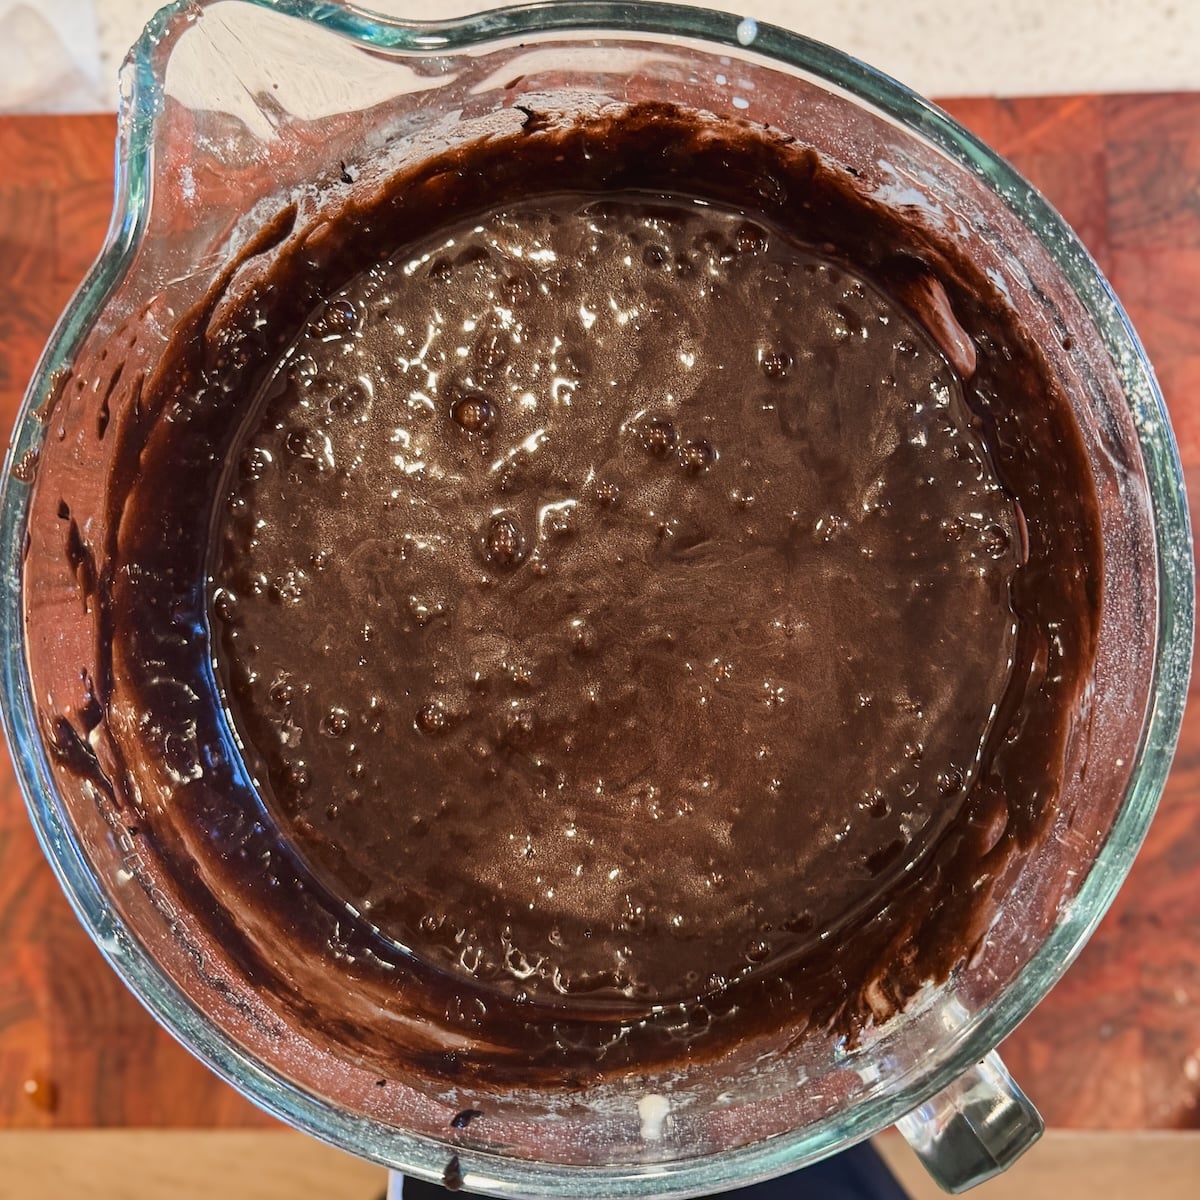
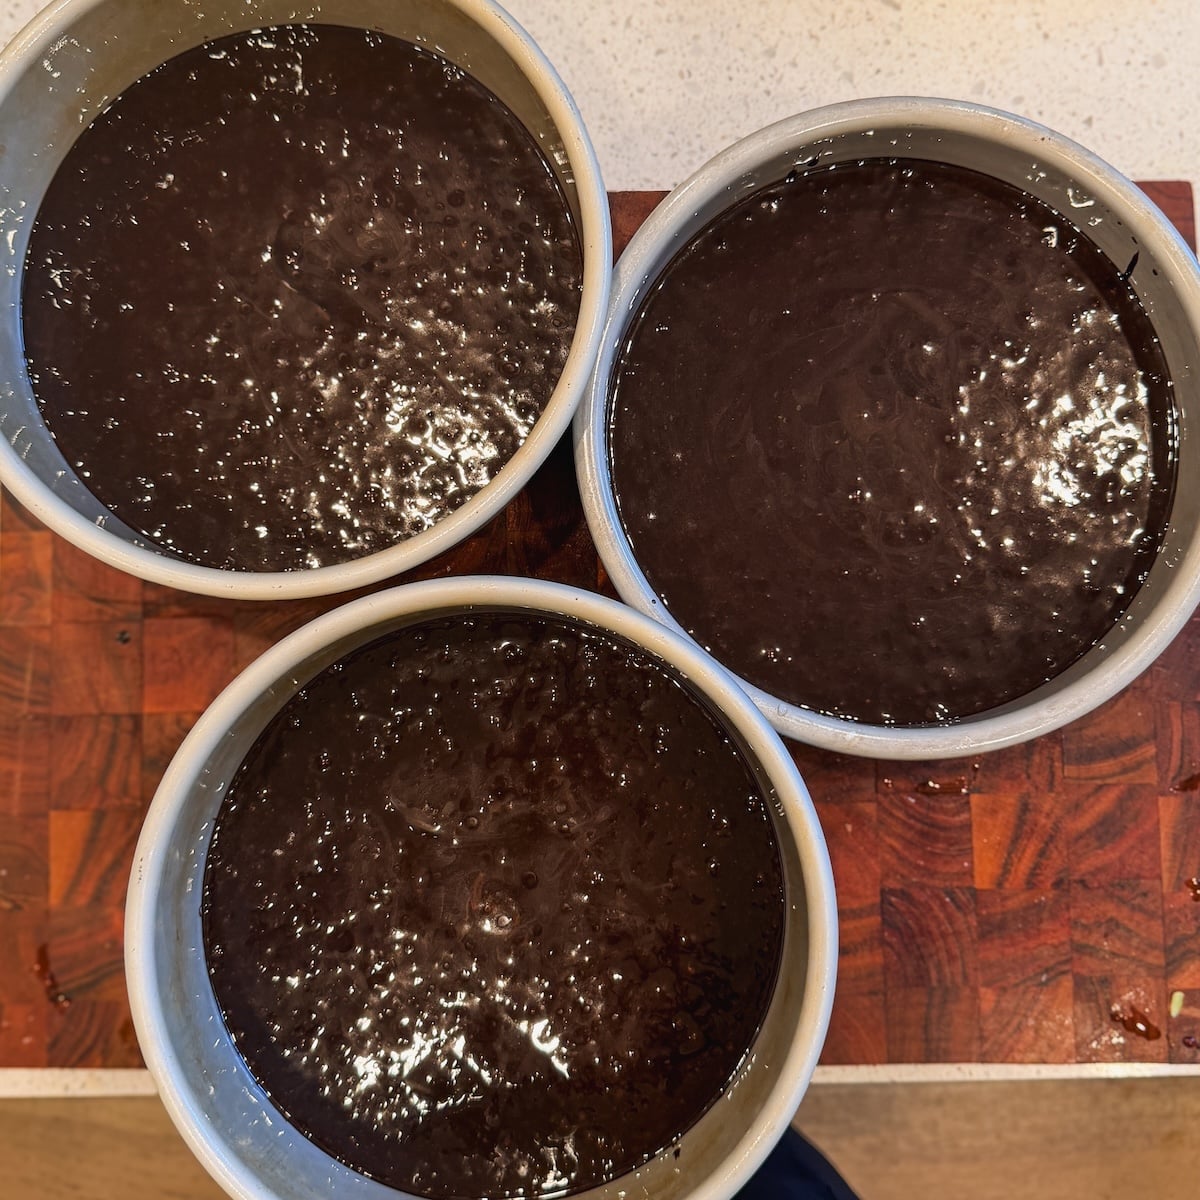
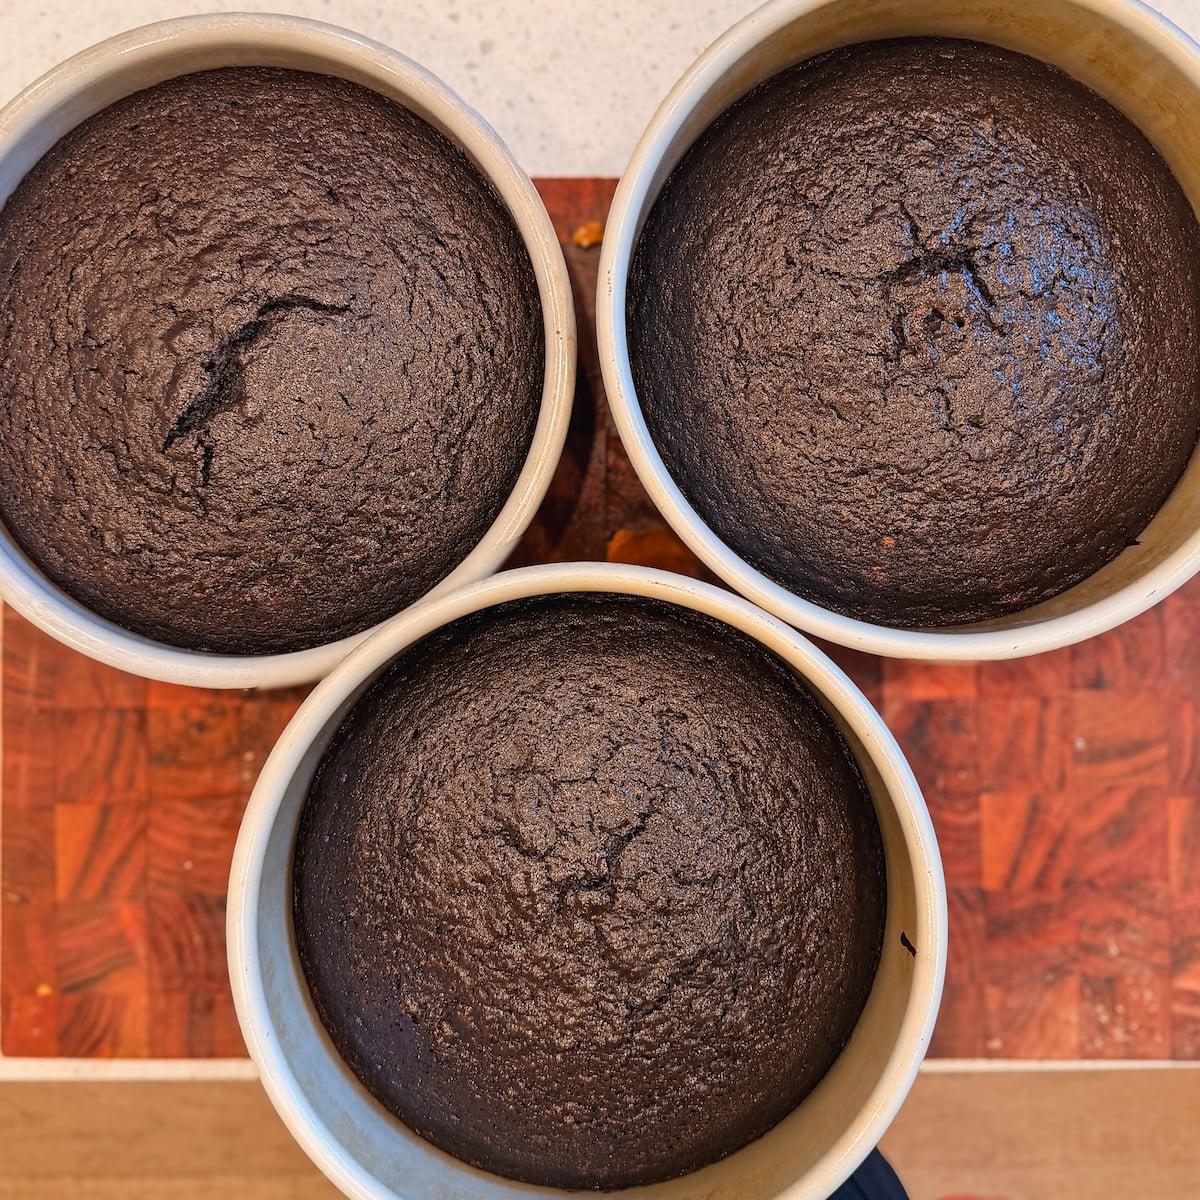
2. Bake the cakes
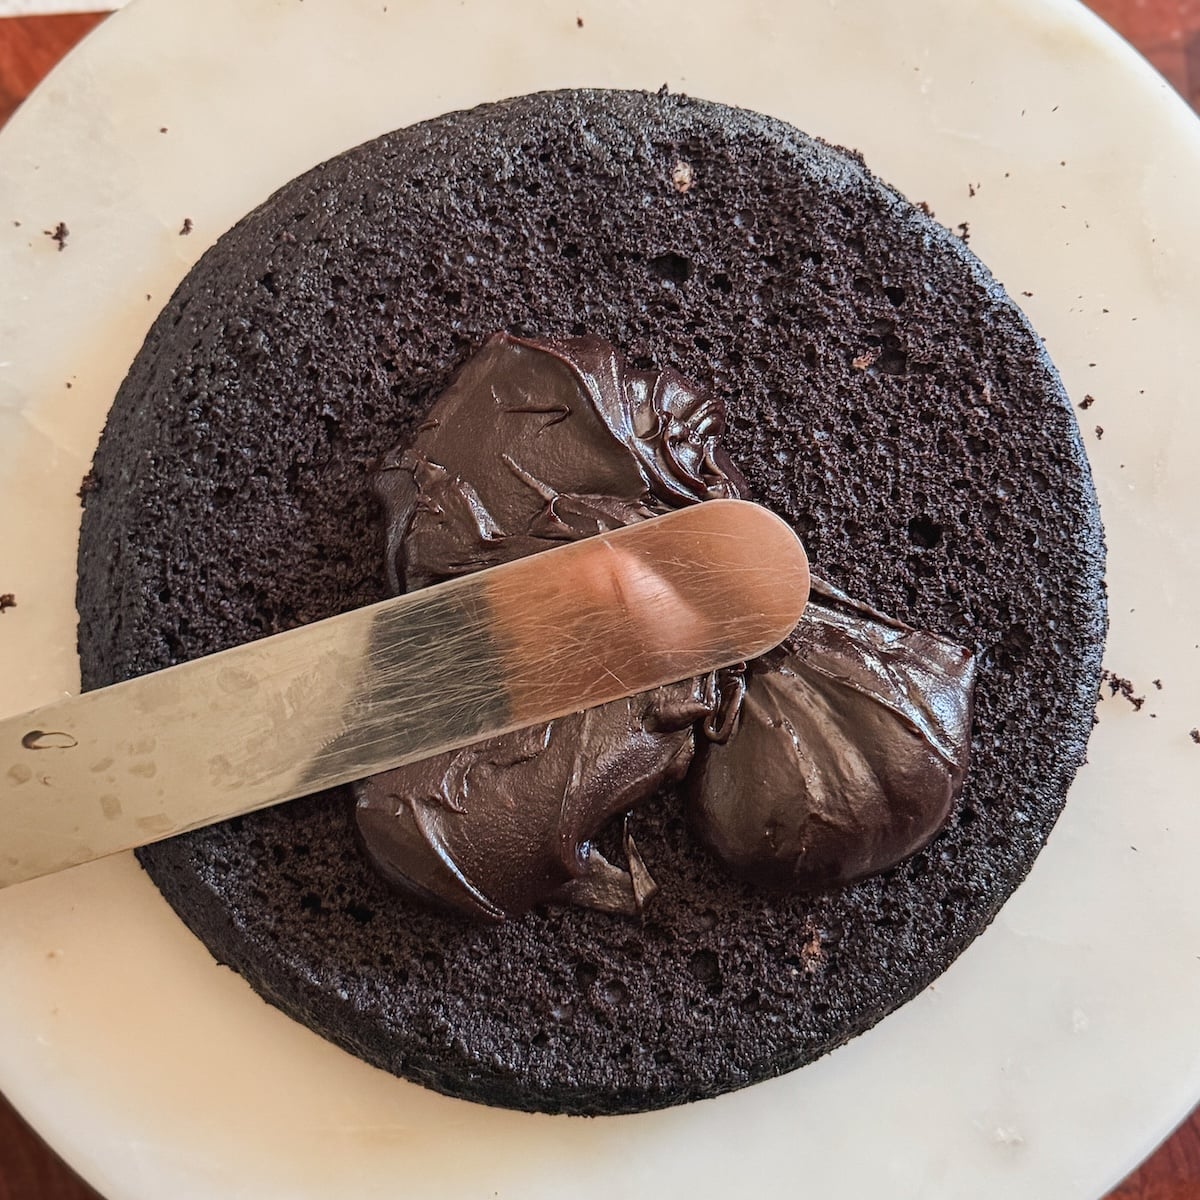
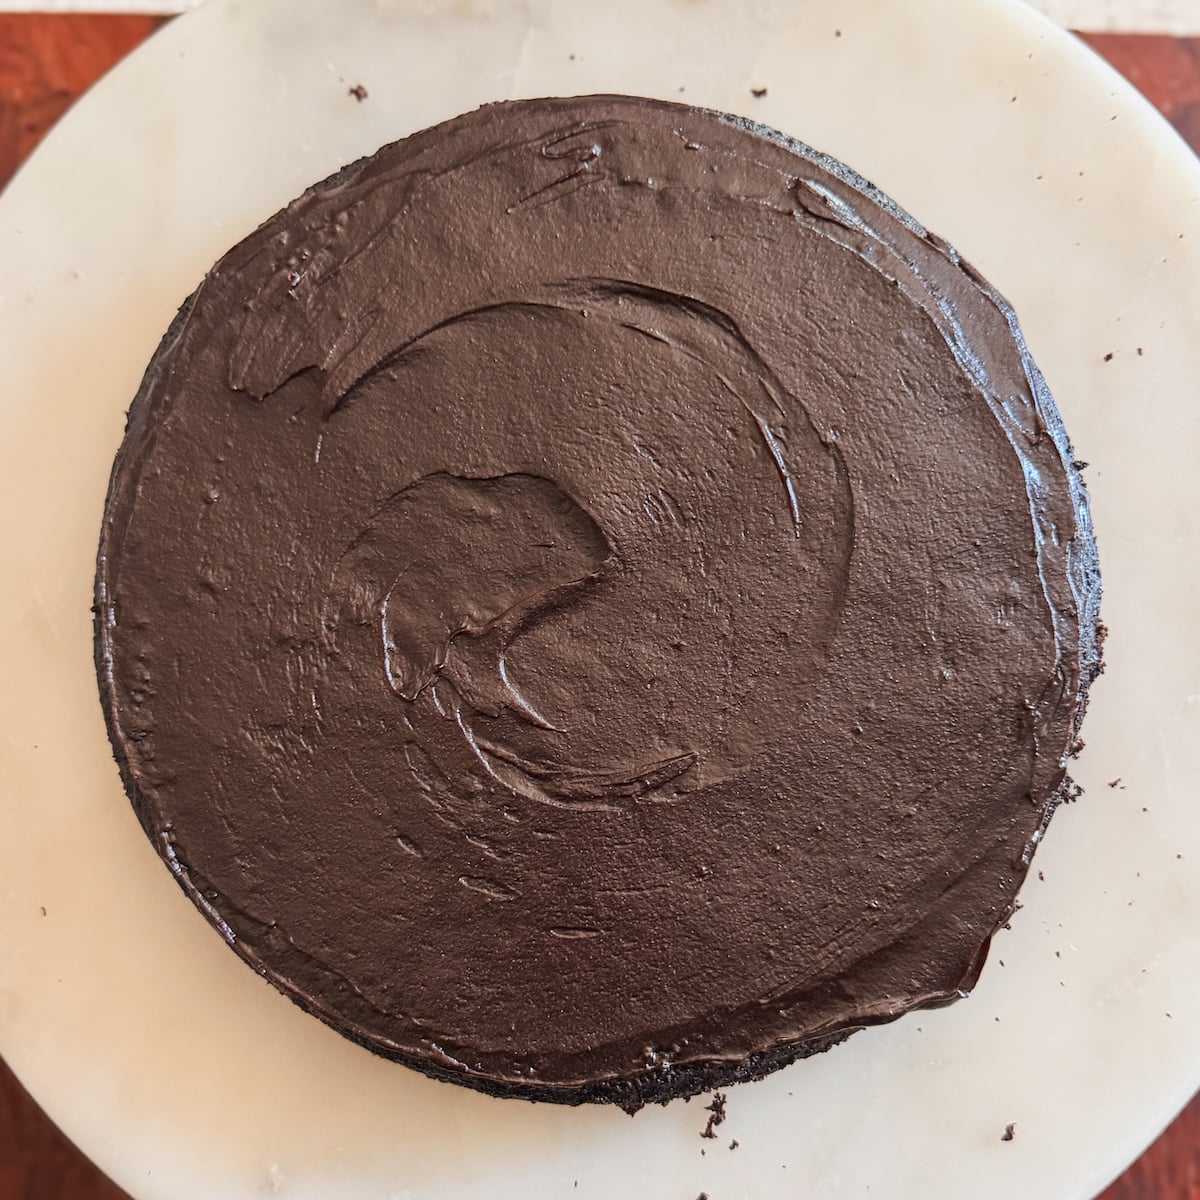
3. Assemble
Tips for assembling this 6 layered cake
I won’t lie – assembling a 6 layered cake can be tricky, especially if you’re not an experienced baker. So firstly, if you’re not confident, just do 3 layers and your life will be much easier. But if you do want to do 6, here are some helpful tips:
- Be very gentle. Throughout! Handle with care
- Freeze the cakes first. Once the cakes have cooled, wrap each one in cling wrap and freeze for about 30 minutes. Frozen cake is much easier to handle, and less likely to break
- Trim and split carefully. You want to keep things as straight and even as possible. Trim off the domes from the cakes using a long serrated knife, then split each cake into half horizontally as evenly as you can. This will prevent the layered cake from leaning or sliding around
- Check the frosting consistency. It should be firm enough to hold shape, but still soft enough to easily spread without needing pressure. If it feels runny at any point, chill the frosting and/or the cake. If it feels too firm, let it rest at room temperature
- Divide the frosting before you start. If your frosting is in a 9×13 pan, you can use a spatula to divide it into 8 parts (in a 4×2 pattern). When stacking the cake layers, put one part of the frosting between the layers. This will leave you with 3 parts of the frosting that you can use to frost the whole cake on the outside. This method ensures your layers are even and you don’t run out of frosting!
- Use a cake pan and acetate if you want extra insurance. Wrap an acetate collar on the inner edge of a 8 or 9″ cake pan, keeping it straight. Stack the cake layers inside the acetate. Place in the fridge or freezer for 30 minutes, then flip upside down and remove the pan and acetate. Now you can frost the cake on the outside!
Email This Recipe
Enter your email and I’ll send this directly to you. Plus you’ll get new recipes from me every week!
Ingredients
Chocolate fudge frosting:
- 1 batch chocolate fudge frosting, this makes the perfect amount for this cake
Chocolate cake:
- 3 cups all purpose flour (390g)
- 2 1/2 cups granulated sugar (500g)
- 3 tsp baking powder
- 1 1/2 tsp baking soda
- 1 1/2 tsp salt
- 3 large eggs
- 1 cup vegetable oil (220g)
- 1 1/2 cups buttermilk (360g) – make your own with 1 1/2 cups whole milk mixed with 1 1/2 tbsp vinegar
- 1/4 cup mayonnaise (60g)
- 3/4 cup Dutch processed cocoa powder (75g)
- 1/4 cup black cocoa powder (25g)
- 3 tsp instant coffee
- 3/4 cup boiling water (180g)
Assembly:
- Mini chocolate chips, optional
Instructions
- Preheat your oven to 335F (conventional / no fan). Grease and line three 8 or 9 inch round cake pans with parchment paper
- First, prepare a batch of the chocolate fudge frosting. Pour the frosting into a 9×13 pan, cover with cling wrap (touching the surface) and place in the fridge to set
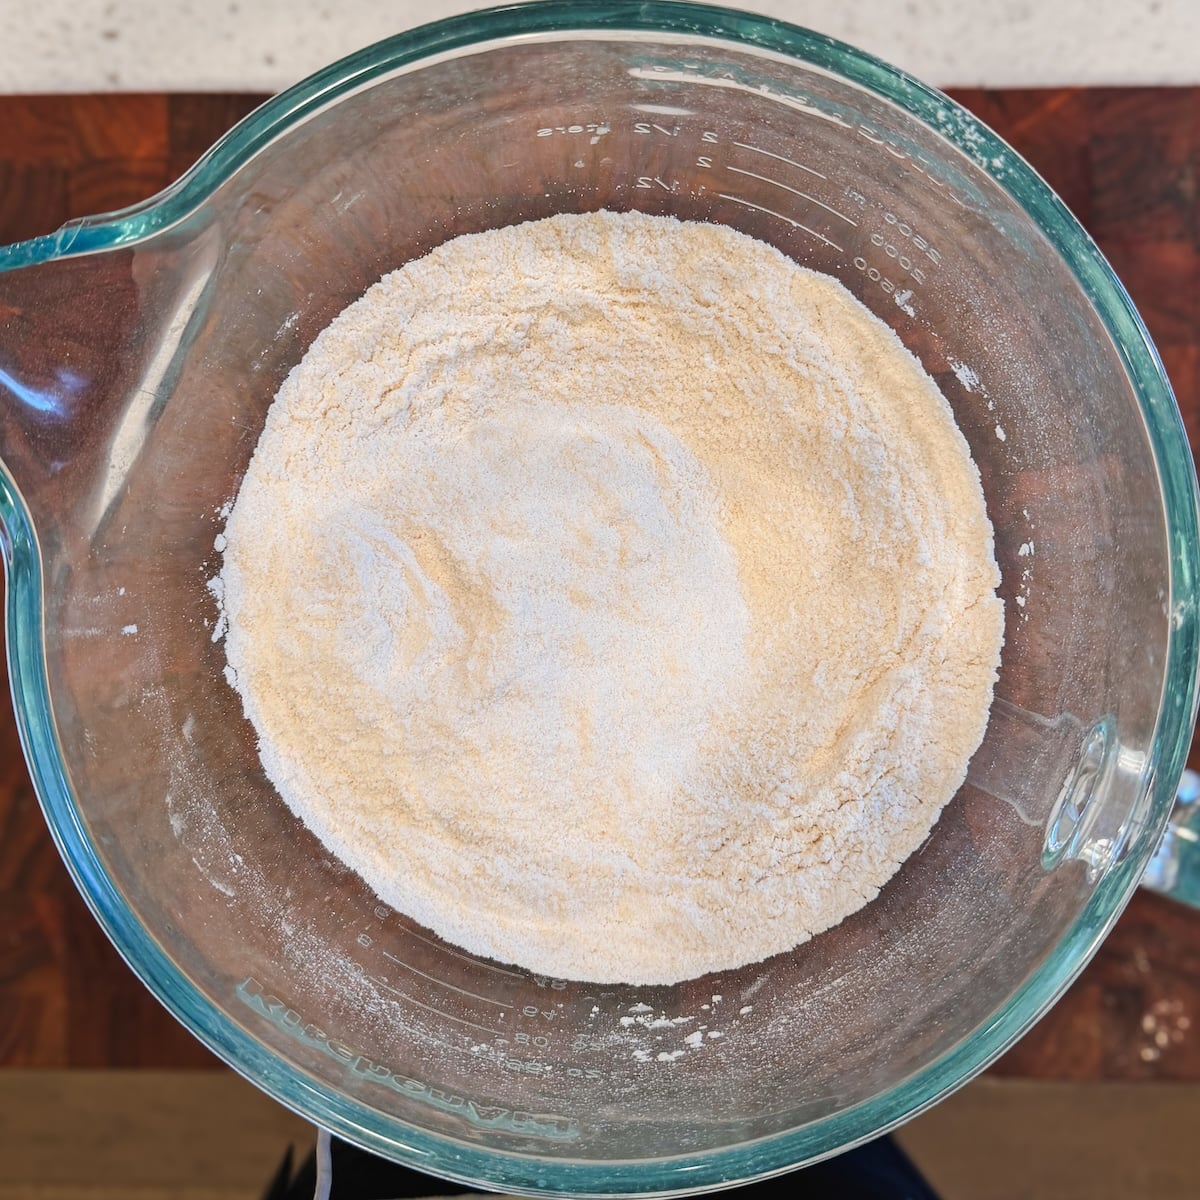
- For the cake, whisk together the flour, sugar, baking powder, baking soda and salt in a large bowl
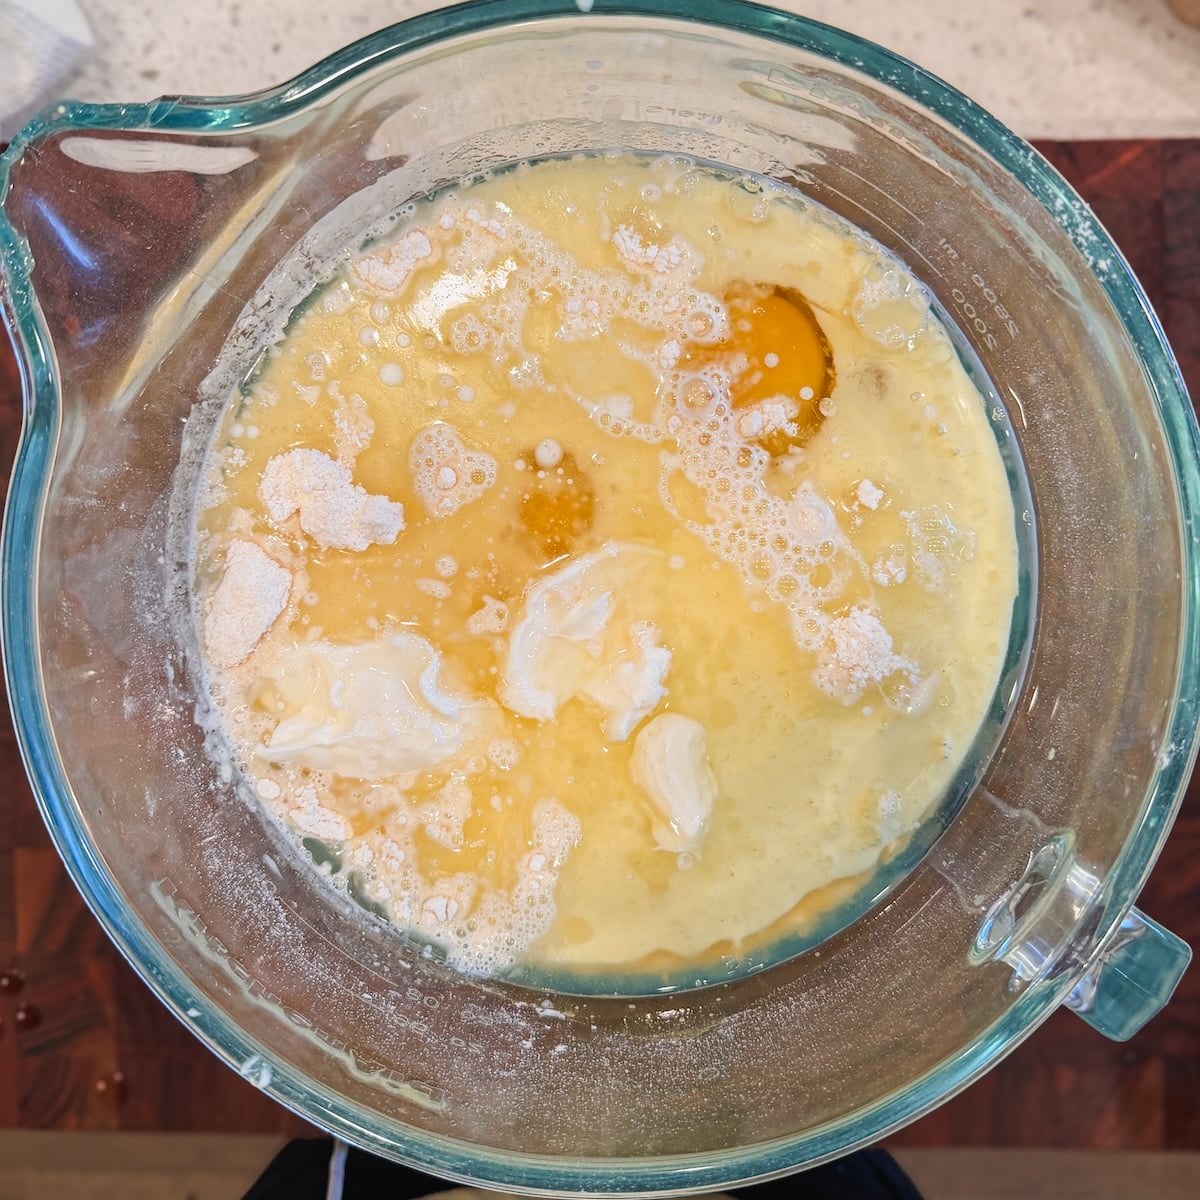
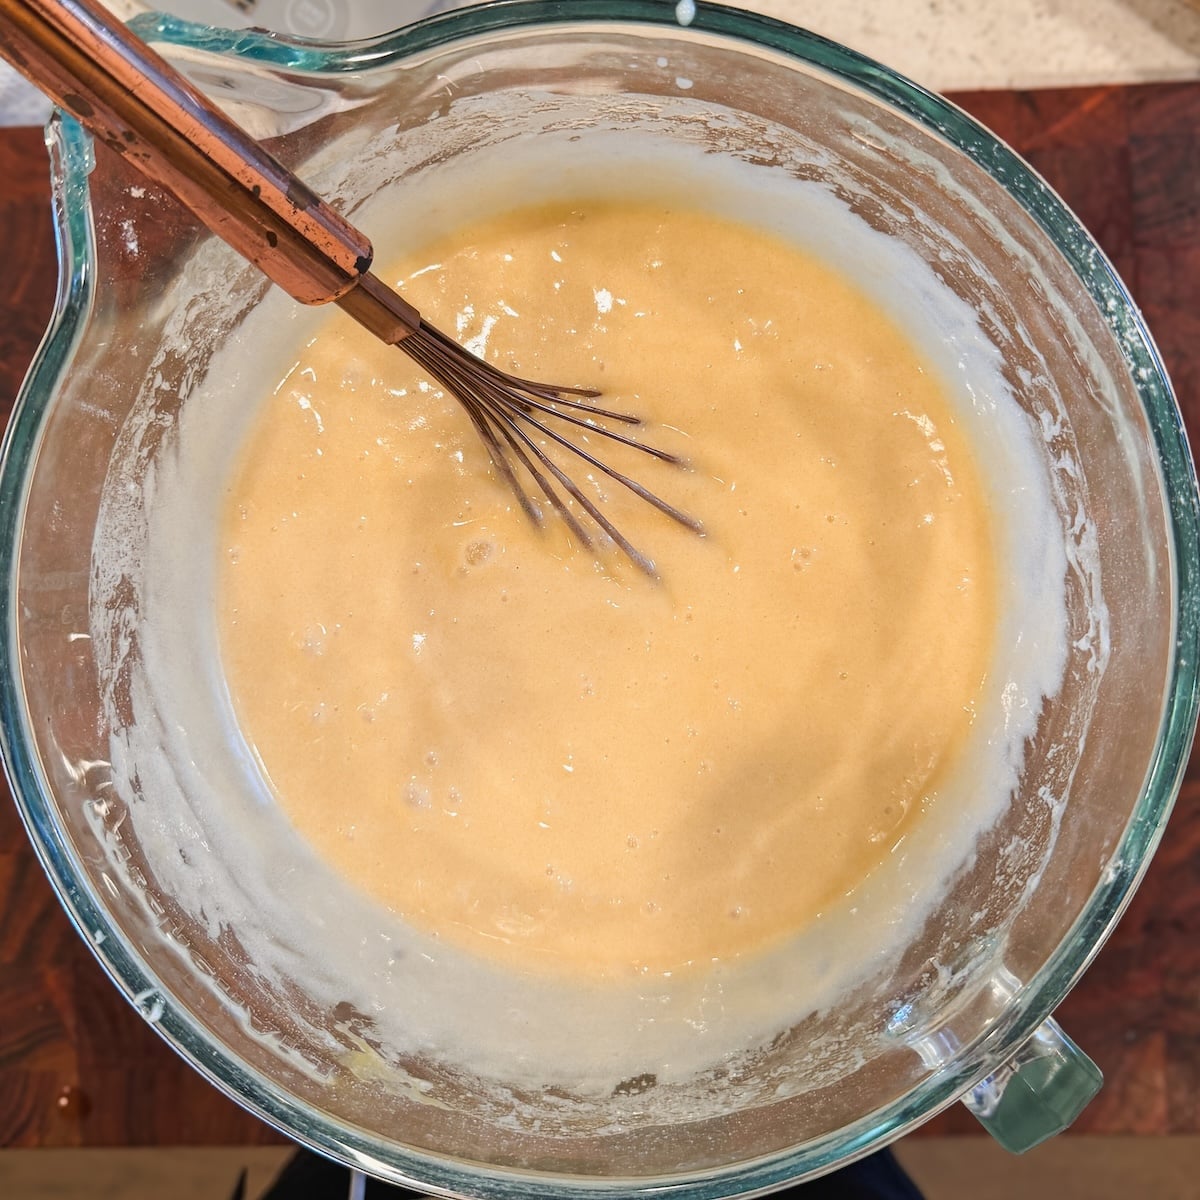
- Add the eggs, oil, buttermilk and mayonnaise. Whisk gently until just combined and no lumps remain
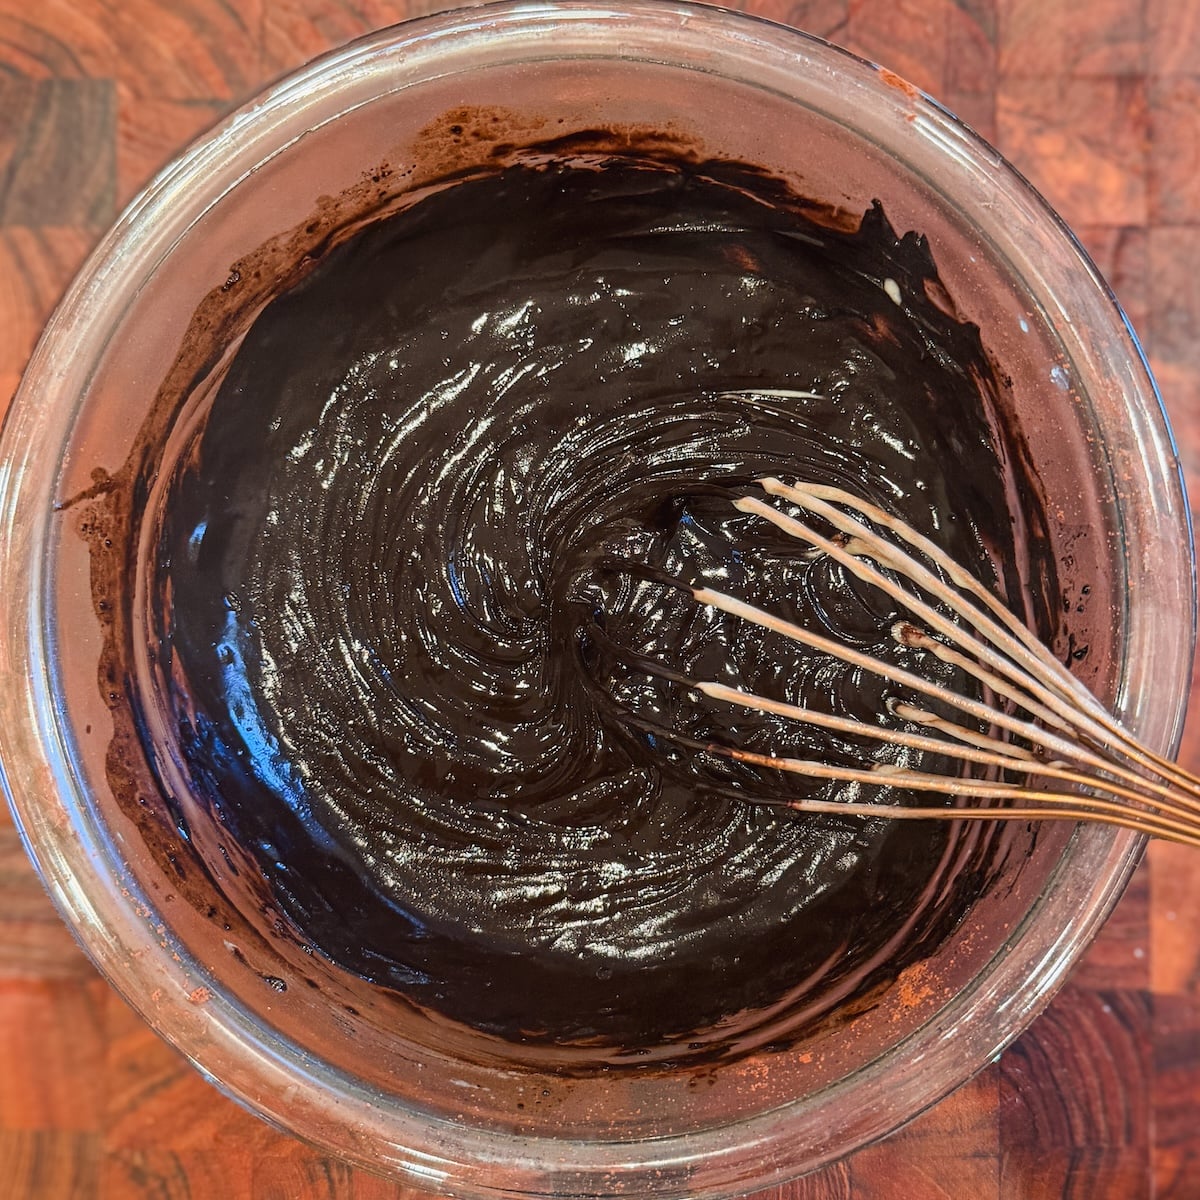
- In a separate bowl, mix the Dutch cocoa powder, black cocoa powder and instant coffee with boiling water until smooth and glossy. This step blooms the cocoa powders
- Add the bloomed cocoa mixture into the rest of the cake batter. Gently whisk and fold until fully combined – avoid over mixing. The batter will be on the runny side
- Divide the cake batter evenly between the three prepared pans (I recommend using a scale to be accurate)
- Bake the cakes in the preheated oven for 30 to 35 minutes, until a toothpick inserted into the center comes out with light, moist crumbs (no wet batter)
- Cool the cakes in the pans for 10 minutes, then carefully take them out of the pans, and wrap them in cling wrap. Place in the freezer for 30-45 minutes until thoroughly chilled
- When the cakes and frosting have both chilled, it’s time to assemble. Remove the cakes from the freezer and carefully unwrap them (be gentle with them throughout). Trim off the domes to make them perfectly straight on top. Use a long serrated knife to cut each cake into 2 even layers horizontally so you have 6 layers in total
- Divide the frosting into 8 portions. This doesn’t have to be exact! I just use a spatula to make a 4×2 grid in the 9×13 pan the frosting is inside
- Place one cake layer onto your serving plate (or cake board). Ideally place the serving board on top of a turntable as it makes stacking and frosting easier. Add one portion of the frosting on top and spread it evenly with an offset spatula
- Cover with the next cake layer and repeat until all cake layers are stacked. Keep things as even as you can. If at any point it feels like the frosting is too soft or the layers start to slip around, wrap the cake in plastic wrap and place in the fridge for 20-30 minutes. By the end, all 6 layers will be stacked and you will have 3 portions of the frosting remaining
- Now frost the whole cake with the remaining frosting on the top and sides. If you want, you can do a crumb coat first. Optionally, press mini chocolate chips on the sides of the cake
- Slice, serve and enjoy!
Video Tutorial
Notes
- Black cocoa: this is what makes the cake so dark! If you only have Dutch processed cocoa powder, use 1 cup total; the cake will be slightly lighter in color but still delicious
- Six layers vs three: for an easier cake, don’t divide the cake layers into 2 and make a 3 layered cake instead. Put a thick layer of frosting between each
- Storage: You can keep this cake covered in the fridge for up to 5 days. I recommend leaving it at room temperature for 20 minutes before serving for the ideal temperature (in fact, I personally like to microwave my slice for 20 seconds!)

Comments