


This post may contain affiliate links
Add Bake with Zoha as a preferred source on Google and find more of my tried-and-tested recipes.
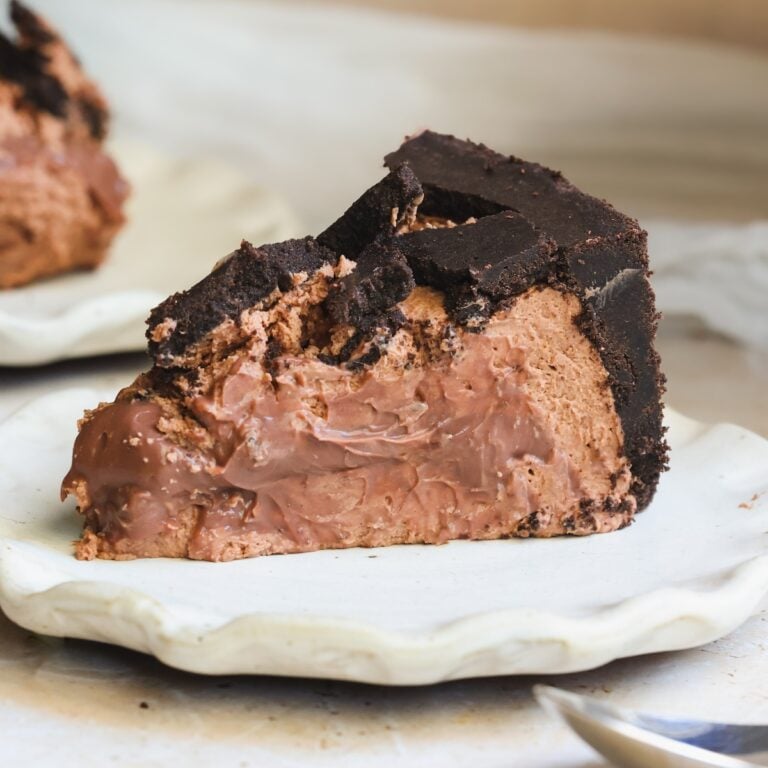
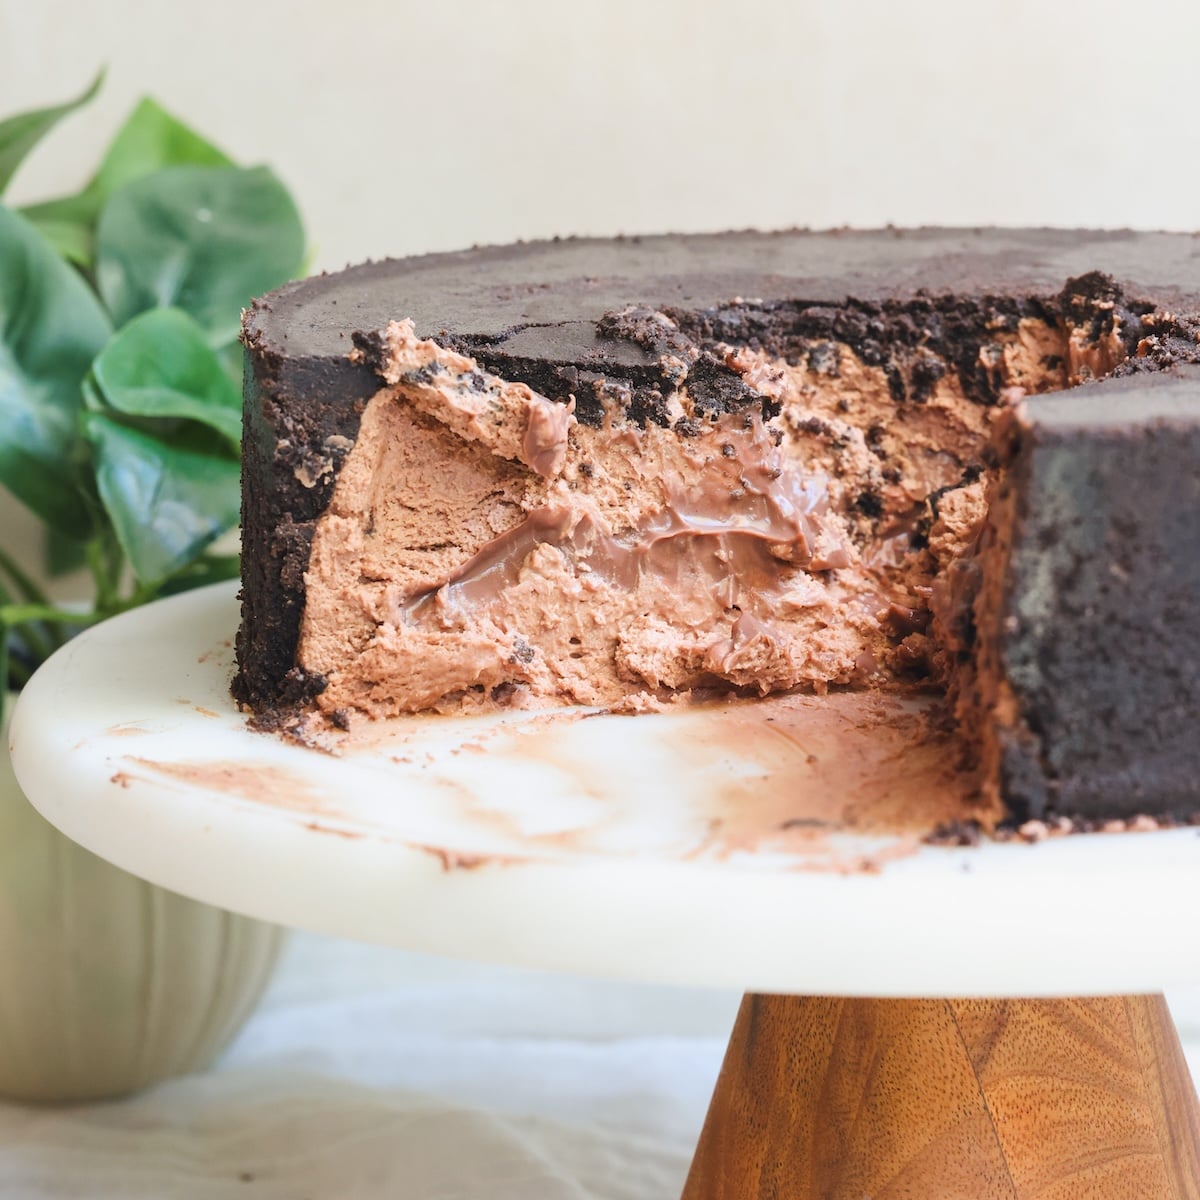
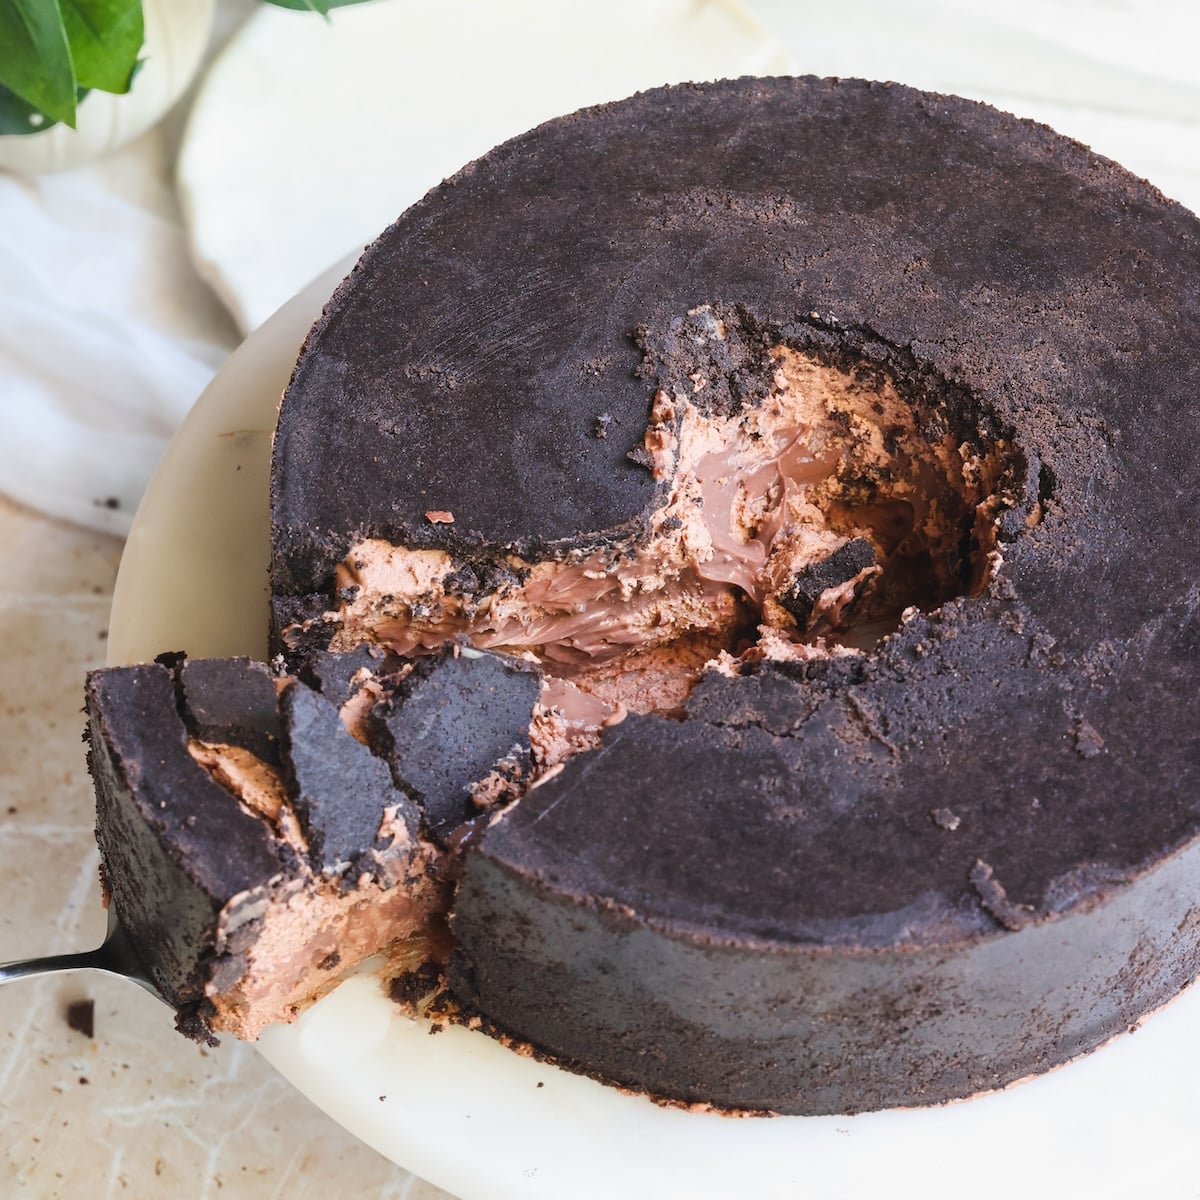
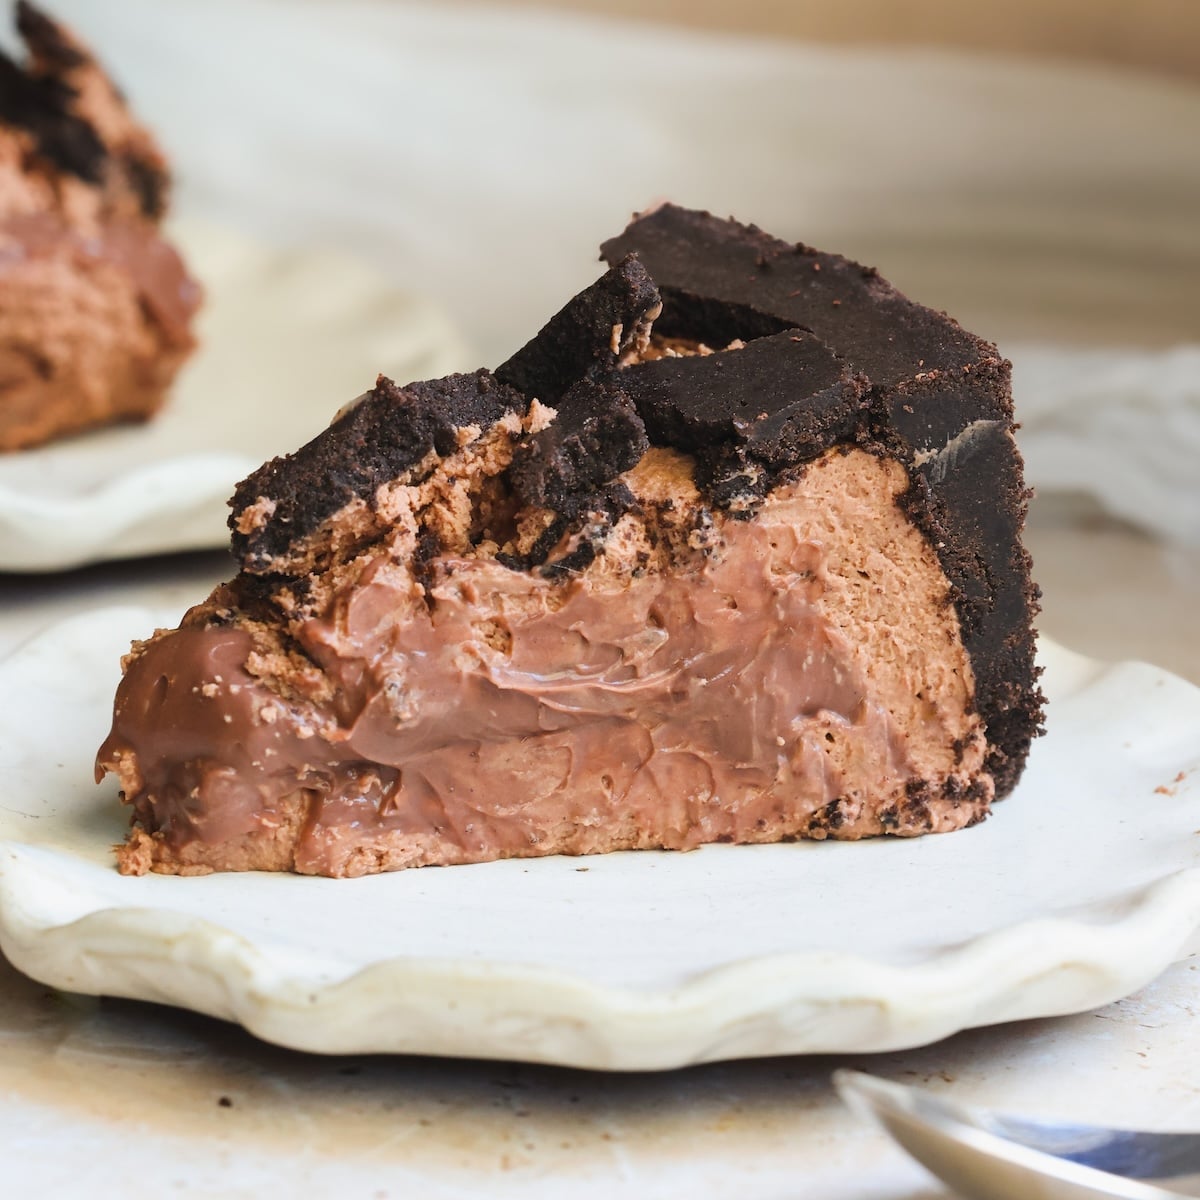
If you don’t mind dessert with a side of theatrics, you’re gonna love this Upside Down Chocolate Pudding Cheesecake! As the name suggests, you serve this cheesecake upside down so all you see is a crispy chocolate crust all over. Then you crack it open to reveal the filling inside: a luscious no bake chocolate cheesecake and a creamy, oozing chocolate pudding right in the middle. It is decadent, chocolatey and dreamy, with contrasting textures that make every bite memorable. Not to mention, each component is really easy – making this an amazing make ahead dessert perfect for holidays and hosting!
3 simple components
This cheesecake has 3 easy components, none of which requires baking:
- Chocolate crust. This is made with chocolate creme cookies (like Oreos) and melted butter. But because we need to cover the sides of the cheesecake in addition to the bottom, we make almost twice as much as a regular cheesecake
- Chocolate cheesecake mixture. This luscious, rich and creamy filling is the same as my No Bake Chocolate Cheesecake. It’s made with only 5 ingredients, and tastes like ice cream in cheesecake form!
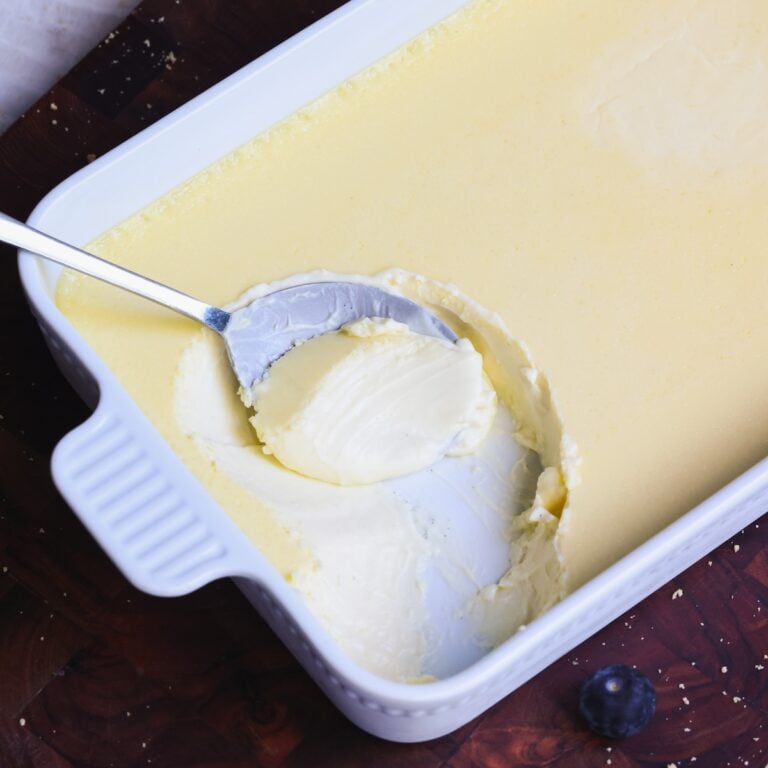
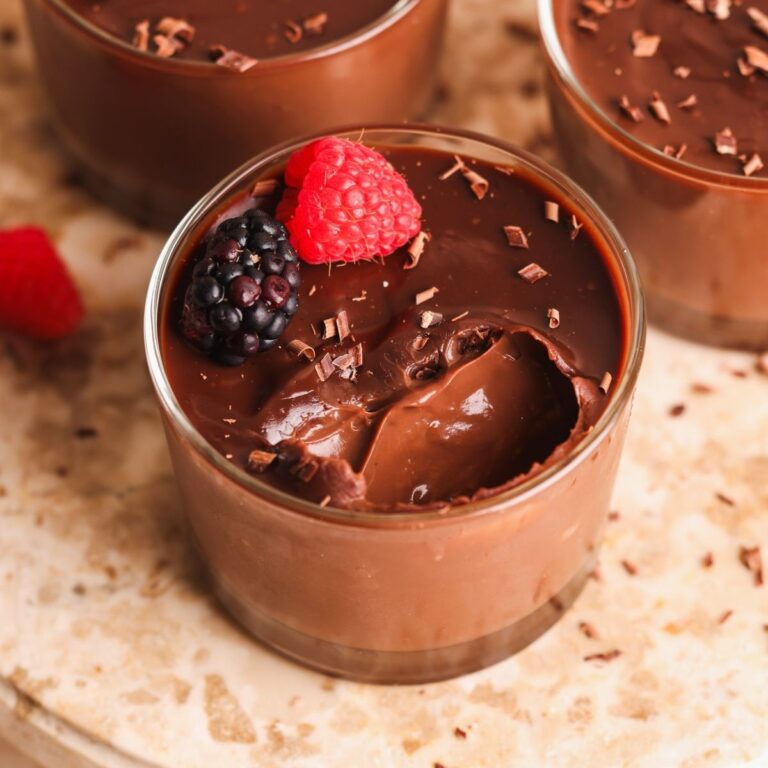
- Chocolate pudding. This is my personal favorite 10 minute chocolate pudding! You cook it on the stove, chill until semi-set, and fill it right in the middle of the cheesecake
Why you should serve it upside down
Now, you may be wondering, “do I really have to serve it upside down, or is it just a trend?”. I had the same question, but I am a convert after trying it myself. There are 3 reasons why an upside down cheesecake works:
- The crust holds in the filling. An upside down cheesecake has a solid crust on top and all over its sides. When properly set, this crust serves as a casing to hold in the filling. This means you can add fun elements in the middle, just like the chocolate pudding in this cheesecake, without worrying about the cheesecake not setting or holding shape!
- The element of surprise. This might sound silly, but breaking into an upside down cheesecake and seeing what’s inside is really fun, kind of like a pinata
- No need to decorate! If you served this cheesecake right-side-up, you’d be looking at a plain chocolate cheesecake which might need a little decoration or garnishing. When you serve it upside down, the focus shifts from what’s outside to what’s inside, and you don’t need to decorate! In fact, it’s *supposed* to be messy when you slice in!
The crust is really important!
Not only is it the first thing you see, it also holds the cheesecake in place. So you need to take your time to pack it tightly, evenly and neatly. If you rush the process, it might be crumbling all over the place. Still yummy, just less presentable.
Step by step photos
The detailed recipe is in the recipe card below, but here is an overview of the steps with photos to help you visualize everything:
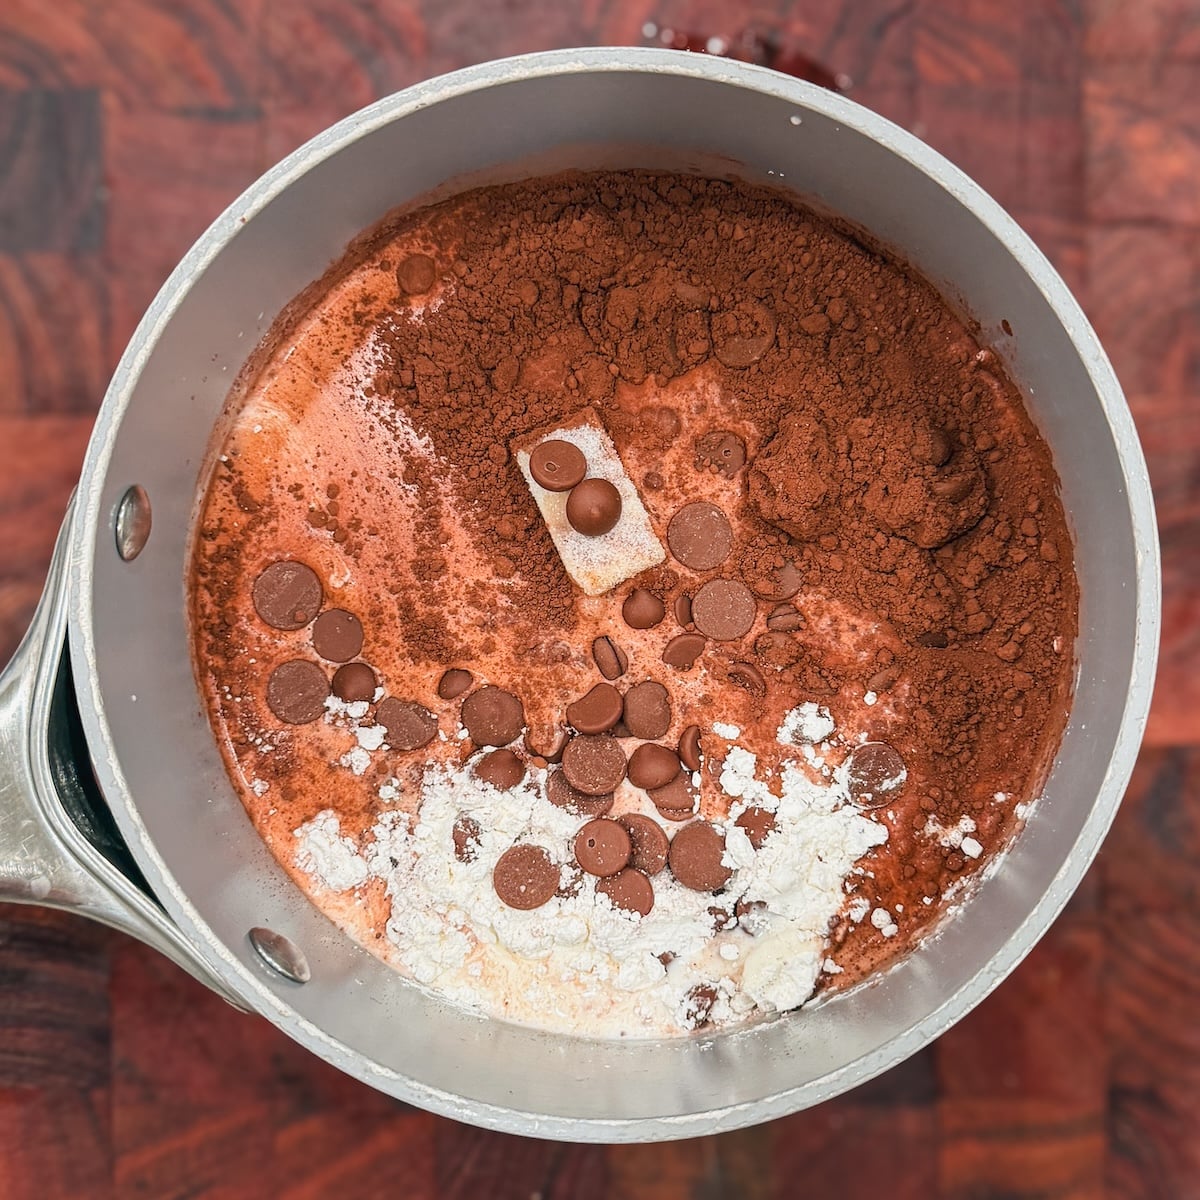
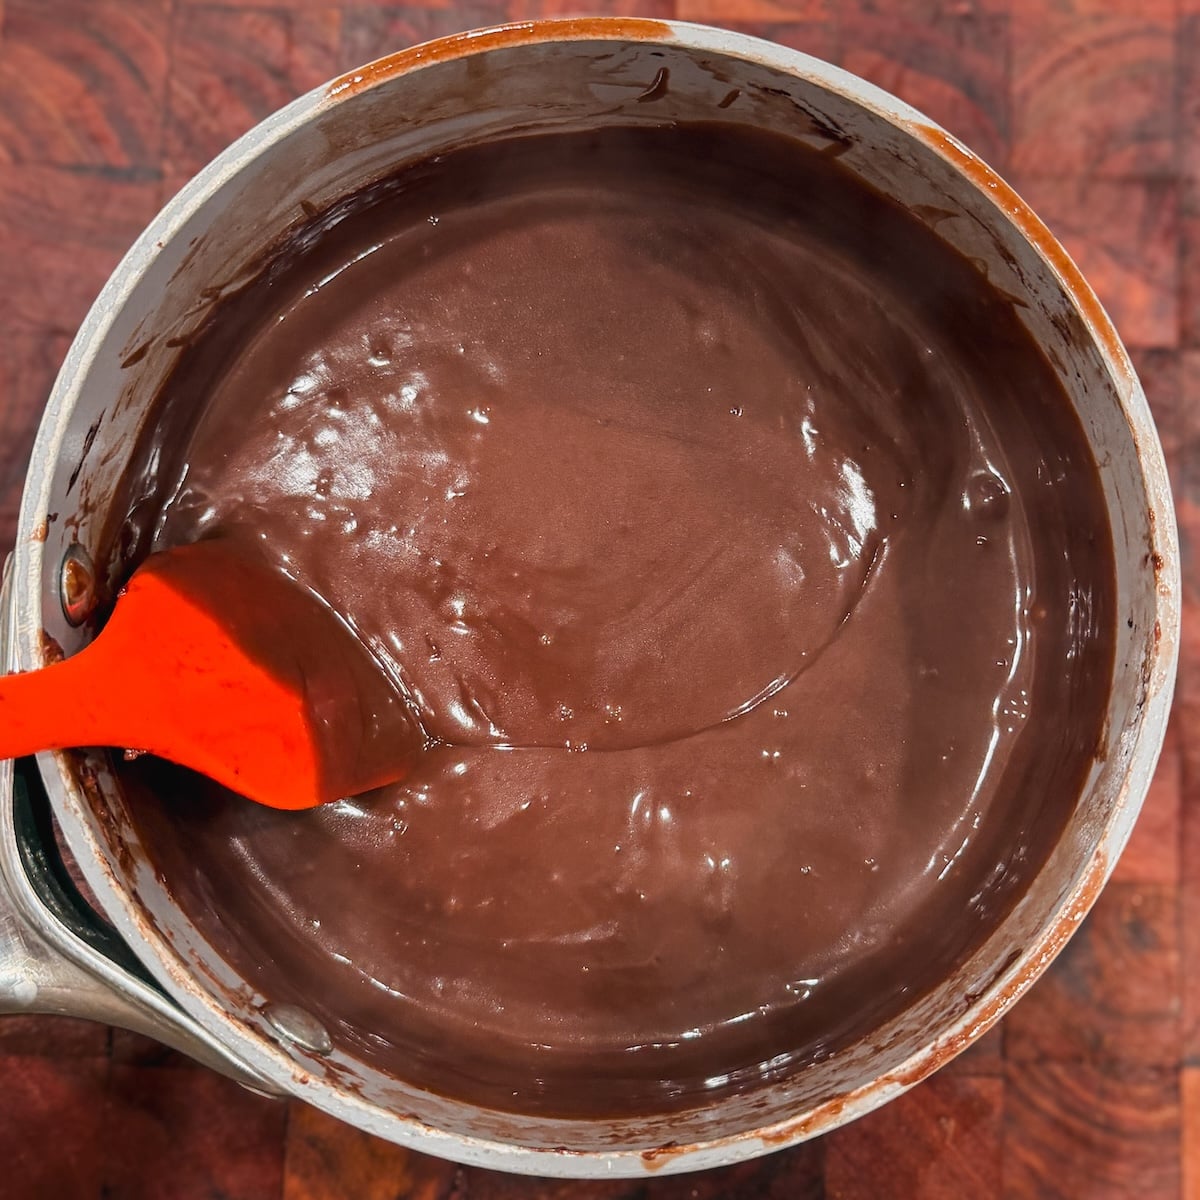
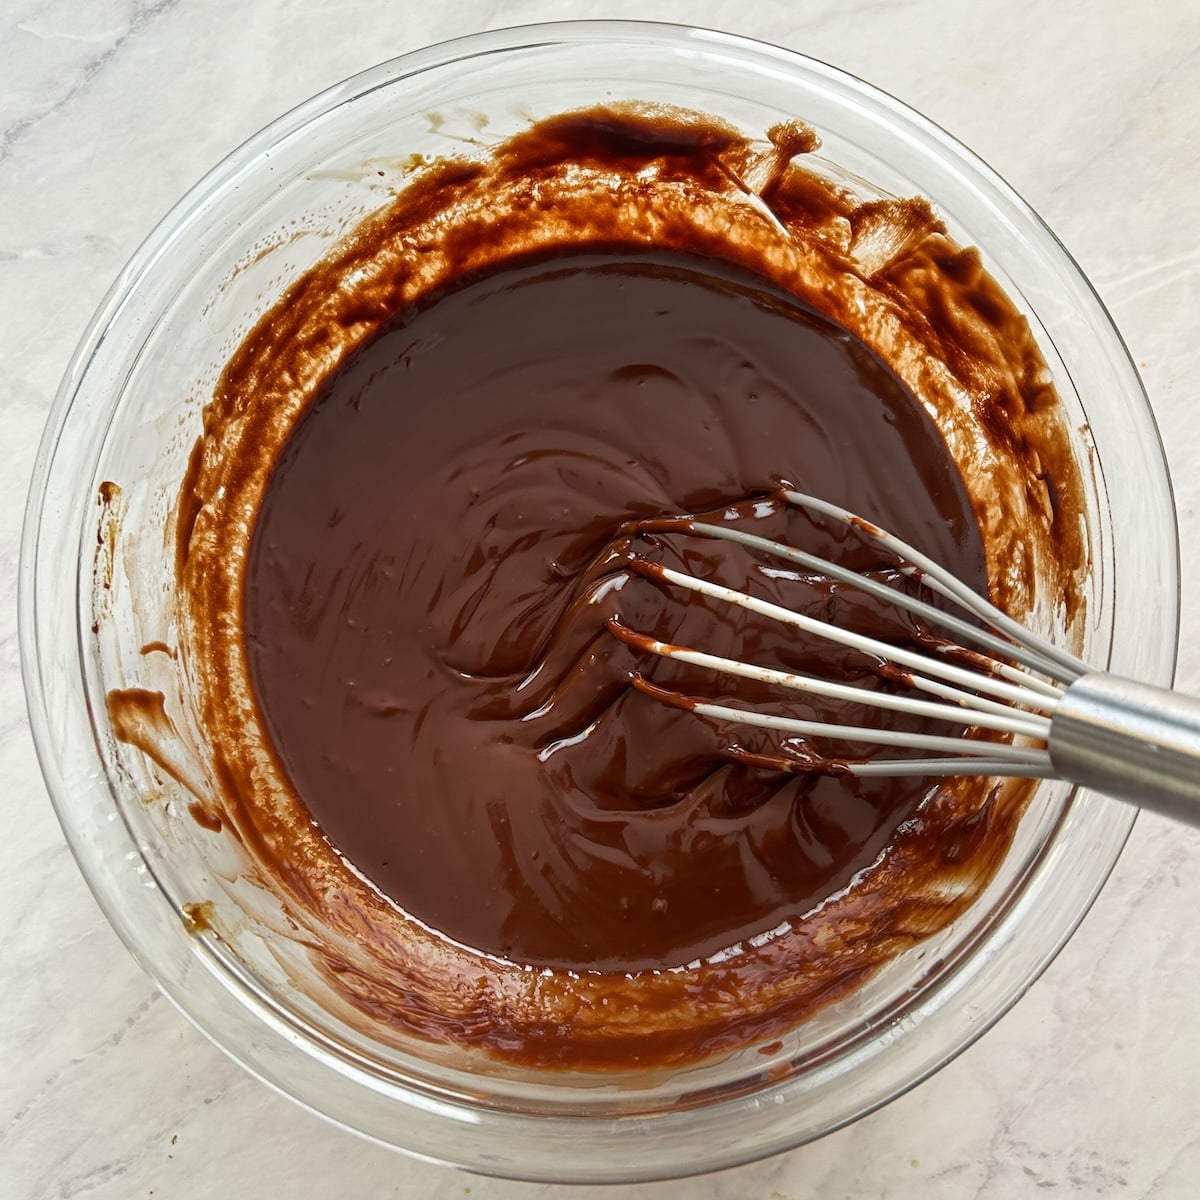
1. Make the pudding
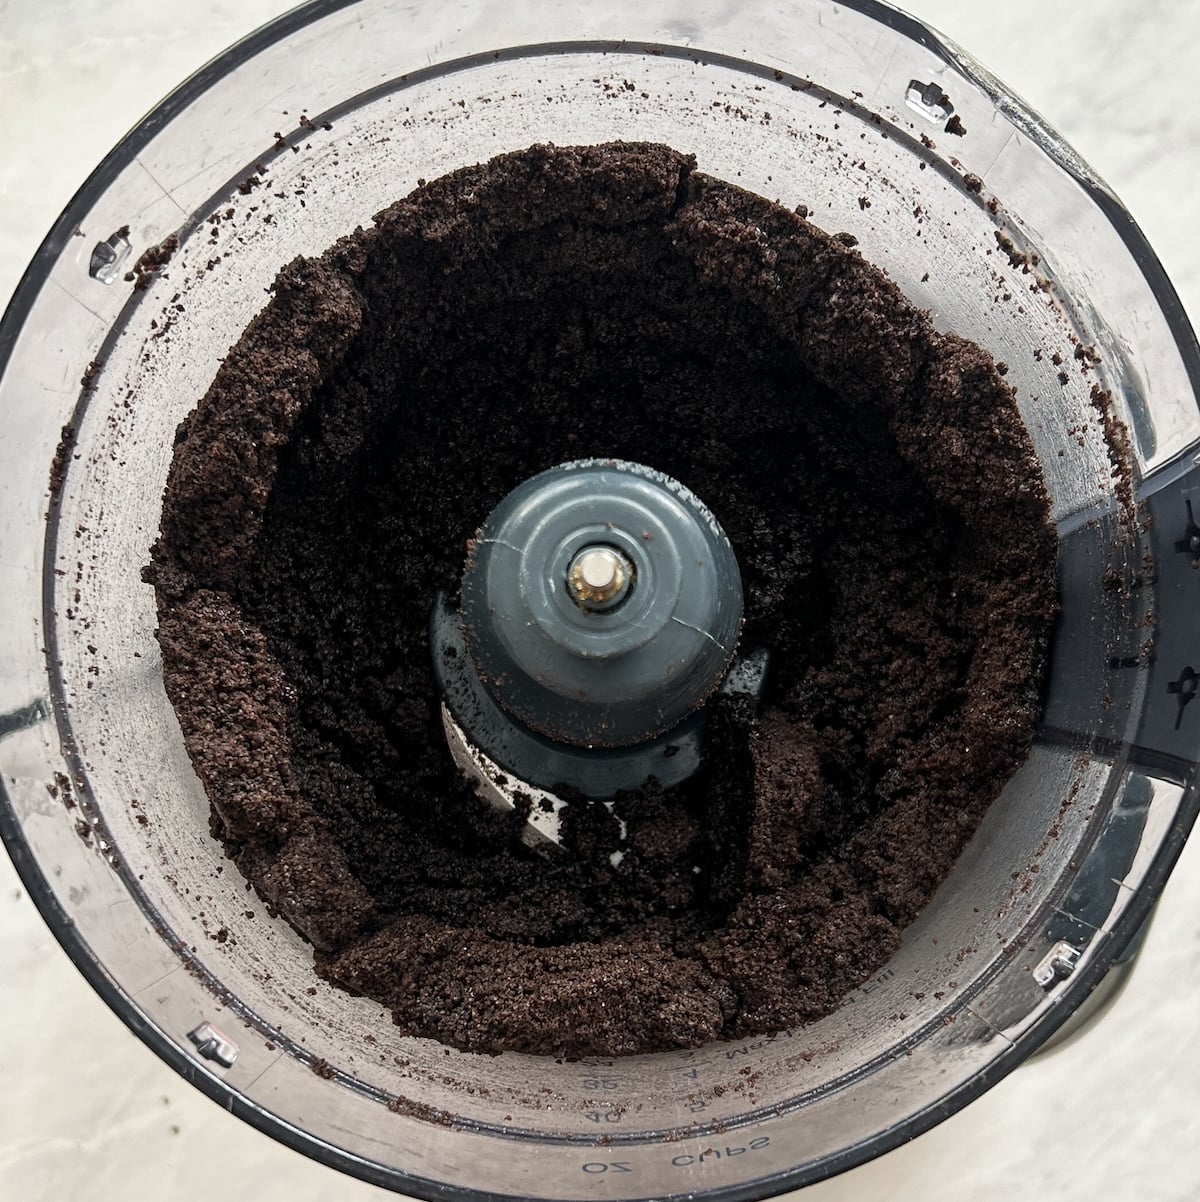
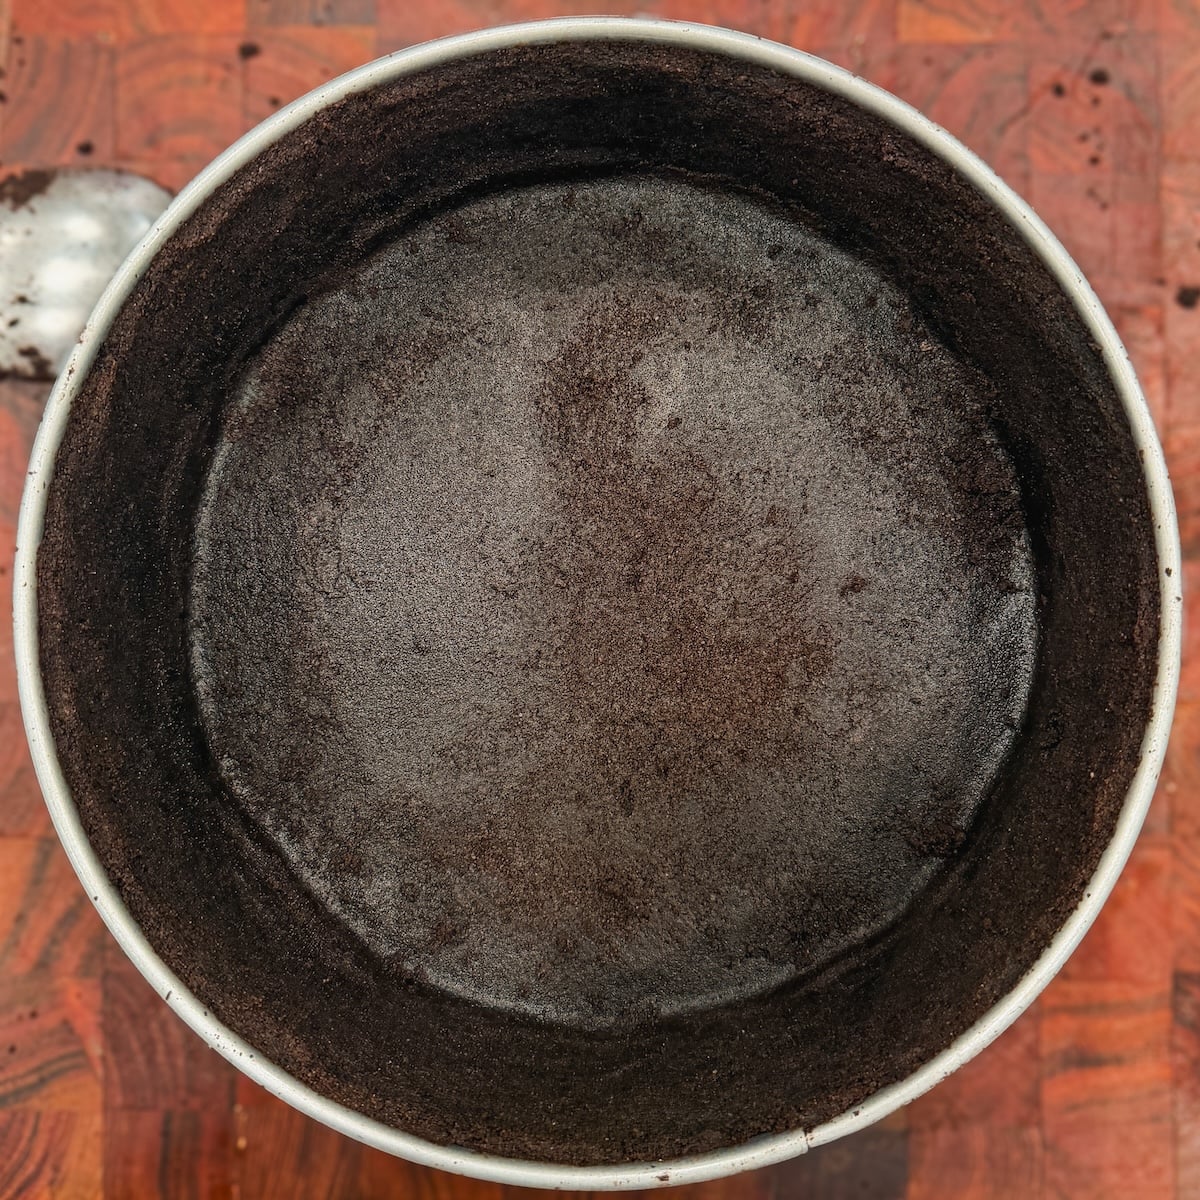
2. Prepare the crust
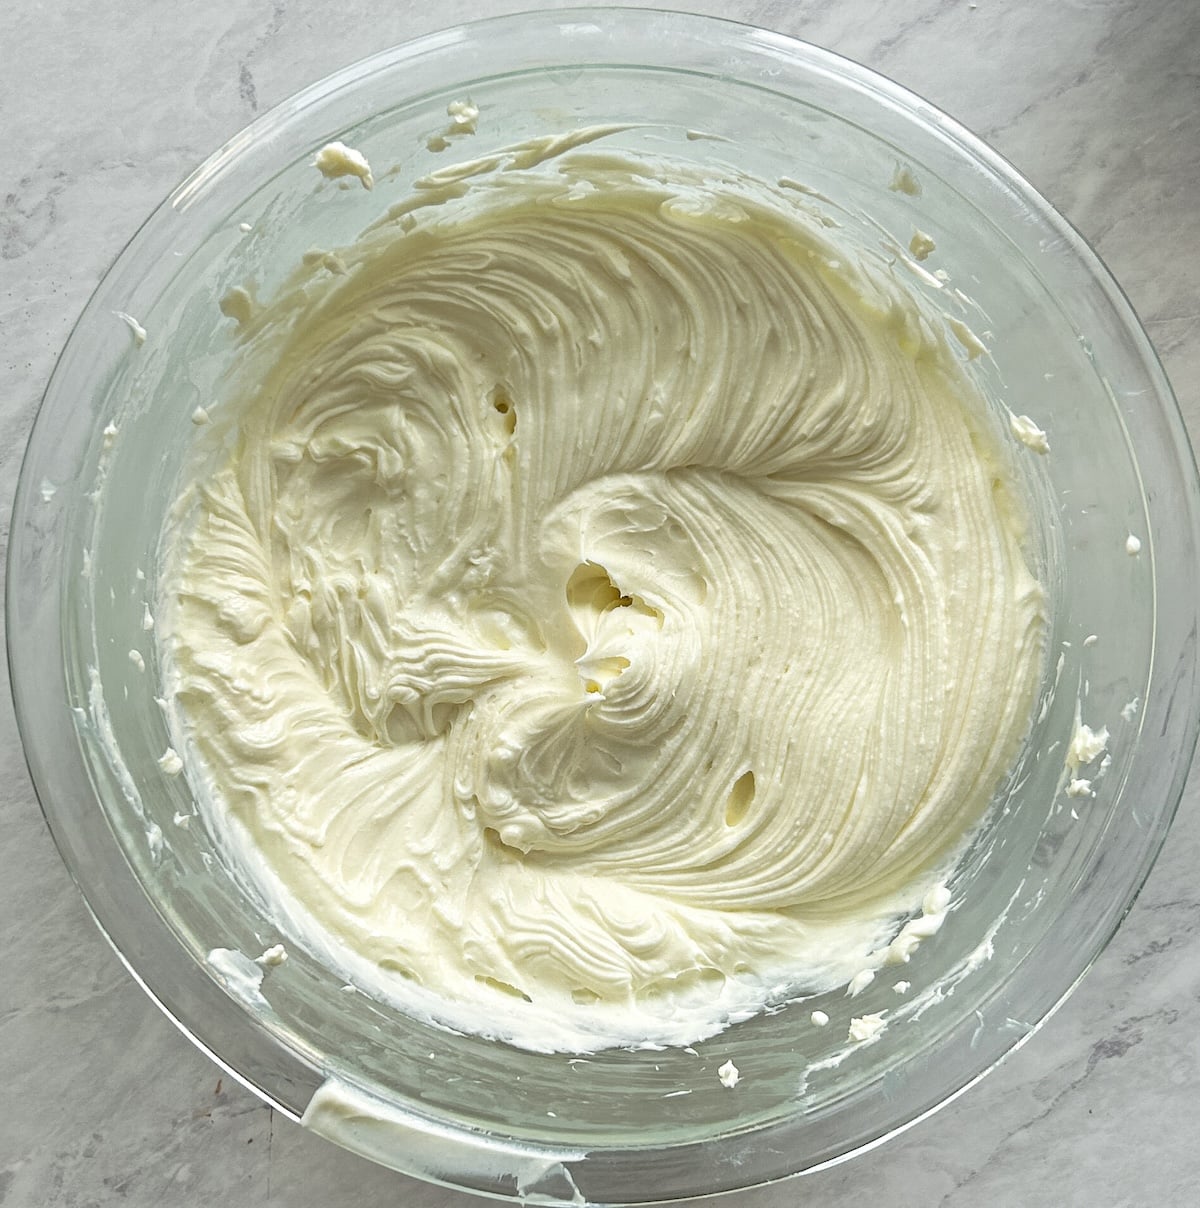
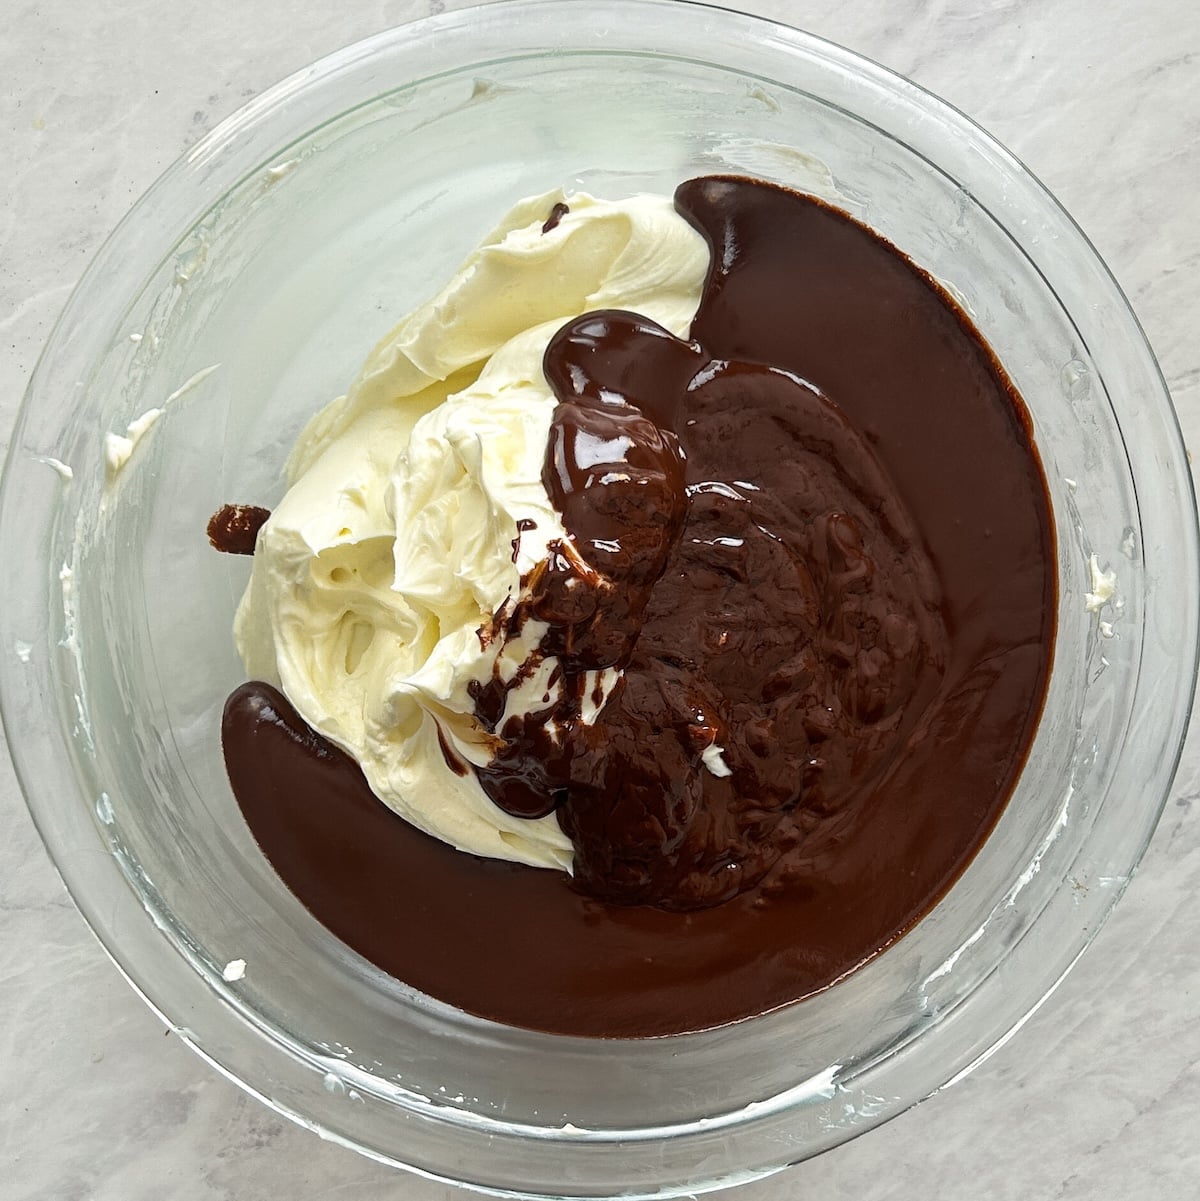
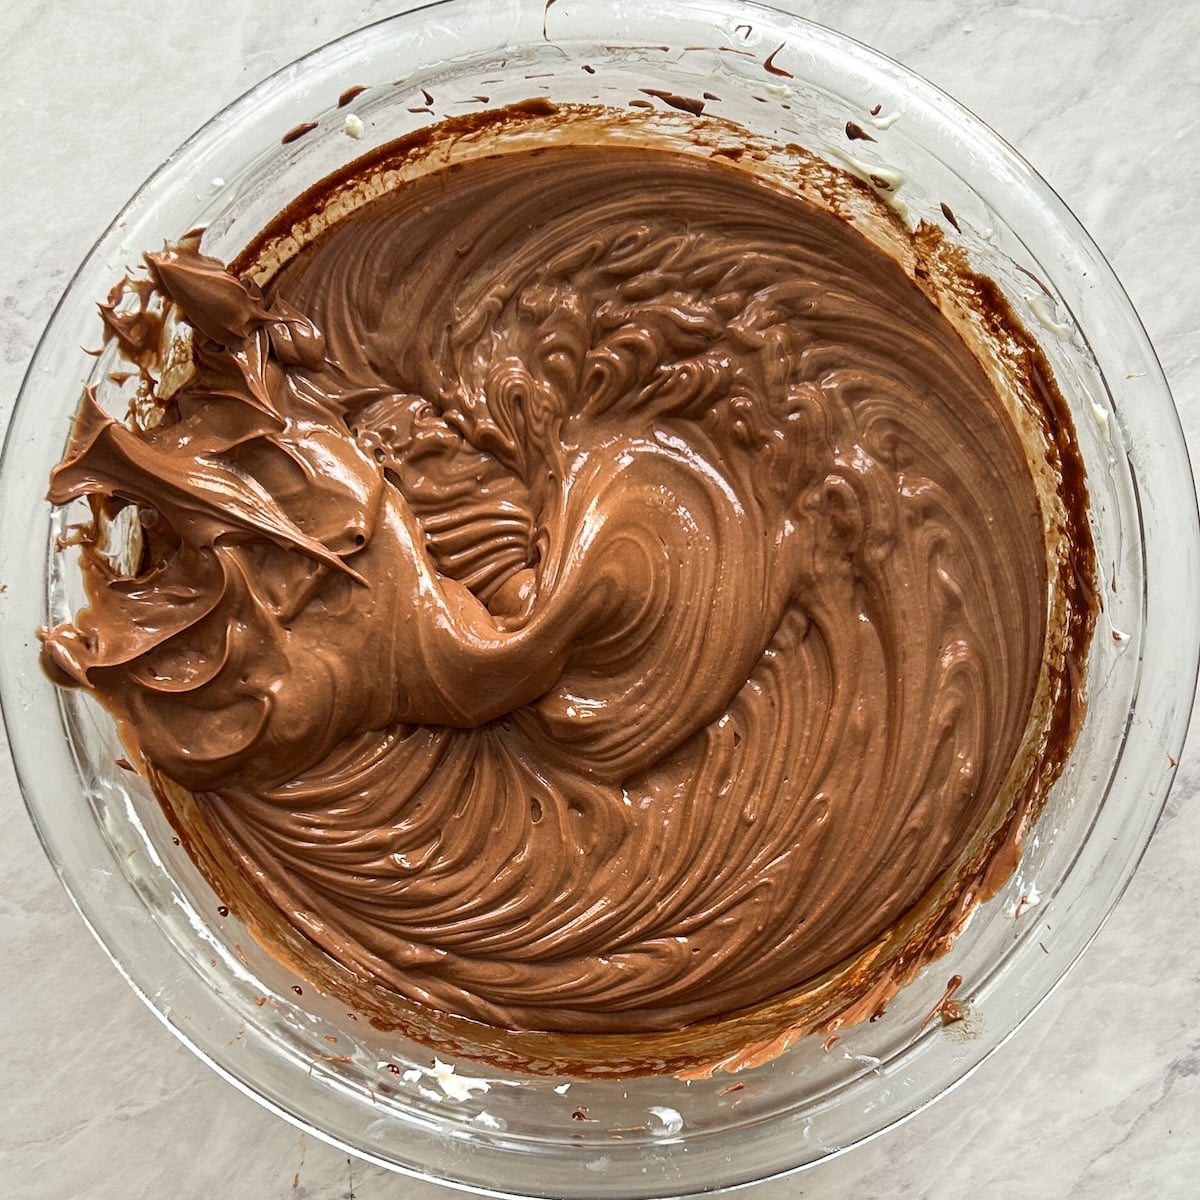
3. Make the chocolate cheesecake mixture
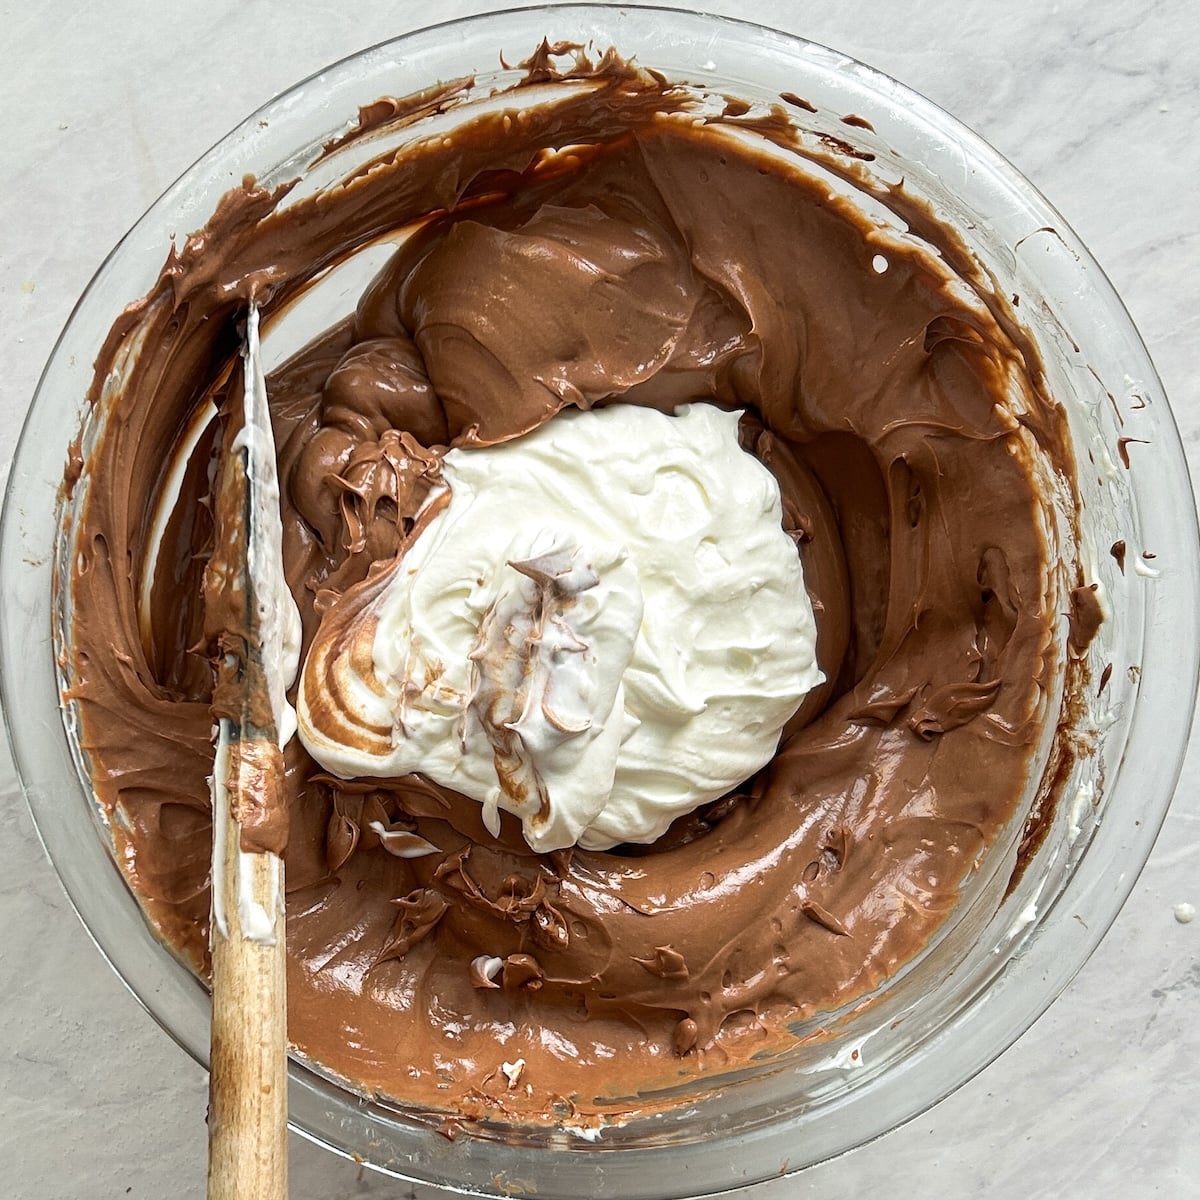
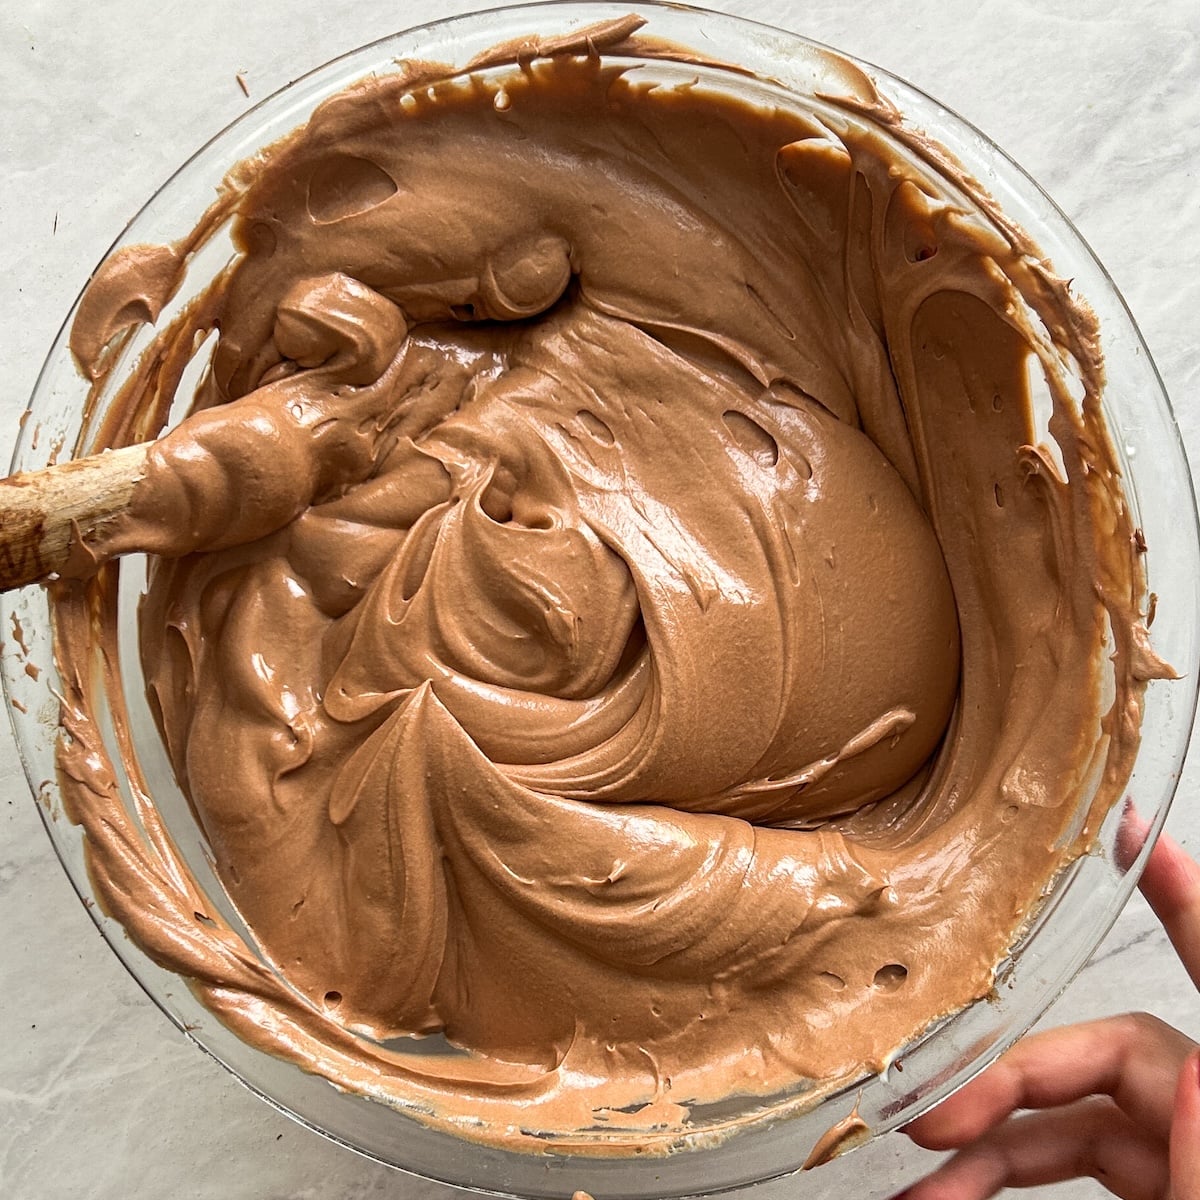
4. Assemble
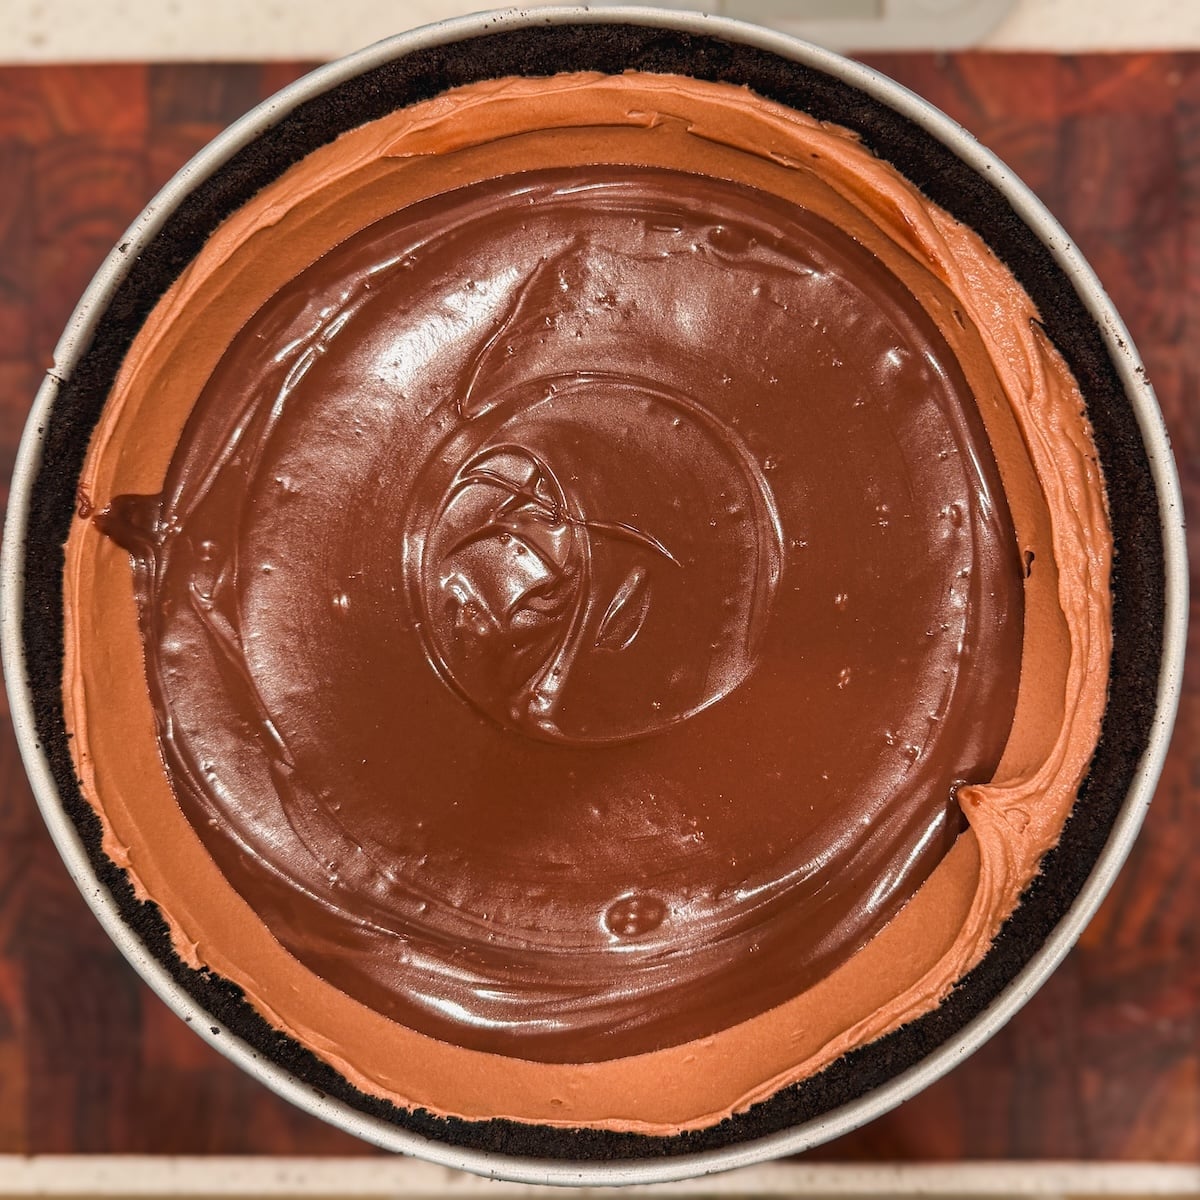
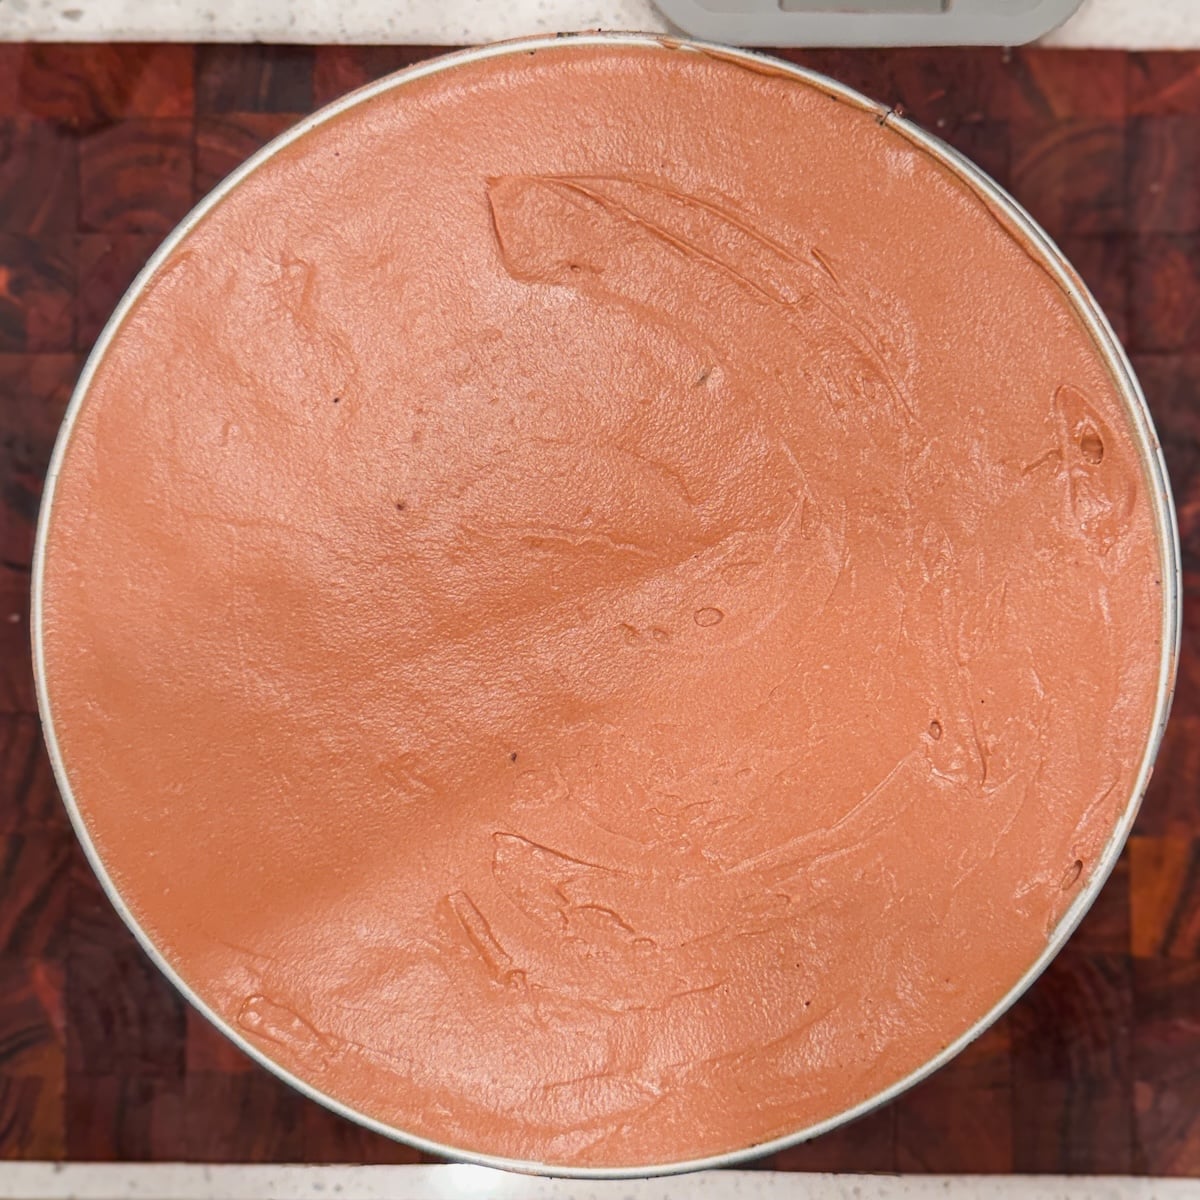
That’s all! Now chill the cheesecake for 6+ hours until it’s set and you’re ready to serve.
How to take it out
It’s a little nerve-wracking to de-mold a cheesecake upside down. Here’s how you do it:
- First, prep the pan. I recommend lining your springform pan with parchment paper: a circle on the bottom, and rectangular strips on the sides, both cut to size perfectly. Brush the pan with butter or oil before applying parchment paper, as this will help it stick and not move around. Personally, I didn’t bother with this because my Nordic-ware springform pan is non-stick (and I trust it!) – but it was a risky move!
- Take your time with the crust. I’ve said it before, but seriously, make it tight and even! This ensures the crust is solid, not crumbly, and separates from the pan in one piece
- Take it out. Once the cheesecake is set, flip your serving dish/stand upside down on it, hold the two together and flip so the cheesecake pan is now upside down on the dish. Release the side rim of the springform pan first – it should separate easily thanks to the parchment. Once the sides are released, you can lift off the bottom of the pan (use a knife/spatula to separate if any parts are sticking). Now lift off the rim and peel the parchment paper. Congratulations, you did it!
If you want to serve it upside up..
Not into the upside down thing? Don’t worry, you can serve the cheesecake like a regular one, too. Just make sure to still take the crust all the way up the sides, because we need it to hold all the filling in place.
Print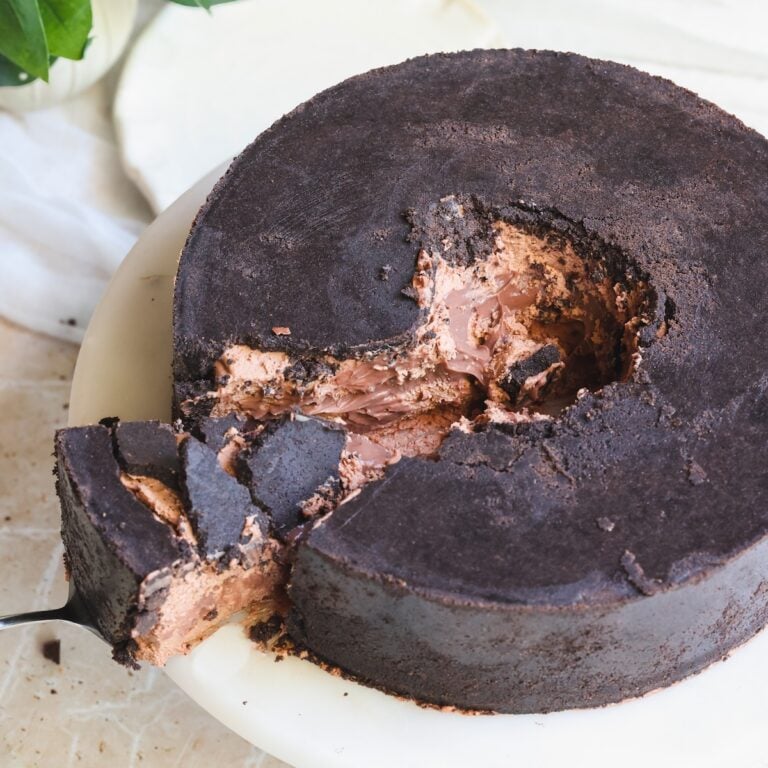
Video Tutorial
Email This Recipe
Enter your email and I’ll send this directly to you. Plus you’ll get new recipes from me every week!
Ingredients
Chocolate pudding:
- 3/4 cup milk (180g)
- 1/2 cup heavy cream (120g)
- 1 tbsp unsalted butter (14g)
- 2 tbsp cornstarch (20g)
- 1 1/2 tbsp cocoa powder (9g)
- 1/4 tsp salt
- 1/4 cup sugar (50g)
- 135g milk chocolate
Chocolate crust:
- 1 18oz family pack of Oreos or chocolate creme cookies of your choice (510g or 45 cookies)
- 10 tbsp unsalted butter, melted (140g)
Chocolate cheesecake:
- 250g semi-sweet chocolate – I recommend around 50% cocoa, or equal parts milk and dark
- 1 1/2 cup heavy cream, chilled and divided into 3/4 cup and 3/4 cup (360g)
- 24 oz full fat cream cheese, room temperature (3 8oz packs or 680g)
- 1 cup granulated sugar (200g)
- 1/2 tsp salt
Instructions
Chocolate pudding:
- Add all ingredients to a large nonstick saucepan. Place on the stove on low heat, and use a whisk to gently stir and cook the pudding until the butter and chocolate melt and all ingredients combine. It will look strange and lumpy in the beginning but will come together.
- Keep cooking and stirring on low heat until the pudding comes to a boil. After this point, it will start to thicken up quickly. Cook until the pudding reaches a custard like consistency (thick but still pourable) – about 8-10 minutes. Remove from the heat.
- Strain the pudding into a wide bowl, cover with cling wrap such that it is touching the surface, and transfer to the freezer to chill.
Chocolate crust:
- Prepare a 9″x3″ round springform pan by lightly brushing butter or oil on the bottom and edges, and stick on parchment paper. Place a round sheet on the bottom, and rectangular strip on the sides, both cut neatly to size.
- Grind the chocolate cookies (Oreos) in a food processor until they form a fine crumb. Add melted butter and pulse to combine.
- Transfer to the pan and press down tightly using the back of a spoon or measuring cup to form the crust on the bottom and all the way up the sides. Take your time doing this, packing the crust firmly and keeping it even thickness all over.
- Place in the fridge while you work on the cheesecake filling.
Chocolate cheesecake:
- For the filling, add the 250g semi-sweet chocolate and 3/4 cup heavy cream in a heat safe glass bowl. Microwave in 20 second increments, stirring in between, until a smooth shiny ganache forms. Set it aside to cool down for 5 minutes.
- In a separate bowl, whisk the room temperature cream cheese, sugar and salt for 2-3 minutes on medium speed until creamy. Scrape the bowl once in the middle to ensure everything is well combined.
- Pour the ganache into the cream cheese mixture and whisk again on medium low speed until just combined (~1 minute). Scrape the bowl again.
- In a separate bowl, whisk the remaining 3/4 cup heavy cream (chilled) until it forms medium peaks (starts to hold shape). Do not over-mix.
- Add the whipped cream to the cheesecake filling and use a rubber spatula to gently fold it until combined. You should have a smooth and fluffy cheesecake filling.
Assembly and serving:
- Add half of the cheesecake filling inside the chilled crust and use a spatula to spread it out evenly. I recommend pressing down gently as you do this to avoid air pockets. Then use a rubber spatula to create a 1/2″ well in the center of the filling (kind of like a pocket to hold the pudding).
- Add the chilled pudding carefully to the well and spread it out evenly. Transfer to the freezer for 15-30 minutes so the pudding becomes semi-set again.
- Now carefully scoop on the remaining chocolate cheesecake filling, and carefully spread it on top, trying your best not to let it mix in with the pudding. Scrape the top to make it even – you should have the perfect amount of filling to perfectly fill the crust in the pan!
- Refrigerate 6+ hours, or overnight, until the cheesecake feels set.
- To serve, place your serving plate upside down on top of the cheesecake. Then, holding the two together, flip them upside down so the cheesecake is now upside down on the serving plate. Carefully release the sides of the springform pan, then lift off the round base (you can use a knife/spatula to separate the pan from the crust if anything is stuck, but the parchment should prevent this from happening). After removing the base, you can remove the side rim, and peel off the parchment paper.
- Serve the cheesecake with a spoon (highly recommend scooping straight from the middle) or slice it up. Enjoy!
Notes
Make ahead and storage: This is a great make ahead dessert – assemble the cheesecake, cover with cling wrap, and it can keep in the fridge for up to 5 days! After serving, keep leftovers in the fridge in an airtight container (up to 1 week total)
Comments