

This post may contain affiliate links
Add Bake with Zoha as a preferred source on Google and find more of my tried-and-tested recipes.
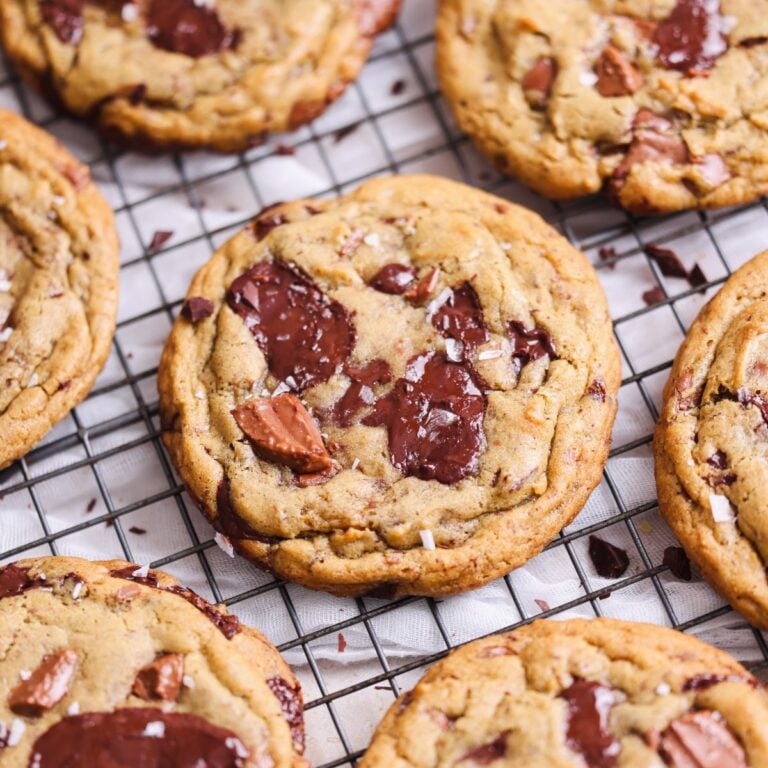
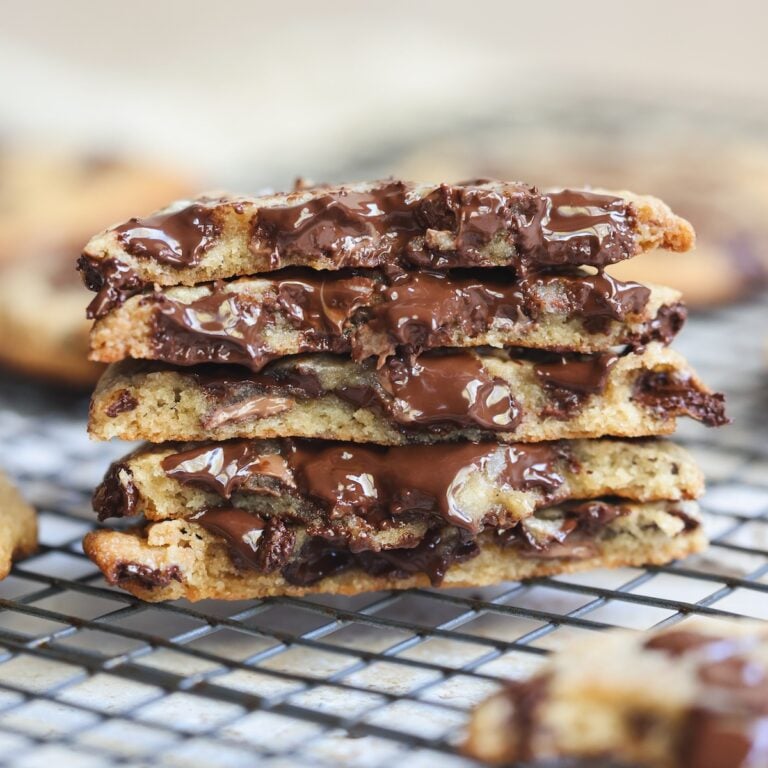
These are the absolute BEST Brown Butter Chocolate Chip cookies you will ever have, and that’s a guarantee. Once you try this easy and reliable recipe, it will become your new go-to and you will forget about all other recipes out there. These cookies are everything they should be: thick, crispy on the outside, gooey and chewy on the inside, with a perfectly balanced flavor and lots of chocolate.


Read the full blog post below for detailed notes, tips, tricks, photos and videos.
WHY ARE THESE THE BEST BROWN BUTTER CHOCOLATE CHIP COOKIES?
Listen – I know there are hundreds, if not thousands, of recipes claiming to be the best, so I understand your skepticism. But here’s my case for why I believe these brown butter chocolate chip cookies are, in fact, the best ever:
- The perfect texture: These cookies check all the boxes when it comes to their texture. They are crispy on the edges, thick, gooey and chewy in the middle, and oozing with chocolate
- Mind-blowing flavor: These cookies taste expensive and luxurious, not cheap and sweet. The brown butter adds a lovely nutty flavor to them, the small amount of coffee gives them an amazing depth, the sugar quantity is just right, and the chocolate flavor shines through
- An easy, no-fuss recipe: This recipe is as good as it gets. No need for a mixer, no need to “cream” butter and sugar (I know we all hate doing that). I’ve tried different methods and created a recipe that you won’t dread making!
Don’t believe me? Check out just a few of the reviews I’ve received on these cookies:
I made them…we ate them…I must make more of them! These are the best cookies I have ever made so thank you for sharing! Ooey, gooey, chewy, chocolatey – so sinful and perfect!
@crazelade
ovenlymadebykc
Tried this today.. and i must say., this is the best chocolate chip cookies recipe that i baked that i will eat the entire thing..
I made these and they were awesome, so many creators on this app claim to have the best but these were the best I’ve tried.
@whatmelydid
Oh my god! This was soooo good.. I usually cream the butter and white sugar, but here the caramelization with brown sugar took the cookies to a whole new level!
@sowmya
Definitely sticking to this recipe going forward!
WHAT’S DIFFERENT ABOUT THIS RECIPE?
This recipe is the result of multiple trials, several batches of “okay” cookies, and lots of late night brain storming. I’ve even made minor improvements after initially publishing it, although it was already widely loved.
There are three things that set this recipe apart from others:
- A unique method of “caramelizing” the sugars in the butter. You melt and brown the butter in a pan, then add the sugars to the same pan and whisk for just 2 minutes on the lowest heat setting. This is not enough time to actually caramelize the sugars, but the heat starts the caramelization process and adds a wonderful toffee like flavor to the cookies. Not to mention, this approach feels a lot easier and less of a hassle than bringing out a mixer and creaming butter and sugar!
- The perfect amount of sugar. If you’ve made other cookie recipes, you will notice this one has a much lower quantity of sugar, which means these cookies are not overly sweet! I have perfected the sugar amount while still retaining a wonderful texture in the cookies. The ratio of brown sugar to white is also just right to get the crispy exterior and chewy interior
- A hint of coffee. A small amount of instant coffee is added to the cookie dough to give it an extra depth of flavor. The cookies don’t taste like coffee, though, don’t worry!
- The right ratio of butter to flour. This recipe has a higher ratio of butter to flour than most recipes, which means the cookie dough is more soft and sticky than usual. This helps get a crispy chewy texture in the cookies as opposed to dry, crumbly or cakey

TIPS TO PERFECT THESE COOKIES
This is a very simple, fuss-free recipe, but I do have some important tips to help you get these cookies *just* right:
- Use a weighing scale instead of measuring cups! This is especially important for flour, because most people stuff too much flour in measuring cups leading to a drier cookie dough. I highly recommend this kitchen scale which is under $10 and has lasted me 3 years
- Don’t overcook the sugars. Keep the heat on the lowest possible setting after browning the butter, and whisk the sugars in for just 1-2 minutes. The intention is to add heat to them, not to melt or caramelize them. Don’t worry if they start to look lumpy or grainy, that will all get fixed when you add the egg and egg yolk
- Use chopped chocolate instead of chocolate chips to elevate the cookies. Chocolate chips have stabilizers in them which prevent them from properly melting in the cookies. Chopped chocolate melts more, tastes better, and adds more texture because it has chunks of different sizes
- Make sure the wet ingredients aren’t hot before adding dry ingredients. Well, first let the butter and sugar cool down for ~5 minutes before you add the egg & yolk. Then make sure the wet ingredients are not hot when you add the dry ingredients and chocolate, otherwise the chocolate will melt!
- Do not overmix when adding the dry ingredients and chocolate. Gently fold until just combined
- Chill the cookie dough! I know you don’t want to hear this but it is absolutely crucial for this recipe. Chill for at least 2 hours but ideally overnight. If you want cookies without chilling, check out my No Chill Chewy Chocolate Chip Cookies instead!
- Do not overbake. The cookies should be firm around the edges but soft in the middle when they come out of the oven, as they will continue to firm up from the residual heat in them. I always recommend baking one test cookie first, as baking time can vary depending on the size of the cookie, your oven, and the type of baking sheet you use


WHY IS CHILLING COOKIE DOUGH IMPORTANT?
Yes, chilling cookie dough is absolutely crucial, and no, you cannot skip it. Even if there are recipes on the internet that claim they don’t need chilling time, I guarantee those cookies will also be 10 times better after chilling the cookie dough (the only exception to this rule is my No Chill Chocolate Chip Cookies – those actually *are* good without chilling!).
Chilling cookie dough in the fridge for 2+ hours does a few things:
- It deepens the flavor. Chilling encourages the sugars in the cookie dough to break down further, developing a deeper and more complex flavor
- It improves the texture. Chilling allows the flour to absorb more of the liquid content in the dough, which then helps improve the texture. Cookies that are not chilled are more cakey, dry and crumbly, while the same cookies baked after chilling are more chewy and gooey
- It reduces the spread, resulting in thicker cookies. This is the obvious one! Since the cookie dough will take more time to heat up in the oven, it won’t spread as fast, and you will have thicker cookies
Note that you cannot speed up the chilling process by placing the cookie dough in the freezer. The freezer will just stop most reactions from occurring, so while the cookies will spread less, their flavor and texture won’t necessarily be as improved. Always chill in the fridge first, then feel free to transfer to the freezer.
Here’s a little video comparison to further convince you:
MY FAVORITE CHOCOLATE TO USE IN THESE COOKIES
Since I get a hundred questions a week about the chocolate I use, I am linking it for you! I go for a mix of dark and milk to get more complexity of flavor in my cookies, but you can also use semi-sweet only.
I absolutely love this chocolate from Valrhona! It is incredible quality and tastes absolutely delicious. I often buy it in bulk and store it in massive containers in my pantry. It is also available in smaller quantities on Amazon, and in some Whole Foods!
If you don’t have access to Valrhona chocolate, don’t worry. Use any good quality chocolate bar you like the flavor of, like Lindt or Ghirardelli.
PROCESS WITH PHOTOS
The detailed recipe is in the recipe card below, but let’s go over the steps with photos to help you visualize everything.
Melt the butter in a pan, then continue to cook and stir until it browns:


Add the white and brown sugar, and whisk on the lowest heat for 1-2 minutes:


Let cool for 5 minutes, then whisk in the egg, egg yolk, coffee and vanilla until smooth and creamy:


Separately, sift together the dry ingredients and mix with chopped chocolate:


Fold the dry ingredients and chocolate into the wet ingredients in 2 batches, mixing only until combined (make sure the wet ingredients aren’t hot beforehand):


Scoop the dough into 10 cookie balls, and top them with more chopped chocolate. Chill in the fridge:


Bake the cookies once thoroughly chilled, then sprinkle with flakey sea salt and enjoy!


FREQUENTLY ASKED QUESTIONS
If by “crystallize” you mean the sugars look grainy, that’s totally okay – the mixture will become smooth after adding the egg and egg yolk.
However, if your sugar mixture actually crystallizes or seizes up, it is likely because you cooked the mixture on high heat or for too long. Please make sure you are only cooking on the lowest heat setting for just ~1-2 minutes. We don’t want to caramelize the sugar, we are just facilitating the dissolving process. If in doubt, remove the butter from heat, and then whisk in the sugars.
This recipe already has a low amount of sugar, but if you need to reduce it further, you can reduce the brown sugar from 2/3 cup to 1/2 cup.
Either the mixture was too warm, or you chopped your chocolate too small. Make sure the wet ingredients aren’t hot before adding the dry.
You can, but you won’t get the luxurious, incredible cookies you’re hoping for. Chocolate chips don’t taste as good, and don’t melt into puddles like chopped chocolate. I STRONGLY recommend using chopped chocolate.
The cookies will feel firm and set on the edges, and somewhat soft in the middle. They will set more as they cool!
This is likely because you didn’t chill the cookie dough enough. Make sure you don’t skip that step. It’s also possible you have made an error measuring the ingredients, or made a substitution which has changed the result.
You can store these cookies in an airtight container at room temperature for 3-4 days. Instead of storing cookies for a long time, though, I recommend freezing the raw cookie dough balls, and baking fresh cookies whenever you need them! You can put a frozen ball in the oven directly, and add 2-4 minutes more baking time.
Yes! After scooping the cookie dough and chilling in the fridge overnight, you can transfer the cookie balls to the freezer. Then bake as many cookies as you want directly from the freezer, adding 2-3 minutes to the baking time, so you can have fresh cookies whenever you want them.
Want more cookies? Here are some other incredible recipes on the blog:
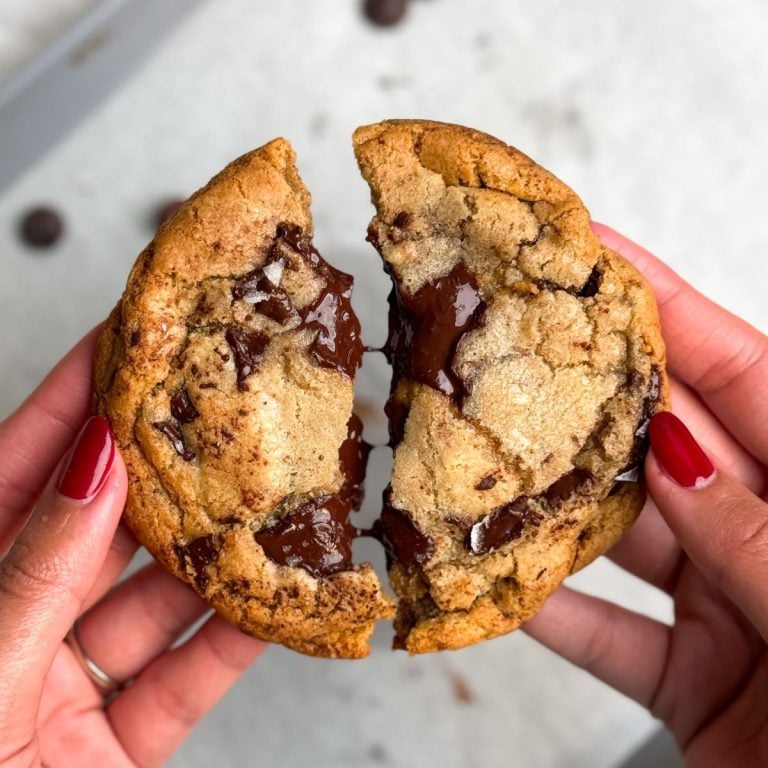 Single Serve Chocolate Chip Cookie
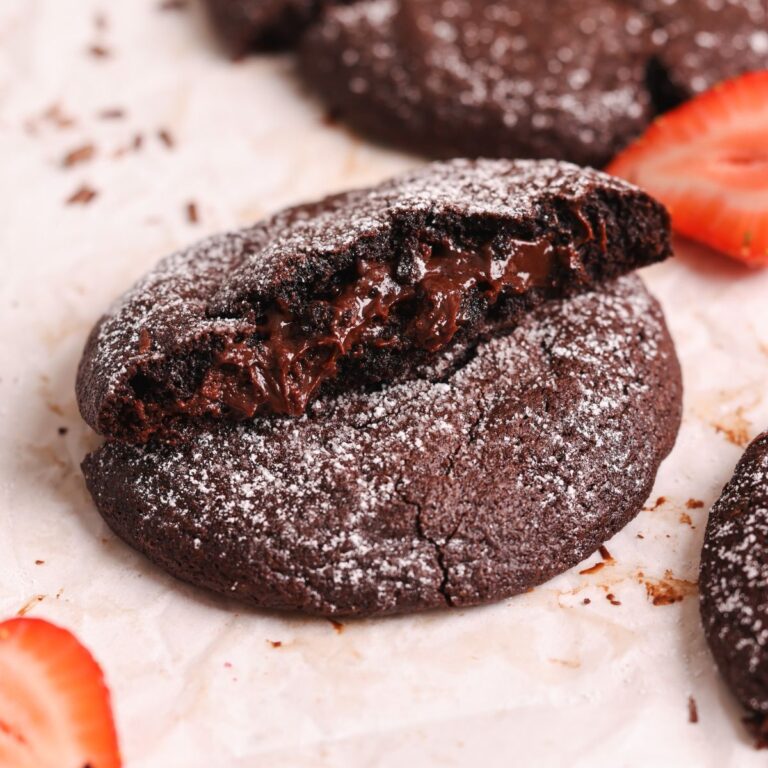 The Best Crumbl Chocolate Molten Lava Cookies
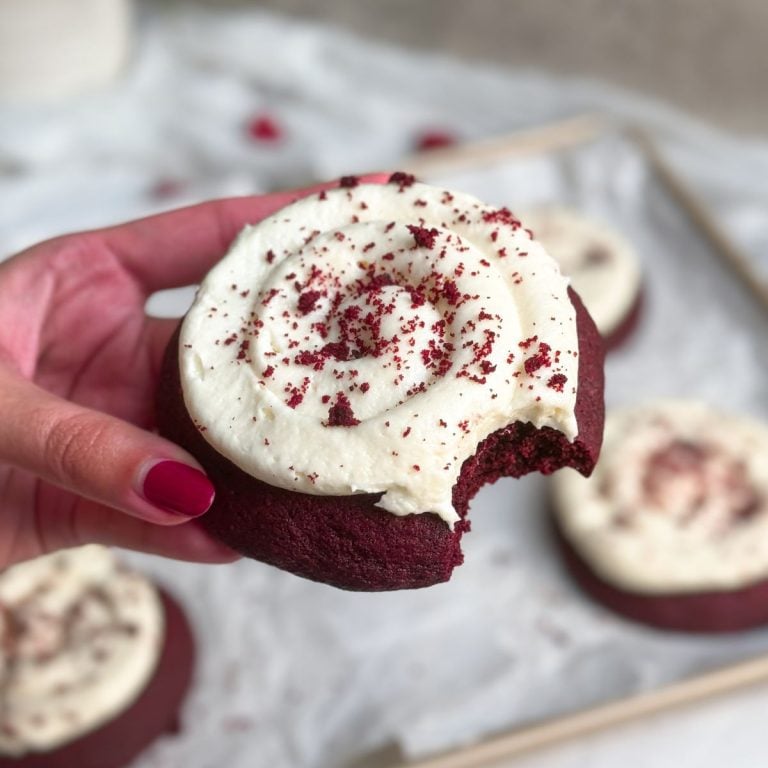 Crumbl Copycat Red Velvet Cookies
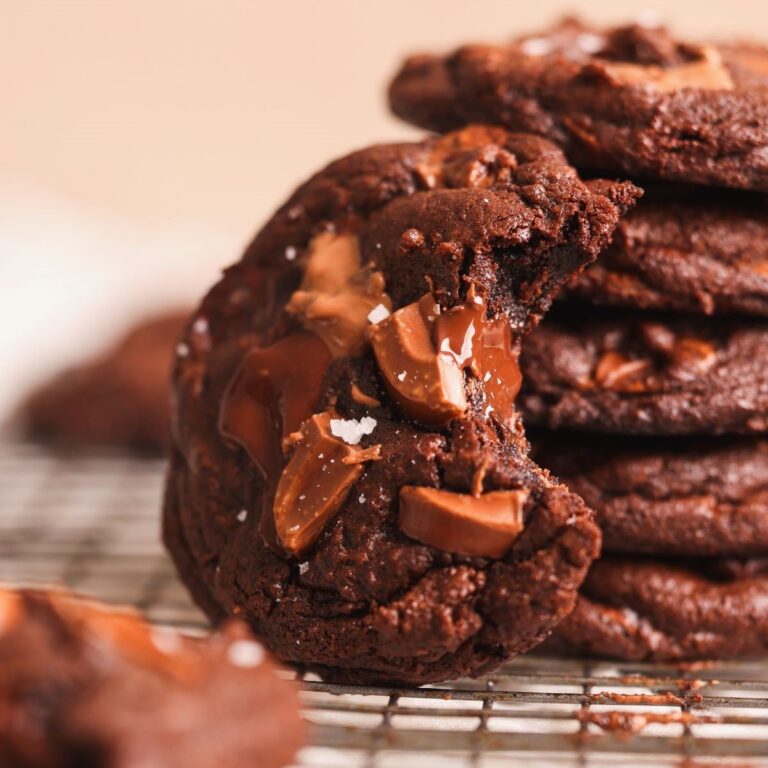 Fudgy Double Chocolate Chip Cookies
Email This Recipe
Enter your email and I’ll send this directly to you. Plus you’ll get new recipes from me every week!
Ingredients
- 10 tbsp unsalted butter (140g)
- 1/2 cup to 2/3 cup packed light or dark brown sugar (100g to 133g); to taste
- 1/4 cup white sugar (50g)
- 1 large egg
- 1 egg yolk
- 1 tsp vanilla bean paste
- 1 tsp instant coffee dissolved in 1 tsp hot water
- 1 1/3 cup all purpose flour (170g)
- 3/4 tsp salt (you can reduce to 1/2 tsp if you don’t like your cookies to be too salty)
- 1/2 tsp baking powder
- 1/4 tsp baking soda
- 4 oz dark chocolate, chopped (113g)
- 4 oz milk chocolate, chopped (113g)
Instructions
- Place the butter in a non-stick pan and melt it on medium-low heat. Keep stirring for a few minutes until the butter starts to look brown and develops a caramel-y nutty aroma
- Turn the heat all the way to the lowest setting, and add the brown and white sugars. Whisk on the lowest flame for 1-2 minutes, then remove from the heat. The heat facilitates the dissolving of the sugars and starts breaking them down for a deeper flavor. You are not trying to caramelize or melt the sugars. The mixture may look somewhat grainy, don’t worry
- Remove from heat and cool the mixture for 5 minutes. It should be warm, but not hot anymore
- Add the egg and yolk, and quickly whisk to incorporate. Add the vanilla and instant coffee dissolved in hot water, and whisk for 1-2 minutes until the mixture becomes very smooth and creamy like caramel. If you see any clumps of sugar, press them down with the back of a spoon and they should mix in
- Sift all the dry ingredients into a separate bowl. Add the chopped chocolate and mix everything together
- Make sure the wet ingredients aren’t hot (they shouldn’t be). Add the dry ingredients to the wet in 2 batches and fold with a rubber spatula until just combined. Do not overmix!
- Use a 2 tbsp cookie scoop to divide the dough into 10 balls (if the dough feels a bit too runny to scoop, refrigerate for 10 min first). Don’t apply pressure onto the balls, just gently pull them together
- Place the cookie balls onto a plate or baking sheet, and add a few chocolate chunks on top (you can add more chocolate or reserve some of the chopped chocolate from earlier)
- Refrigerate for at least 2 hours, but ideally overnight for best results
- Pre-heat oven to 375F (conventional / no fan) and prepare a large cookie sheet with parchment paper. It is best to use a lighter colored cookie sheet
- Transfer the balls to the sheet, keeping at least 3″ between them
- Bake for 11-13 minutes depending on how soft and gooey you want the cookies to be. I always recommend baking 1 test cookie first!
- Sprinkle the cookies with some flakey sea salt (optional) and let them cool down at room temperature for 10-15 minutes
- Serve and enjoy while still warm!
Video Tutorial
Notes
- These cookies are best eaten freshly baked for the ultimate texture, but you can also microwave them for 10-15 seconds before eating
- Make sure to read all the tips in the blog post above. I have given details, answered FAQs, and provided both video and photos of the recipe
- You can freeze the cookie dough balls in an airtight container, and bake directly from frozen when needed! Just increase the baking time by ~2-3 minutes depending on how well done you want them
Note: This recipe has been slightly updated for minor improvements. Changes include reducing brown sugar from 3/4 cup, adding vanilla and instant coffee, and updating the method so the chocolate is first mixed with the dry ingredients

Comments
Mei
My sugars dissolved in the butter, (it was kind of my fault because I didn’t look through the steps LOL) will my cookies still look like the one in the video?
Alisha
did they? if you remember lol
Cookie lover
M obsessed with this recipe and am never trying another recipe again.
Zoha
😎
Giselle Shaw
My mom is a professional baker she had been baking for 6 years and she made these cookie they were FLAT and hard and disgusting 🤮 no joke 😭😭
century-foods
Thanks For your wonderful recipe. I like it. Keep up-to-date with more recipes!!
Ni
can we use bread flour here? or half maida and half bread flour?
Zoha
i dont recommend it but it wont make too big of a difference.
Zara
I followed the recipe except I chilled the whole dough instead of pre rolling them beforehand, when I took it out the fridge the dough was very crumbly and hard to work with so the cookies did not look good, however the taste of the cookies were fantastic, any idea why this happened? I never had this issue with any cookies I baked.
Nadine
I’ve baked these cookies so many times and they never fail to please. my new go to cookie recipe!!
Bisma Hasan
The best cookies I’ve ever made ♥️
Jane
The BEST cookie recipe! these were sooo good.
Saadh
*cookies not copy srry typo🤦♂️
bee
Tried this today and it turned out great! I had 1 egg, so I reduced the flour to 160g and added a tsp of milk to retain the moisture. Everything else remained the same.
Best recipe I’ve ever tried.
Todd
These are amazing! My kids enjoyed them a lot. The salt on the cookies is a nice a touch!
Bakewithzoha
Copy the link and paste it into justtherecipe.com to skip all the blah blah blah talking!
Hania Faisal
Turned out to be amazing!
Regan Vartanian
The bottoms burnt and my whole entire oven started smoking. I followed the recipe to a T. Unsure what happened
Sumaira
I’ve been a faithful follower of ATK and their browned butter cookies. Imagine the delight when these came out better than ATK’s! I wonder if I can adapt this recipe to make oatmeal raisin cookies? Whaddaya think? (I’ve used Smitten Kitchen’s recipe for those for a while and definitely need a recipe that promises to be more flavorful.)
Christina
Hi, i made the recipe and it was amazing. I just wanted to ask, could i skip coffee; And can i use only milk chocolate; Thank you very much!
Ams
when i crave something I always look for the recipe in your page before going anywhere else. let me tell ya, I always find what I want here.
that being said, I just tried this cookies recipe and I baked one without refrigerating it first (because who has the patience). needless to say, I loved it. I know it will taste even better after refrigerating. thank youuuu 💕💕
Zoha
Aw, that is so incredibly kind of you. Thank you for trusting my recipes.
Mila
Thank you for this recipe. I followed it to a T and was able to make perfect cookies. I got so many compliments on them! Well done Zoha!
Wish
what if I bake the cookie immediately after making the dough? is it necessary to refrigerate the dough?
Afsah
Hey zoha! I’m a huge fan🫶
Recently attempted this recipe and kid you not they made me feel soo proud of myself. Hits all the right spots!!
Vini
My dough did not spread or may be a little, Ive followed the same recipe. Ive added less sugar than what was in the recipe, could that be causing it?
Melanie Stone
Hi! I dont know if you’ll reply or not but just incase, can I substitute vanilla bean paste for just vanilla extract?