

This post may contain affiliate links
Add Bake with Zoha as a preferred source on Google and find more of my tried-and-tested recipes.
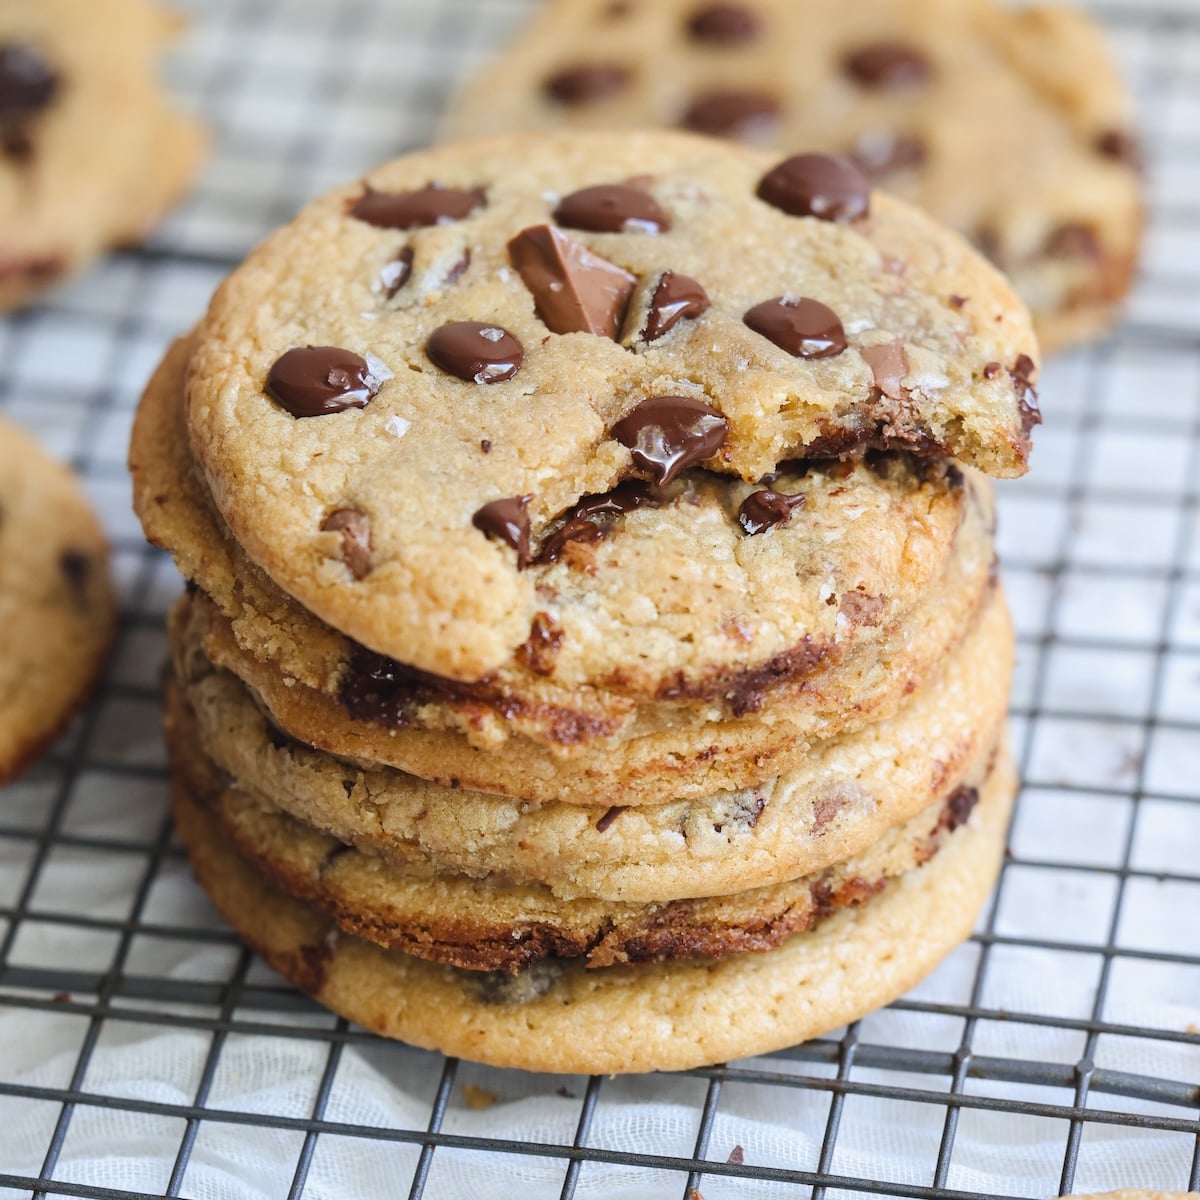
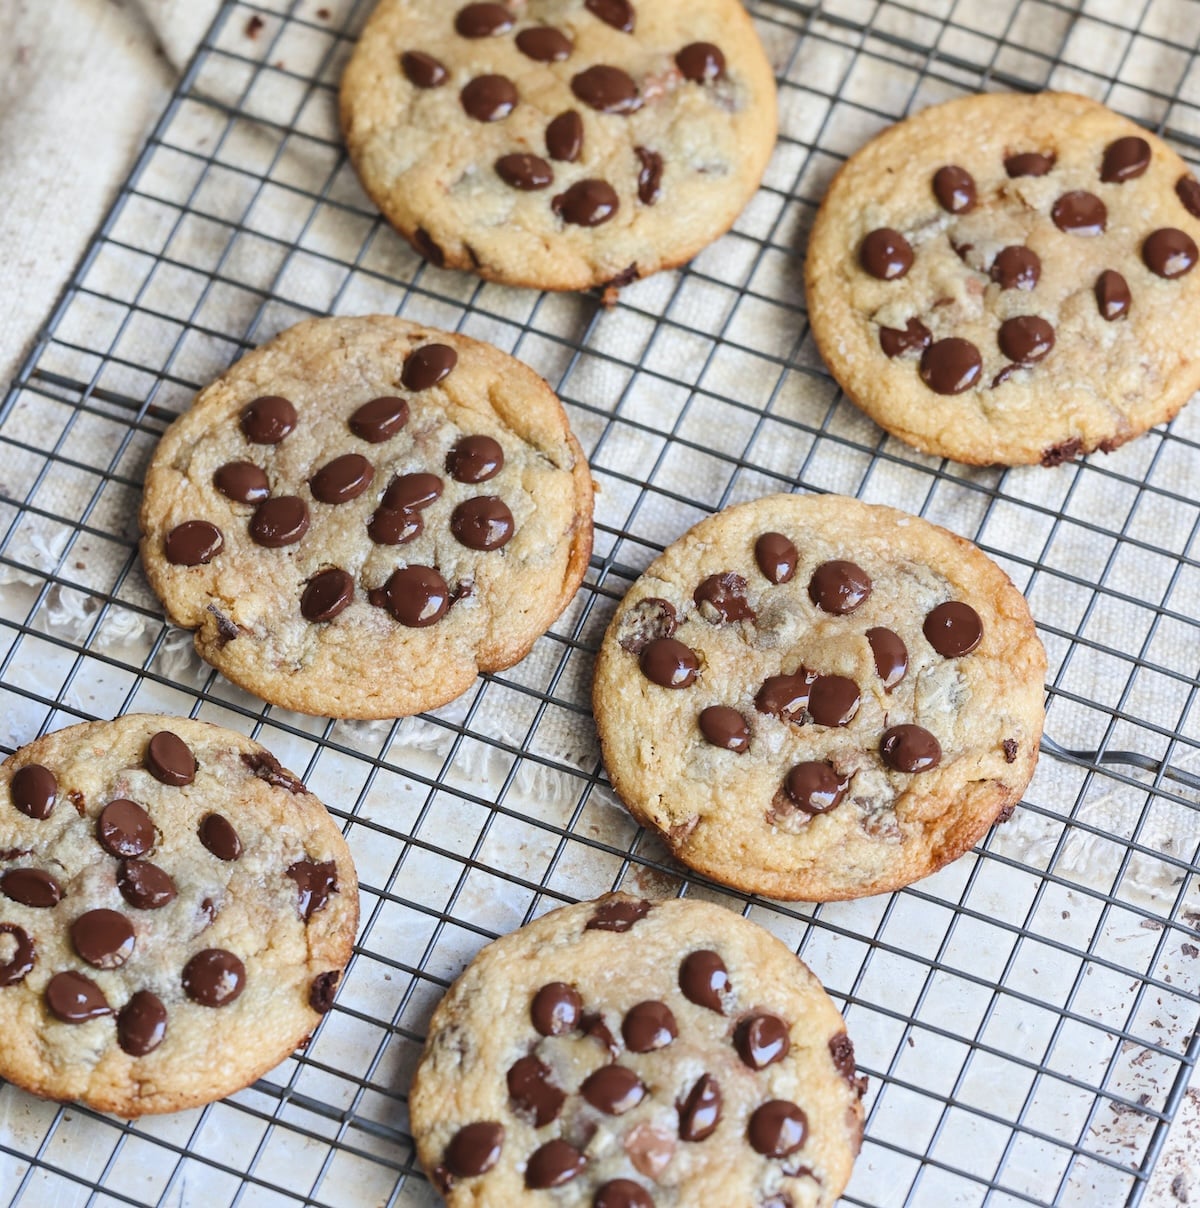
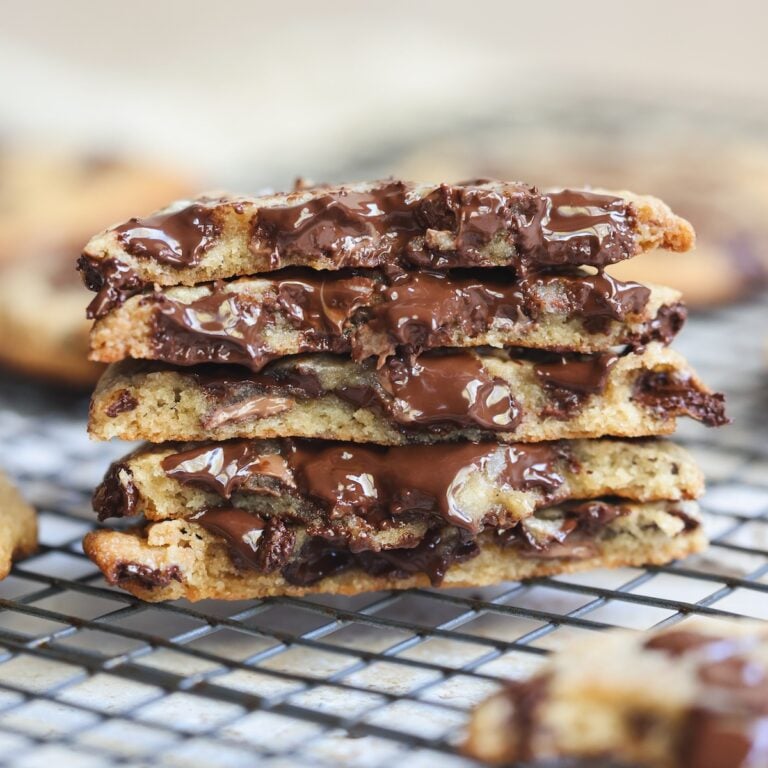
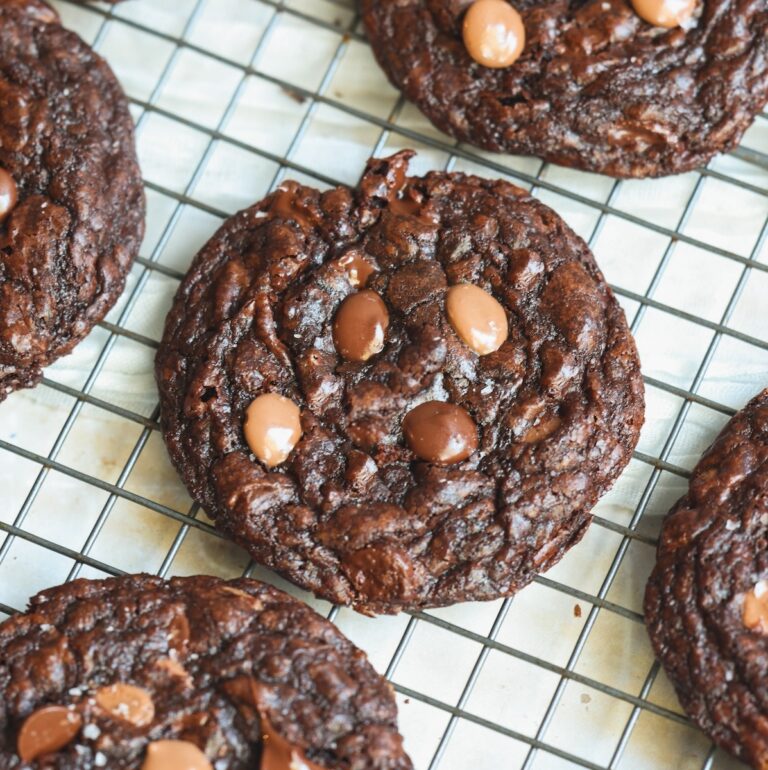
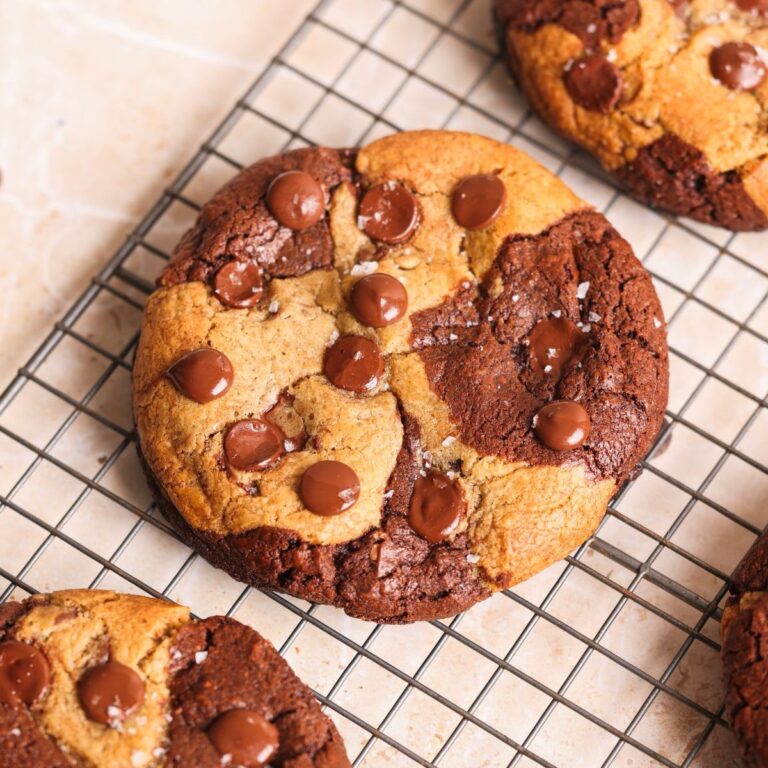
These Chocolate Chip Cookies have changed all my beliefs about chocolate chip cookies. They are ready in 20 minutes, no chilling required, and are actually good: crispy edges, chewy and fudgy centers, and loaded with chocolate. And trust me – this means a lot coming from me as I’ve always maintained that chilling cookie dough is non-negotiable! But I designed this recipe to break that rule for those of us who don’t want to wait 😉 Taking inspiration from blondies, these cookies have a small amount of milk powder for a nutty, caramelized flavor. They’re made with melted butter (no need to soften) and come together in minutes without a mixer. I honestly can’t think of any reason NOT to make them!
Why these cookies don’t need chilling
It’s a known fact that every cookie is better after chilling the cookie dough (I even share a side by side comparison in my brown butter chocolate chip cookie recipe). But I really wanted to develop a no chill recipe as I know sometimes we want a quick cookie fix. The first few tests turned out dry, soft and cakey – but I finally had my “aha” moment: blondies! Blondies and brownies turn out fudgy and chewy without chilling. After 12+ tests, I finally nailed it and here’s how:
- Melted butter instead of softened. This helps achieve a richer, denser texture that’s less likely to feel cakey (not to mention, no need to wait!)
- Very high butter to flour ratio. It might seem counterintuitive, but these cookies have much less flour than most cookie recipes so they don’t feel as dry
- Brown sugar only. Brown sugar results in a chewier texture than white, and while normally I mix both, here I did brown only to maximize the texture benefit
- Very little raising agent. Unlike most cookie recipes, these have only 1/4 tsp of baking powder, and no baking soda. That’s because they spread on their own due to the high butter content, and we want them to be dense and fudgy instead of puffy
- Milk powder. A simple ingredient that does so much work! It adds more milk solids to the cookies, which undergo the maillard reaction to get caramelized. This adds a lot of flavor depth to the cookies which is otherwise hard to achieve without chilling the dough
Chocolate chips over chopped chocolate
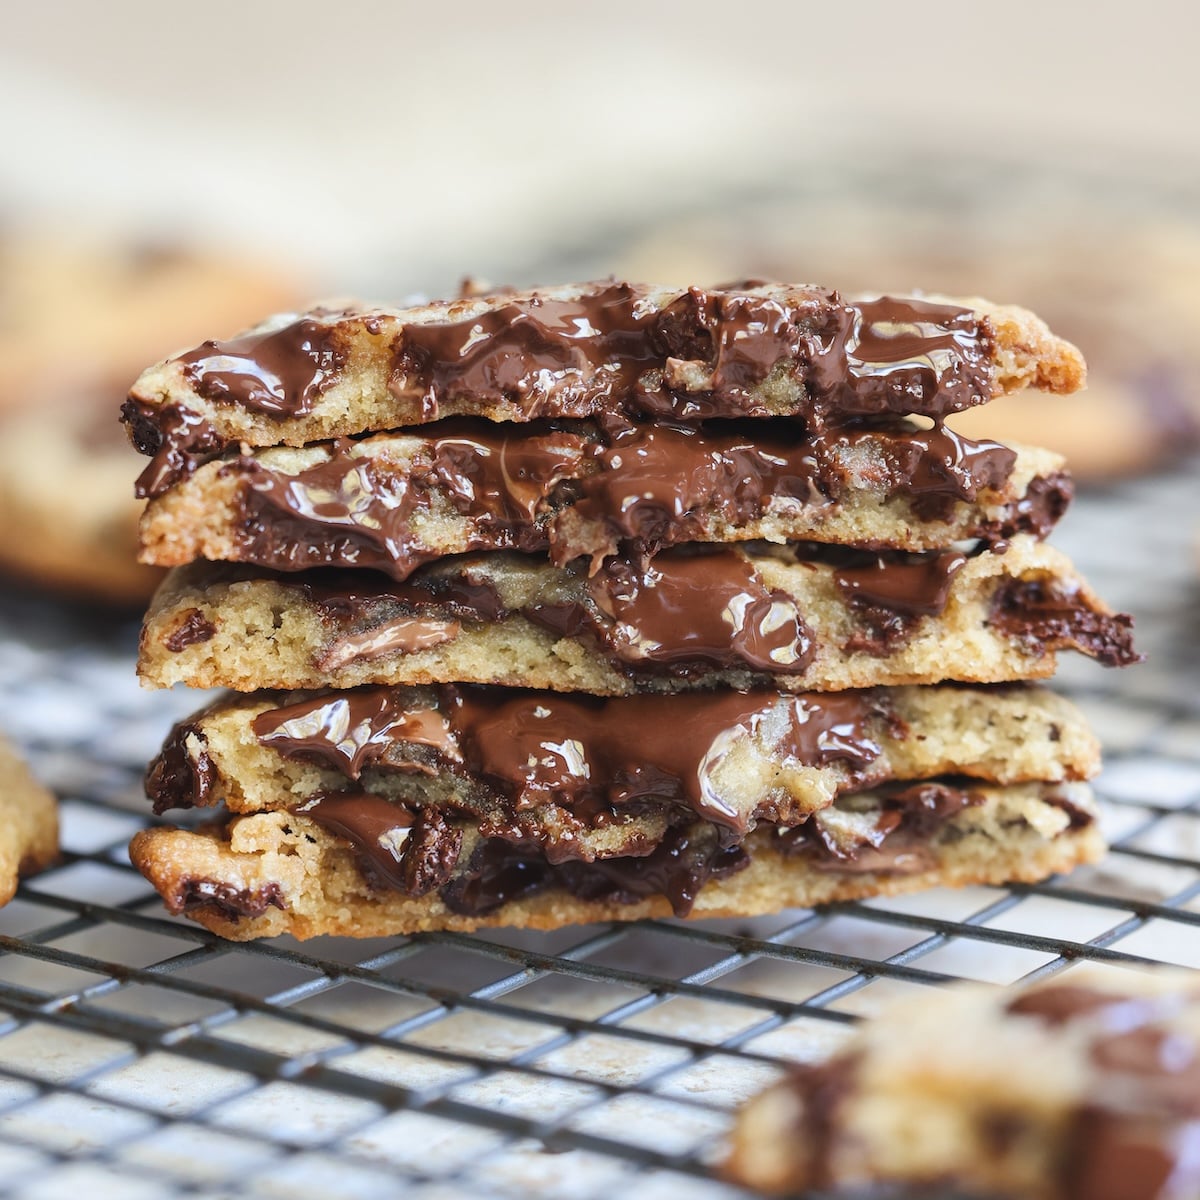
Another fun way this recipe breaks the rules? I recommend using chocolate chips, NOT chopped chocolate for them! Chopped chocolate is fantastic in chilled cookie recipes, such as my brown butter cookies or red velvet cookies – it melts more readily and creates delicious pools of chocolate. However, a no chill cookie is prone to spreading a lot more, and chopped chocolate which melts in the oven makes them spread a little too much. So for this one, I highly recommend using chocolate chips instead! I use these Callebaut milk chocolate and dark chocolate callets – they’re shaped like chips, but taste better 😉
Step by step photos
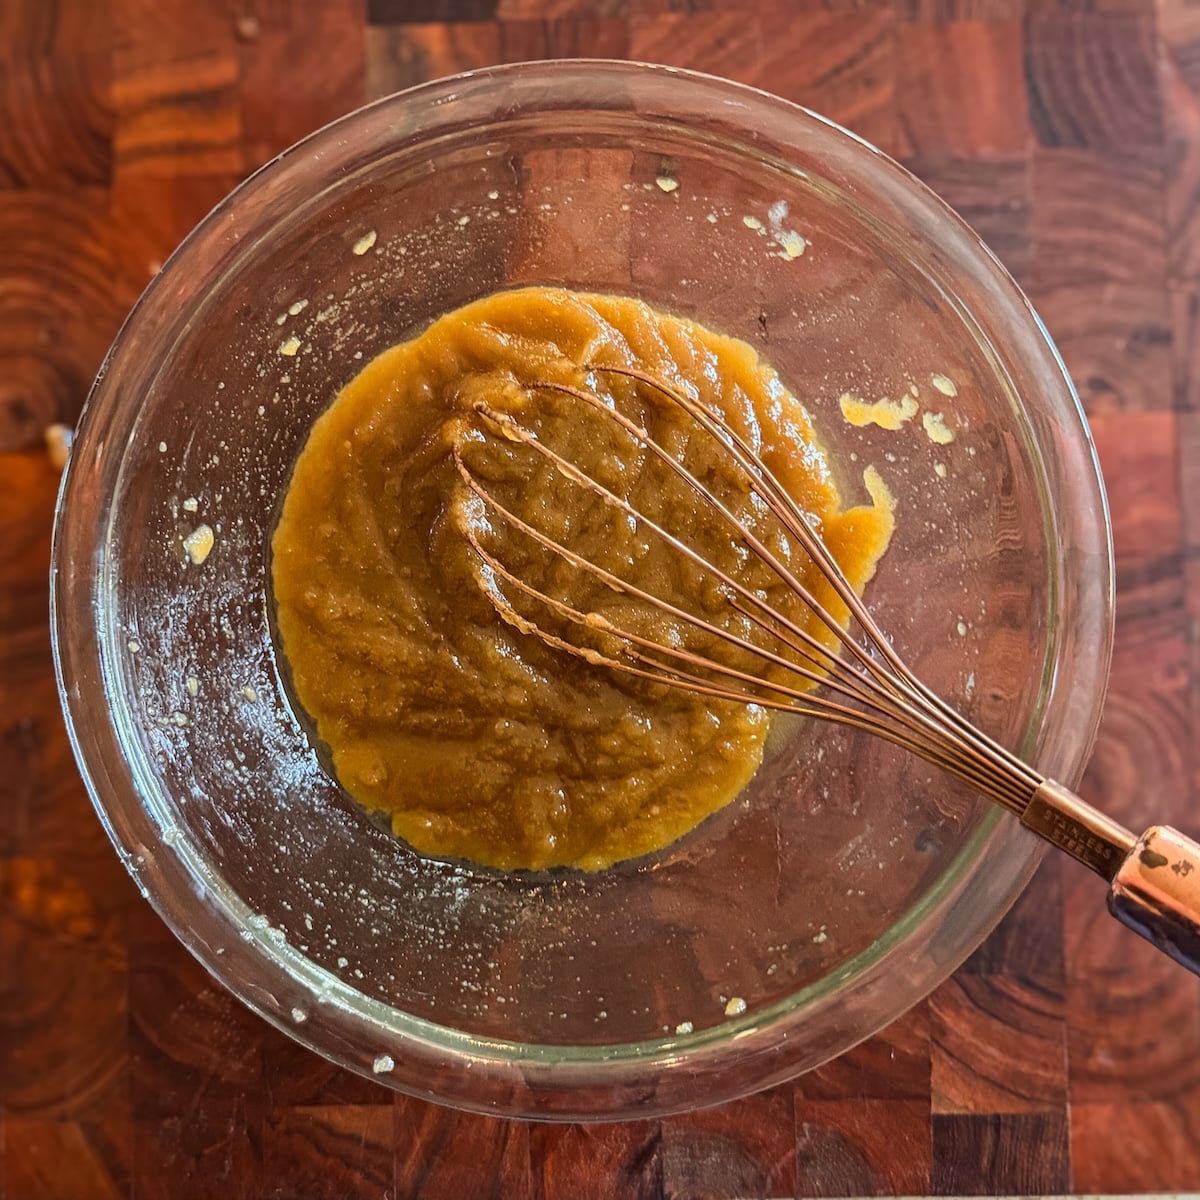
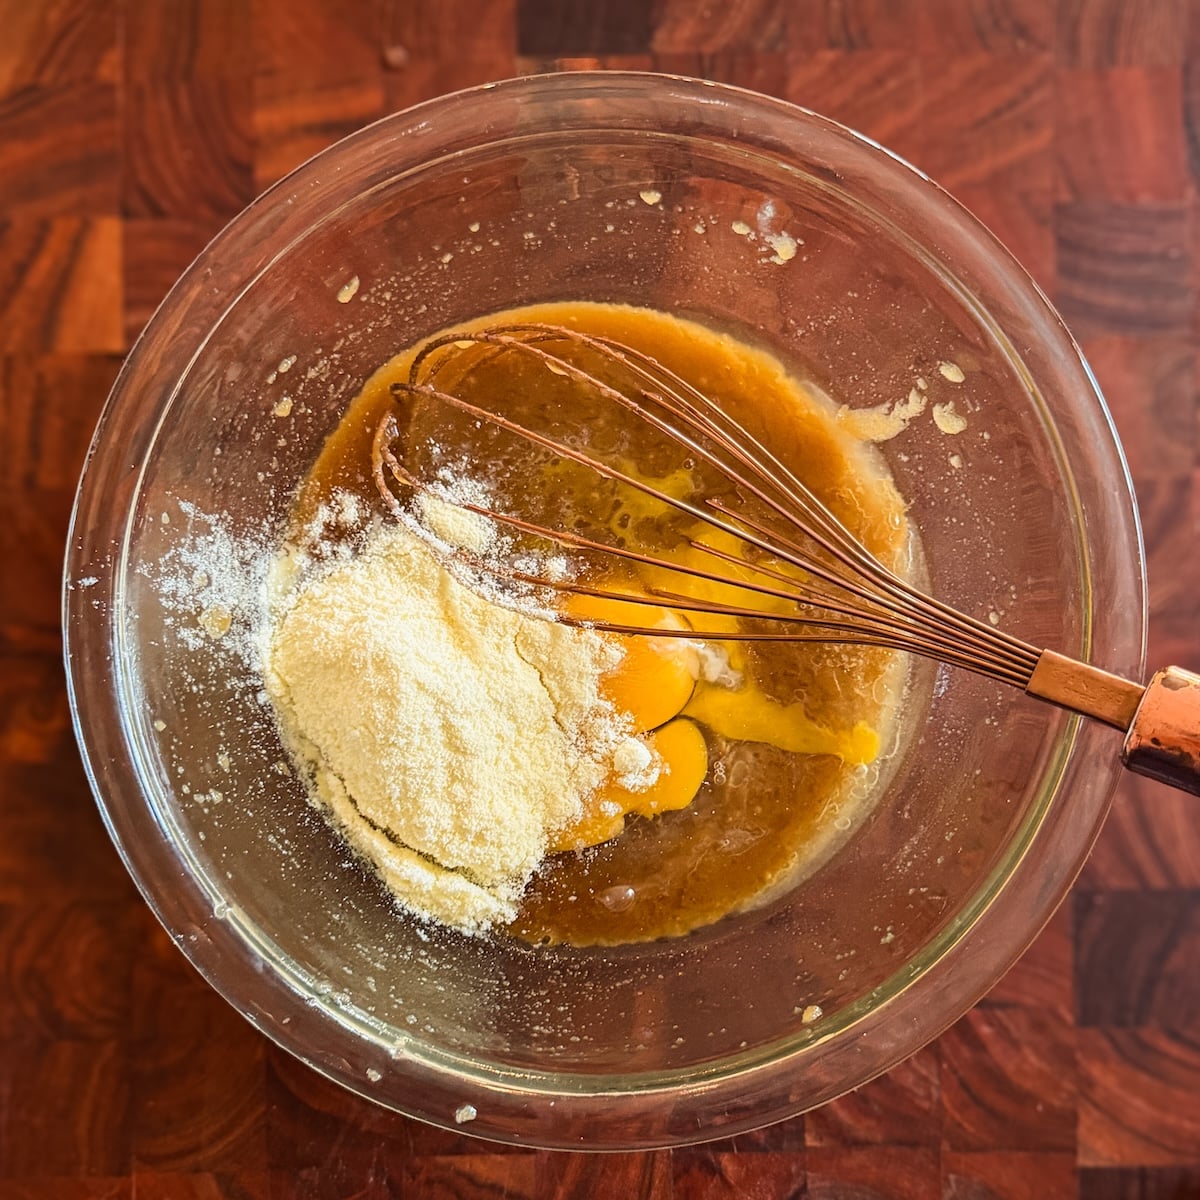
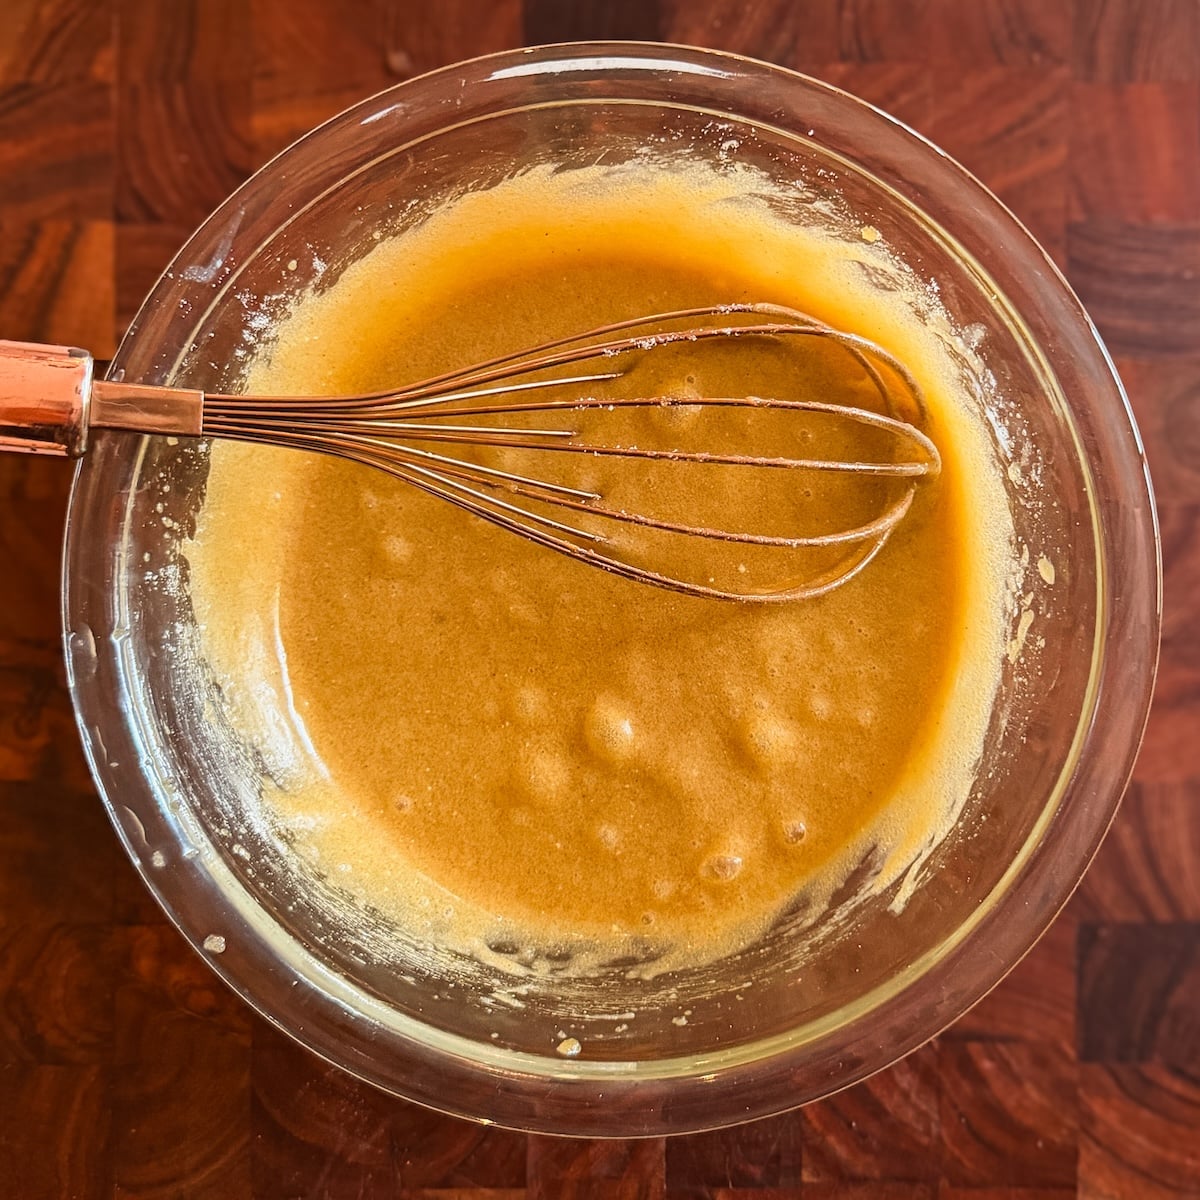
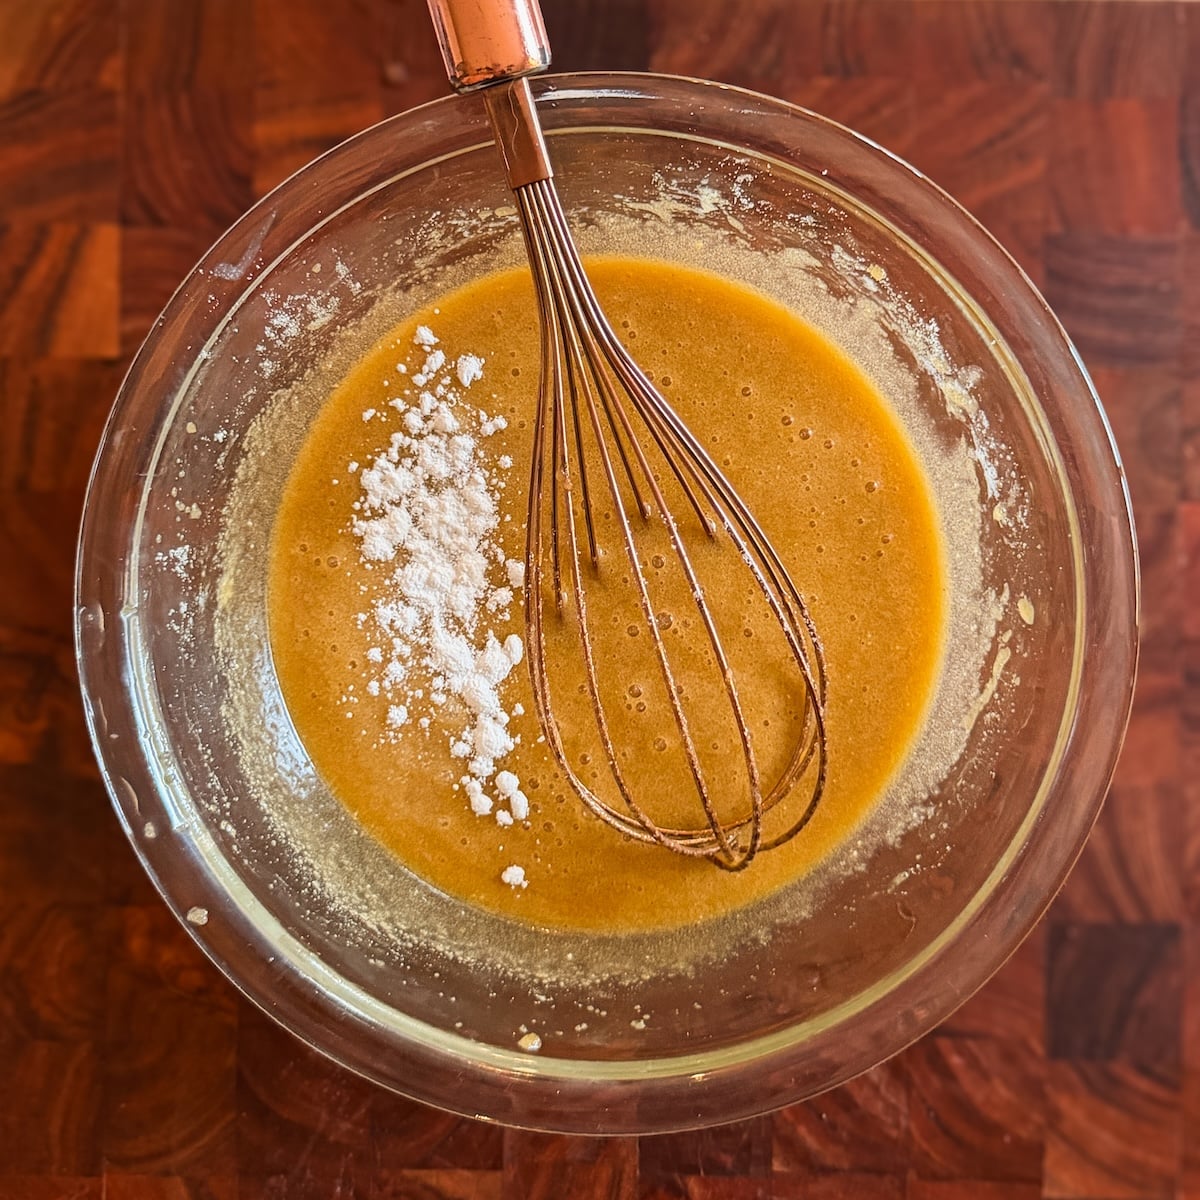
Let’s quickly go over the steps with photos to help you visualize this recipe!
How to tell when they’re done baking
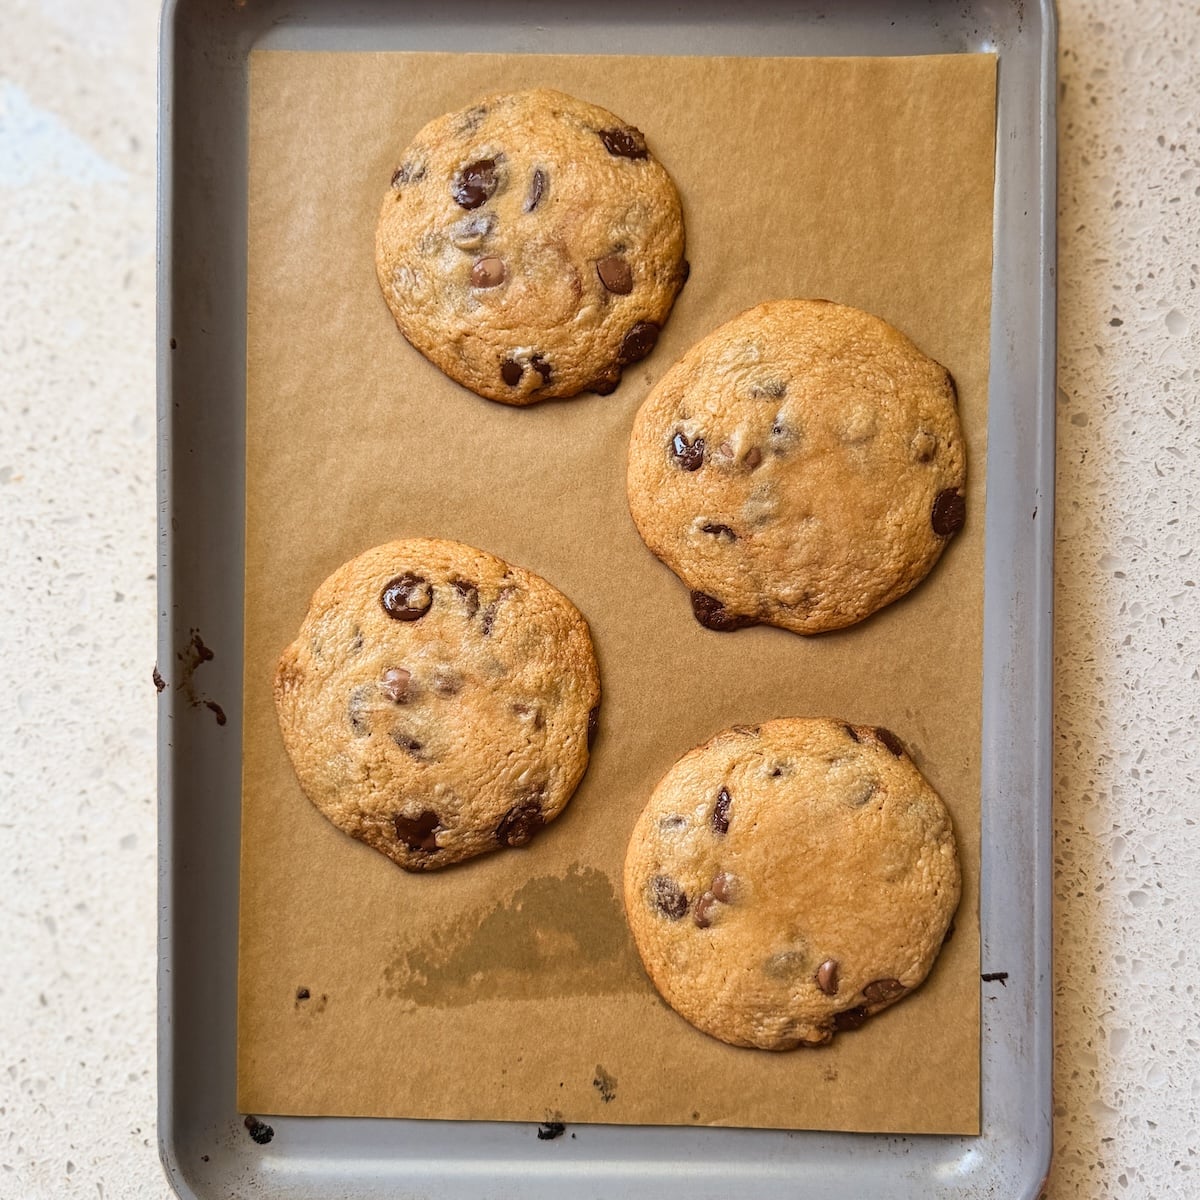
You have to be very careful baking these cookies! Because of the high butter quantity in them, they can burn easily on the bottom. Use a light colored baking sheet, and bake only until the edges take on a light golden color. Remove them from the oven and let them cool on the baking sheet. They might look underdone in the middle, but will cook through from the remaining heat of the sheet, and develop a light golden color. If they start to look dark golden on the bottom, pull the parchment off the baking sheet so they don’t overcook.
If in doubt, it’s always a good idea to bake one test cookie first to know exactly how long you need to bake in your oven
Press in more chocolate chips, sprinkle over flaky sea salt, let the cookies cool, and enjoy!
Zoha’s tips to perfect these cookies
- The quality of the butter makes a difference! If possible, use European style butter with higher fat content, such as KerryGold or Danish Creamery
- Weigh out the ingredients with a kitchen scale instead of using measuring cups. It’s common to stuff too much flour into a measuring cup, which will make the cookies dry
- The butter shouldn’t be hot! Microwave only until just melted
- The cookie dough will be on the softer side. However, if it feels runny/batter like, it might be because your butter was too warm. In that case, let it rest for 5-10 minutes and it should thicken up
- Don’t overcrowd your baking sheets! I use 1 18″x13″ sheet pan and 1 9″x13″ sheet pan for these cookies. If both pans can’t fit in your oven in one rack, I recommend baking one batch at a time
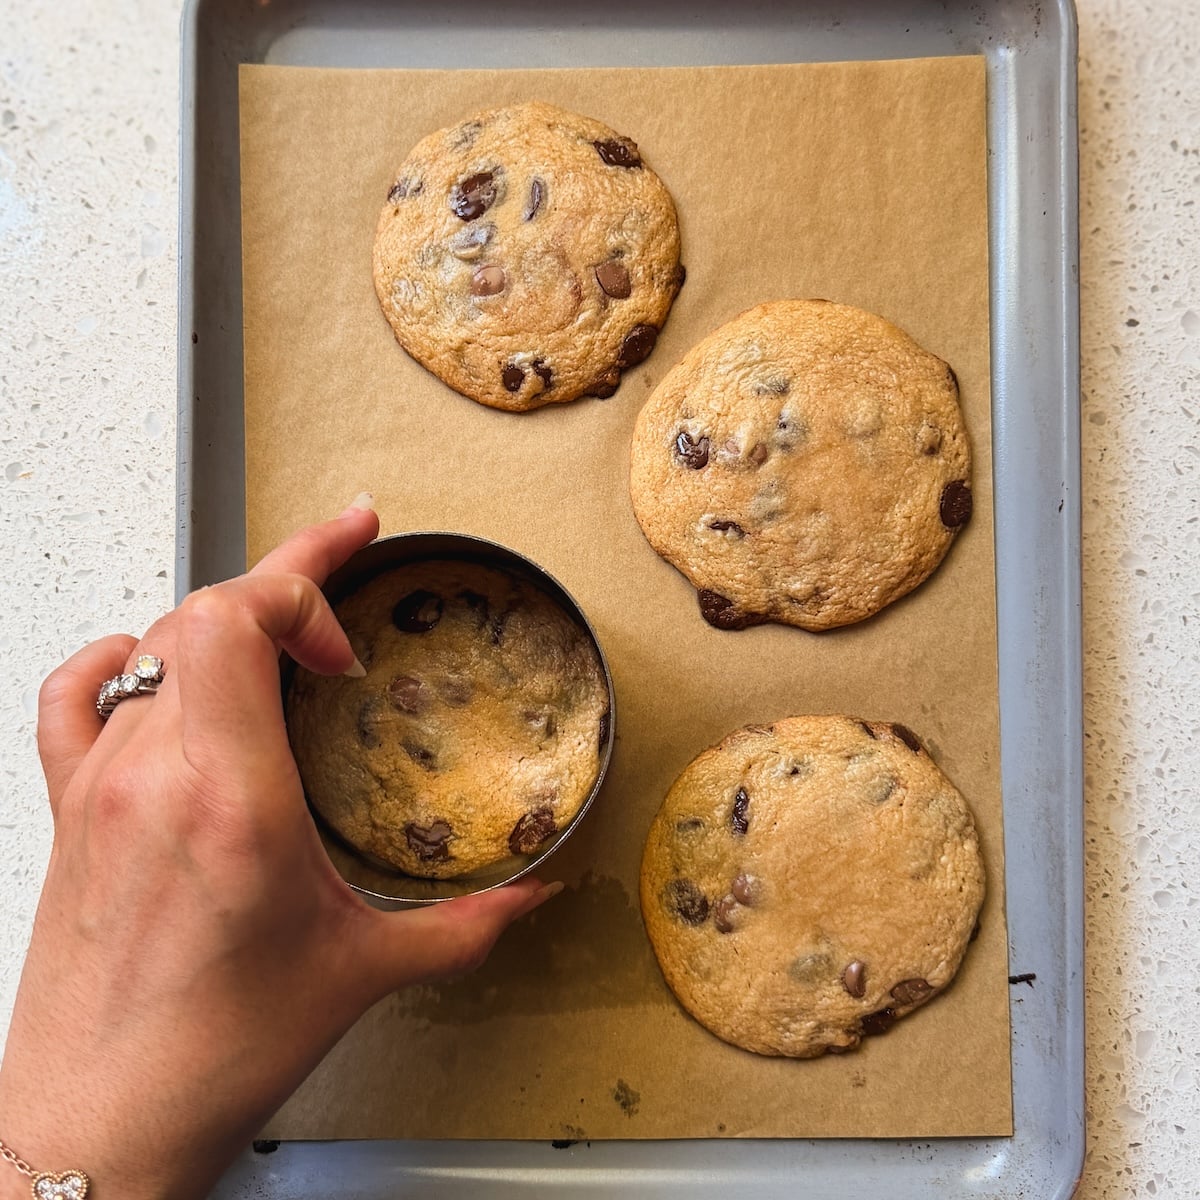
- Use a cake ring or cookie cutter to shape the cookies while they’re still hot. Place it on top of a cookie and “scoot” it in circles to make the cookies smaller and circular. This is a trick many bakeries use to perfect cookies!
- To make the cookies extra pretty, press in chocolate chips after baking, while they’re still hot. They will melt from the heat and look really inviting
Email This Recipe
Enter your email and I’ll send this directly to you. Plus you’ll get new recipes from me every week!
Ingredients
- 10 tbsp unsalted butter (140g) – I recommend KerryGold or another European style butter
- 1 cup light brown sugar, packed (200g)
- 1 large egg
- 1 egg yolk
- 2 tbsp whole milk powder (12g)
- 3/4 tsp salt – if you want to sprinkle flaky sea salt on the cookies at the end, reduce salt in the cookie dough to 1/2 tsp
- 1/4 tsp baking powder
- 1 1/3 cup all purpose flour (173g)
- 4 oz dark chocolate chips (113g)
- 4 oz milk chocolate chips (113g)
Instructions
- Pre-heat your oven to 365F (conventional, no fan) and prepare your light-colored baking sheets with parchment paper. I use 1 18″x13″ sheet pan and 1 9″x13″ sheet pan (or 2 18×13 pans) to ensure my cookies aren’t placed too close together. I recommend baking the cookies on the middle rack of your oven. If both sheets can’t fit at once, you can bake them one at a time
- Add the butter to a microwave safe bowl, and melt in the microwave in 15 second increments until it’s just melted. The butter should be warm, not hot!
- Add the brown sugar to the melted butter, and whisk for 20-30 seconds with a hand whisk until smooth
- Add the egg and egg yolk, as well as the whole milk powder. Whisk until the ingredients are combined
- Whisk in the salt and baking powder to ensure they are evenly dispersed. Do not over-mix
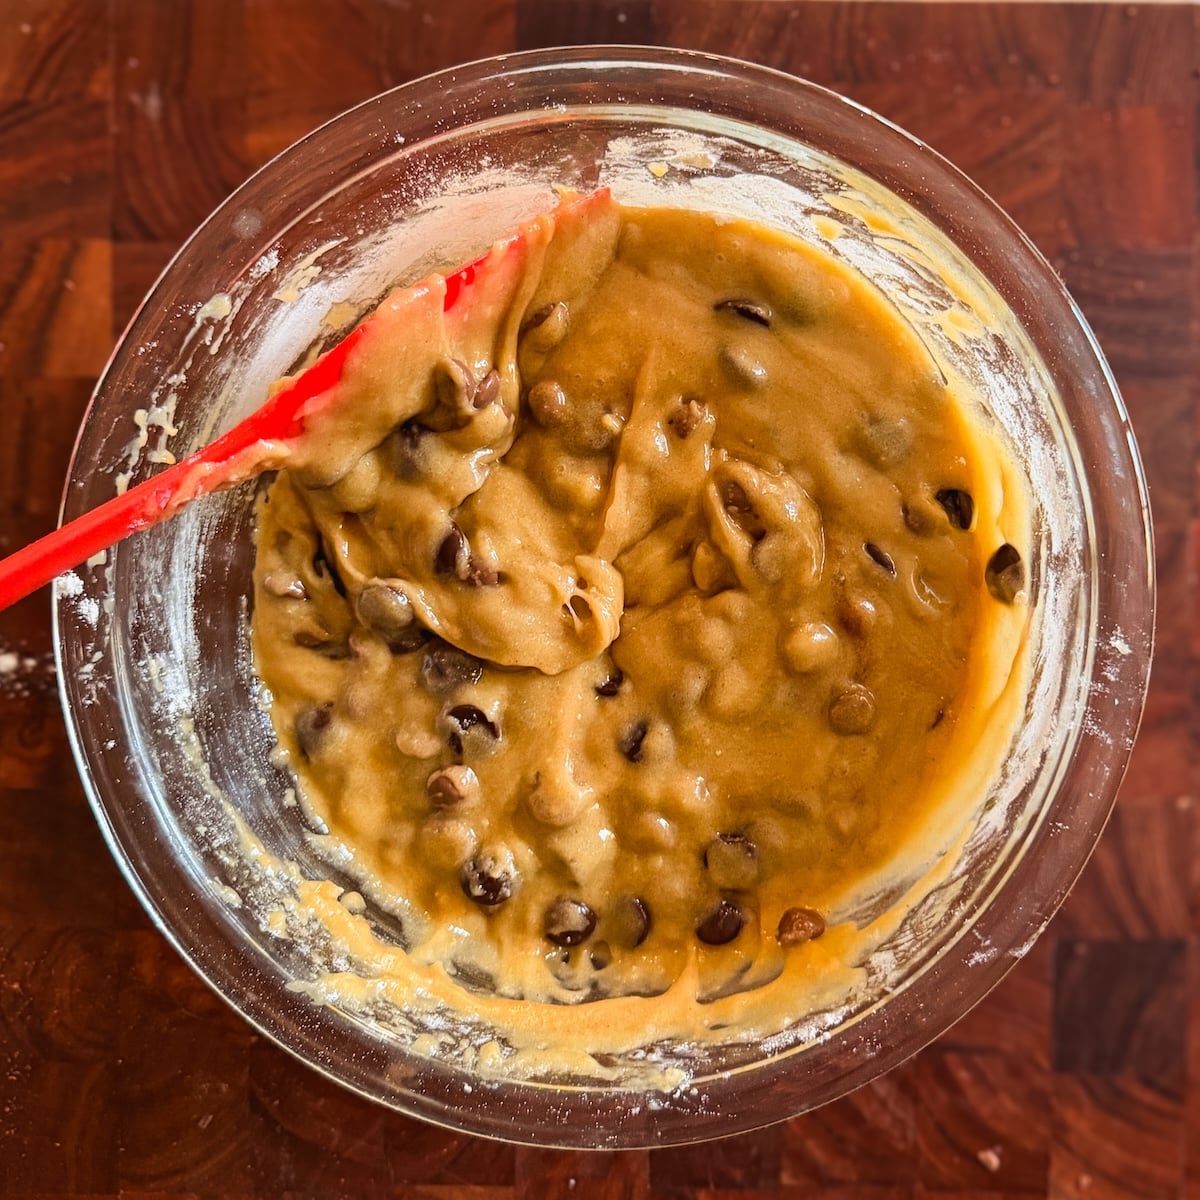
- Lastly, sift in the flour and add the chocolate chips. Use a rubber spatula to gently fold the flour and chocolate into the wet ingredients and stop folding as soon as the ingredients are combined and no more streaks of flour remain. Do not over-mix
- The cookie dough will feel soft, kind of like a thick brownie batter. If it feels too soft/runny, likely due to your kitchen or butter being too warm, let it rest for ~5 minutes or so and it will thicken up
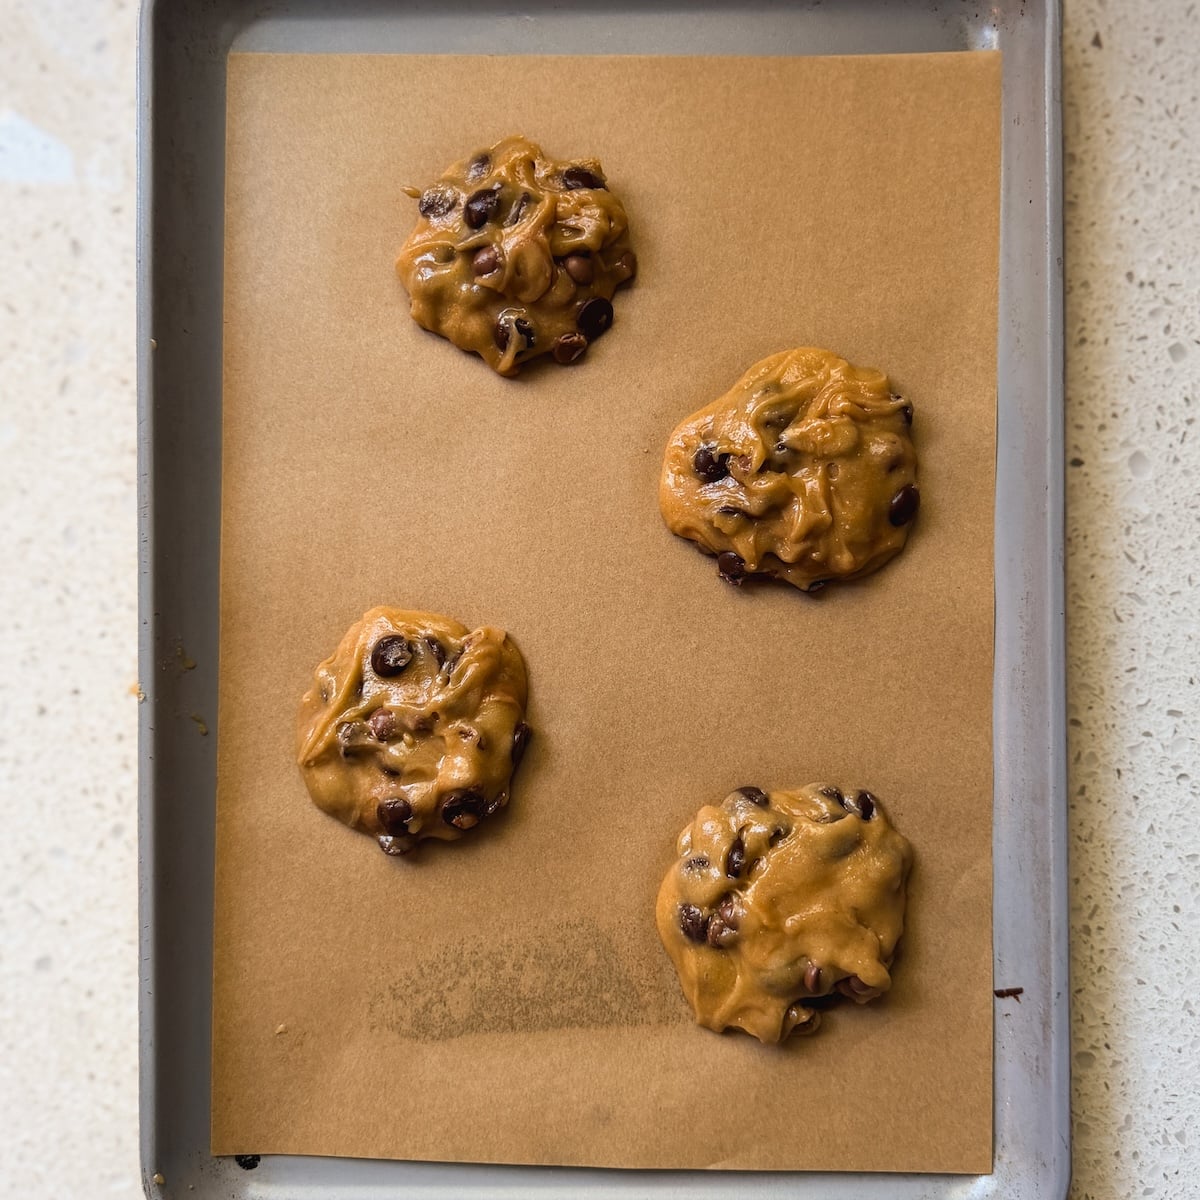
- Use a 2 tbsp cookie scoop to scoop the cookie dough onto the prepared baking sheets. Keep 2-3″ of space between the cookies. You should have 12 cookies total, each cookie weighing around 65g
- Bake in the pre-heated oven, in the middle rack, for ~8 minutes until the edges look light golden. Do not over bake – these cookies can burn easily on the bottom!
- Remove from the oven, and use a 4″ cake ring or cookie cutter to “scoot” the cookies into perfect circles. Sprinkle over flaky sea salt if desired, and press in more chocolate chips. The cookies will look really soft in the middle at first, but will set as they cool on the baking sheet
- Serve & enjoy!
Video Tutorial
Notes
- Chocolate: If you can’t find dark chocolate and milk chocolate chips, you can replace them with 8oz of semi-sweet chocolate chips instead
- Storage: Store the baked cookies in an airtight container at room temperature for up to 2 days. They are best eaten fresh, though!
- Chilling / make ahead: If you want to chill the cookie dough, you can do so after scooping the cookies, and bake directly from the fridge. However, chilled cookies will take longer to bake. For cookie dough that has been chilled overnight, I recommend baking at 360F for around 9 minutes or until the edges are light golden. Remove from the oven and bang the pan on the counter a few times to flatten the cookies, then let them cool on the pan

Comments
Anne
Amazing recipe! Super easy to follow, was fun to bake this with my daughter
Zoha Malik
Thank you so much, Anne!
Fatima
Zoha’s recipes are always the best! Tried these cookies and took them to a dinner . Everyone loved them !
Zoha Malik
WOOO thank you!!!
DebraInVegas
Vanilla???
I came from IG to make a batch of these immediately after seeing your post & it wasn’t till I was about to drop my first batch that I realized I hadn’t put any vanilla in! 🥴 So I went back and watched the IG video and came back here, only to realize that the vanilla isn’t anywhere in the recipe but you definitely added it to the video. I went ahead and mixed some in after the realization but just curious how much you put into yours? 🍪 🫶🏻 🥰
Zoha Malik
Hi Debra! my apologies for the confusion – it’s not a big deal as vanilla is an optional ingredient. Sometimes I add a splash and sometimes I don’t 🙂
Tarryn Pillay
The best cookies I have ever made and ever tasted! So simple and easy to follow, yet such a delicious outcome. So impressed because I have tried many cookie recipes and this by far gives the best result for a gooey and not dry cookie. Love it and will be using on a regular basis.
Zoha Malik
oh my gosh, what a kind review! Thank you so so much!!!
Sarah chang
Tried this recipe!
Mine didnt rise well, im thinking because when i mixed the baking powder and salt, i didnt want to overmix so i didnt disperse it well… BUT even so, it was still good! The nutty flavor was my favorite part! My whole family enjoyed it
Zoha Malik
Thank you for the kind review, Sarah! It’s totally possible you didn’t mix enough – the reason I add baking powder and salt first is so there’s no risk of overmixing (that happens after the flour!)
Rumi
Made the recipe today and it turned out FANTASTIC!! Thank you Zoha 💕
Zoha Malik
YAY you made my day!
Asma Amer
Wow. Indeed a five star
Zoha Malik
Thank you so much, Asma!
Fiza Mamoon
Hii Zoha!! I genuinely can’t tell you how much I LOVE your recipes. I’ve made almost every single one of your recipes at least once, and I can honestly say that not one of them has ever disappointed me. I’m always waiting for your new recipes to drop! 🥹❤️
And your cookies… don’t even get me started. They’re literally heaven!! Especially the brookies — I’ve made them at least a hundred times, and they’re still one of my absolute favourites. Your tandoori chicken naan buns are also my go-to dish for literally every occasion!
I have one little request: could you PLEASE share your Crumbl Cinnamon Roll Cookies recipe? I genuinely can’t even explain how obsessed I was with those. I used to eat at least two every day 😭 They were honestly better than any cookie I’ve ever tasted, especially because I’m such a huge cinnamon roll fan.
Would absolutely LOVE if you shared the recipe!! 🥹🤍
Zoha Malik
Thank you so much for the very kind review, Fiza! I can’t even describe how much this means to me. I work hard on my recipes and this kind of recognition keeps me going <3 I unfortunately cannot share that recipe as it was for commercial use, but let me work on my own version <3
Fiza Mamoon
Ohh okay, alright! I’m waiting 😭 Also, when are you sharing the Levain-style cookies and macarons? I’m so excited for those!! 🥹🍪✨
Zoha Malik
I am not sure I will ever share macarons, they hate me! hahaah. but levain cookies, I am def working on!
Fiza Mamoon
Why not?! You can definitely do it. Everything is possible when you put your mind to it! You’re my mentor, after all. 😭
HANDS UP FOR BAKE WITH ZOHA!!! 🥳🔥🙌
Zoha Malik
AWW girl, you’re so so kind. Lots of love <3
Aimee
Hi
Can I add whole milk instead of powder?
Thanks
Zoha Malik
Hi Aimee! Unfortunately no as that will add too much liquid
Gulnaz Banu
What if I don’t have milk powder handy?
Zoha Malik
I recomemend buying it for these!
Nikita Sarwar
So good!
Zoha Malik
WOO THANK YOU!!!
Nadia
Can we substitute milk powder for something else ?
Zoha Malik
Hi Nadia! I’ve tested this recipe with milk powder so unfortunately I cannot recommend that.
Sara
I can’t wait to try this one today. I’ll post back with how they turned out
Zoha Malik
Keeping my fingers crossed!
Angie
i dont have milk powder. can i leave it out or add regular milk?
Zoha Malik
Hi Angie! Unfortunately you cannot do that
Asma Amer
So sorry I forgot to rate stars in my last comment. It was a great bake Zoha. Thanks a lot and lot for this upgradation.
Zoha Malik
Thank you for the kind review!
Asma Amer
One hundred percent a 5 star recipe. OMG! Never going to any other recipe in my life; unless of course, upgraded by you.
Thanks again for a great share. So glad you thought to upgrade.
Aruba Baggia
Great recipe
Zoha Malik
Thank you!