


This post may contain affiliate links
Add Bake with Zoha as a preferred source on Google and find more of my tried-and-tested recipes.
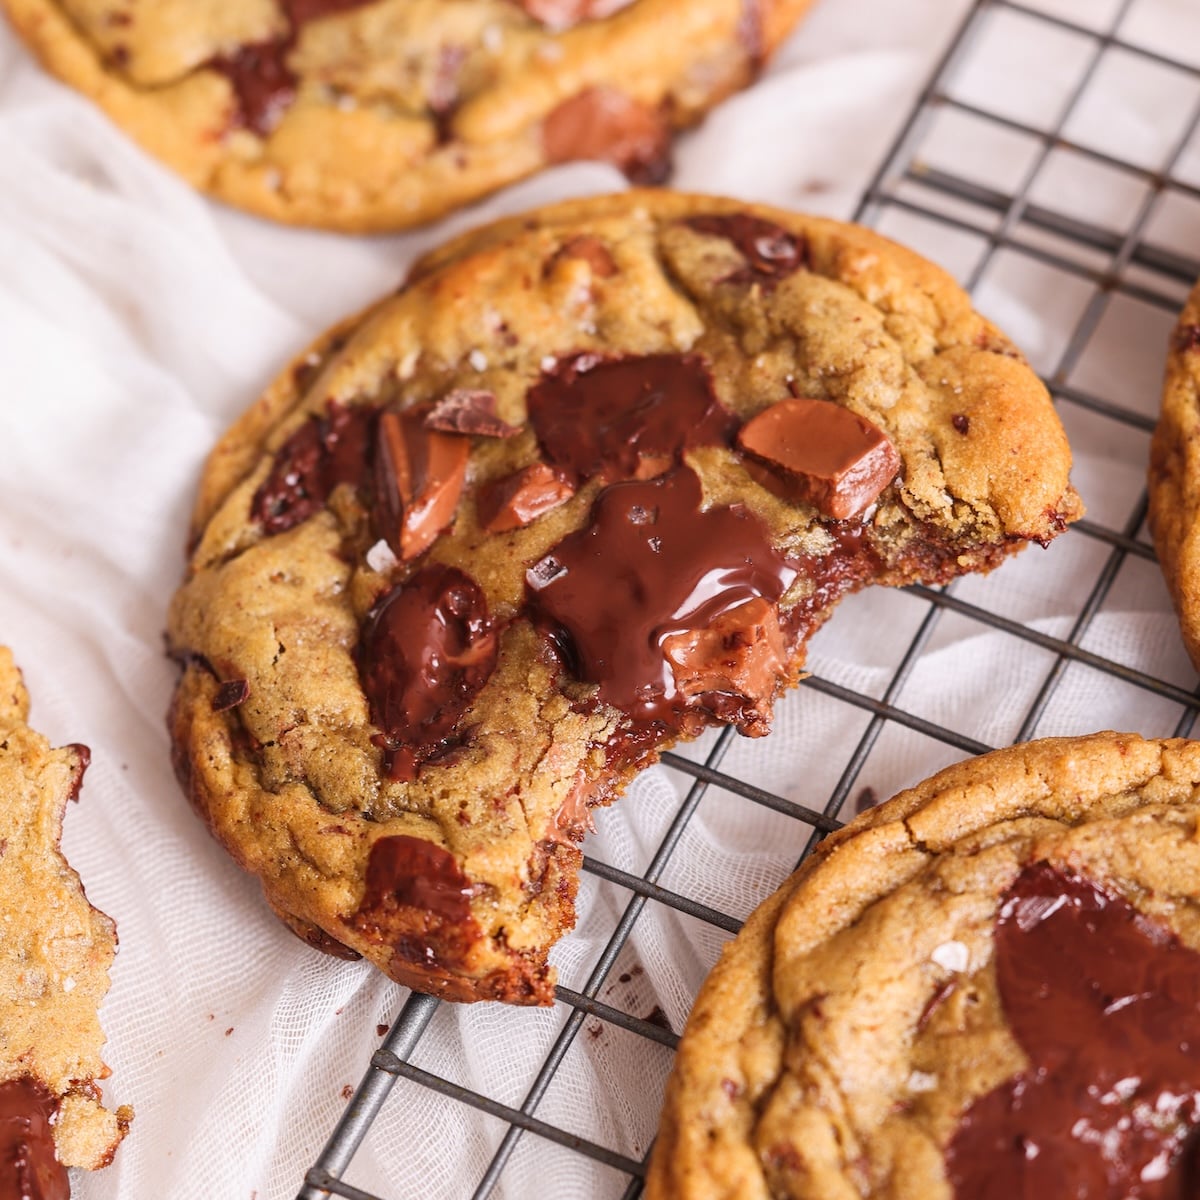
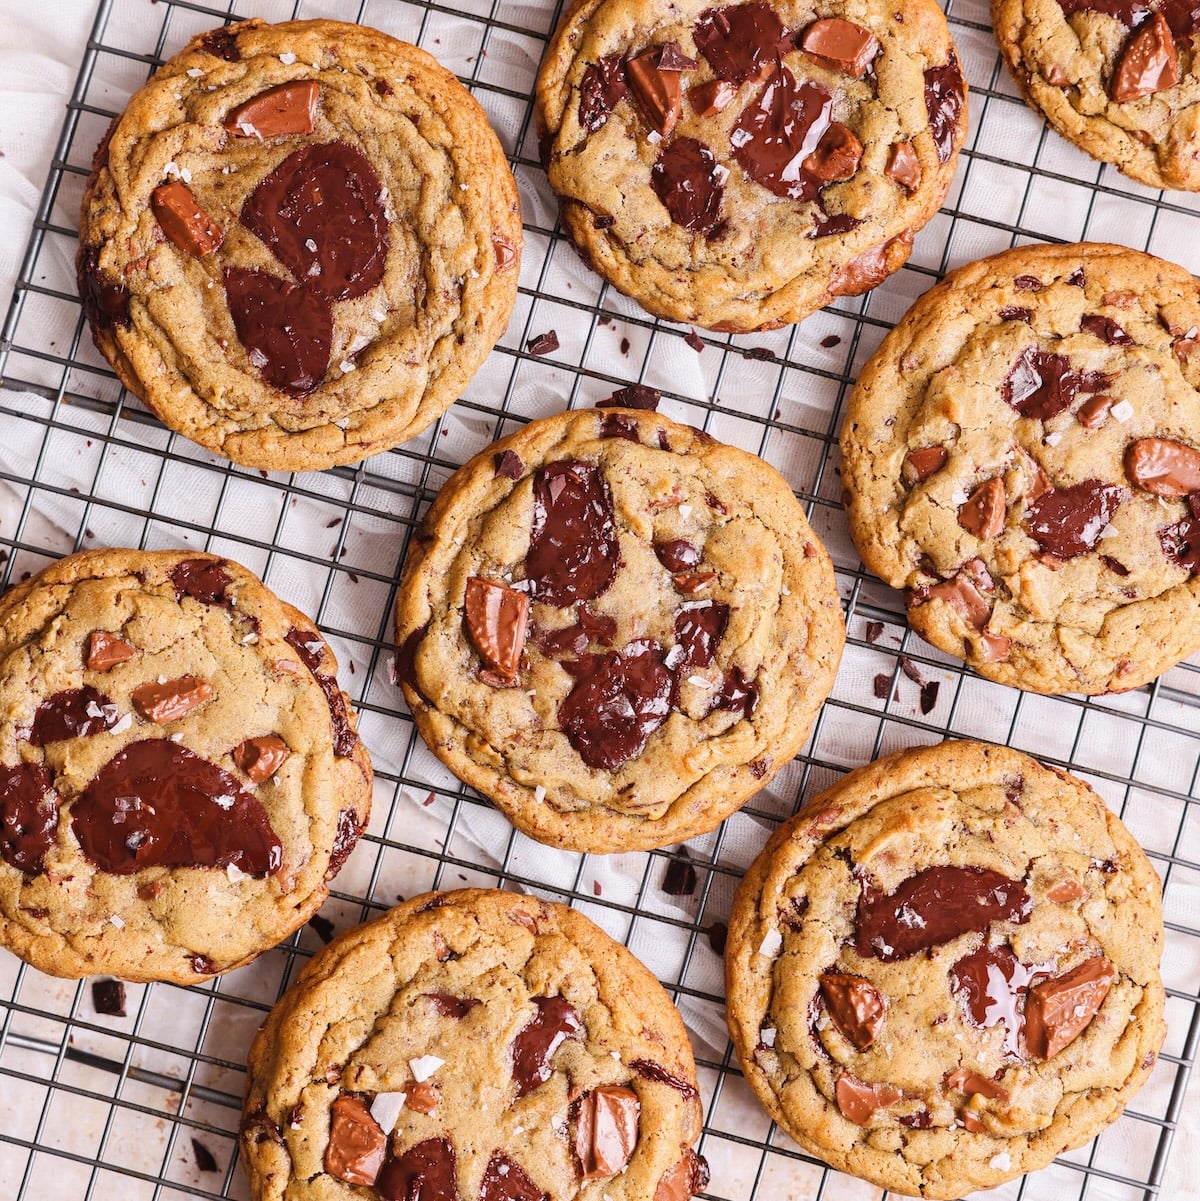
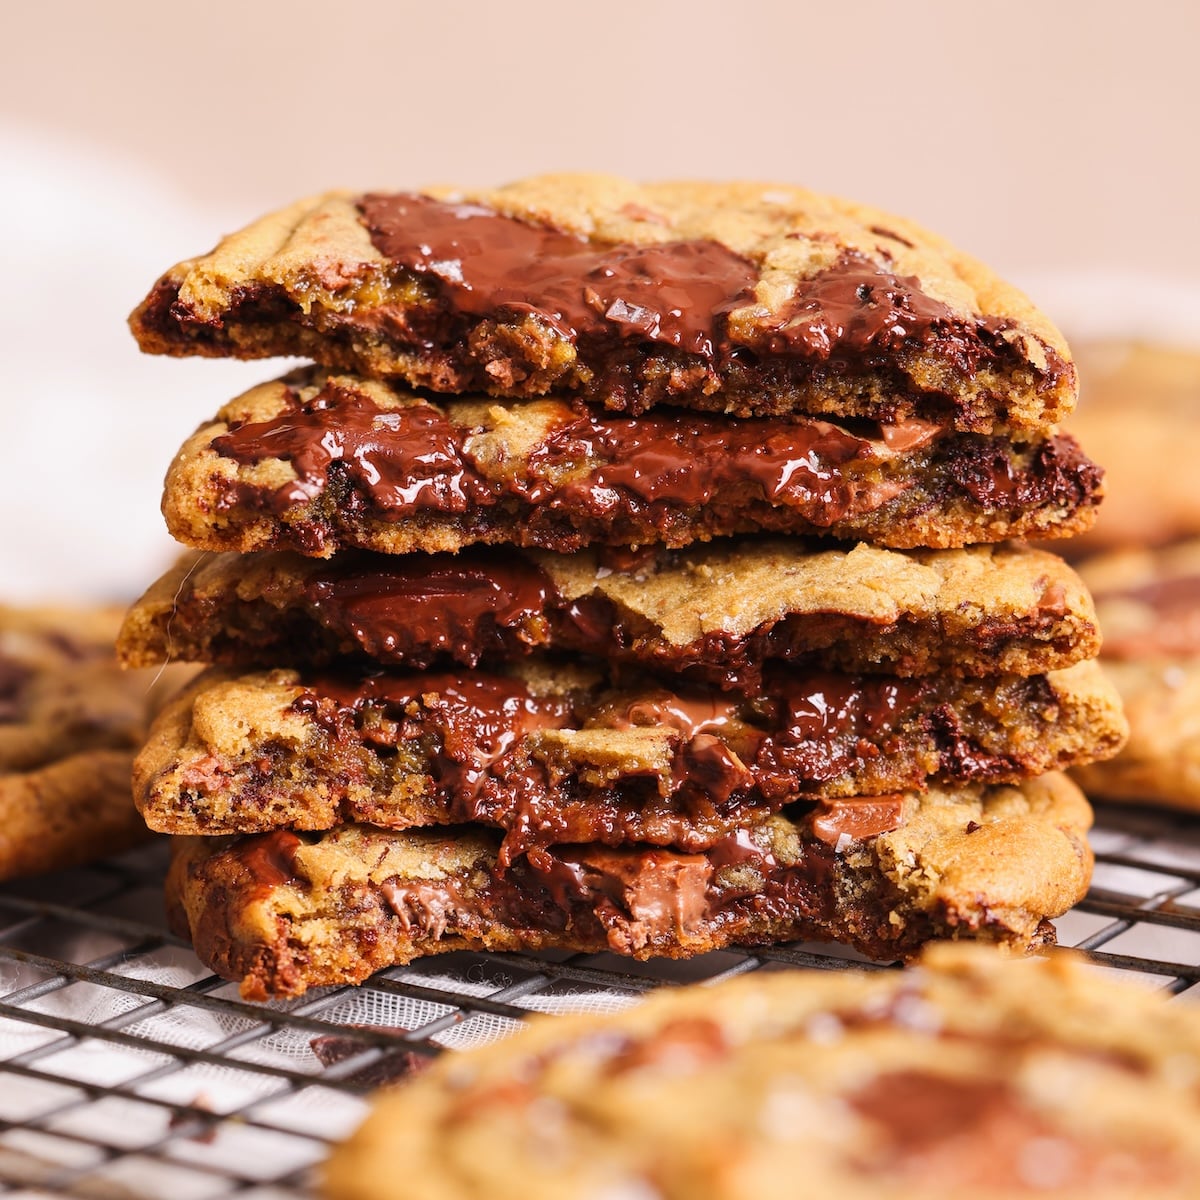
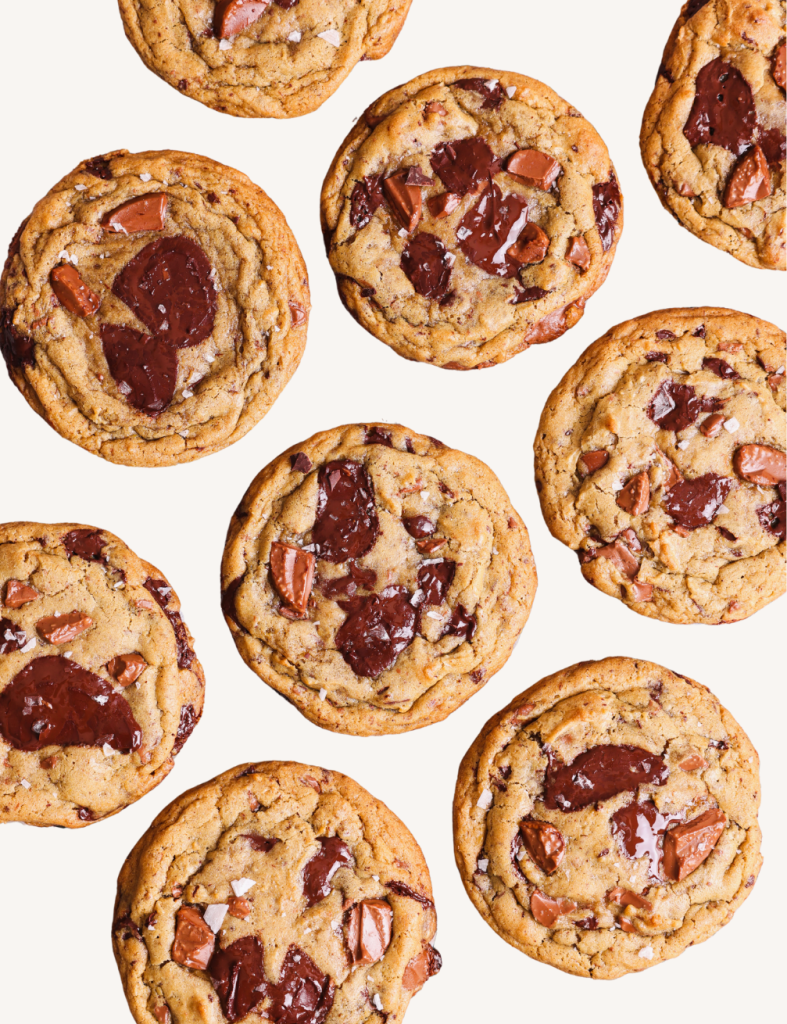
These Brown Butter Chocolate Chip Cookies stand out from the rest. They have the perfect texture you want from cookies: thick with crispy golden edges and gooey, fudgy middles oozing with chocolate. But what makes them extra special is their complex nutty, toffee-like flavor. The secret? Toasting the sugars in the brown butter! These cookies are less sweet than most with a hint of coffee and 2 types of chocolate. They are *incredible*, and also incredibly easy to make, with no mixer needed.
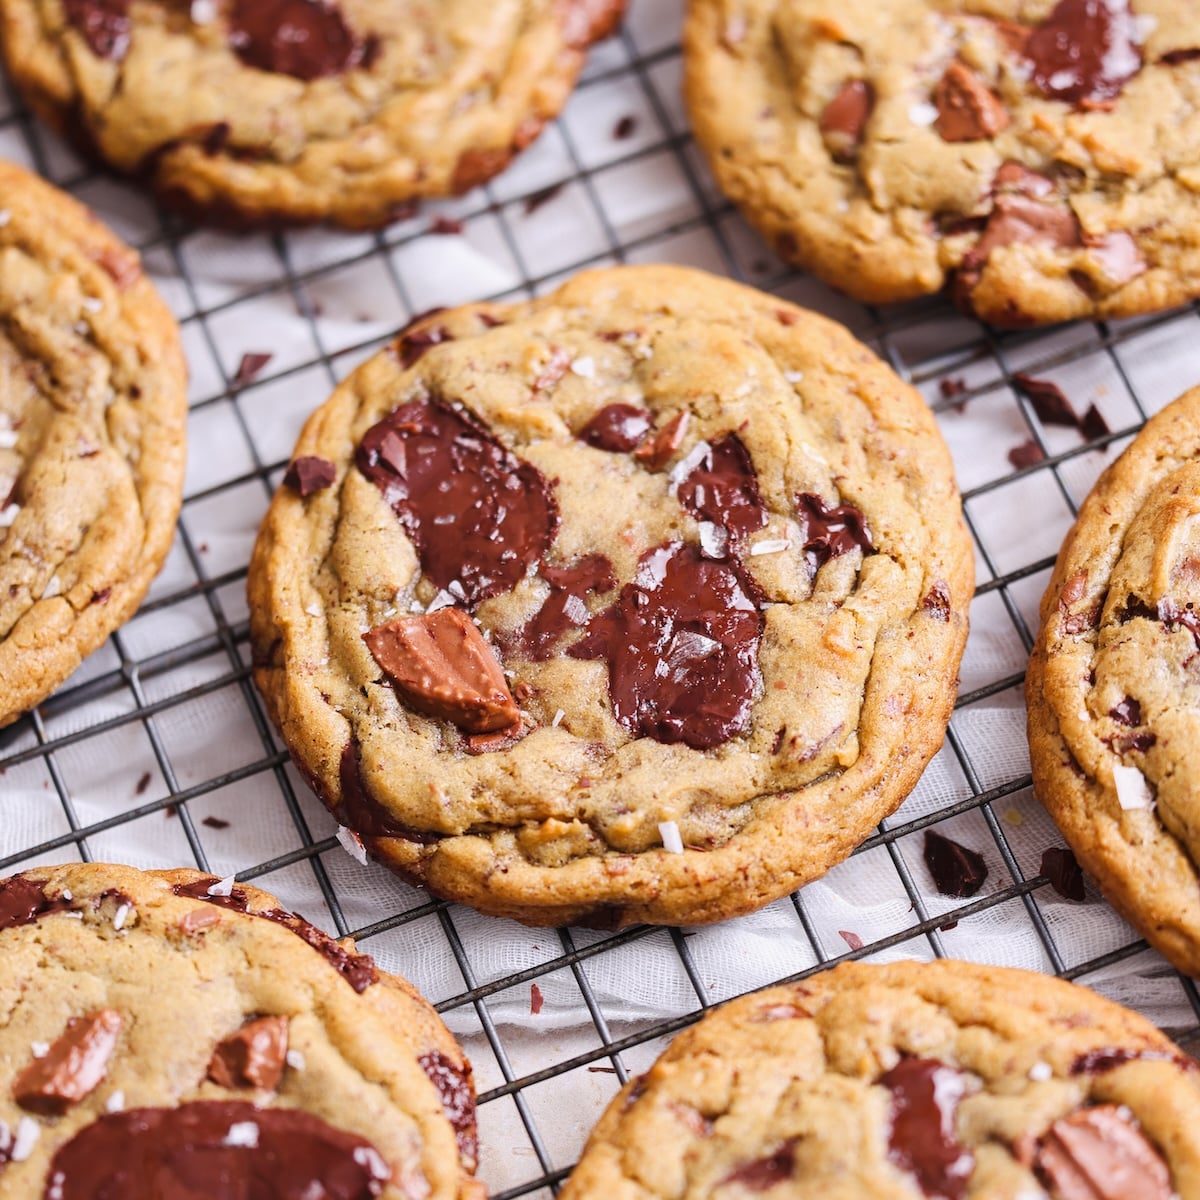
This is my first cookie recipe and has been a reader favorite (and my own) ever since. I’ve added a ton of tips and tricks to help you get them right on the first attempt – so rest assured and grab your ingredients (and if you’re a big chocolate person, I also have a fudgy double chocolate cookie recipe)!
BESTEST foolproof cookie recipe! I have made them at least 50 times and they always turn out amazing. – Rabbiyah, ★★★★★
Oh my god! I usually cream the butter and sugar, but the caramelization with brown sugar took the cookies to a whole new level! – Sowmya, ★★★★★
These are the best cookies I have ever made! Ooey, gooey, chewy, chocolatey – so sinful and perfect! – Crazelade, ★★★★★
My magic trick: toasting the sugars!
This is what makes this recipe truly unique. Instead of creaming the butter and sugars or whisking them in a bowl, I add the sugars directly to the brown butter in the pan, then cook and stir for 90 seconds on the lowest flame. This “toasts” the sugars, creating a nutty, toffee-like flavor depth. This was actually inspired by a type of Pakistani sweet I grew up eating, “halwa”, which has the most incredible caramel-y flavor! Not to mention, this is a lot easier than bringing out a mixer.
5 more secrets to the perfect cookies
There are 5 more things that makes these cookies extra special:
- Far less sugar than most recipes. If you’ve made other cookie recipes, you will notice this one has a much lower quantity of sugar (just 3/4 cup total), which means these cookies are not overly sweet! I have perfected the amount of sugar while retaining a wonderful texture in these cookies
- A hint of coffee. A small amount of instant coffee added to the cookies gives them an extra depth of flavor. They don’t taste like coffee, though, don’t worry!
- Less flour than most. This recipe has a higher ratio of butter to flour than most recipes, resulting in buttery, gooey cookies instead of dry or cakey
- 2 types of chocolate. We add both milk and dark chocolate, and chopped instead of chips. This creates flavor complexity and melting pools of chocolate, which chips cannot achieve!
- The perfect hit of salt. I don’t want a cookie that’s not properly salted!
Step by step photos
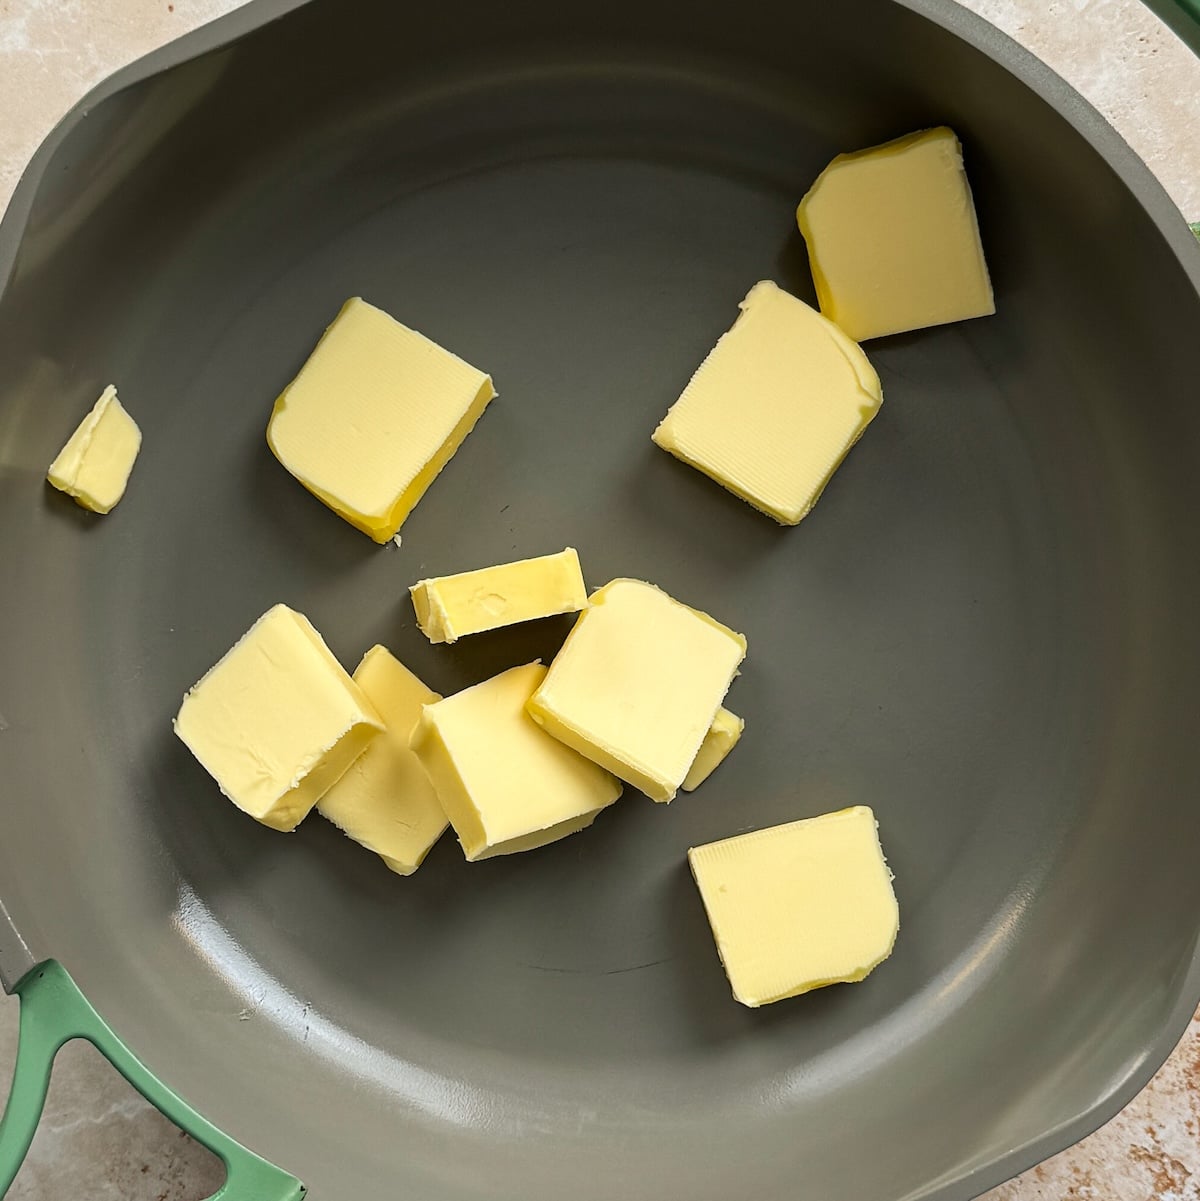
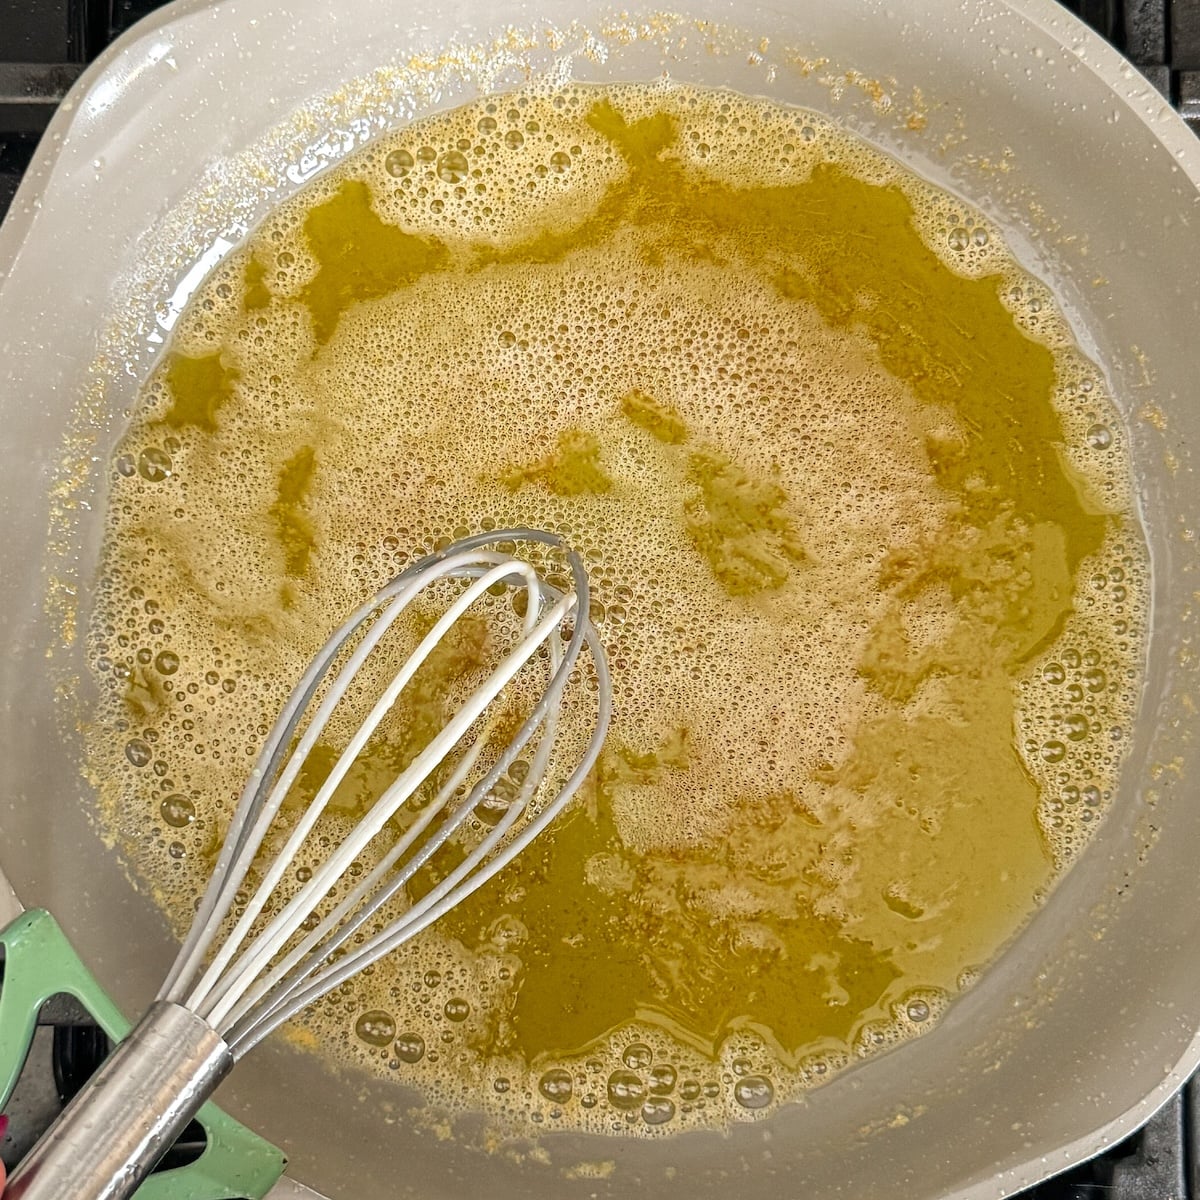
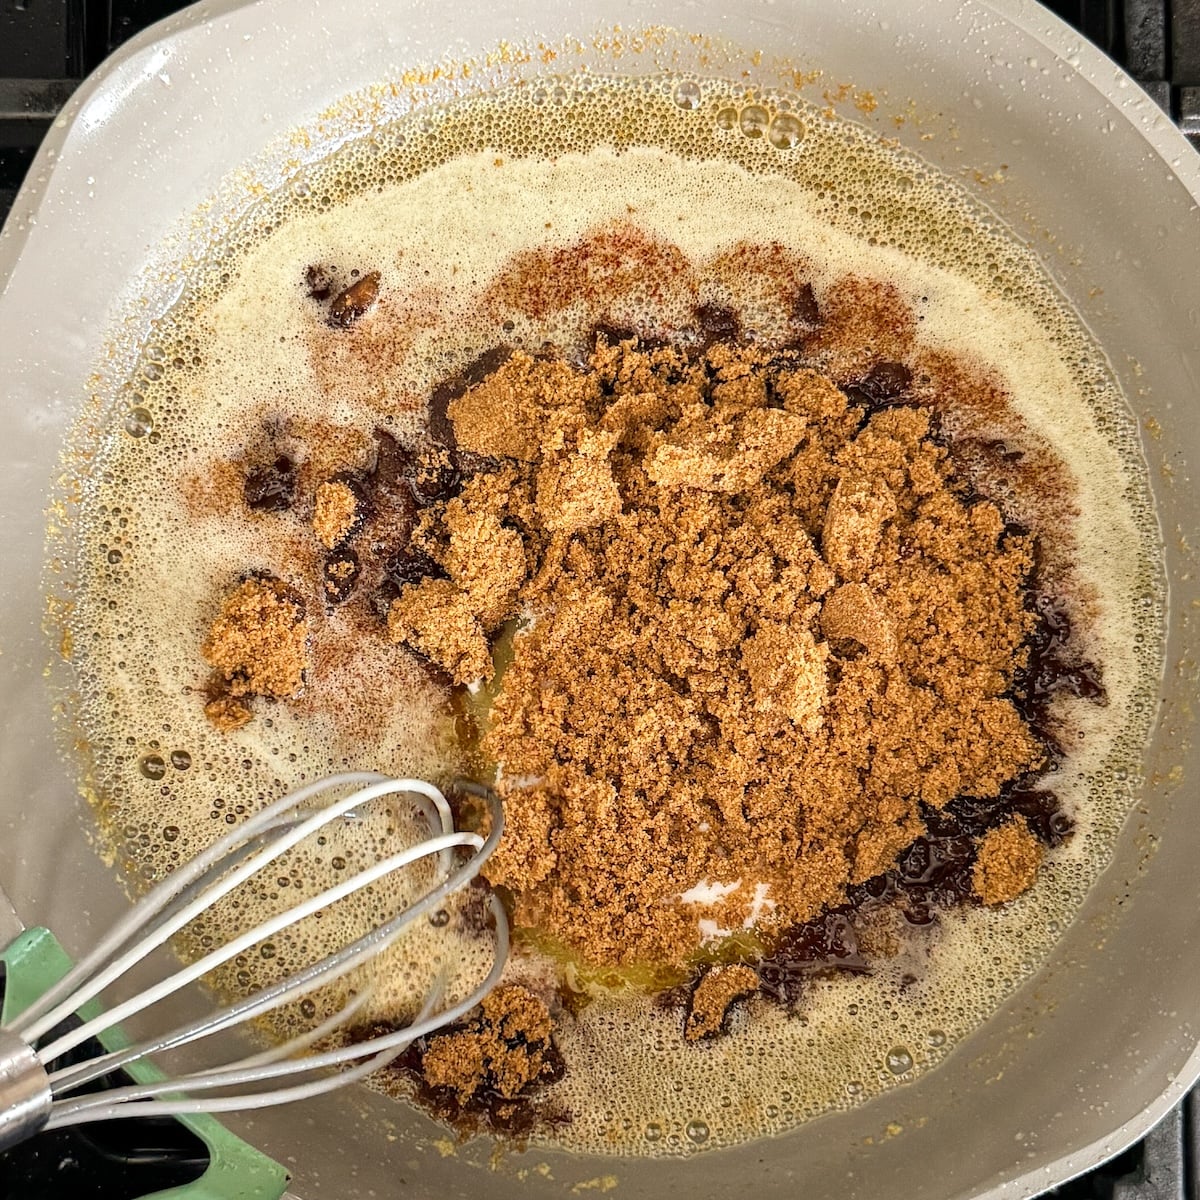
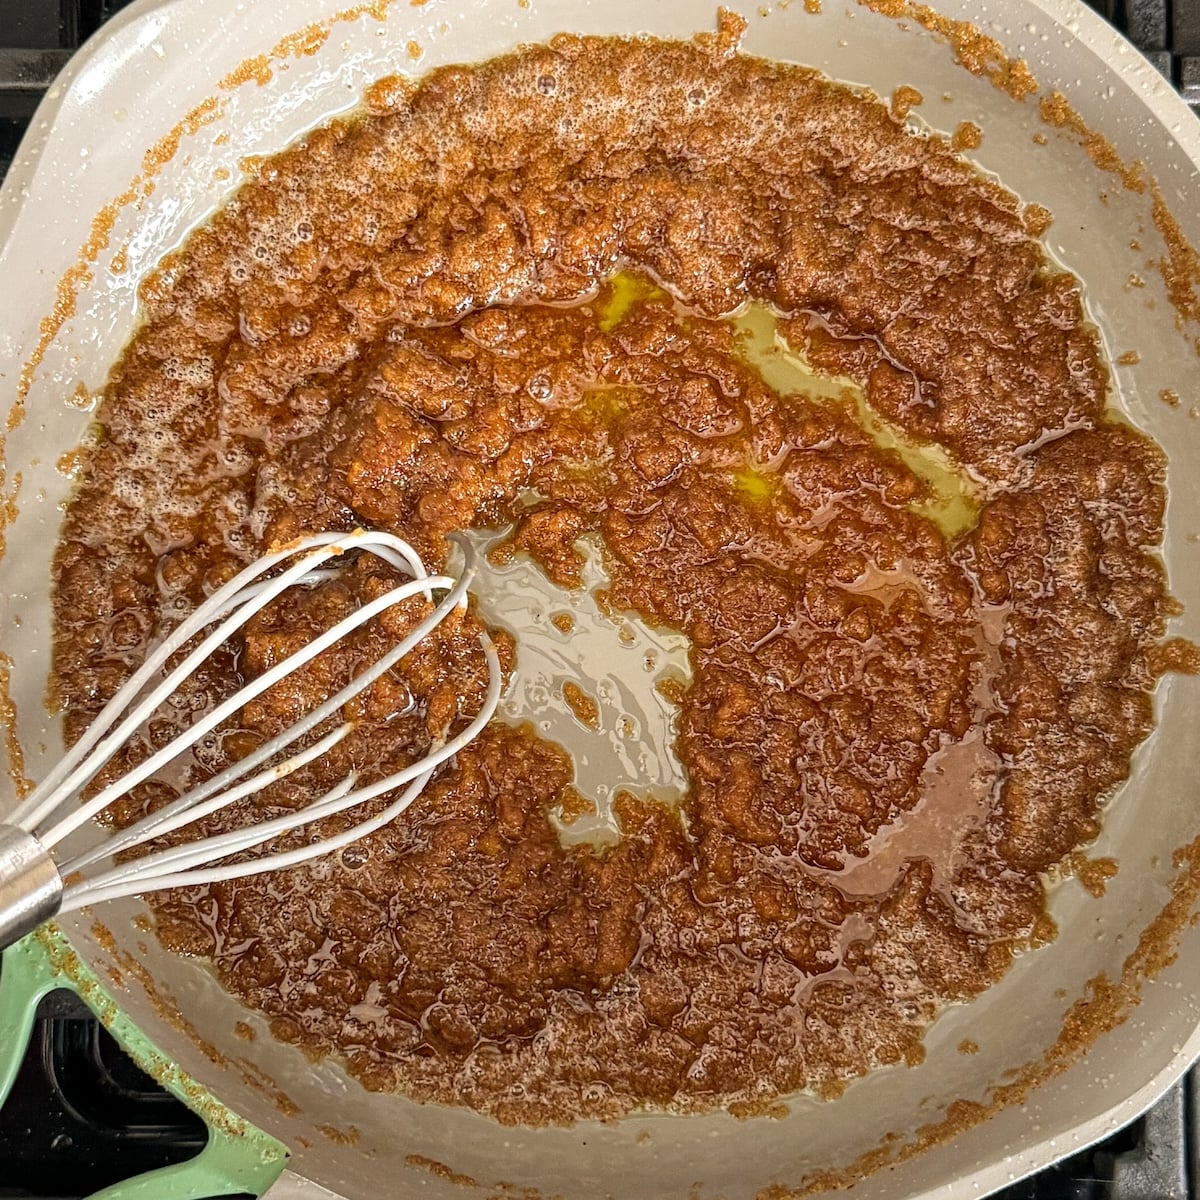
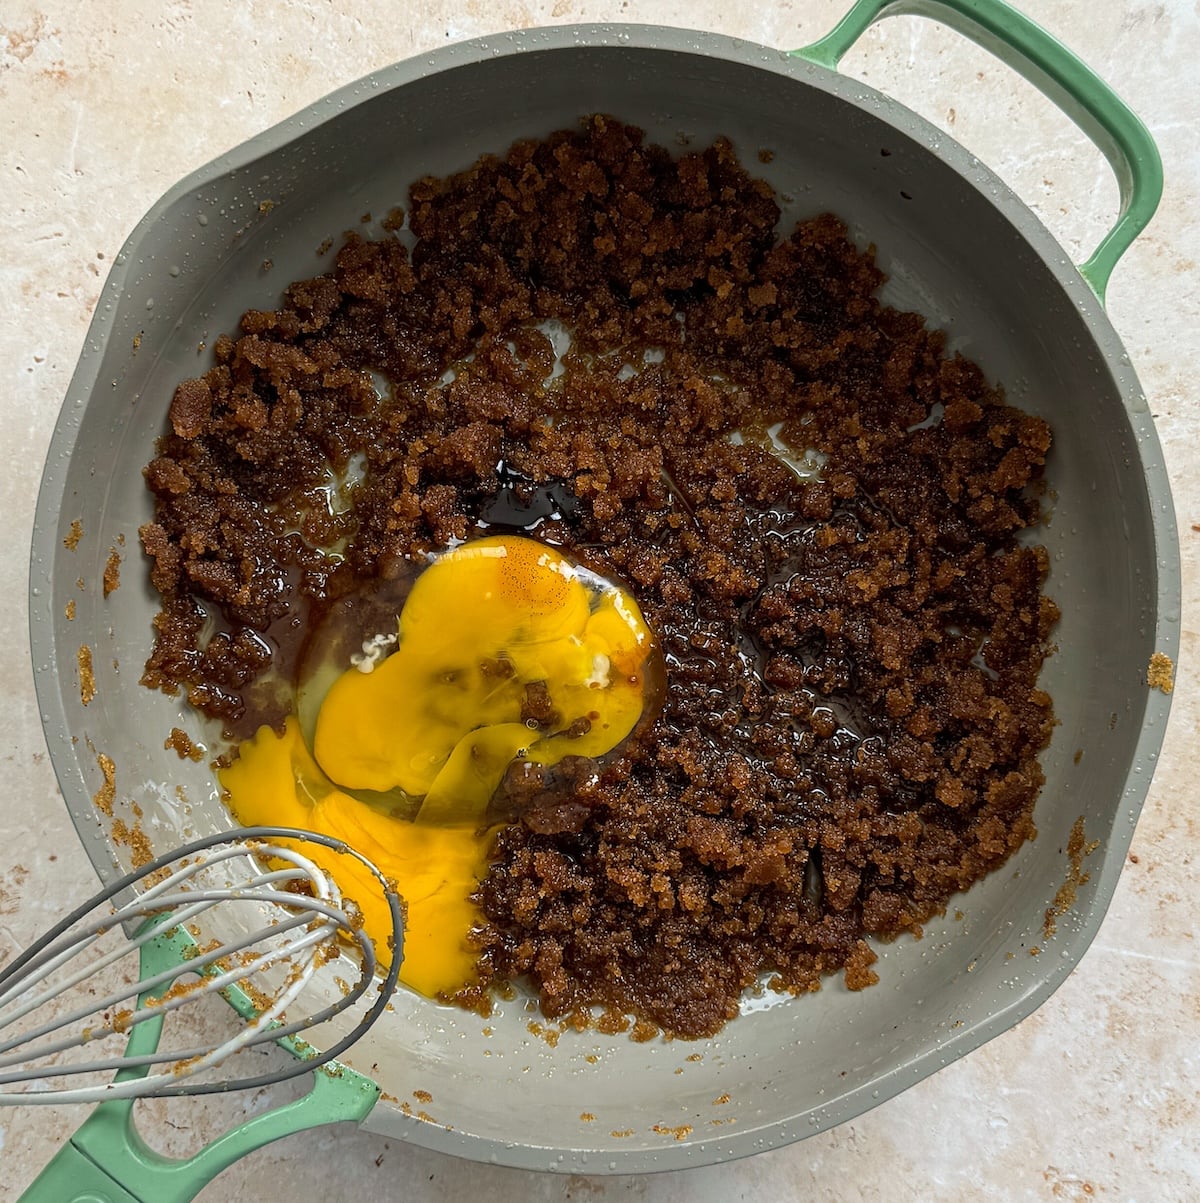
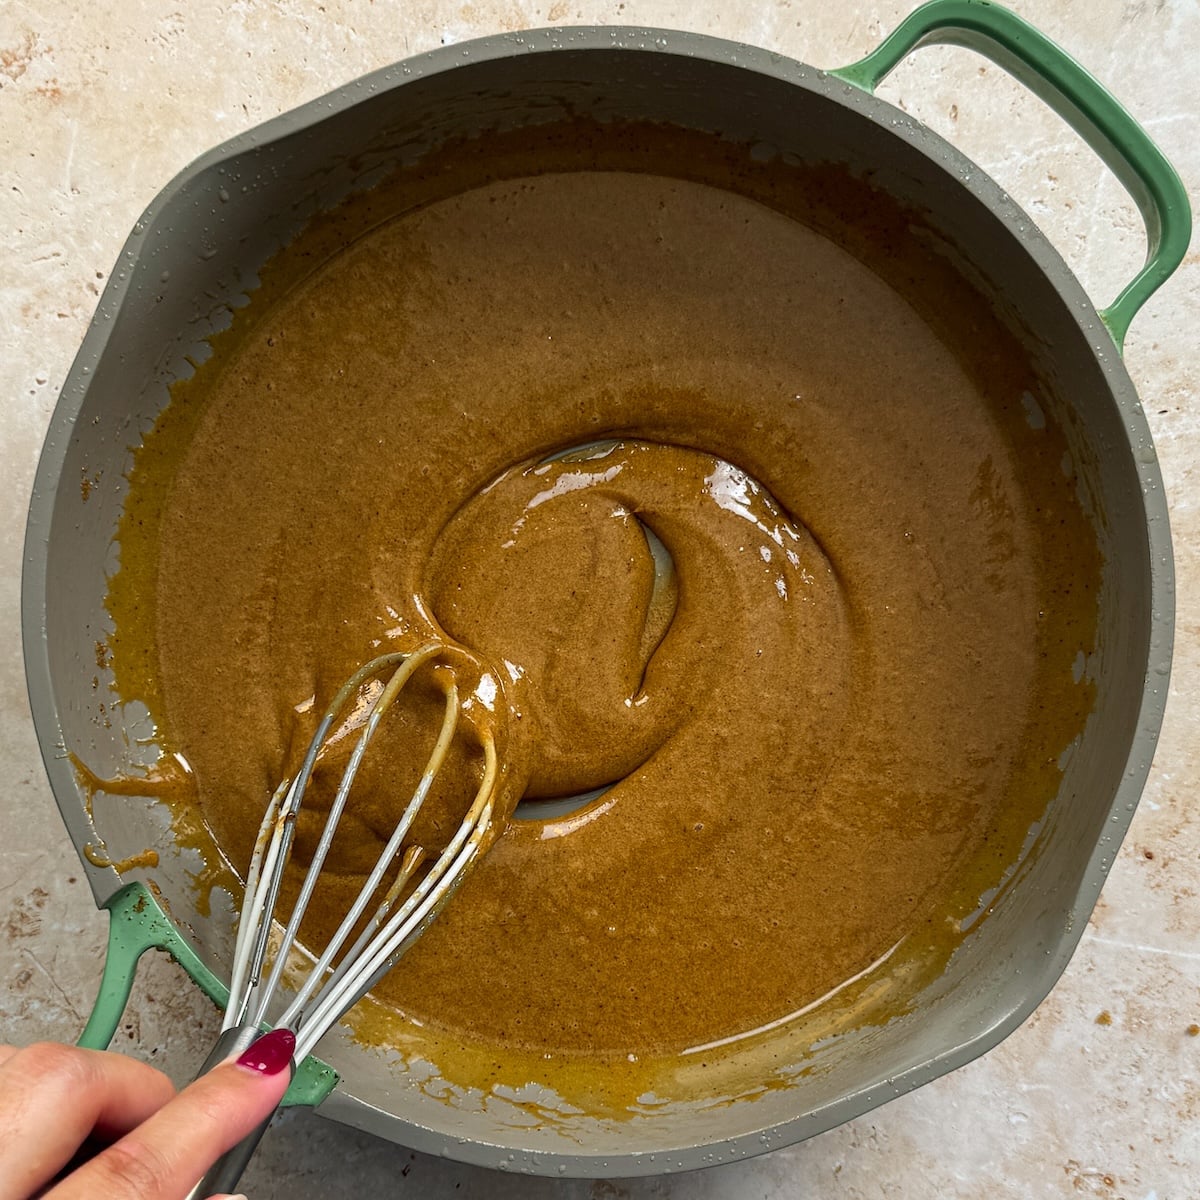
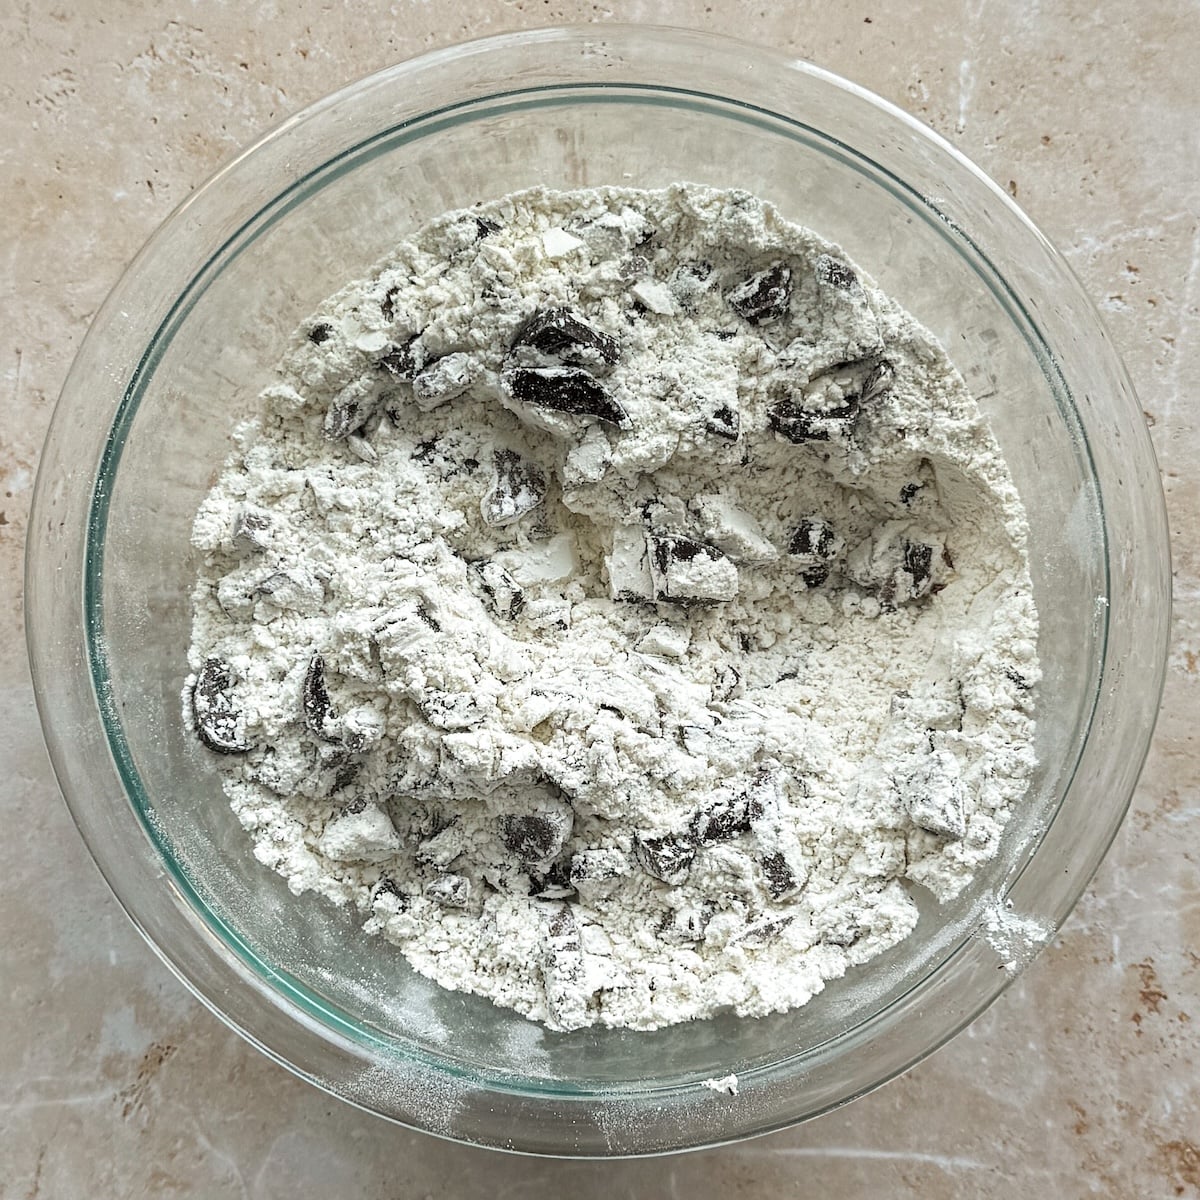
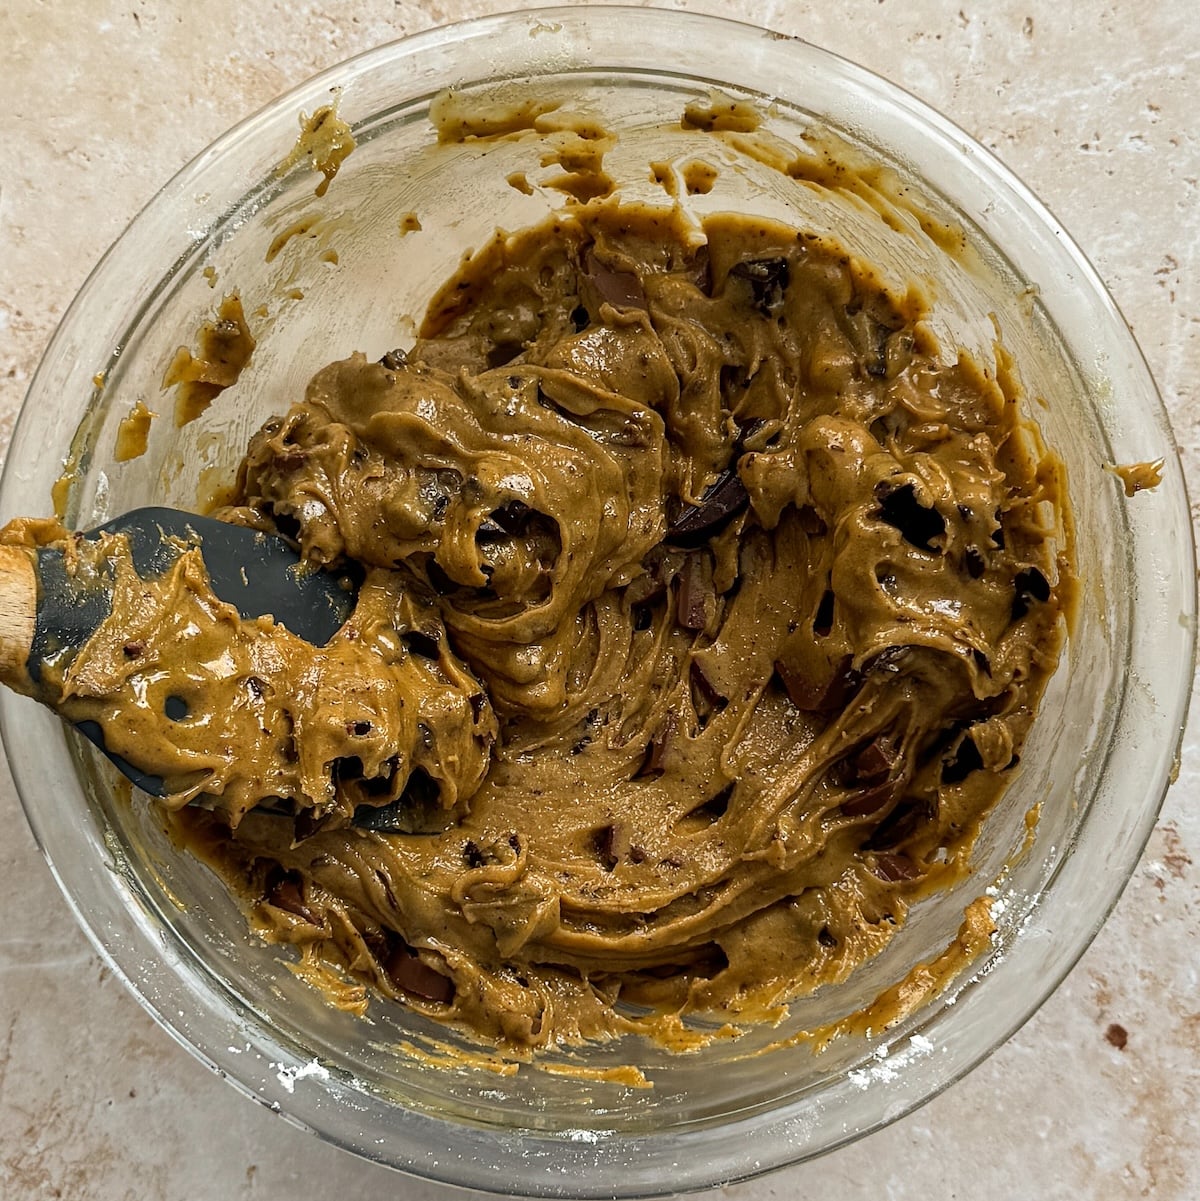
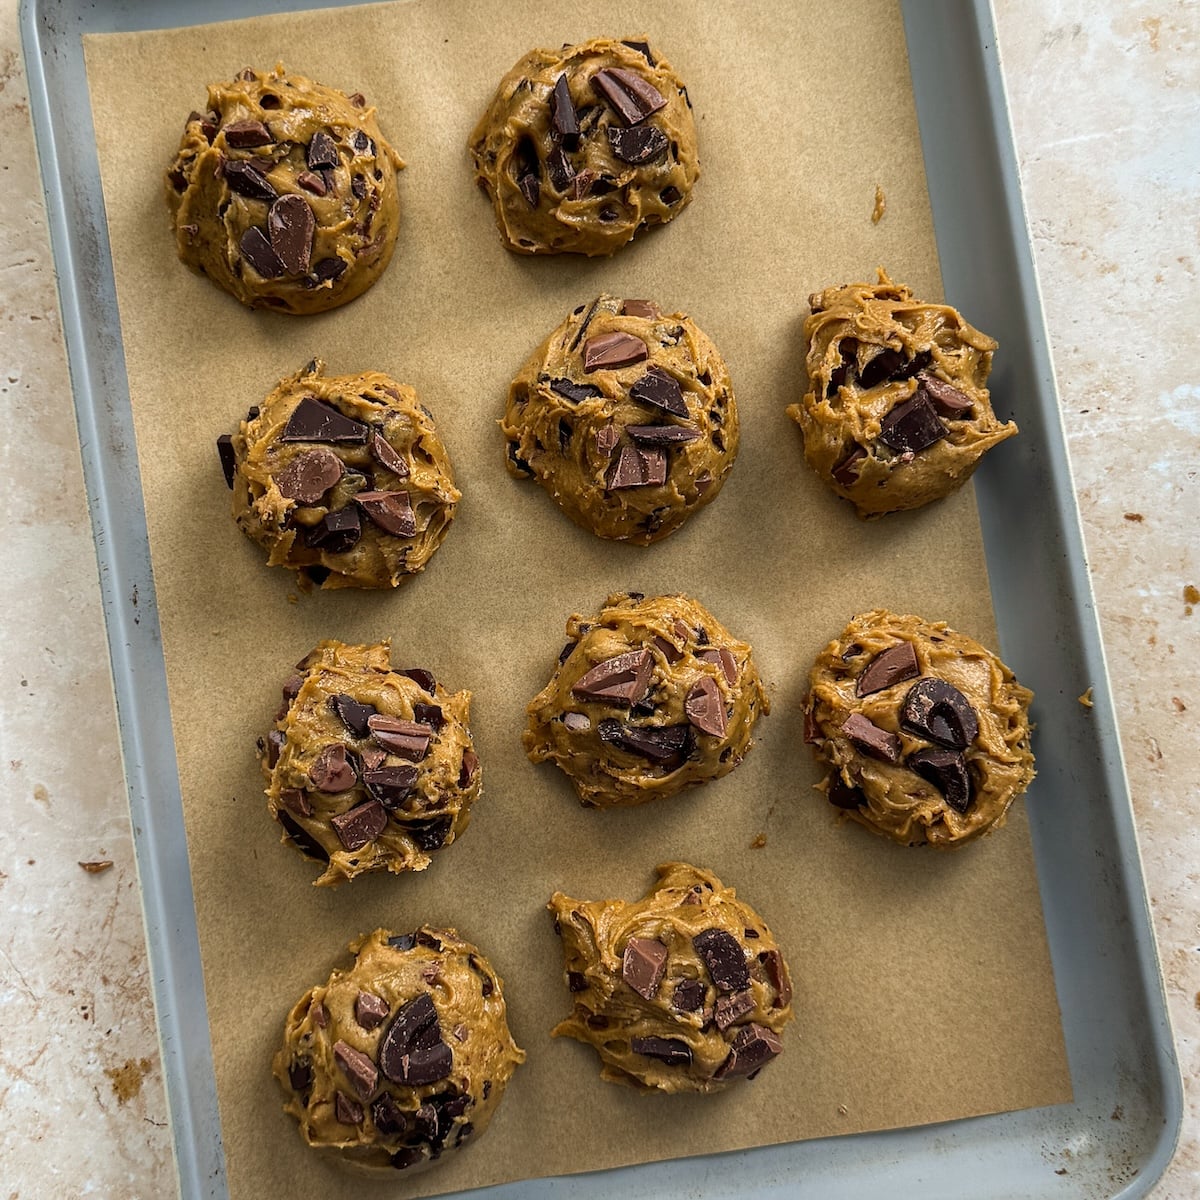
The detailed recipe is in the recipe card below, but let’s go over the simple steps with photos to help you visualize everything:
Yes, you *do* need to chill the cookie dough
Chilling cookie dough is absolutely *crucial*. Even if there are recipes that claim they don’t need chilling time, I guarantee those cookies will be 10 times better after chilling (the only exception I’ve found to this rule is my No Chill Chocolate Chip Cookies – those actually *are* good without chilling!).
My minimum recommended time is 2 hours in the fridge – but longer is better. Here’s why chilling matters:
- It deepens the flavor. Chilling breaks down the starch in the flour into sugars, developing a deeper, more complex flavor
- It improves the texture. It allows the flour to absorb more of the liquid content in the dough, resulting in more moist, chewy and gooey cookies. Without chilling, the same dough will turn into dry, cakey ones
- It reduces the spread, resulting in thicker cookies. This is the obvious one! Since the cookie dough will take more time to heat up, it doesn’t spread as fast
Note that you cannot speed up the chilling process by placing the cookie dough in the freezer. The freezer will just stop most reactions from occurring, so the cookies’ flavor and texture won’t necessarily improve. So fridge first, then feel free to transfer to the freezer.
Here’s a little video comparison:
Important tips before you bake them
This is a very simple recipe, but I do have some important tips to help you get these cookies *just* right:
- Use a weighing scale instead of measuring cups! This is especially important for flour, because most people stuff too much flour in measuring cups leading to a drier cookie dough. I highly recommend this kitchen scale which is under $10 and has lasted me 3 years
- Don’t overcook the sugars. Keep the heat on the lowest possible setting after browning the butter, and whisk the sugars in for just 90 seconds. Don’t worry if they start to look lumpy or grainy, that will all get fixed when you add the egg and yolk!
- Use chopped chocolate instead of chips. Chopped chocolate melts more, tastes better, and adds more texture
- Make sure the wet ingredients aren’t hot before adding dry ingredients. Otherwise, the chocolate will melt!
- Do not over-mix the dough. Gently fold the dry ingredients in until just combined
- Chill longer for better cookies! 2 hours minimum, but overnight/24 hours will make them even better. If you want cookies fast, check out my No Chill Chewy Chocolate Chip Cookies
- Use a light colored baking sheet! Dark sheets cook the bottoms of the cookies too fast, preventing their spread and often adding a burnt flavor
- Do not over-bake. The cookies should be firm around the edges but soft in the middle when they come out of the oven. I always recommend baking one test cookie first, as baking time can vary depending on the size of the cookie and your oven
- Control the cool down! Cookies should be slightly underdone when taken out of the oven, and left on the hot baking sheet so they can continue to cook and set as they cool. However, keep an eye on them, especially the edges/bottoms. If they look too brown, peel the parchment off the baking sheet and let the cookies cool down on your counter so they don’t overcook
Shh.. secret tips cookie pros don’t tell you!
Here are some *extra* tips that pro bakers often know but don’t think about sharing:
- When scooping your cookie balls, try not to get exposed pieces of chocolate on the bottom. These melt fast in the oven, cause the cookies to spread too much, and often burn too!
- Weigh your cookie balls to ensure they’re all the same size. This will ensure they all bake evenly in a batch
- Sprinkle flakey sea salt *before* baking, not after! It will adhere to the cookies better
- Use a cookie cutter or fork to “shape” the cookies into perfect circles as soon as they’re out of the oven. Us food content creators always do this!
- Reserve some chocolate chunks to press into the cookies freshly out of the oven. This allows you to control the look of the cookies and make them pretty
My favorite chocolate
Since I get a hundred questions a week about the chocolate I use, I am linking it for you! I have recently found my favorite: Ghirardelli chocolate wafers. They look like giant chips but work more like chopped chocolate, and melt like silk! I also love Valrhona, Callebaut and Lindt.
Print
Video Tutorial
Email This Recipe
Enter your email and I’ll send this directly to you. Plus you’ll get new recipes from me every week!
Ingredients
- 10 tbsp unsalted butter (140g)
- 1/2 cup packed light brown sugar (100g)
- 1/4 cup white granulated sugar (50g)
- 1 large egg, cold
- 1 egg yolk, cold
- 1 tsp vanilla bean paste
- 1 tsp instant coffee dissolved in 1 tsp hot water
- 1 1/3 cup all purpose flour (170g)
- 3/4 tsp salt, plus optional flaky sea salt to sprinkle on top
- 1/2 tsp baking powder
- 1/4 tsp baking soda
- 4 oz dark chocolate, chopped (113g)
- 4 oz milk chocolate, chopped (113g)
Instructions
- Place the butter in a non-stick pan and melt it on medium-low heat. Keep stirring for a few minutes until the butter starts to look brown and develops a caramel-y nutty aroma. It will become bubbly and frothy first, but as it gets closer to browning, it will stop spluttering as much.
- Turn the heat all the way to the lowest setting, and add the brown and white sugars. Whisk on the lowest flame for 90 seconds, then remove from the heat. This step toasts the sugars and starts breaking them down for a deeper flavor. You are not trying to caramelize or dissolve the sugars, so don’t worry about any visual changes and just follow the time. The mixture may look grainy depending on your butter, don’t worry and remove from the heat, as cooking too long can lead to crystallization!
- Cool the mixture for 5-10 minutes. It should be warm, but not hot anymore
- Add the egg and yolk, along with the vanilla and instant coffee dissolved in water. Whisk for 1-2 minutes until the mixture becomes very smooth and creamy like caramel. If you see any clumps of sugar, press them down with the back of a spoon and they should mix in.
- Sift all the dry ingredients into a separate bowl. Add the chopped chocolate and mix everything together. I like to reserve some chocolate to press on top of the balls after shaping
- Make sure the wet ingredients aren’t hot (they shouldn’t be). Add the dry ingredients to the wet in 2 batches and fold with a rubber spatula until just combined. Do not over-mix!
- Use a 2 tbsp cookie scoop to divide the dough into 10 balls (if the dough feels a bit too runny to scoop, refrigerate for 10 min first). Don’t apply pressure onto the balls, just gently pull them together. Each ball should be 65-70g
- Place the cookie balls onto a plate or baking sheet, and add a few chocolate chunks on top (you can add more chocolate or use the reserved chocolate from earlier)
- Refrigerate for at least 2 hours, but ideally overnight for best results. They really get better with time.
- Prepare 2 cookie sheets with parchment paper. It is best to use lighter colored cookie sheets.
- Pre-heat oven to 375F (conventional / no fan) for cookies you’ve chilled for 2 hours, and 365F (conventional/no fan) for cookies chilled overnight or longer.
- Transfer the balls to the sheets, keeping at least 3″ between them. Sprinkle with the optional flaky sea salt
- For cookies chilled 2 hours, bake for ~9-10 minutes depending on how soft and gooey you want the cookies to be. For cookies chilled overnight or longer, bake for 10-11 minutes. You’re looking for a light golden color, edges that feel firm but middles that still feel soft. I always recommend baking 1 test cookie first!
- Let them cool down on the cookie sheet at room temperature for 10-15 minutes or until they feel set. If at any point they start to look too brown on the bottom, peel the parchment paper off the cookie sheet and let them cool on the counter.
- Serve and enjoy while still warm!
Notes
- Sugar quantity: I have reduced the sugar in this recipe to just 3/4 cup total. I don’t recommend reducing it any further!
- Chocolate chips: If you like chocolate chips, you can use them instead of chopped chocolate, but the cookies won’t be as good and might turn out thicker (spread less). This is because chips don’t melt in the cookies while baking.
- Convection/fan ovens: If you can, please turn off the fan and bake with the bottom heating rod only. But if that’s not an option, for a convection oven, reduce the baking temperature by 25F
- Serving and storage: These cookies are best eaten freshly baked for the ultimate texture, which is why I recommend baking only as many as you need, and keeping the rest in the fridge/freezer. You can store them in an airtight container at room temperature for 3-4 days, and heat in the toaster oven / microwave before eating.
- Freezing: After 2 hours in the fridge, you can freeze the cookie dough balls in an airtight container, and bake directly from frozen when needed! Just increase the baking time by ~2-3 minutes depending on how well done you want them.
Note: This recipe has been updated over time for minor improvements. Changes include reducing brown sugar, adding vanilla and instant coffee, and updating the method so the chocolate is first mixed with the dry ingredients
Comments
Himabindu Guddila
My daughter says these are the world’s best cookies. I made them so many times and always a hit. These cookies made my friends call me a baker so thanks to you. ❤️
Zoha
AWW made my day!
Ashley
Hi Zoha! We LOVE these cookies. Literally make them every week so my fiancé can take them for lunch. Super interested to know if it’s possible to freeze these cookies after the chilling process? That way I can have some on hand ready to go once the other batch is gone. Thank you!
Zoha
Yes, that’s definitely doable and something I do all the time! You can break from frozen directly, just add 3-4 minutes of baking time 🙂
Shaheen
came out tasty cookies thks zoha I made half nachni flour half flour and jaggery powder try little healthy 💯
Zoha
That sounds delicious! Thank you
Shi
They turned out really well and instead of flakey salt I sprinkled vanilla and bourbon sugar on top to give it a sweeter more vanilla taste. Only problem I had was that like many others, my cookies turned out cakey and were super puffed up and tall. I followed all the measurements and directions so I’m not sure why that happened but it seems to happen to me a lot when following cookie recipes.
Zoha
Hi Shi! That can be due to a few common reasons:
1. You added too much flour accidentally – use a weighing scale to be sure (with all ingredients but especially flour)
2. You accidentally swapped baking powder and soda; make sure you’re following the right quantities. baking powder makes cookies puffy and soda helps them spread
3. Your oven is too hot so they cookies cook too quickly and don’t get the chance to spread more. Try reducing the temperature by about 20 degrees and bake a test cookie to see if it spreads more 🙂
Yousef
Great recipe that I have regularly used to trick so many people that I can actually bake so thank you a lot! I just have two questions:
1- I find that, more often than not, my cookies turn out a bit too flat. I read some of the comments and found out that playing with the sugar, butter and flour ratio can cause that. So now I am back to the original recipe’s measurements. However, I feel like the cookies are too sweet, what can i do to change that?
2- is it really really bad to add a tiny bit of cornstarch to counter the flatness?
Zoha
Hi Yousef! Yes, if you tweak quantities, the texture and spread will be different so I don’t recommend that. If you’re finding them too sweet, replace the milk chocolate with dark chocolate (so only add dark chocolate) and top with more flakey sea salt to balance it out. I haven’t tried cornstarch myself but it will make the cookies more cakey – you can definitely try it! Another trick if you want your cookies to spread less is to increase the temperature a bit – they will cook more quickly which prevents them from spreading as much (do one test cookie)
Sam
Hi there,
I tried this recipe as I was baking something for the very first time and to my surprise this recipe was too good but the only issue I get (both the times I bake) was the cookies were not spreading enough please suggest what went wrong ?
Zoha
Hi Sam! Try decreasing the temperature of your oven by 15-20 degrees and see if that helps them spread better 🙂
Sanna Malik
I’ve followed a lot of cookie recipes. When I was making this one I was a bit skeptical. But wow it blew me away! So flavourful and sooo good!!
Zoha
THANK YOU
mav
this recipe is great and i use it all the time! i’m curious if doubling or tripling the recipe will mess with the ratio?
Zoha
Hi Mav! It should be fine, just make sure the sugar butter mix cools down before adding the eggs 🙂
Parveen Aunty
good work beta
Luna
such a good recipe 😋 literally my first successful pastry in baking I loved it so much and so did my family and friends 💕
Raksha
This tastes amazing ! I skipped the coffee part as I was making it for my nieces. I would reduce the sugar measurement next time.
Jenny
This one of the best recipes I have tried including her brownie ones. Must try, my family says I’m a great baker but this is one of the reasons
Fatema Damji
I’ve tried making these cookies multiple times. They taste amazing but for some reason they don’t flatten out in the oven. They remain very thick, almost like a mound. What am I doing wrong?
laffa
Hi Zoha, these cookies were so heavenly. I followed the recipe to the tee, weighed the ingredients, chilled in the fridge overnight and the cookies came out flat and super spreaded out. Im wondering what did i do wrong.
Maryam Alghanah
can i replace the vanilla bean paste or which brand do you use?
Shivangi jadhav
replacement for egg
Alara Bensusan
5⭐️
Ushantha ODonnell
This is an easy to follow recipe and Zoha’s bakes are flop-proof. All of her recipes are sublime and most are beginner friendly. As a hobby-baker I enjoy translating Zoha’s recipes into scrumptious goods for family to enjoy. Thank you Zoha!
Zoha
I am so honored, thank you!
Alex
Hiii, I love your recipes, I was just wondering can I skip the eggs, and if not is there is there a replacement for it that you know will work best?
Zoha
Hi Alex! Eggs cannot be skipped and unfortunately i haven’t tested a replacement for them.
Sawbyah Tar
An amazing cookie recipe, so simple, my husband said one of the best chocolate chip cookies his ever tasted. So thank you for this recipe.
Zoha
AWW thank you!!!