

This post may contain affiliate links
Add Bake with Zoha as a preferred source on Google and find more of my tried-and-tested recipes.
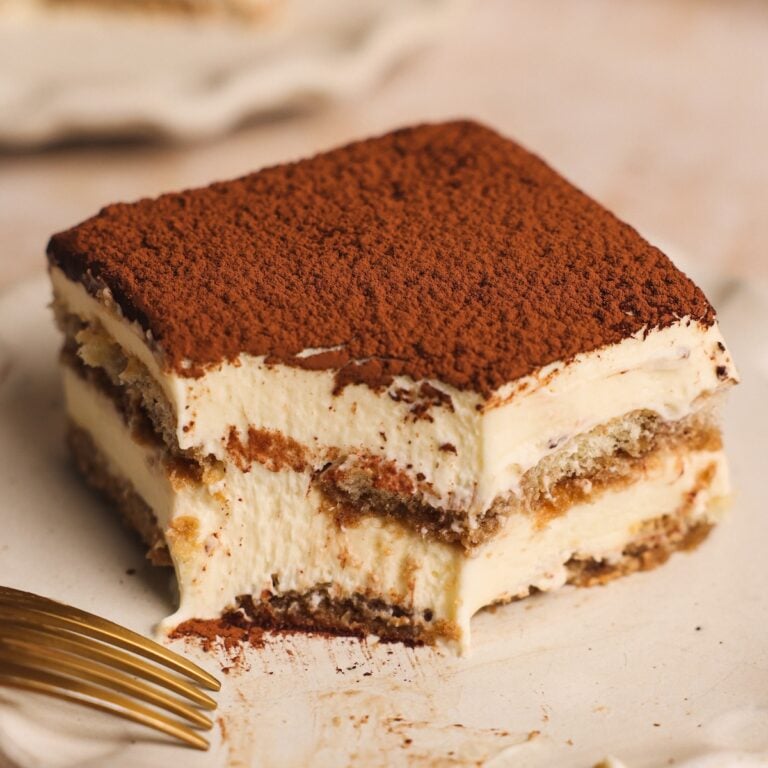
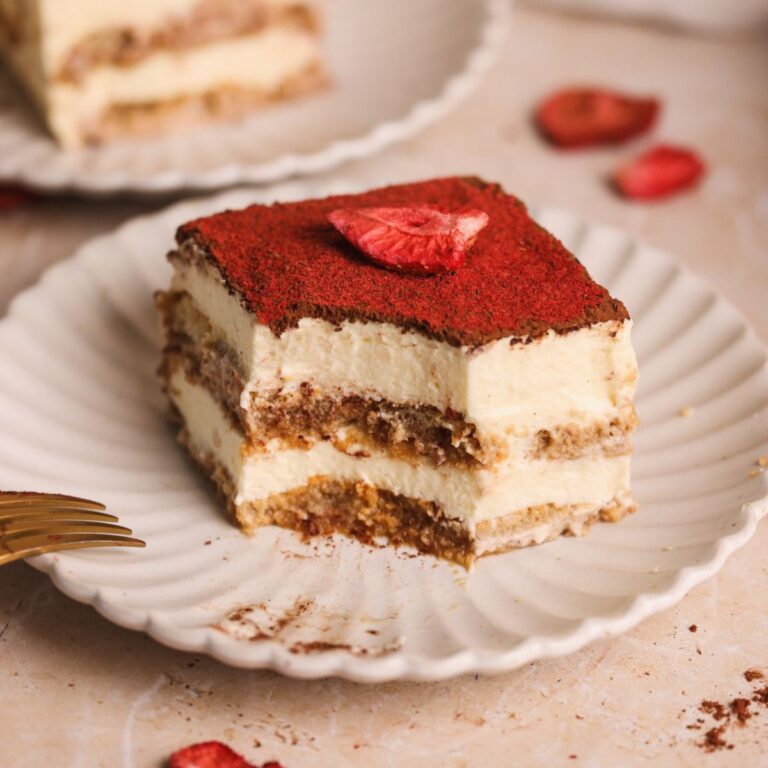
This is, without question, the best Classic Italian Tiramisu you’ll ever make. I first learned this recipe from a chef-led Tiramisu class in Italy, and have spent 3+ years perfecting it. Made without raw eggs, it is unbelievably creamy, has the perfect ratio of ladyfingers to mascarpone cream and an irresistible flavor that lets the coffee shine. Easy, no-bake, and an absolute crowd-pleaser.
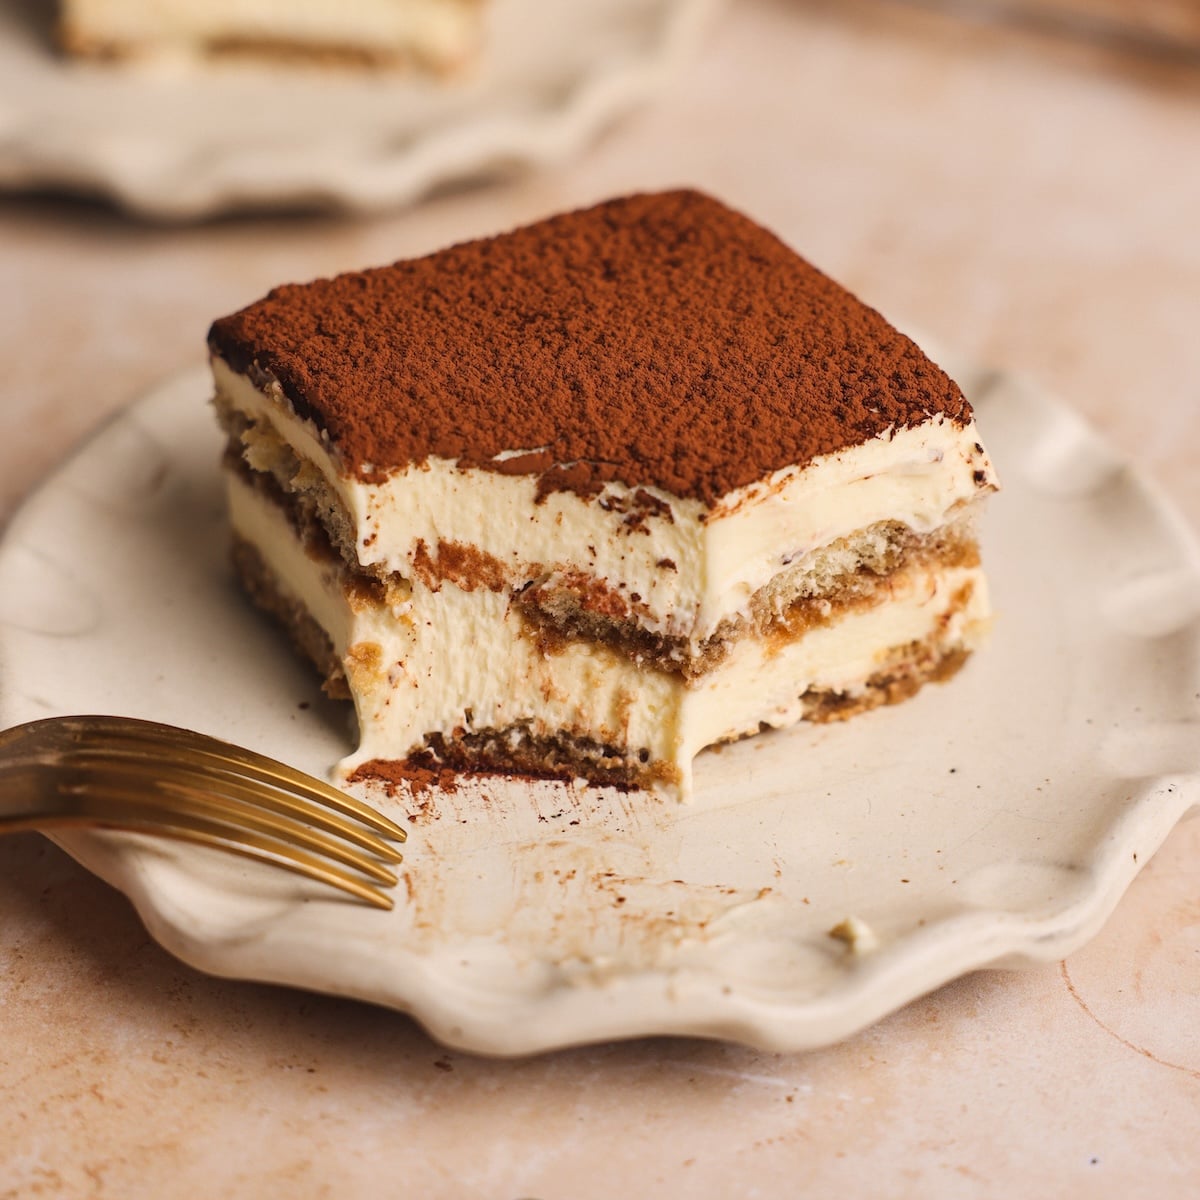
My recipe even lets you pick between whipped cream and egg whites (although I am team cream!) and comes with step-by-step photos. And, being the perfectionist I am (if you saw me on Next Level Baker with Gordon Ramsay, you’d know), I am also sharing my insider tips – from the only brand of mascarpone I trust to my favorite dish for the perfect slice.
“The best tiramisu I’ve had outside of Italy. I’m so glad I made this recipe, followed the recommendations. It was very easy to customize to our needs and tastes. Truly 5 star!”
– Tiffany, ★★★★★
The best mascarpone for tiramisu
The MOST important factor in perfecting Tiramisu is using good quality mascarpone cheese! I cannot tell you how many times I have made Tiramisu with my trusted recipe but the wrong mascarpone, only for the mixture to become grainy, runny or split.
After a lot of testing, I have found that the best mascarpone for Tiramisu is Galbani Mascarpone. It is made in Italy, available worldwide, and consistently creamy.
Take a look at the picture comparison below between Belgioioso, another popular brand, and Galbani – both whisked for 30 seconds straight from the fridge. As you can see, the BelGioioso mascarpone is grainy and split, while the Galbani mascarpone is creamy, rich and smooth.

Egg whites or whipped cream? You pick!
I know whipped cream vs egg whites is the great debate of tiramisu, but I am here to assure you there isn’t a right answer – it comes down to your preference. Good news is, my recipe provides both options for you!
- Egg whites: Authentic Italian tiramisu is made with whipped egg whites for a light, airy texture. The benefit of this method is that it uses the whole egg instead of just egg yolks. On the flip-side, it is more time consuming (especially if you want to cook the egg whites), more failure prone, and doesn’t store too well. Tiramisu made with whipped egg whites can start to “weep” after a day. Plus, many people don’t love the flavor of egg whites
- Whipped cream (my preference!): You can replace the egg whites with whipped cream instead. This version is easier and quicker, and results in a creamier tiramisu that stores better for longer. The only “downside” is having extra egg whites left over
As a general rule of thumb, 4 egg whites can be replaced with 1.5 cups of heavy whipping cream for the same volume once whipped (about 4 cups).
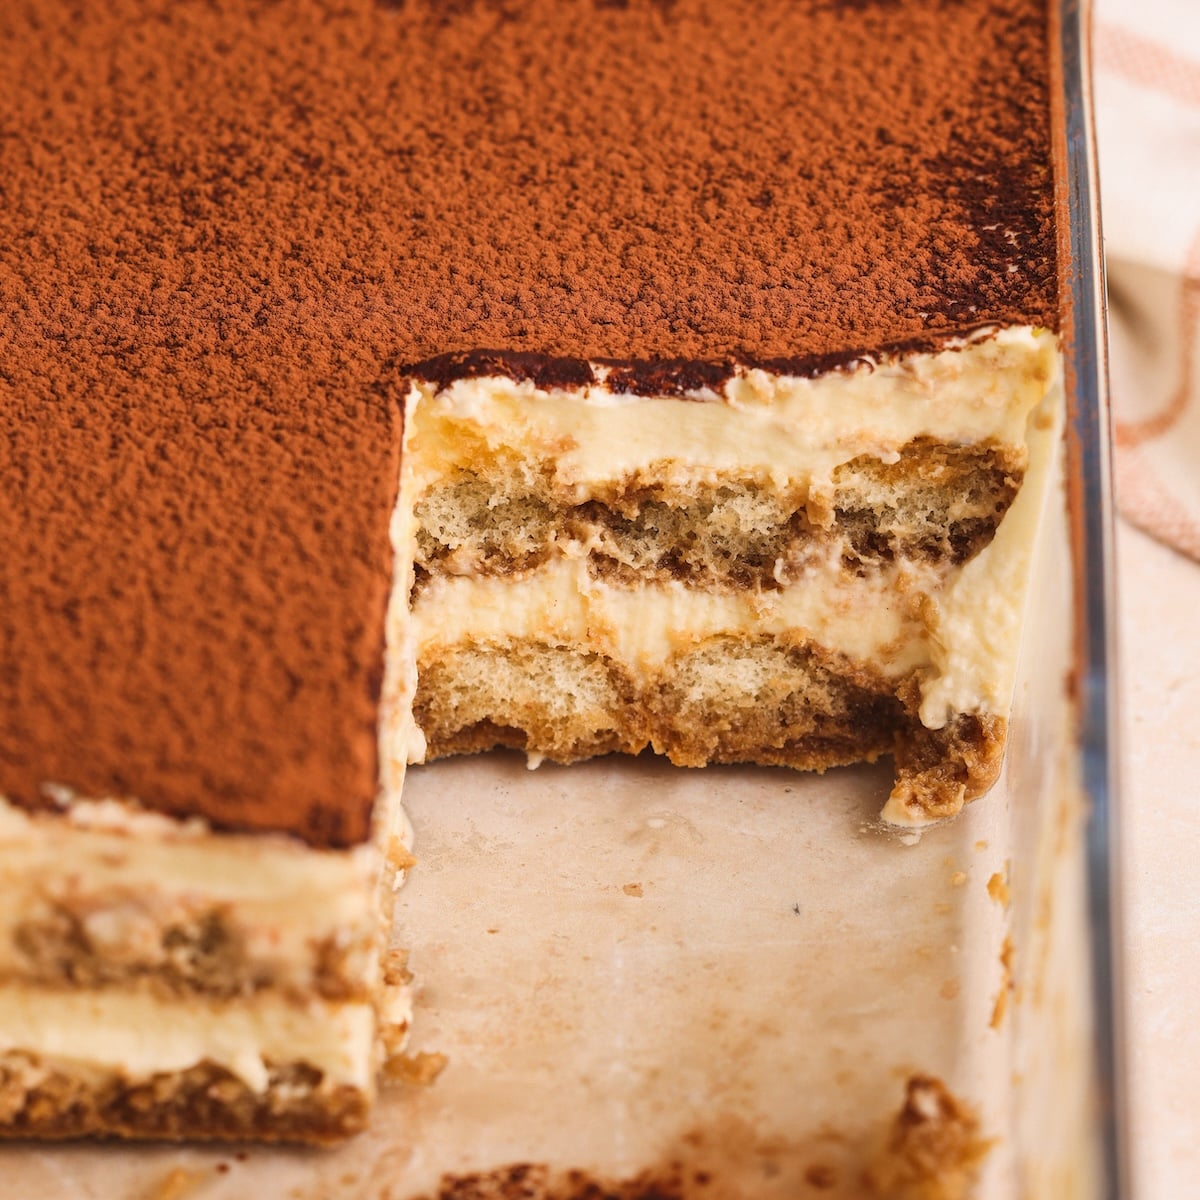
Step By Step Photos
The detailed recipe is in the recipe card below, but here is an overview of the method with photos so you can visualize everything:
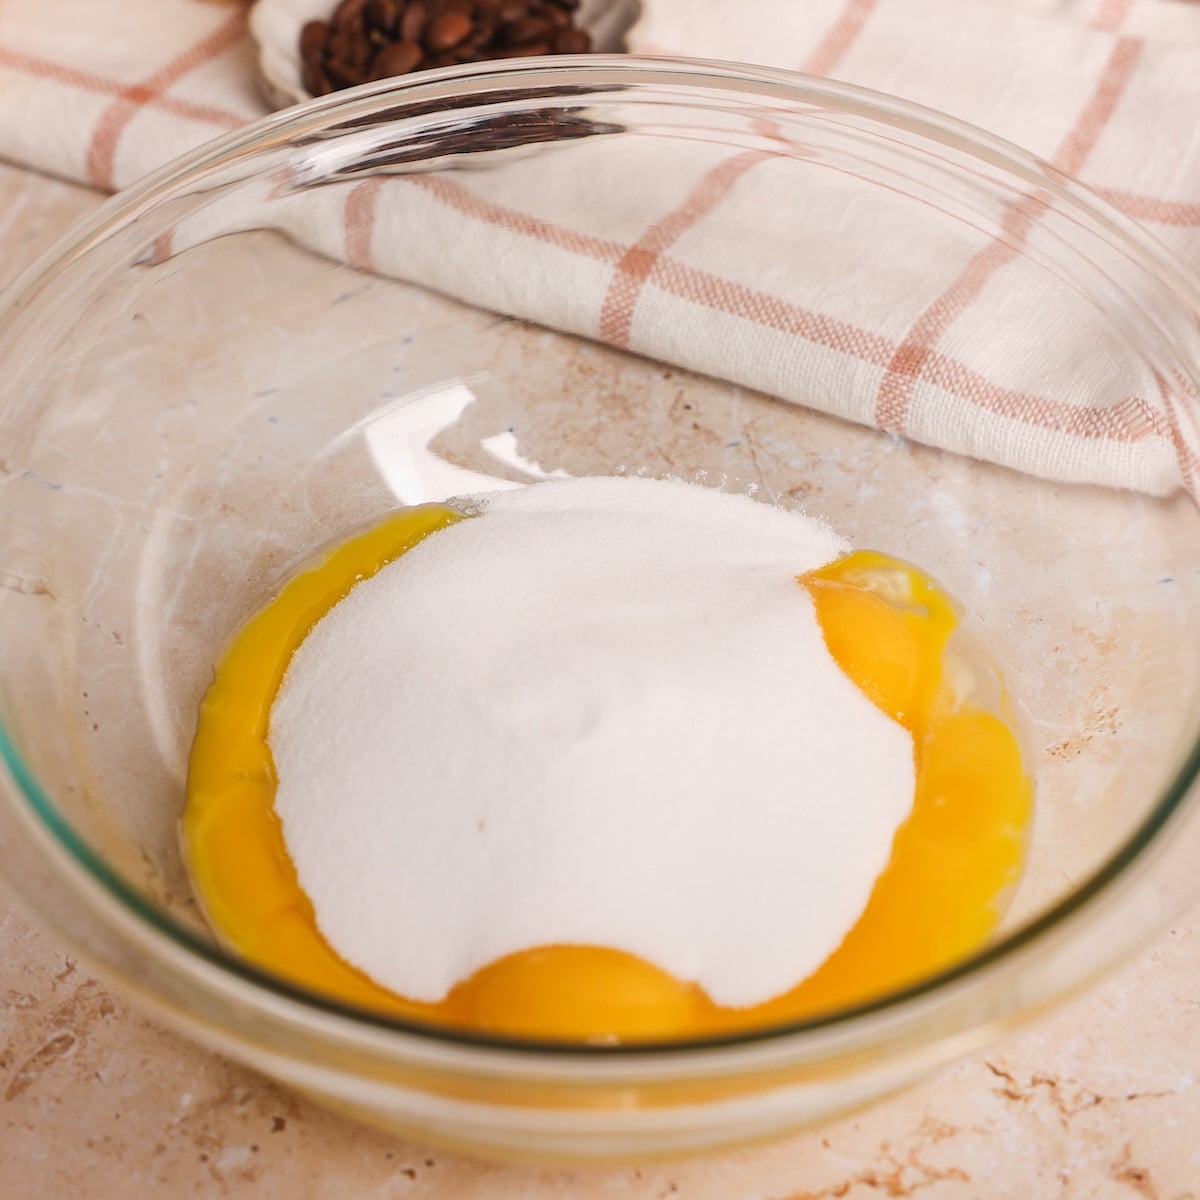
Add the egg yolks and sugar to a heat-safe bowl.
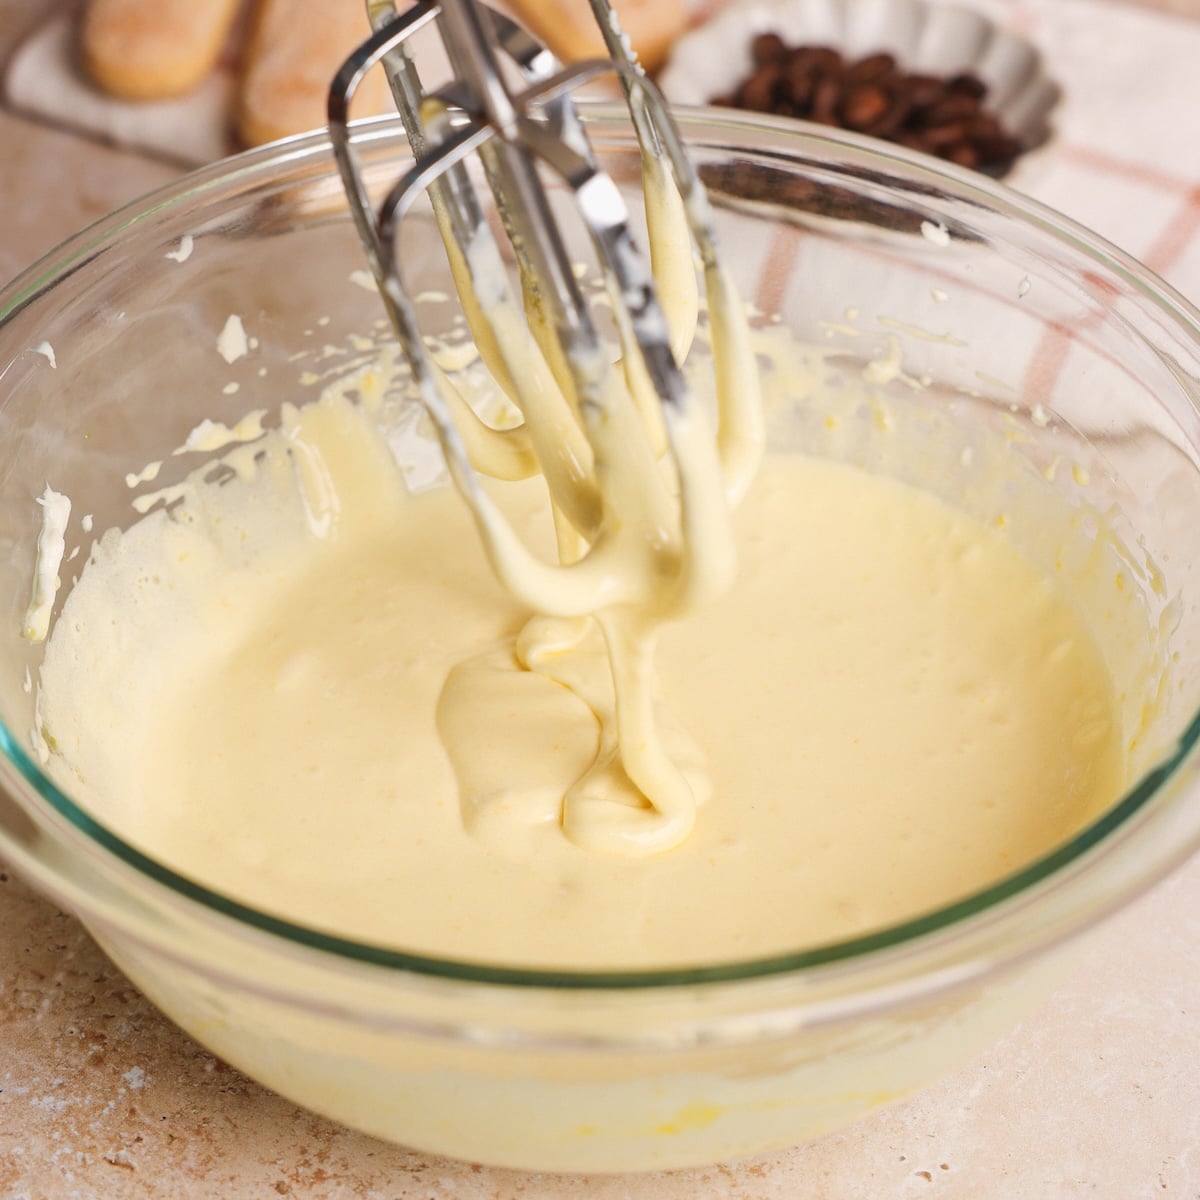
Place on a double boiler (not pictured), and whisk on medium-high speed for 2 minutes until the mixture looks light, fluffy and ribbony. This mixture is called the “zabaglione”.
No raw eggs
While traditional Italian recipes use raw eggs, I know many people don’t love that. That’s why I whisk the yolks and sugar over a double boiler – the steam heats the yolks and eliminates their raw smell. If you want to be extra safe, use a thermometer to ensure the mixture reaches 160F (both egg yolks and whites, if using).
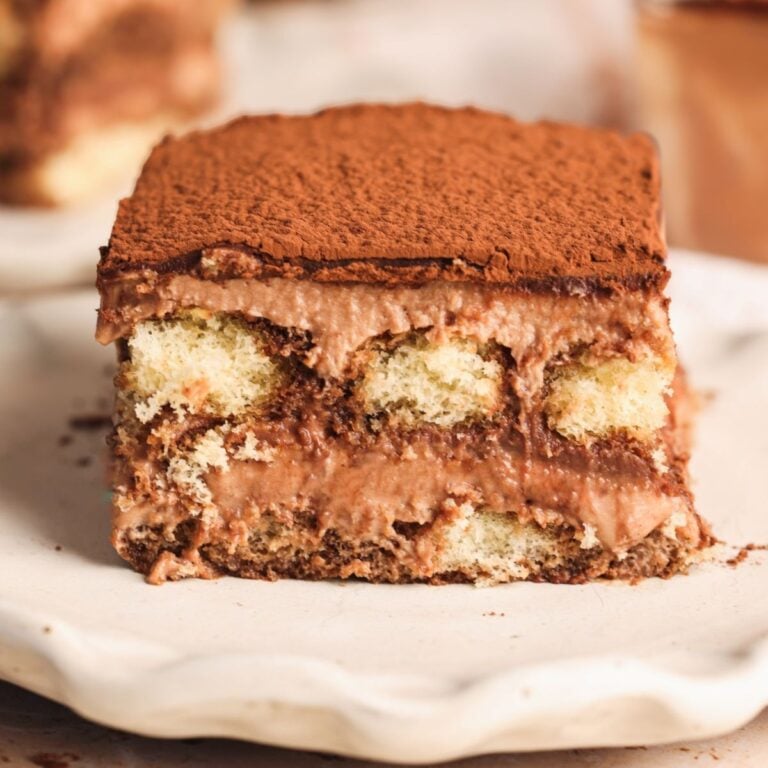
However, you can skip the double boiler and whisk on the counter if you don’t mind raw pasteurized eggs. You can also try the simpler, egg-free mascarpone cream I use in my Easy Chocolate Tiramisu recipe!
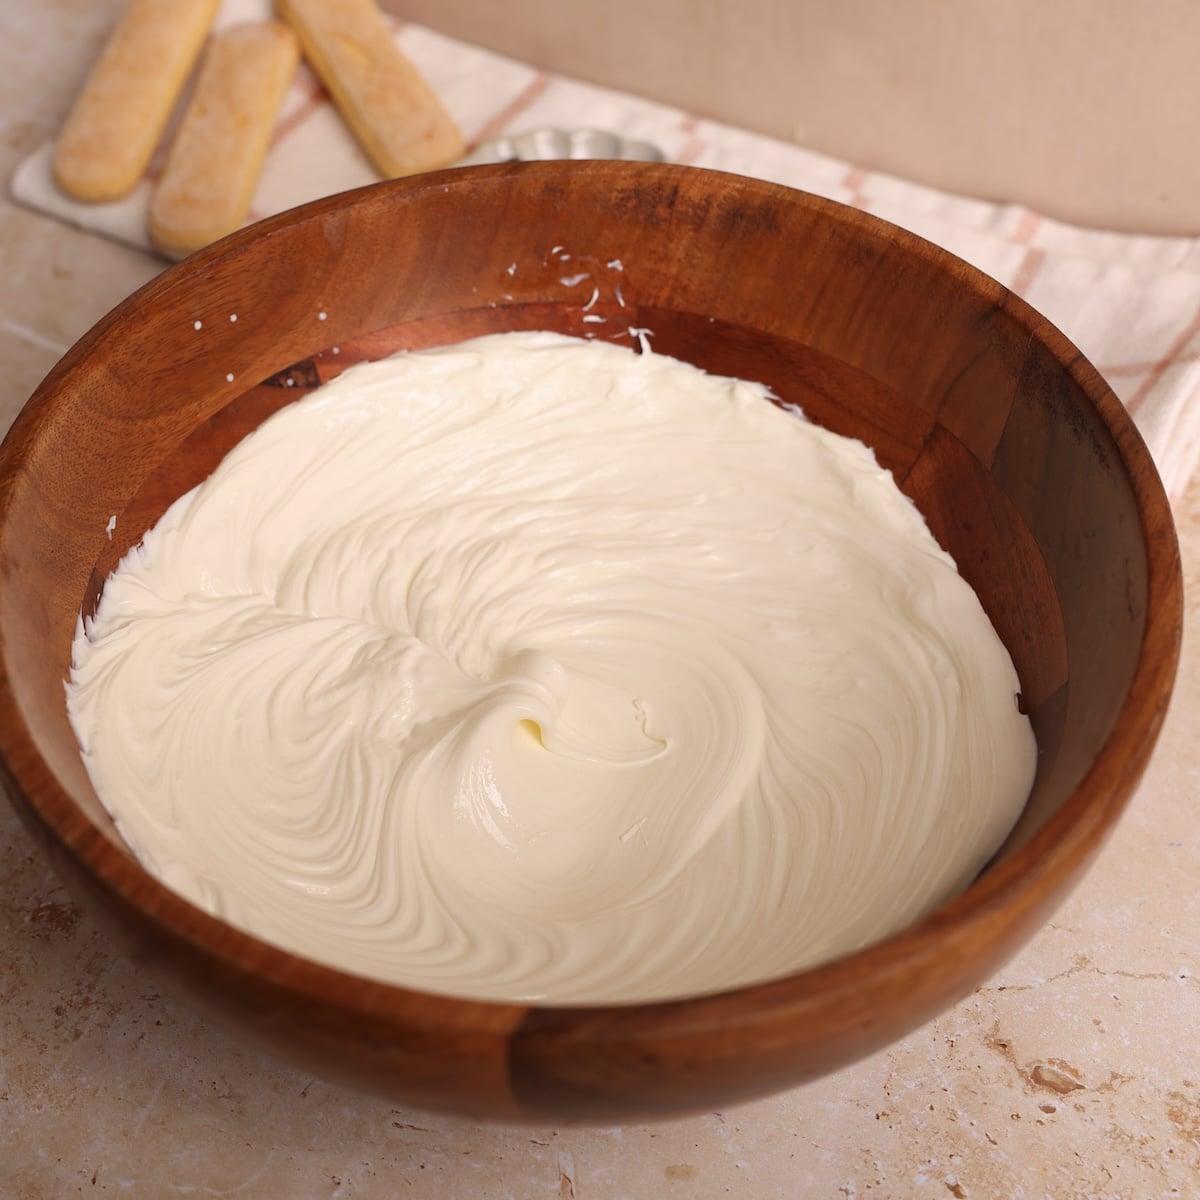
In a separate bowl, whisk the mascarpone cheese until creamy.
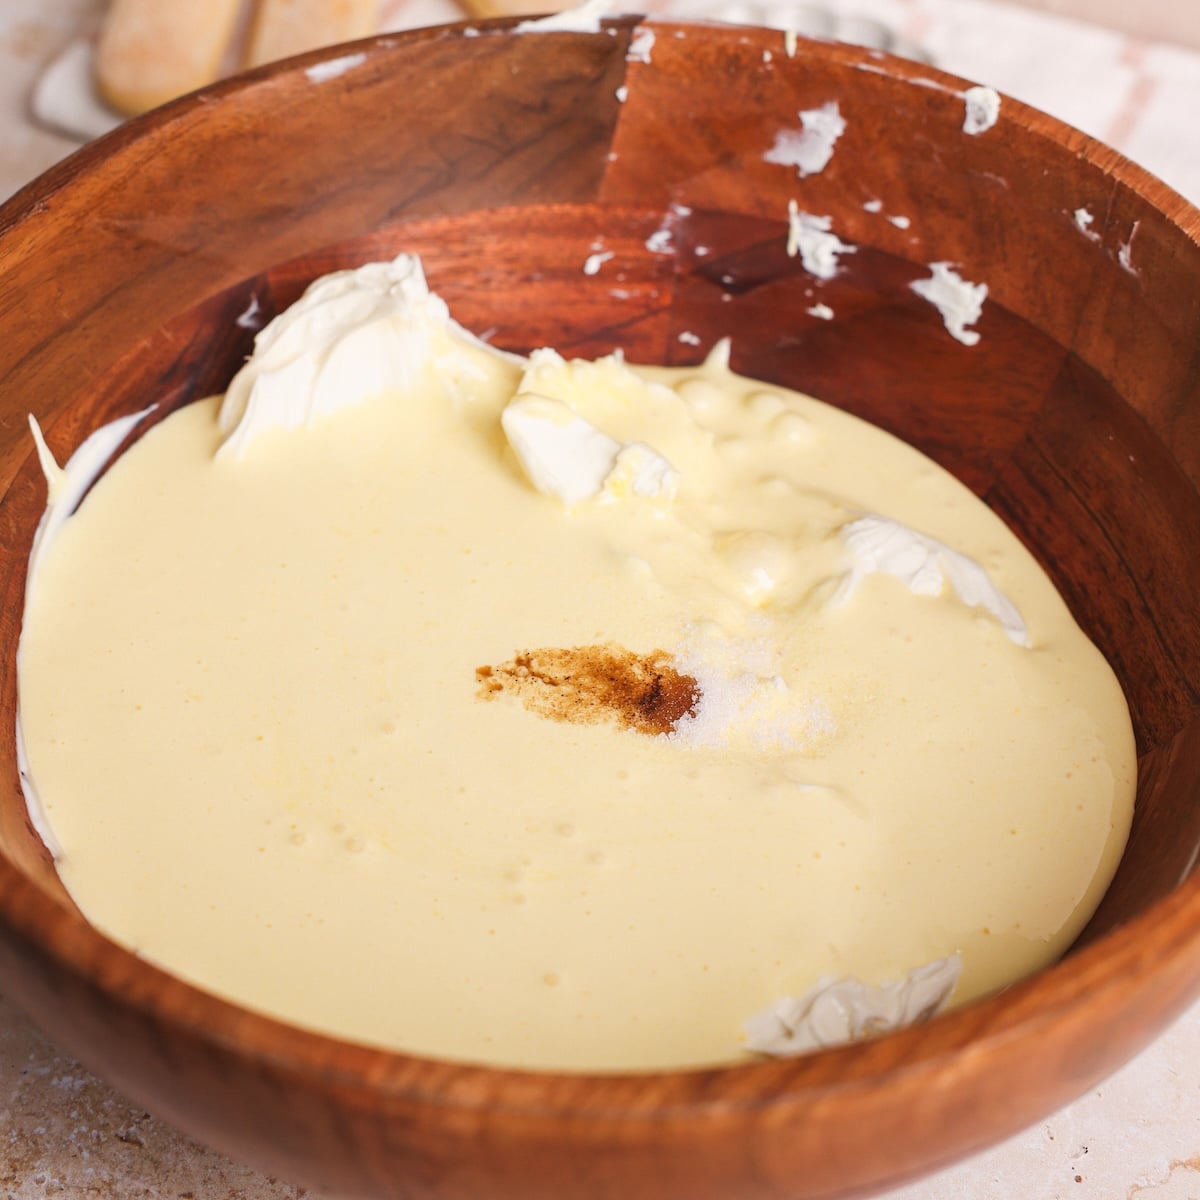
Pour the egg yolk mixture (zabaglione) onto the mascarpone cheese along with salt and vanilla.
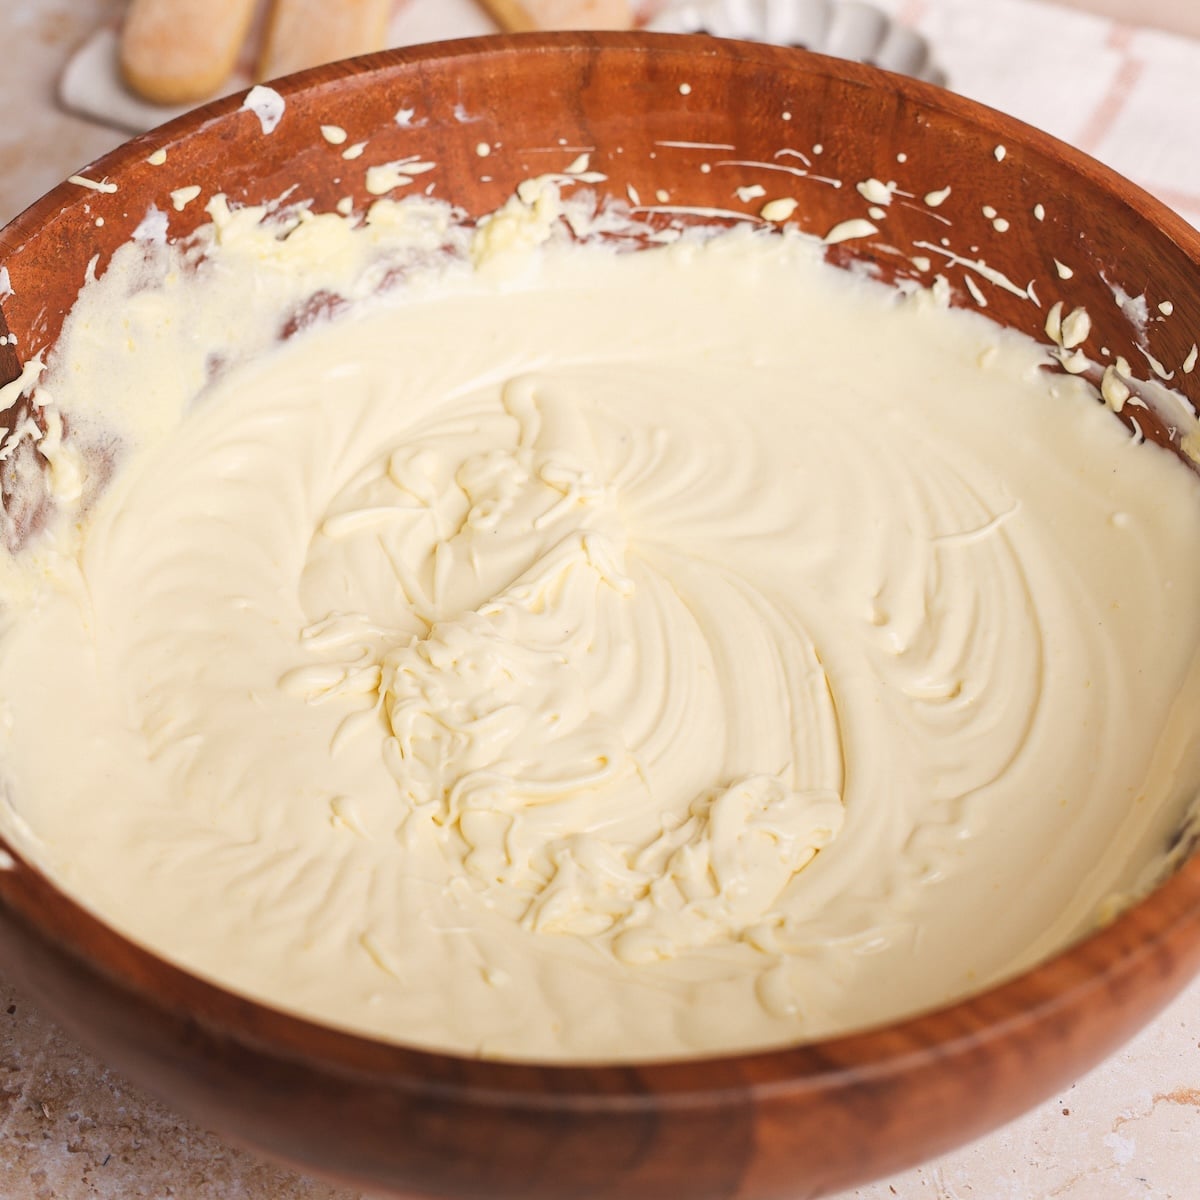
Whisk on medium speed until the ingredients are just combined.
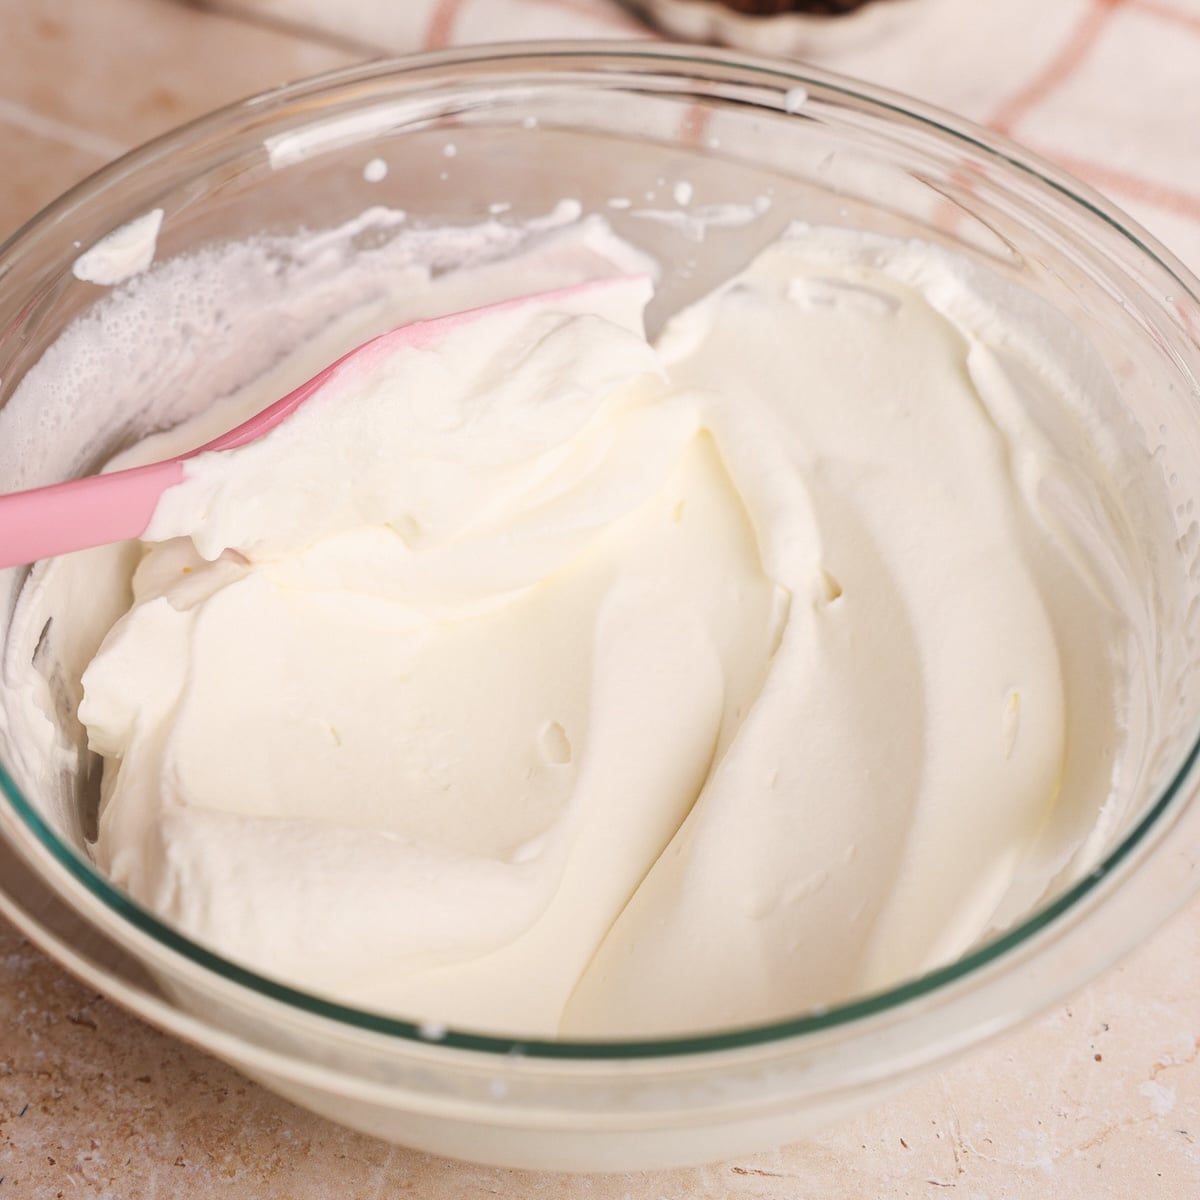
Separately, whisk the heavy cream to medium peaks (if using egg whites, whisk them with sugar until they form a glossy meringue instead).
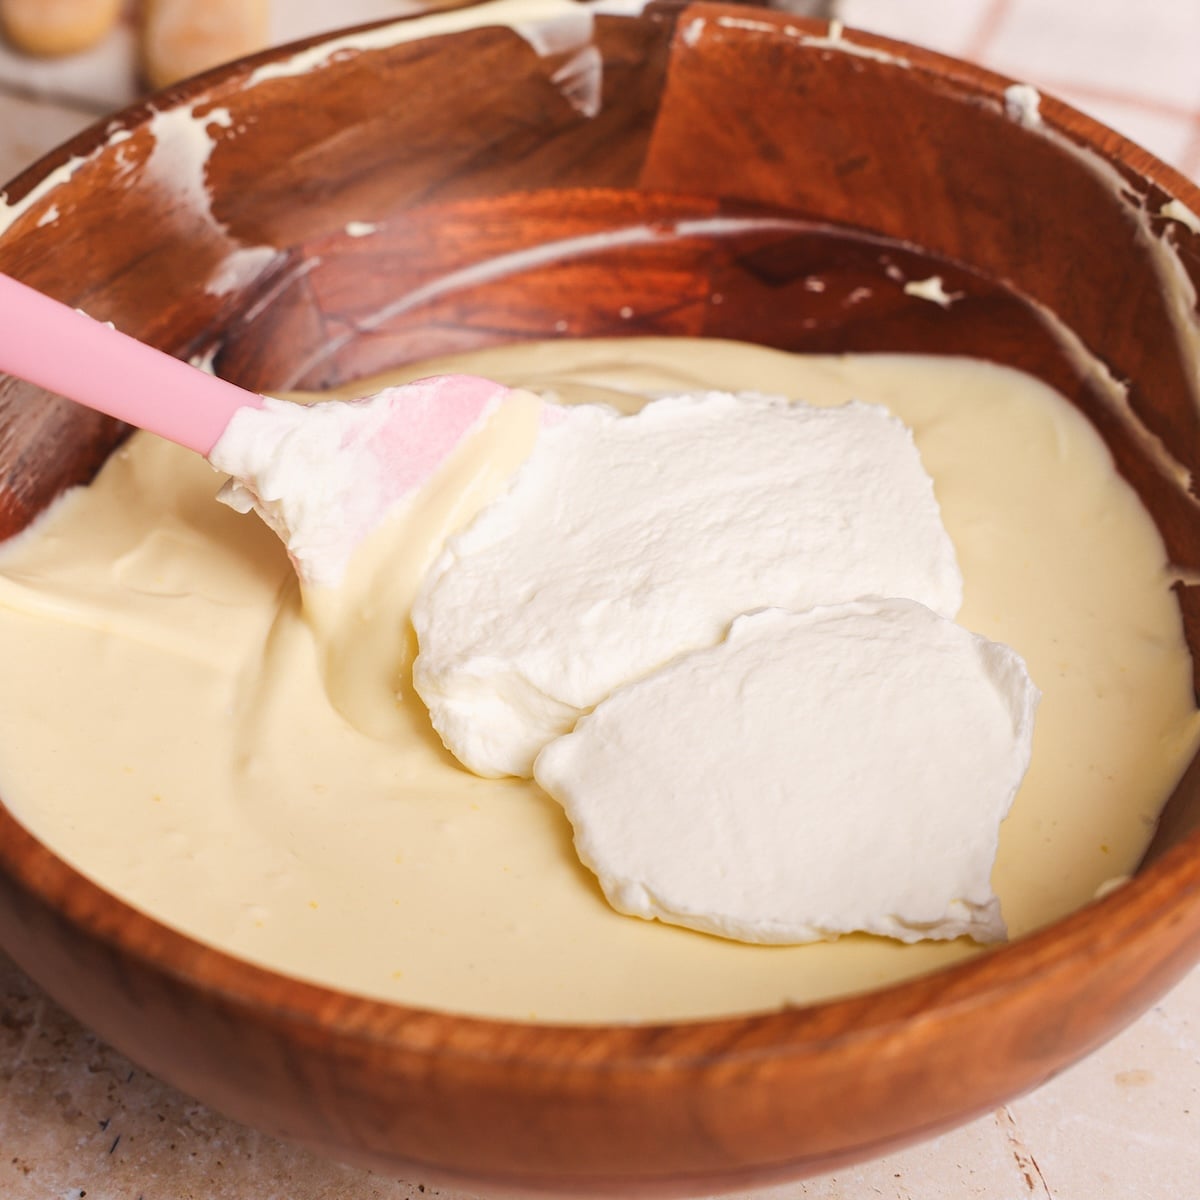
Add the whipped cream (or meringue) to the mascarpone mixture.
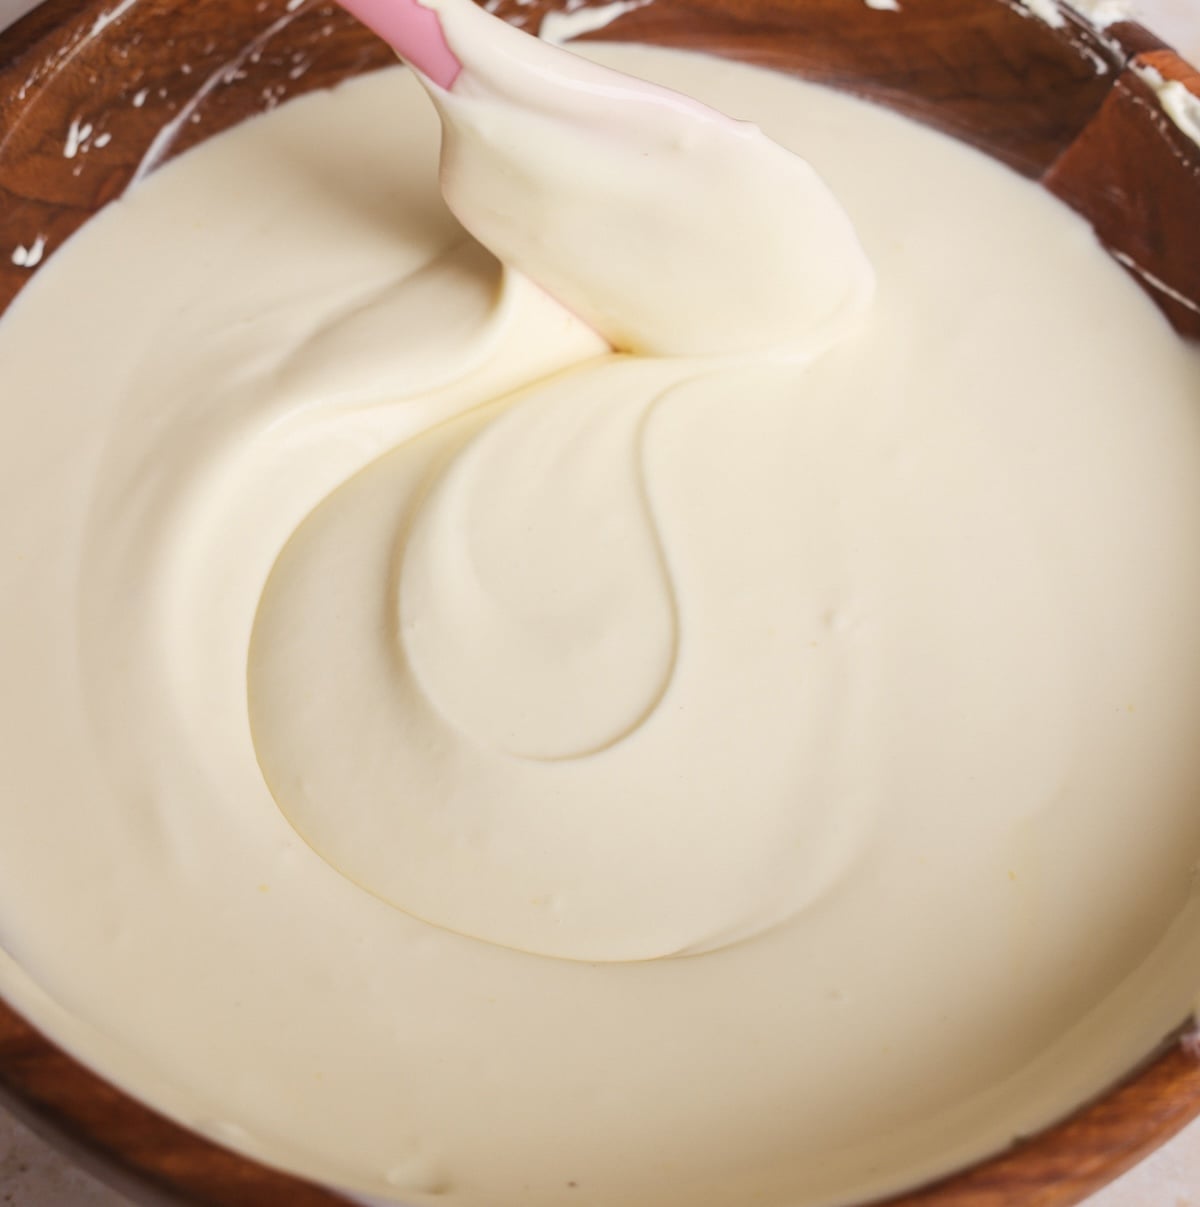
Fold gently until the ingredients are just combined and you have a smooth, creamy mixture.
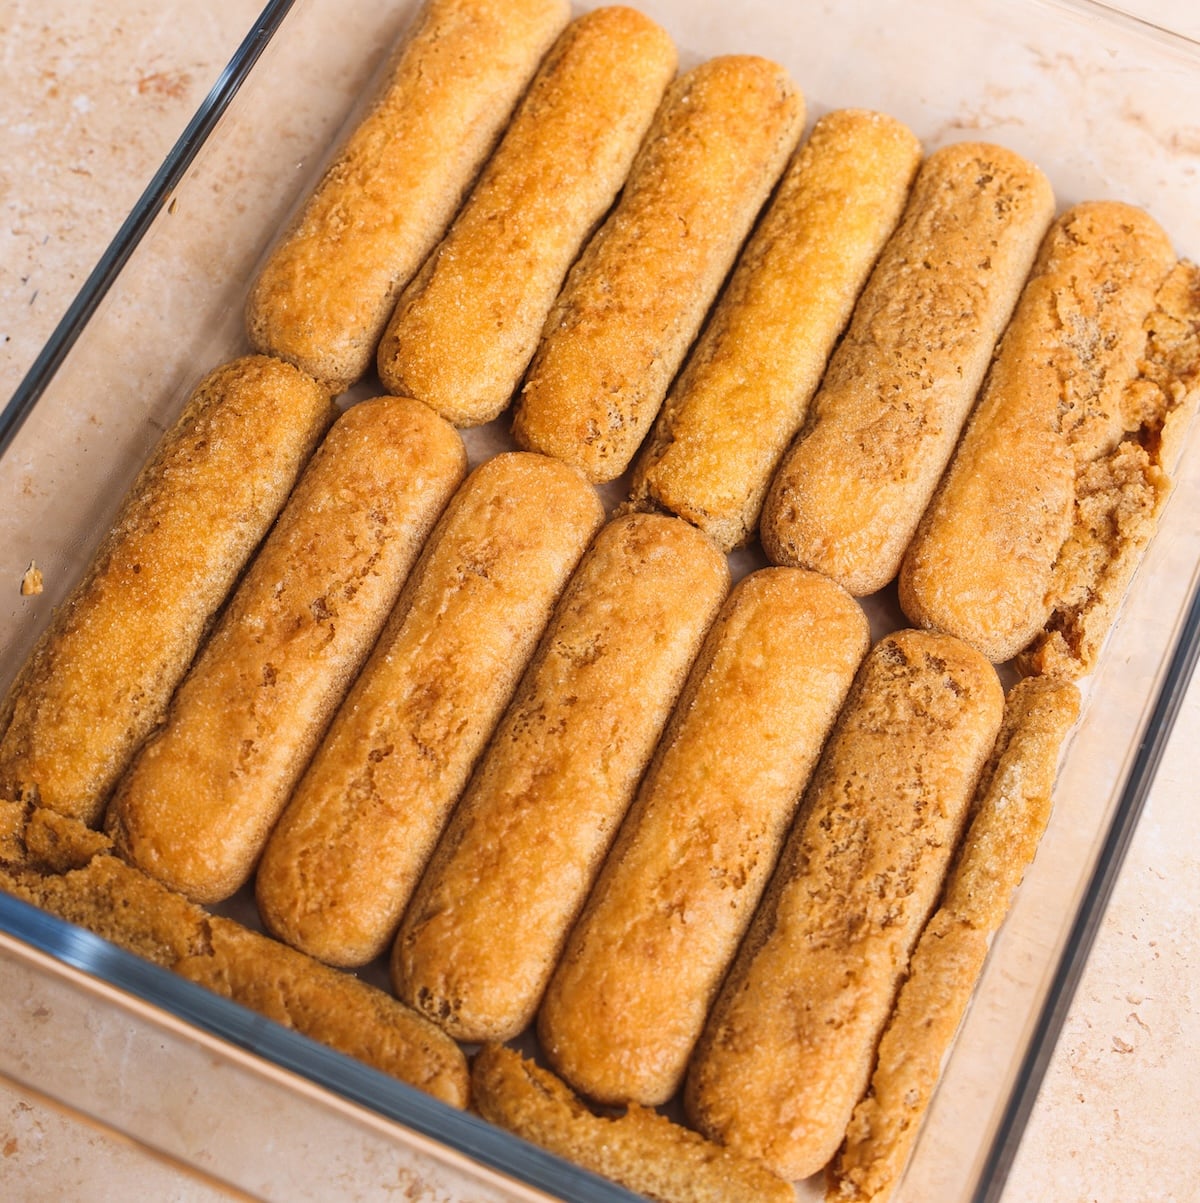
To assemble, dip the ladyfingers one by one in the coffee (just 1-2 seconds) and layer them on the bottom of your dish.
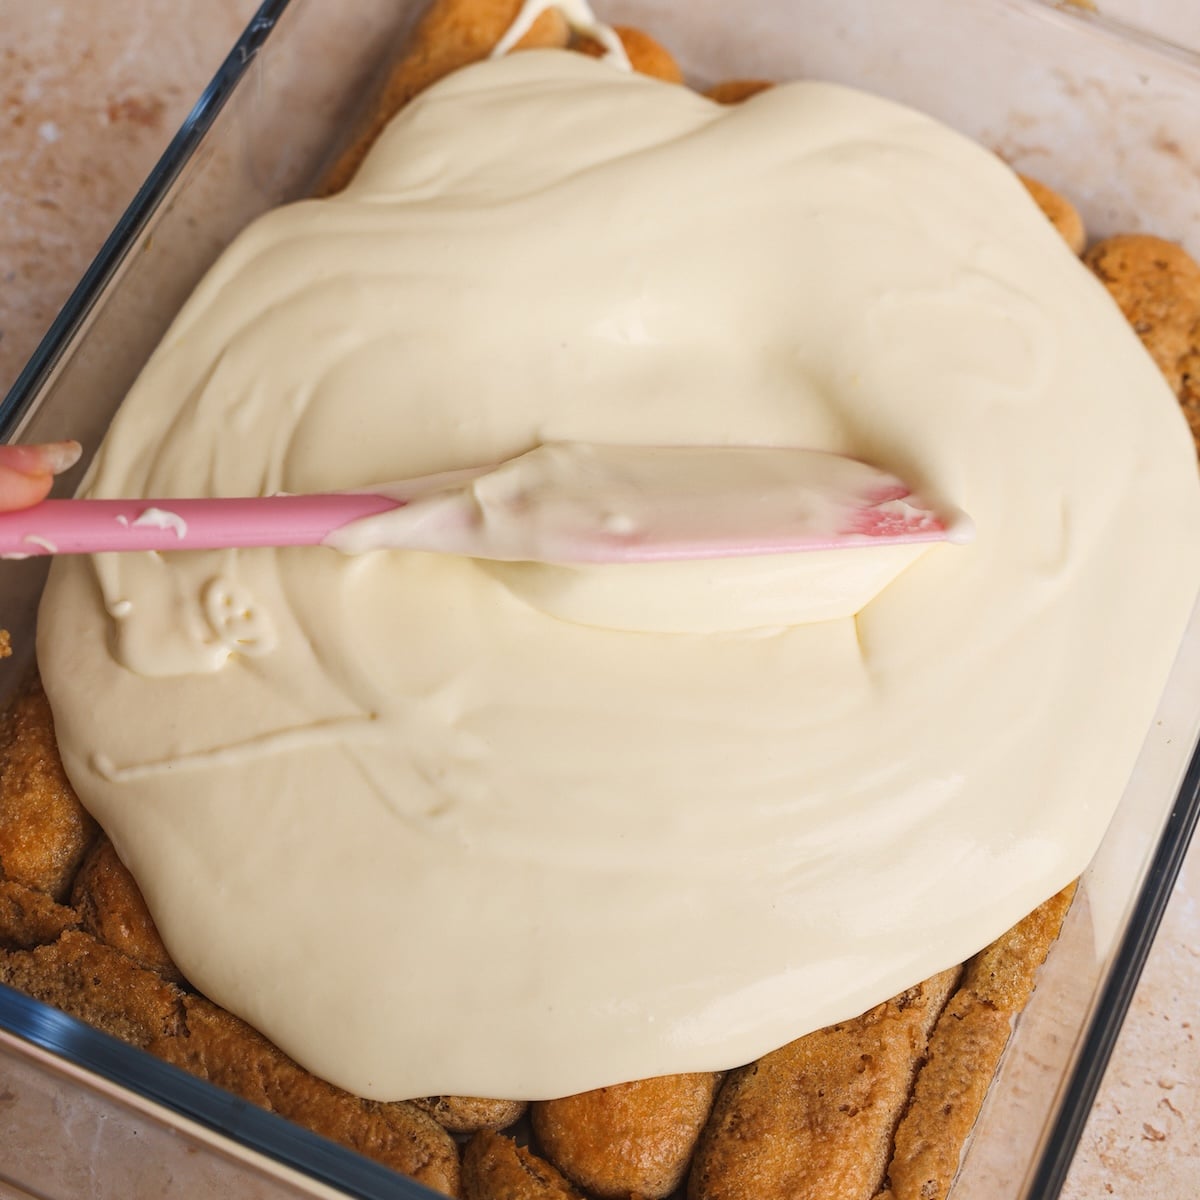
Spread on half of the mascarpone cream.
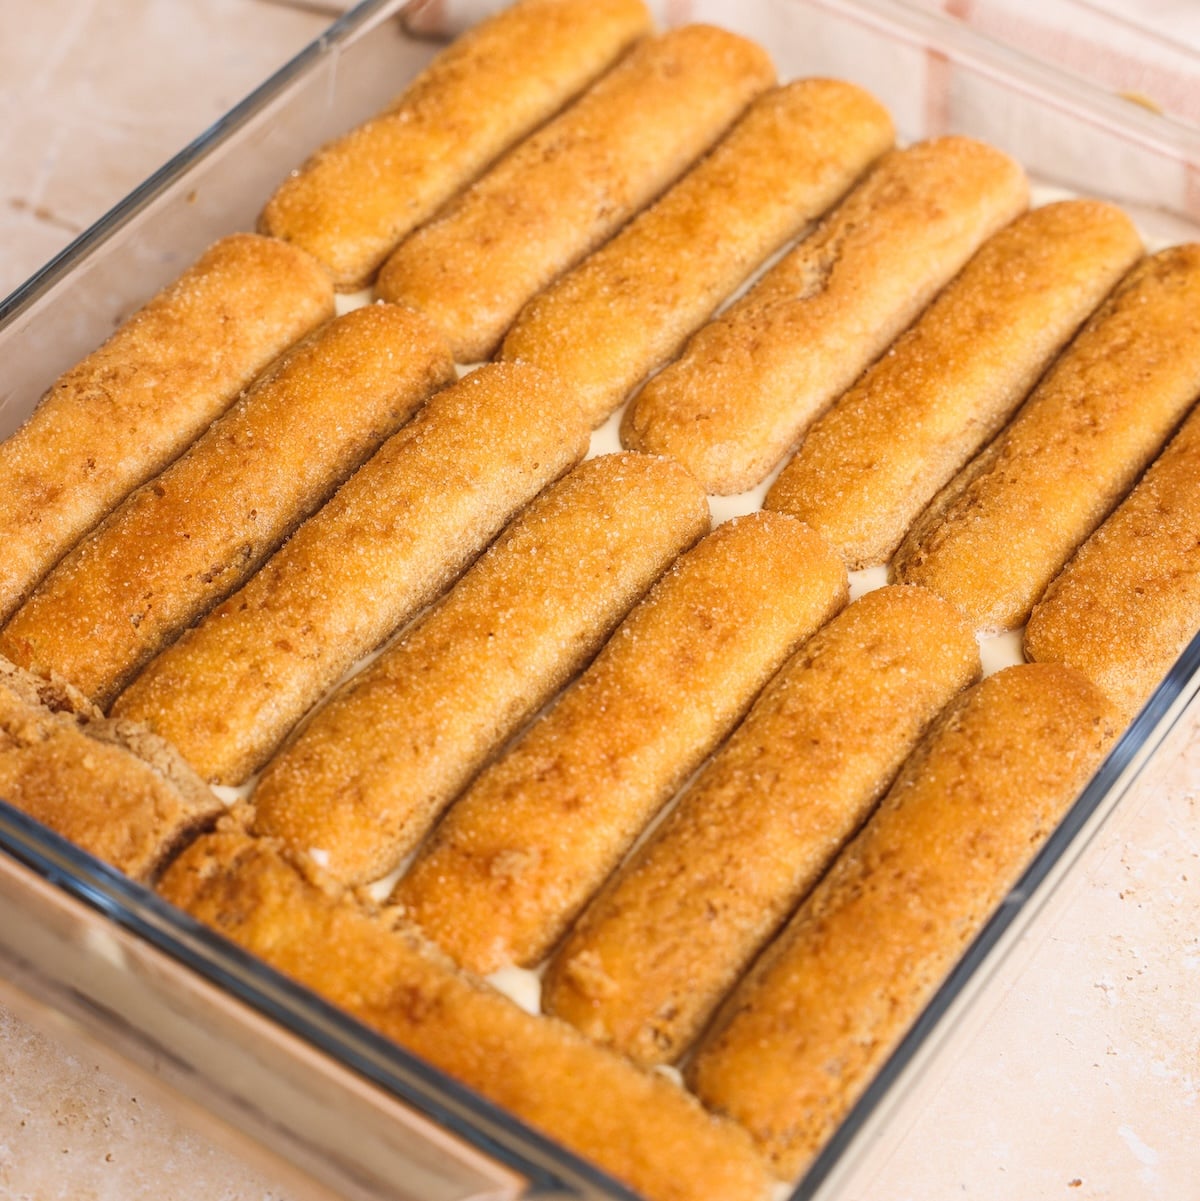
Add a second layer of the coffee-soaked ladyfingers.
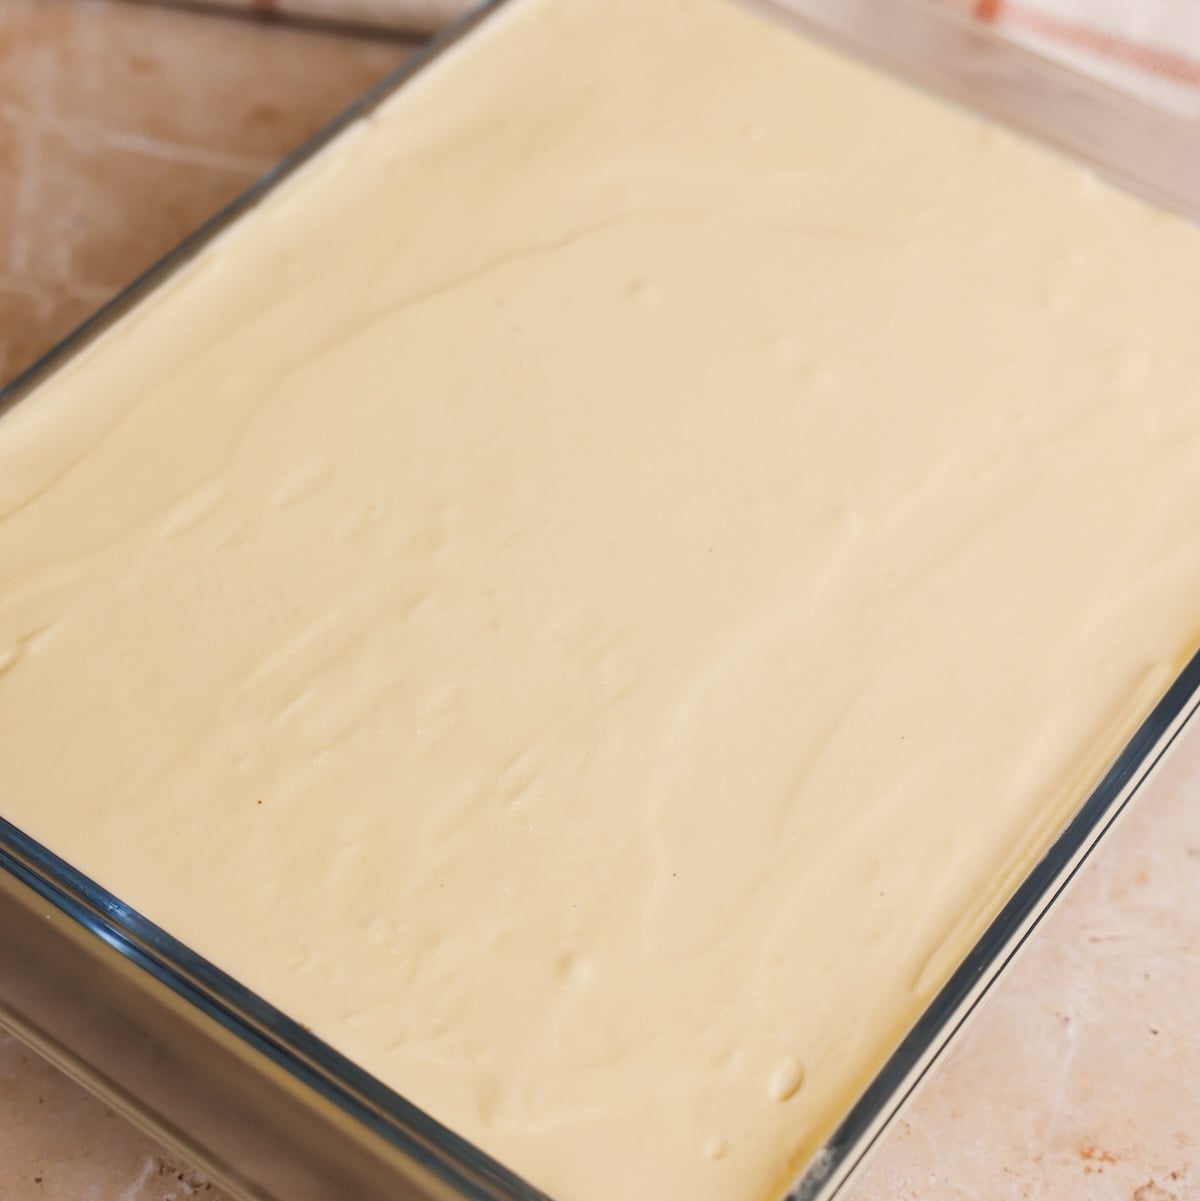
Spread on the remaining mascarpone cream.
Once assembled, cover and refrigerate the Tiramisu for at least 6 hours, and ideally overnight. Dust with cocoa powder right before serving, then slice up and enjoy.
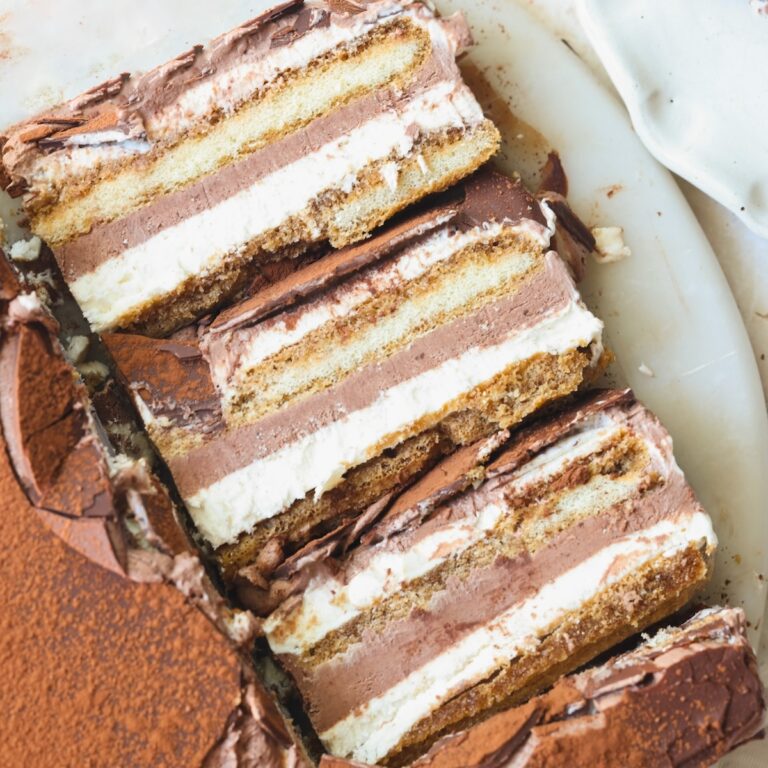
I also highly recommend checking out my Triple Chocolate Tiramisu, which adds chocolate to this already incredible dessert and is SO indulgent.
My favorite Tiramisu dish
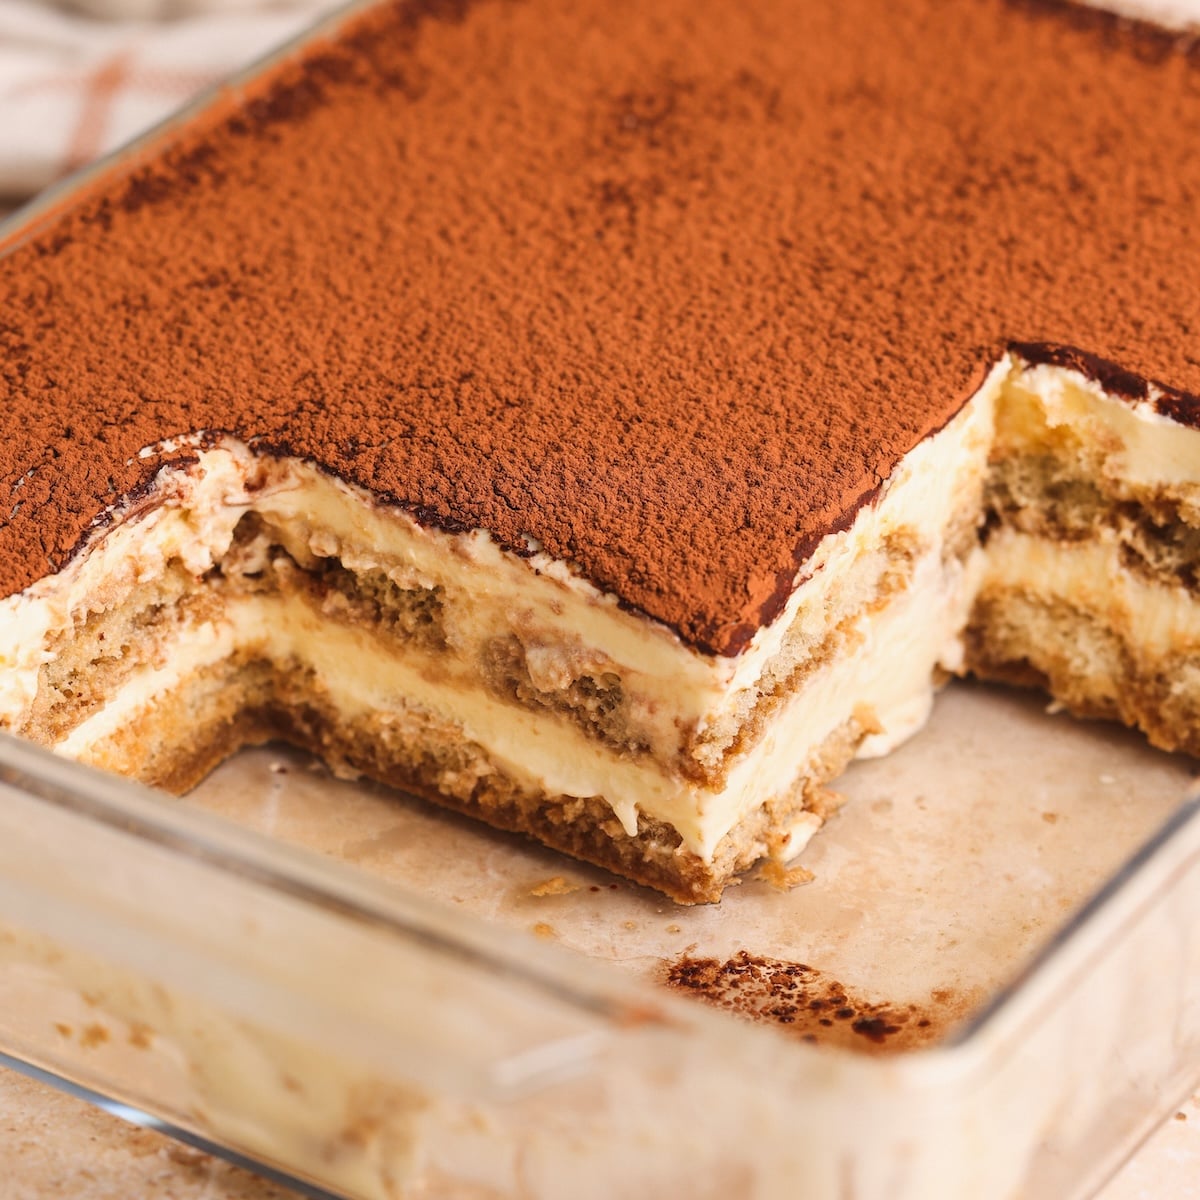
This will probably reveal how much of a perfectionist I am, but after spending ages trying to find the perfect dish to assemble and serve Tiramisu, I have FINALLY found it. I use this rectangular glass casserole dish, and am utterly obsessed with it. It is made of glass so you can see the layers, has straight edges for the perfect slices, is the perfect size and depth for even layers, and even comes with a lid! And if you want to be even more obsessive, you can use this stainless steel spatula with straight edges for the perfect square slices.
A few more tips before you make it
- Avoid overmixing! All the components of the mascarpone cream, including the egg yolks and sugar, mascarpone cheese, and heavy cream, are sensitive to overmixing and can become grainy and split. Follow the recipe instructions closely to avoid this
- Be careful if adding rum. I keep my tiramisu alcohol free, but you can add rum, divided between the mascarpone cream and the coffee soak for the ladyfingers. My only caution here is to start low and taste so you don’t end up with too boozy of a tiramisu
- Don’t oversoak the ladyfingers. You only need to give them a quick dip on both sides in the coffee, and definitely not longer than 1-2 seconds per side. I highly recommend dipping 1 ladyfinger as a test first. Oversoaking will cause the Tiramisu to become soggy
- Don’t rush the chilling process. Tiramisu needs to marinate in the fridge for at least 6 hours for it to set properly. Promise it’s worth the wait!
Email This Recipe
Enter your email and I’ll send this directly to you. Plus you’ll get new recipes from me every week!
Ingredients
Mascarpone cream:
- 16 oz Mascarpone cheese (450g), cold from the fridge – I recommend Galbani
- 4 egg yolks
- 2/3 cup granulated or caster sugar (133g)* – if using egg whites, divide into 2 portions of 1/3 cup and 1/3 cup
- 1 tsp vanilla
- 1/4 tsp salt
- 1 1/2 cup heavy cream, chilled (360g) OR 4 egg whites
Assembly:
- 30–36 ladyfingers*
- 1 1/2 cup strong black coffee, room temperature (360g) – I make mine in a French press with 1 1/2 cup water and 4 tbsp ground coffee*
- 2 tbsp cocoa powder to dust
Instructions
- Mascarpone Cream Option 1: Using heavy cream (recommended)
- Whisk the mascarpone cheese on medium speed for 30-60 seconds until creamy. Scrape the bowl and set aside
- In a separate heat-proof bowl, add the egg yolks and 2/3 cup sugar. Boil 1-2″ of water in a saucepan and reduce heat to the lowest setting. Place the bowl with egg yolks and sugar on top of the saucepan such that the water does not touch the bottom of the bowl. This is a double boiler. Whisk on medium-high speed for 2 minutes, then remove from heat. The mixture will be light and fluffy. Do not overmix or overheat as it can become grainy*
- Pour the egg yolk and sugar mixture onto the mascarpone cheese. Add salt and vanilla, then whisk on medium speed just until combined, scraping the bowl halfway (do not overmix as the mixture can become grainy)
- In a separate bowl, whip the cold heavy cream until it reaches medium stiff peaks (just starts to hold shape). Do not overmix
- Add the whipped cream to the mascarpone mixture in 2-3 additions, folding gently with a rubber spatula and taking care not to knock out the air. You will have a creamy, light mixture
- Mascarpone Cream Option 2: Using egg whites
- Whisk the mascarpone cheese on medium speed for 30-60 seconds until creamy. Scrape the bowl and set aside
- In a separate heat-proof bowl, add the egg yolks and 1/3 cup sugar. Boil 1-2″ of water in a saucepan and reduce heat to the lowest setting. Place the bowl with egg yolks and sugar on top of the saucepan such that the water does not touch the bottom of the bowl. This is a double boiler. Whisk on medium-high speed for 2 minutes, then remove from heat. The mixture will be light and fluffy. Do not overmix or overheat as it can become grainy*
- Pour the egg yolk and sugar mixture onto the mascarpone cheese. Add salt and vanilla, then whisk on medium speed just until combined, scraping the bowl halfway (do not overmix as the mixture can become grainy)
- In a separate clean bowl, add the egg whites and remaining 1/3 cup sugar. Place on the saucepan with boiling water again, and whisk on medium-high speed with a clean whisk for about ~5-8 minutes until the sugar feels dissolved (the mixture will be very frothy). Remove from heat and keep whisking until a glossy, stiff and opaque meringue forms. Take care not to over whisk as that can cause the meringue to separate*
- Add the meringue to the mascarpone mixture in 2-3 additions, folding gently with a rubber spatula and taking care not to knock out the air. You will have an airy, light mixture
Assembly and serving:
- Pour the coffee into a wide bowl, and make sure it is not hot. Dip each ladyfinger quickly into the coffee (I do a quick dip on each side)* and add a layer of soaked ladyfingers in the bottom of a 8×9.5″ rectangular dish*
- Spread on half of the mascarpone cream evenly
- Repeat with another layer of soaked ladyfingers
- Top with the remaining mascarpone cream
- Cover and refrigerate for at least 6 hours, or ideally overnight
- When ready to serve, sift the cocoa powder evenly on top of the tiramisu. Cut into slices and serve!
Video Tutorial
Notes
- Sugar: I originally shared this recipe with 3/4 cup of sugar, but have since found that it is even better with just 2/3 cup!
- Ladyfingers: Also known as savoiardi / sponge fingers, these are long oval shaped biscuits made from a sponge cake batter, which become like cake when dipped in the coffee. They are available in grocery stores and on Amazon, but you can also make them at home
- Coffee: The strength of coffee depends on how much you like its flavor (some people use espresso), but my general guidance is to make the coffee twice as strong as you usually would. It can be brewed coffee, French press coffee, or instant coffee mixed in hot water. I make it in a French press with 1 1/2 cup water and 4 tbsp ground coffee
- Cooking eggs: This recipe ensures eggs are not used raw by using a double boiler (for both egg yolks and egg whites, if using option 2). If you want to be extra cautious, use a thermometer and ensure the temperature reaches 160F for both. However, if you have pasteurized eggs and prefer to cut down the time, you can skip the double boiler completely and whisk on the countertop
- Whipping egg whites: If using egg whites (method 2), make sure to use a clean bowl and whisk attachments, as if any fat gets into egg whites, they will not whip up
- Dipping ladyfingers: Ladyfingers absorb liquid quickly, so I recommend a quick dip on each side. However, if you want the coffee to fully penetrate the ladyfingers, you can do 1-2 seconds per side – just note that this can make the tiramisu more soggy. If in doubt, test with 1 ladyfinger first. Dip it, let it sit for 5 minutes, then check how soft it is
- Serving dish: I use a 8×9.5″ rectangular dish, but you can also use a 7×11″ dish, a 9×9″ dish, individual cups or even circular / oval dishes of similar size. Just trim the ladyfingers to fit accordingly
- Adding rum: For those who prefer the alcoholic version, you can add up to 1/4 cup rum, divided between the mascarpone cream and the coffee soak
- Make ahead & storing: You can make this tiramisu up to 1 day in advance, keep it covered in the refrigerator, and dust with cocoa powder when you are ready to serve. Any longer and it will start to get soggy. To store, keep it in an airtight container in the fridge for up to 5 days (although it is best in the first 2-3 days). Tiramisu with whipped cream stores better than tiramisu with egg whites!

Comments
Klaas VanderBent
The best Mascarpone Cheese is made in Turtle Lake, WI. for Schuman Cheese. It is the “Cello” brand and at almost every Costco. This mascarpone has been winning contest awards for years and is hands down better than the 3 that were mentioned at the beginning of this recipe. Give it a try or compare side by side I feel you will agree.
Marlein
Absolutely delicious. I have made this several times and have been told it’s the best tiramisu they’ve ever had. Great recipe. I use double espresso Cold Brew.
Safiya
Tried this two times and many more to go…It’s amazing and baked with Zoya’s all recipes are amazing😋 Can try Zoha’s recipe without a second thought😍
Lana
This was my first time making tiramisu and I couldn’t have imagined a better turn out… My family is in-love with it and so am I! Thank you thank you thank you for this lovely recipe 🤍 I’ve always been skeptical about not being able to get it right (I love tiramisu very much) but this was absolute perfection <3
Olin
Tasted incredible. Zoha’s instructions are very helpful. The whole family loved it. She responds quickly to your messages if you need any help x
Radgal
Can I prepare this a day ahead?
Andrea
I love this recipe. It’s delicious and is easy to follow with the techniques unfamiliar to me explained. Thank you! I’ve made it 3x. 🥰
bakhtawar
isnt whisking the egg and sugar mixture over the boiler for two minutes too little time? wont they still be partially raw that way?
Nimrah Awan
How should we adjust the sugar in the eggs if we are using “sweetened” whipped/heavy cream instead of unsweetened? Please reply
William
If you are only mixing the yolks for 1-2 minutes over steam, you are probably not reaching 160*. If so, you are not achieving your goal of only using safe eggs. If you simmer the water gently enough, perhaps made simpler by using a larger pot and bowl, there should be no problem whisking the eggs for 10 minutes without any graininess.
Annie
I made this recipe on eid & my family and I loved it so much, they’ve requested it for all gatherings! It’s so light and yummy and perfect balance of sweetness. I opted for the whipping cream option 🙂 in Zoha we trust!!!
Nimrah Awan
Hey did you use “sweetened” whipped cream! How did you adjust the sugar in the eggs mixture then?
Zeba Mansuri
Tried my hands on making Tiramisu for the first time.. And it turned out bang on!! Definitely hooked up with this recipe..
Rachael
This was my first time making tiramisu but this was such an easy recipe to follow and it was a massive hit with everyone! Will be saving this one!!
Annetta
Amazing… so detailed and answers all my questions… wow! wow! wow!
Chris
So I’ve made this twice and I don’t understand how you go from 160F on the egg whites and whisk it at medium speed until it supposedly stiffens before you combine with the egg yolks. Every time it makes the whole mixture, once you combine everything, runny. Help!
Zoha
Hi Chris,
Making a meringue can take a long time, sometimes close to 10 minutes of whisking. the key is to make sure the egg whites whip into a stiff mixture that holds shape before you fold them into the rest of the mix. also make sure to fold gently so you don’t knock out the air.
shaima
Me too.Had the same issue.It became runny and the egg whites turned into a meringue pretty fast, like in less than 3 mins on medium speed
Nasrin
thanks a lot for the inclusive information. couldn’t be better than this.
Mem
This is the best Tiramisu I have made. I debated which option to choose and went with the egg white, so glad I did! The result was light, creamy and delicious and lets be honest mascarpone does not need added fat!!
User
Hi I was wondering how long I can leave it in the fridge for before serving? It says at least 5 hrs to overnight, but what if I make it in the night and leave it chilling in the fridge until dinner the next day, would that still leave it the same?
SAM Hotak
she is amazing may Allah bless you zoha Ameen
Zoha
Thank you!!
Aadila
do we need to add the egg white mixture once it’s cool down…? pls answer me
Zoha
It will already be cool from the whisking 🙂 So you can add once it’s done