

This post may contain affiliate links
Add Bake with Zoha as a preferred source on Google and find more of my tried-and-tested recipes.
These are the *perfect* cinnamon rolls by every definition – and that’s coming from a very picky cinnamon roll lover. Pillowy soft, melt-in-your-mouth tender, with a gooey cinnamon sugar filling and a luscious cream cheese frosting. I’ve developed this recipe to be as easy and fuss-free as possible: all purpose flour only (no bread flour!), no mixer (though you can use one), no overnight rises, and with my favorite cut-and-roll technique for the perfect swirl every time.
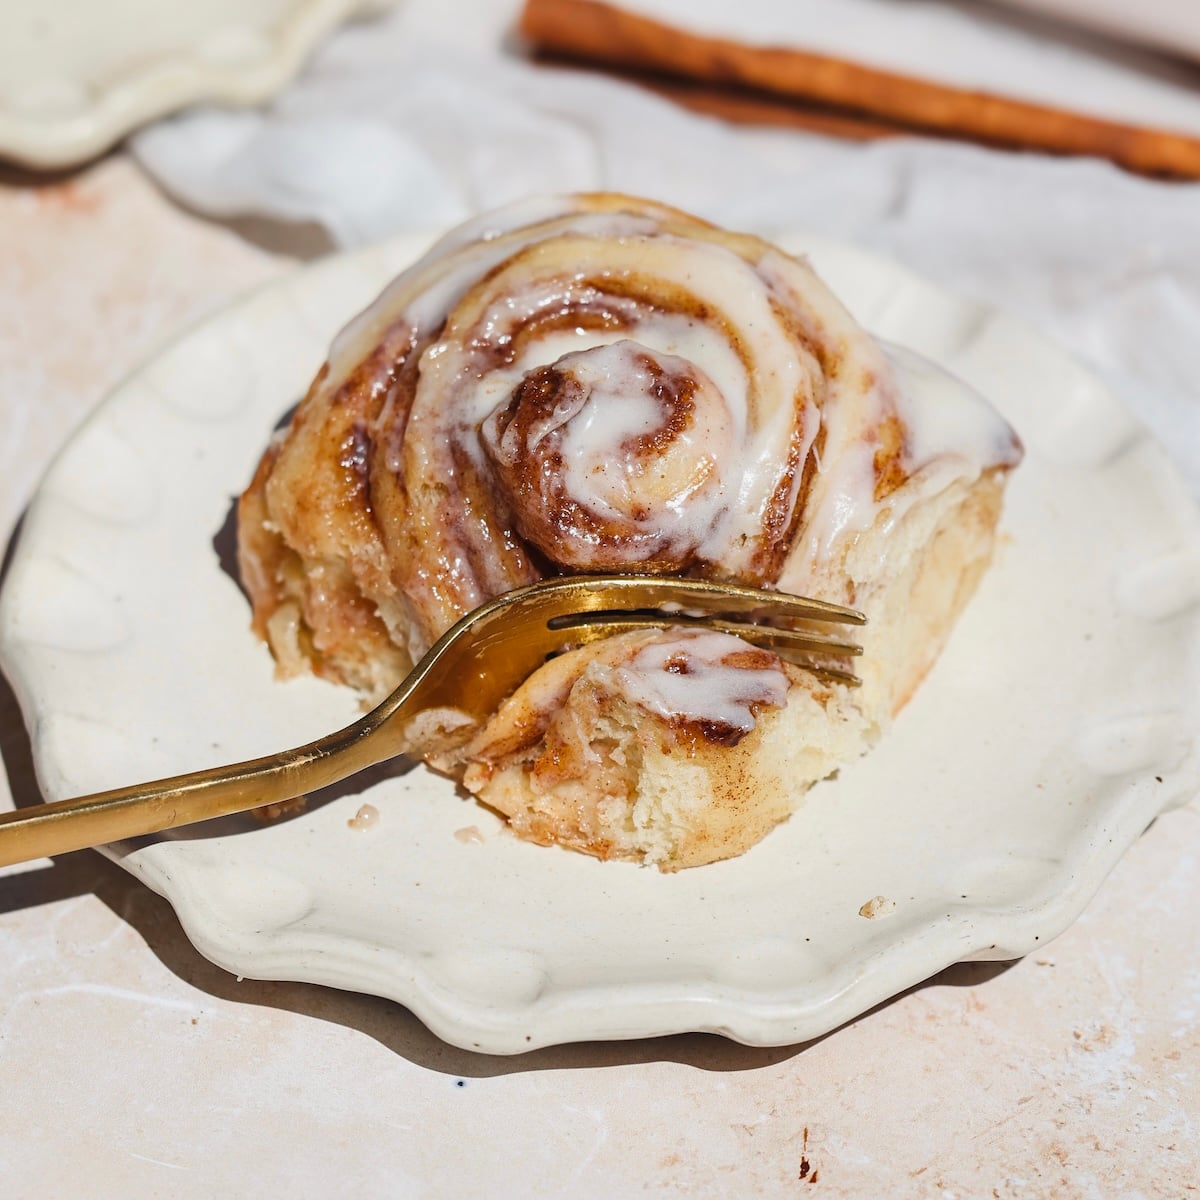
I have been baking for 38 years and cinnamon rolls are my favorite thing to make. I have 4 recipes I use and I’m getting rid of all of them. These are by far the softest, most delicious cinnamon rolls!
– Liv, ★★★★★
What I’ve learned from a dozen trials
I’ve tested no less than a dozen variations of this recipe to develop the perfect cinnamon rolls, and there have been some surprising learnings along the way. Here are my hot takes about cinnamon rolls, and what I believe makes this recipe perfect:
- All purpose flour is better than bread flour. Not only is all purpose flour easier to find (and already stocked in most pantries), I actually think it’s better than bread flour for cinnamon rolls. Bread flour has a higher gluten content and creates a light and chewy texture which is great for breads like sourdough or french loaves – but cinnamon rolls should be soft and tender. All purpose flour helps achieve that
- The floss cutting technique actually kind of sucks. Most recipes tell you to roll up the dough into a log, and cut it using a floss. In my tests, I learned that this actually gets pretty messy. Instead, I prefer the cut-and-roll technique to get the perfect, even swirl every time – more on this below!
- Drizzled heavy cream is not optional. The trick of pouring heavy cream on top of cinnamon rolls before baking, introduced by Tastes of Lizzy T, is a must. It creates steam in the oven and ensures the rolls are extra tender, moist and gooey
2 options to knead the dough
Kneading activates and strengthens the gluten in the dough, which helps the cinnamon rolls rise and develop the soft and flexible texture we want. Under-kneaded dough will result in dense, tough rolls which don’t rise properly. Here’s how you knead the dough properly:
Option 1: Knead by hand (15 minutes)
Bring together the ingredients into a rough dough using a spoon, then start kneading on a clean counter using a push-pull motion with your palms. The dough will be very sticky at first and this will take time – don’t panic, don’t add more flour, and just keep going! After ~5 minutes, the dough should feel significantly less sticky. If not, add just 1-2 tablespoons of flour and continue. After 15 minutes, the dough should be very smooth and stretchy, and pass the window-pane test. You should be able to stretch a piece between your fingers until it’s thin enough that light passes through it without ripping
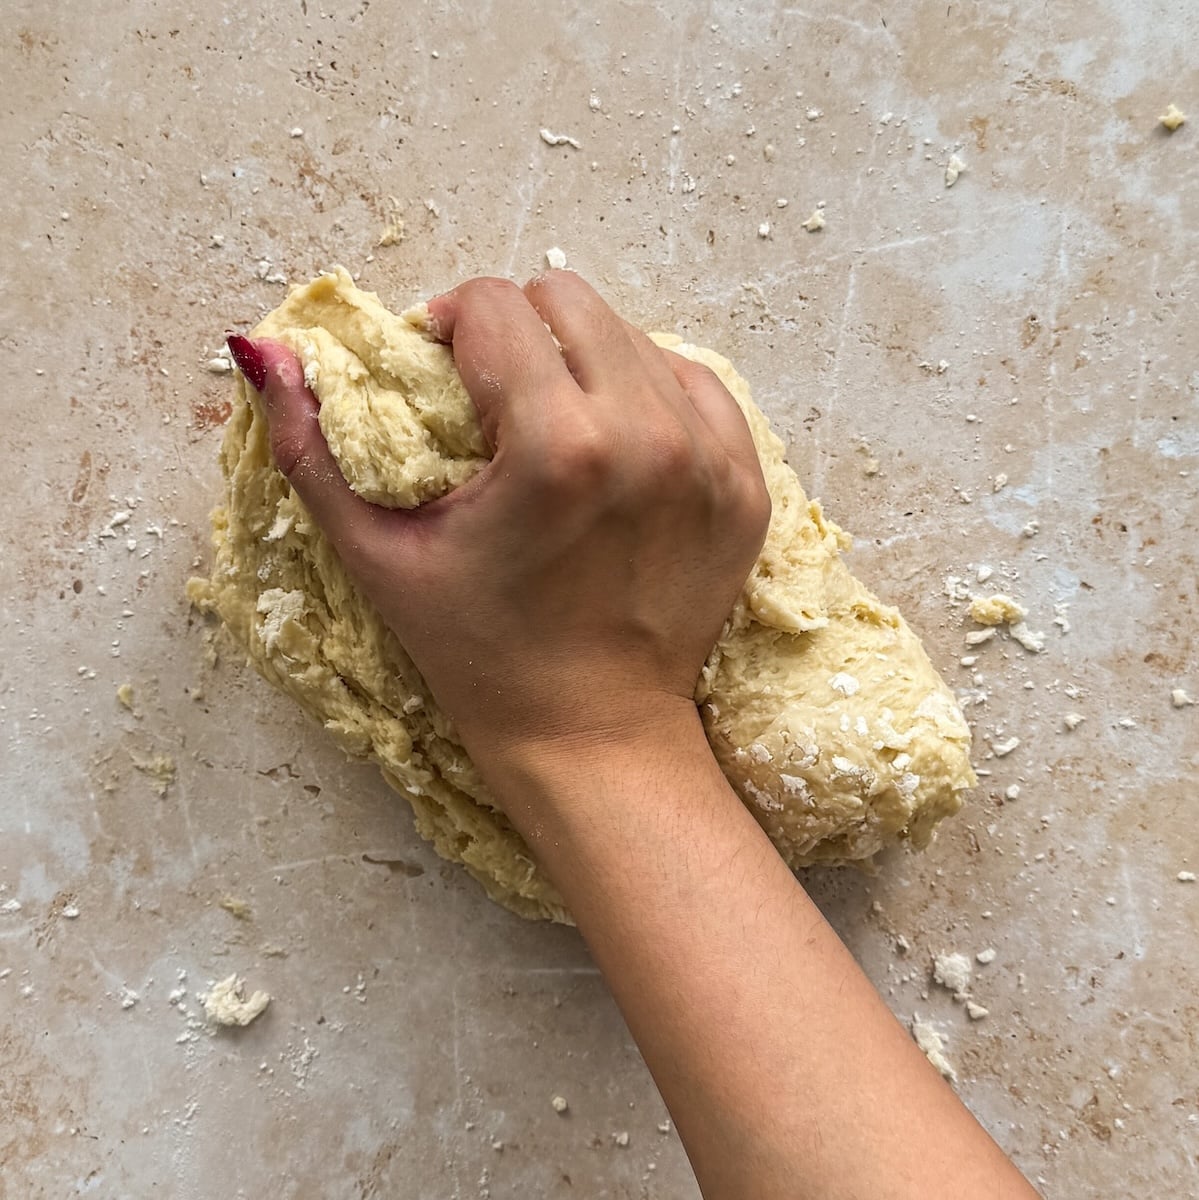
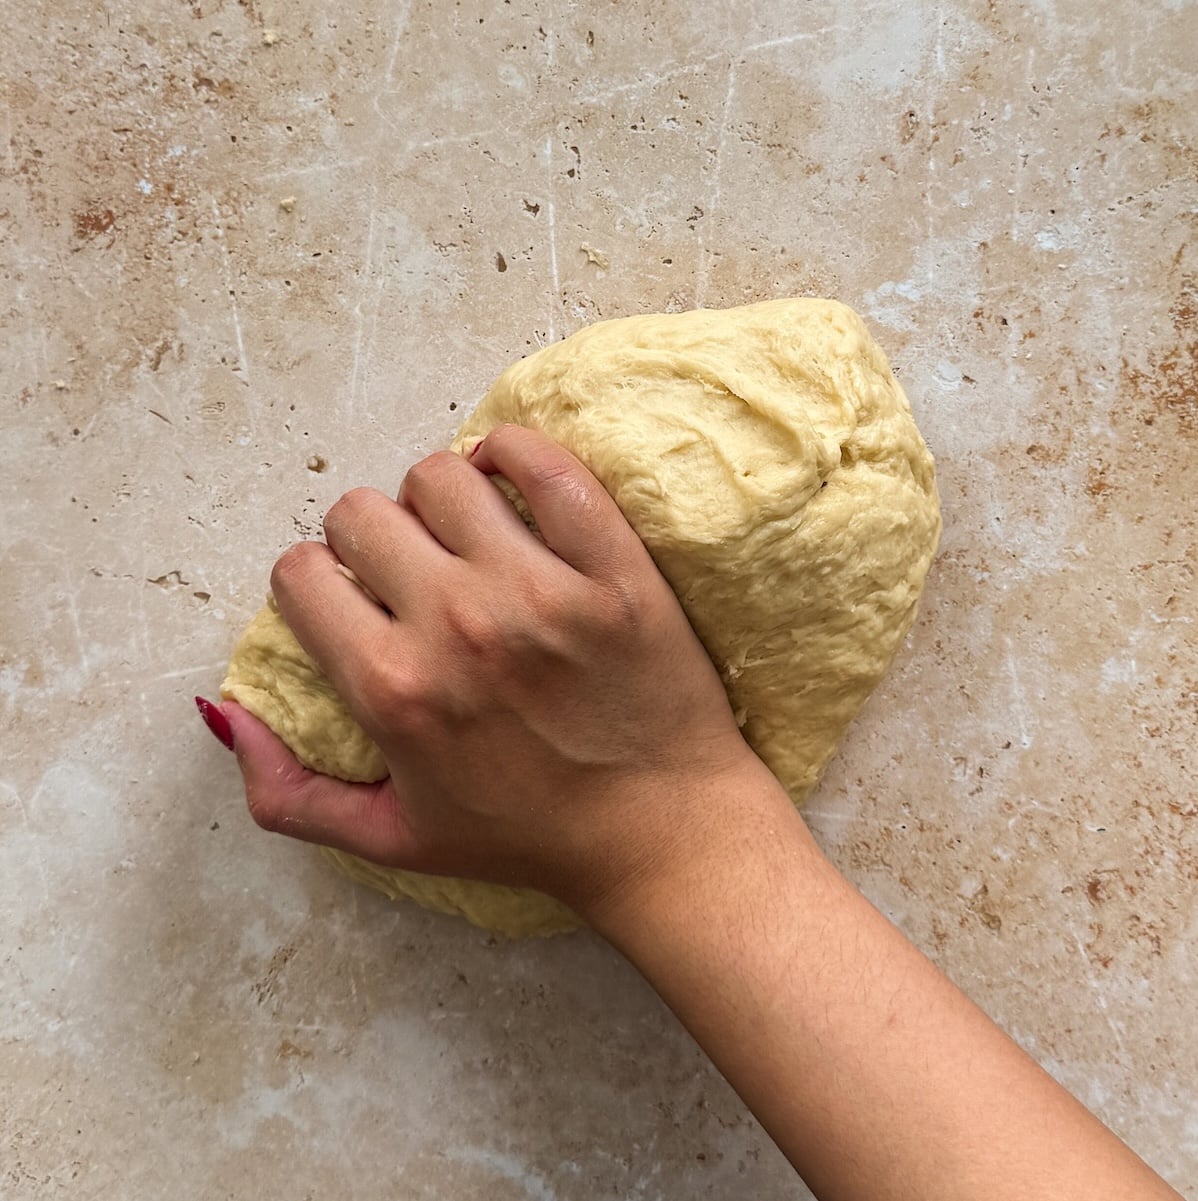
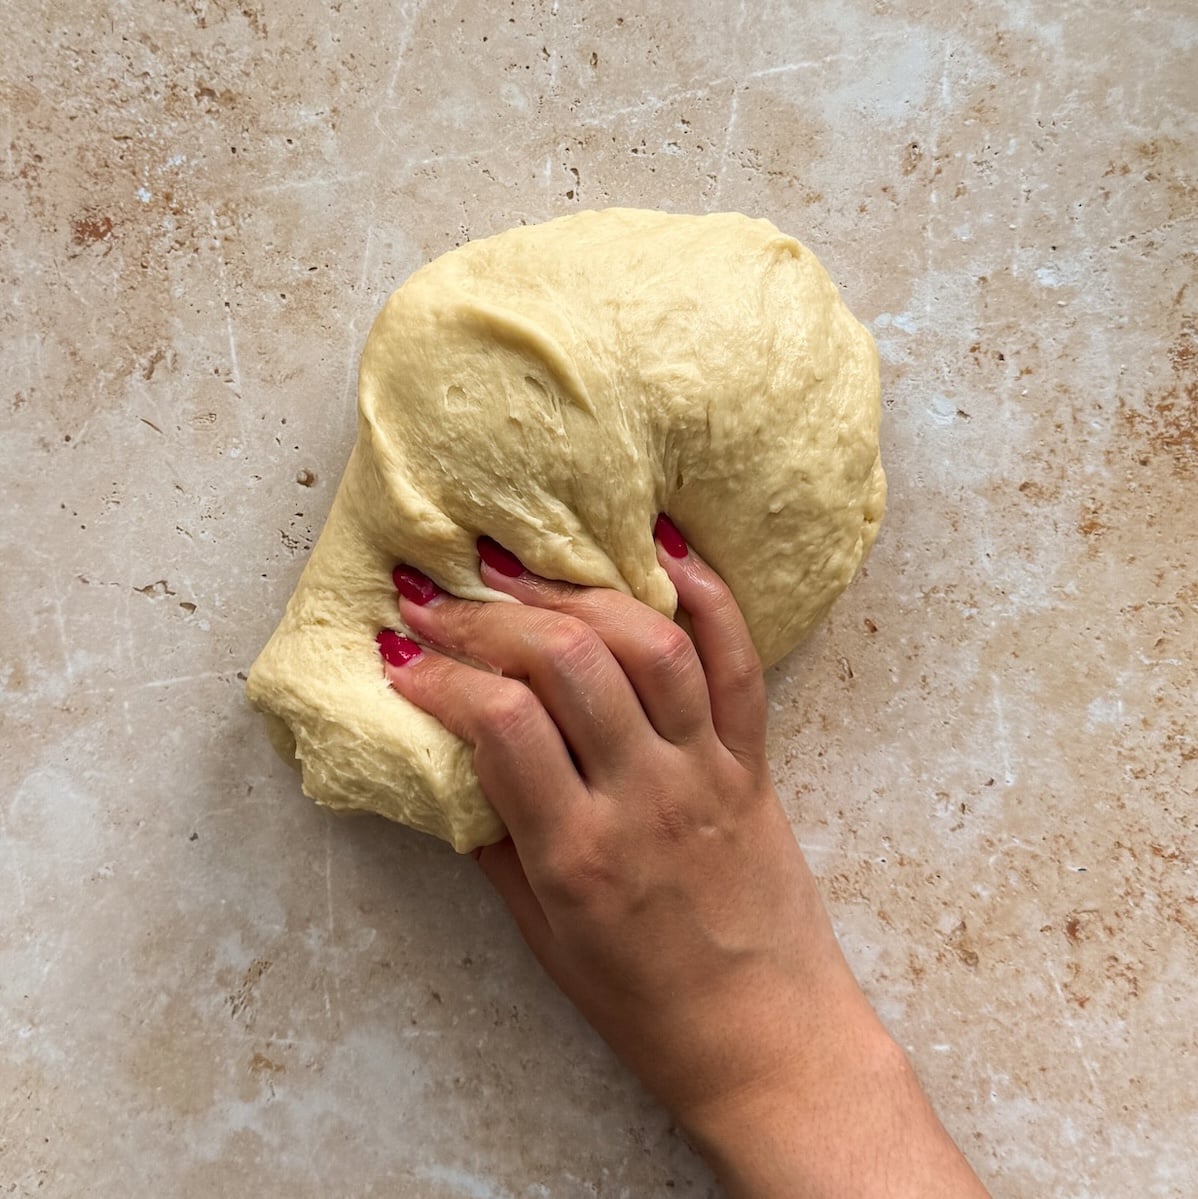
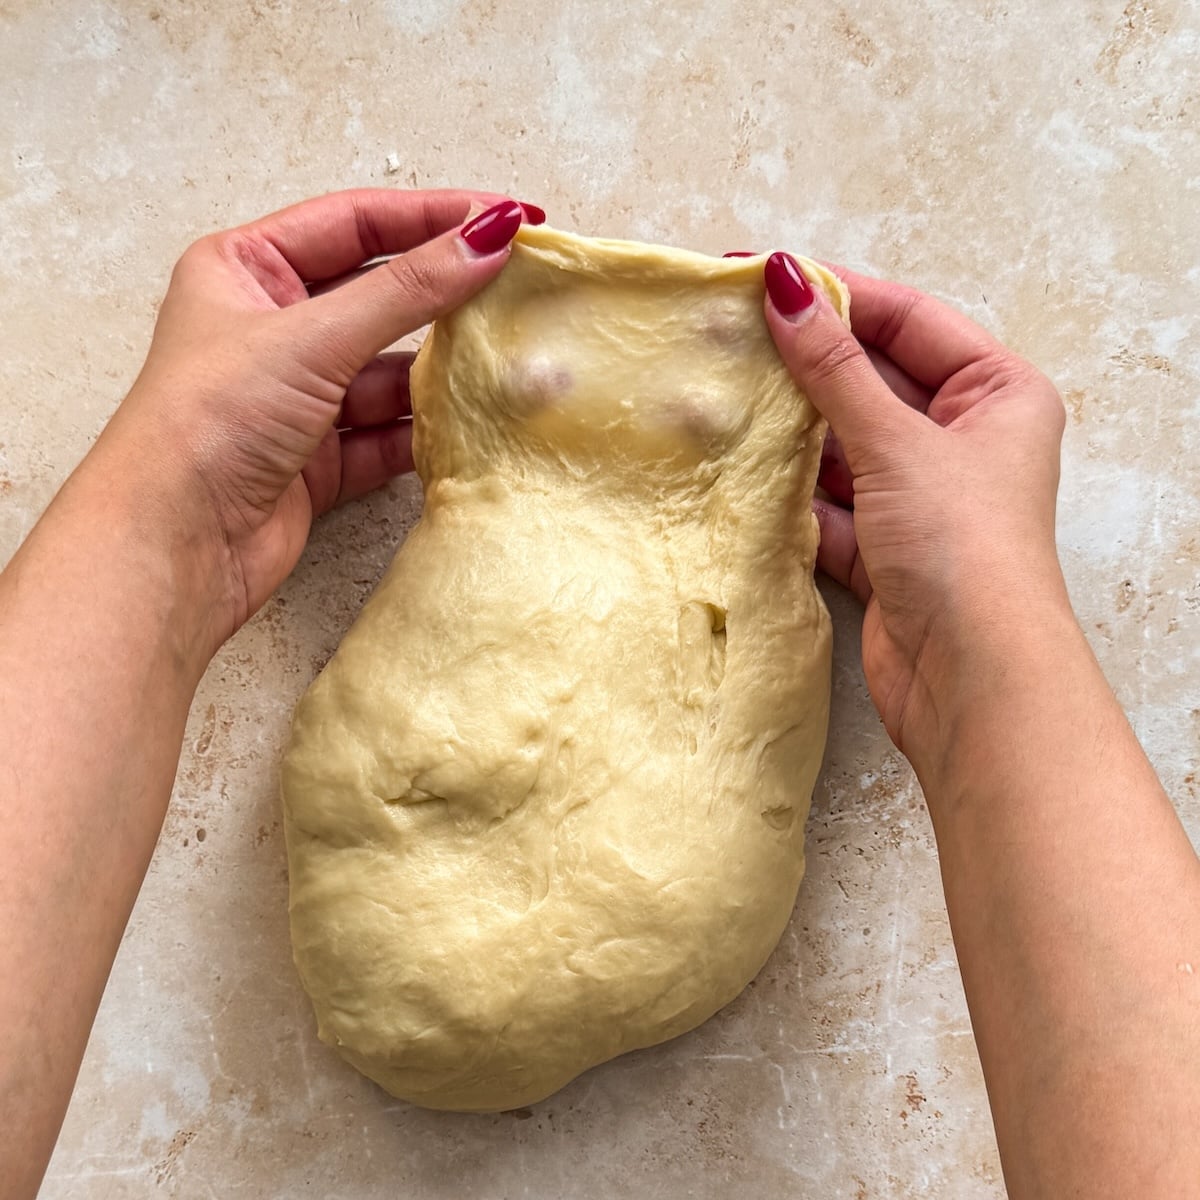
Option 2: Use a stand mixer (10 minutes)
Use the dough hook on a stand mixer to knead on medium-high speed. The dough will start sticky and wet, but over time will pull away from the edges of the bowl and come together into one smooth, stretchy mass that passes the window-pane test.
The “cut-and-roll” swirl technique
Perhaps it’s superficial of me, but I think a cinnamon roll has to look as good as it tastes, and that comes down to the perfect swirl. I know most recipes will tell you to roll the dough into one log, and then cut it with a sharp knife or floss. But this can be messy, the log is almost never perfectly even, and the filling often starts to ooze out.
What I recommend instead is the cut-and-roll technique:
- After spreading the filling, divide the rectangle into equal long strips using a sharp knife or pizza cutter (I prefer the latter). A long clear ruler makes this easier
- Roll each strip individually into a cinnamon roll, maintaining even pressure as you go
That’s it. You have more control and get a tight, even swirl every time. Once you try this technique, you won’t go back!


Step by step photos
Let’s put everything together with these step by step photos:
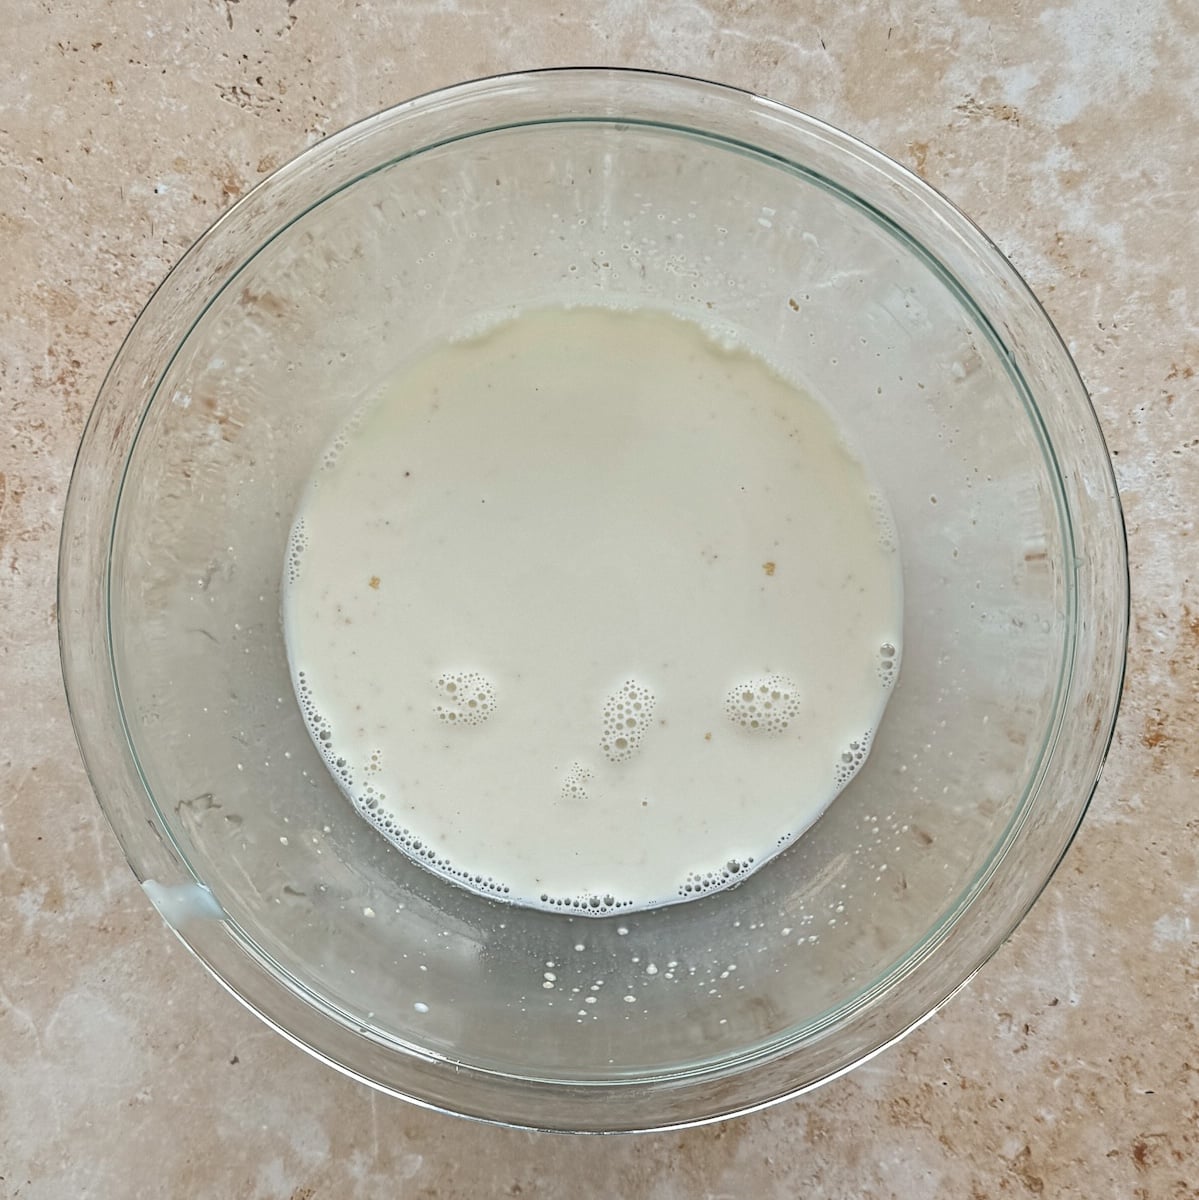
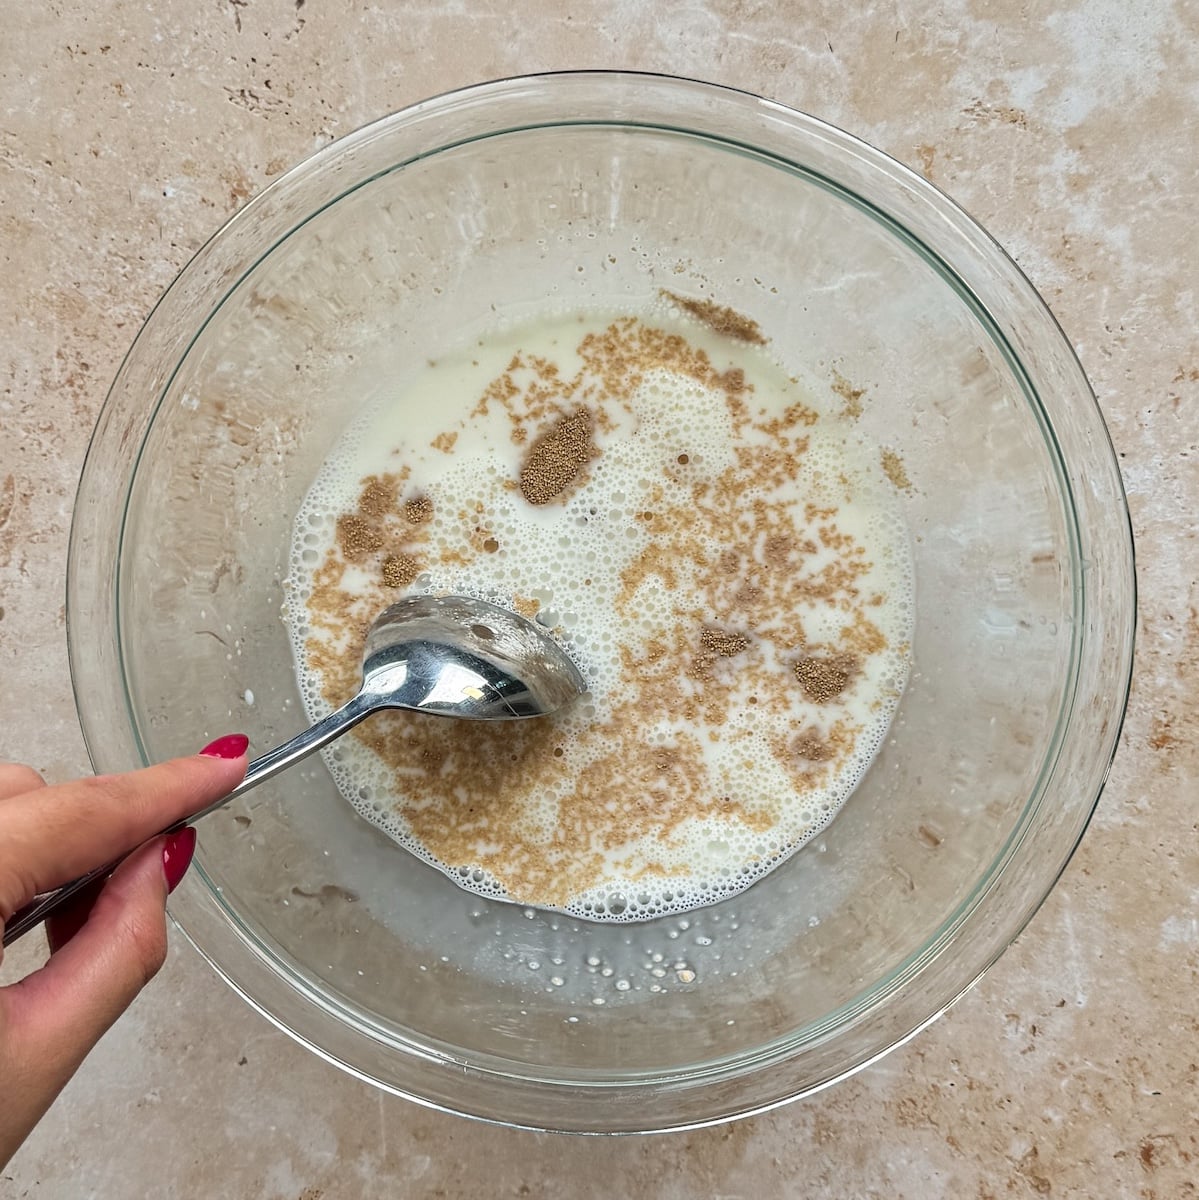
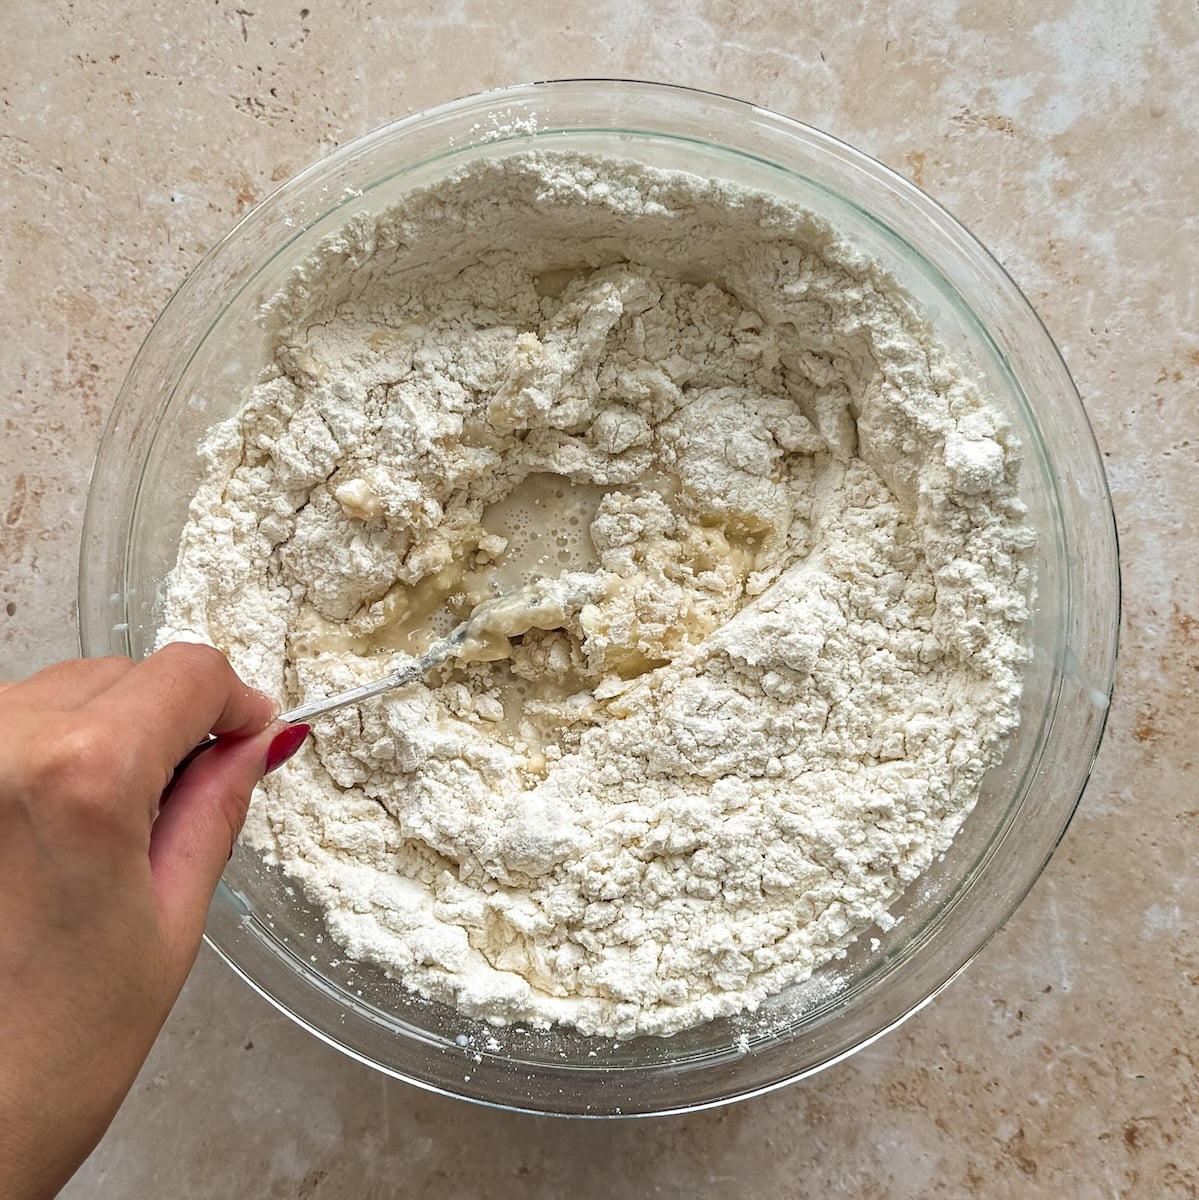
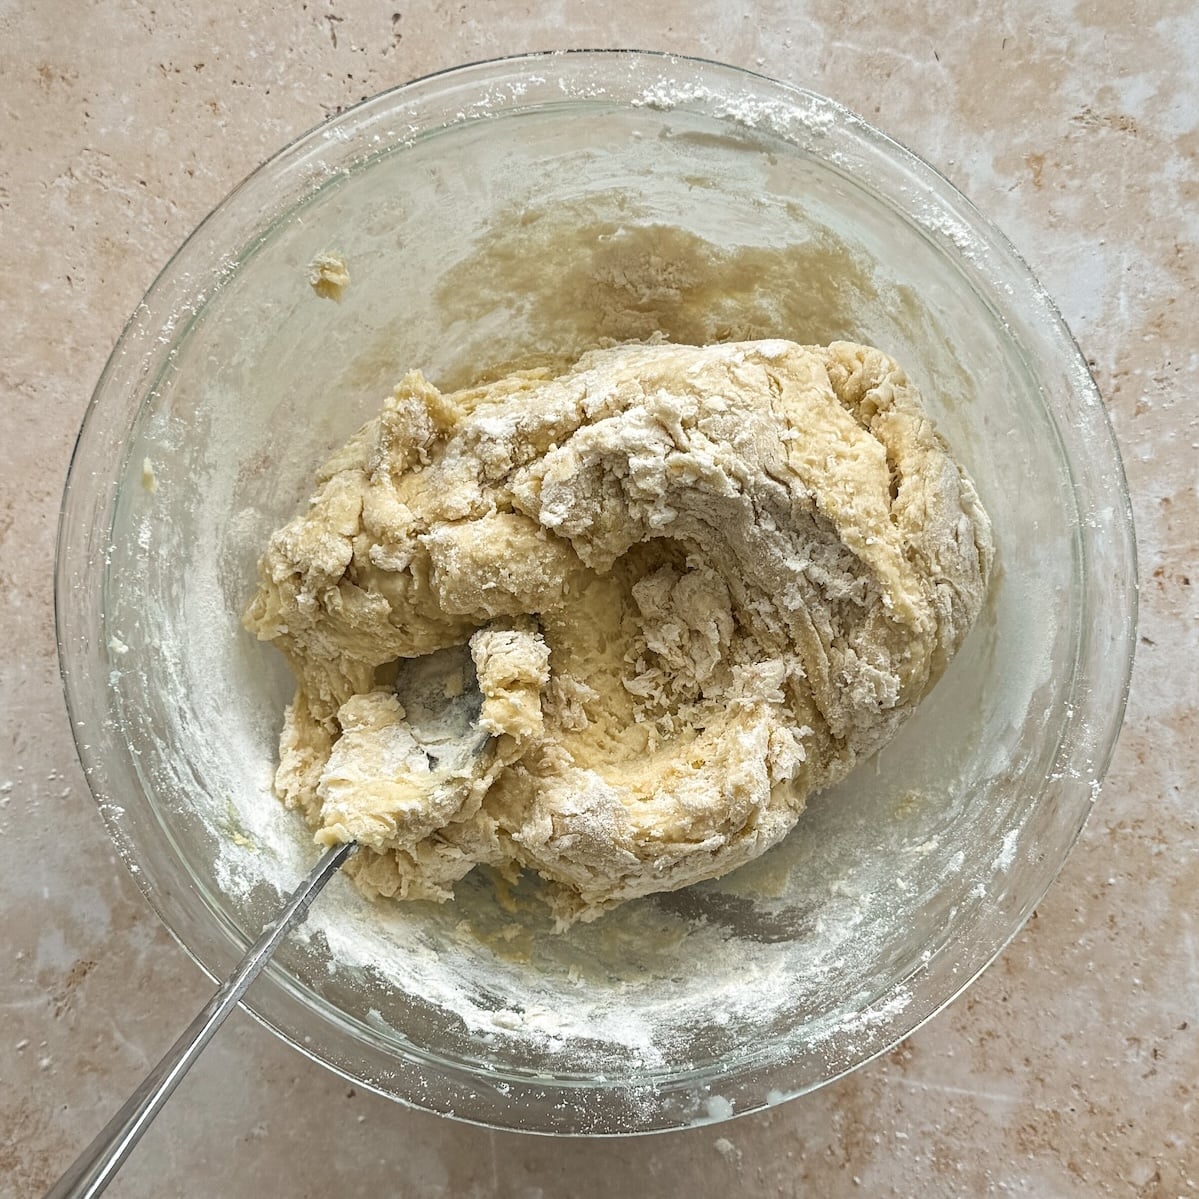


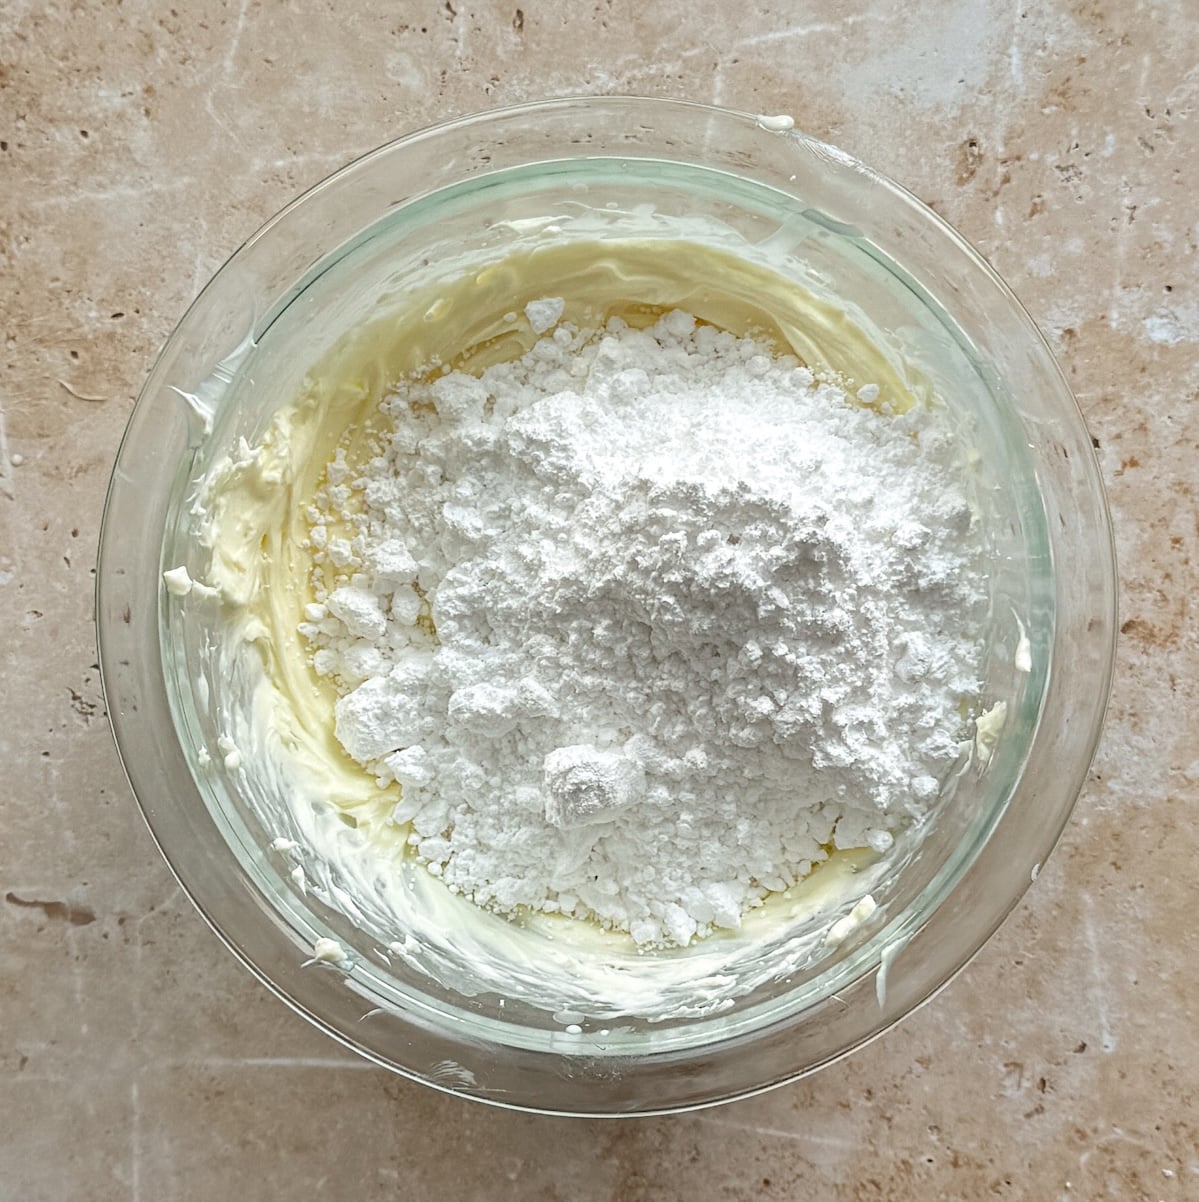
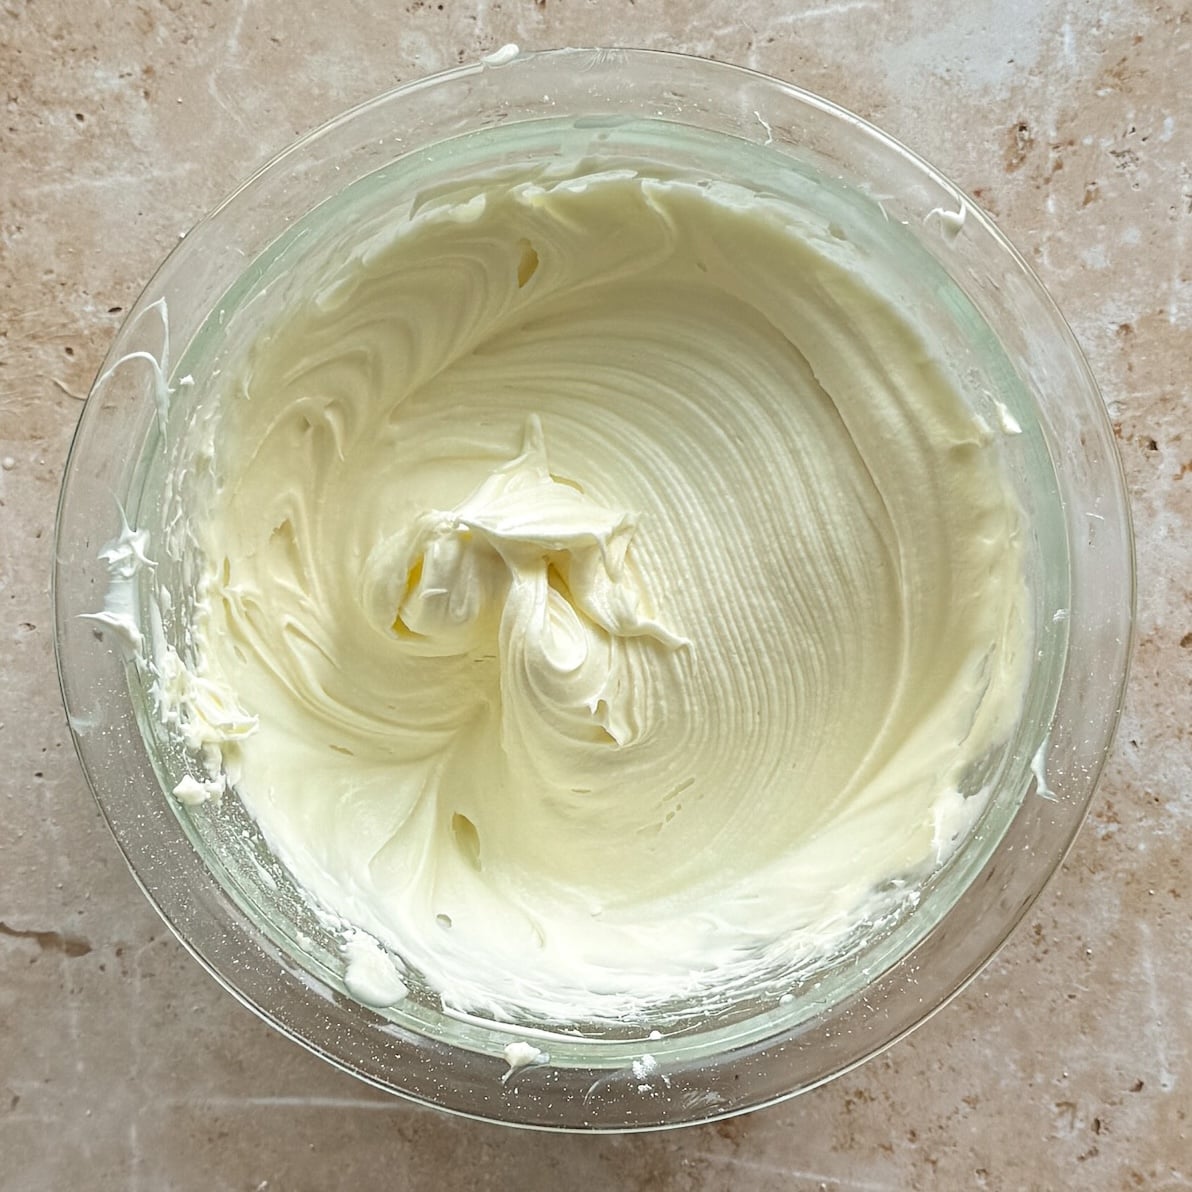
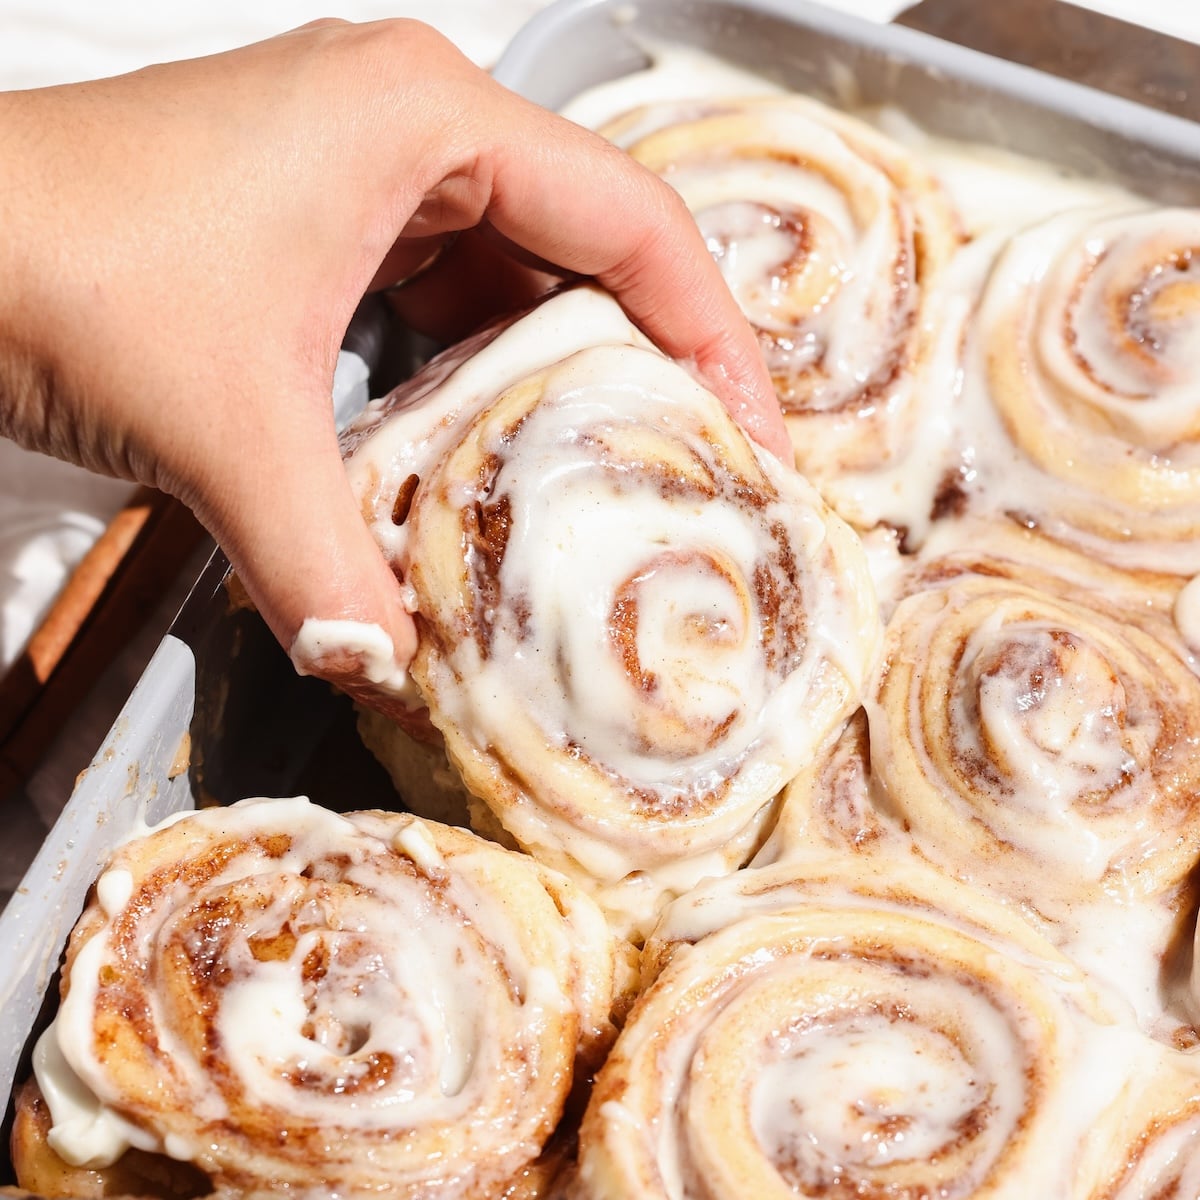
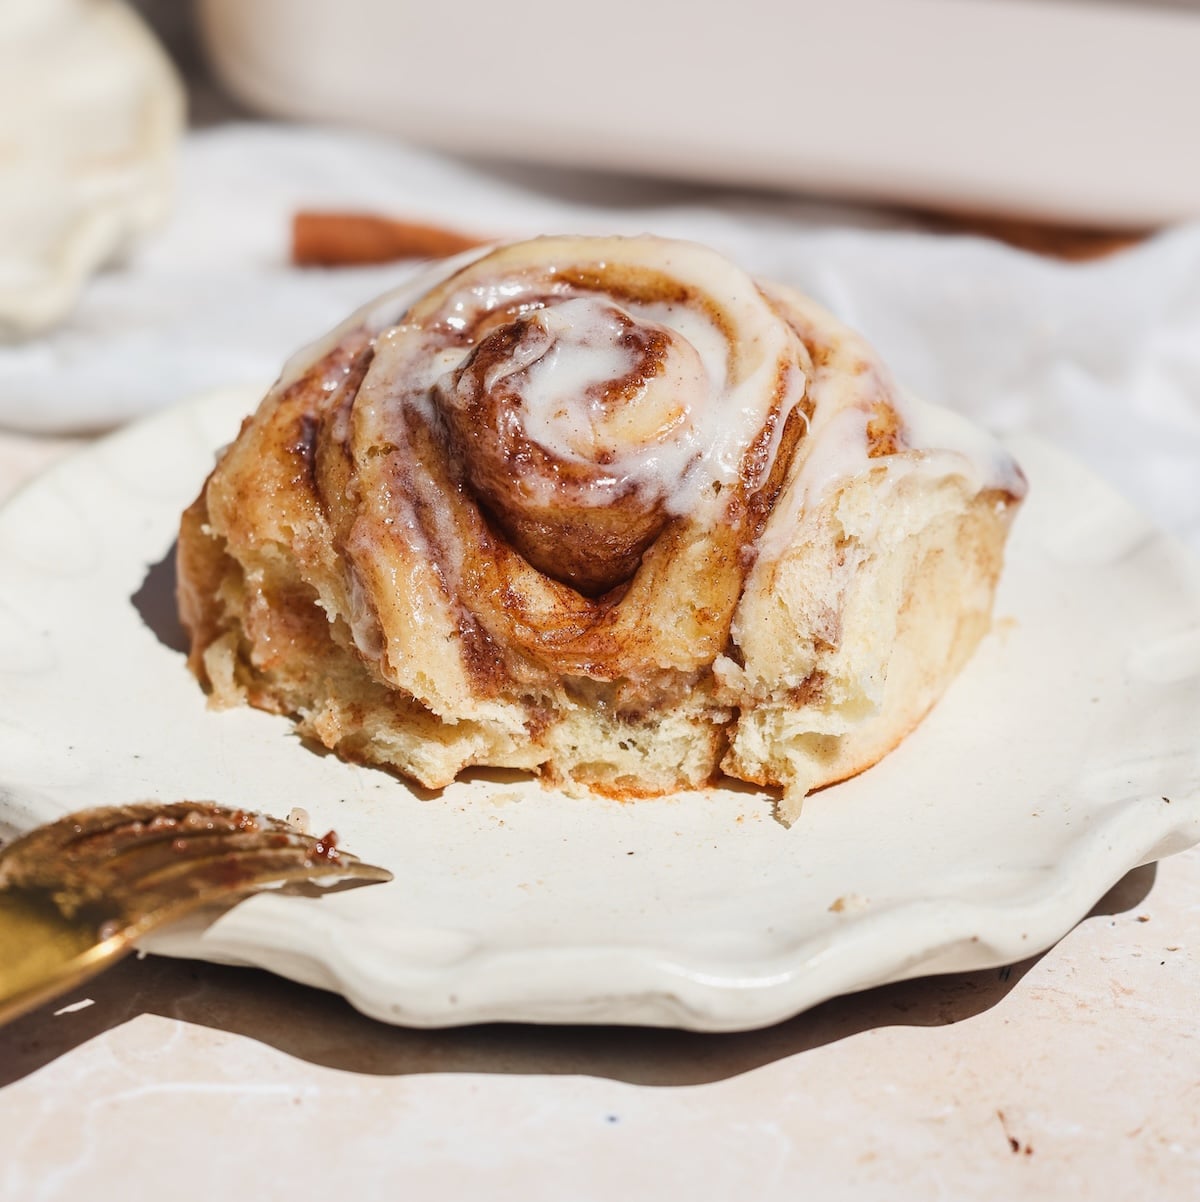
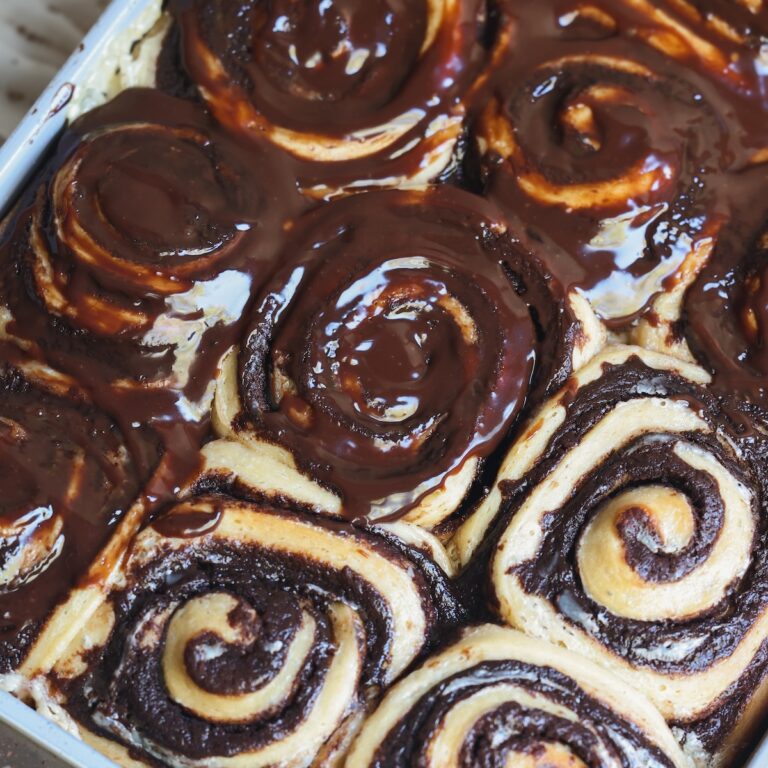
Once baked, wait 10 minutes then coat the rolls generously with the icing. Serve & enjoy! You can also elevate this recipe further by adding a pecan topping like my sticky pecan cinnamon buns, or make a chocolate variation like my decadent chocolate espresso rolls.
A few last tips before you make them
Here are some tips to get this recipe just right:
- Weigh out the ingredients with a scale instead of using measuring cups. It’s common to stuff too much flour into a measuring cup, which will make the rolls dry. If you must use a measuring cup, fluff up the flour and transfer it into the cup one spoon at a time, and don’t pack it tightly
- Make sure your yeast isn’t expired. Yeast expires quickly, especially if left open at room temperature
- Don’t make the milk too hot! If it goes over 110F, you risk killing the yeast right at the beginning. Go for lukewarm to touch
- Let the dough rise properly. Make sure the dough has proofed properly before shaping, and again after shaping before baking. Under-risen dough will result in dense or tough cinnamon rolls
- Be wary of room temperature. If it is colder, the dough will need longer to rise. If it is hot, it will rise quickly and the filling might leak out. A warm 75-80F temperature is ideal
- Don’t over-bake. A light golden color on the rolls is what you need, and the rolls should spring back when gently poked. Over-baking can cause them to dry out
Email This Recipe
Enter your email and I’ll send this directly to you. Plus you’ll get new recipes from me every week!
Ingredients
Dough:
- 1 1/3 cup whole milk (320g)
- 4 teaspoons active dry yeast (or instant yeast)
- 1/2 cup granulated sugar (100g)
- 5 cups all purpose flour (650g)
- 2 large eggs, room temperature
- 2 teaspoons salt
- 1/2 cup unsalted butter, room temperature (113g)
Filling:
- 1/2 cup unsalted butter, softened (113g)
- 1 cup light brown sugar, packed (200g)
- 2 tbsp cinnamon powder
- 3/4 tsp salt
Assembly & baking:
- 1/2 cup heavy cream (120g), room temp
Cream cheese icing:
- 4 oz cream cheese, room temperature (113g)
- 1/4 cup unsalted butter, room temperature (56g)
- 1/4 cup heavy cream (60g)
- 1 cup icing sugar (100g)
Instructions
Dough:
- Microwave milk for 20-30 seconds until it is warm to touch (~100-110F). Add it to a bowl with the yeast and whisk. If using active dry yeast, rest for 10 minutes or until the mixture looks foamy. If using instant yeast, proceed without waiting
- Kneading by hand: Add the rest of the dough ingredients (sugar, flour, eggs, salt, and room temperature butter) to the same bowl. Use a large wooden spoon to mix everything and bring it into a shaggy dough. Tip out onto a clean work surface, then use clean hands to knead the dough with a push-pull motion. The dough will be sticky to begin with, but don’t add more flour at this point. After 5 minutes, clean your hands to remove sticky dough bits from them. If the dough still feels too sticky, add just 1-2 tbsp flour and keep kneading. After about 15 minutes of kneading, the dough will become soft, smooth and very stretchy, and pass the window-pane test
- Kneading with a stand mixer: Transfer the milk and yeast to the bowl of your stand mixer (or use that bowl to begin with), and add the rest of the dough ingredients. Knead using the dough hook attachment on medium high speed for 7-10 minutes, until the dough becomes smooth, pulls away from the edges of the bowl, and is stretchy enough to pass the window-pane test
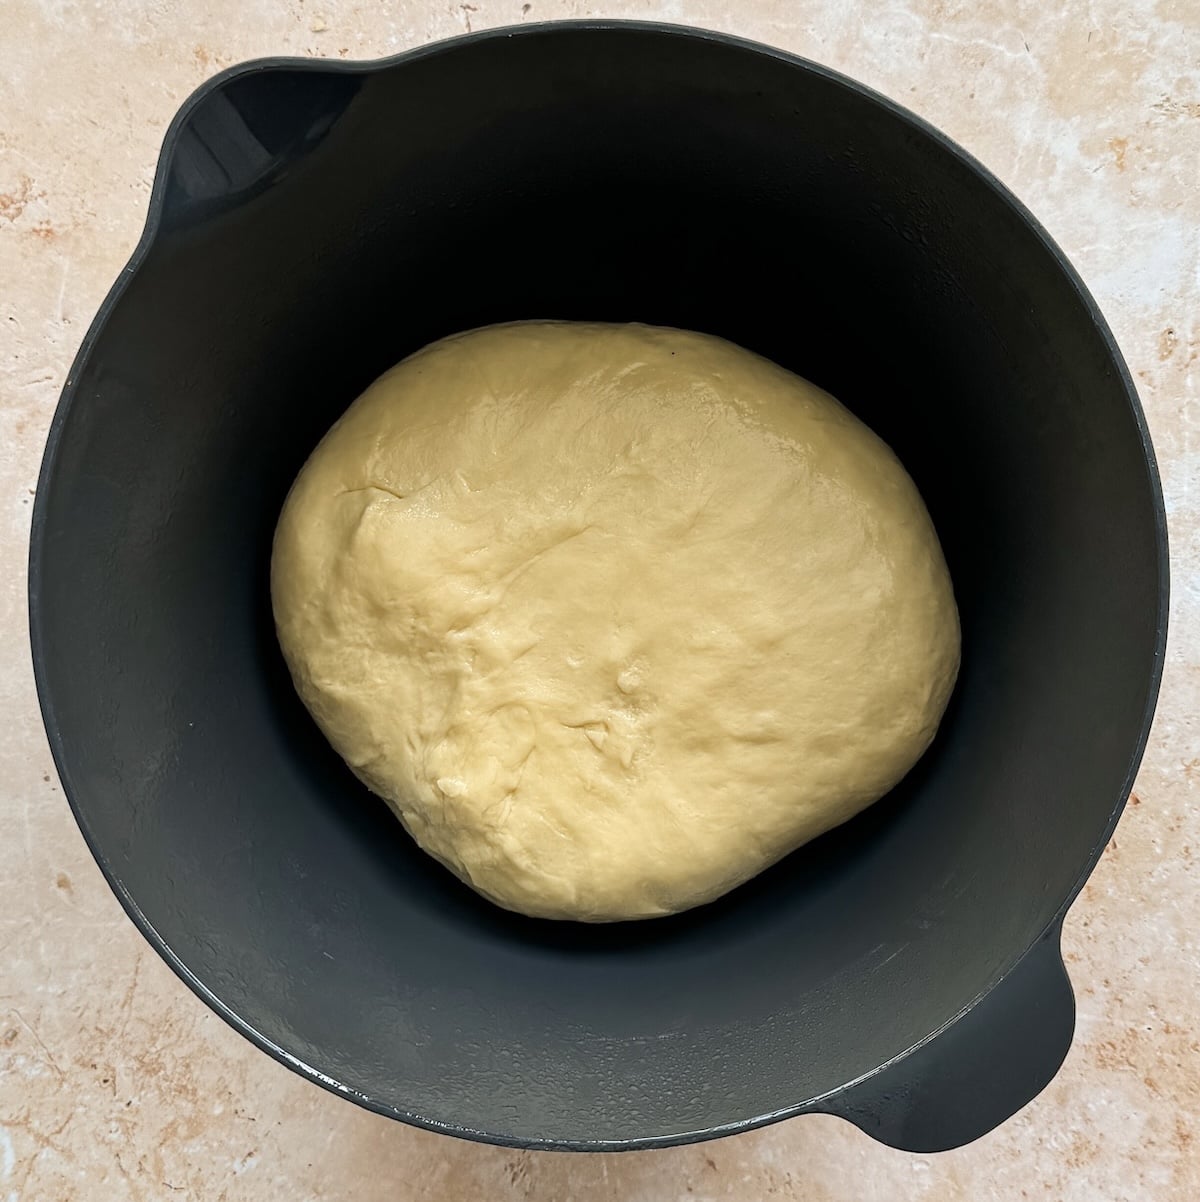
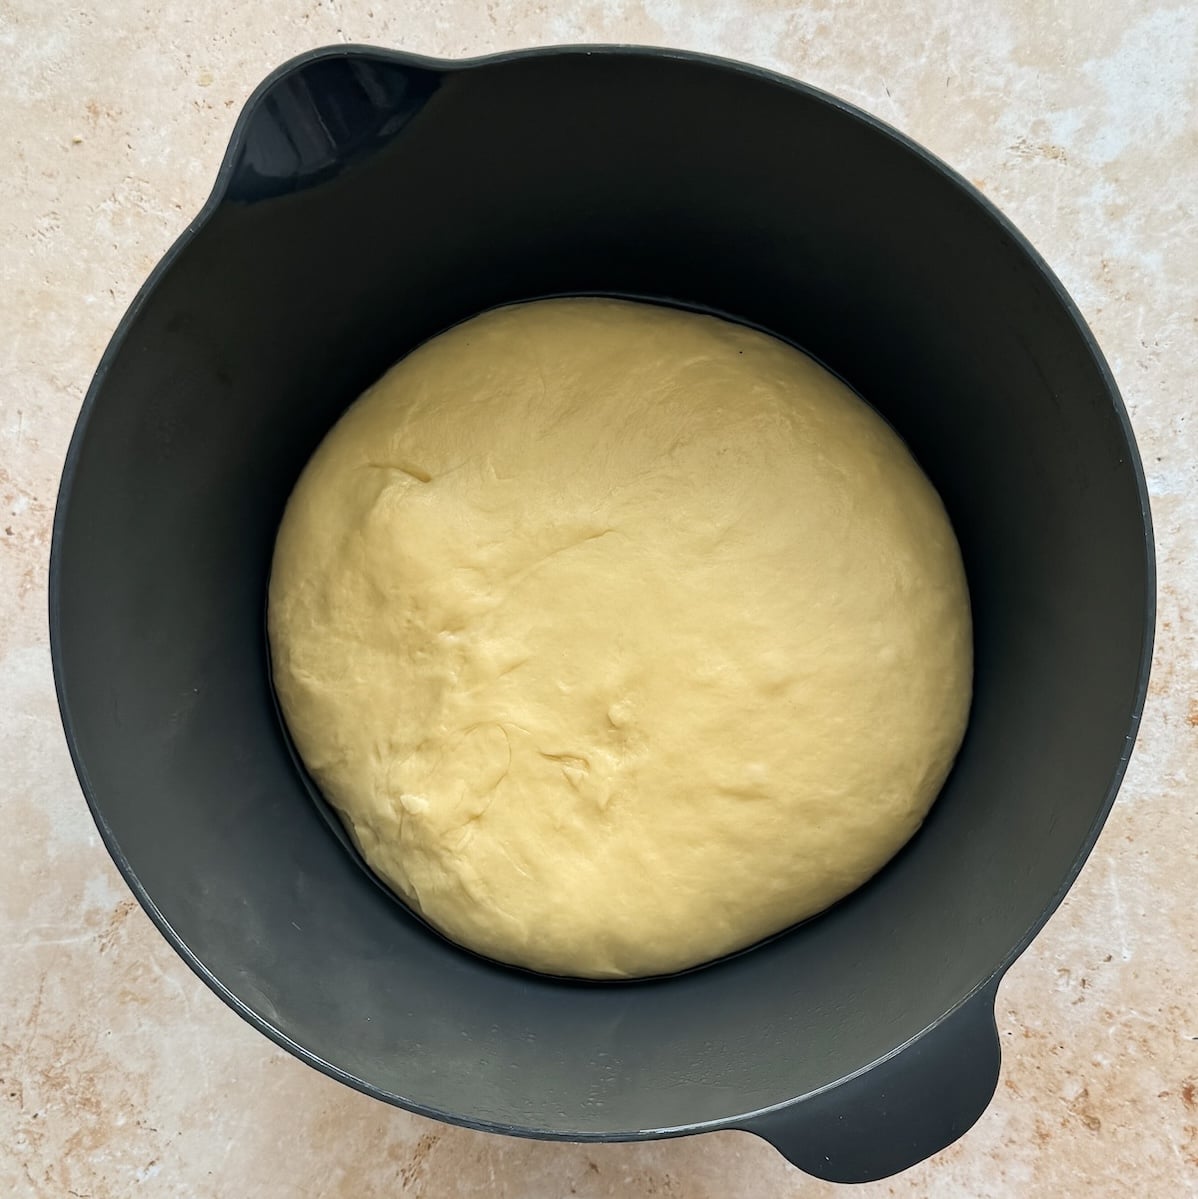
- Transfer the dough to a clean bowl sprayed with oil, cover with cling wrap and rest in a warm place (75-80F) for 60-90 minutes, or until the dough has at least doubled in size and springs back partly when gently poked with a finger
Filling:
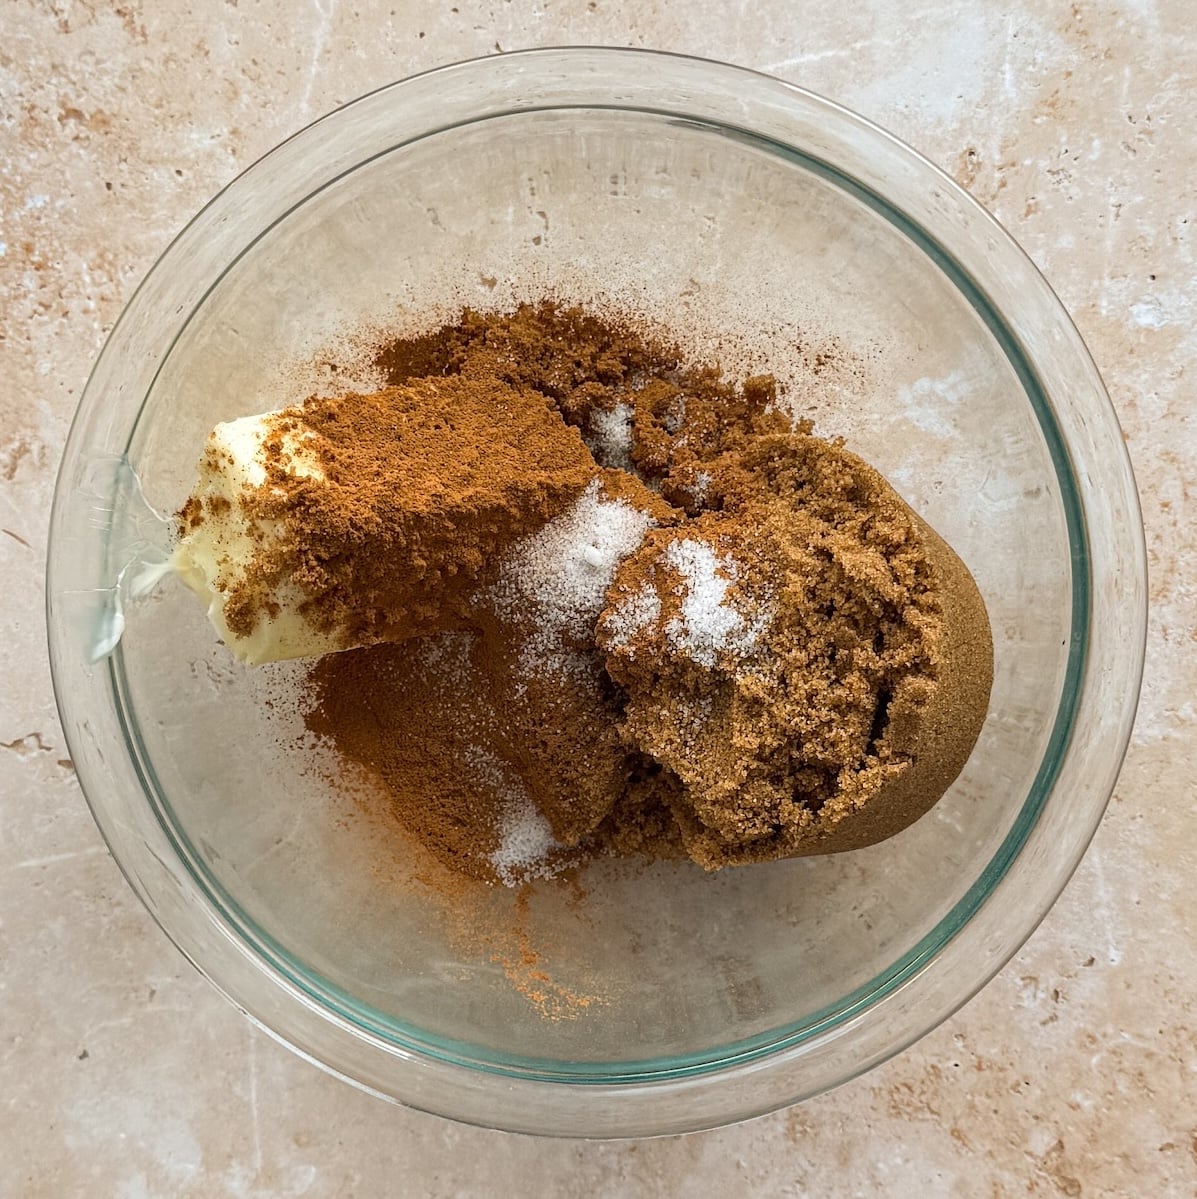
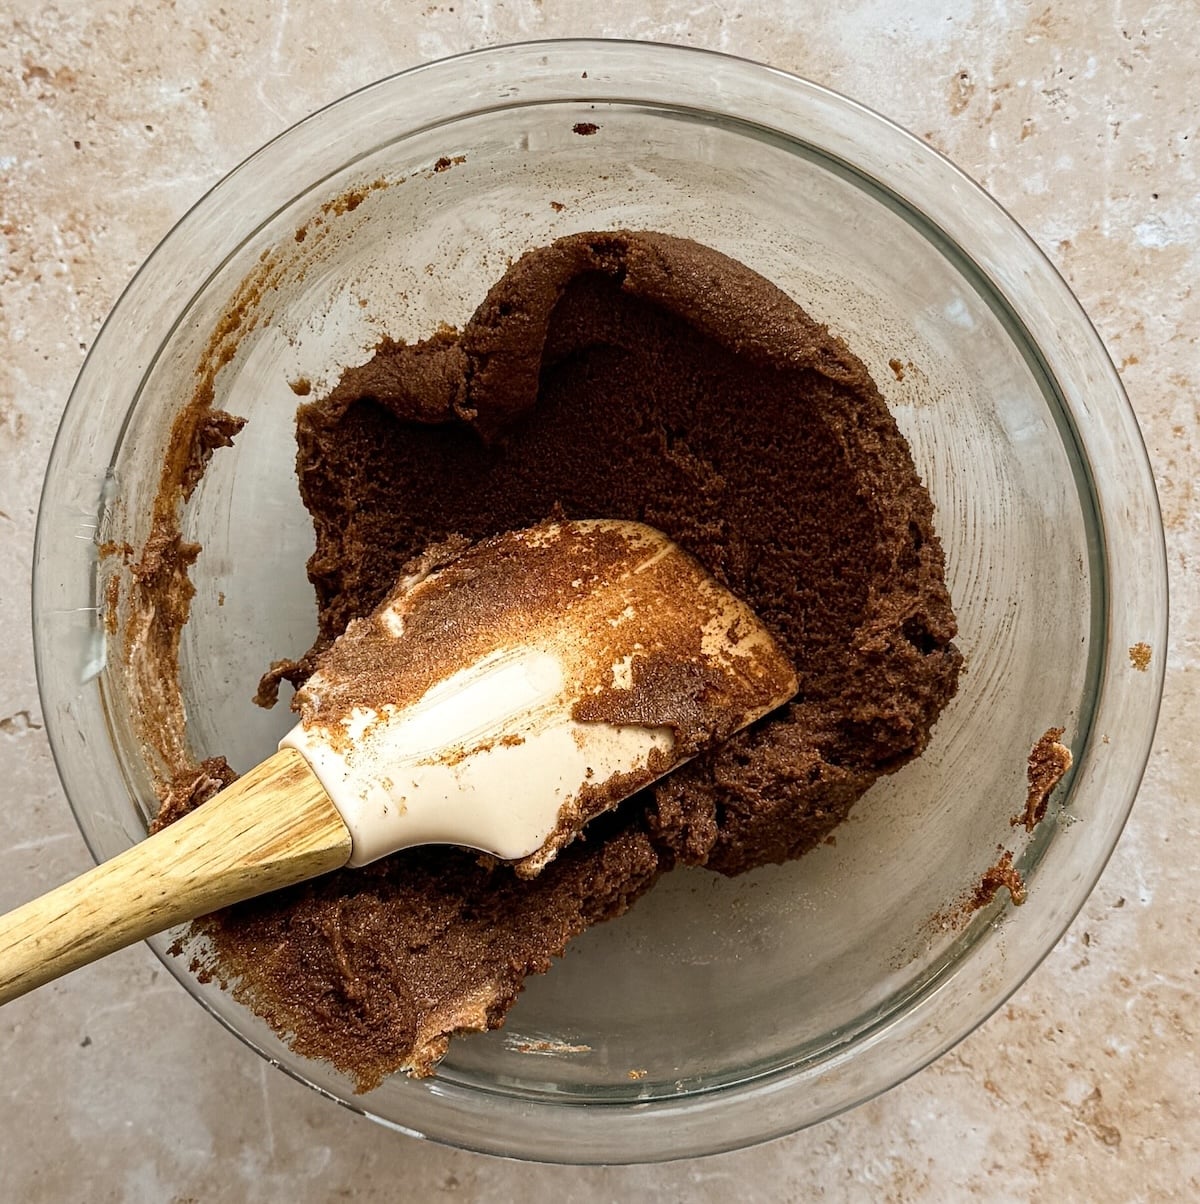
- While the dough is rising, prepare the filling by mixing softened butter with cinnamon, sugar and salt. If it feels hard to mix, microwave for a few seconds and mix again. It should be a soft, spreadable consistency
Assembly & baking:
- Line a 9×13″ baking pan with parchment paper
- Once the dough has risen, punch it down and transfer it to a clean surface dusted lightly with flour. Using your hands and a rolling pin, roll it into a 12×18″ rectangle as neatly and evenly as possible. The dough will be really soft so won’t need much pressure
- Use a spatula to spread the filling evenly across the rectangle
- With the 12″ side towards you, divide the dough into 12 strips (each strip will be 1″ wide and 18″ long). This is easiest done if you use a long acrylic ruler and a pizza cutter
- Roll each strip tightly into a cinnamon roll, and carefully transfer to the baking pan. You will arrange the rolls in a 4×3 formation
- Once all rolls are shaped, let them rest in a warm spot for another ~30 minutes until they look puffed up, and spring back partly when gently poked
- In the last 20 minutes of the second rise, preheat your oven to 350F (conventional / no fan)
- Right before putting the rolls in the oven, pour the 1/2 cup heavy cream over them carefully, dividing evenly between each roll. The cream will get soaked up as the rolls bake
- Transfer to the oven and bake for 23-25 minutes until the rolls develop a light golden color and feel firm to touch. If in doubt, I think it’s better to slightly underbake for a gooey texture, vs overbaking and having dry rolls!
- Remove from oven and let the rolls rest for 10 minutes
Cream cheese icing:
- Whisk together the cream cheese, butter, cream and icing sugar until creamy to make the cream cheese icing
- Spread generously onto warm rolls
- Serve & enjoy!
Video Tutorial
Notes
- Egg substitute: You can replace the 2 eggs with 1/2 cup (120g) of full fat yogurt in this recipe
- Make ahead and storage: Although these rolls are best eaten fresh, you can make these cinnamon rolls ahead of time, and keep them covered at room temperature for 1 day, or in the fridge for up to 3 days. Reheat in the microwave for ~30 seconds before serving so they’re warm and soft.
- Overnight rise: If you want to split the work between 2 days, you can do the first rise in the fridge overnight. Then shape the rolls the next day, and give the rolls their second rise at room temperature for about 1 hour before baking (longer because the dough will be cold to start with)
- Scaling down the recipe: If you want to make a small batch of cinnamon rolls, you can divide all quantities by 2 and make 6 cinnamon rolls in an eighth sheet pan (~10″x7″)


Comments
jola
the best cinnamon rolls! i love this recipe, its perfect. Thank You Zoha
Zoha
Thank you so much, Jola!!
Tim
Is your small batch recipe for cinnamon rolls identical to this one except for the amounts of the components? Thanks
Zoha
Hi! There are some slight variations but both are great 🙂
Bushra
I never leave comments usually but have to say this was such a good recipe. 1st time making these and they turned out amazing. my whole family devoured these in half a day. everything turned out perfect. Thanks for the recipe . im actually going to make these again in 2 days for a family gathering.
Zoha
Aw, thank you so much, Bushra!
Janet
Your recepies never disappoint! Made a double batch on my first attempt and I’m glad that I did. perfect amount of sweetness that your ready to eat another one right away!
Phoebe A
Cinnamon rolls were so good! Hubby and I approve! The dough was mixed in my kitchen aid at 4-6 speed for the recommended amount of time! I was a bit nervous about how I cut them, but they turned out so good! I subbed almond milk instead of whole milk since I didn’t have it on hand and it still worked amazingly! Thank you so much for the recipe Zoha! Will definitely save and make this again! God bless!!
Bob
BEST RECIPE EVER!!!
Mama T
Holy Smokes! I come from a family of Cinnamon Roll makers… I misplaced my brother’s recipe on “Cinnamon Roll Sunday” (aka Conference Sunday if you’re a member of the Church of Jesus Christ of Latter-day Saints). This one came up and I had to try it. Girl you nailed this! (I don’t cook like the rest of my family) But, I made these and everyone was like “look at you, you can cook”. What I can do is follow directions! (loved the pictures) I gave you five stars and I would have gave you more!! 😉
Tabitha Poulsen
Not a huge fan of this one. For our preference, there wasn’t enough filling and the whipping cream gives the cinnamon rolls a doughy texture.
Angelica
I just made these with my fiancé and 3 year old as a little Friday night treat…quite literally the BEST cinnamon rolls we have ever tried!! Even though I think I might’ve slightly overproofed my dough, since I am in the south in Texas( warmer temps), and skipped the second proof, they were still so freaking amazing. I ended up having to bake for 33 minutes (right until they turned golden brown) and they came out perfect!! SO SO GOOD
Ninette
Delicious! Used my Kitchen Aid Mixer with dough hook and kneading time was 10 minutes just as recipe states. Beautiful, soft dough and I especially like the method of cutting and rolling individual rolls as they don’t get smashed during cutting and are much easier to handle. I ended up storing in the refrigerator overnight after the second rise. Let them sit at room temperature for an hour before adding the heavy cream and baking them Turned out wonderful. After eating our first roll this morning, I asked my husband if he would like to split a second and he said “No, I want another whole one!” The only change I will make next time is to at least halve the frosting – it is wonderful but the rolls barely need any dress up.
Michaela
I read all the ingredients at once on instagram and added 2 and a half sticks of butter to to the dough alone 😭. Hopefully they’ll just be buttery… I’m abt to bake, wish me luck…
Justnique
OMG. These are perfect!
JD
I made these in January for a party. The party fell through so I ate one and froze the rest. They slowly got eaten and I thought I had finished them but I just came across the last one, microwaved it and it is glorious. Pillowy soft, no freezer burn taste, just perfection. Thank you for such a great recipe, it’s a keeper.
Zoha
Aww, thank you so much!
Mervet Adwan
Just about to try this out, but you need to ensure the sugar is added to the yeast and milk mixture in order for it to go foamy and activate. yeast needs to feed off the sugar. It doesnt state this in the receipe.
Looking forward to the end result.
Zoha
Hi there! This is not required with instant yeast, and even with active yeast your recipe will work just fine without this. But feel free to take the additional step 🙂
Stella
Can you make the dough the night before?
Zoha
Hi Stella, yes you can, but you will need to give them more time for the second rise to be fully risen before baking!
Zunaira Nadeem
THE BEST CINNAMON ROLLS EVER , and honestly love the website it is easy to operate and everything is clear with a touch of astheticness(if that’s a word) but amazing MashaAllah
Zoha
Thank you, Zunaira!
Dani
The dough!!!! Perfection queeeeeen
Zoha
Thank you!!
Tehreem Kashif
I just tried it today and they turned out exactly the same and they are soooo delicious super soft ooeyee gooyee melt in your mouth♥️ now there’s no going back this recipe will always be my go to recipe. Sending lots of love to Zoha.
Muna
I have never in my life tasted something more delicious, thank u sooo much for providing such a precise recipe, u deserve an award for this. Also tried the cookies and i was also speechless. You’re a genius dear zuha💚
Zoha
Aw, you made my day, thank you Muna 🙂
Muna
One question though, do i turn on the oven from up and down? Or just down? Of is it down and fan?
Zoha
Just bottom heat!
Shirley
Absolutely phenomenal cinnamon rolls! Best ones i’ve ever eaten. My family loved them and couldn’t get enough! Thank you so much for sharing.
Zoha
Thank you Shirley!
Saadh
this is my 1st time making cinnamon rolls and your recipes have become my go to since for a while now so i tried these out i halved the recipe but I ended up with 11 perfect cinnamon rolls they were like clouds so soft and lush they were the perfect sweetness and perfectly cinnamony I used a mixture of butter and milk because i didnt have heavy cream but it worked like a charm. i must say it was very sticky when needing and took me 40 minutes and and extra Tablespoon of flour to get it right but other than pure perfection. Must try recipe
Zoha
AWW you made my day! Thank you so much for the incredibly helpful review!