

This post may contain affiliate links
Add Bake with Zoha as a preferred source on Google and find more of my tried-and-tested recipes.
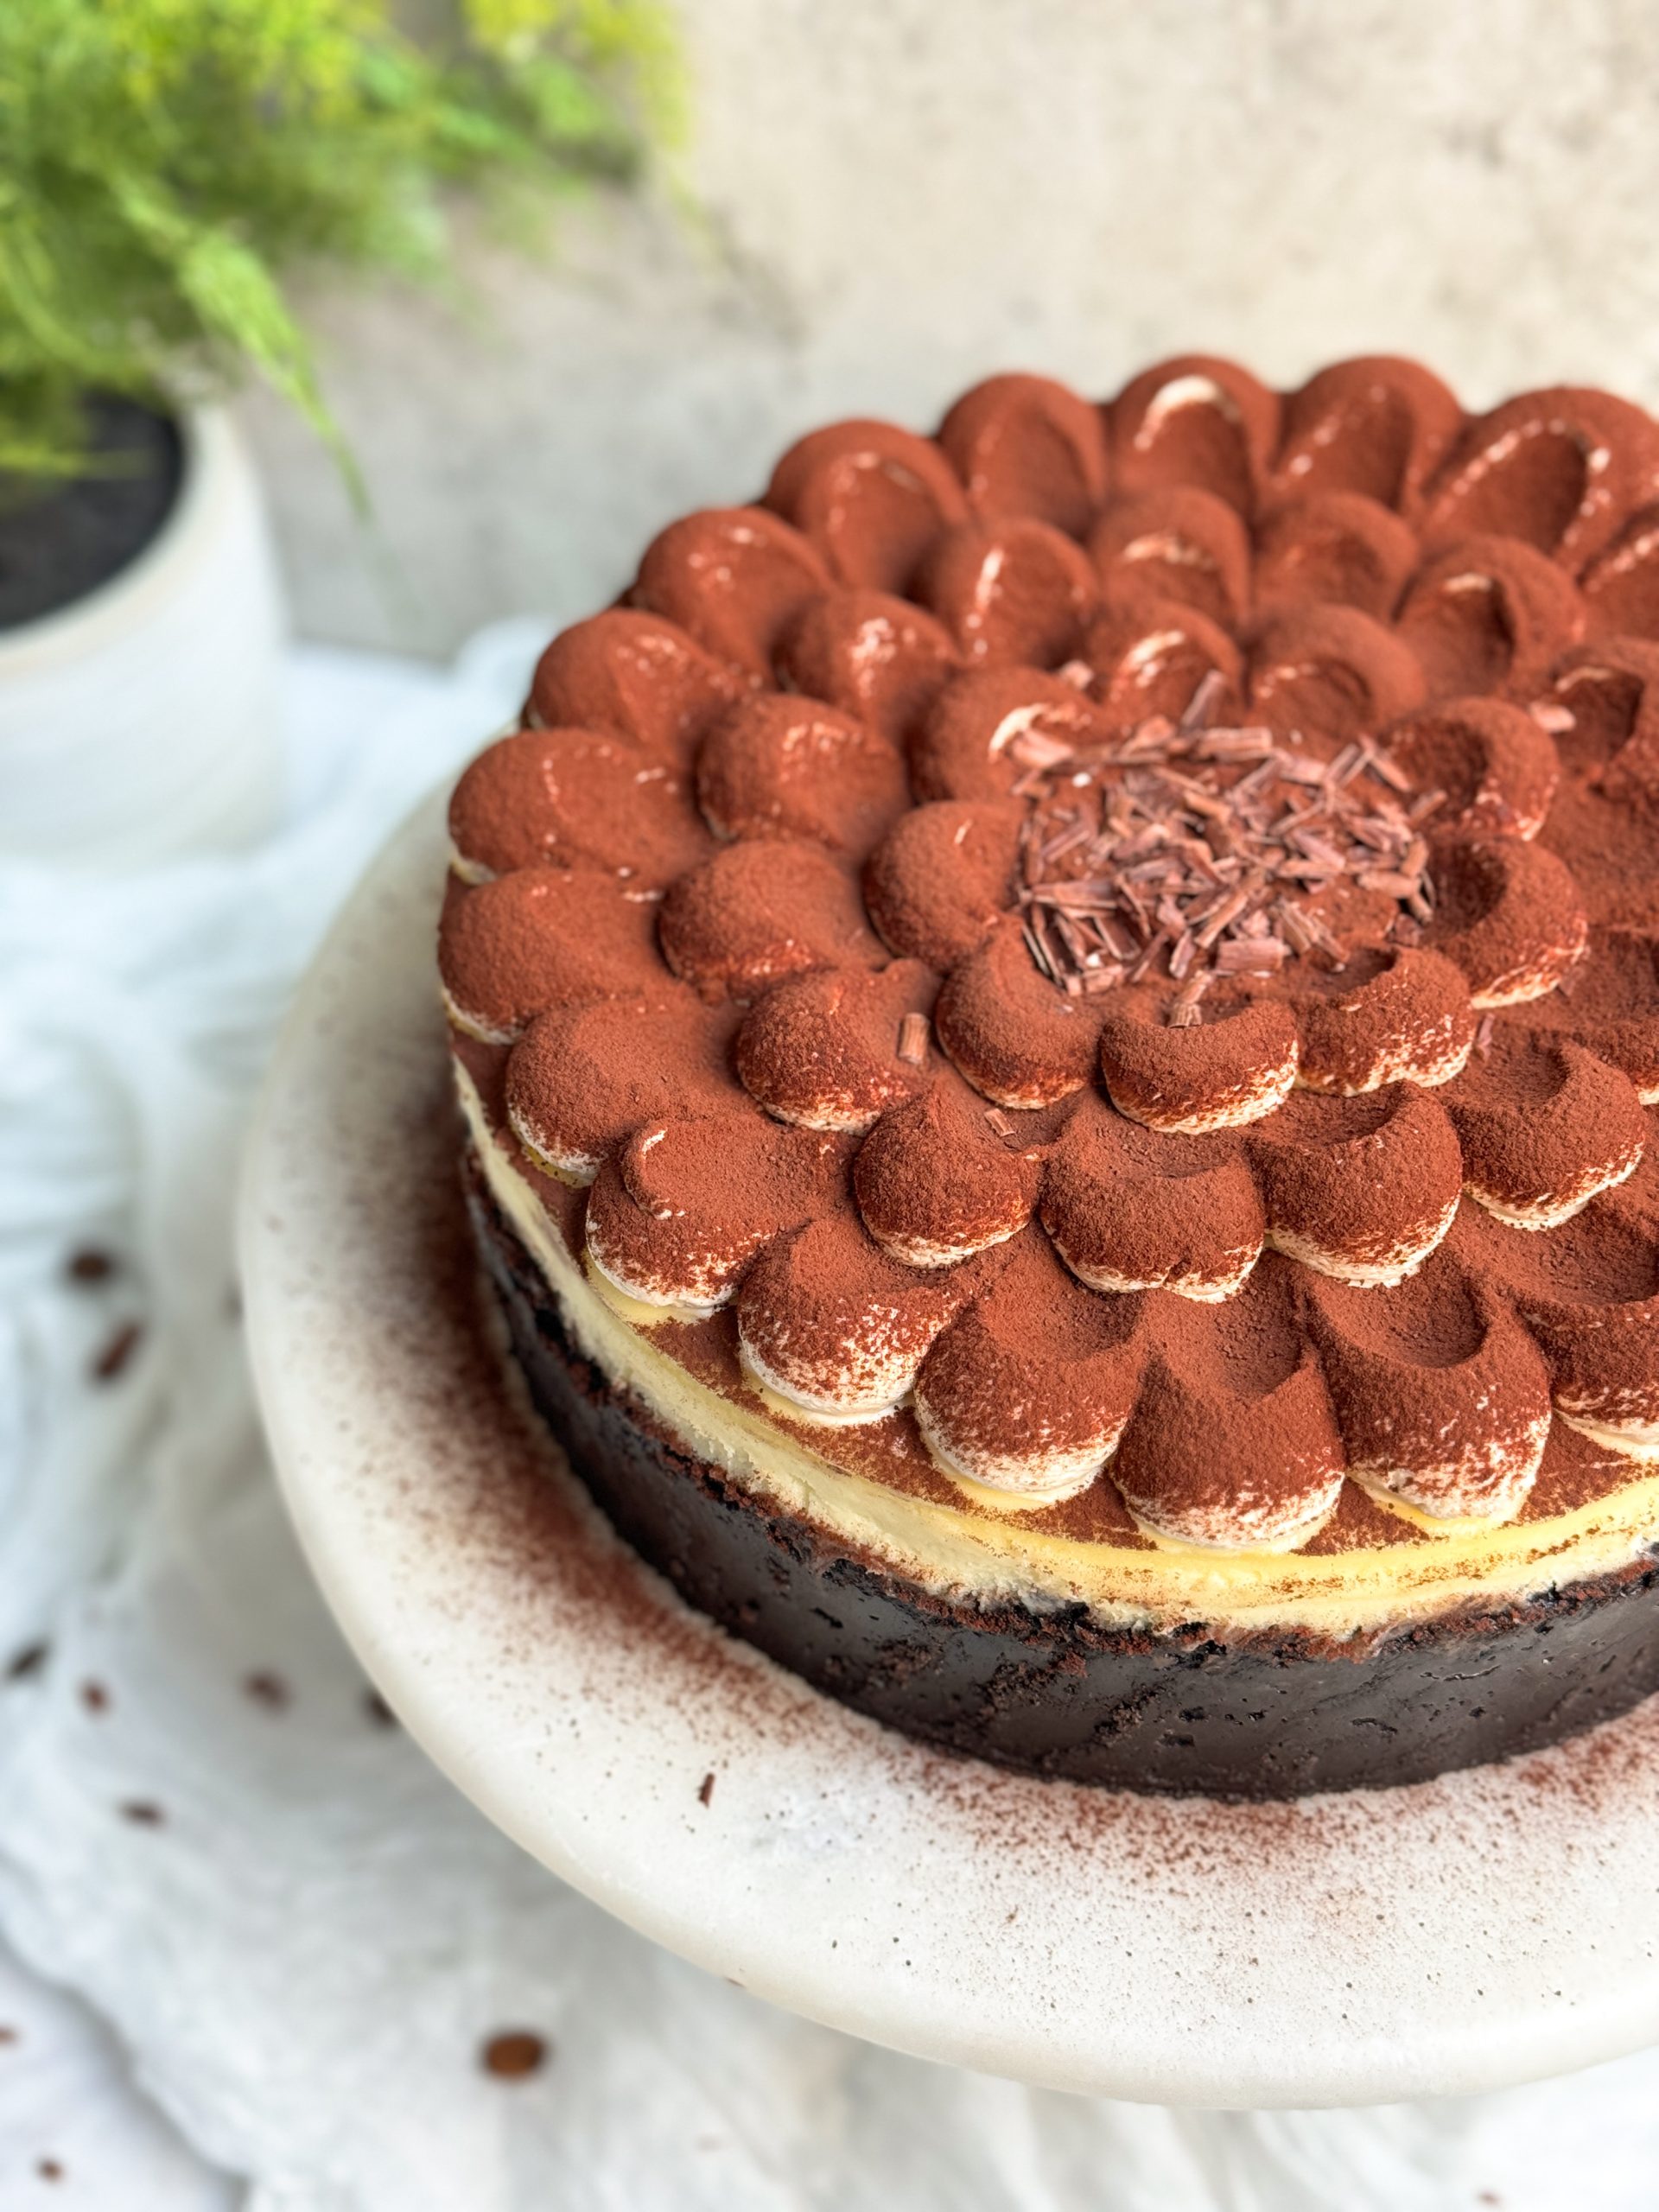
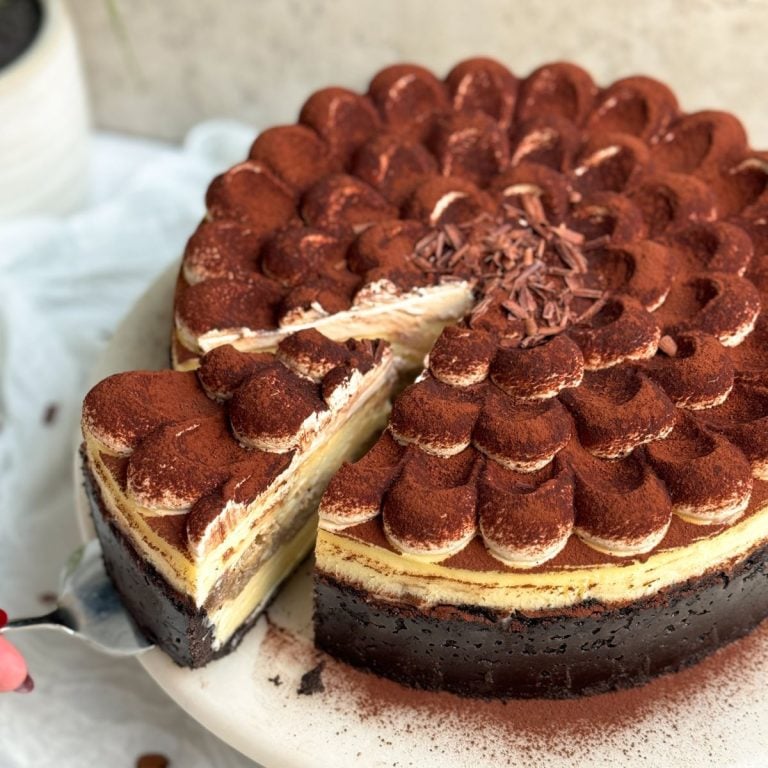
This Baked Tiramisu Cheesecake is a combination of my ultra-popular Best New York Cheesecake, and my favorite Italian dessert, Tiramisu. It is an ultra silky, creamy, and luscious cheesecake with a chocolate crust, a layer of coffee soaked ladyfingers in the middle, and a layer of coffee mascarpone cream on top. Not only does it taste incredible, it also looks like an absolute showstopper, both inside and out, making it a great dessert for the holiday season!

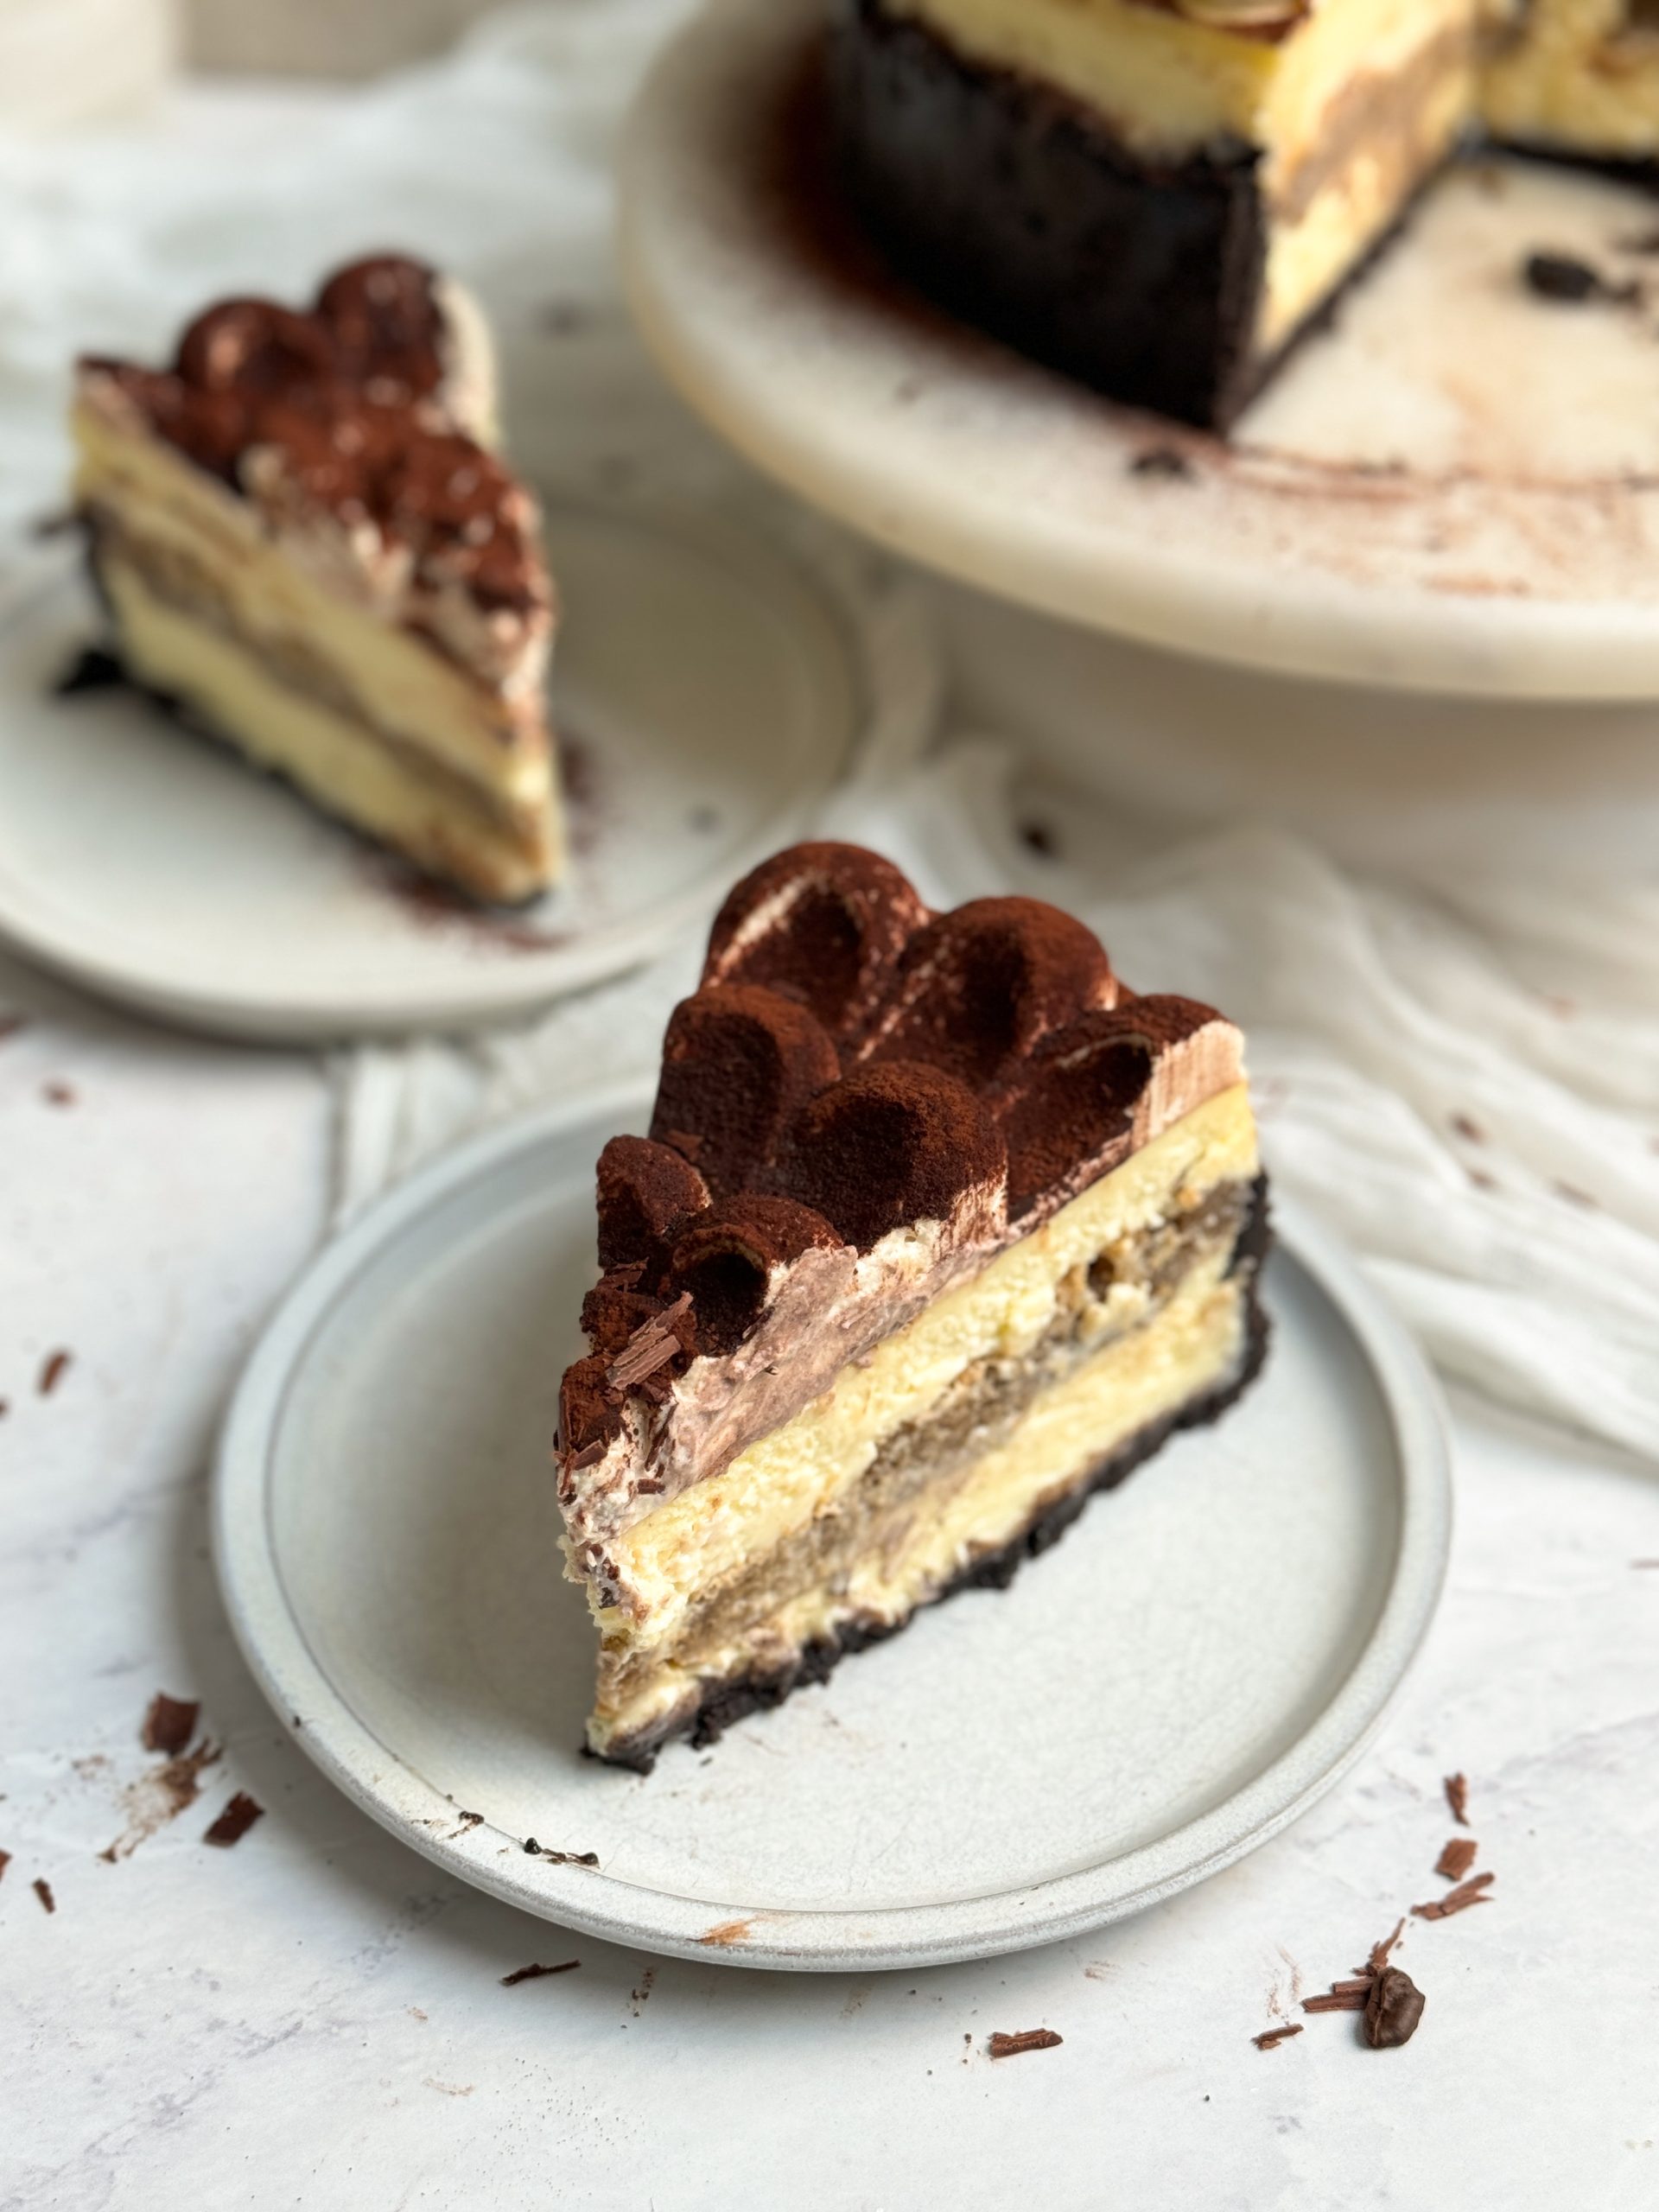
I’ve always wanted to make a tiramisu cheesecake since I love the two desserts individually, and tiramisu also has cheese in it (mascarpone). And I am so glad I gave it a go! This cheesecake brings together the best of both worlds, and I’m excited for you to give it a go.
Read the full blog post below for detailed notes, tips, tricks, photos and videos.
WHY YOU SHOULD TRY THIS TIRAMISU CHEESECAKE
While there are many tiramisu cheesecake recipes on the internet, I highly recommend giving this one a try! The reason is simple: this is a baked cheesecake, while most other recipes are no-bake. Now, I know, no-bake cheesecakes are delicious and really easy to make. But in my opinion, nothing really beats a good baked cheesecake (if you’ve tried my recipe, you’ll agree), and it isn’t really that much more work to make it. So I really wanted to create a baked tiramisu cheesecake recipe, and the result is worth it!

HOW TO MAKE BAKED TIRAMISU CHEESECAKE
Let’s summarize the steps and components:
- Make the chocolate crust. Instead of using graham crackers, I use chocolate cream cookies (like Back To Nature or Oreos) for this crust because I feel that the flavor complements tiramisu more (we all know the cocoa powder is the best part of a tiramisu!!). The crust is also quickly baked to ensure it sets and is crispy
- Prepare the cheesecake filling. This is the exact same recipe as the cheesecake filling of my classic New York cheesecake, but I have replaced 8 oz of cream cheese with 8 oz of mascarpone to add more of the tiramisu flavor. The difference is really subtle, though, so if you can’t easily find mascarpone, just use cream cheese. I also skip the lemon juice. If you want, you can also add instant coffee to this filling
- Layer the cheesecake with coffee soaked ladyfingers. Now this is where the real tiramisu part comes in. Add half of the cheesecake filling to the pan, then add a layer of coffee soaked ladyfingers before adding the remaining cheesecake filling. This will add the coffee flavor and the tiramisu texture to this cheesecake
- Bake the tiramisu cheesecake. This is done in a water bath low and slow so the cheesecake does not rise and fall too much, and retains a creamy texture
- Let the cheesecake cool overnight. This is important! Don’t try to rush the cooling process, as the cheesecake may not set otherwise
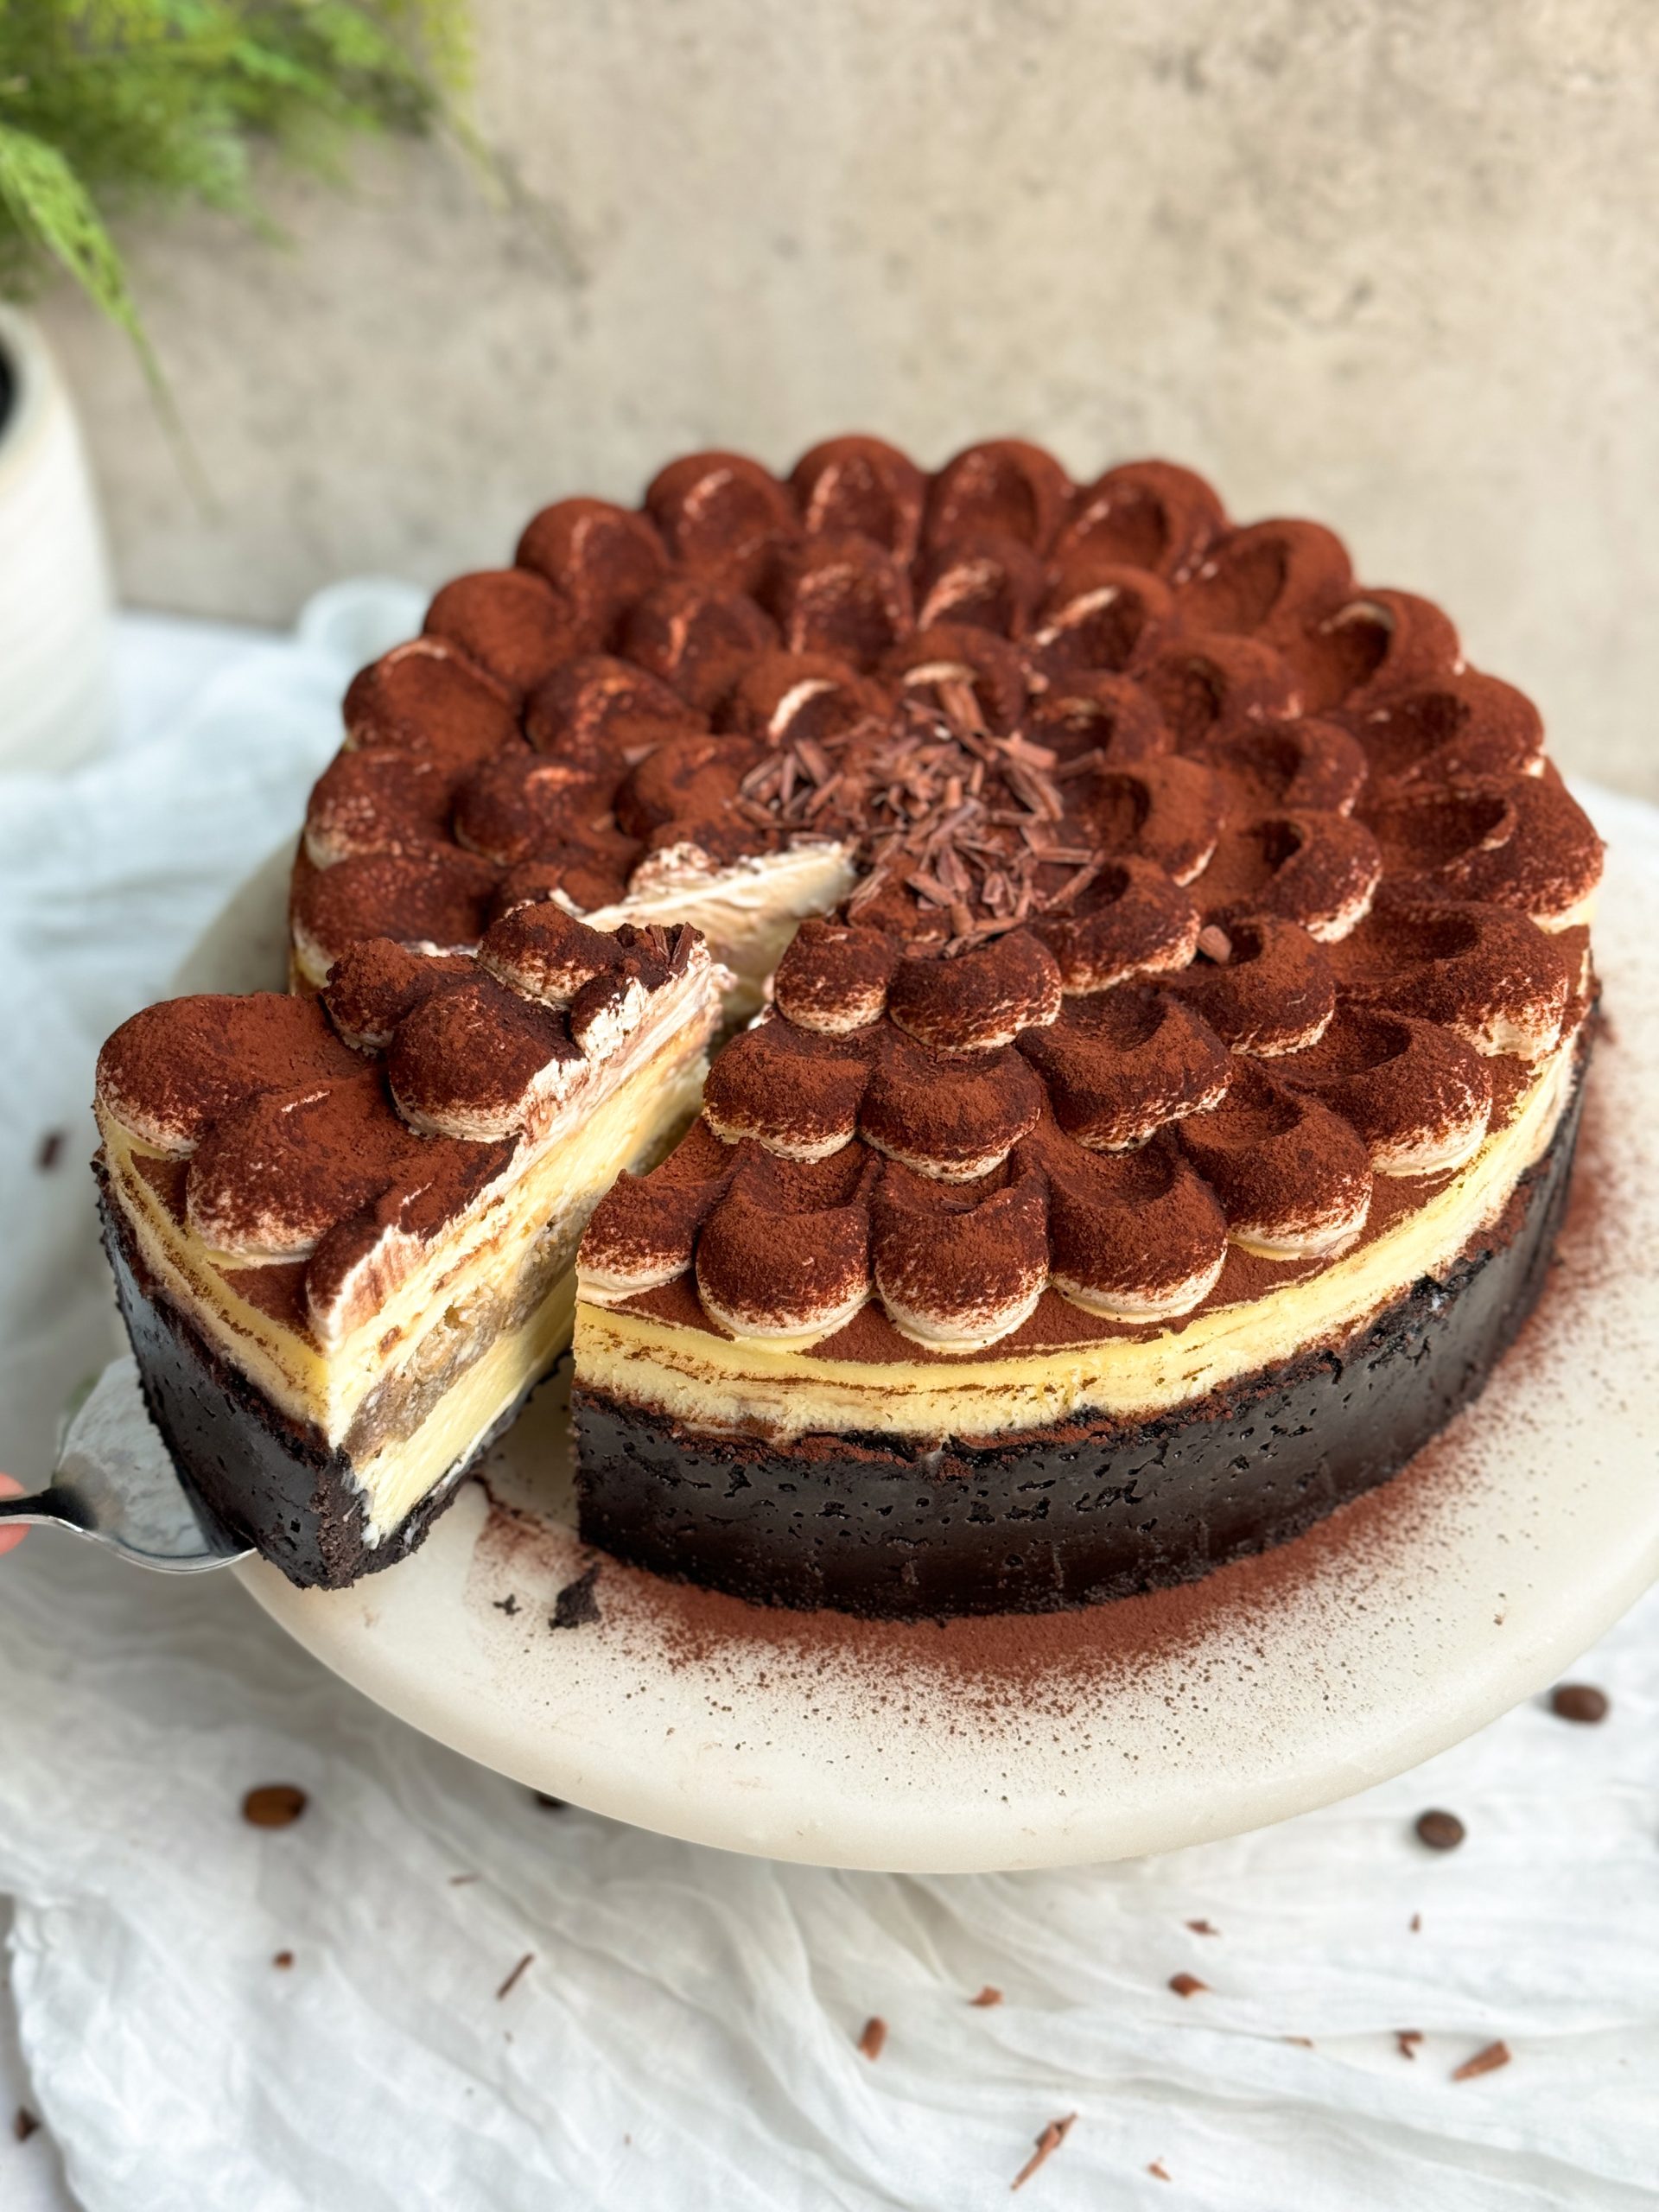
- Cover with coffee mascarpone cream. This is a simple mixture of mascarpone, coffee, sugar, and heavy cream which has a similar texture to the cream used in tiramisu, and adds more of the coffee flavor. Layer the cream onto the cooled cheesecake however you like (I like to pipe it in dollops using a round piping tip)
- Dust with cocoa powder & serve!

TIPS TO PERFECT THIS TIRAMISU CHEESECAKE
This cheesecake is easy to make, but there’s a lot that can go wrong! So please read all these tips before you proceed.
- Use a 10×3″ springform pan, and ensure it is tight! Most cheesecake recipes use a 9″ pan, but it is important to use a 10″ pan for this recipe, as a 9″ pan will not fit all the batter due to the addition of ladyfingers. Make sure the pan is not leaky so water does not seep in. If you have to use a 9″ pan, you will have some leftover batter. You can fill a cheesecake pan almost to the top, and as long as you bake it at a low temperature in a water bath, it should not overflow
- Use high quality cream cheese. I strongly recommend using Philadelphia brick cream cheese (not the one that comes in a tub) for the best results
- Keep crust thicker on the bottom. I push a thin layer up the sides of the cheesecake as I like the look, but most of the crumbs are packed on the bottom. This ensures the cheesecake has a sturdy base
- Perfect the mixing method for the cheesecake filling. The perfectly creamy cheesecake requires mixing the batter the right amount – I have shared in depth tips on this in this post, so check it out!
- Don’t oversoak the ladyfingers. You need a quick dip on both sides (in and out), don’t hold them in or try to soak them. The ladyfingers should be soaked less than they usually are for tiramisu. This is because they will also absorb liquid from the cheesecake batter, and soaking for too long will make them too soggy
- Perfect the bake. Bake at 320F in a water bath until the cheesecake is set on the edges but still has a good wobble in the middle. Avoid opening the oven door until the last 5 minutes in order to prevent cracks
- Don’t rush the chilling. Allow the cheesecake to come to room temperature, then transfer to the fridge (without any cover) and chill overnight. This is crucial to allow the cheesecake to fully set


FREQUENTLY ASKED QUESTIONS
If you don’t have mascarpone cheese, you can substitute it with cream cheese in this recipe. Just note that the tiramisu flavor will be a bit less pronounced this way.
If you want, you can add some rum to the coffee soak for the ladyfingers.
I strongly recommend getting a 10″ pan, but you can also use a 9″ pan. Make sure the pan is at least 3″ tall, wrap aluminum foil around it tightly to make a collar, and only fill it till slightly below the brim (at least in my experience, I filled almost all the way, and my cheesecake did not overflow). This means some cheesecake batter will be left over, but you can make it in a smaller pan separately!
Do not open the oven for the first 75 minutes. Around 75-80 min, quickly open the oven door and jiggle the cheesecake gently. It should be firm on the edges but quite jiggly in the center. You can also touch the center of the cheesecake lightly – it should feel firm and bouncy. For an extra creamy cheesecake, take out of the oven at 80 min. For a firmer cheesecake, wait until 85 min.
Chances are, water has leaked into your pan from the water bath. To prevent this, use a good quality springform pan that isn’t leaky. Tightly wrap the outside of the pan in aluminum foil for double protection (I take 3 large sheets and overlap them in different directions to make sure no water can get in).
Cheesecakes crack due to sudden changes in temperature, usually if the oven is too hot, or you open and close the oven door too early or too often. To avoid this, make sure your oven is calibrated correctly (320F), use a water bath, use the oven without a fan setting, and don’t open the oven at all until 75 minutes in. If the cheesecake cracks anyway, don’t stress – you can use a butter knife to fix the crack while the cheesecake is still hot (plus it will get covered anyway).


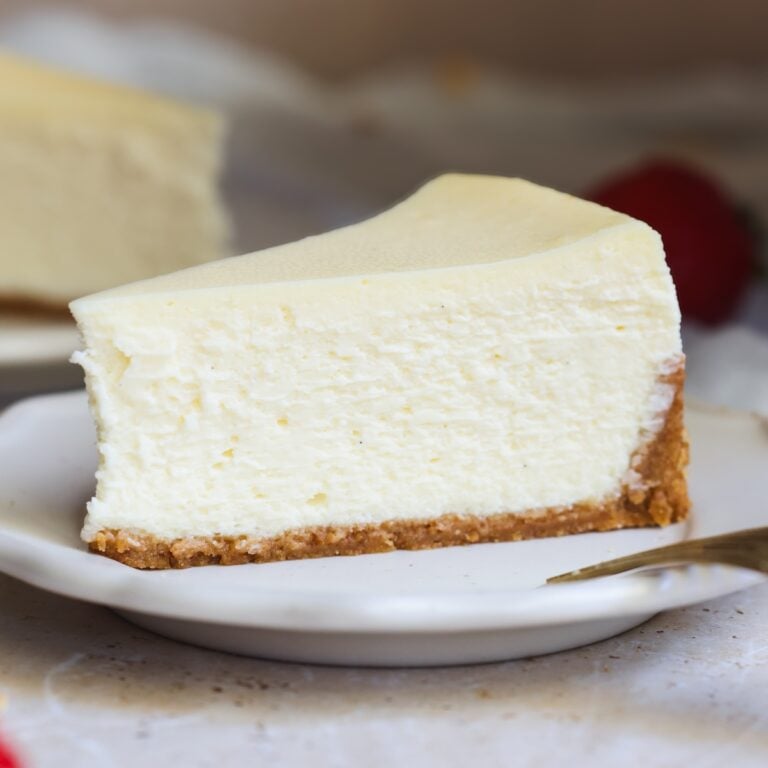
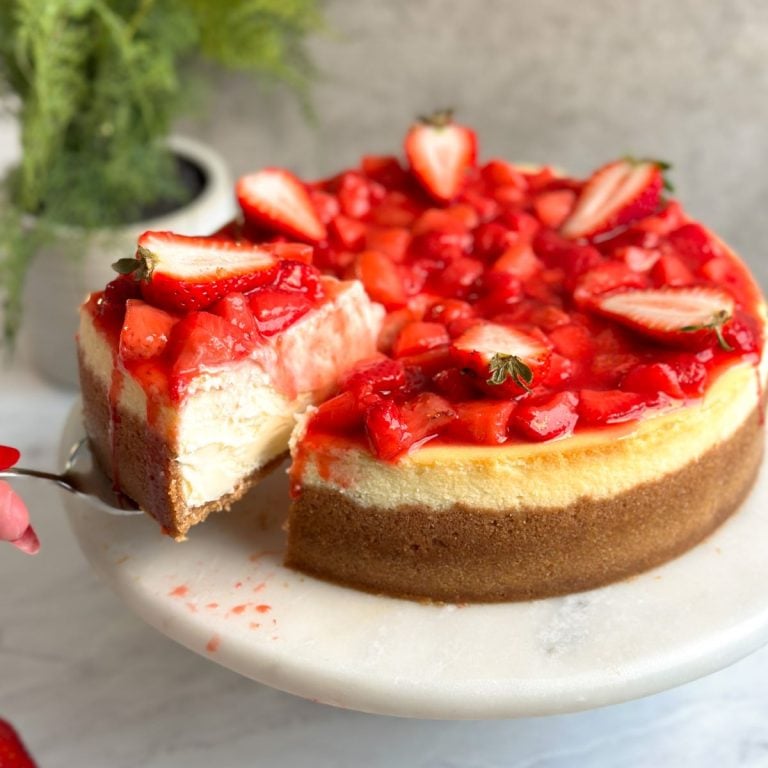
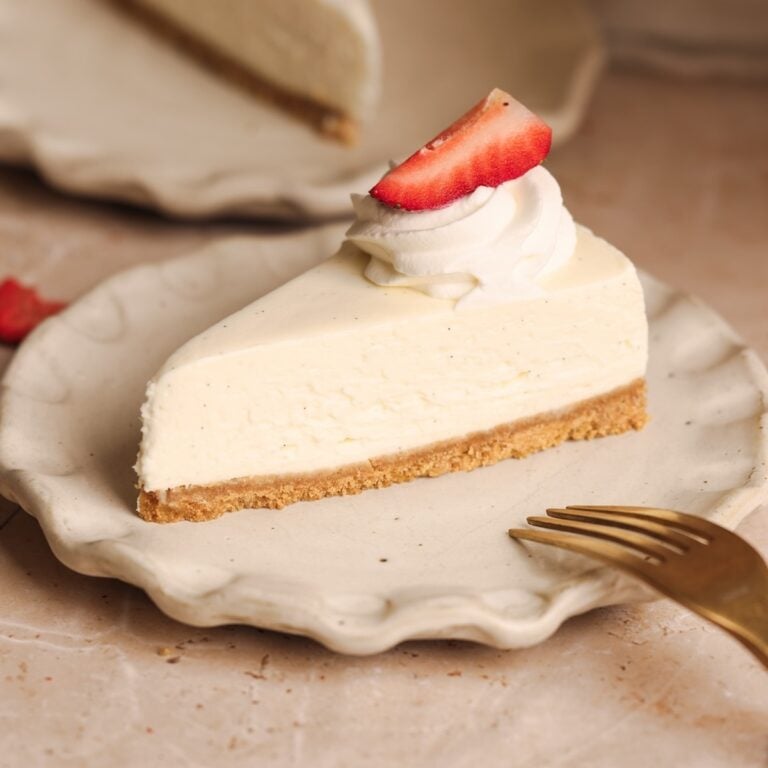
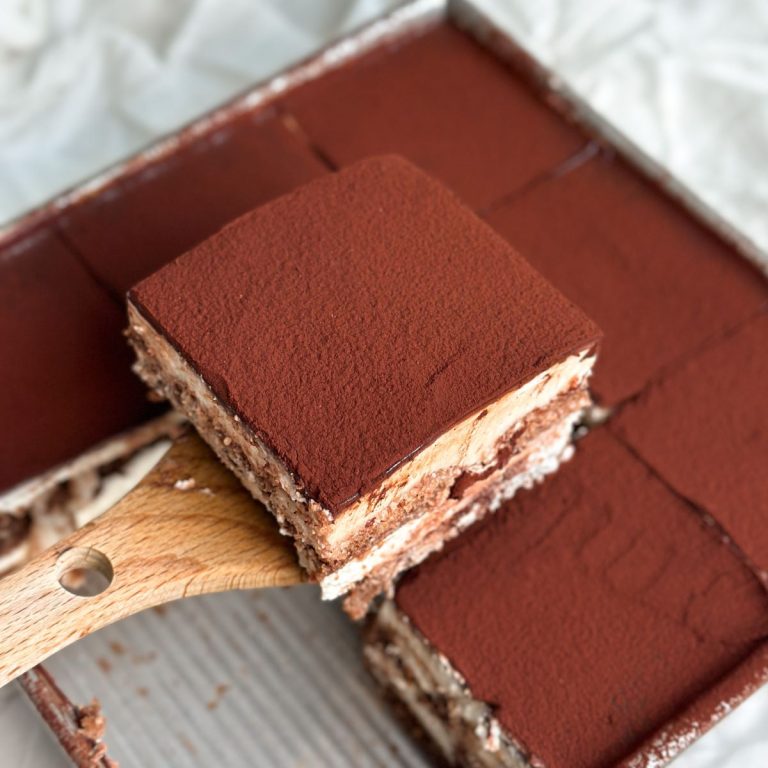
Tiramisu and cheesecake lovers are in for a treat on Bake With Zoha! Check out my most popular recipes:
Email This Recipe
Enter your email and I’ll send this directly to you. Plus you’ll get new recipes from me every week!
Ingredients
Chocolate crust:
- 35 chocolate creme cookies (455 g)
- 5 tbsp unsalted butter, melted (85g)
Cheesecake filling:
- 24 oz full-fat cream cheese, room temperature (3 8oz blocks, 680g)
- 8oz good quality mascarpone (e.g., Galbani), room temperature (226g)
- 1 1/2 cups granulated sugar (325g)
- ½ tsp salt
- 1 tsp vanilla essence
- 4 large eggs, room temperature
- 1/2 cup heavy cream (120g)
- 1 cup sour cream (240g)
- 1 tbsp cornstarch
Assembly:
- 12 ladyfinger biscuits
- 1/2 cup strong coffee (make black coffee however you like, but make it stronger)
Coffee mascarpone cream:
- 4 oz good quality mascarpone cheese, cold (113g)
- 2–4 tbsp granulated sugar
- 1 tsp instant coffee + 1 tsp water
- 1 cup heavy whipping cream, chilled (240g)
Decoration:
- 2 tbsp cocoa powder to dust
Instructions
Chocolate crust:
- Preheat oven to 350F (conventional) and butter the bottom of a 10″ springform pan (3″ tall)
- Grind the chocolate creme cookies and melted butter in a food processor until they form a fine crumb. Transfer to the pan, and pack very tightly using a measuring cup. You can push a little up the edges but keep most on the bottom.
- Bake for 7-8 min
Cheesecake filling:
- Adjust the oven temperature to 320F (conventional)
- Add the cream cheese and mascarpone cheese to the bowl of your stand mixer along with the sugar, vanilla and salt. Use the paddle attachment to beat for 2-3 minutes on medium-low speed until creamy. Keep scraping the sides of the bowl to ensure everything combines evenly
- Break your eggs in a separate bowl and whisk lightly. Don’t overbeat because if the eggs get airy they will give a spongy texture to the cheesecake. Add them to the batter slowly and mix at a low speed until JUST combined
- Add the cream, sour cream, and cornstarch (sifted), and mix at low speed until just combined. Keep scraping sides of the bowl
Assembly & baking:
- Seal your pan tightly with aluminum foil on the outside (not on the top)
- Pour half of the batter into the crust and gently shake to spread it. Tap the pan a few times on the counter to get rid of any air bubbles
- Soak the ladyfingers in the coffee quickly (just a quick dip on each side, don’t hold them in), and layer in the cheesecake pan gently. Try to get them as close as possible, and cut some ladyfingers into smaller pieces to fill in the gaps
- Gently add the remaining cheesecake batter (you can fill the pan until just under the brim) and lightly shake and tap again
- Place a large tray in your oven and fill it with 1-2 inches of boiling water. Place the springform pan in the water and bake for about ~80 min. Don’t open the oven until at least 75 minutes in. When done, the cheesecake should have firm edges but a jiggly center
- Remove from the oven, and cool at room temp for 15 min. Then run a butter knife between the cheesecake and the walls of the pan to separate them (don’t open the pan), and cool for 2-3 hours at room temp. After this, place in the fridge and chill overnight (no cover needed)
Coffee mascarpone cream:
- The next day, add the mascarpone, sugar and coffee to a bowl, and whisk until creamy. Then add the heavy cream, and whisk on low speed until the mixture forms stiff peaks
Decoration & serving:
- Carefully remove the chilled cheesecake from the pan and transfer to a serving stand
- Spread on a thin layer of the coffee mascarpone cream. Transfer the remaining to a piping bag and pipe it on top of the cheesecake using any pattern you like
- Dust the cheesecake with cocoa powder, and you’re ready to enjoy!
Video Tutorial
Notes
- It is important to use a 10″ pan which is 3″ tall, as otherwise the batter won’t fit. If you use a 9″ pan (make sure it is at least 3″ tall), you will have some leftover batter. I fill my pan almost to the top, and have never had a cheesecake overflow because it is baked low and slow in a water bath
- Don’t oversoak the ladyfingers, just a quick dip is needed. They will absorb more moisture from the cheesecake batter during the bake
- Read all tips provided in the blog post above for the best results

Comments
J.B.
Fantastic recipe. Took it into work and it was gone before lunch. I still get comments on how even the crust was amazing!
The only modification I made was adding dark rum and Kahlua to the coffee (just for the taste, of course). My lady fingers did threaten to float, but that was due to user error.
I’ll definitely be attempting to adapt it into mini cheesecakes with some homemade lady finger “buttons.” Thanks and kudos for the recipe!
Zoha Malik
THANK YOU for the kind review, J.B.! So glad your coworkers liked it too 🙂
Steve
Here’s what they don’t tell you:
1. This is too much content even for a 10” x 3” springform pan. Reduce the sour cream to 1/2 cup and use 325-350g of Oreos for the crust. 455g is way too much, especially when 90% of it’s on bottom.
2. Ladyfingers float. Even soaked in coffee, they are less dense than the batter. Carefully push them down into the batter when placing them. Use a silicone spatula or something soft, as even the quick dip in the coffee makes them mushy.
Mine is in the oven now, overflowing into the water bath. I don’t know why people insist on giving incorrect measurements in online recipes, but they do.
Zoha Malik
Hi Steve! Thank you for your review. May I ask, how high did the batter rise when you filled the pan? I wonder if the pan was overfilled, or if the cheesecake overflowed because the oven was running a bit hot. I can definitely take that into consideration to improve the recipe. And my ladyfingers have never floated despite multiple tests, so it’s likely coming down to the exact ingredients being used. And for Oreos, as you can see in the pictures, the crust goes almost all the way up the sides, so 90% of it is not on the bottom.
Victoria Clark
I made this recipe last year and it was a HUGE hit! Delicious and pretty simple.
Making it again this weekend.
There are two types of lady fingers. Hard ones and soft ones. I used the harder/heavier ones and they did not rise – perfect cake. I’m thinking maybe the people who struggled with floating lady fingers used the soft light ones….does that make sense?
Zoha Malik
Ah interesting! I have only ever seen hard ones here in the US, but you may be onto something 🙂
Tezza
This cheesecake is absolutely amazing. I made it for my husband’s birthday and he said it was the best cheesecake he has ever had, and I agree. Thank you so much for the recipe!
Zoha Malik
I am honored! Tell him happy birthday 🙂
Farwa
made this twice now and it was DIVINE!
Zoha
I totally agree with you!
Bryana
You are a gem! I have made this and the original cheesecake recipe and they are fantastic.
I also had my lady fingers (hard Italian style) float, however it wasn’t an issue nor did the texture change. Because the top was decorated, it made very little difference. The marscapone adds such a special texture and flavor. I fear I will eat the entire pan in a weekend.
Zoha
Thank you for your helpful review, Bryana!
Suzie
Absolutely incredible!! So delicious in every bite. The people having issues with ladyfingers floating up are doing something terribly wrong. This came out amazing!! I can’t wait for another excuse to make it again! I will be checking out your other recipes.
Zoha
YAYYY thank you so much, Suzie 🙂 So glad the recipe worked out for you
R
Great recipe, turned out fantastic, thanks!
Zoha
YAY! thank you!
Jason J
It should have occurred to me to check the process for tiramisu. The soaking recommendation there is 1-2 seconds, and that’s in a lighter batter.
Pat
Can the coffee mascarpone cream be put on the cake at least a day before serving or maybe two days?
Pat
Made this cheesecake today. It is now cooling. Question does the mascarpone coffee cream. Need to be put on just before serving or can it be put on a day ahead.
Ellen
This recipe is a keeper!! Made it(in addition to many other desserts) for a Christmas party of about 70 people. It went so quick! Super creamy and delicious! Also made for a pretty presentation.
Zoha
I am so honored, thank you so much!
Lana
This cheesecake came out so amazing that I had to leave a review. Made this for my boyfriend’s birthday and it really wowed everyone. Perfect recipe. I can’t believe anyone would leave a review other than 5 stars. Maybe not for beginners, also really have to read the recipe and instructions carefully. .As with all recipes. 11/10 cheesecake!!
Zoha
AWW thank you SO much, Lana!!!
Lisa Doering
hi, not trying to complain. but, i would like to be honest because I think it would be beneficial.
first, kudos on the cheesecake recipe!!! absolutely the best recipe I’ve tried, it will be my last.
the only issue is I found the directions misleading for the mascropone frosting. I’ve never made this before and I followed as written. whisk mascropone, sugar,coffee until creamy. well, nope, it split because I didn’t let it come to room temperature and cream it first- I was able to fix it by using the dbl boiler and let that cool to room temperature. I made sure my heavy cream was chilled and whisked on low speed….nothing happened. it never reached stiff peaks. I eventually had to just discard it and wound up using coolwhip that I had on hand and chocolate fudge instant pudding and added the espresso to that. so, it wasn’t a major fail. However, I thought I would let you know so that perhaps you could include precise directions in the future for those of us that do not have experience with all areas of baking. thanks and again…awesome cheesecake recipe and my dipped ladyfingers ( i made them) did not budge….beautifully in the middle! thank you.
Lisa
Amy Dunn
Followed the directions exactly and turned out amazing!
Sadiyya
Hey Zoha!
For the Coffee mascarpone cream, should the mascarpone and cream be at room temp?
Zoha
I typically just use them cold 🙂 Make sure to use Galbani mascarpone and you won’t have issues
Izola
I followed this recipe as instructed and it turned out fabulous. The only adjustment that I made was adding a 2 tablespoons of coffee liquor to the coffee before dipping the ladyfingers. I also left the cheesecake in the oven with the door cracked for 30 minutes after it was done baking.
Zoha
Hi Izola! SO So pleased to hear you enjoyed this recipe 🙂
Leandro
Hi Zoha! I’ve been cooking your recipe for several months and it is awesome! but i have a doubt: everytime I do the recipe, the ladyfingers come up, they dont stay still inside the cake. Do you know why this may happen?
Thank you!
Zoha
Hi Leandro! That’s very strange as I haven’t experienced that myself. Are you pouring the cheesecake mixture? Maybe try spooning it on?
Joann
Not a crumb was left.
absolutely devine!
Zoha
Thank you Joann!
Saena
What # piping round tip did you use for the top of the cheesecake?
Sarah E Christensen
I am so excited to make this, I am curious, would left overs freeze well? I plan on making 2 smaller ones!
Zoha
Hi Sarah! I think it should freeze ok, just let it completely thaw in the fridge before serving 🙂
Zoha
Wilton 1A 🙂
Merissa
An instant save! My husband requested one for his birthday and this recipe called to me and I’m so happy I picked it bc it was delicious! A must try!!