

This post may contain affiliate links
Add Bake with Zoha as a preferred source on Google and find more of my tried-and-tested recipes.
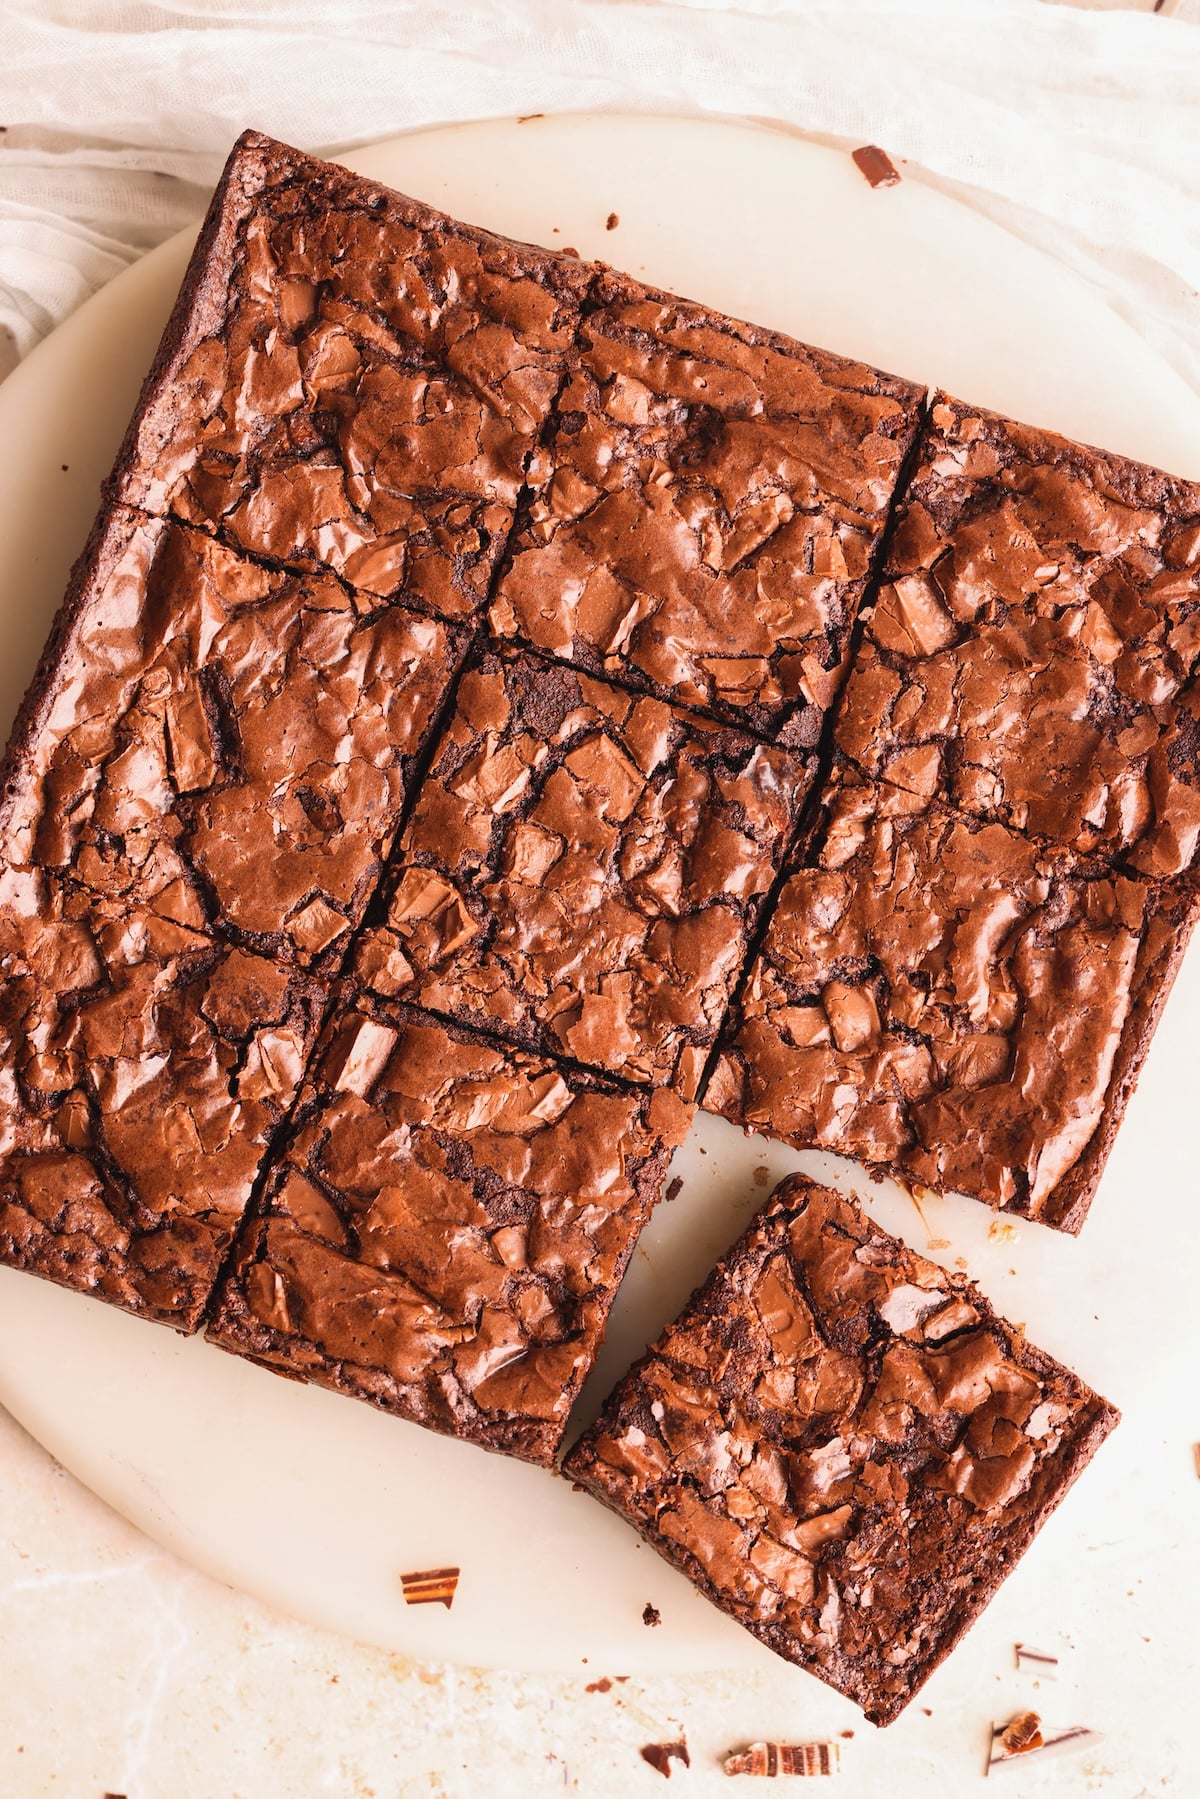
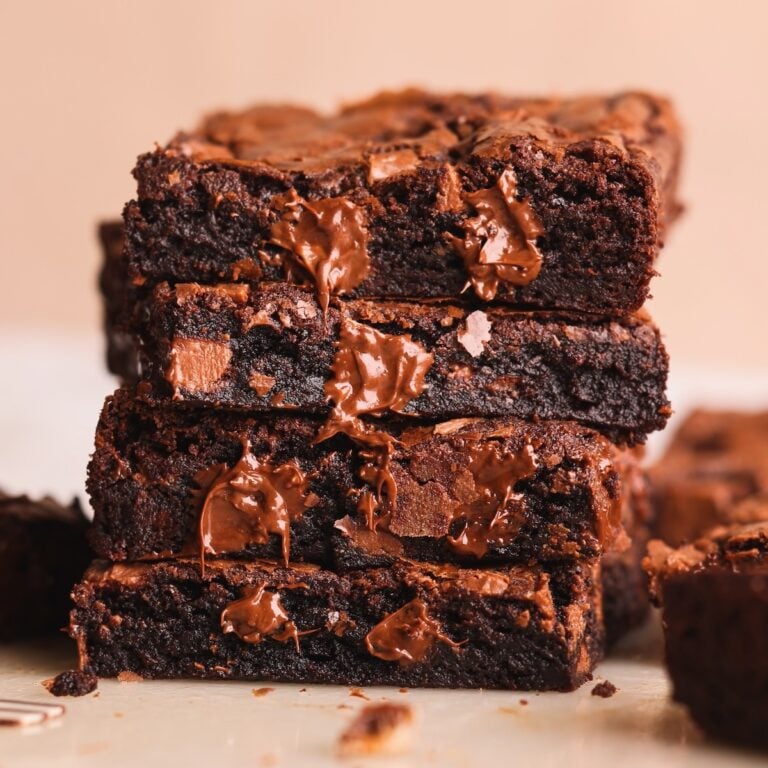
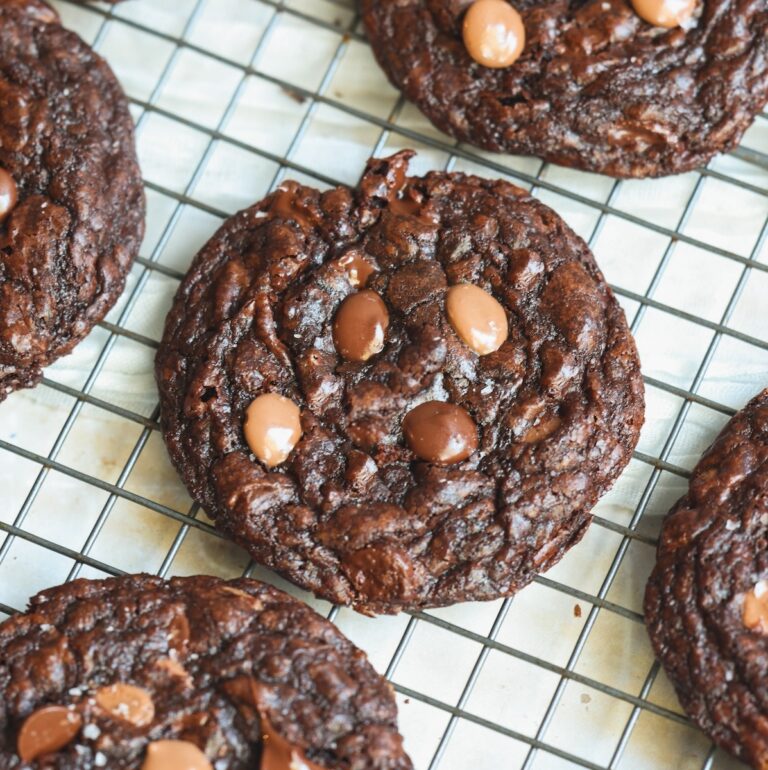
This brownie recipe is about to change your life – figuratively AND literally. They’re unbelievably easy and fuss-free: just 7 basic ingredients, one bowl, no mixer and 30 minutes start to finish. Made with cocoa powder only (no melted chocolate required!), they still have a deeply rich, chocolatey, not too sweet flavor. Add a perfectly chewy texture and a beautiful shiny, crackle top, and these brownies gives box brownies a run for their money. And the secret to all of this? Simply grinding your sugar! They may sound too good to be true – but lucky for us, they aren’t!
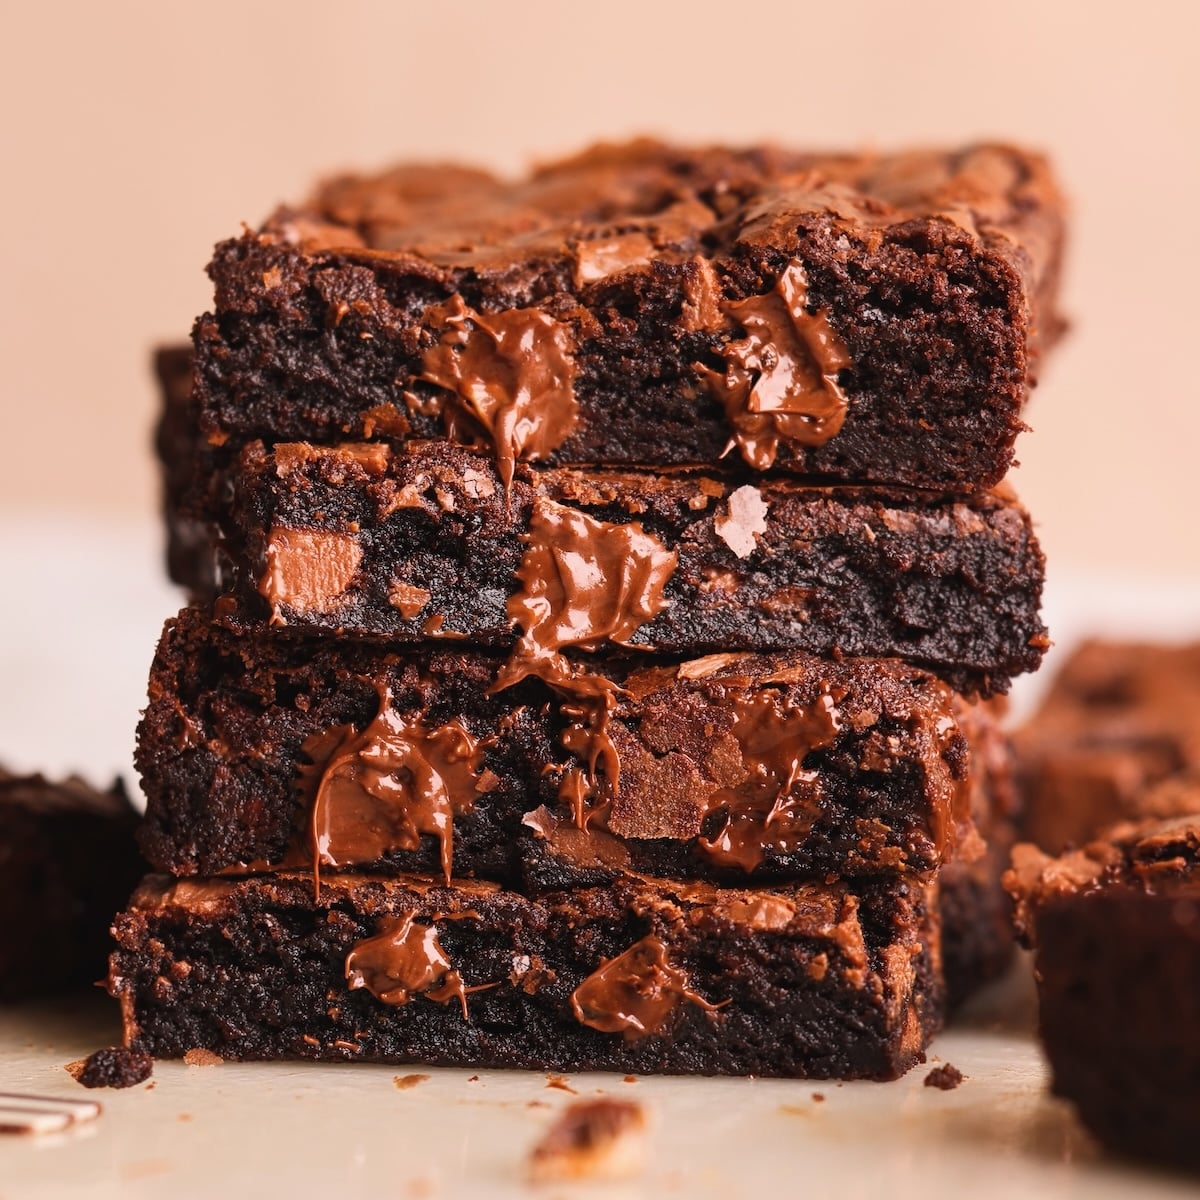
Funnily enough, these brownies are one of the very first desserts I learned to bake, – the recipe that started my love for baking and earned me the title of “brownie girl” in high school! I only recently revisited it after more than a decade, and was genuinely shocked at how good they were. A few tweaks to make them match my adult palette, and I now consider them perfect! You can even make a brownie cookie version of this recipe, which take 20 minutes start to finish.
7 basic ingredients and an optional upgrade
This recipe is at simple as it gets, but here are some helpful notes to keep in mind:
- Butter: You just melt it in the microwave, no need to soften or brown! I prefer unsalted, but you can also use salted butter and reduce the added salt if needed
- Sugar: Start with granulated or caster sugar, and grind it in a food processor (details below!). This recipe is already adjusted to use as little sugar as possible, so I don’t recommend reducing it further
- Eggs: Cold or room temperature both work fine
- Flour: I highly recommend measuring with a scale and sifting it in for the best results
- Dutch Processed cocoa powder: I strongly recommend Dutch Processed cocoa powder instead of natural as it is richer and more chocolatey. Especially because we’re not adding melted chocolate to the batter, the quality of cocoa powder makes a big difference
- Baking powder: The tiniest amount causes the batter to rise slightly in the oven, then deflate as it cool. This push-pull on the gluten strands gives the brownies a chewy texture!
- Salt: Last but definitely not the least – it balances the sweetness and adds flavor complexity
Optional, but recommended: chopped chocolate stirred in at the end. This adds flavor, texture, and makes the brownies even shinier! Have fun with it: milk, dark, white, or even chocolate candy works.
The secret is grinding the sugar!
This actually started out of necessity: back in Pakistan, sugar comes in large granules that don’t dissolve easily, so I would always grind it in a food processor. But after a few tests, it turns out grinding makes a huge difference even when you’re using the finer granulated sugar in the US! Grinding the sugar breaks it into smaller particles, similar to powdered sugar, helping it dissolve more easily and giving the brownies their chewy, moist texture and shiny crackle top.
And NO, you can’t just use powered or icing sugar. It may seem like a shortcut, but powdered sugar contains cornstarch and gives brownies a chalky, unpleasant texture. So take the extra 2 minutes to pulse granulated sugar in your food processor. It’s worth it, I promise.
Step by step photos
Let’s quickly go over the steps with photos to help you visualize this easy one-bowl recipe:
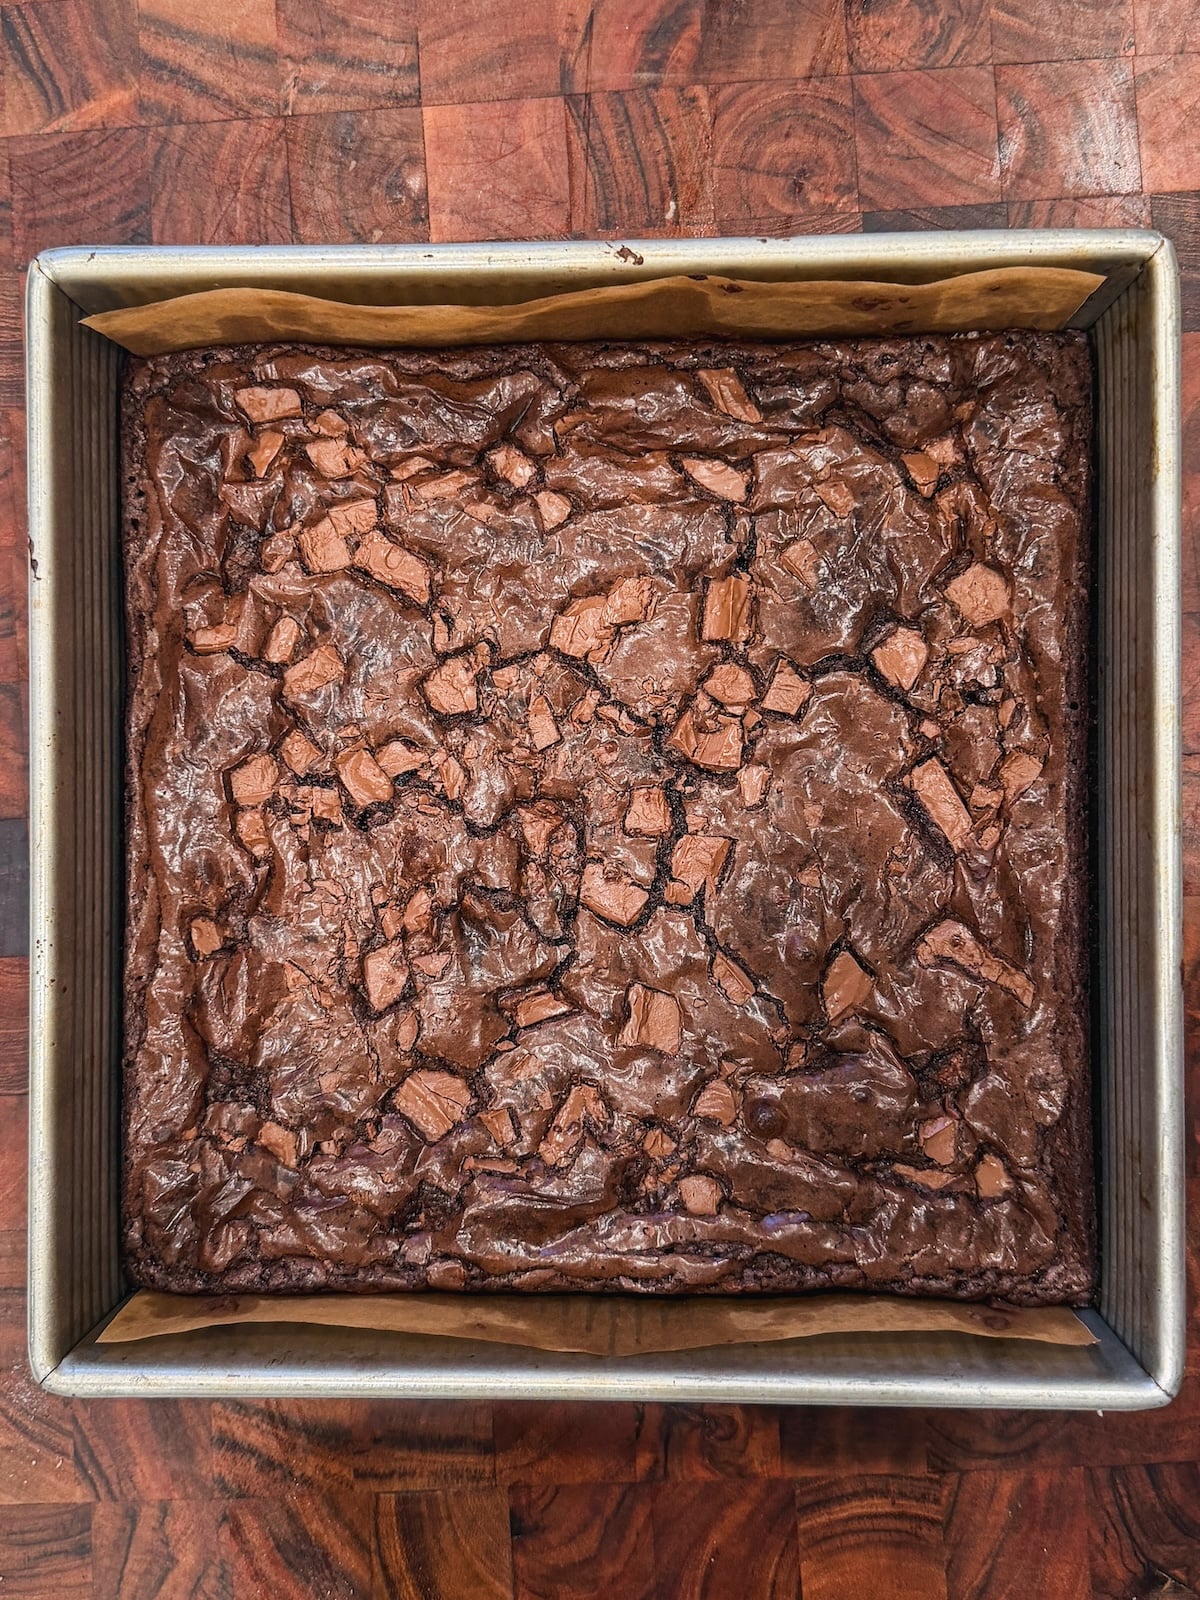
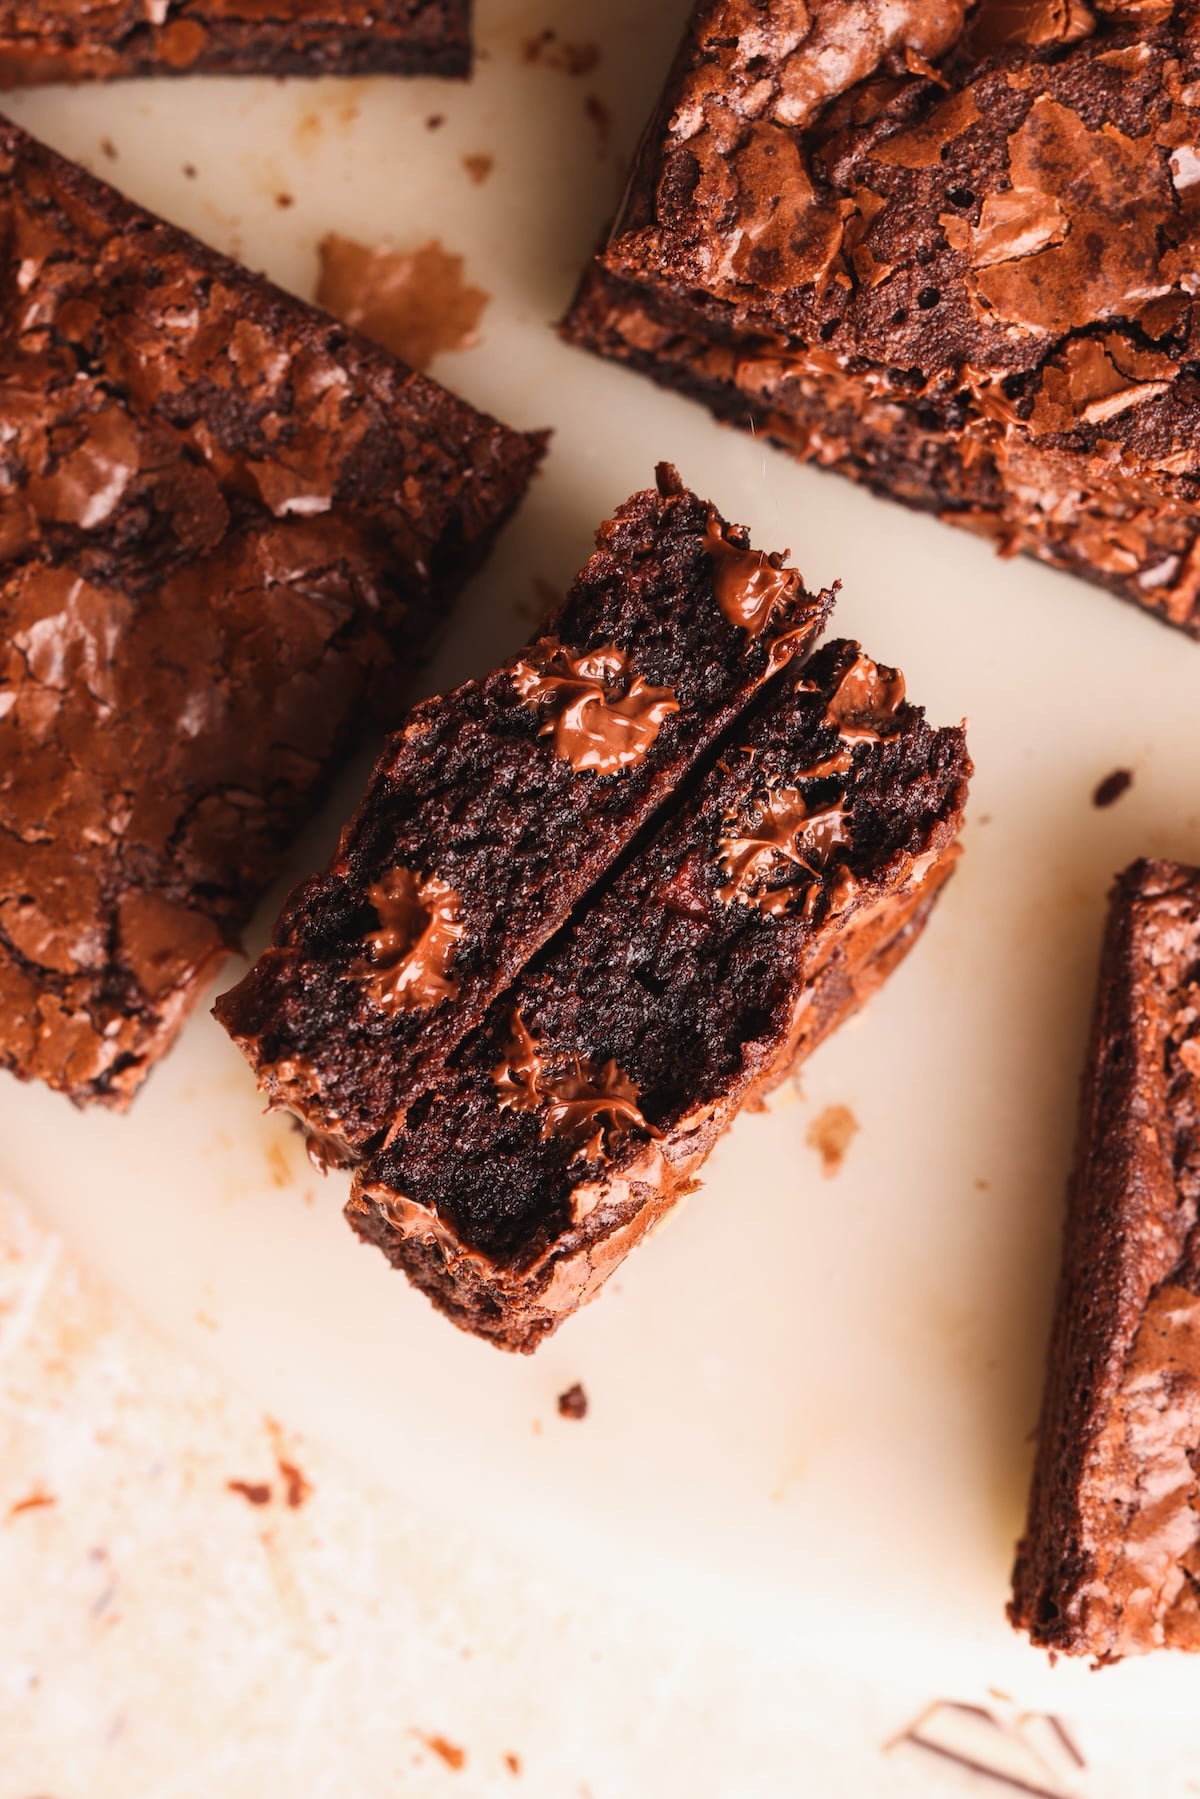
Let the brownies cool in the pan for at least 20-30 minutes, as they will be too soft when warm. Then cut with a sharp knife, serve and enjoy.
If you want to turn these brownies into more of a dessert, try topping them with a pistachio knafeh mixture like I do in my Dubai Chocolate Brownies! You could even add a pecan pie topping halfway through the bake, like I do in this gooey pecan pie brownie recipe.
Two more tips to perfect these
Here are 2 very important tips you need to remember:
- Use a light colored metal baking pan. Glass or ceramic take too long to conduct heat, and lead to an uneven bake. Dark metal pans conduct heat too fast, causing the brownies to darken too much. This USA Pan from Amazon is my favorite
- Watch the bake! Brownies should be slightly underbaked: set around the edges with a slightly soft middle. They continue to bake and set as they cool. If you insert a toothpick in the center, it should come out with moist crumbs on it. Wet batter means the brownies need more time, while a completely clean toothpick means the they are overdone.
Email This Recipe
Enter your email and I’ll send this directly to you. Plus you’ll get new recipes from me every week!
Ingredients
- 1 1/3 cup granulated sugar (266g)
- 2/3 cup melted butter (150g or about 11 tbsp)
- 2 large eggs
- 2/3 cup all purpose flour (86g)
- 1/2 cup Dutch processed cocoa powder (50g)
- 1/2 tsp baking powder
- 3/4 tsp salt
- Optional: 100-150g chopped chocolate or chocolate chips of choice; I like a mixture of milk and dark
Instructions
- Pre-heat your oven to 350F (conventional / no fan)
- Line a 9×9 light colored metal baking pan with butter / baking spray and parchment paper. The parchment paper should rise to the top of the pan to create “flaps” that can be used to lift the brownies out of the pan after baking and cooling. The butter or baking spray will help the parchment stick to the pan so it doesn’t fold into the brownie batter
- Measure the granulated sugar first, then add it to a food processor. Blitz for 30-60 seconds or until the sugar turns powdery. You may need to shake the bowl/jug along the way
- Melt the butter in the microwave in 15 second increments
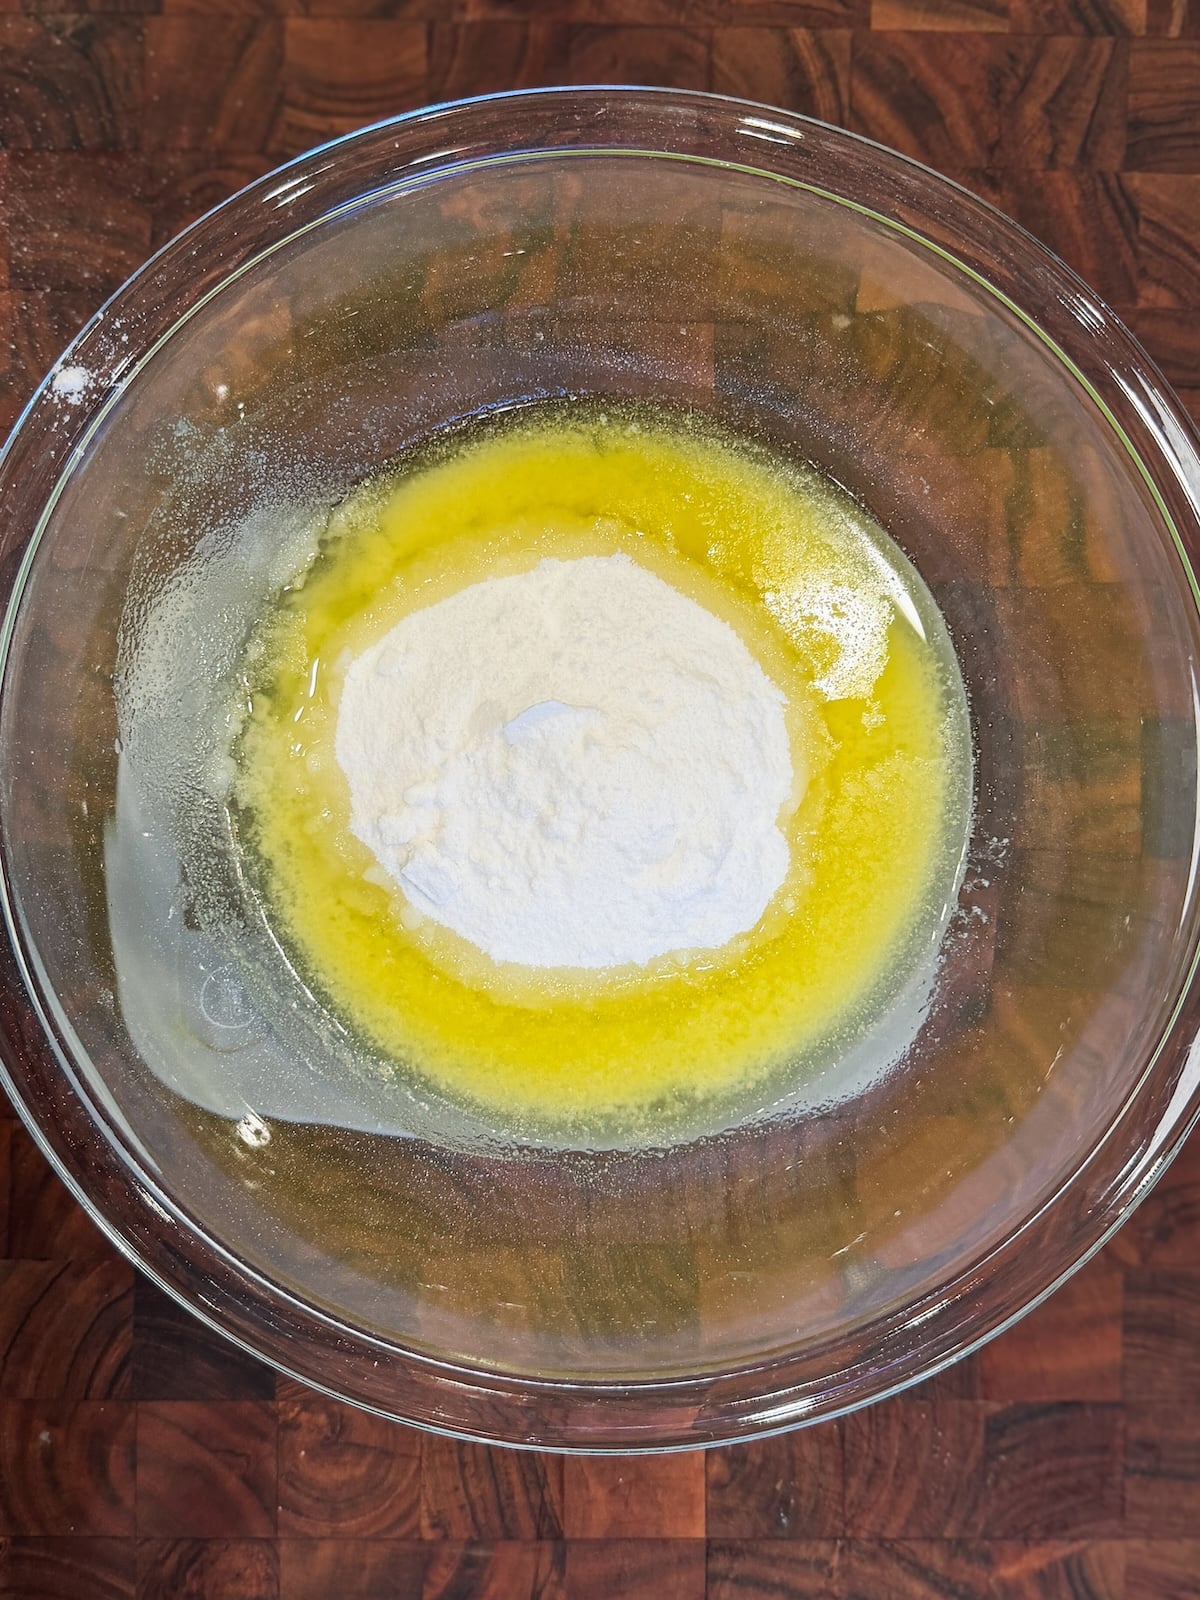
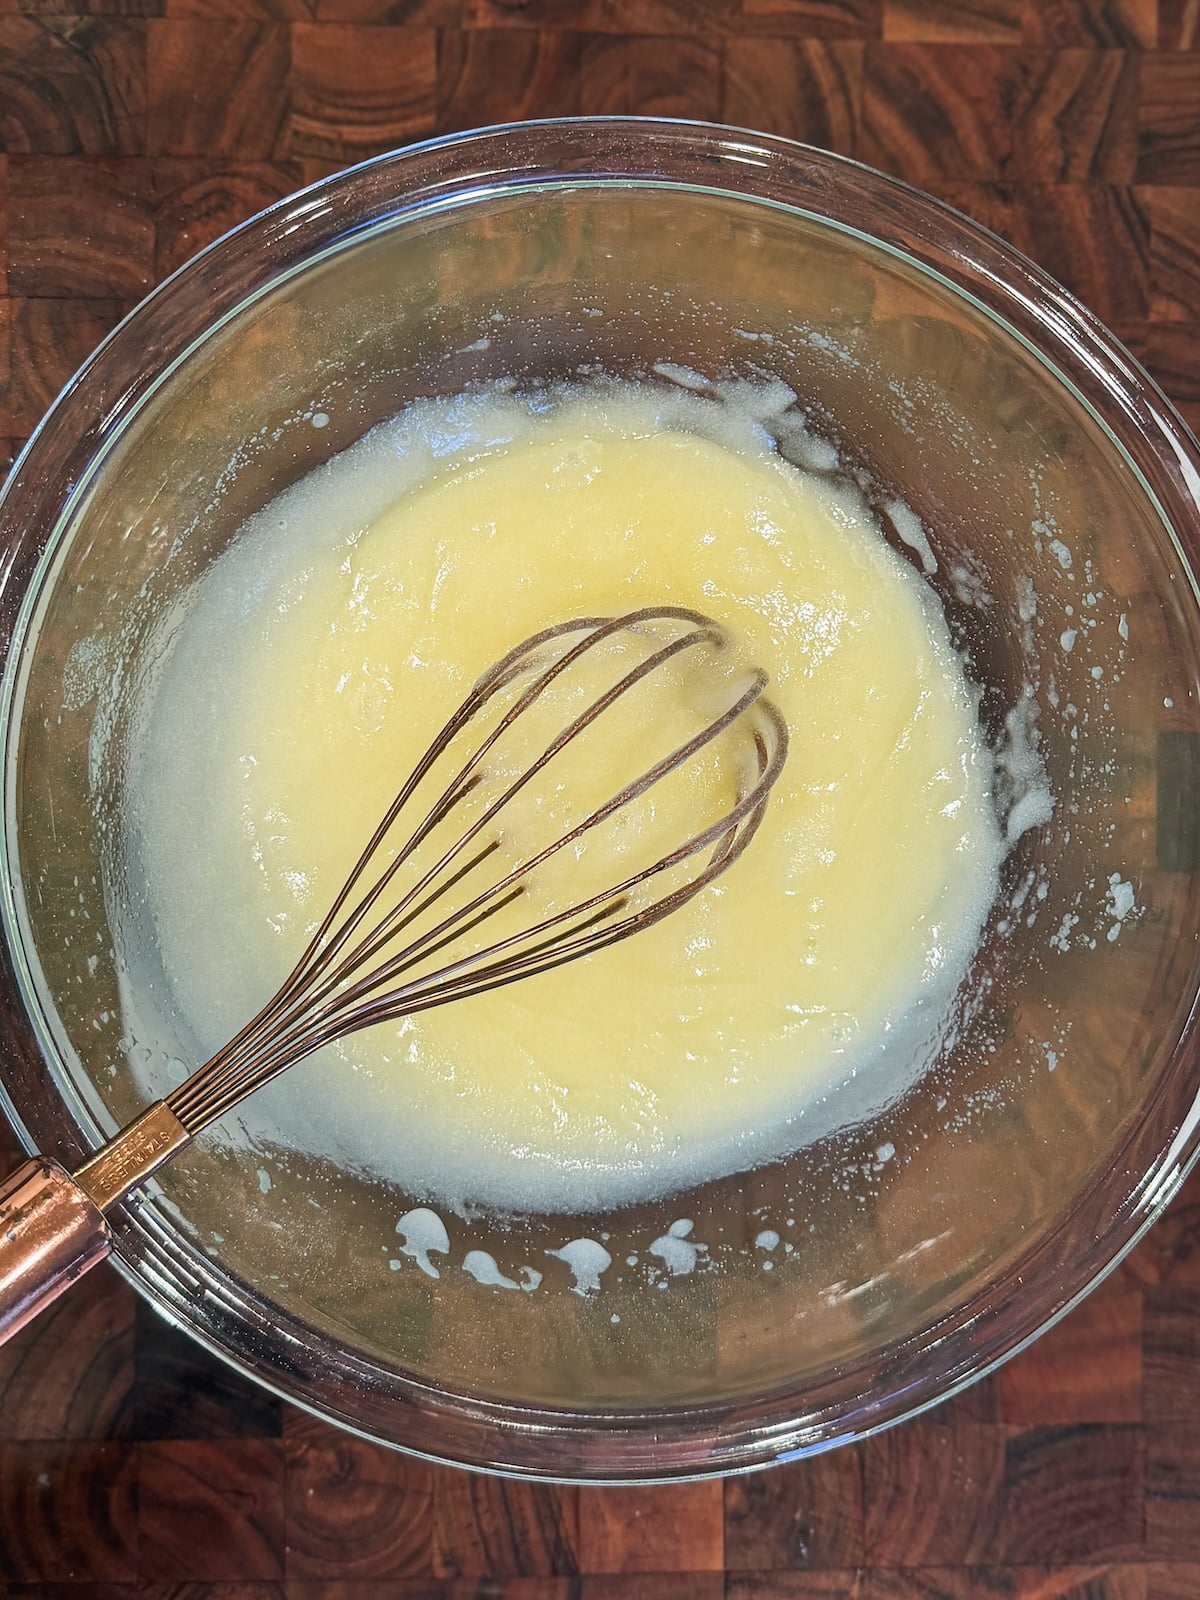
- Add the melted butter and ground sugar to a bowl. Whisk with a hand whisk for about 60 seconds or until the mixture looks smooth
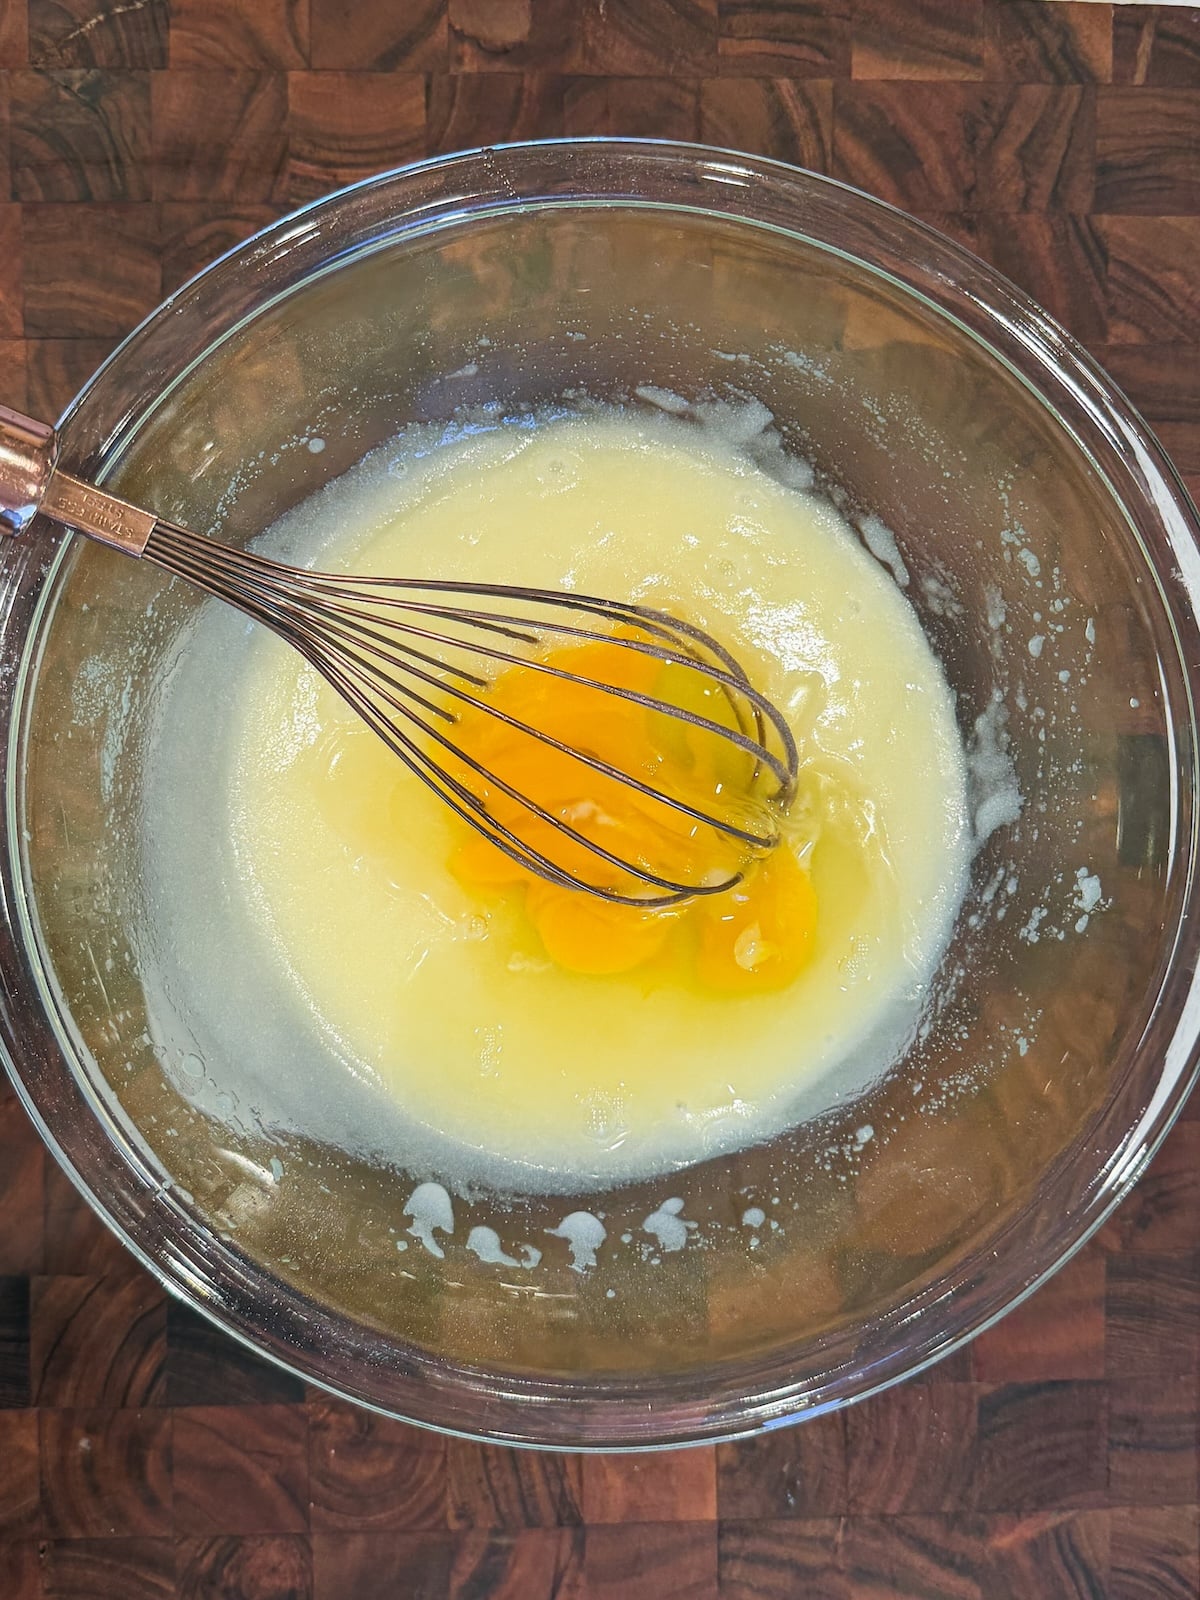
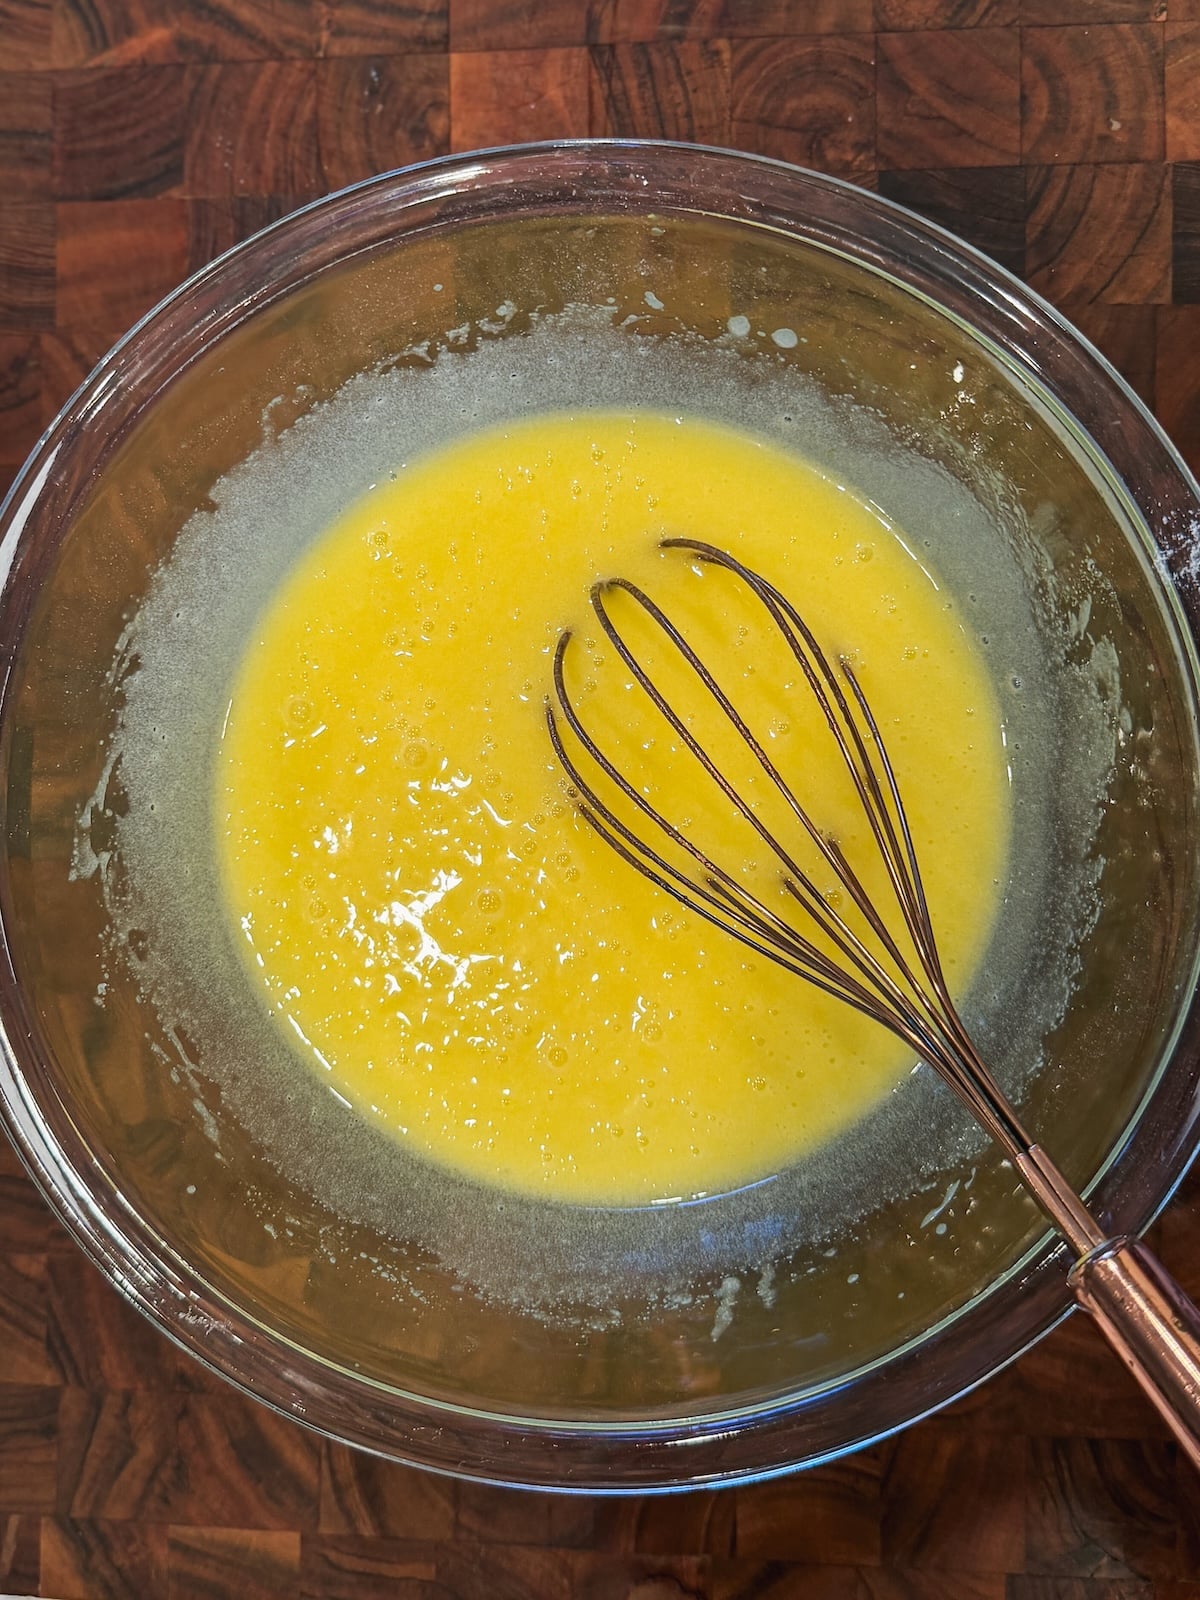
- Add the eggs and whisk again until the eggs are fully combined and the mixture looks smooth
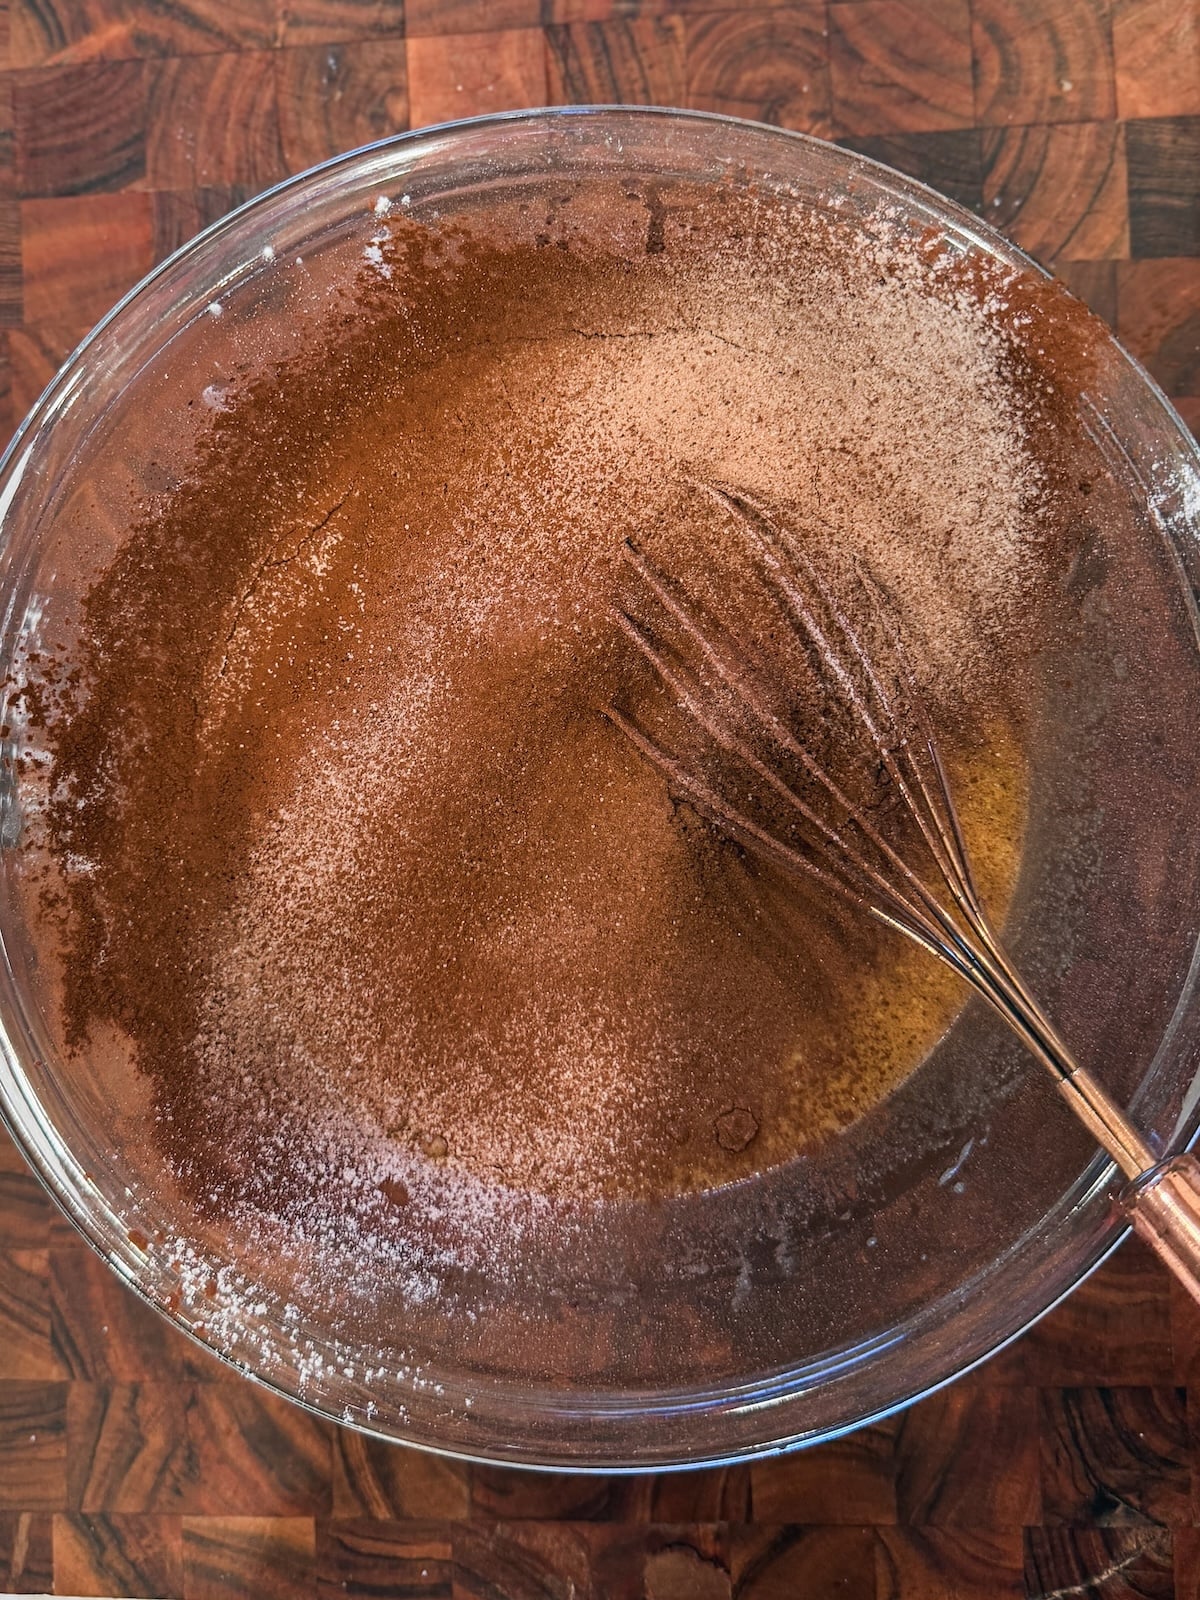
- Now sift in the flour, cocoa powder, baking powder and salt directly into the bowl
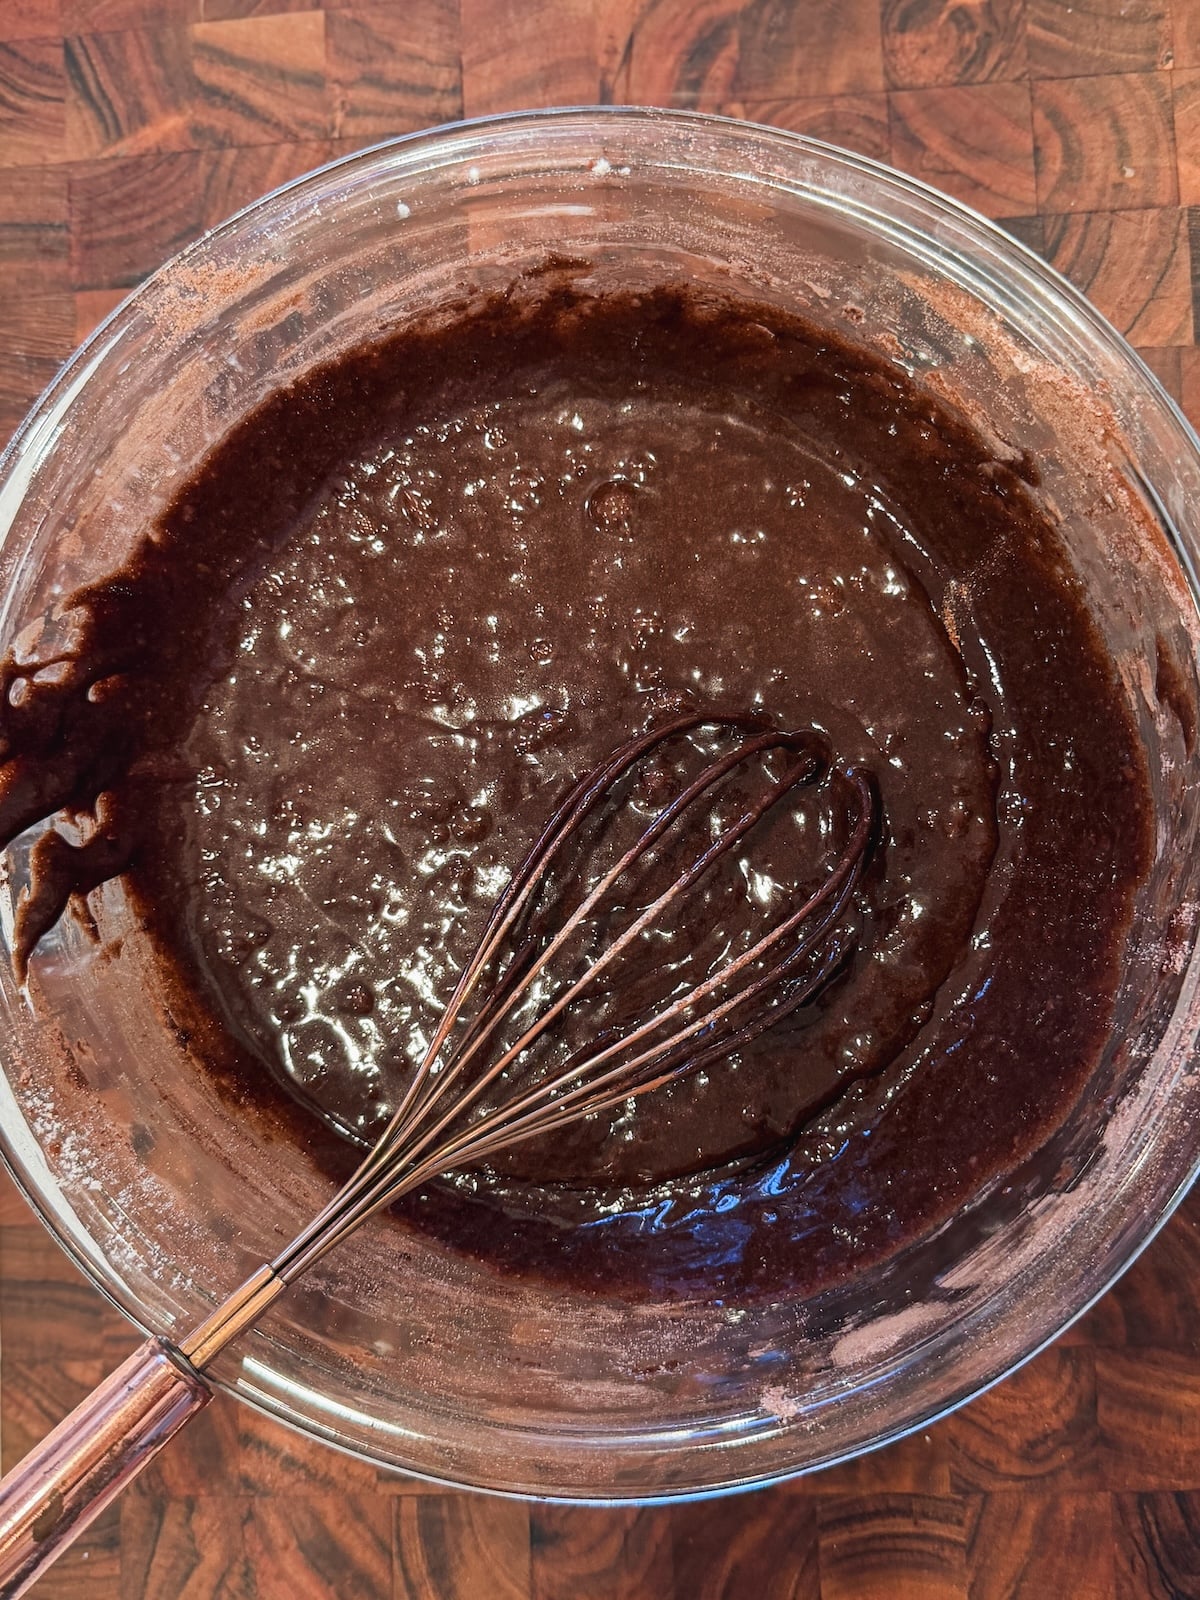
- Gently mix in the dry ingredients using slow folding motions until just combined. Do not over-mix to prevent gluten formation. I like using a rubber spatula for this step
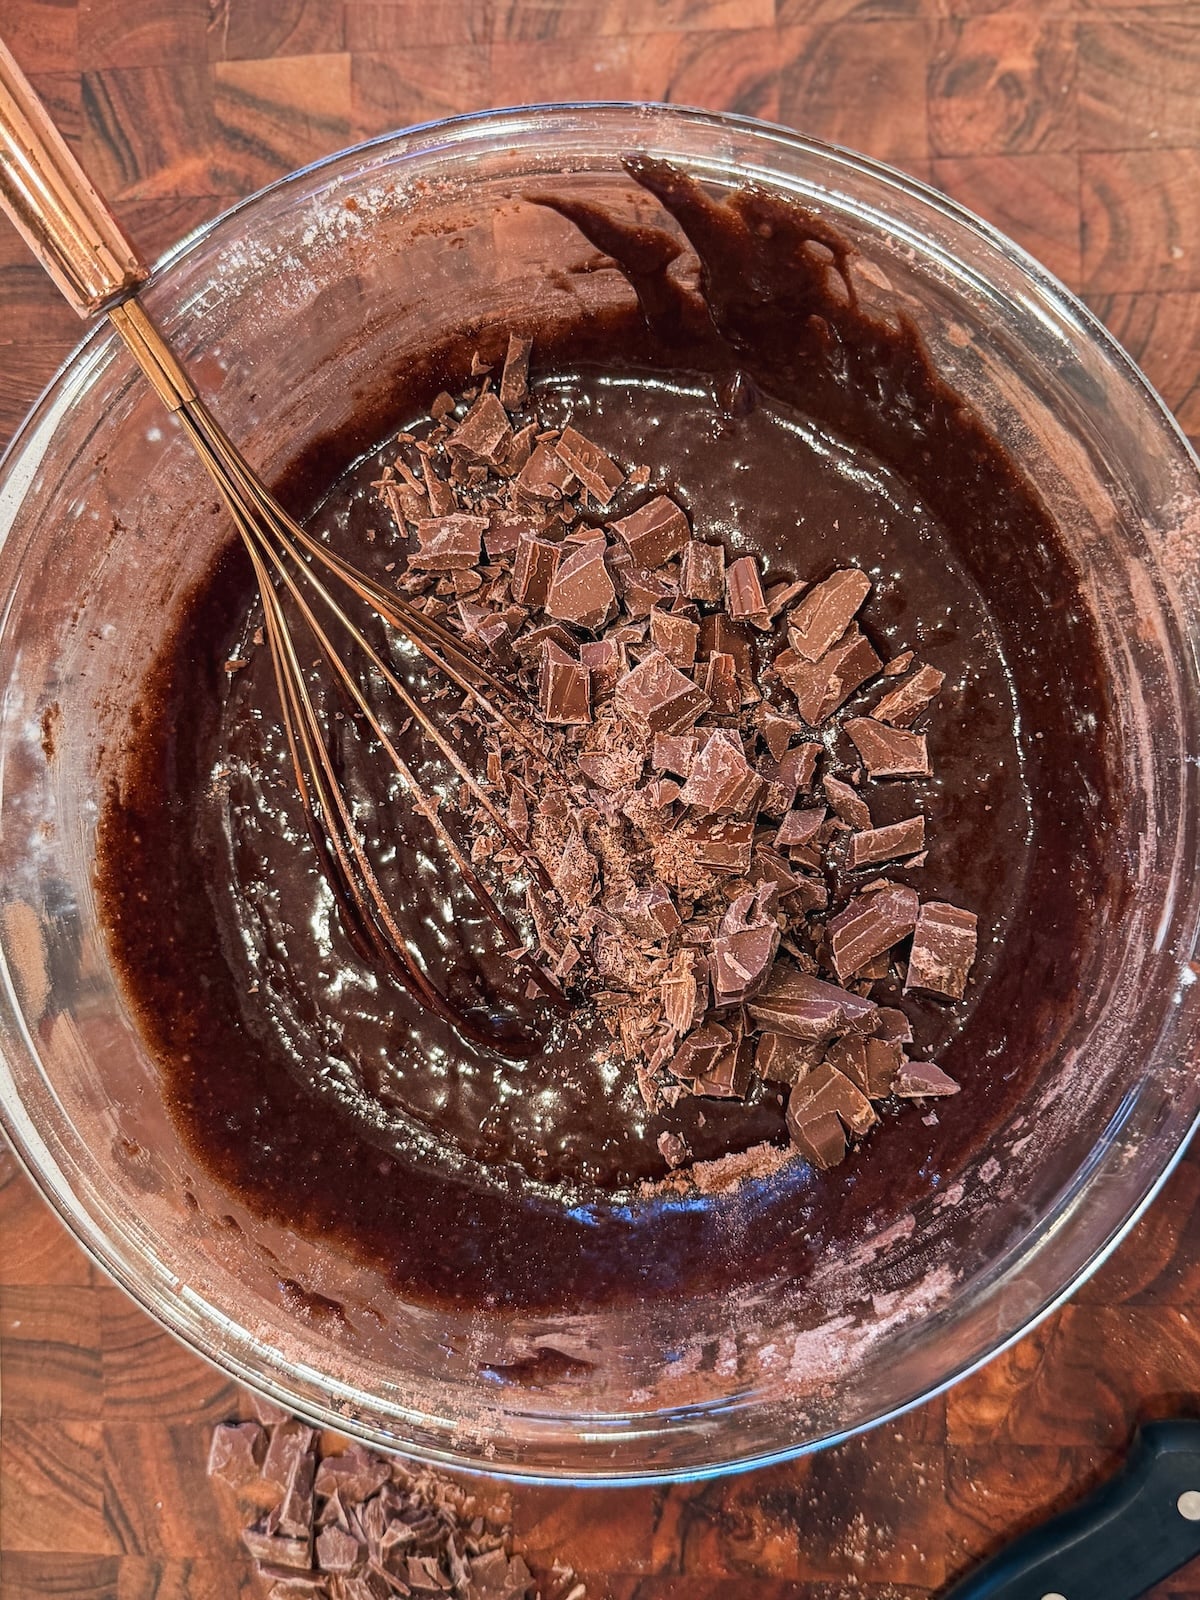
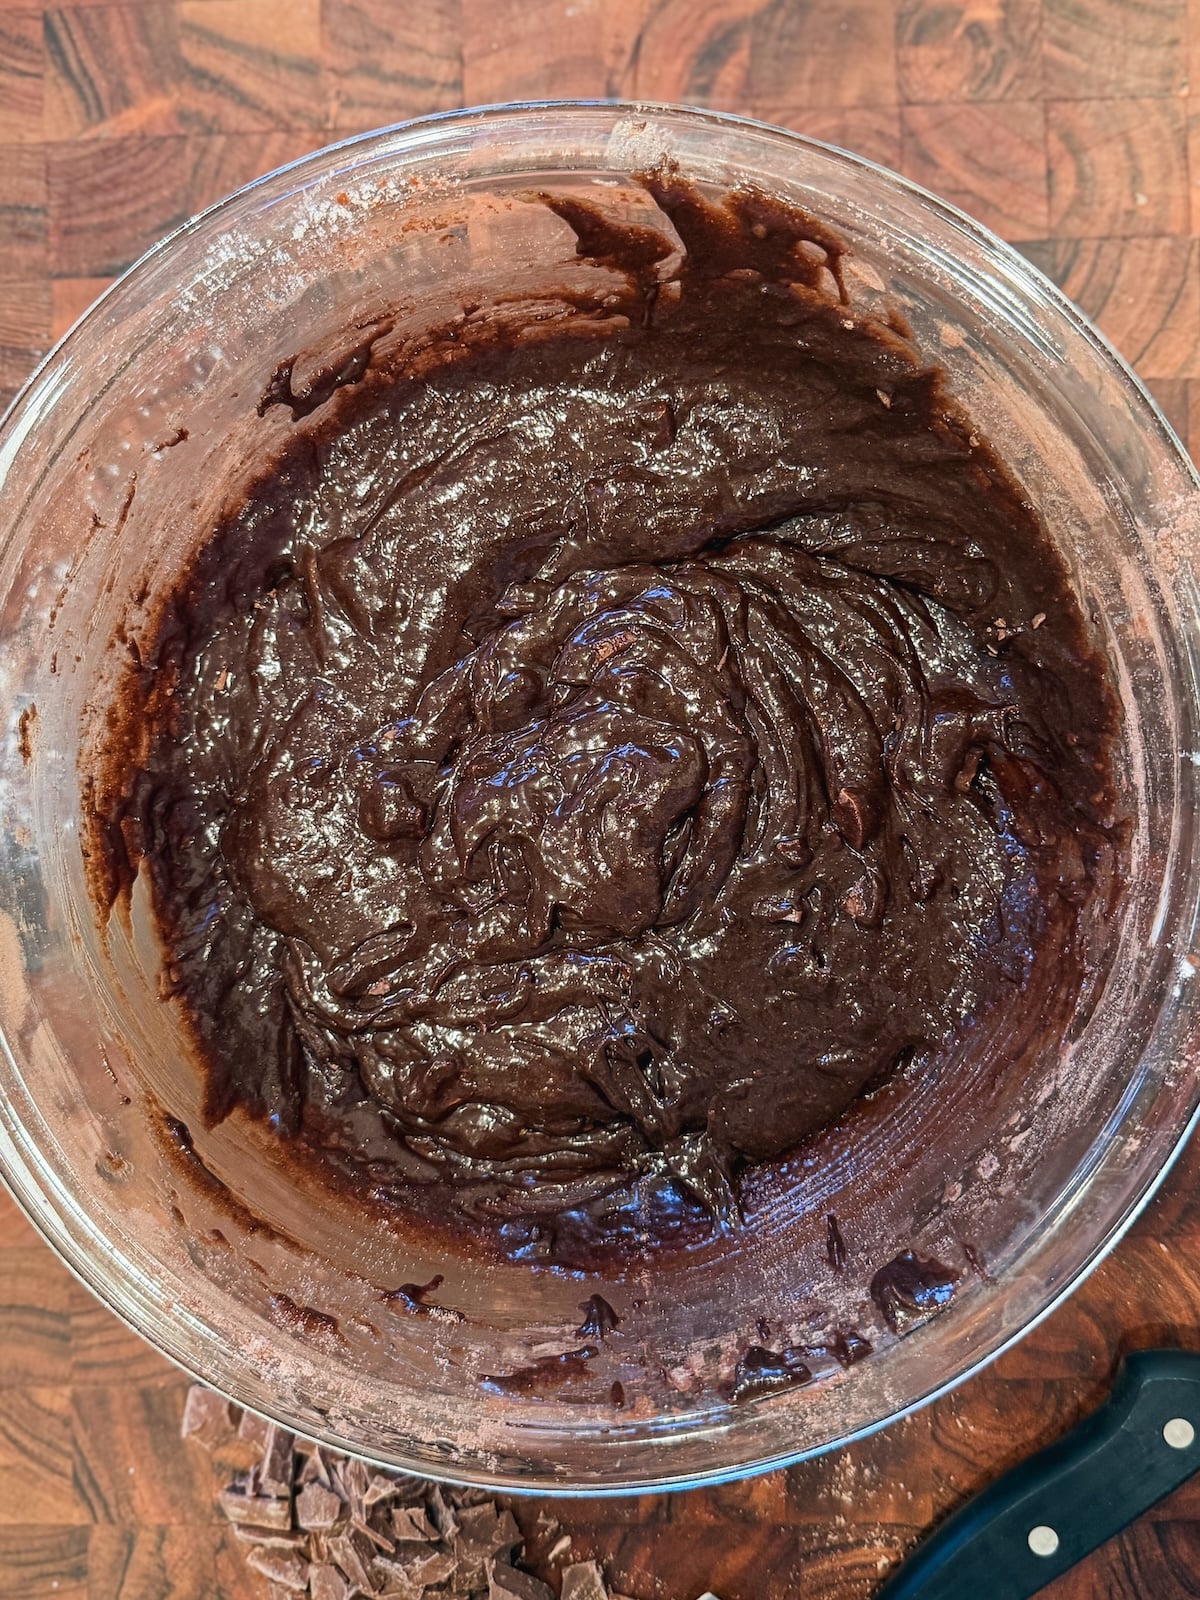
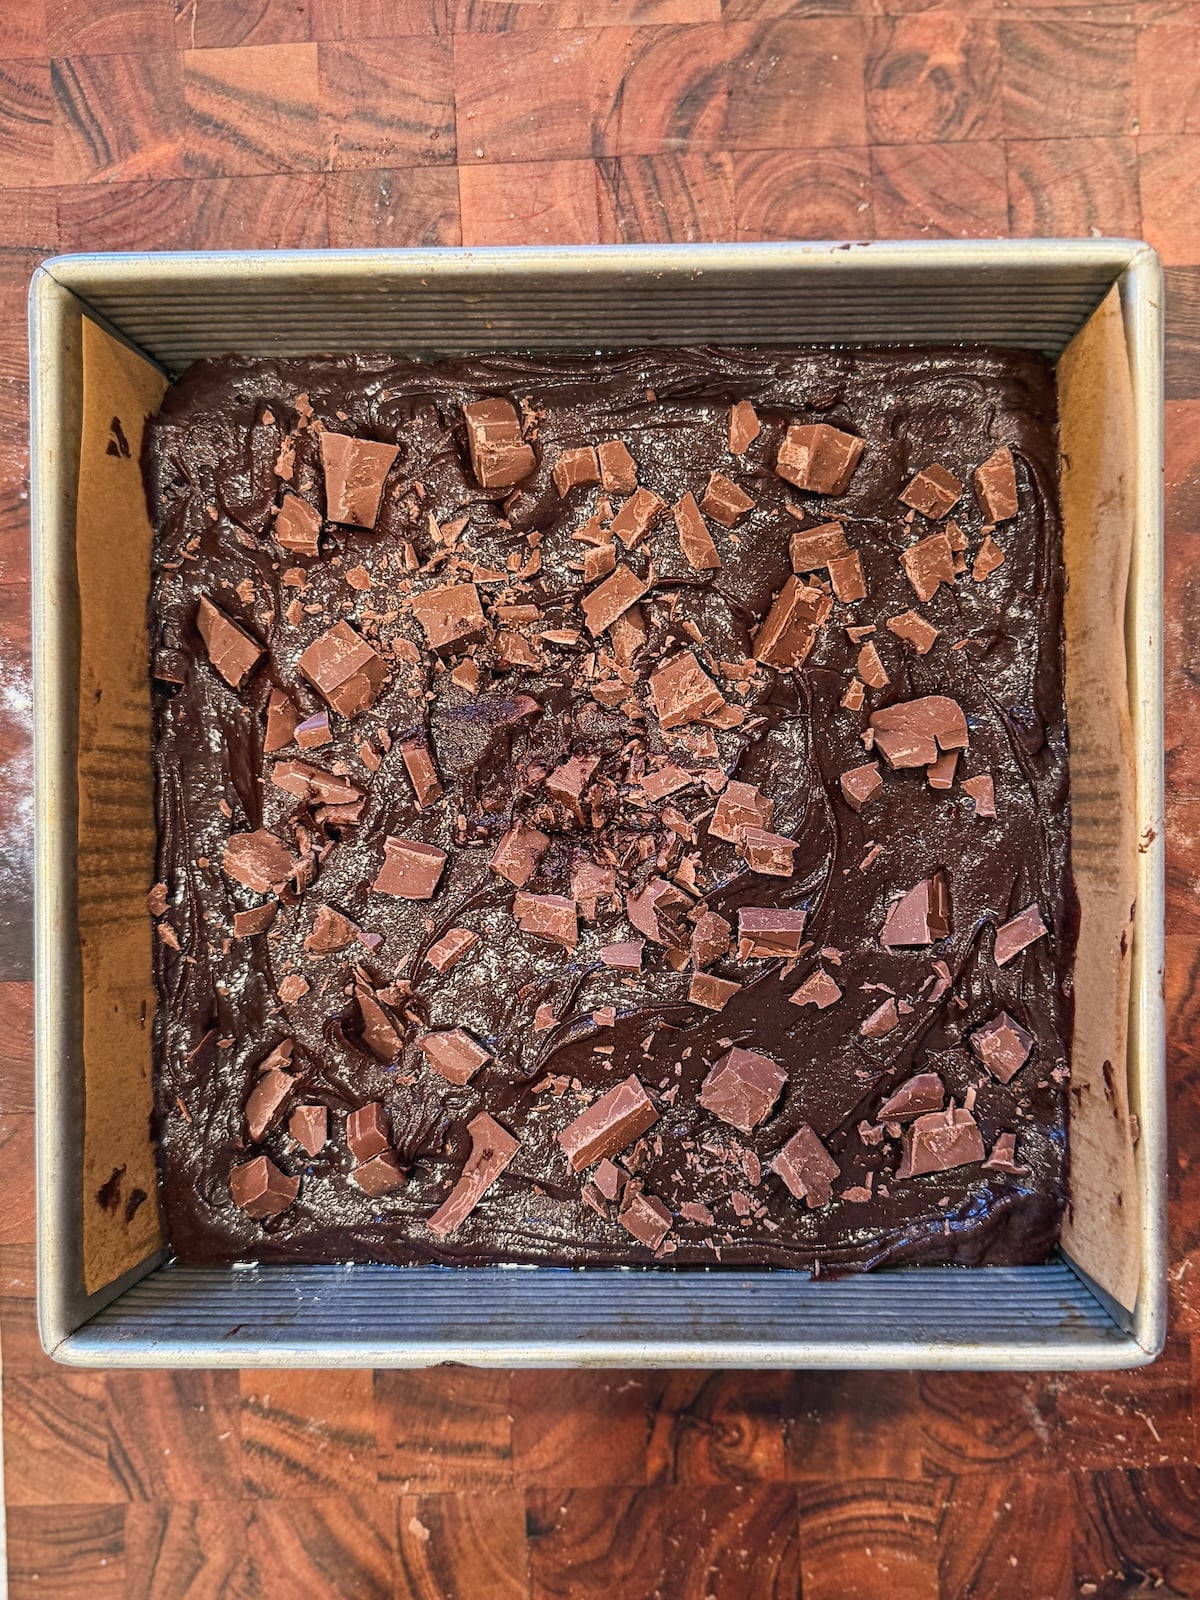
- Lastly, add in the optional 100-150g chopped chocolate / chocolate chips and fold until evenly dispersed. Do not overmix. I like to reserve some chocolate to press on top of the brownies
- Spread the brownie batter into the prepared pan. It will become thicker with time so you may need to use a spatula to spread it evenly. If you have any reserved chocolate, spread that on and gently press it in now
- Bake the brownies in the pre-heated oven for 20-25 minutes, until the edges are set but the middle is still a little soft to touch. A toothpick inserted in the center should come out with moist crumbs on it.
- Remove from the oven and let the brownies rest for 20-30 minutes in the pan. Then carefully remove, slice with a sharp knife, serve and enjoy!
Video Tutorial
Notes
- Make ahead and storage: These brownies are best consumed fresh, or within a day, for optimal texture and flavor, so I don’t recommend making them ahead of time. I like keeping them at room temperature in an airtight container for up to 2 days, but you can also refrigerate for up to 5 days. You can eat them cold or microwave for ~10 seconds to enjoy them warm.
- Upgrading into dessert: If you want to turn these brownies into more of a dessert, try adding a pistachio knafeh topping like in these Dubai Chocolate Brownies, or add a layer of pecan pie filling halfway through baking like in these Gooey Pecan Pie Brownies. You could even cool them down and top them with a layer of mascarpone cream, just like the one in this Tiramisu Chocolate Cake, to turn them into Tiramisu Brownies!

Comments
Minahil
Hey Zoha, I have been trying to copy the exact recipe and my brownies are not stiff. They break so easily. I bake them around 30 at 180 degrees Celsius but still they are so soft that they break. I don’t know why is this happening.
Zoha Malik
Hi Minahil! Happy to help – first, are you using a scale? second, what kind of pan and oven settings are you using? and third when are they breaking? when u remove from the pan or afterwards? Are you letting them cool down?
Sylvia
One of the best recipes out there! ❤️ Every recipe on this blog SMACKS!
Zoha Malik
AW thank you so much, Sylvia! <3
Hareem Fatima
The recipe is amazing. I’ve never used a different one ever since I found this. Its so simple and easy but so perfect. Great job Zoha
Zoha Malik
You made my day, thank you so much!
Amen
Truly an easy recipe and surprisingly soo rich without needing melted chocolate! New go to recipe for me!
Rashida
I just made these and they turned out DELICIOUS 😋!!!!
one of the quickest and easiest recipes to follow and I will be making continuously from now on!!!
if you unsure please give it ago because I just can’t believe how simple it was to make.
Thanks Zoha x
Zoha Malik
Thank you so much for the kind review! And I agree with everything you’ve said 🙂
Maryam
One of the best brownies I have ever tasted so far! It’s super easy to make and turned out chewy, chocolatey and delicious. I am making another batch tomorrow, and I’m sure everyone would love these!
Thank you for the amazing recipe and tips, Zoha
Zoha Malik
YAYYY so happy to read this!
Ms. Arif
I didn’t like the recipe. It’s too sweet for my liking.
Rob
OK, so those are really, really good. They might even be the best I’ve ever made, and ive made a lot of brownies. I doubled the batch, so I’ll be happy for quite a while. Thank you!
Zoha Malik
Thank you so much, Rob! Glad to hear that!
Ayesha
So quick, easy and DELICIOUSLY PERFECT!! I have made them a few times.
Zoha Malik
WOOO thank you!!!
Beth
Im an avid baker yet i’ve never found a reliable DELICIOUS winning brownie recipe until I tried this one. Ive been told to use expensive chocolate and try complicated processes, and lo and behold here’s a recipe as simple as it gets that tastes (and keeps!) better than any of them! Thank you!
Zoha Malik
WOOP WOOPPPP I am so glad you tried this recipe, Beth!!
Geisiane
This recipe is fantastic and easy. The brownies were crisp on the top and chewy inside. I would have preferred a more intense chocolate flavor, though.
Zoha Malik
Hi Geisiane! Because these are cocoa powder only brownies, they’re not going to have a very intense chocolate flavor. if you want that, I recommend my fudgy brownie recipe: https://bakewithzoha.com/best-fudgy-brownies/
Andrea
I’ve made these a few times already, they’re great! Especially with the added chocolate chips. On my third batch, I added caramel syrup to the top before I put them in the oven, DELICIOUS!
Zoha Malik
AWW thank you!! Love the idea of caramel in them – yum
Maham Fatima
Hi Zoha, your recipes are always so simple and perfect! This looks absolutely amazing.
Just a quick question: I try to keep sugar to a minimum. Since you mentioned sugar is necessary for the crinkle top and that you’ve already reduced it as much as possible, how much extra salt can we safely add to balance the sweetness without making the cookies taste noticeably sweet and salty?
Zoha Malik
Hi there! Hmmm – I personally don’t think you should add more salt than directed, perhaps the best medium would be to sprinkle sea salt on top after baking? So you can taste and decide?
Maryam
Hey, I tried your recipe and it turns out so good, and I m really excited to try your other recipes as well. I really want to appreciate you for creating this website and sharing all of your amazing recipes as it helps alot for the beginners.
Zoha Malik
Aw, thank you so much Maryam, you just made me smile so big 🙂
Gi
Made these for the second time. This time using the cocoa Zoha recommended. 10/10!! So delicious.
Zoha Malik
YAYY
Zubiyah
can we use normal cocoa powder instead of Dutch processed cocoa powder
Zoha Malik
You can! It’s just better with Dutch
Zubiyah
Can we normal cocoa powder instead of Dutch processed cocoa powder
Zoha Malik
Hi! You can but dutch will give you the best results.
Ishika
Hey i am trying these today but please tell which mode of oven should i use is it (upper+lower) both with no fan?
Zoha Malik
Lower and no fan!
Célina
Such a simple yet amazing recipe! I did not even add chocolate chunks and it was still rich and chewy. My kids are already asking for more 🤗
Zoha Malik
How sweet! Thank you Celina!
Maheen
straight up and easy recipe which turns out perfect. this is my fav brownie recipe because its not too wet …just right balance between, fudgy and chewy and right chocolate taste. and so fast!
Zoha Malik
AW YAYYY thank you Maheen!
Quratulain Malik
Amazing recipe of brownies one of best my whole really loved it .
Zoha Malik
WOO thank you!