

This post may contain affiliate links
Add Bake with Zoha as a preferred source on Google and find more of my tried-and-tested recipes.
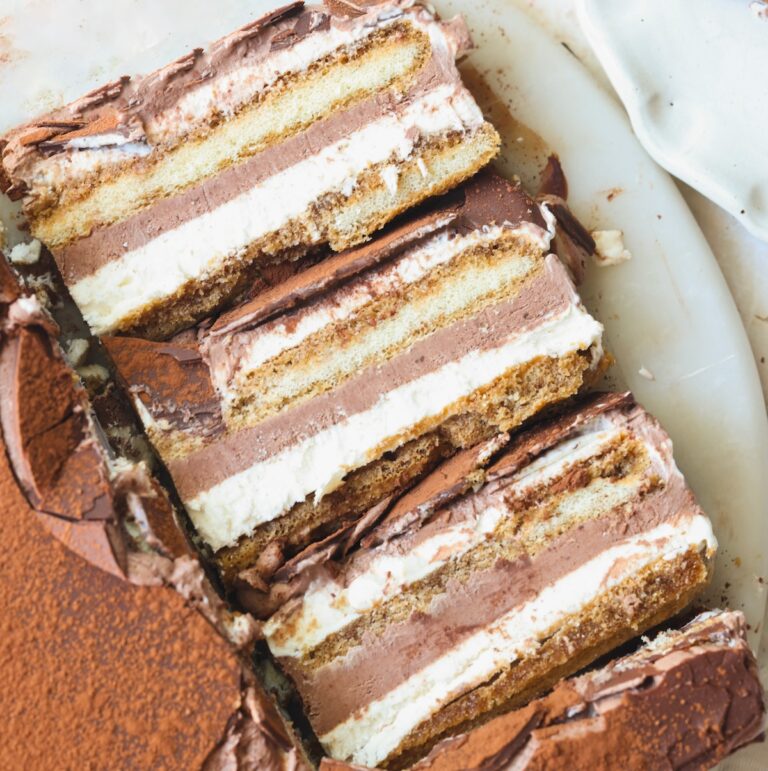
This Tiramisu Ice Cream Cake is an absolute crowd-pleaser and comes together with just 6 ingredients and minimal effort. It contains homemade chocolate and vanilla ice creams – both made with a base of whipped cream and sweetened condensed milk, no churning required. The ice creams are layered with coffee-soaked ladyfingers, and frozen until set. The cake is covered with an optional coating of melted chocolate and a dusting of cocoa powder. It is creamy, dreamy and perfect for summer, with a beautiful balanced flavor that screams tiramisu!
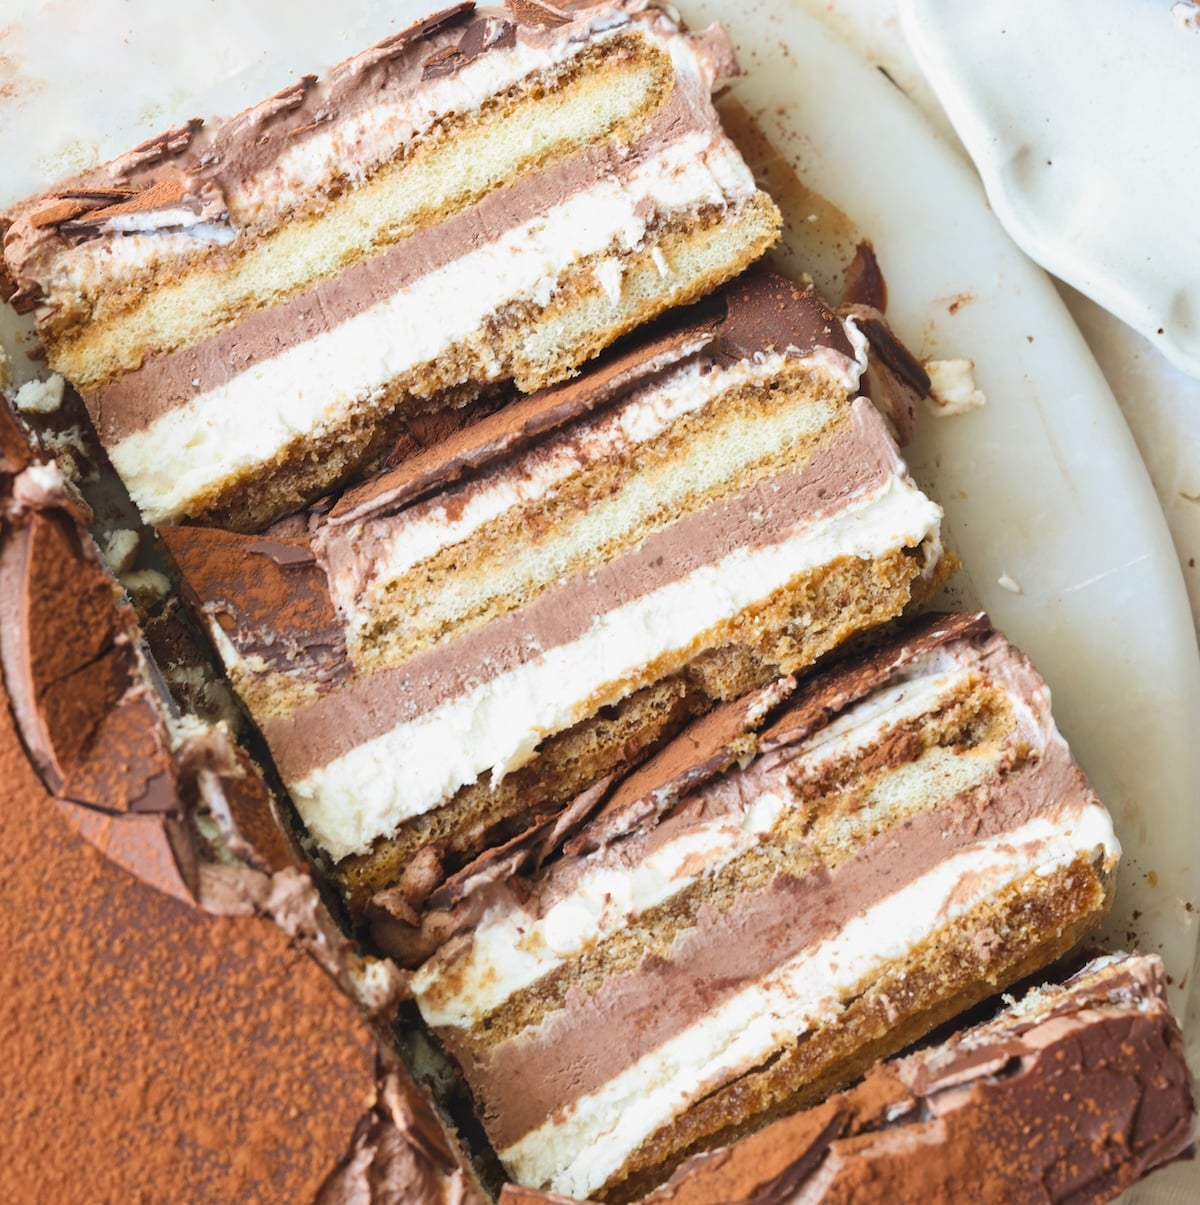
3 layers in this cake
This cake is made with 3 very simple layers:
- Homemade chocolate ice cream – this is made by whipping heavy cream, sweetened condensed milk and cocoa powder; but it tastes like authentic ice cream!
- Homemade vanilla ice cream – very similar to the chocolate ice cream layer, this is made by whipping heavy cream, sweetened condensed milk and vanilla bean paste
- Coffee soaked ladyfingers – lastly, for the “tiramisu” in this cake, we have ladyfingers dipped in strong coffee
Optionally, you can cover the cake with a layer of melted chocolate – or just dust with cocoa powder like regular tiramisu.
Why homemade ice cream is better!
Homemade ice cream is cheaper AND easier than store-bought – and I know that sounds controversial, but hear me out! You need to defrost store-bought ice cream to the exact right temperature before it’s spreadable, and even then it’s quite fiddly to work with. The homemade no-churn base is ready to spread straight away, just like whipped cream. No defrosting or guesswork needed.
Step by step photos
Let’s quickly go over the steps with photos to help you visualize this recipe!
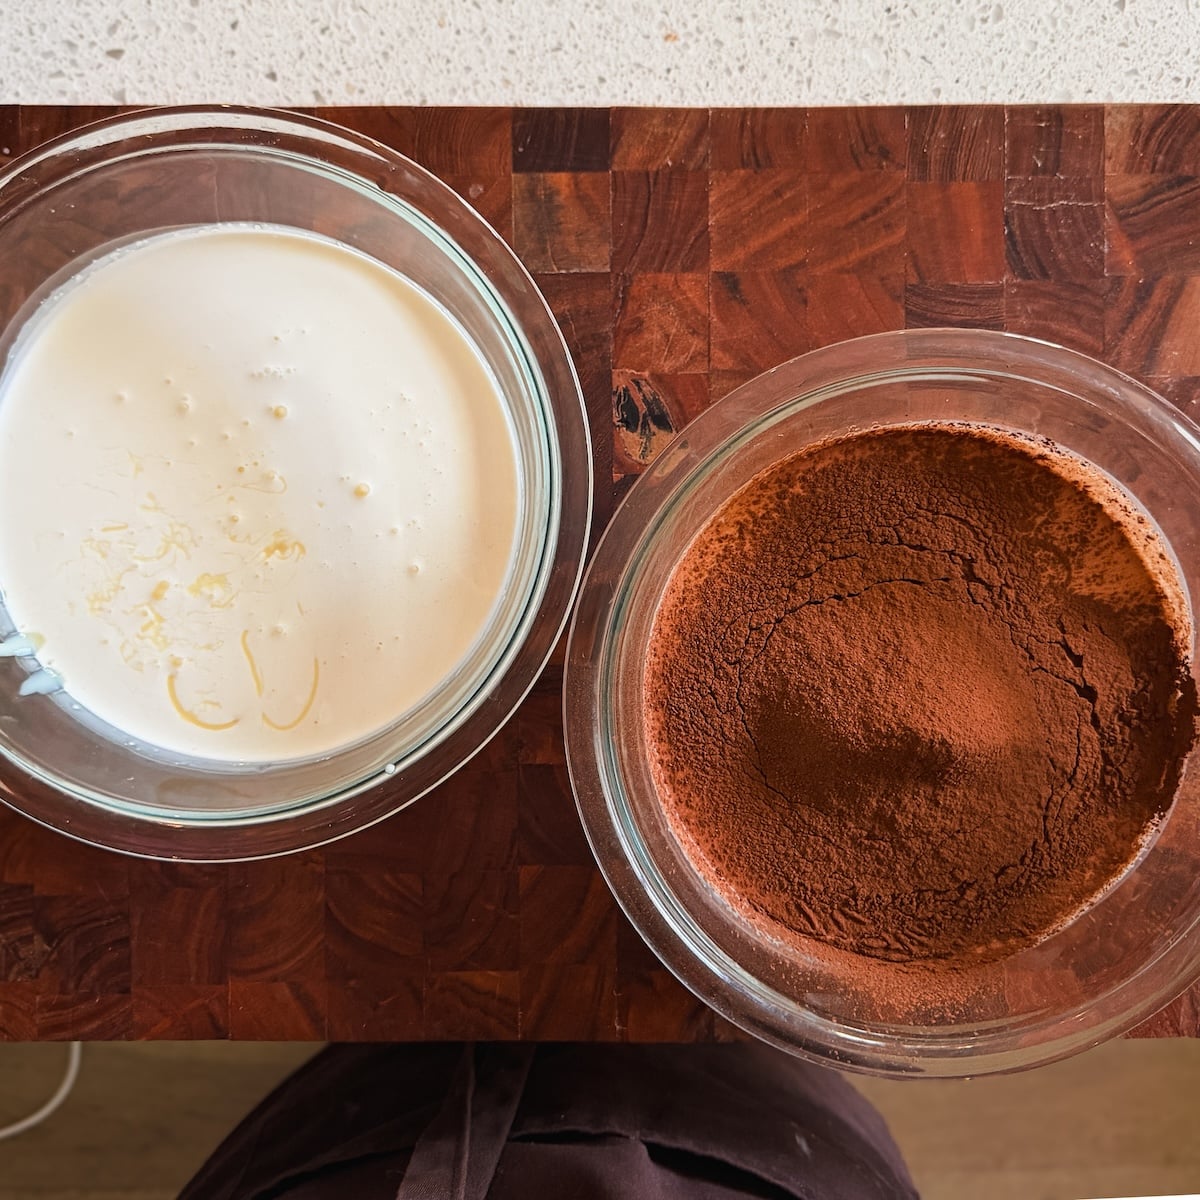
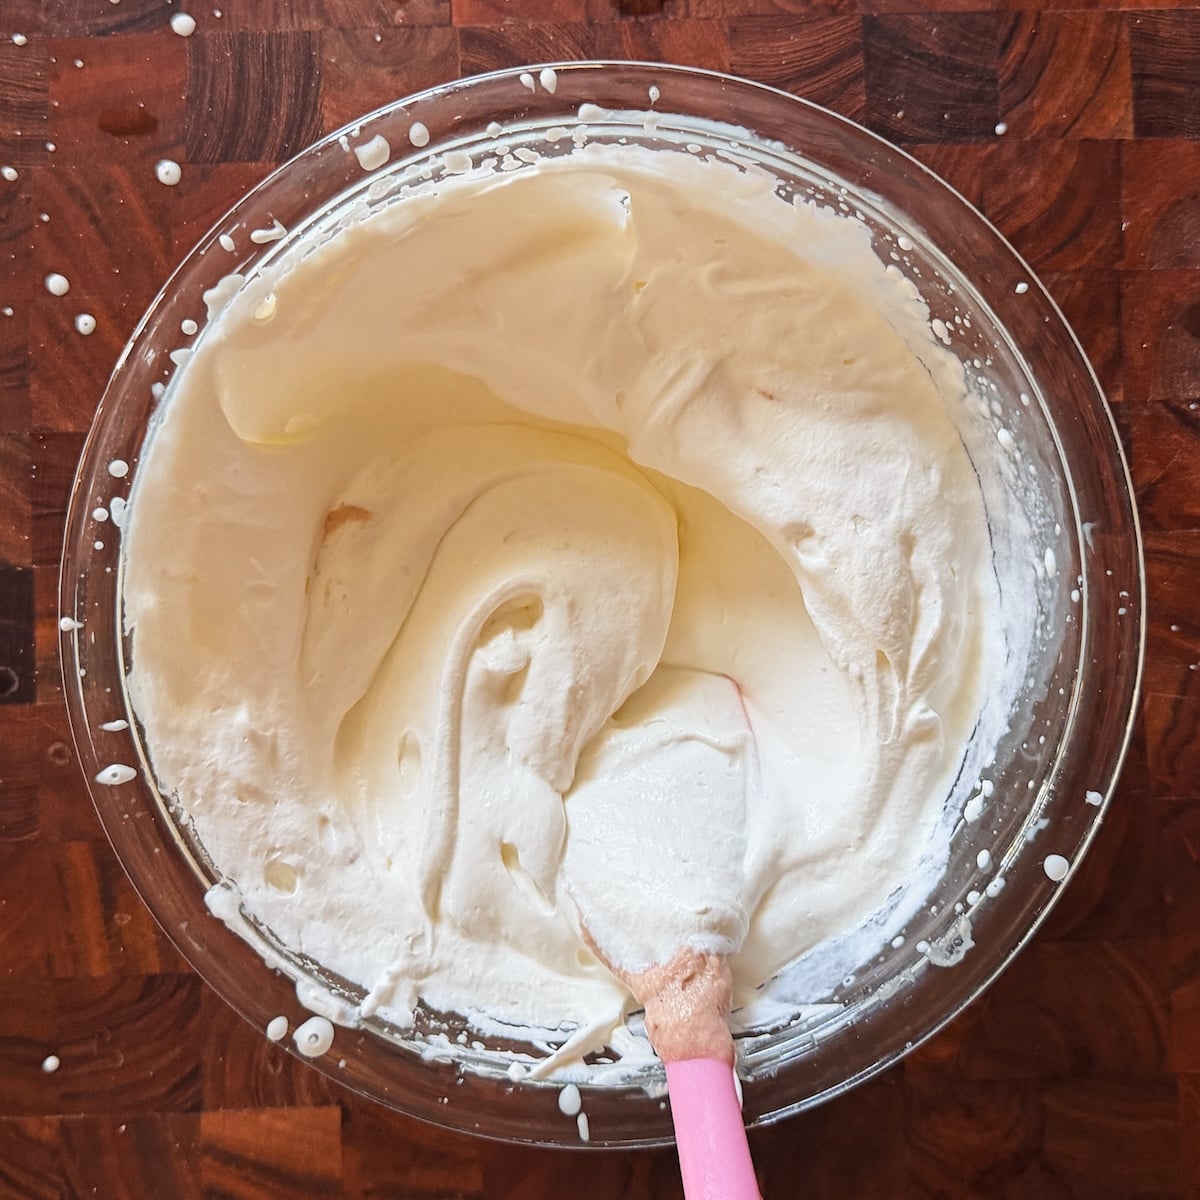
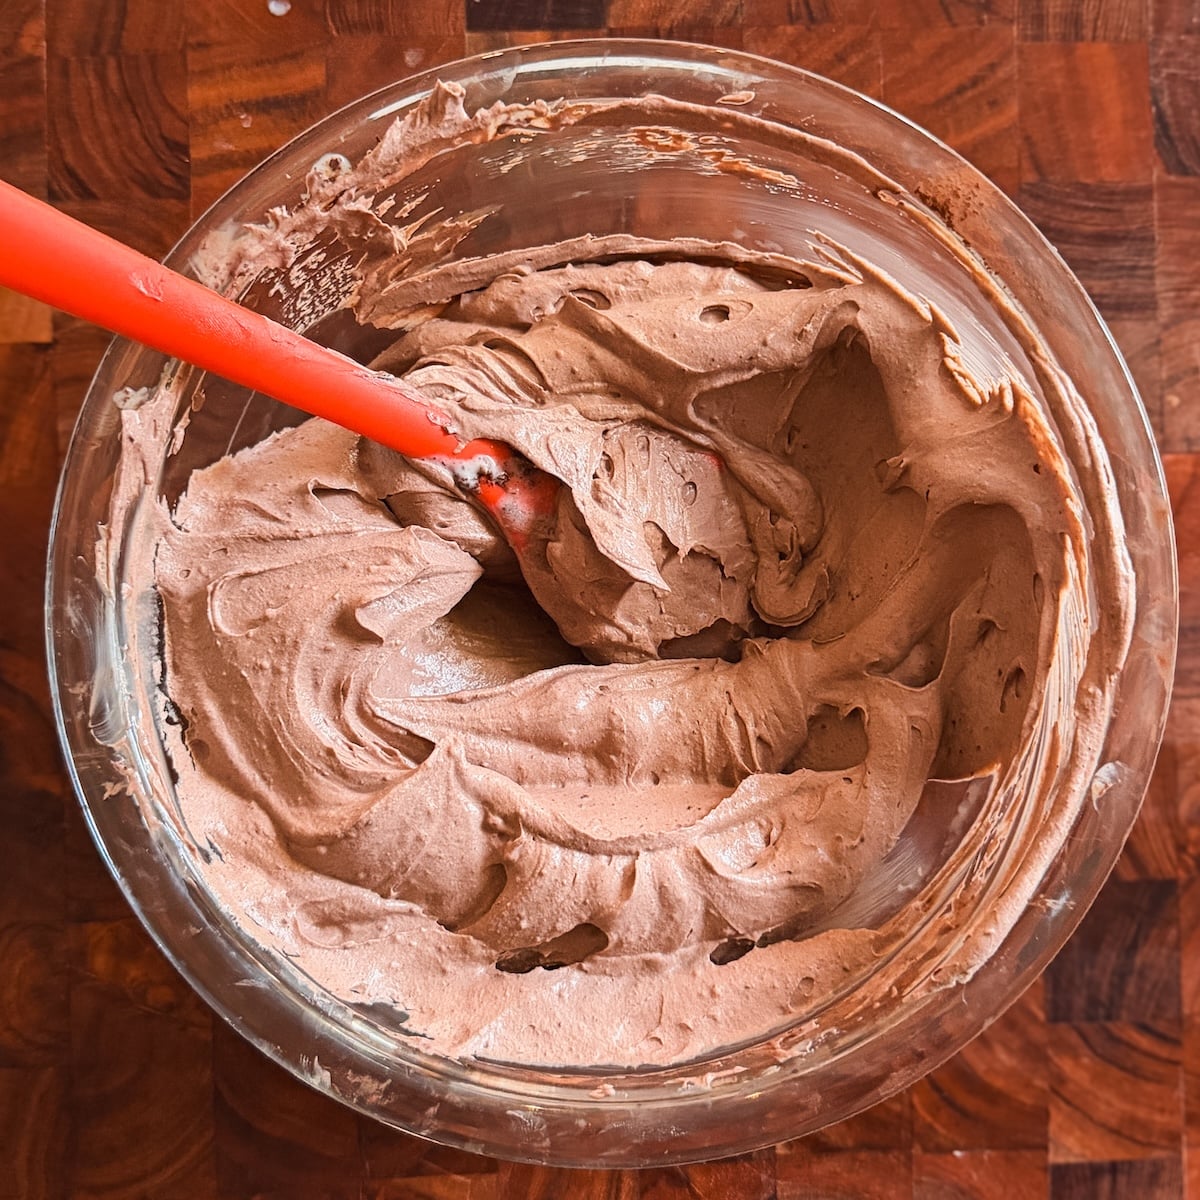
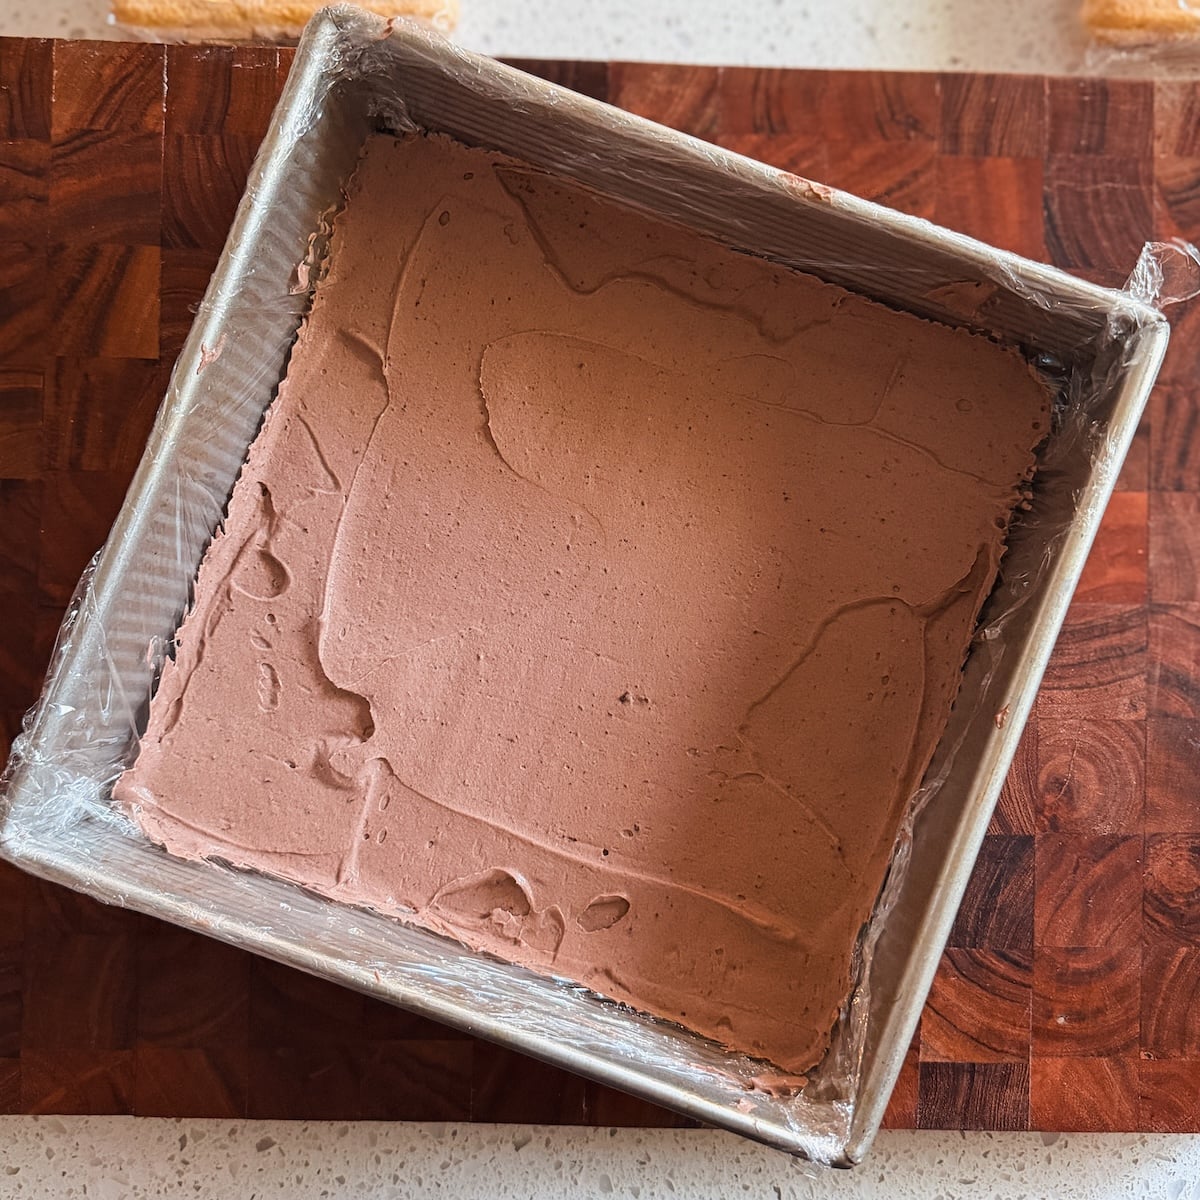
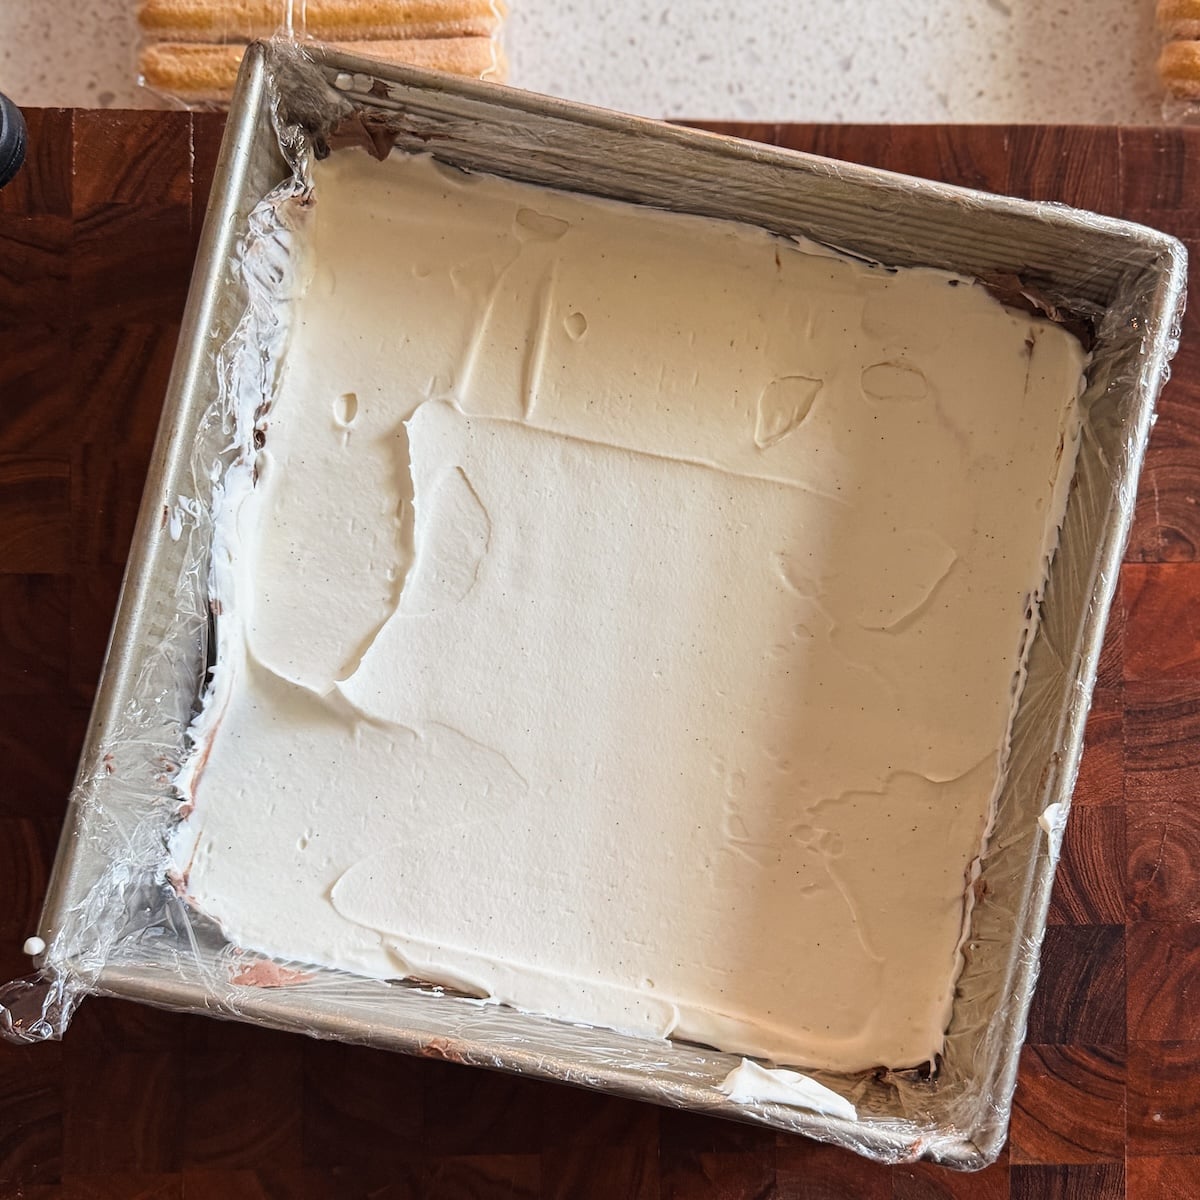
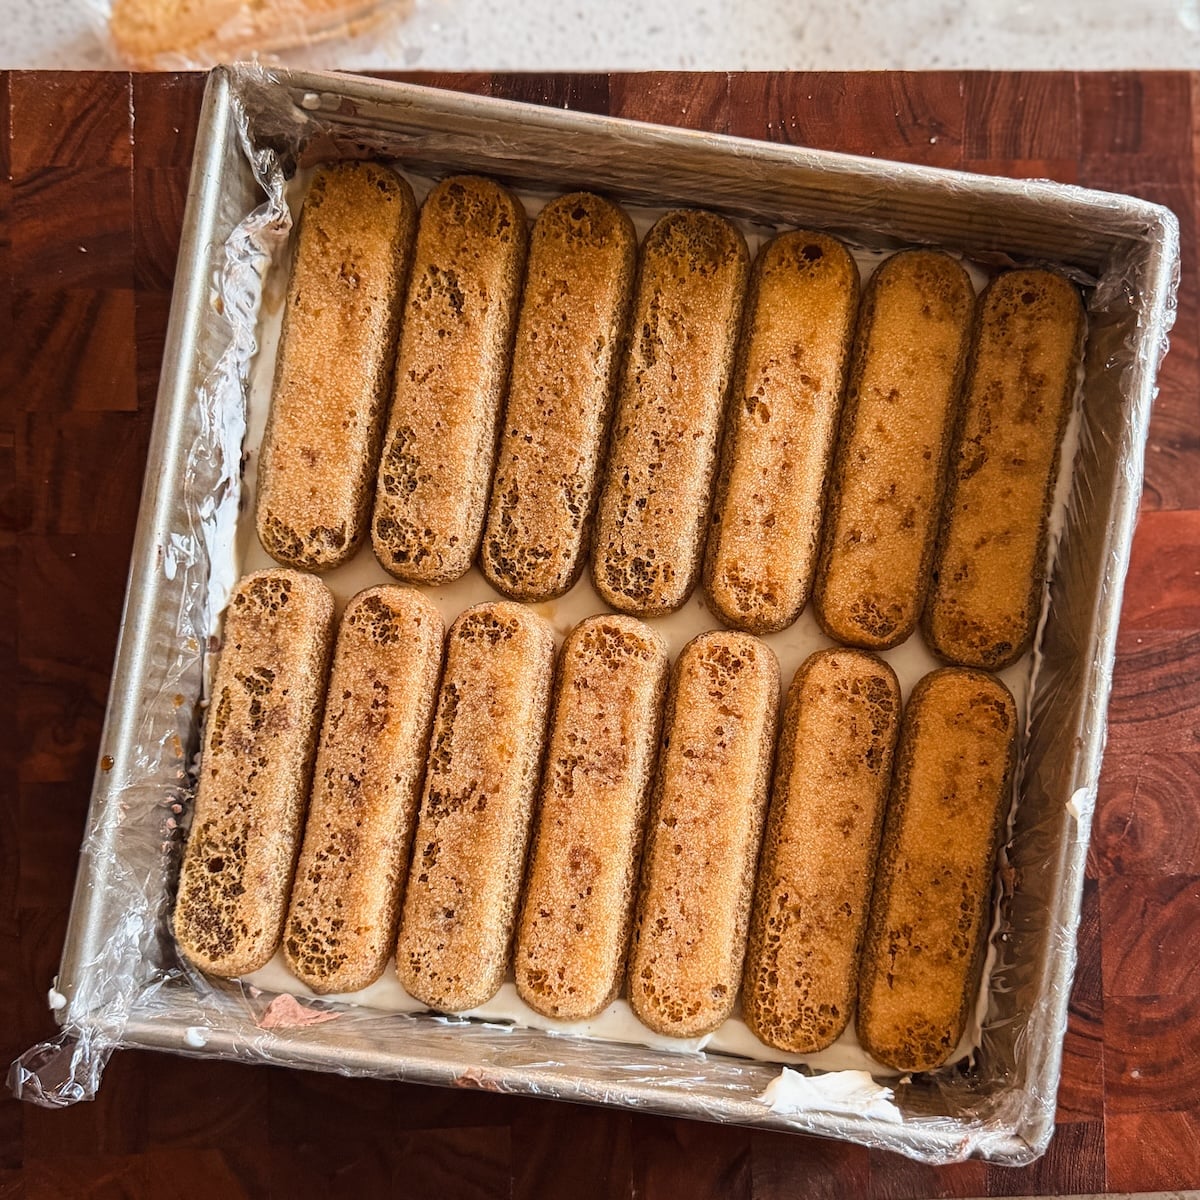
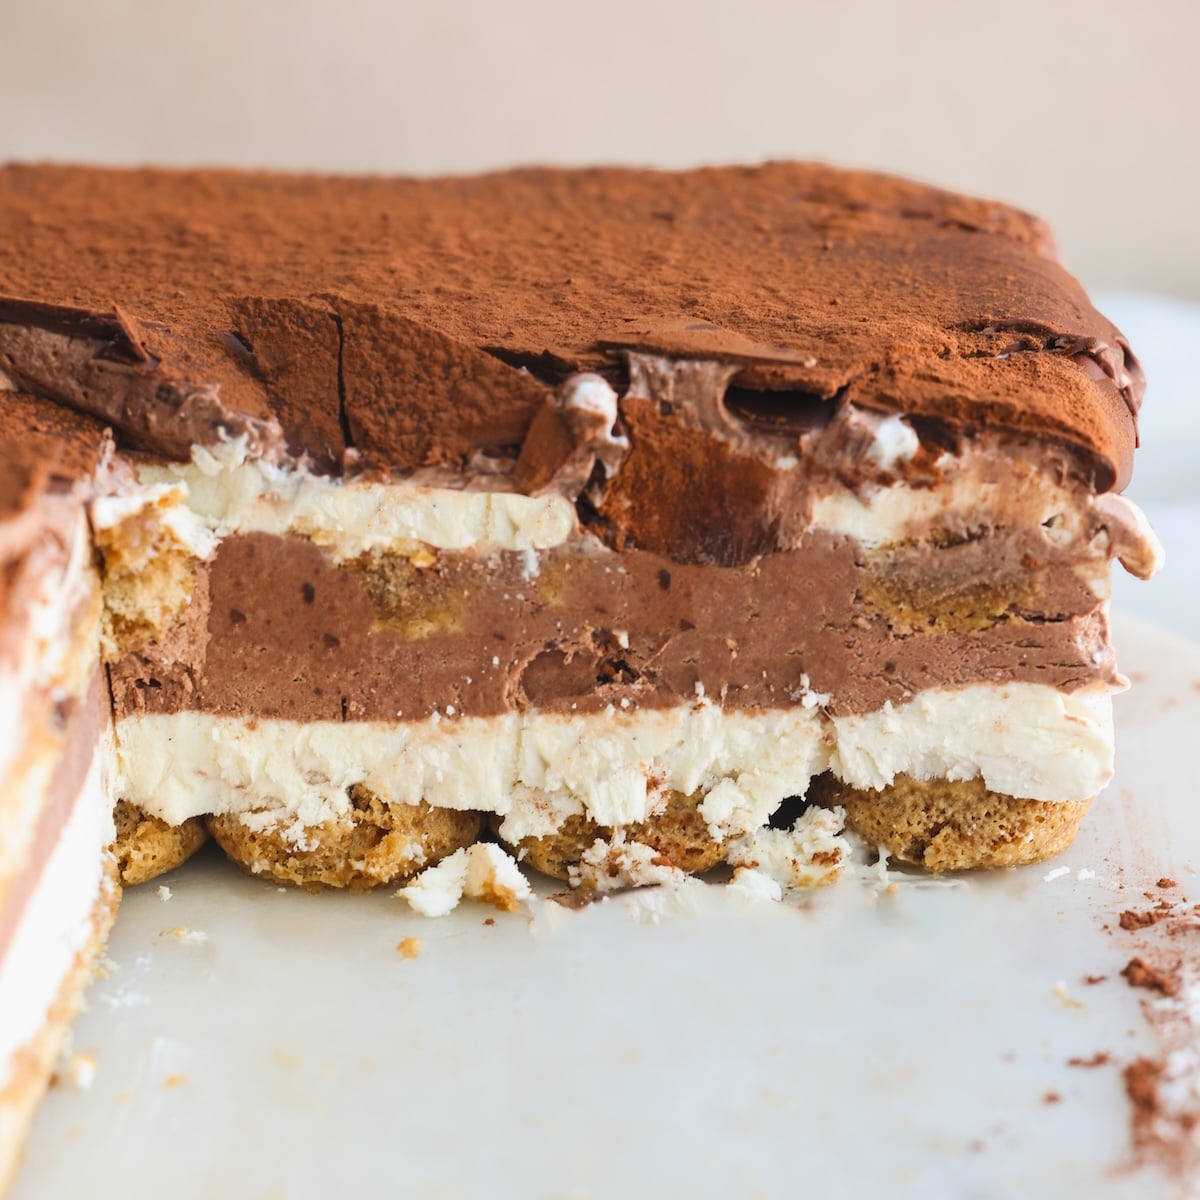
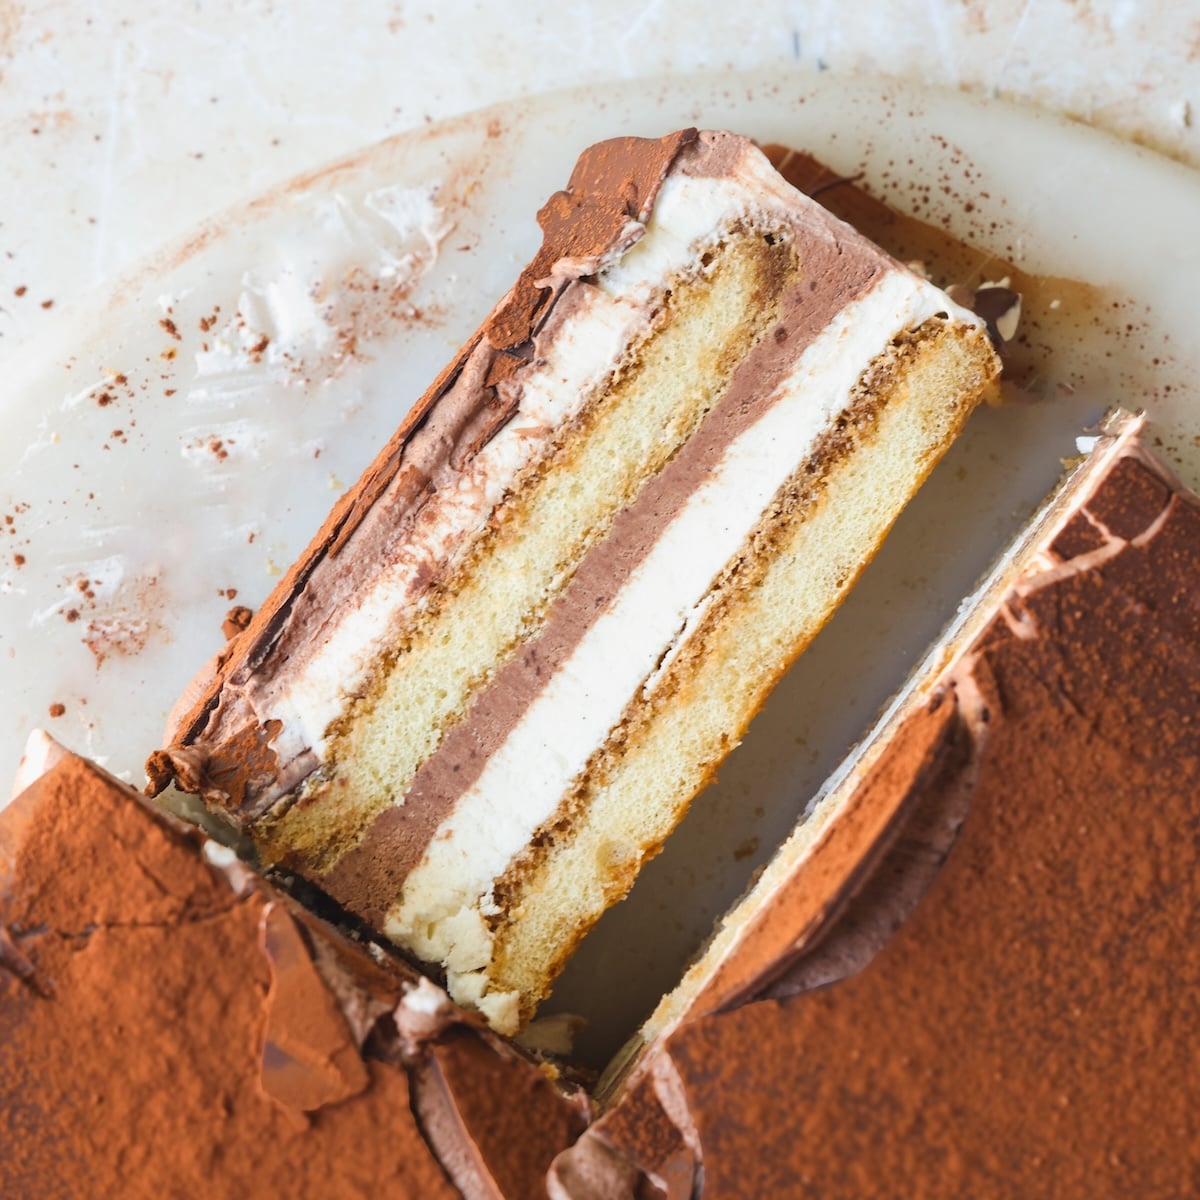
Repeat the layers once again, cover and freeze the cake until set. Then carefully lift it out of the pan (upside down), remove the cling wrap, and spread on the optional layer of melted chocolate. Dust with cocoa powder, slice and serve!
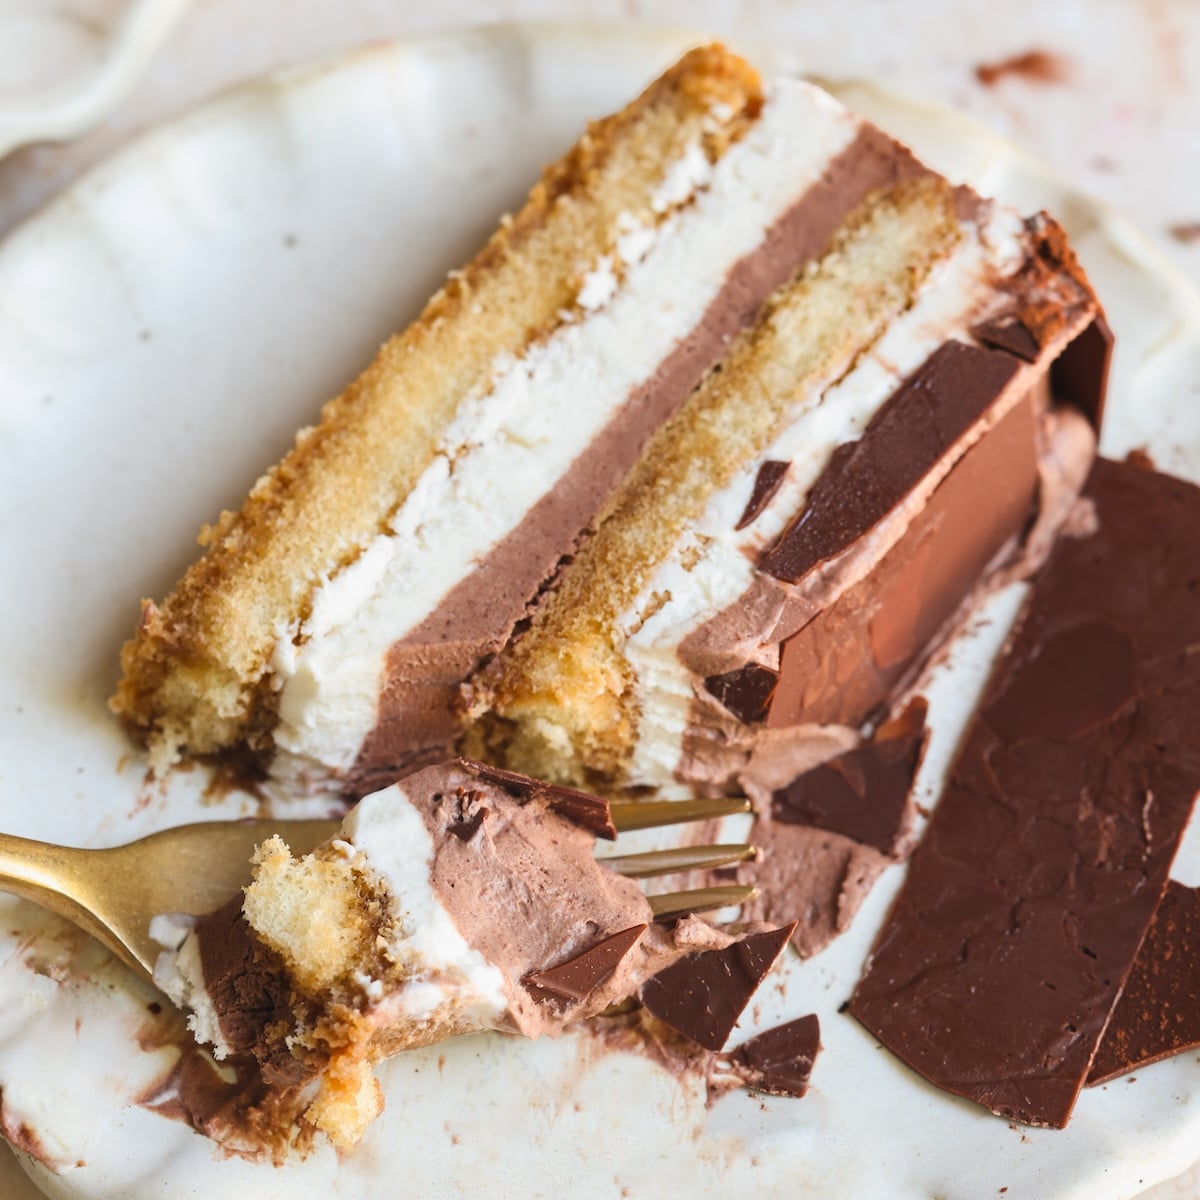
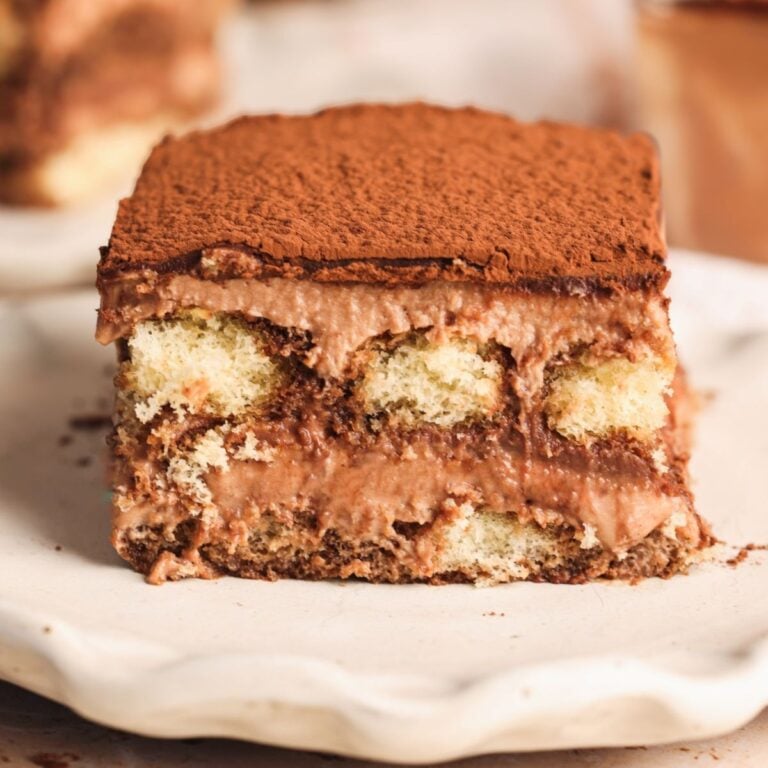
You can serve it as a tiramisu, too!
A really fun thing about using homemade ice cream? You don’t even need to freeze it! You can chill the cake in the fridge for 6+ hours and it will have the consistency of a creamy tiramisu instead. Dust with cocoa powder and serve it straight from the dish / pan just like a Classic Tiramisu – no need to remove from the pan first (and therefore, no need for cling wrap). You can even add layers of chocolate ganache, just like I do in my Easy Chocolate Tiramisu, to make it more chocolatey!
Zoha’s tips to perfect this tiramisu ice cream cake
Here are some tips that will help you perfect this recipe:
- Don’t over whisk the ice cream mixes. You’re looking for a medium-peak consistency, where the ice cream holds shape, but is still soft and spreadable. Over-whipping can cause the cream to become grainy
- Take your time lining the pan with cling wrap. You want to use 2-3 sheets of cling wrap and ensure they’re big enough to rise to the edges of the pan. You will use these to pull the cake out of the pan after it sets, so being thorough here helps later
- Use a cake scraper to spread the ice cream layers. This is so much easier than using a spatula!
- Give the ladyfingers a thorough soak in the coffee. You want to soak them longer than a regular tiramisu so they don’t feel dry after being frozen. I recommend 1-2 seconds per side
- If adding melted chocolate, work fast! Make sure the chocolate is warm and runny, and spread it very quickly onto the cake so it forms a thin layer before setting
Email This Recipe
Enter your email and I’ll send this directly to you. Plus you’ll get new recipes from me every week!
Ingredients
- 1 can of sweetened condensed milk (14 oz or 397g) – divided into 2 halves
- 3 cups of heavy whipping cream, chilled (720g) – divided into 2 halves
- 2 tsp vanilla bean paste
- 1/3 cup cocoa powder (33g), plus 1 tbsp more to dust on top
- 28 ladyfingers
- 1 cup strong brewed coffee, room temperature (240g)*
- Optional: 200g semi sweet chocolate
Instructions
- Take two bowls. Divide the sweetened condensed milk and heavy cream equally between the two. To one bowl, add the vanilla bean paste, and to the other bowl, sift in the cocoa powder
- Take an electric hand mixer and whisk the vanilla bowl first. Start at slow speed and slowly increase to medium, whisking for a few minutes until the mixture becomes thick, fluffy and spreadable. It should be a medium peak consistency. Don’t overmix as that can cause the cream to split and become grainy
- Use the same whisk to gently stir the cocoa powder into the cream (without turning it on). You want the cocoa powder to become wet first so it doesn’t fly everywhere once you turn on the mixer. Then whisk, starting at slow speed and increasing to medium, until the mixture reaches medium peaks
- Take a 9×9 pan and spread a large sheet of plastic cling wrap on the bottom, tucking it into the edges and corners neatly and ensuring it rises to the edges. Add 1-2 more layers of cling wrap on top. This step can be tedious, but taking your time here will help ensure you can easily remove the cake after it sets
- The cake is assembled upside down. Start by adding half of the chocolate ice cream mix and spread it out evenly using a cake scraper or offset spatula. Then spread on half of the vanilla ice cream mix
- Dip the ladyfingers into the coffee one by one, for about 1-2 seconds per side (I recommend dipping for slightly longer than a regular tiramisu), and arrange them in a neat layer on top of the vanilla ice cream
- Repeat the layers once again, with the rest of the chocolate ice cream, vanilla ice cream, and coffee soaked ladyfingers
- Cover the cake with cling wrap, and freeze for 6 hours or until the ice cream is fully set
- Once set, use the cling wrap sheets to carefully lift the cake out of the pan and turn it upside down onto a serving stand (the ladyfingers should be on the bottom)
- If adding the melted chocolate, melt it in the microwave in 20 second bursts, mixing in between, until it’s warm and runny. Quickly pour the chocolate on top of the ice cream cake and spread it out with a spatula as thinly as you can
- Dust the cake with ~1 tbsp of cocoa powder
- Cut into slices using a sharp knife, serve and enjoy!
Video Tutorial
Notes
- Coffee: The strength of coffee depends on how much you like its flavor (some people use espresso), but my general guidance is to make the coffee twice as strong as you usually would. It can be brewed coffee, French press coffee, or instant coffee mixed in hot water. I make it in a French press with 1 cup water and 3 tablespoon ground coffee
- Make ahead and storage: You can easily make this cake ahead of time and keep it covered in the freezer for up to 2 months

Comments
Jody
I think this would be even better with 8oz cream cheese added to the condensed milk and cream! Yum!
Zoha Malik
Yes, great idea! More like a cheesecake ice cream 🙂
Mou
Hello for the melted chocolate can you please provide your recommendations? Also after adding the melted chocolate layer do I need to freeze it again?
Zoha Malik
Hi! I always use Callebaut chocolate from amazon: https://amzn.to/4xau9jy and no, because the ice cream will be frozen, when you pour the chocolate on top, it will harden very quickly (which is you’ll have to move fast) 🙂
Wendy
After I prepare the cake and it is frozen , can I use store bought chocolate sundae sauce as in fox’s Ubet ? Thank you , Wendy
Zoha Malik
Hi Wendy! Yes, you can totally top the cake with any sauce you like. I’d recommend drizzling over individual slices instead of the whole thing 🙂
Roz
Hi! Have u tried adding marscapone since that’s a staple ingredient in making tiramisu?
Zoha Malik
Hi Roz! You can definitely whisk mascarpone into the ice cream mixture but I wanted to leave the recipe as easy and accessible as possible, so I skipped that!
Grace Benton
After seeing the recipe video for this on Instagram, I made this for my husband’s birthday yesterday, and it was a huge hit! The flavors came together beautifully and it looks really lovely.
I followed the instructions and it turned out perfectly. The tip to use a cake scraper in layering the ice cream was very helpful.
I didn’t do it this time, but I wondered if you might add some pistachio extract or pistachio butter or even powdered pistachios to the vanilla layer to make for a Dubai chocolate flavor profile?
Zoha Malik
Hi Grace! Thank you so much for trusting my recipe and so so happy that it turned out welL! Happy belated birthday to your husband. And yes, I think some pistachio cream (not butter) will work great folded into the vanilla layer 🙂
Ari
Hi will a 13* 9 dish be ok with this recipe?
Zoha Malik
It will be too big!
Meg
Can we use vanilla extract instead?
Zoha Malik
Yes that’s fine!
Elena
It is absolutely delicious! And so easy to make it ! Thanks Zoha ❤️
Zoha Malik
YAY thank you!!!
Seema
hi zoha I lv ur recipes plz tell can I use choclate or vanilla cake slices instead of ladyfingers.
Zoha Malik
Hi there! Yes if that’s all you have it should be ok 🙂