

This post may contain affiliate links
Add Bake with Zoha as a preferred source on Google and find more of my tried-and-tested recipes.
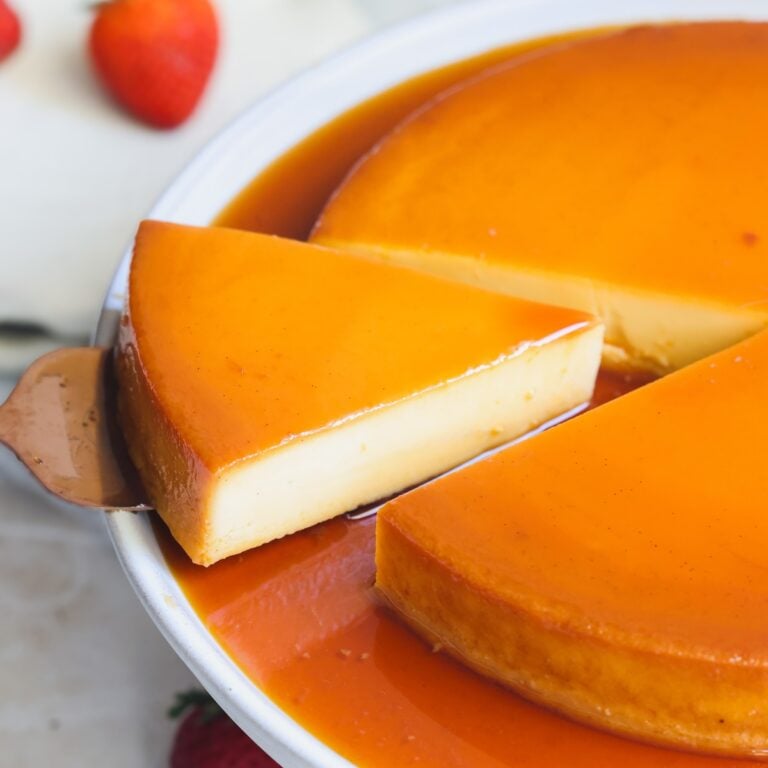
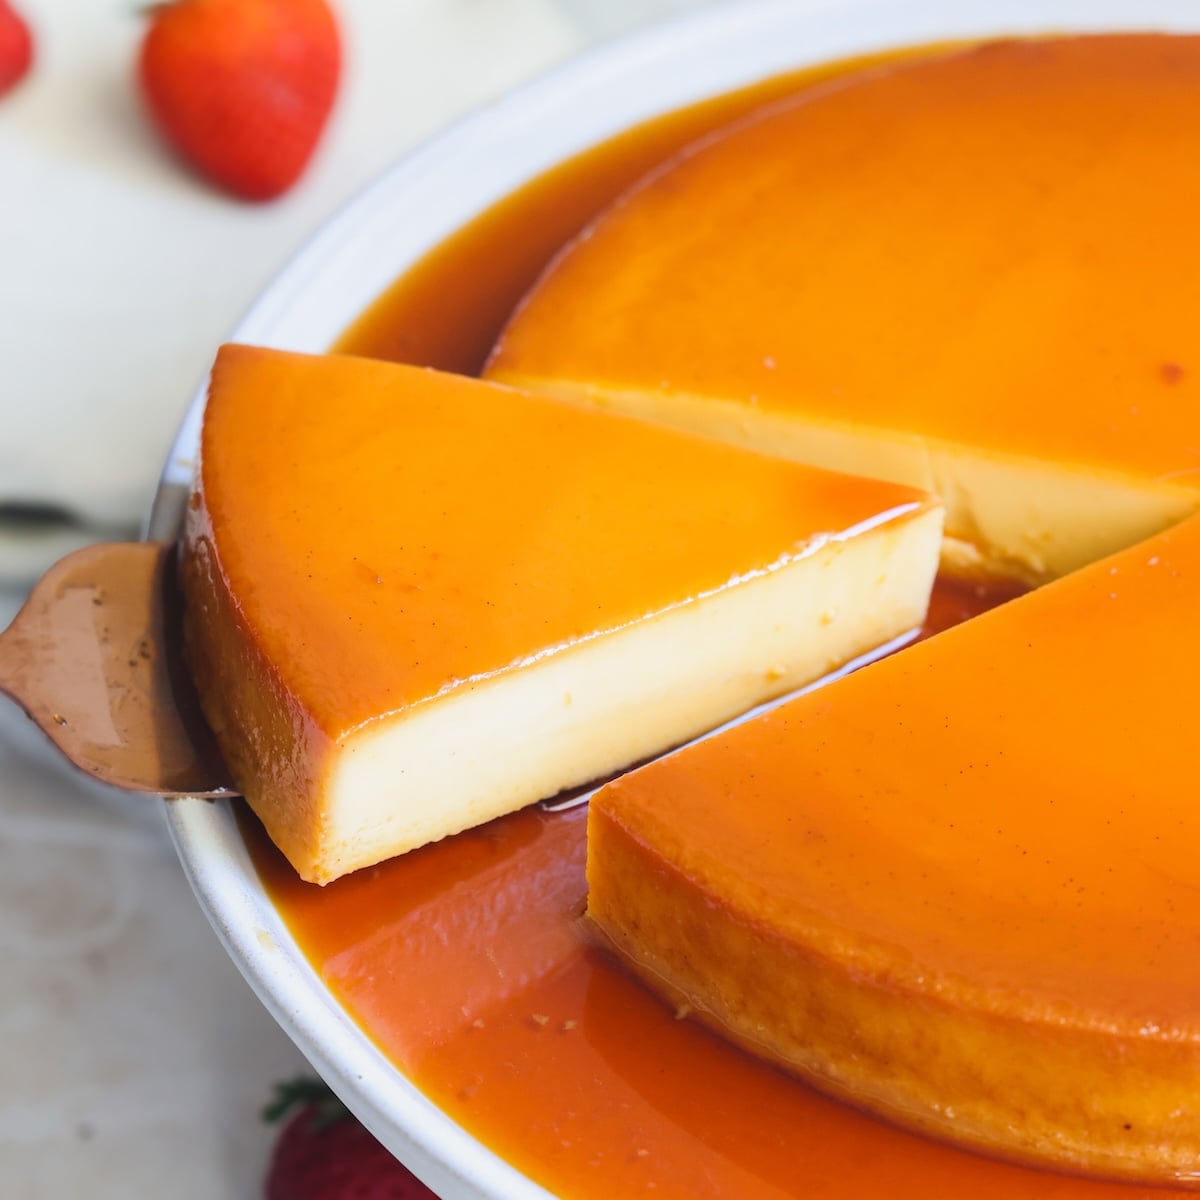
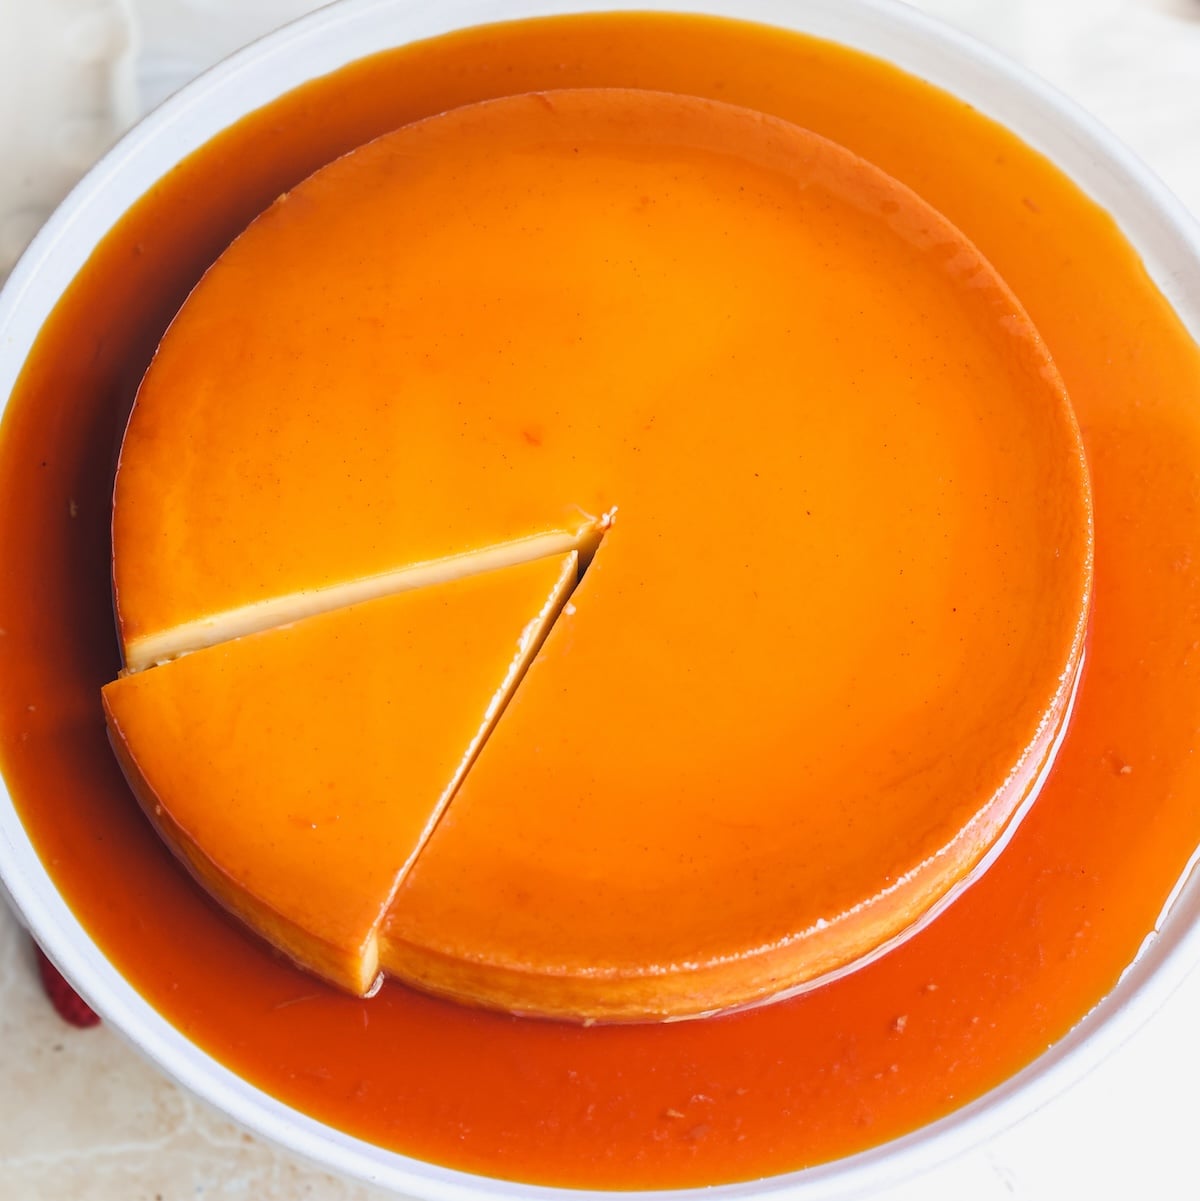
This is the creamiest, silkiest, most melt-in-the-mouth leche flan I’ve ever had. It’s made with only 4 main ingredients: sugar, eggs, sweetened condensed milk and heavy cream.
My recipe uses a high ratio of egg yolks to whole eggs, and uses heavy cream instead of the traditional evaporated milk for an extra rich flavor that doesn’t feel eggy. You make the custard by hand, without a blender for a perfectly smooth texture, and pour it into a caramel coated pan. Bake low and slow in a water bath, chill overnight, and the result is a crowd-pleasing make ahead dessert. I mean, just look at it!
5 things that make the difference
Most people assume making flan is difficult, especially due to the caramel, but I promise it’s really easy. It is surprisingly popular in Pakistan (usually called egg pudding) – my own grandmother used to make it with basic tools on the stove top, and I learned many tricks from her.
There are 5 things that I believe take this flan from good to mind-blowing:
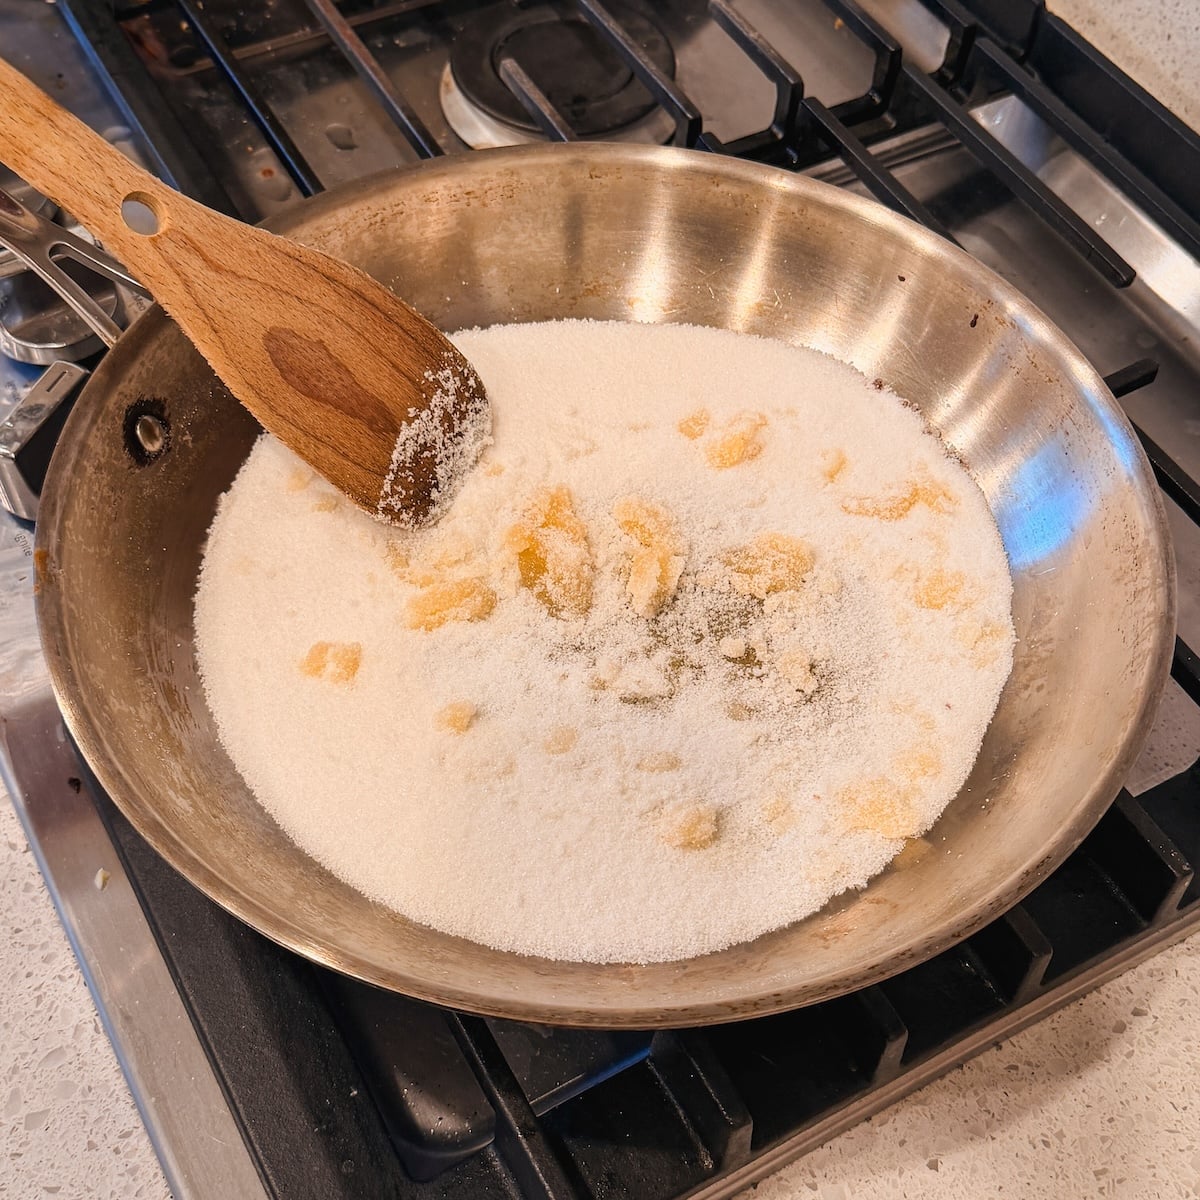
- No water in the caramel, thank you. Cooking down a syrup of water and sugar is a common way to make caramel, but it carries the risk of crystallization (read more in my salted caramel sauce recipe). I make a dry caramel with sugar only, which is much more foolproof
- Lots of egg yolks, but not eggy. I use 6 egg yolks and only 2 whole eggs – a much higher ratio than most recipes. This makes the flan rich and creamy without feeling or tasting eggy (if you know, you know)
- Heavy cream over evaporated milk. Most leche flan recipes use evaporated milk, but my grandmother used heavy cream instead for a creamier texture. Not to mention, most of us already have it on hand!
- Say bye bye to the blender. A blender whips air into the custard, and air means a flan with holes instead of a perfectly smooth flan. I prefer whisking by hand, which gives you full control
- Water bath is non-negotiable. Like most custard based desserts, such as my popular vanilla creme brulee and New York cheesecake, baking low and slow is the key to achieving the silkiest texture. I bake this flan inside a water bath at just 300F!
Bonus tip


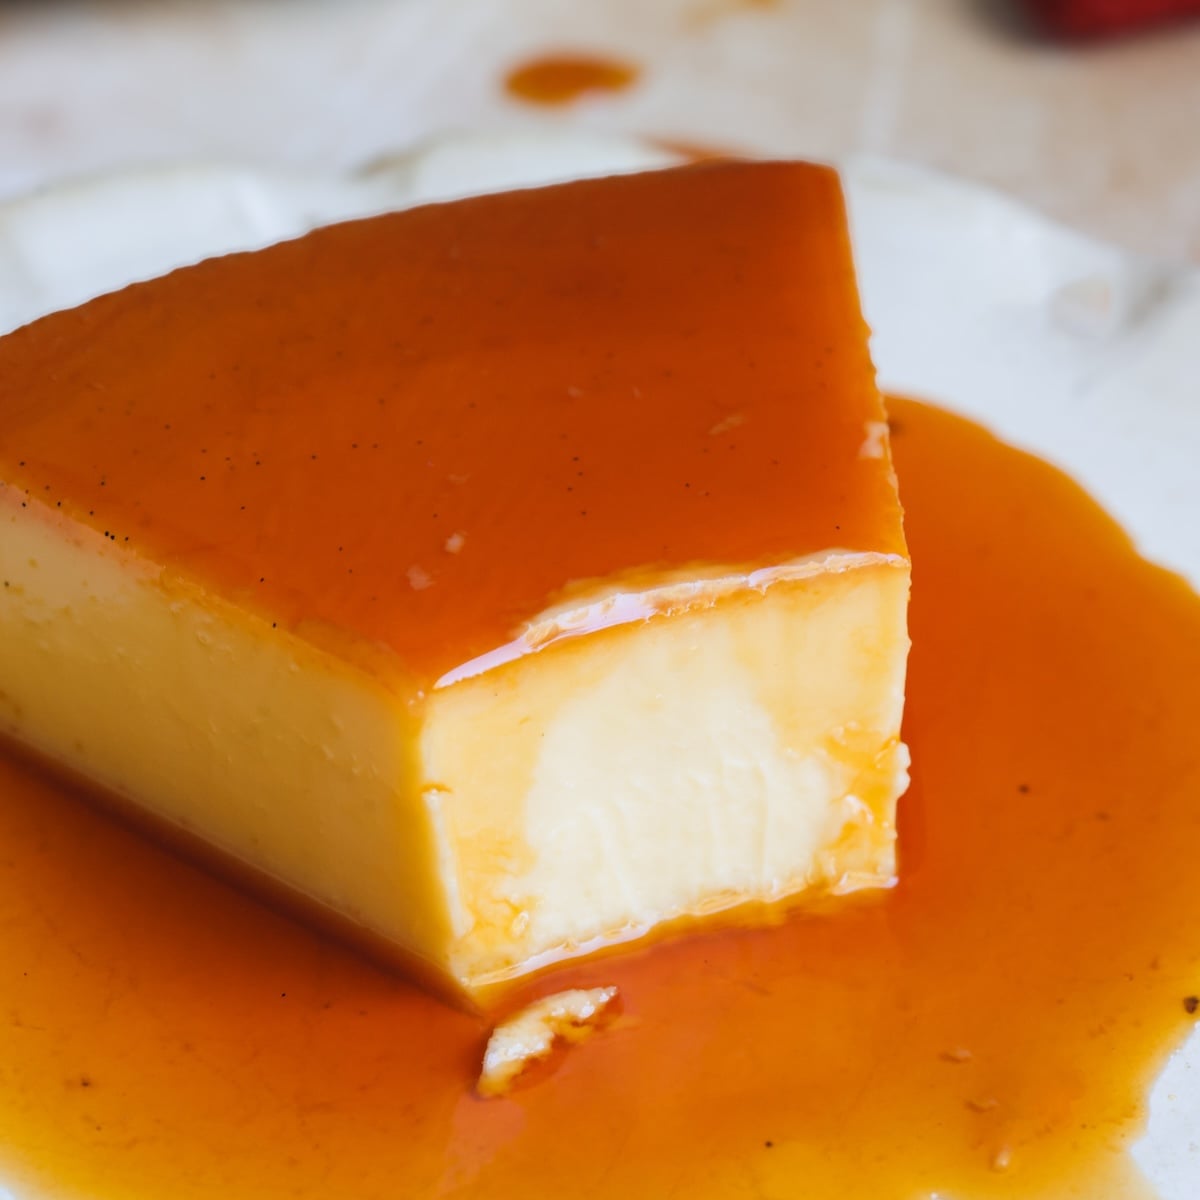
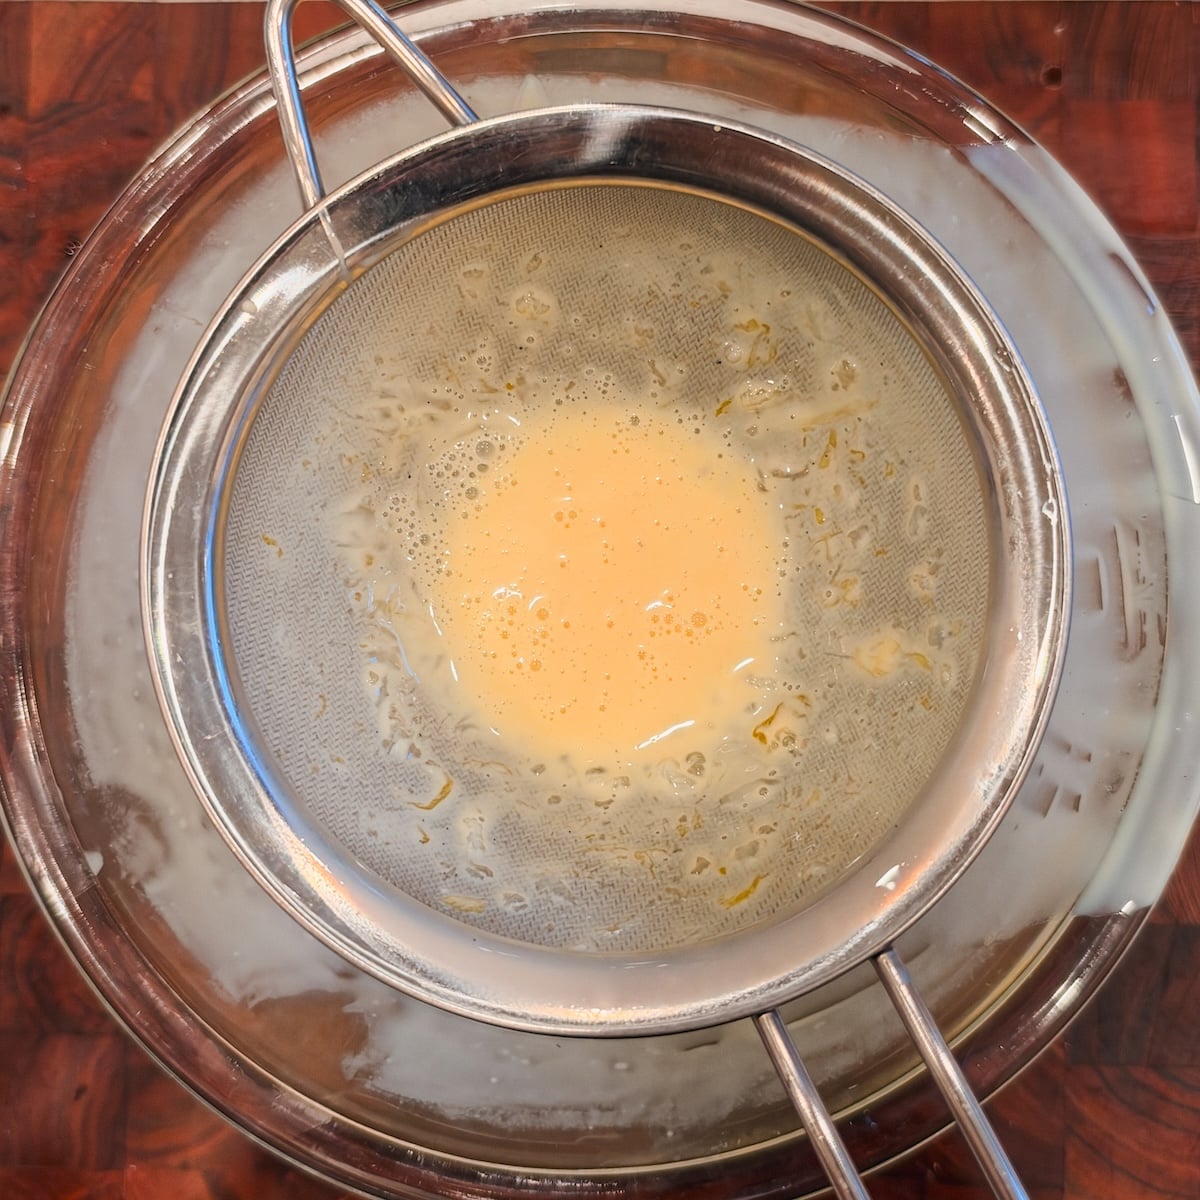
Wanna get a flan as smooth as mine? Strain the custard three times. Yes, 3! This removes the little gloopy bits from the eggs (which, trust me, you don’t want).
Step by step photos
This flan is really easy and foolproof, and takes only 20 minutes of work before it’s ready for the oven. Here are step by step photos to help you perfect this recipe:
1. Make the caramel
2. Make the custard
3. Assemble
Bake at 300F until the flan is done – then chill it overnight, or for at least 4 hours.
2 last tips before you make it
- How to tell when the flan is done baking: The best way to check if a flan is baked is by gently shaking the pan. The flan should jiggle like jello in the middle (but not wobble like it has wet batter inside!). Avoid over baking beyond this point
- How to get flan out of the pan: Once it’s chilled, run a knife around the edges of the pan to release the flan. Then place it on the stove over the lowest flame until the caramel loosens – you will know because the flan will slide when you gently shake the pan. Place your serving plate upside down on the pan, and carefully flip the two. Give the pan a gentle shake until you feel the flan drop, then lift it away! See my video tutorial below for a demonstration.
Email This Recipe
Enter your email and I’ll send this directly to you. Plus you’ll get new recipes from me every week!
Ingredients
- 1 cup granulated sugar (200g)
- 2 large eggs
- 6 egg yolks
- 1 can sweetened condensed milk (14oz or 396g)
- 2 cups heavy cream (480g)
- 1 tsp vanilla bean paste (optional)
- 1/2 tsp salt (optional)
Instructions
Caramel:
- Preheat your oven to 300F (conventional / no fan)
- For the caramel, spread the sugar evenly in a clean and dry wide-bottomed, light colored pan – preferably stainless steel. Place it on the stove on medium to medium-low heat, and wait until you see the sugar starting to melt on the bottom
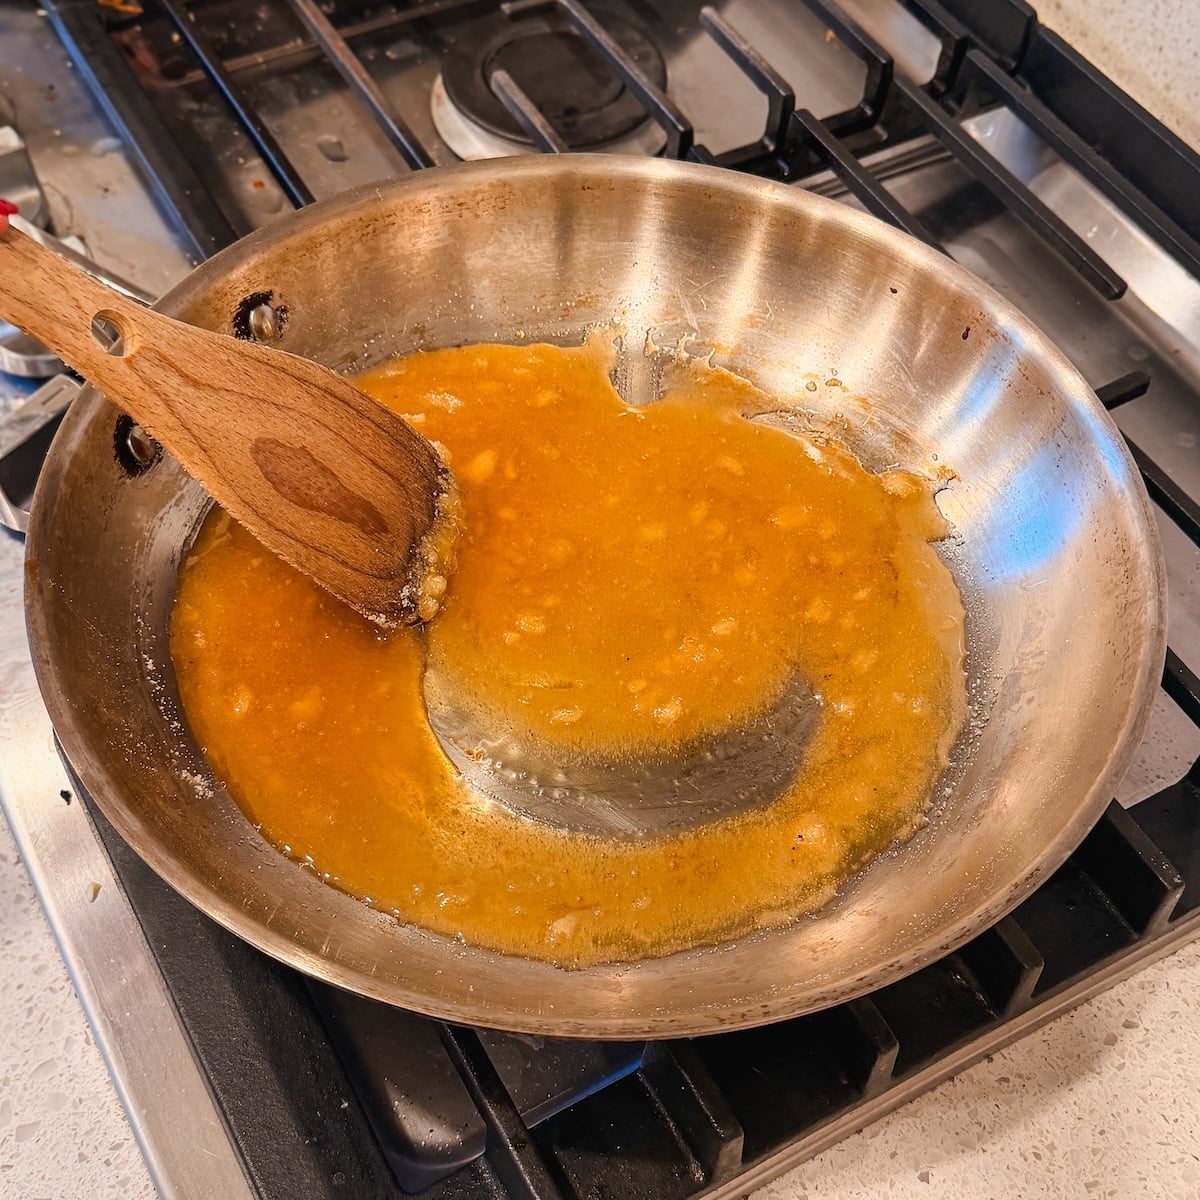
- Once it looks like the bottom layer of the sugar has melted, gently stir the sugar with a clean and dry wooden spatula so the sugar on the top can also heat up and start to melt – I usually slide the spatula inwards from the edges. This process can develop some lumps of sugar, but don’t worry. Wait for more of the sugar to melt, and then stir again
- Keep stirring gently every now and then until all the sugar has melted. If you see any lumps in it, press them to break them down and wait for them to melt, too. By this time, the sugar will have a light golden color
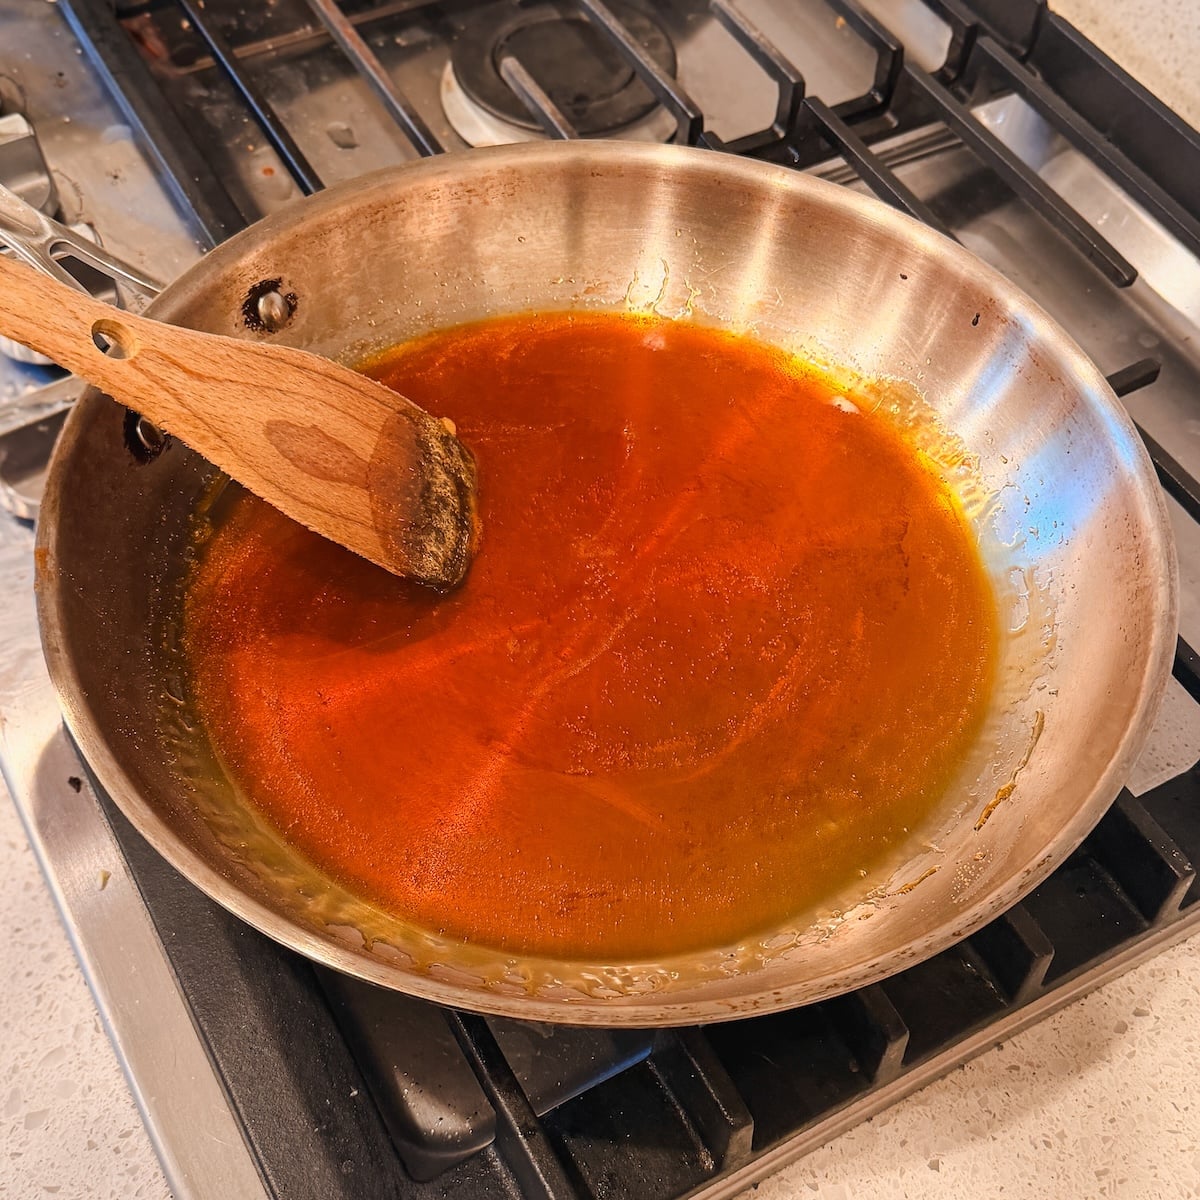
- Now turn the heat to low, and keep stirring until the melted sugar reaches a deep golden / amber color. Be careful not to overcook, as caramel can burn easily at this stage
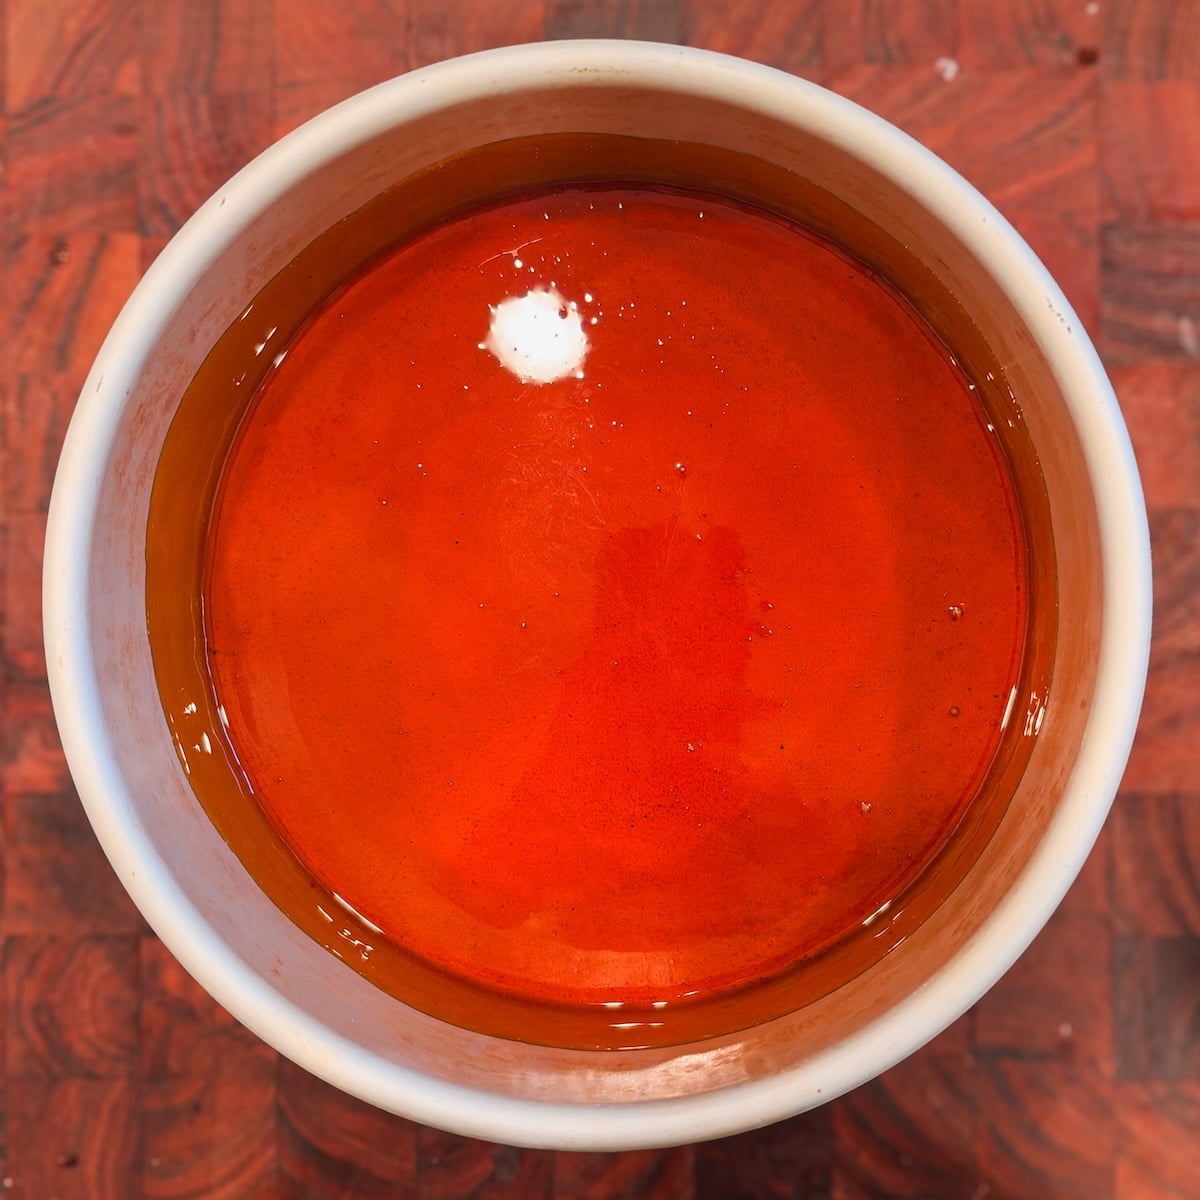
- Quickly pour the caramel into an 8″ cake pan. Carefully lift the pan (use a dish towel to hold it as it will become hot fast), and tilt it to spread the caramel evenly on the bottom, and slightly up the sides. Place the pan in the fridge to let the caramel harden
Custard:
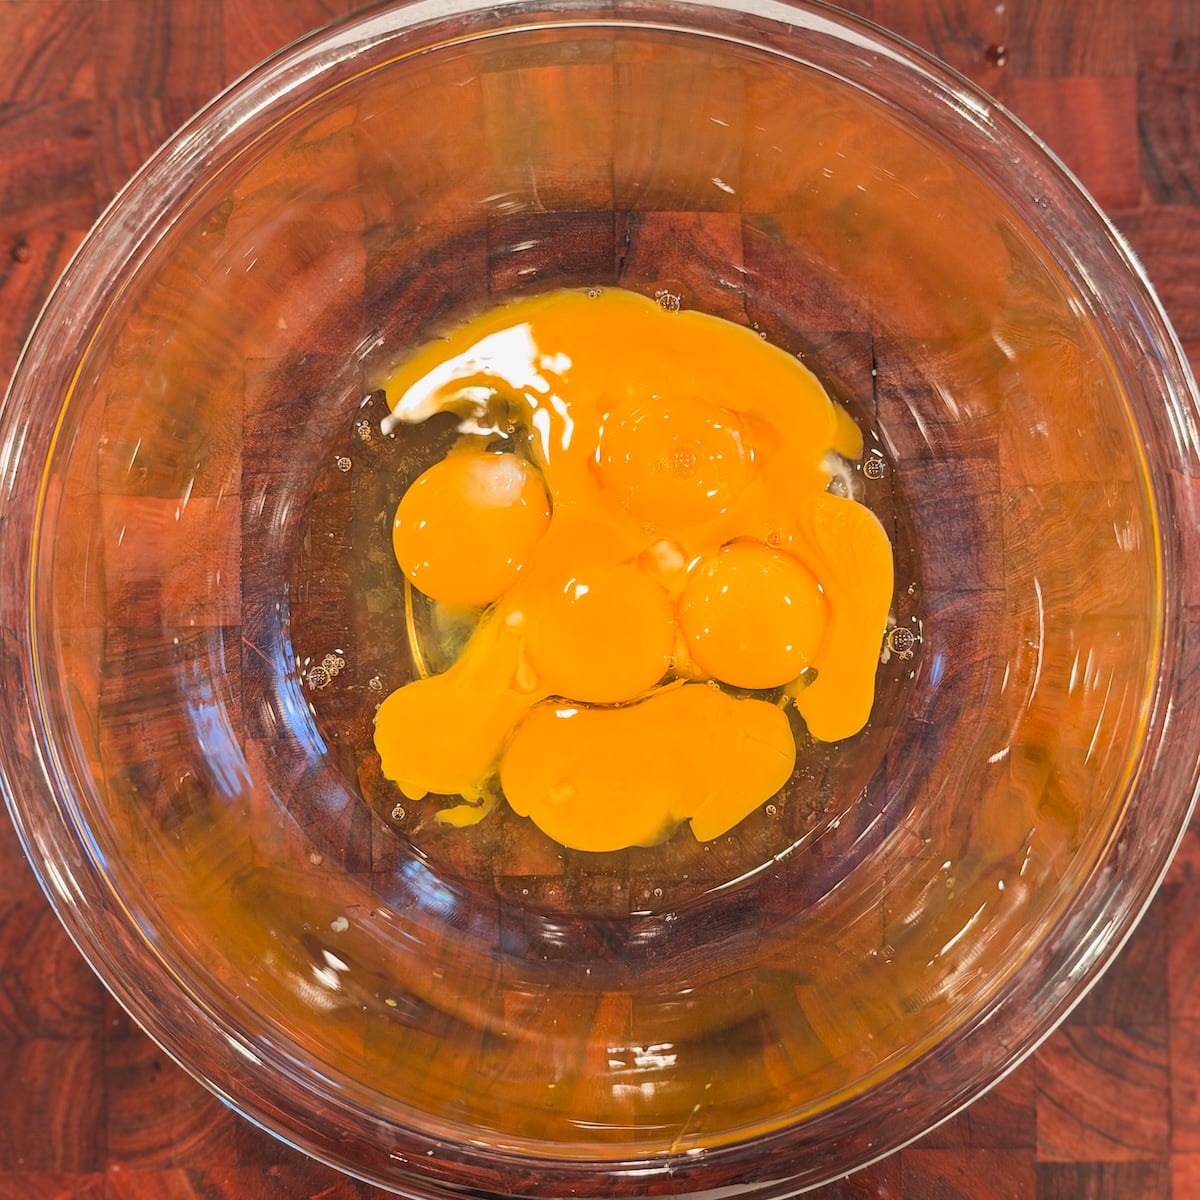
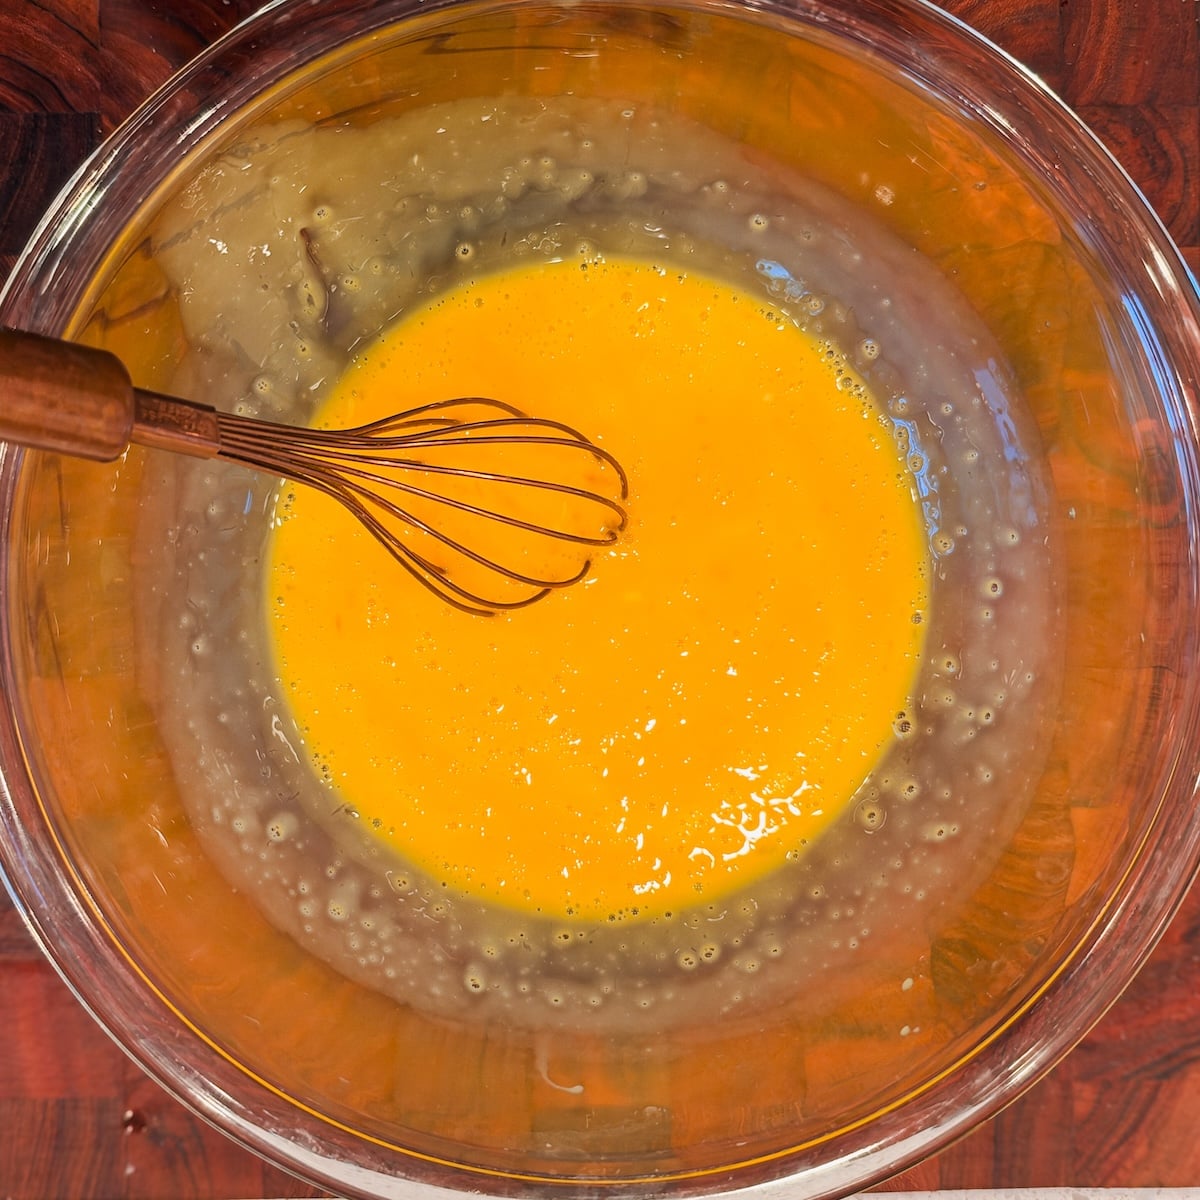
- Add the eggs and egg yolks to a bowl, and use a hand whisk to very gently whisk until the eggs are broken down with no lumpiness. Use a stirring motion instead of a whisking motion, and avoid getting air bubbles into the eggs. If any yolks or whites are being stubborn, use your whisk to “stab” them and break them down instead of whisking aggressively
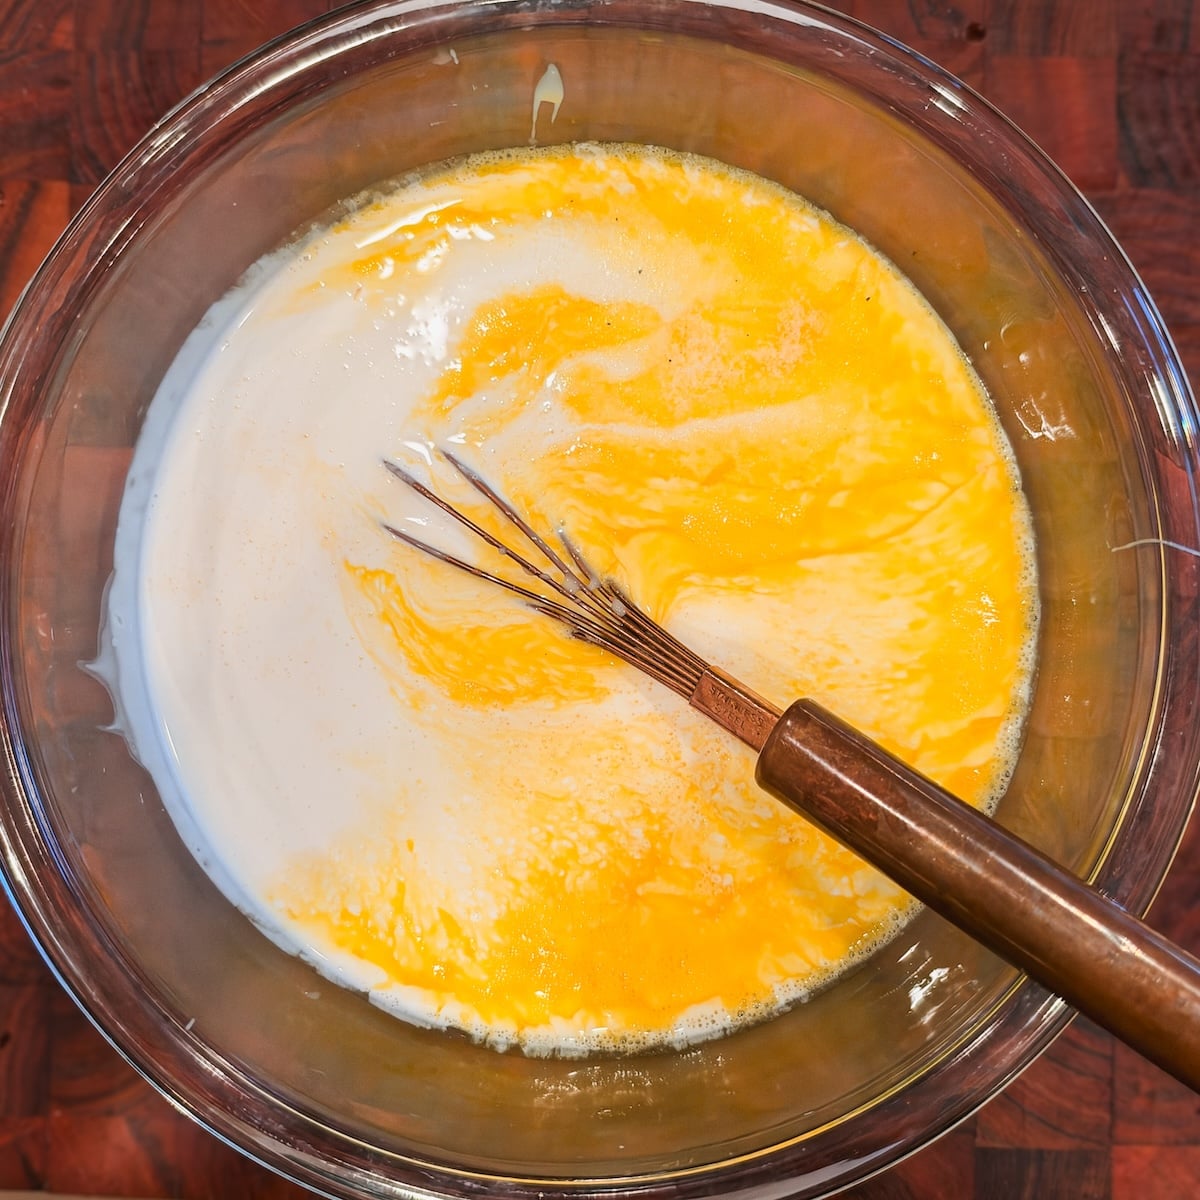
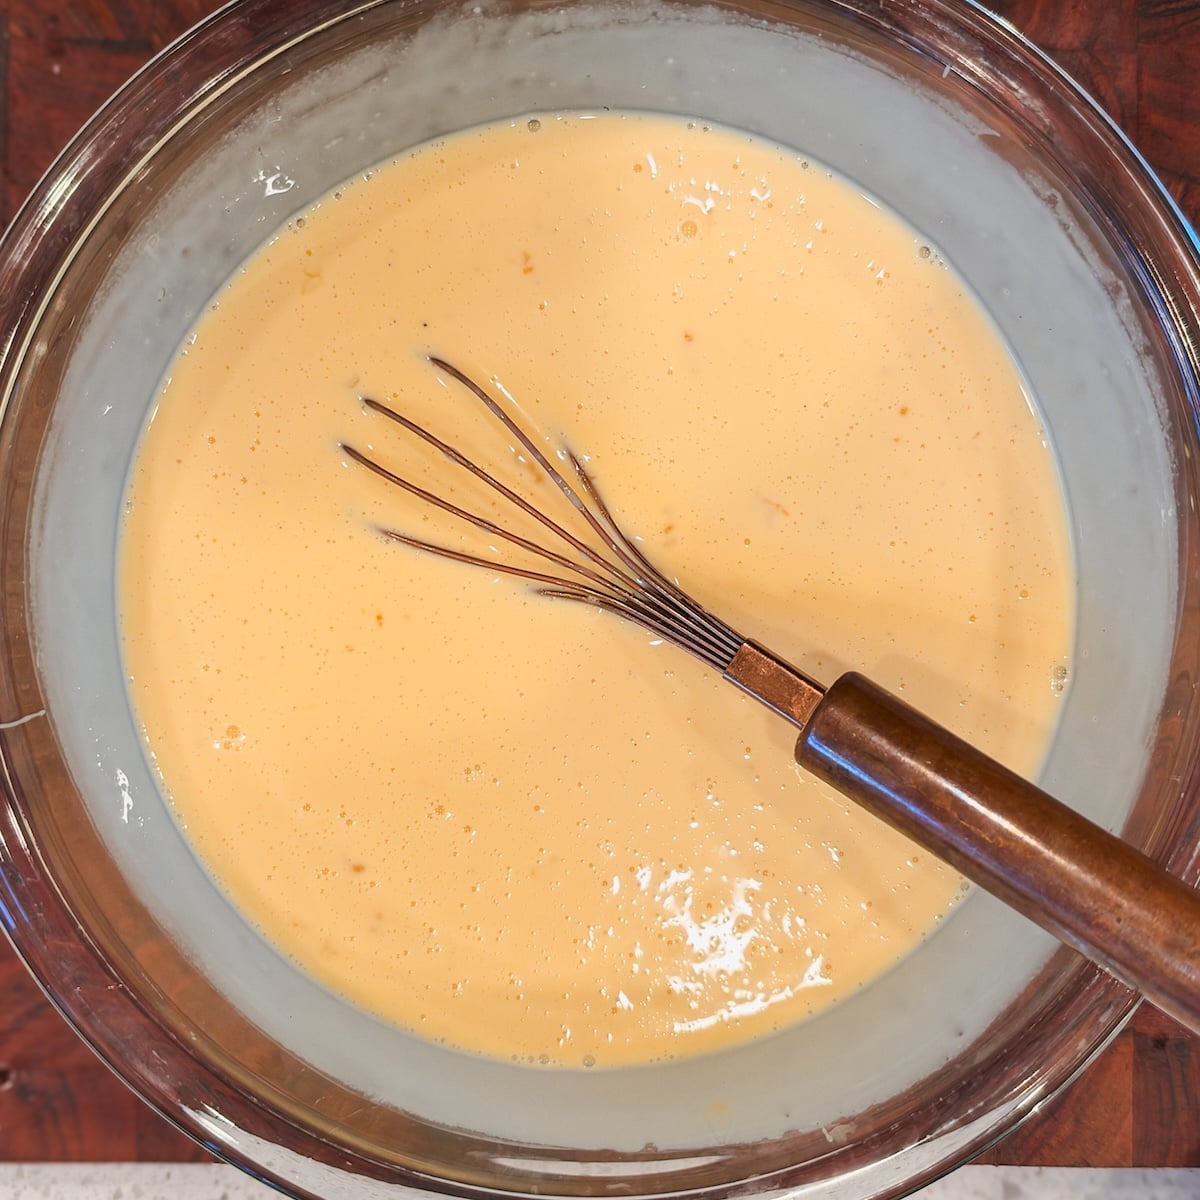
- Now add the sweetened condensed milk, heavy cream, and optional vanilla and salt. Continue to gently and slowly stir with your whisk until the ingredients are just combined
- Strain the custard into another bowl using a fine mesh sieve to remove any eggy bits. Do this gently and don’t hold from a height as, again, you want to avoid adding air bubbles. Then strain back into the original bowl
- Assembly and baking:
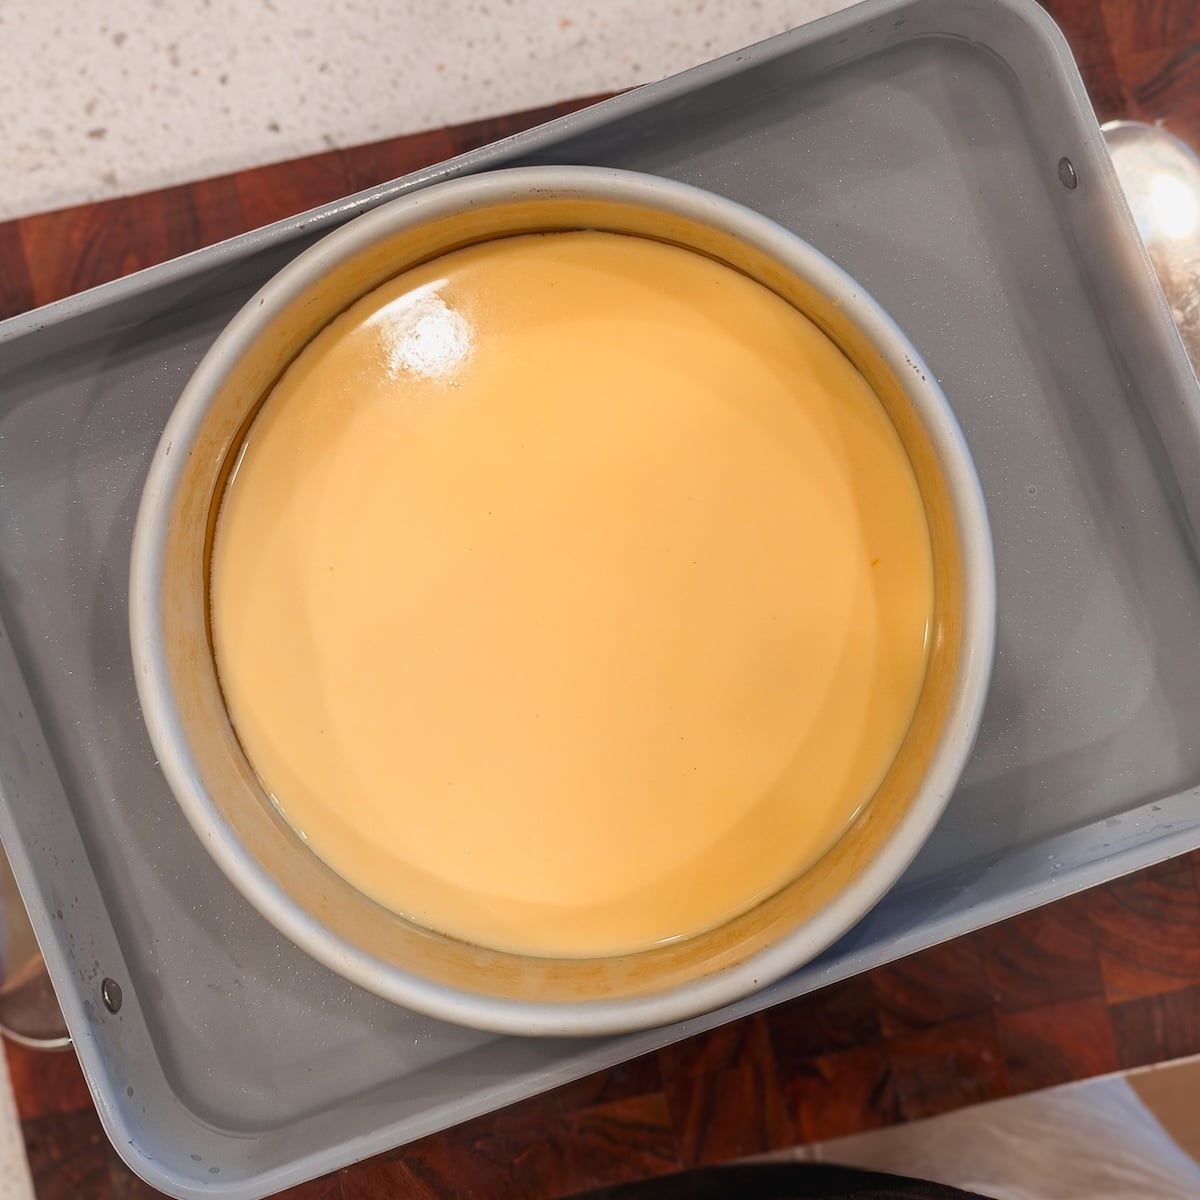
- By this point the caramel should have completely set inside the pan. Gently strain the custard into the pan on top of the caramel. It should be completely smooth with no air bubbles. If you see any air bubbles or froth on the surface of the custard, you can hold a blow dryer on the lowest setting at a slight distance to heat up the air bubbles and cause them to pop
- Place the pan with the flan custard inside a 9″x13″ pan. Pour 1/2″ of boiling water inside the 9″x13″ pan, avoiding the flan, to create a water bath
- Now carefully transfer the whole thing to the pre-heated oven. Bake for ~50-55 minutes, or until the flan feels set around the edges but jiggles in the middle when you gently shake it (like jello).
- Remove the flan from the oven, and carefully lift it out of the water bath. Let it sit at room temperature for 10 minutes, then transfer to the fridge and chill overnight, or for at least 4 hours
- Serving:
- To remove the chilled flan from the pan, first use a knife to gently release the edges from the pan. Then place the pan on the stove on the lowest flame for ~30 seconds, or until the caramel warms up and melts. You will be able to tell because you will see that the flan has released from the pan and slips on top of the caramel when you gently shake the pan
- Place your serving dish/plate upside down on top of the pan. Hold the pan and dish together tightly, and carefully but quickly flip them so the flan pan is now on top. Place on the counter, and gently shake the pan until you hear the flan “drop”. Lift the pan and the flan should now be ready to serve!
- If you have a lot of caramel left over in the pan, you can heat it up on the stove until it melts, and pour on top of the flan. Slice, serve and enjoy
Video Tutorial
Notes
Make ahead and storage: You can make the flan up to 2 days in advance, and keep covered in the fridge. I recommend removing it from the pan whenever you’re ready to serve. Keep leftovers covered in the fridge for up to 5 days.


Comments