

This post may contain affiliate links
Add Bake with Zoha as a preferred source on Google and find more of my tried-and-tested recipes.
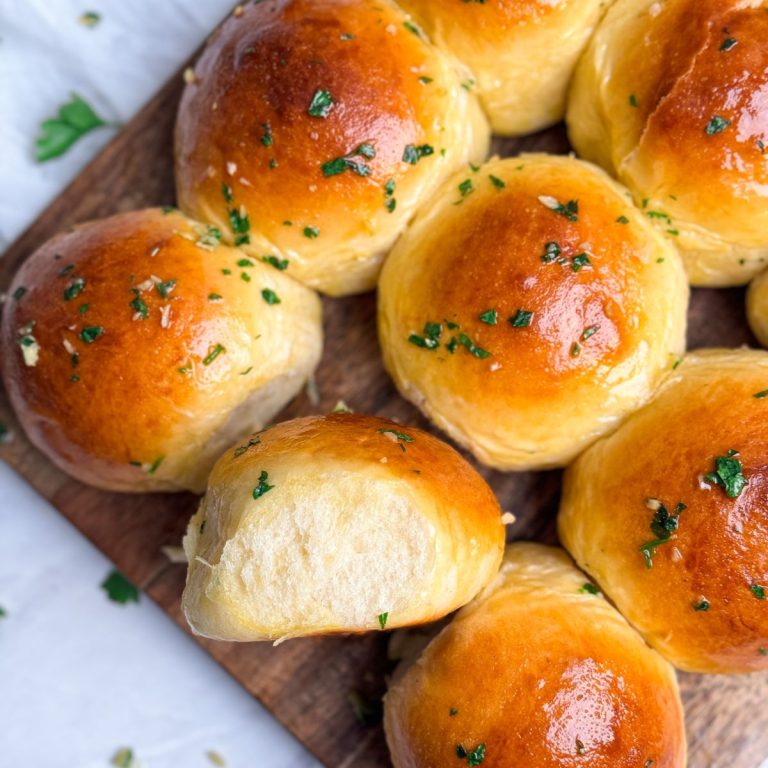
There aren’t many things in life better than the warm dinner rolls served at a restaurant before dinner… except these homemade Easy Garlic Butter Dinner Rolls! They are really simple and fuss-free to make, don’t require a mixer, and are pillowy soft and light in texture. And I mean it when I say they’re better than any restaurant bread. Once you make these at home, there’s truly no going back.


Read the full blog post below for detailed notes, tips, tricks, photos and videos.
WHY YOU SHOULD TRY THIS RECIPE
I honestly believe this is the best recipe you’ll ever try for homemade garlic butter dinner rolls, and here’s why:
- They are easy and fuss-free. I have especially developed this recipe to make bread less intimidating and more approachable for the average joe / jane. There are no unnecessary steps, and it’s hard to mess them up
- They don’t require a mixer. If you want to use a mixer to skip the kneading, you can use one, but I knead them by hand and so can you
- They’re fluffy and pillowy soft. They have the absolute dreamiest, most unbelievable texture which is usually very hard to achieve at home. Just feeling them in your mouth is an experience of its own
- They taste absolutely delicious. Warm and buttery with the perfect balance of sweet, salty and garlicky. Pure perfection


HOW TO PROPERLY KNEAD DOUGH FOR DINNER ROLLS
Kneading is probably the single most important step in order to get the coveted light and fluffy texture of dinner rolls. It activates the gluten in the dough, and gluten provides the structure or scaffolding which allows the rolls to rise while baking while still holding their shape. If there isn’t enough gluten in the rolls, they won’t be able to rise properly, and therefore won’t be light and soft. Here’s how to get it right:
Kneading by hand
Start by bringing the ingredients together in the bowl using a large spoon, then knock the dough out onto a clean working surface. Start kneading by using a push, pull motion with your palm. You want to lock your elbow and use your body weight as opposed to bending your elbow, as that will tire you out a lot more quickly.
At first, the bread will feel quite sticky. But as you keep kneading it, it will start to become smoother and easier to work with. Avoid adding more flour, and keep kneading for a good 15 minutes.
You know the dough is well kneaded when it gets very smooth and stretchy, and passes the window-pane test. Stretch a section of dough slowly between your fingers until it becomes paper thin without ripping. If it rips quickly, you need to knead more.
Kneading with a stand mixer
Alternatively, you can use a stand mixer with the dough hook attachment to knead the dough. This will take almost 10 minutes on medium-high speed. You will know the dough is done when it pulls away from the edges of the bowl, looks very smooth, and passes the window-pane test.


HOW TO PROPERLY PROOF DINNER ROLLS
“Proofing” is the term used for rising bread dough. This is the second most critical step to get right for the perfect dinner rolls, and is achieved when the yeast becomes active and starts feeding on the sugar and water to release carbon dioxide, which then creates little air bubbles which make the dough rise.
Proofing happens in 2 steps, and here’s how you can get them right:
- First proof. After you knead the bread, place it in a large, clean bowl sprayed with oil. Cover with plastic wrap, and place the bowl in a warm, humid place, ideally around 75-80F. If your kitchen is too cold, you can place a bowl of hot water in your oven, and place the bowl inside the oven. The first proof is done when the dough at least doubles in size, and passes the “poke test”. Gently poke with your finger – the dough should spring back part of the way but not fully.
- Second proof. After you shape the dinner rolls, it is time for the second proof. This is important because shaping the dough removes some of the air trapped in it during the first proof. Place the rolls in the baking sheet, and let them rise again in a warm spot until the rolls look puffy and pass the “poke test” again.

Why your dough is not rising
If you feel like your dough is not rising even after waiting, there could be a few reasons for it:
- Your yeast has expired. To test this, mix the yeast with warm water and wait for 10 minutes. If it does not start bubbling up, it has expired
- Your milk was too cold or too hot. The temperature of the milk should be between 100-110F. If it is colder, the dough will be cold and it will take longer for the yeast to activate. If it is hotter, there’s a risk it will kill the yeast
- Your kitchen is too cold. Yeast needs heat to work, so make sure you place the dough in a spot that is 75-80F
How to proof the dough overnight
If you want to split the work between 2 days, you can do the first proof overnight in the fridge. Due to the colder temperature, the dough will take longer to rise. Make sure it has at least doubled in size before you shape the next day, and do the second rise in a warm spot as instructed.
PROCESS WITH PHOTOS
The detailed recipe is written in the recipe card at the bottom of this post, but let’s quickly go over the key steps with photos to help you visualize everything:
Stir the yeast with warm milk, then add all the other ingredients to the same bowl:


Bring the ingredients together into a shaggy dough with a spoon, then turn onto the counter:


Knead until the dough is smooth and stretchy:


Transfer to a bowl and let the dough rise:


After the dough has proofed, divide it into 12 equal portions:


Shape each piece into a smooth ball:


Transfer to a baking sheet and brush with egg wash:


Allow the rolls to rise again, then give a second coating of egg wash:


Bake until golden, then brush over garlic butter:


And now it’s time to enjoy!!


FREQUENTLY ASKED QUESTIONS
I’ve covered questions about kneading and proofing/rising above, so make sure to read those sections!
This recipe works with both instant yeast and active dry yeast, and there’s no difference in the method.
You can substitute the egg with 1/4 cup of full fat plain or Greek yogurt. Instead of the egg wash, you can use just milk but it won’t give the same shine.
The rolls are done baking when they develop a deep golden color, and springs back when pushed gently.
You can store these rolls in an airtight container at room temperature for 1-2 days, or in the fridge for up to 5 days. Reheat in the oven for best results.

Once you perfect these easy garlic butter dinner rolls, you can also attempt my other bread recipes!
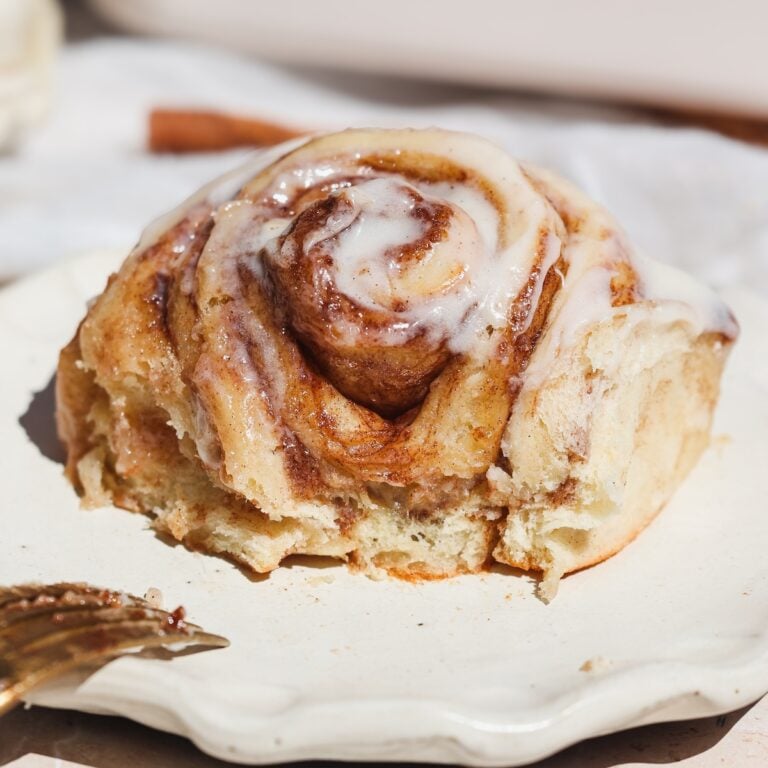 Soft And Gooey Cinnamon Rolls
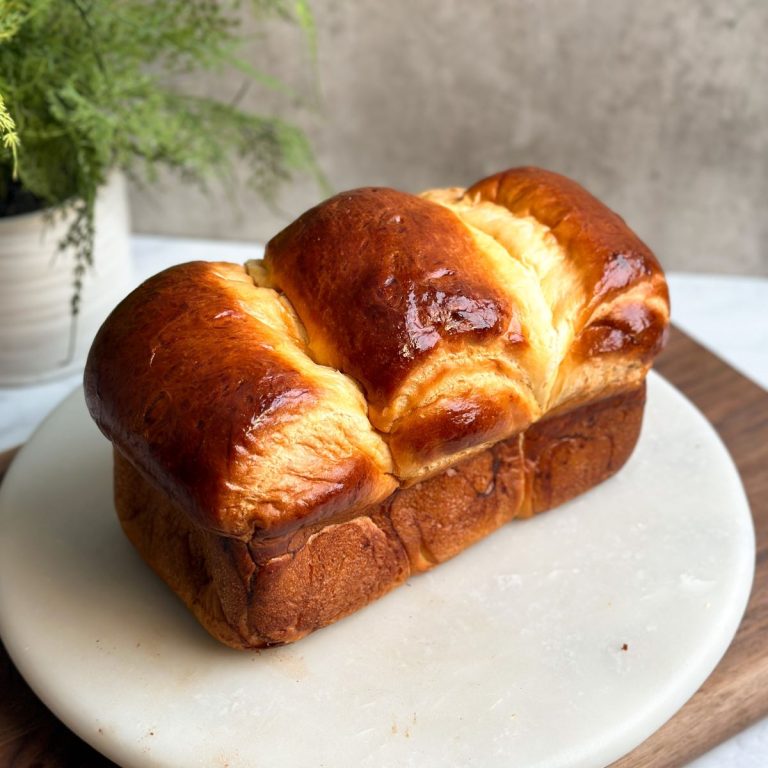 Japanese Milk Bread
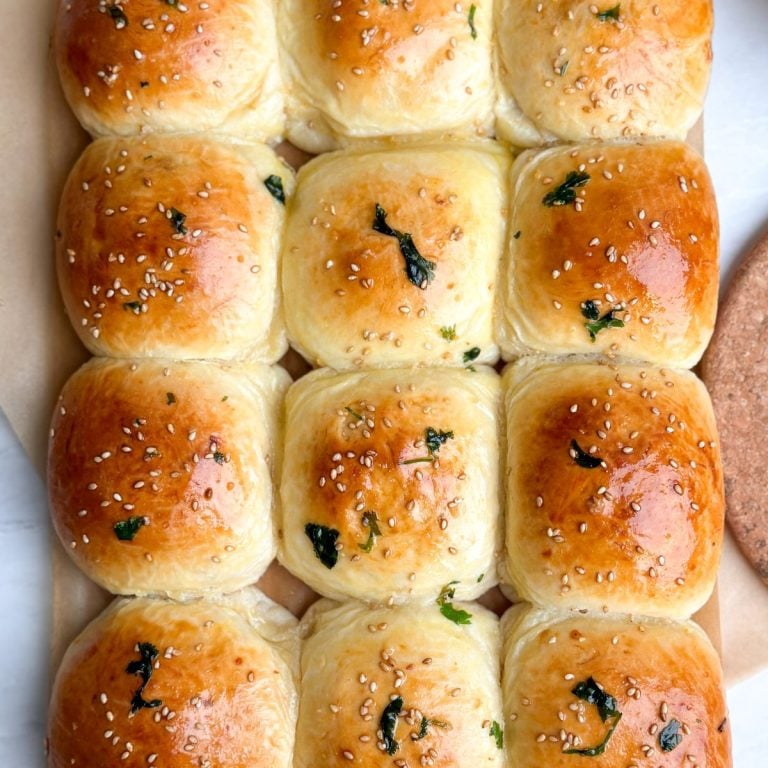 Tandoori Chicken Naan Buns
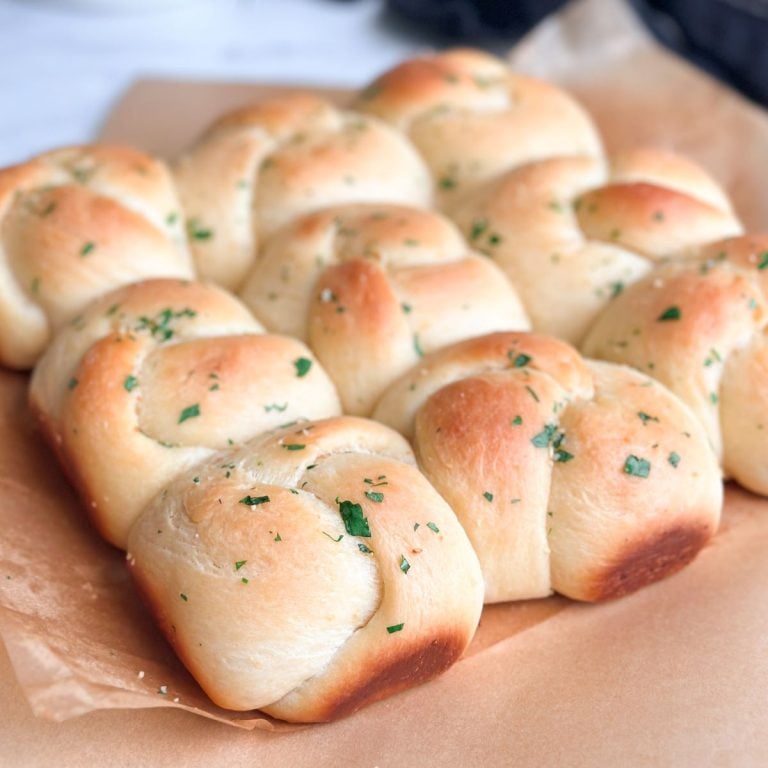 Easy Homemade Garlic Knots
Email This Recipe
Enter your email and I’ll send this directly to you. Plus you’ll get new recipes from me every week!
Ingredients
Dinner rolls:
- 1 cup whole milk (240g), warm (around 110F)
- 3 teaspoons active dry yeast or instant yeast
- 1/3 cup sugar (70g)
- 3 3/4 cup all purpose flour (490g)
- 1 large egg
- 1.5 teaspoon salt
- 6 tbsp unsalted butter, softened at room temperature (85g)
- Egg wash: 1 egg yolk and 1 tbsp milk
Garlic butter:
- 1/4 cup salted butter (57g)
- 2–3 garlic cloves, finely chopped
- 1–2 tbsp freshly chopped parsley
Instructions
- In a large bowl, stir together the warm milk with the yeast
- Add all the other ingredients for the dinner rolls to the same bowl
- Use a large bowl to stir together the ingredients until they form a shaggy dough
- Turn out onto a clean surface, and knead with a push-pull motion using your palms for 15 minutes. The dough will be sticky at first, but will become smooth and stretchy with time, so do not add more flour. You know the dough is done kneading when it passes the window-pane test (stretch a piece of dough slowly between your fingers until it becomes almost paper thin without ripping)
- Transfer the dough to a large clean bowl sprayed with a little oil. Cover with cling wrap and place in a warm, humid spot to let the dough rise until it at least doubles in size. This typically takes around 90 minutes
- Once risen, punch the dough and turn it out onto a clean surface. Divide it into 12 equal pieces
- Roll each piece into a tight, smooth ball. I like to do this by placing the dough on one palm which I hold flat, and twisting it around with the other palm which I slightly curve, using gentle pressure. You can also twist it into a ball on the counter using one palm. Make sure there aren’t any wrinkles or cracks
- Line a 9×13″ baking sheet with parchment paper, and place the rolls on the sheet with even space between them
- Mix the egg yolk and milk in a small bowl to make the egg wash, and use a pastry brush to generously brush the rolls with the egg wash
- Allow the rolls to rise a second time in a warm spot for 30-45 minutes until they are puffy
- In the last 20 minutes, preheat the oven to 350F (conventional)
- Once the rolls are risen, brush them with another generous coating of the egg wash
- Bake for 20-22 minutes until the rolls have a beautiful shiny golden crust on them
- To make the garlic butter, melt the butter in a saucepan. Add the garlic and saute for 1-2 minutes. Then turn off the heat and mix in the parsley
- Brush the rolls with garlic butter while they’re still hot
- Serve & enjoy!
Video Tutorial
Notes
- I strongly recommend reading the blog post above as I have shared many tips on how to knead and proof the dough properly so you achieve the softest dinner rolls

Comments
Uswa
I tried your so many recipes, they are bomb. Garlic butter rolls turned out so amazing, pillowy soft and so yummy. Thanks for sharing your amazing recipes with us. May Allah bless you more.
Love you.
Zoha
Lots of love and duas for you. Thank you for the support <3
Sobia
best ever dinner rolls
Mehreen Sayed
I made these last night, they were amazing and my family loved it. Alhamdulillah. Thank you very much.
Zoha Malik
Thank you so much, Mehreen!
BS
softest buns ever!
Zoha
I agree!!