

This post may contain affiliate links
Add Bake with Zoha as a preferred source on Google and find more of my tried-and-tested recipes.
These are the *perfect* cinnamon rolls by every definition – and that’s coming from a very picky cinnamon roll lover. Pillowy soft, melt-in-your-mouth tender, with a gooey cinnamon sugar filling and a luscious cream cheese frosting. I’ve developed this recipe to be as easy and fuss-free as possible: all purpose flour only (no bread flour!), no mixer (though you can use one), no overnight rises, and with my favorite cut-and-roll technique for the perfect swirl every time.
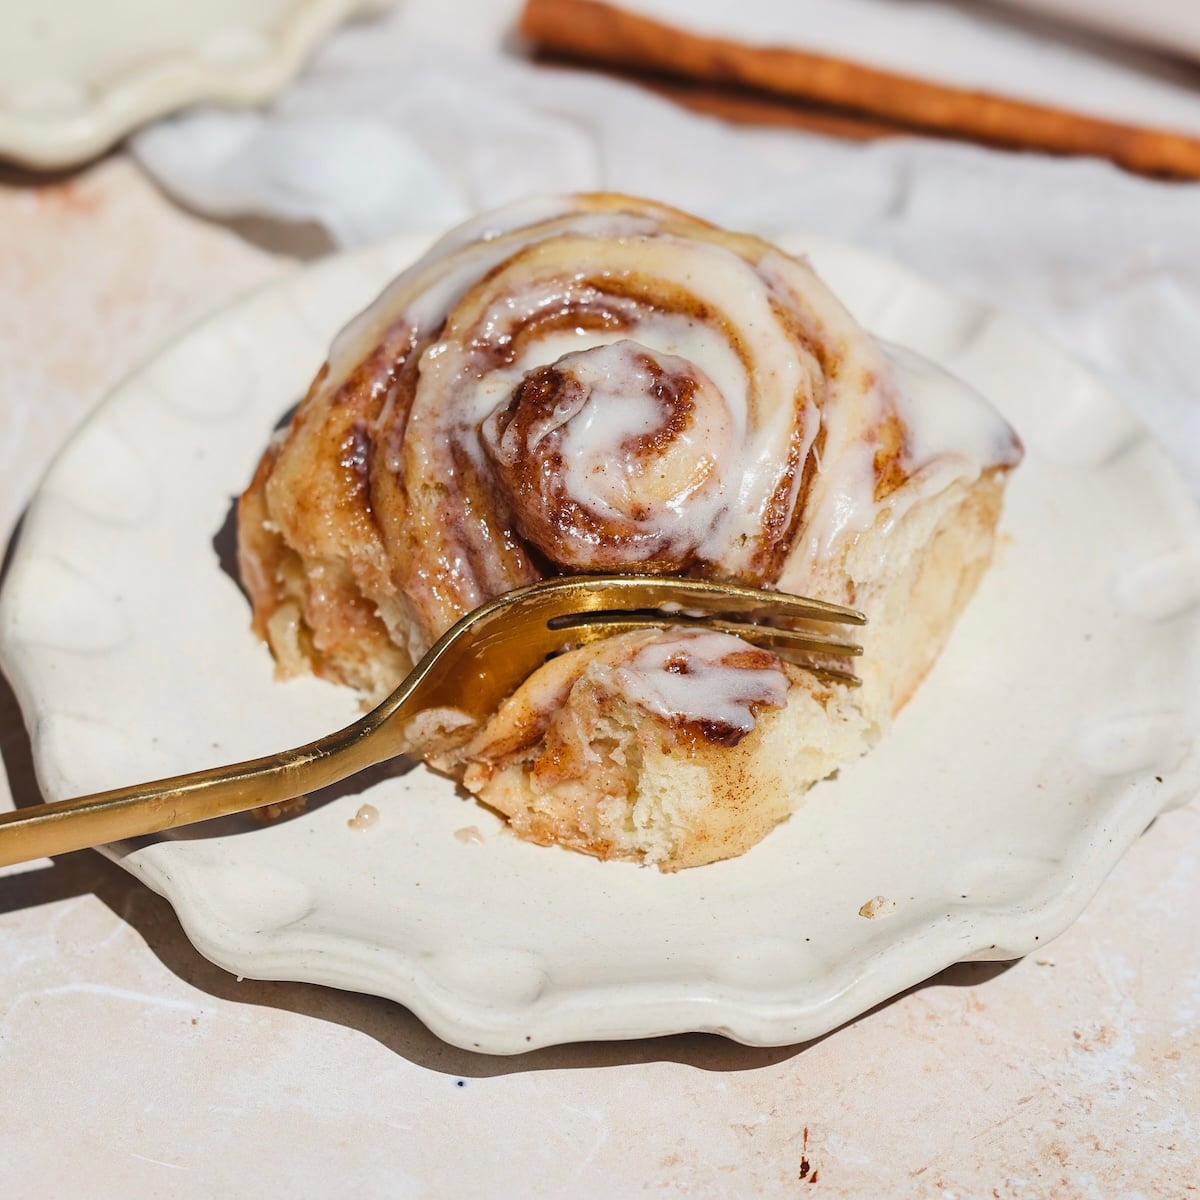
I have been baking for 38 years and cinnamon rolls are my favorite thing to make. I have 4 recipes I use and I’m getting rid of all of them. These are by far the softest, most delicious cinnamon rolls!
– Liv, ★★★★★
What I’ve learned from a dozen trials
I’ve tested no less than a dozen variations of this recipe to develop the perfect cinnamon rolls, and there have been some surprising learnings along the way. Here are my hot takes about cinnamon rolls, and what I believe makes this recipe perfect:
- All purpose flour is better than bread flour. Not only is all purpose flour easier to find (and already stocked in most pantries), I actually think it’s better than bread flour for cinnamon rolls. Bread flour has a higher gluten content and creates a light and chewy texture which is great for breads like sourdough or french loaves – but cinnamon rolls should be soft and tender. All purpose flour helps achieve that
- The floss cutting technique actually kind of sucks. Most recipes tell you to roll up the dough into a log, and cut it using a floss. In my tests, I learned that this actually gets pretty messy. Instead, I prefer the cut-and-roll technique to get the perfect, even swirl every time – more on this below!
- Drizzled heavy cream is not optional. The trick of pouring heavy cream on top of cinnamon rolls before baking, introduced by Tastes of Lizzy T, is a must. It creates steam in the oven and ensures the rolls are extra tender, moist and gooey
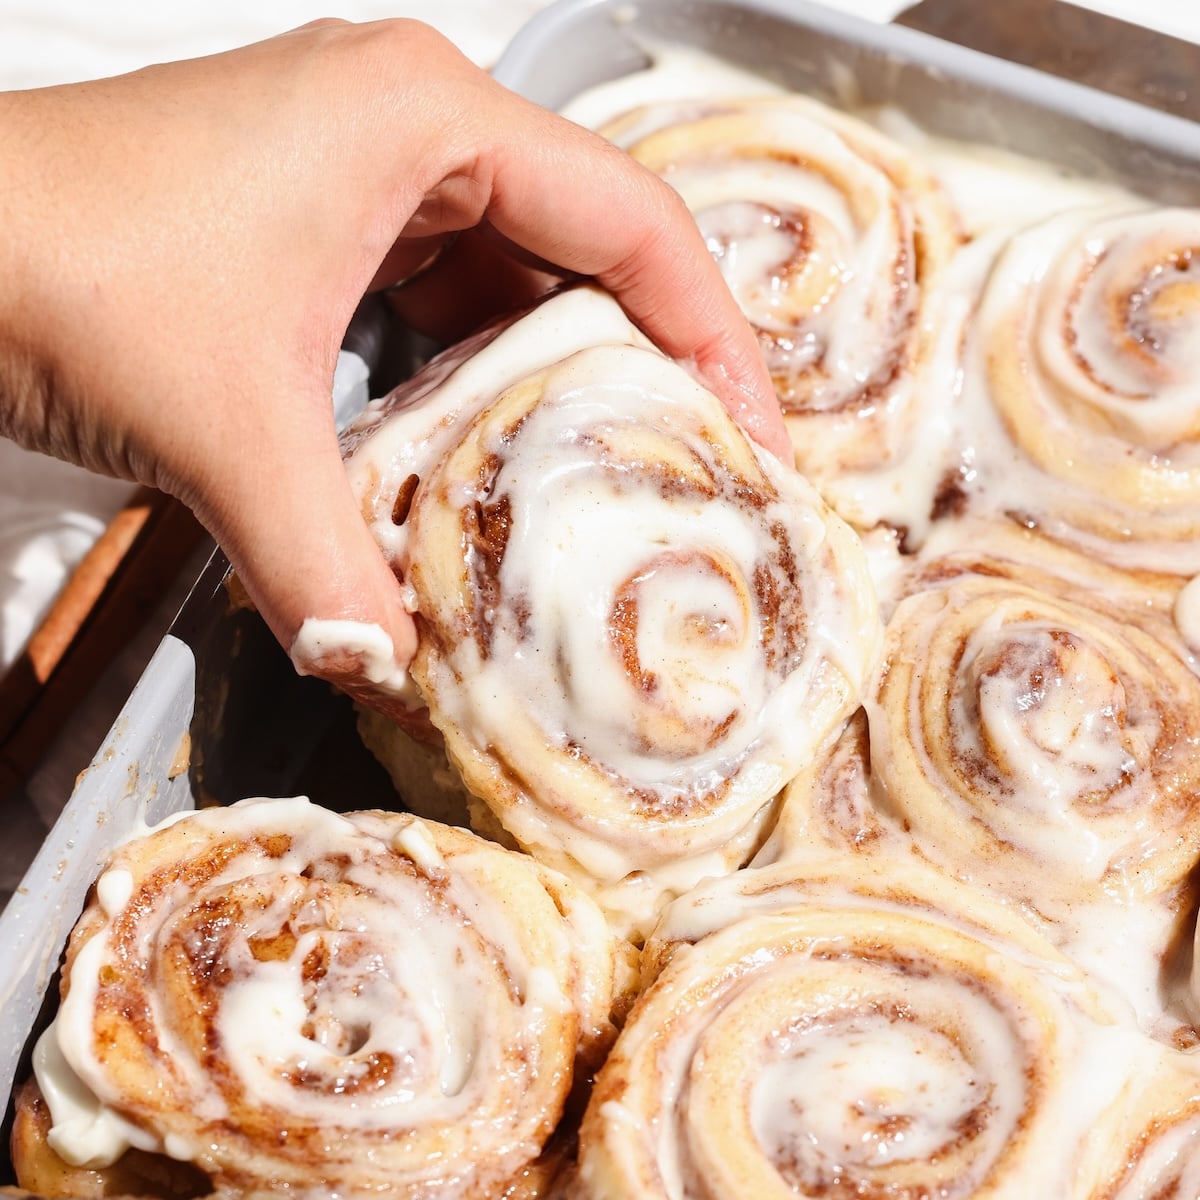
2 options to knead the dough
Kneading activates and strengthens the gluten in the dough, which helps the cinnamon rolls rise and develop the soft and flexible texture we want. Under-kneaded dough will result in dense, tough rolls which don’t rise properly. Here’s how you knead the dough properly:
Option 1: Knead by hand (15 minutes)
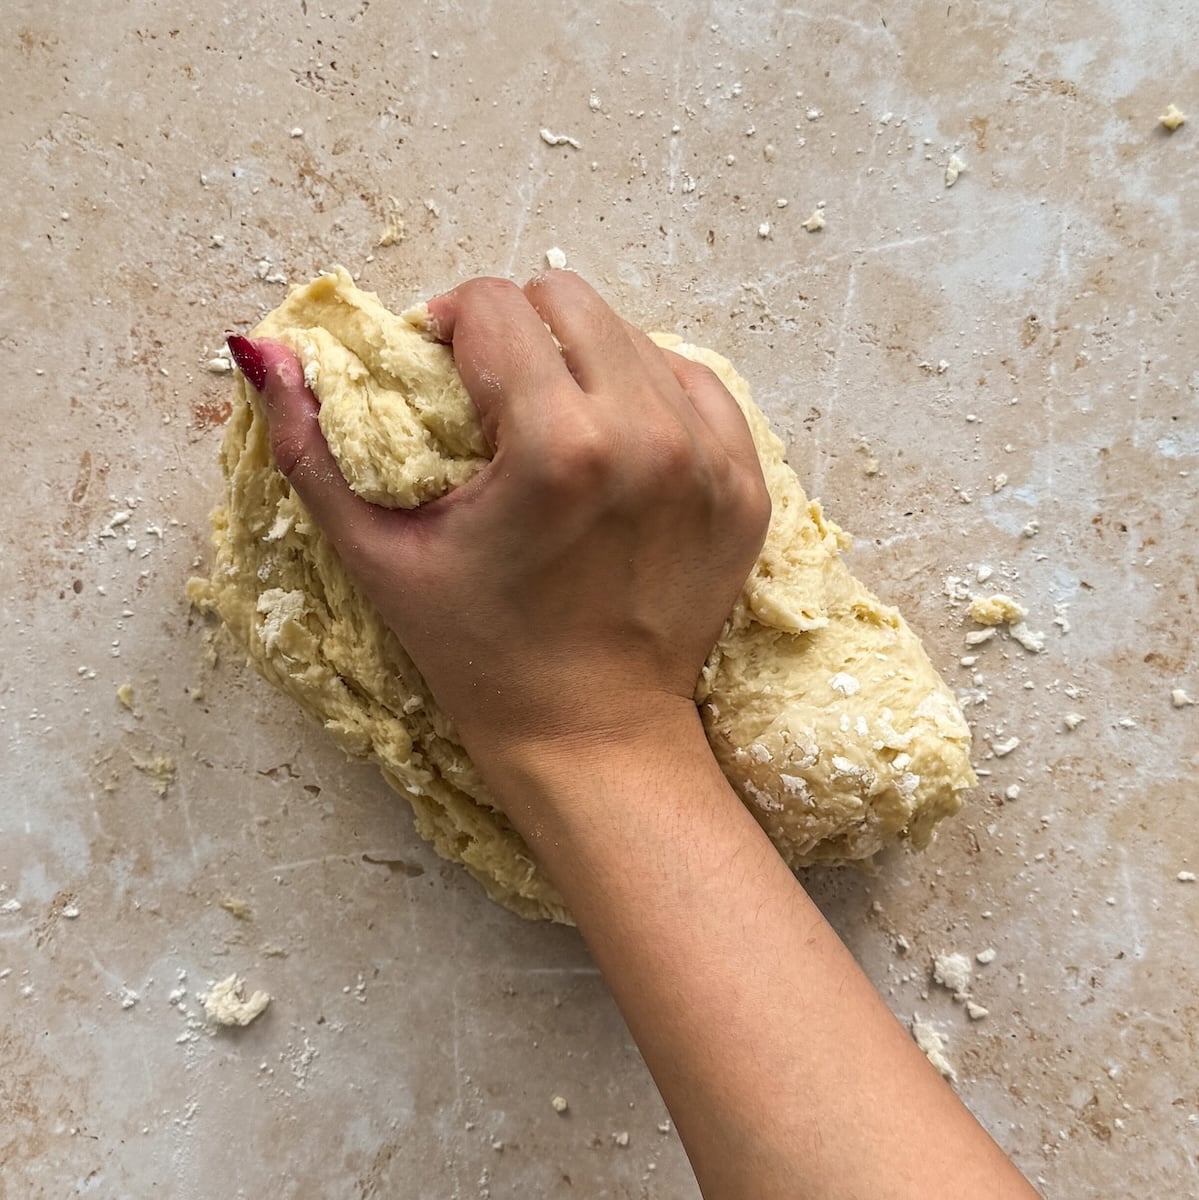
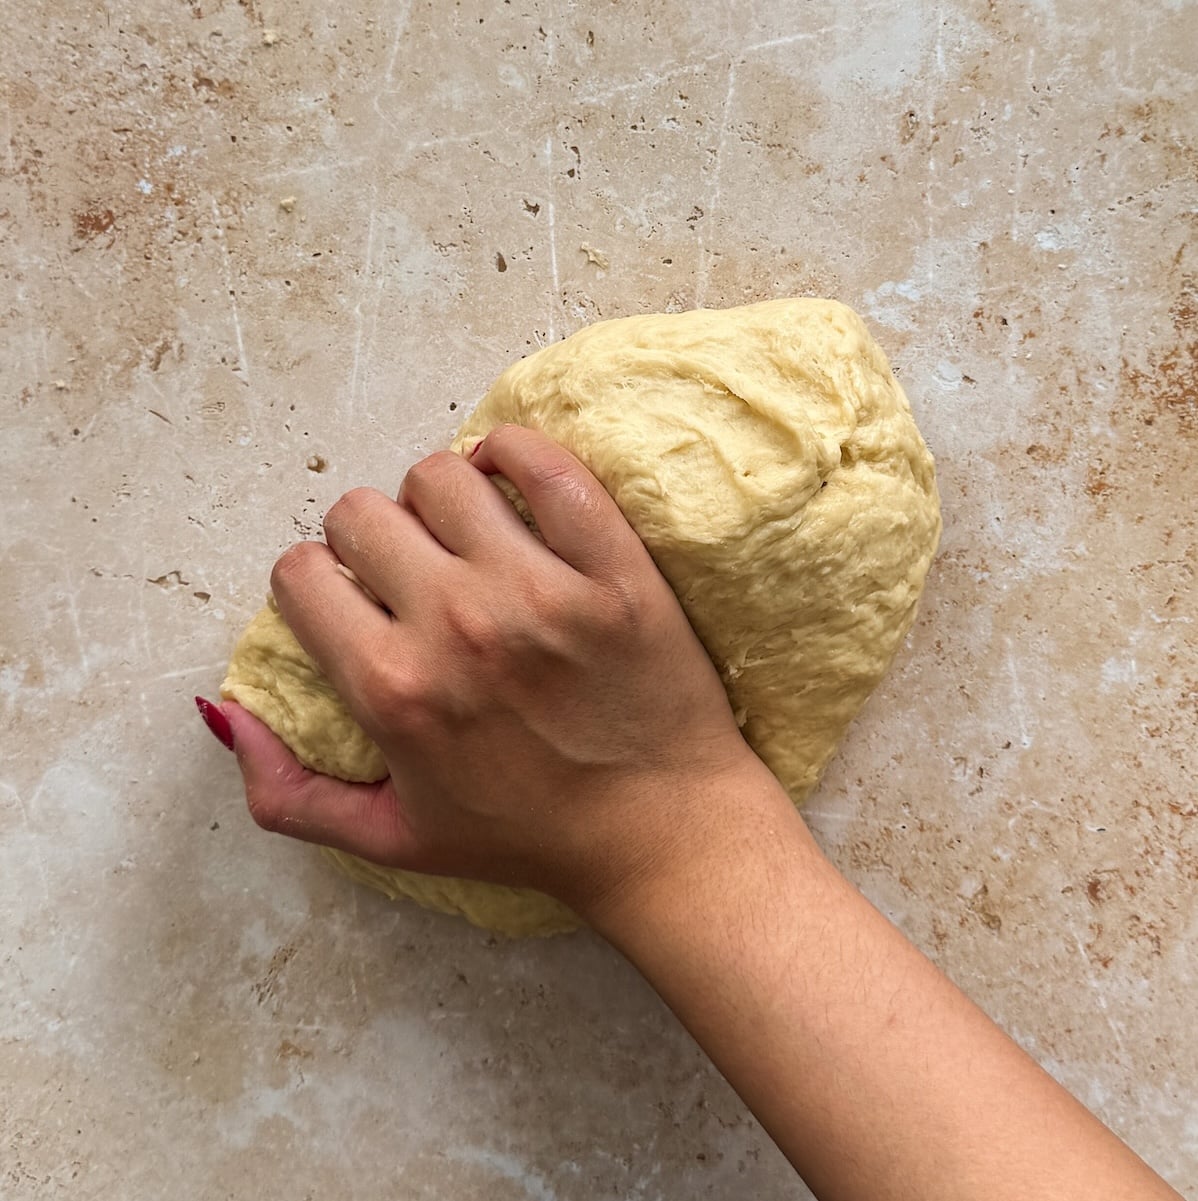
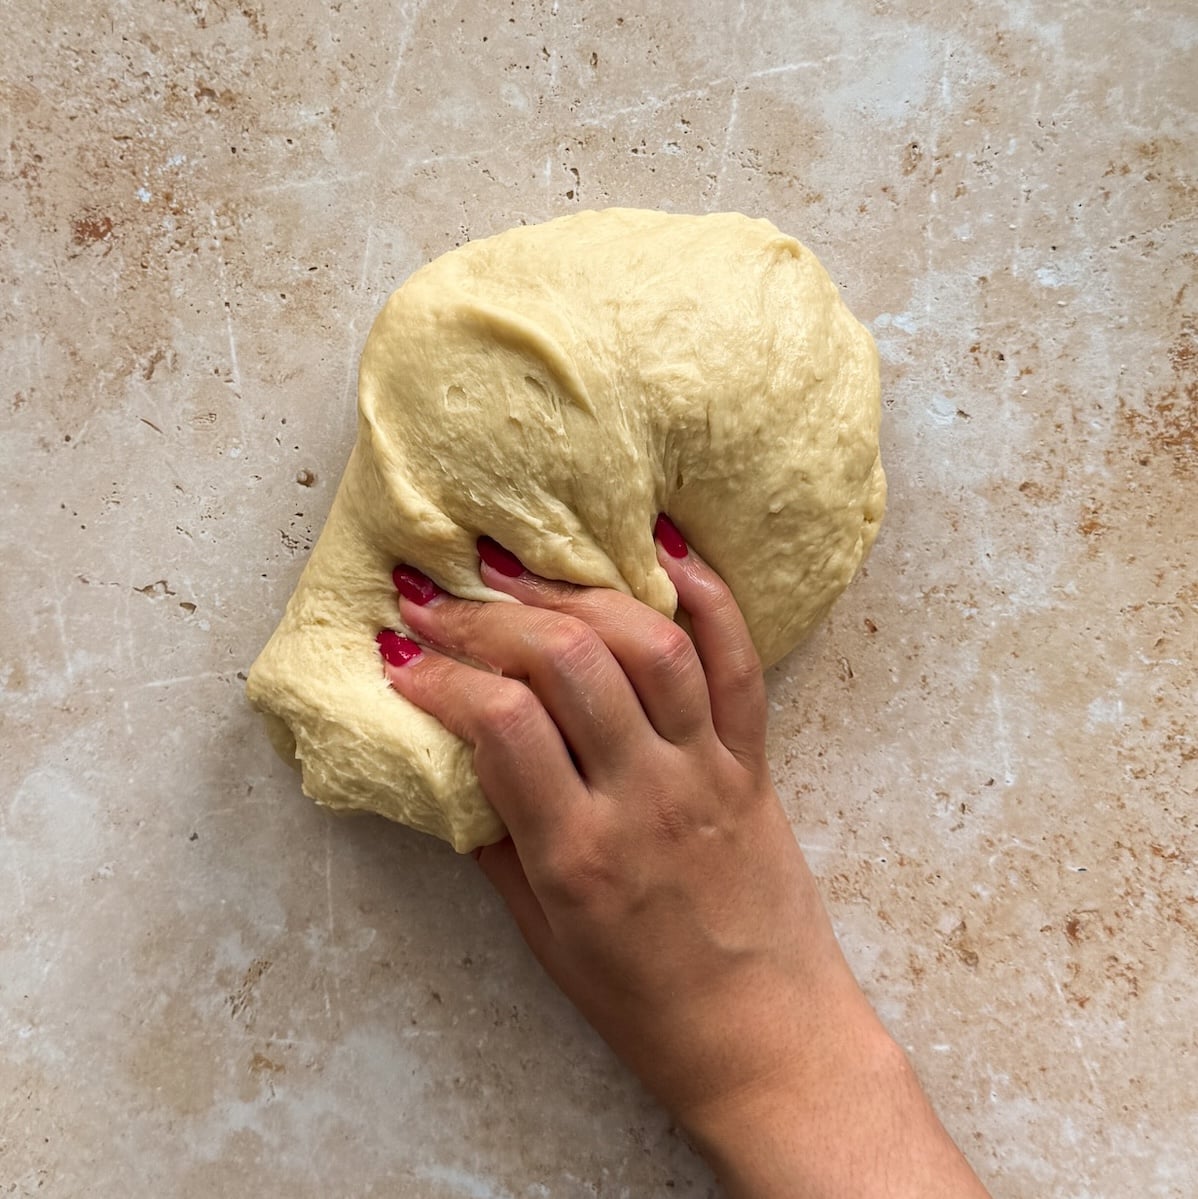
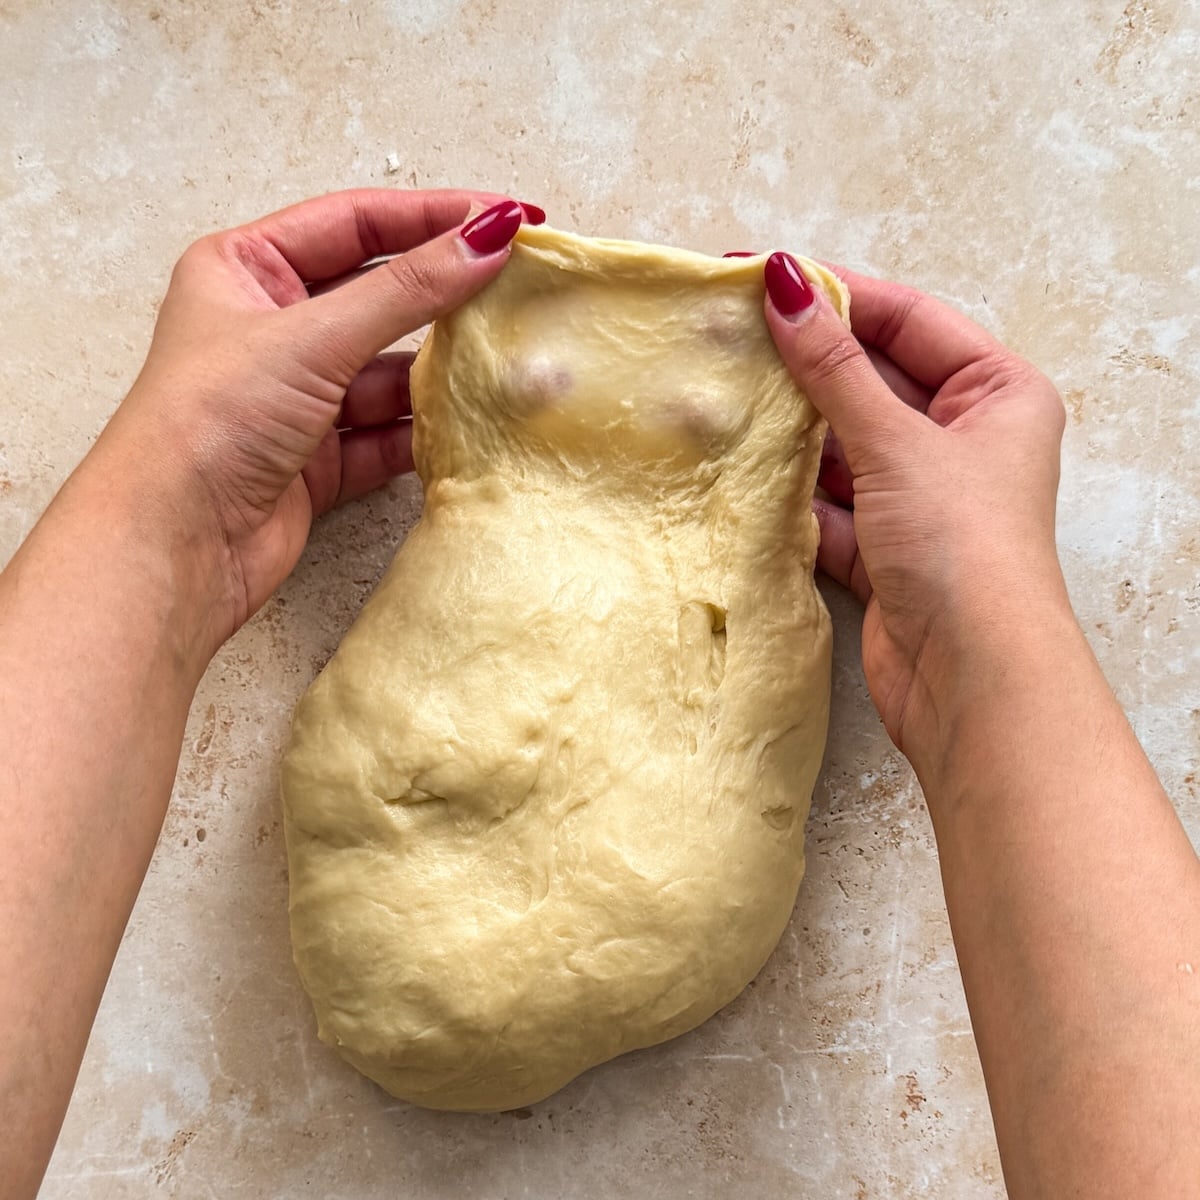
Bring together the ingredients into a rough dough using a spoon, then start kneading on a clean counter using a push-pull motion with your palms. The dough will be very sticky at first and this will take time – don’t panic, don’t add more flour, and just keep going! After ~5 minutes, the dough should feel significantly less sticky. If not, add just 1-2 tablespoons of flour and continue. After 15 minutes, the dough should be very smooth and stretchy, and pass the window-pane test. You should be able to stretch a piece between your fingers until it’s thin enough that light passes through it without ripping
Option 2: Use a stand mixer (10 minutes)
Use the dough hook on a stand mixer to knead on medium-high speed. The dough will start sticky and wet, but over time will pull away from the edges of the bowl and come together into one smooth, stretchy mass that passes the window-pane test.
The “cut-and-roll” swirl technique
Perhaps it’s superficial of me, but I think a cinnamon roll has to look as good as it tastes, and that comes down to the perfect swirl. I know most recipes will tell you to roll the dough into one log, and then cut it with a sharp knife or floss. But this can be messy, the log is almost never perfectly even, and the filling often starts to ooze out.
What I recommend instead is the cut-and-roll technique:
- After spreading the filling, divide the rectangle into equal long strips using a sharp knife or pizza cutter (I prefer the latter). A long clear ruler makes this easier
- Roll each strip individually into a cinnamon roll, maintaining even pressure as you go
That’s it. You have more control and get a tight, even swirl every time. Once you try this technique, you won’t go back!


Step by step photos
Let’s put everything together with these step by step photos:
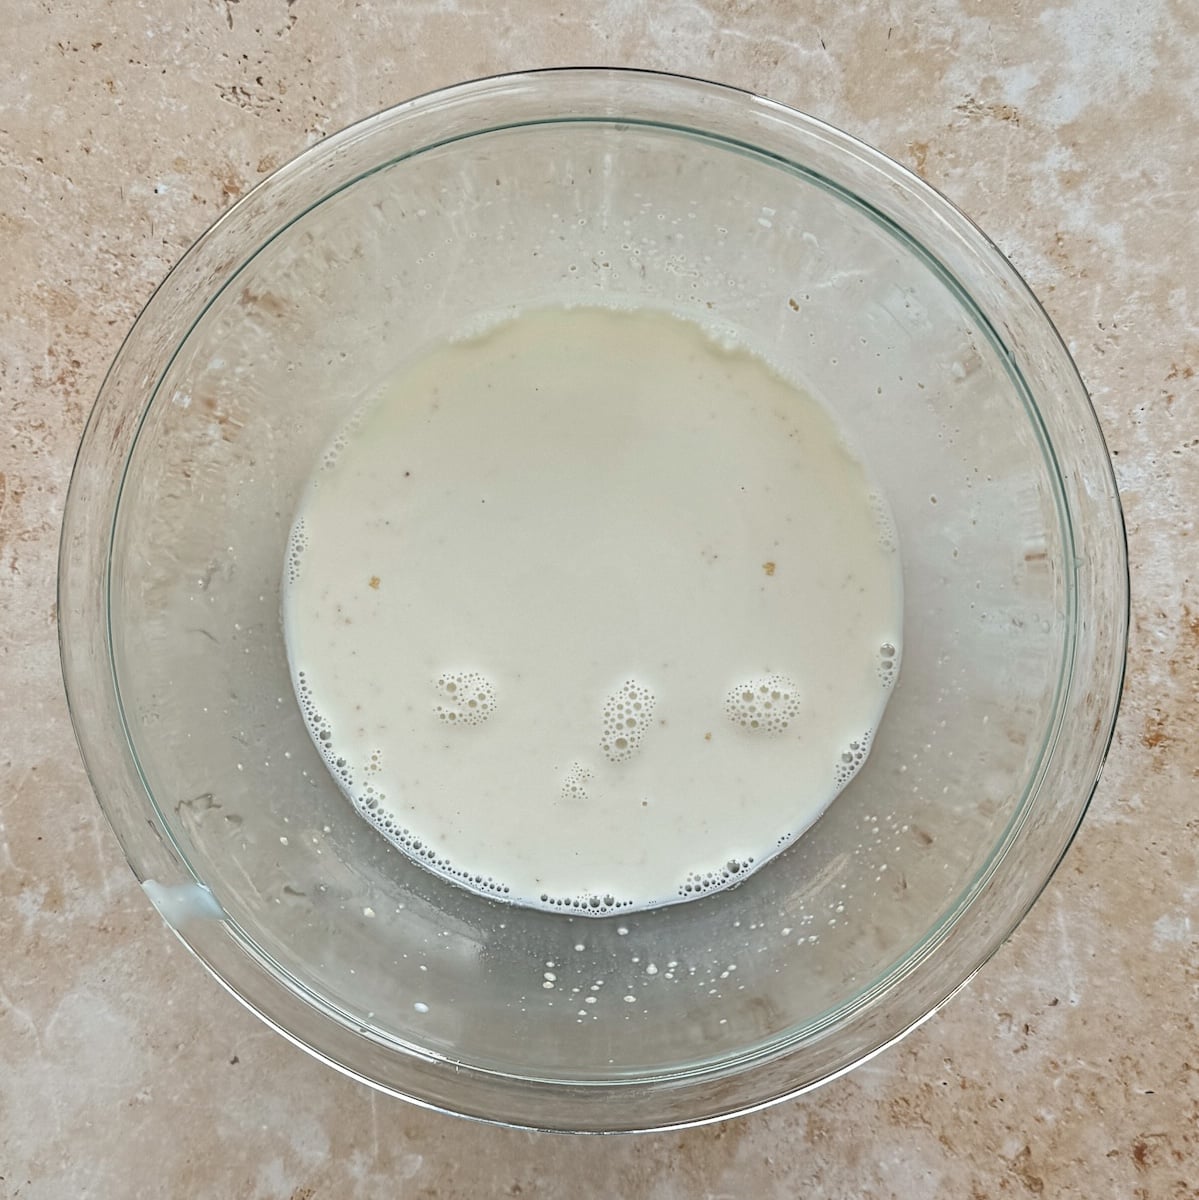
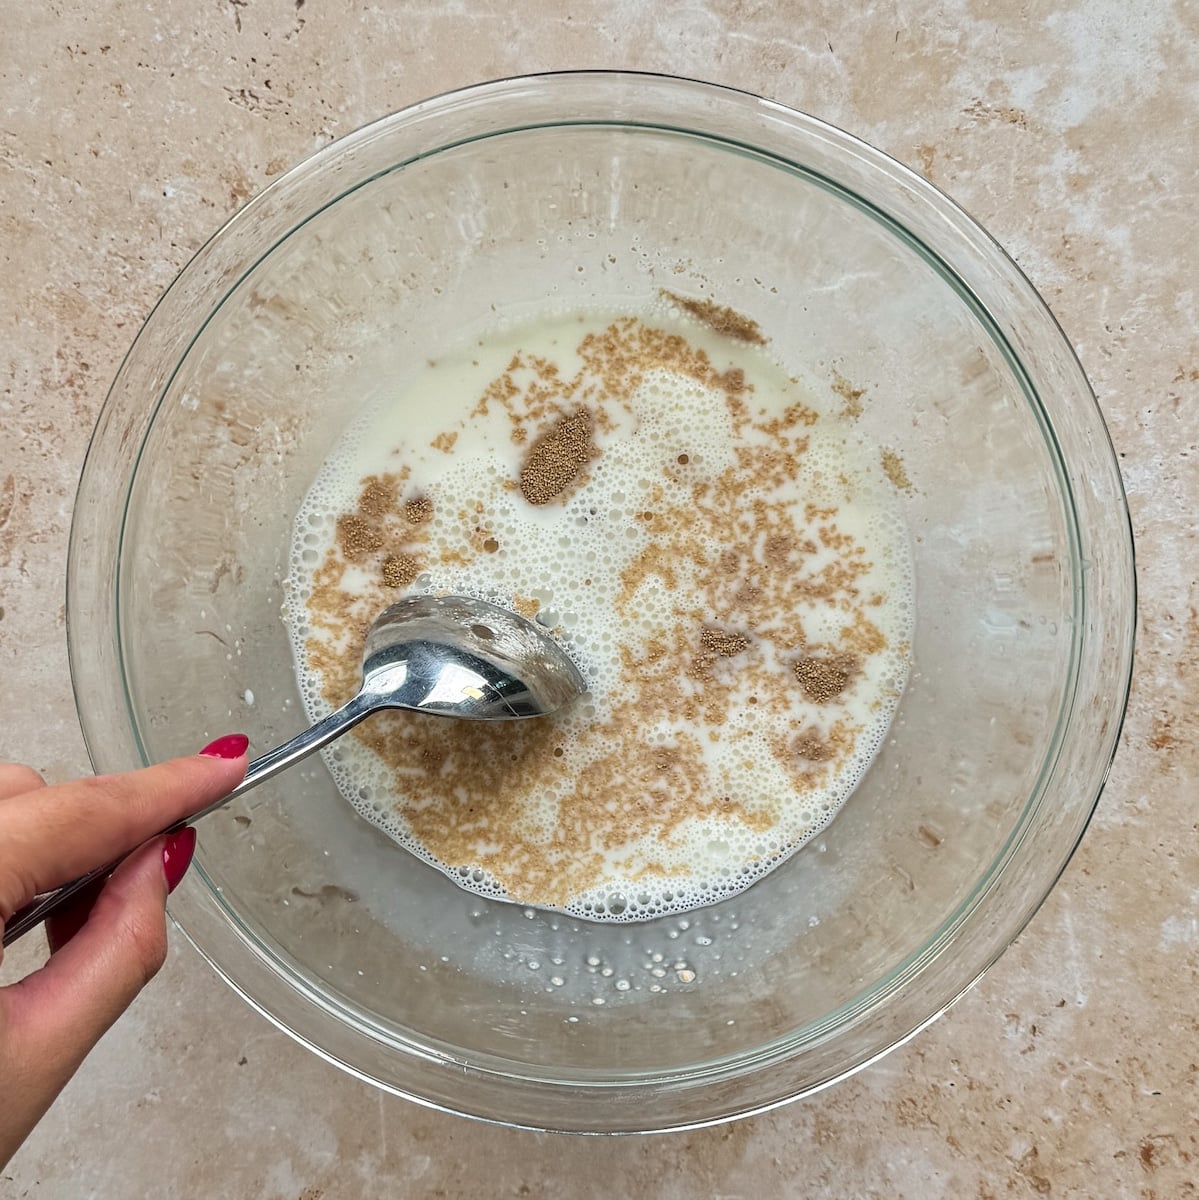
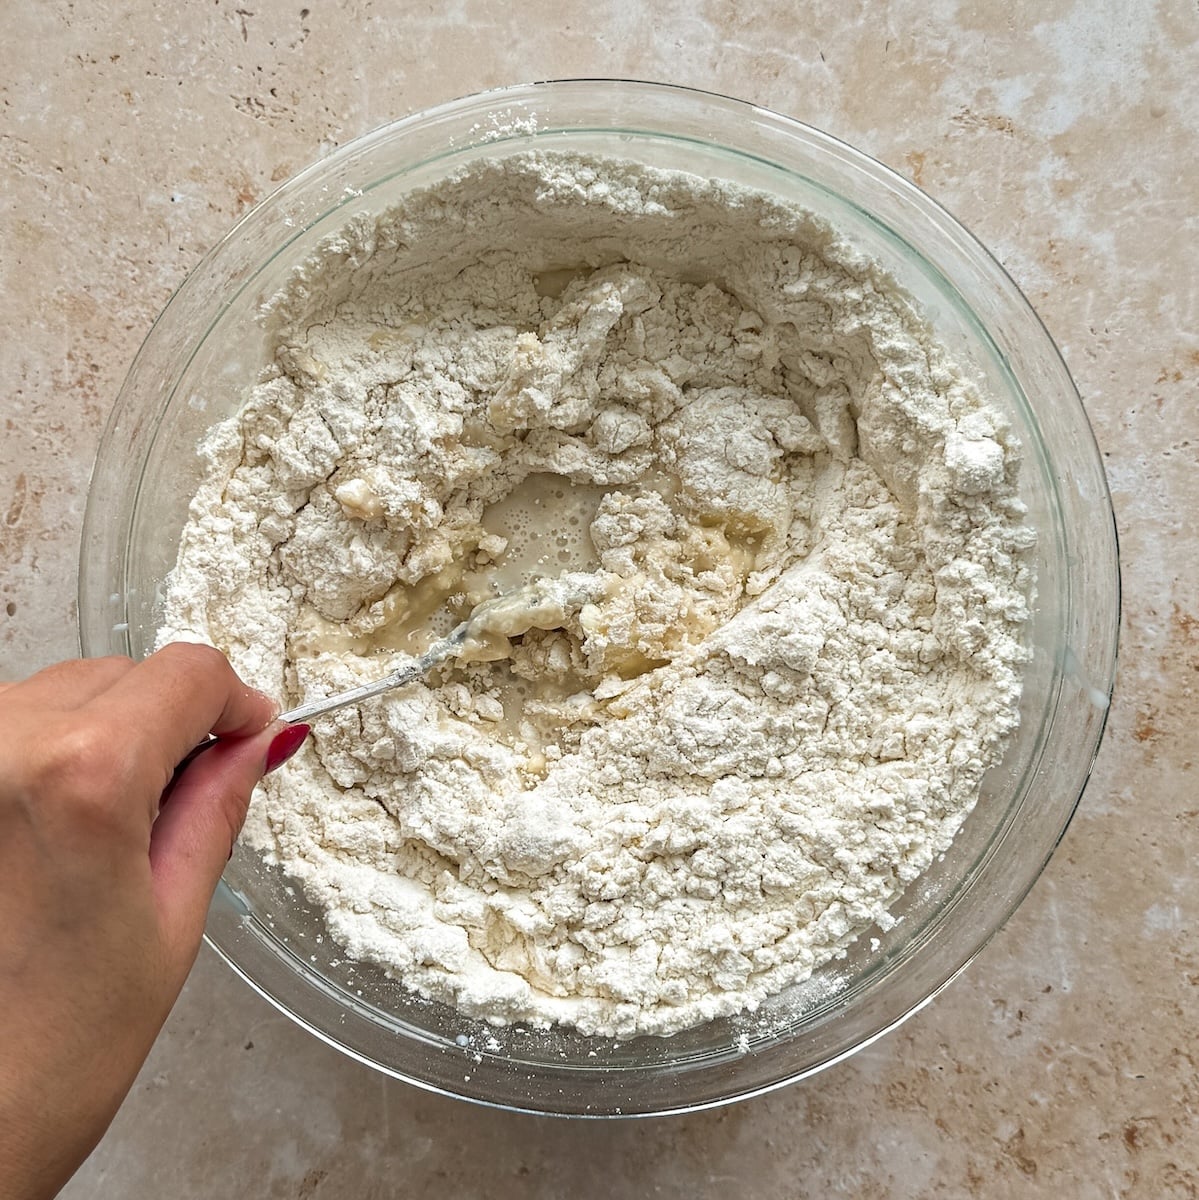
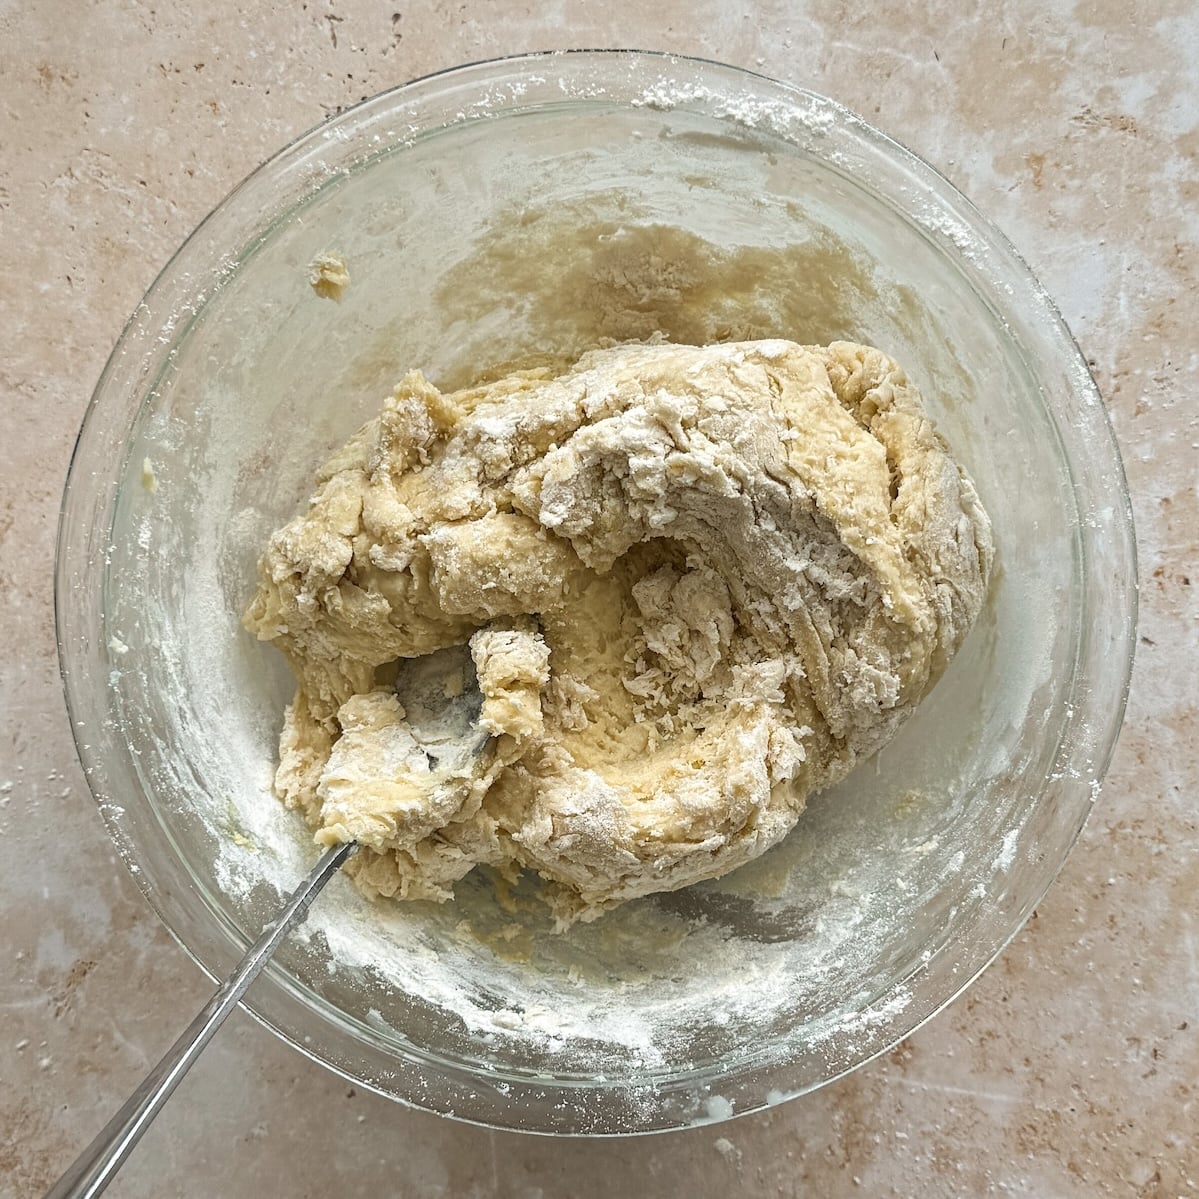


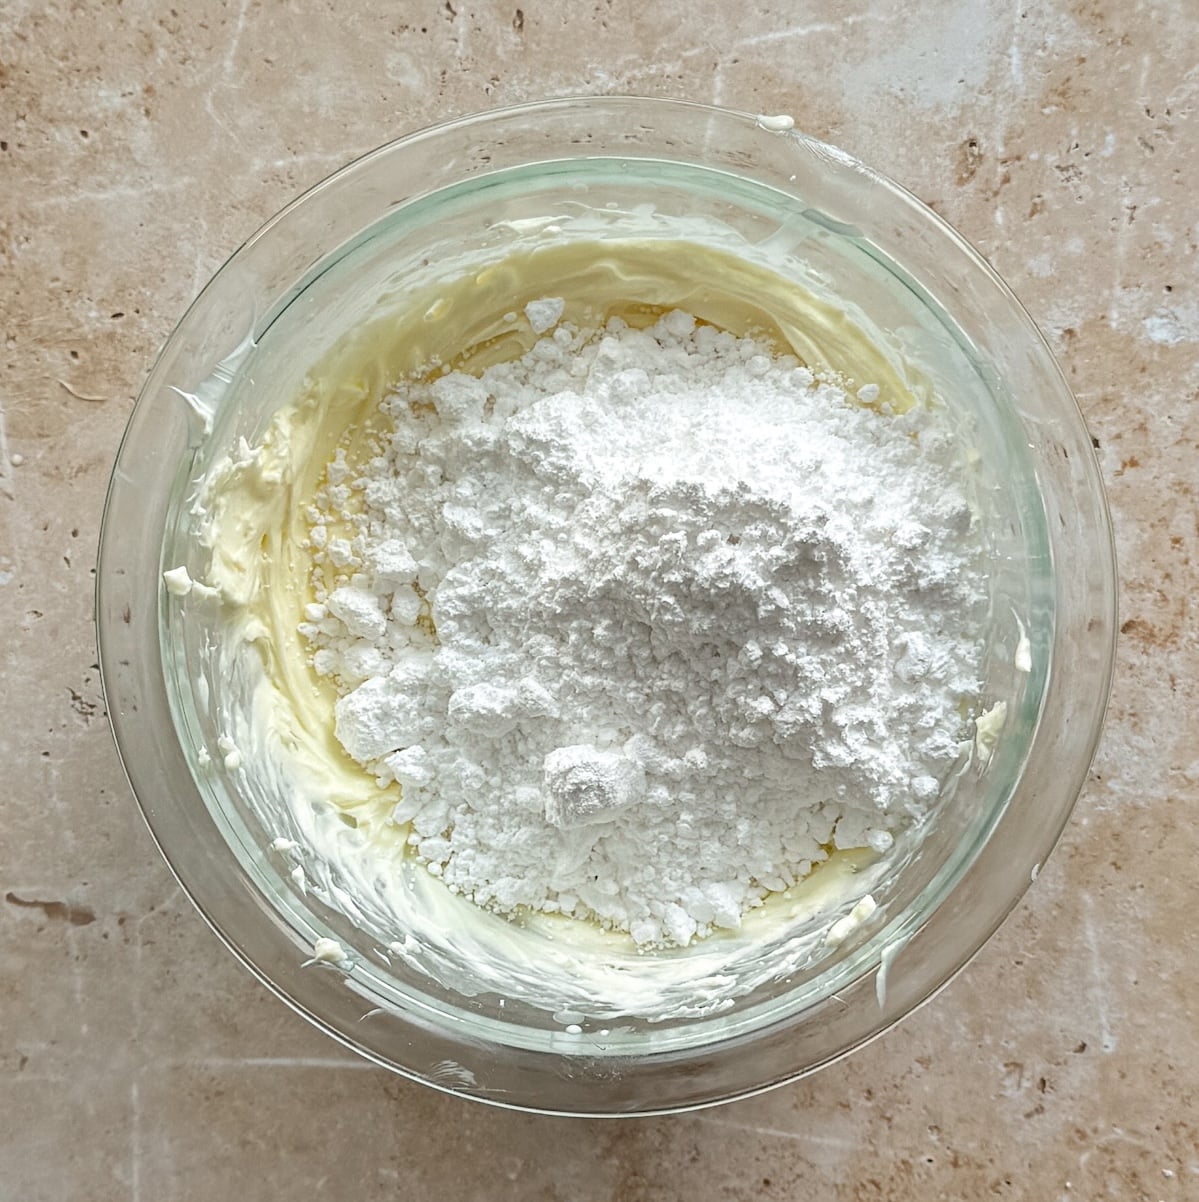
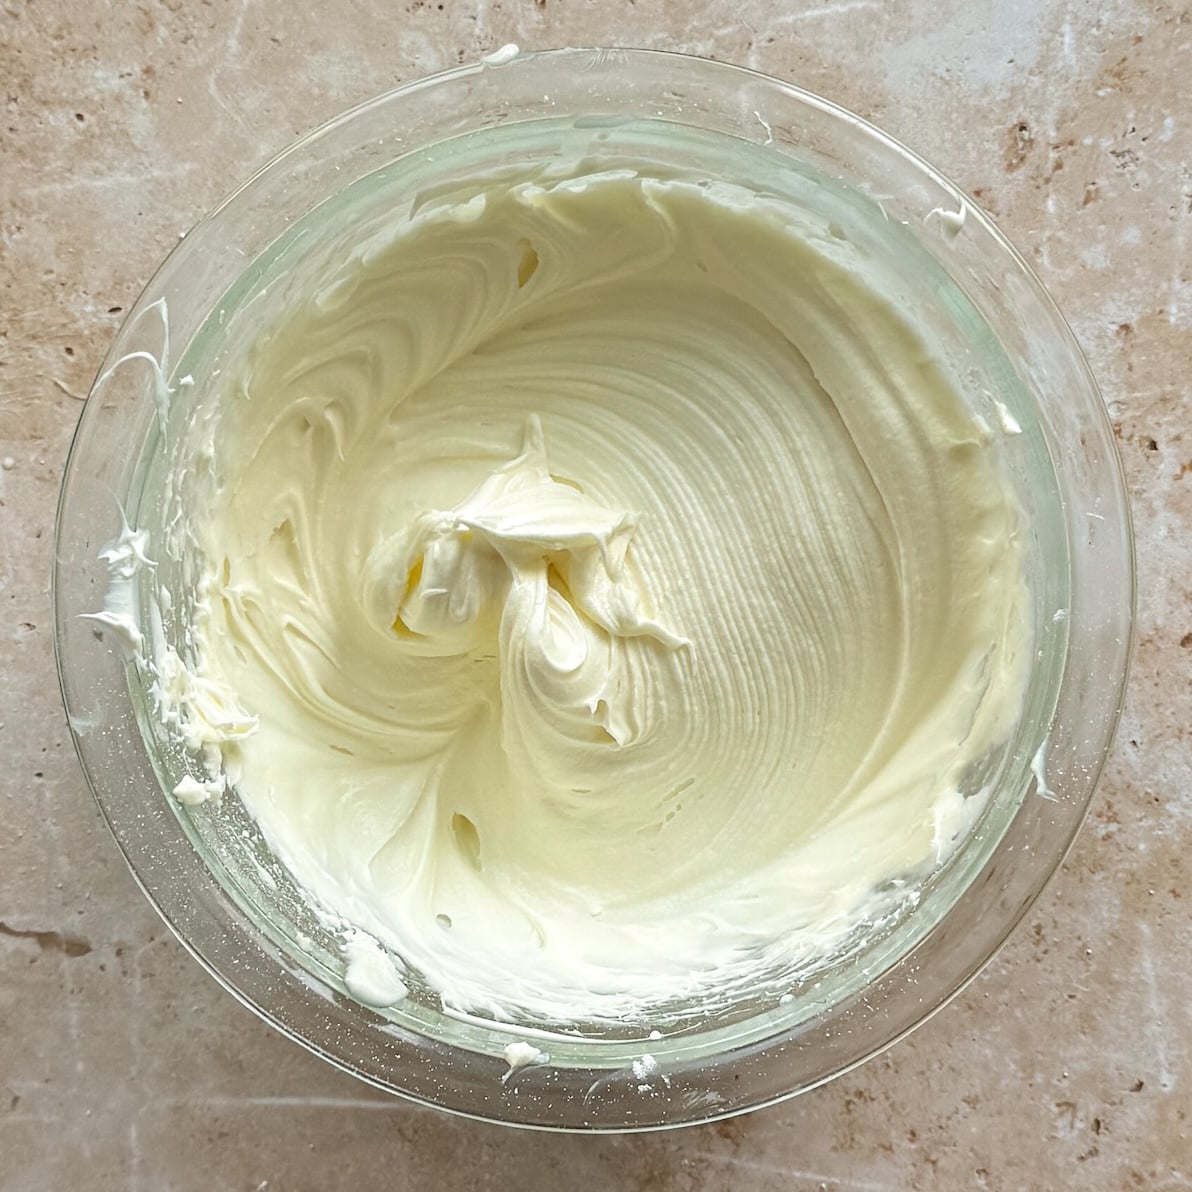
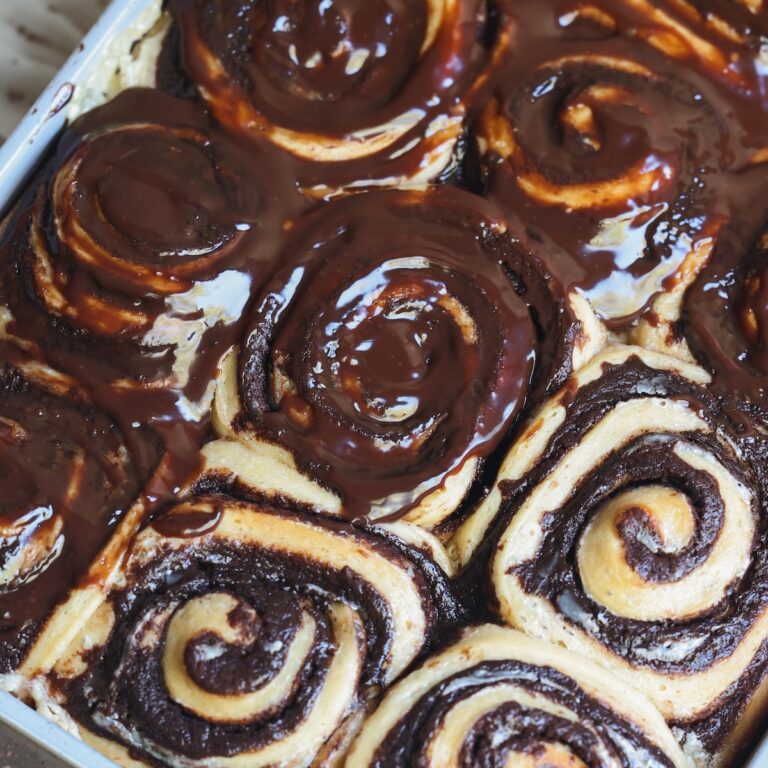
Once baked, wait 10 minutes then coat the rolls generously with the icing. Serve & enjoy! You can also elevate this recipe further by adding a pecan topping like my sticky pecan cinnamon buns, or make a chocolate variation like my decadent chocolate espresso rolls.
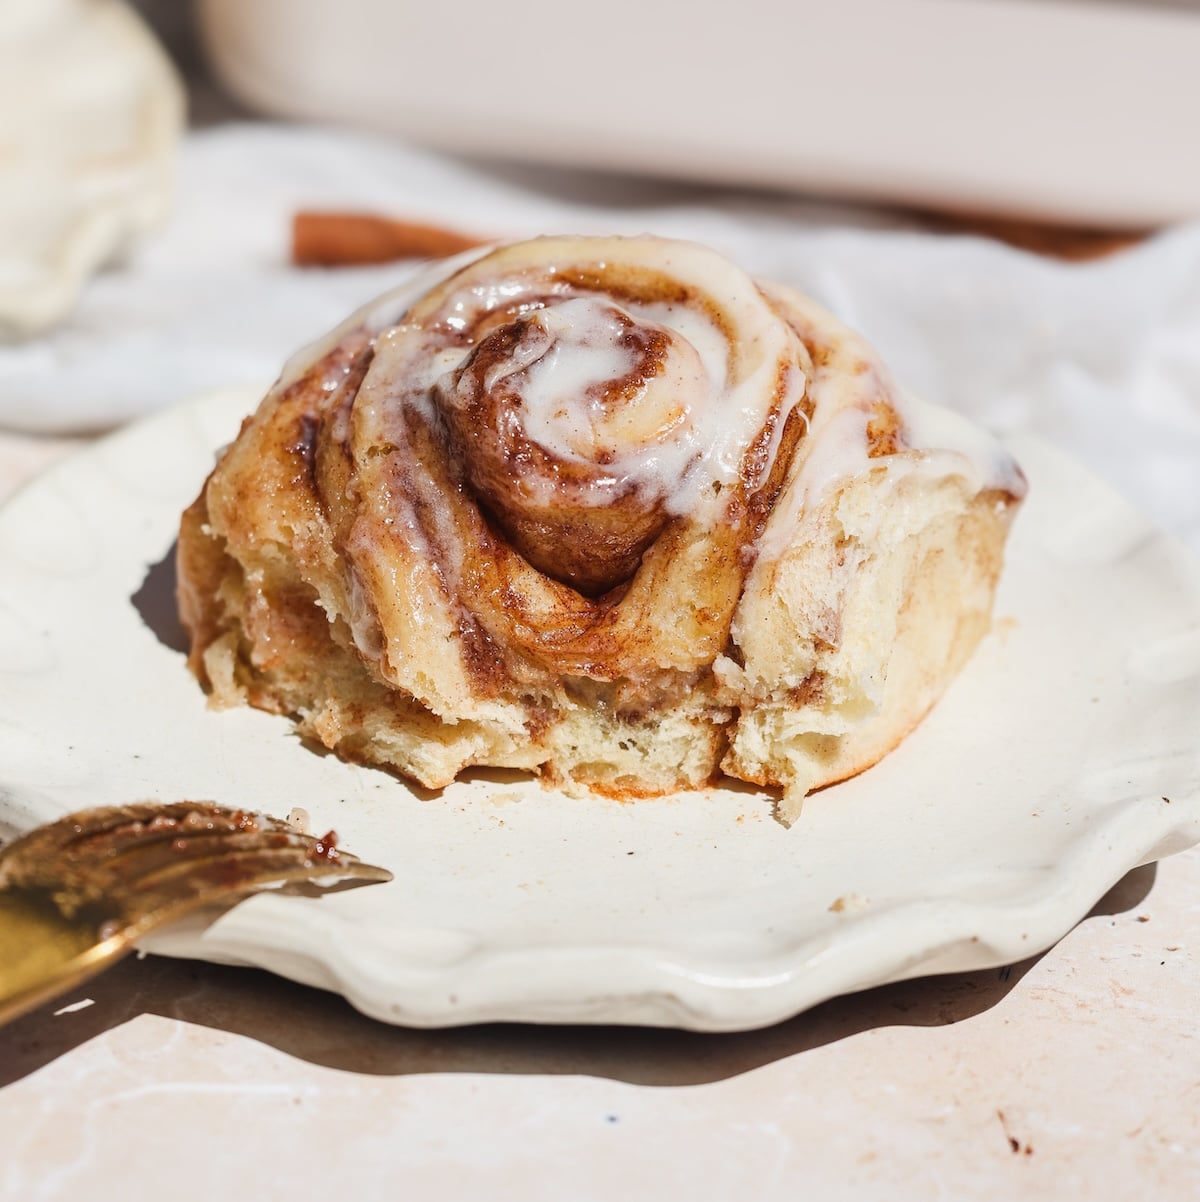
A few last tips before you make them
Here are some tips to get this recipe just right:
- Weigh out the ingredients with a scale instead of using measuring cups. It’s common to stuff too much flour into a measuring cup, which will make the rolls dry. If you must use a measuring cup, fluff up the flour and transfer it into the cup one spoon at a time, and don’t pack it tightly
- Make sure your yeast isn’t expired. Yeast expires quickly, especially if left open at room temperature
- Don’t make the milk too hot! If it goes over 110F, you risk killing the yeast right at the beginning. Go for lukewarm to touch
- Let the dough rise properly. Make sure the dough has proofed properly before shaping, and again after shaping before baking. Under-risen dough will result in dense or tough cinnamon rolls
- Be wary of room temperature. If it is colder, the dough will need longer to rise. If it is hot, it will rise quickly and the filling might leak out. A warm 75-80F temperature is ideal
- Don’t over-bake. A light golden color on the rolls is what you need, and the rolls should spring back when gently poked. Over-baking can cause them to dry out
Email This Recipe
Enter your email and I’ll send this directly to you. Plus you’ll get new recipes from me every week!
Ingredients
Dough:
- 1 1/3 cup whole milk (320g)
- 4 teaspoons active dry yeast (or instant yeast)
- 1/2 cup granulated sugar (100g)
- 5 cups all purpose flour (650g)
- 2 large eggs, room temperature
- 2 teaspoons salt
- 1/2 cup unsalted butter, room temperature (113g)
Filling:
- 1/2 cup unsalted butter, softened (113g)
- 1 cup light brown sugar, packed (200g)
- 2 tbsp cinnamon powder
- 3/4 tsp salt
Assembly & baking:
- 1/2 cup heavy cream (120g), room temp
Cream cheese icing:
- 4 oz cream cheese, room temperature (113g)
- 1/4 cup unsalted butter, room temperature (56g)
- 1/4 cup heavy cream (60g)
- 1 cup icing sugar (100g)
Instructions
Dough:
- Microwave milk for 20-30 seconds until it is warm to touch (~100-110F). Add it to a bowl with the yeast and whisk. If using active dry yeast, rest for 10 minutes or until the mixture looks foamy. If using instant yeast, proceed without waiting
- Kneading by hand: Add the rest of the dough ingredients (sugar, flour, eggs, salt, and room temperature butter) to the same bowl. Use a large wooden spoon to mix everything and bring it into a shaggy dough. Tip out onto a clean work surface, then use clean hands to knead the dough with a push-pull motion. The dough will be sticky to begin with, but don’t add more flour at this point. After 5 minutes, clean your hands to remove sticky dough bits from them. If the dough still feels too sticky, add just 1-2 tbsp flour and keep kneading. After about 15 minutes of kneading, the dough will become soft, smooth and very stretchy, and pass the window-pane test
- Kneading with a stand mixer: Transfer the milk and yeast to the bowl of your stand mixer (or use that bowl to begin with), and add the rest of the dough ingredients. Knead using the dough hook attachment on medium high speed for 7-10 minutes, until the dough becomes smooth, pulls away from the edges of the bowl, and is stretchy enough to pass the window-pane test
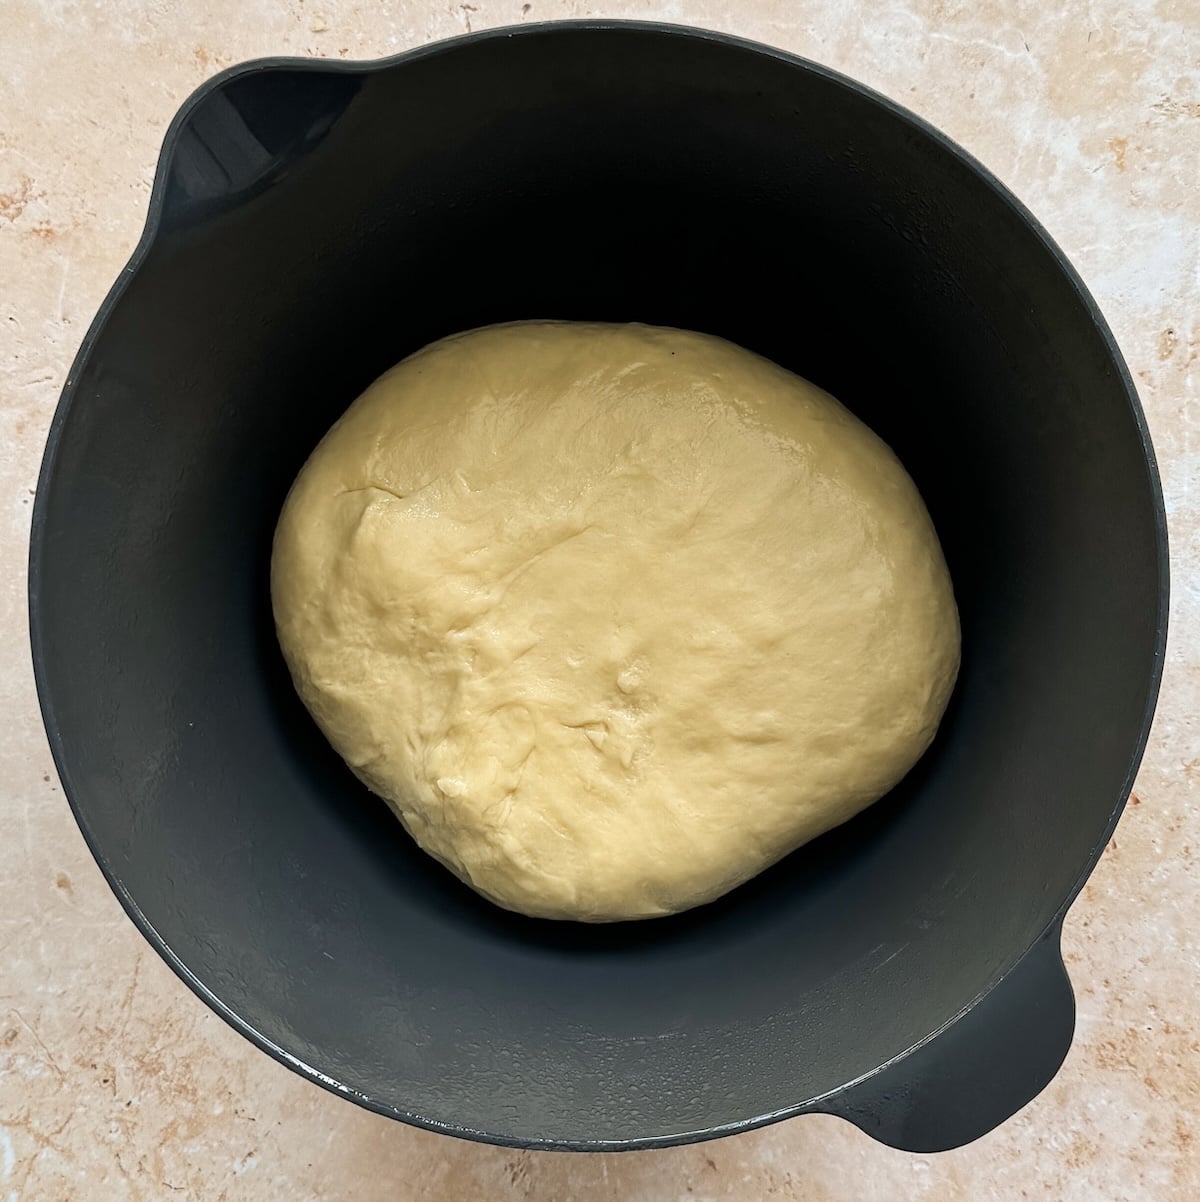
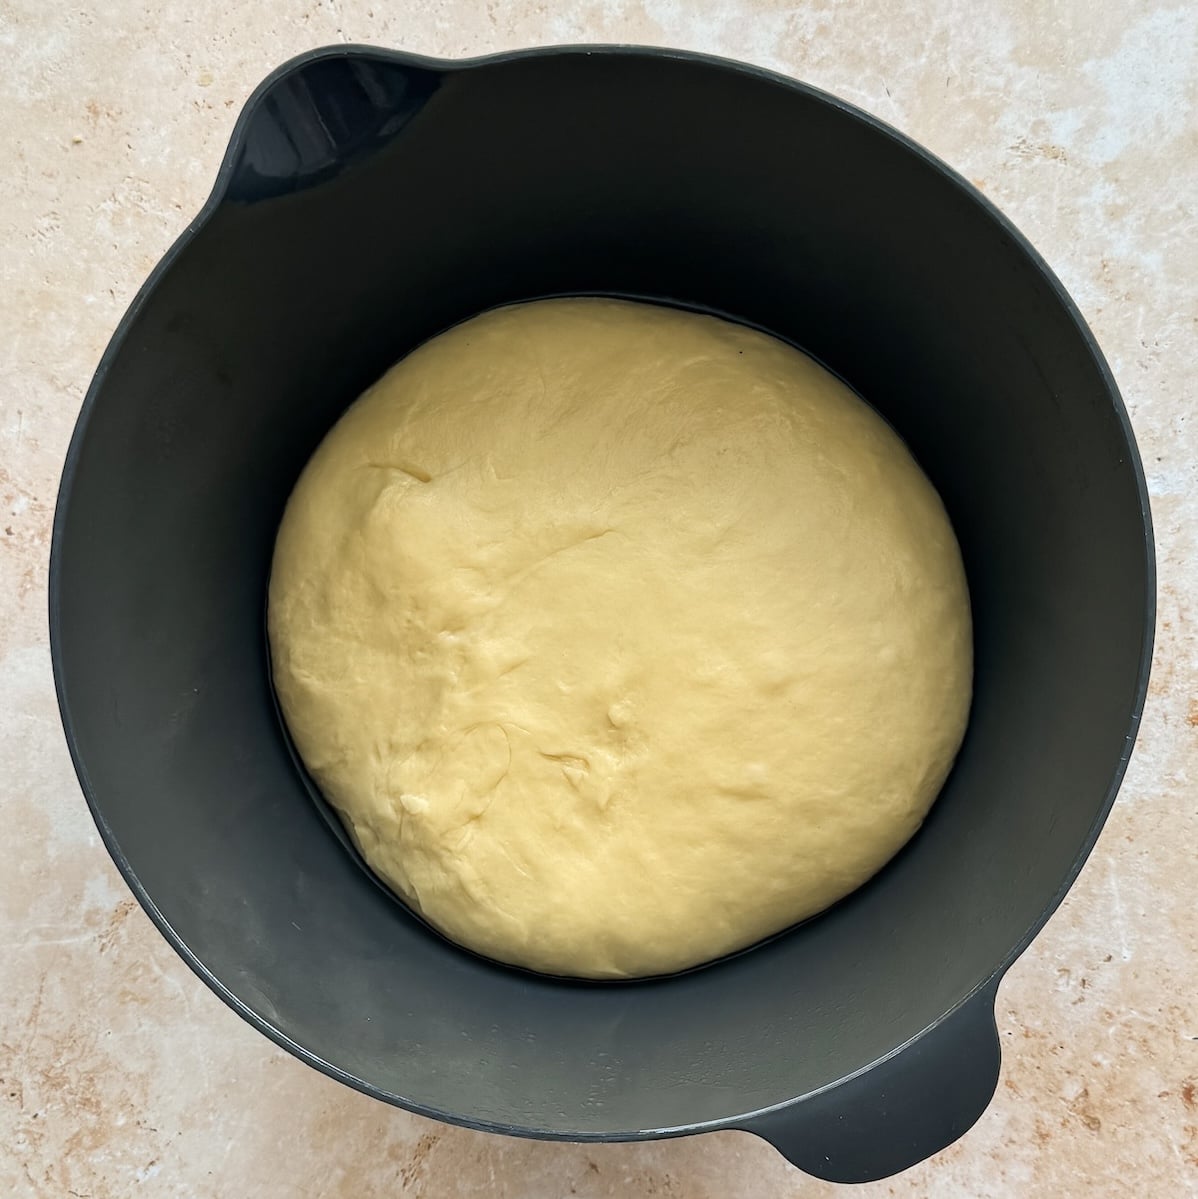
- Transfer the dough to a clean bowl sprayed with oil, cover with cling wrap and rest in a warm place (75-80F) for 60-90 minutes, or until the dough has at least doubled in size and springs back partly when gently poked with a finger
Filling:
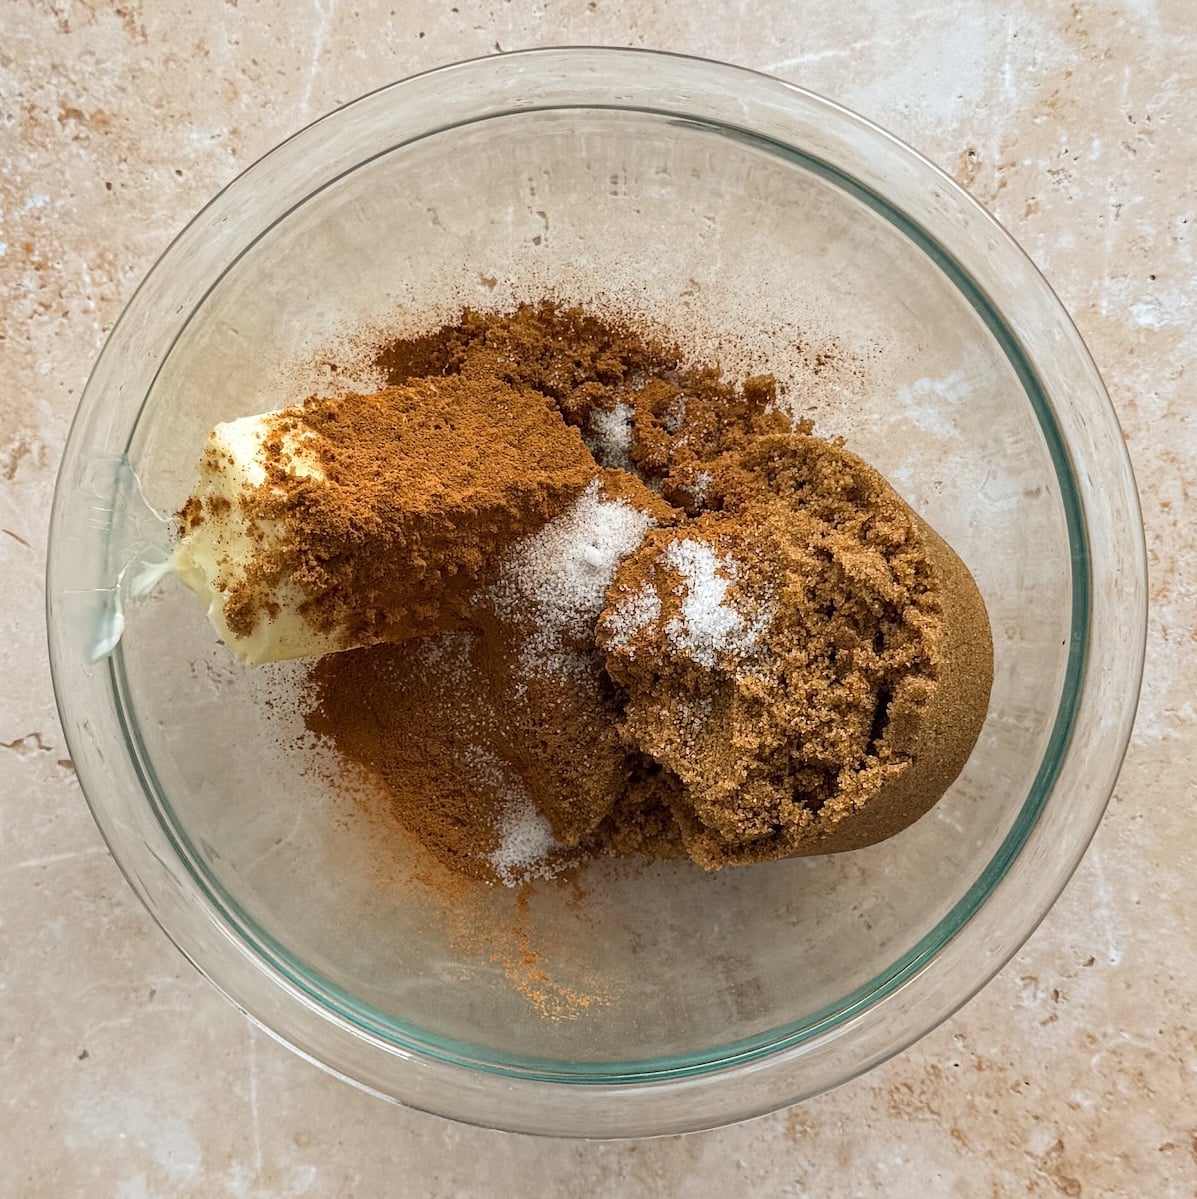
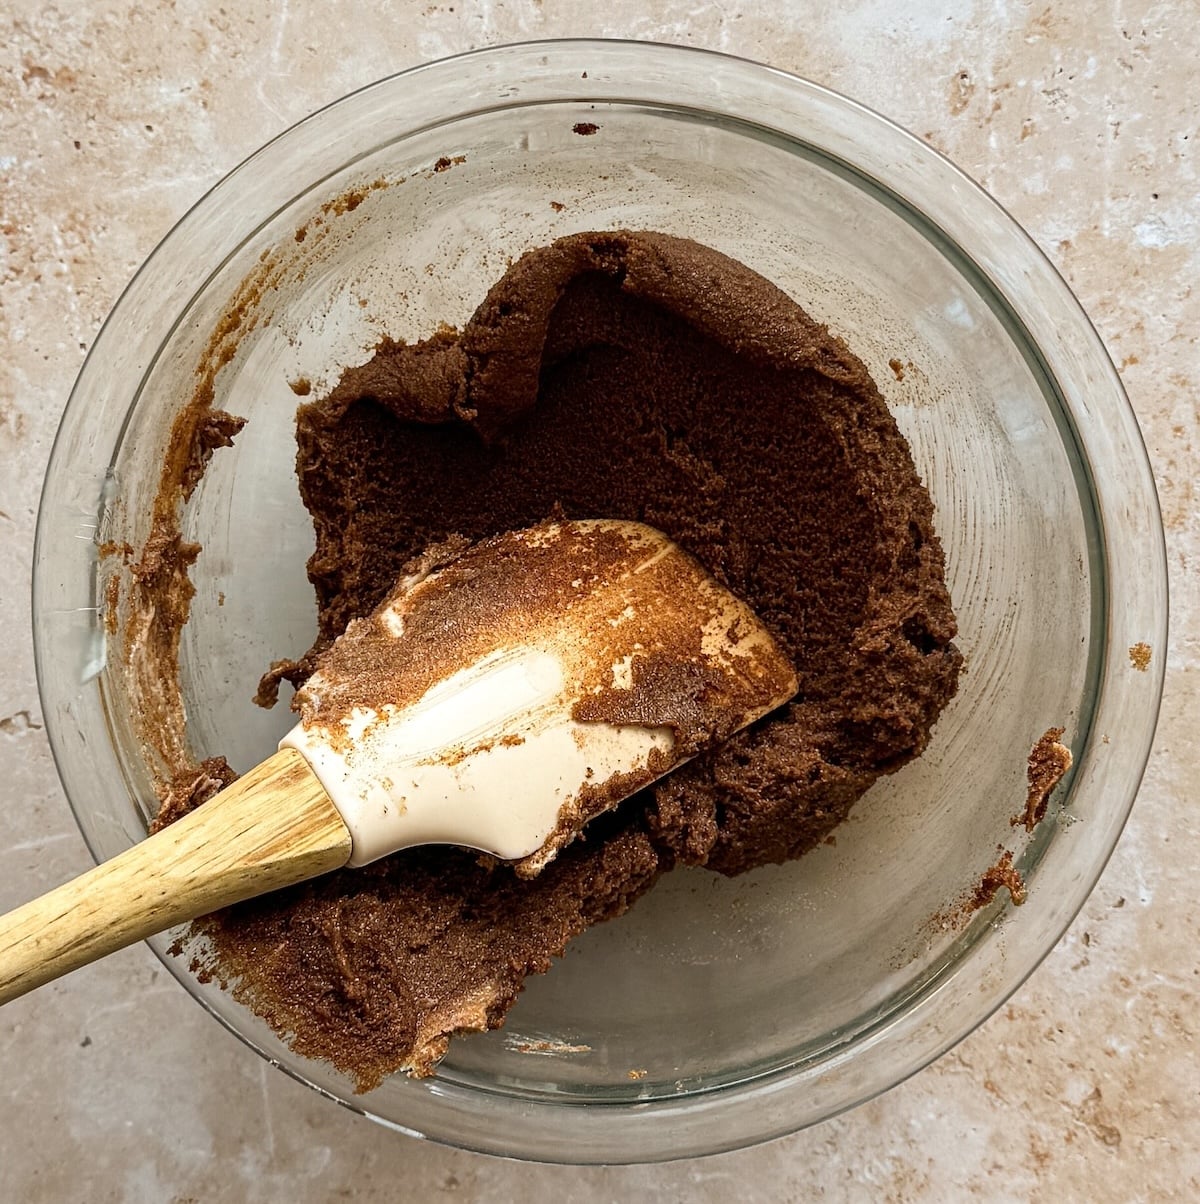
- While the dough is rising, prepare the filling by mixing softened butter with cinnamon, sugar and salt. If it feels hard to mix, microwave for a few seconds and mix again. It should be a soft, spreadable consistency
Assembly & baking:
- Line a 9×13″ baking pan with parchment paper
- Once the dough has risen, punch it down and transfer it to a clean surface dusted lightly with flour. Using your hands and a rolling pin, roll it into a 12×18″ rectangle as neatly and evenly as possible. The dough will be really soft so won’t need much pressure
- Use a spatula to spread the filling evenly across the rectangle
- With the 12″ side towards you, divide the dough into 12 strips (each strip will be 1″ wide and 18″ long). This is easiest done if you use a long acrylic ruler and a pizza cutter
- Roll each strip tightly into a cinnamon roll, and carefully transfer to the baking pan. You will arrange the rolls in a 4×3 formation
- Once all rolls are shaped, let them rest in a warm spot for another ~30 minutes until they look puffed up, and spring back partly when gently poked
- In the last 20 minutes of the second rise, preheat your oven to 350F (conventional / no fan)
- Right before putting the rolls in the oven, pour the 1/2 cup heavy cream over them carefully, dividing evenly between each roll. The cream will get soaked up as the rolls bake
- Transfer to the oven and bake for 23-25 minutes until the rolls develop a light golden color and feel firm to touch. If in doubt, I think it’s better to slightly underbake for a gooey texture, vs overbaking and having dry rolls!
- Remove from oven and let the rolls rest for 10 minutes
Cream cheese icing:
- Whisk together the cream cheese, butter, cream and icing sugar until creamy to make the cream cheese icing
- Spread generously onto warm rolls
- Serve & enjoy!
Video Tutorial
Notes
- Egg substitute: You can replace the 2 eggs with 1/2 cup (120g) of full fat yogurt in this recipe
- Make ahead and storage: Although these rolls are best eaten fresh, you can make these cinnamon rolls ahead of time, and keep them covered at room temperature for 1 day, or in the fridge for up to 3 days. Reheat in the microwave for ~30 seconds before serving so they’re warm and soft.
- Overnight rise: If you want to split the work between 2 days, you can do the first rise in the fridge overnight. Then shape the rolls the next day, and give the rolls their second rise at room temperature for about 1 hour before baking (longer because the dough will be cold to start with)
- Scaling down the recipe: If you want to make a small batch of cinnamon rolls, you can divide all quantities by 2 and make 6 cinnamon rolls in an eighth sheet pan (~10″x7″)

Comments
shazia
best recipe ive come across!!!
Chand
Love this recipe and you are doing an excellent work each step with complete details. 💖
Zoha Malik
THANK YOU!
Adeela
This is an amazing recipe. Thank you.
Zoha Malik
Thank YOU!
Yvonne Alexander
Hi Zoha
Can you substitute evaporated milk for heavy cream
Zoha Malik
Hmm I haven’t tested that! I’d say don’t risk it
Sara
Hello loved the recipe!! But can i spreas the dough into a 60 cms by 37 cms and make 14 rolls?
Zoha Malik
Hi Sara! Cinnamon rolls are flexible so it should be ok . Baking time will be slightly different depending on the thickness
Sidra Minhas
Hi Zoha,
I tried your cinnamon roll recipe, and they turned out amazing. Thank you for sharing such amazing recipes.
I have one question, though. Should I halve the ingredients if I want to make a smaller batch?
Zoha Malik
I’m so glad you liked them! And yes, you can do that and make 6 cinnamon rolls instead. You could use a 9″ round pan to bake them.
Zomah
Your recipe is amazing
I have tried many recipes
But when I tried this one it turned out so soft, and yummmm😋
everyone in my family loved it 😍
Zoha Malik
So glad you feel that way! Thank you for trying it
Fariah
Perfect Cinnamon Rolls in my opinion! The only thing is I prefer a stronger cinnamon taste, but that could be my own fault because my cinnamon had been in the cabinet for quite a while. The recipe is a 10/10 though.
Zoha Malik
YAYYYY thank you SO much
Kulsum
Hello, if using salted butter, how much salt would we need in the recipe?
Zoha Malik
I’d still add at least 1/2 tsp!
Douglas Putnam
Just wonderful. I really enjoy your bakewithzoha.com site. You really connect with people. Trying several of your recipes. They are all great. Thank you.
Zoha Malik
Thank you so much, Douglas!
Anjali Chauhan
Hey Zoha, just wanted to let you know that I tried this recipe and it was my first time making them and the cinnamon rolls turned out super soft. I loved them. Thank you for sharing this amazing recipe.
Zoha Malik
You made my day – thank youuuu
Janki
Loved this recipe, thank you! It turned out absolutely amazing! It was the perfect combination of soft and chewy, although my outer ring had some crunchiness because I let it bake longer, which was actually nice though. My husband also gave it 5 stars. The cream right before putting them in the oven is a must! I searched for many recipes and landed on this one as the best (I’ve also been following Zoha on Instagram and she’s amazing, so I trusted this recipe by her would be nothing short of wonderful- go follow her if you are not!). I made them smaller so it actually made a lot of rolls. Cutting them with the pizza cutter was a great trick. My only questions are- how long will any leftover risen dough (without filling) stay well in the fridge for? Can I repurpose the dough for another baked good or recipe?
Zoha Malik
You made my day. Thank you for the kind review! So happy you like these cinnamon rolls. I don’t recommend keeping dough in the fridge because it can over-proof. You can use it for so many recipes! For example see the garlic knots on my website 🙂
Ambreen Mamoon
Love this recipe .its very easy to make.
Tea
Not sure you’d know the answer to this but if i wanted to swap the yeast with sourdough starter, do you think it would work? What ratio would you recommend for the swap?
I am excited to taste my first attempt at this recipe tomorrow as I have prepped everything but will bake tmr.
Zoha Malik
Hi Tea! I’m so sorry but I’m not experienced with sourdough starter. It would also add some liquid
Frankie
I have made these 3 times in about a month. My husband LOVES them so much he ate the first batch all by himself! Now he shares when I make them. These are absolutely perfect cinnamon rolls and so easy to make. We love that these aren’t overly sweet. They come out huge and fluffy! I will be making these often!
Zoha Malik
You made my day! Thank you so so much!
Fareen Sherazi
These are hands down the BEST cinnamon rolls I’ve ever tried! 😍 My first time baking them, and the recipe was absolutely perfect. Thank you, Zoha, for your amazing recipes! Whenever I crave something sweet, your website is my go to, and it never disappoints. ❤️
Zoha Malik
AWW thank you!! Made my day!
Christine Logan
Hi
I thought I had heavy cream in the fridge but am out. I already have them ready to go. If I bake with out the cream will they be super dry?
Aaminah Asmall
Hii! I’d like to find out if you tried this recipe without heavy cream and how it came out?
Zoha Malik
They will be fine without heavy cream too! Just slightly less soft but still great.
Zoha Malik
They should still be good! Try reducing the baking time by 1-2 minutes
Bonita Blakeman
I made these rolls yesterday and they were amazing! Thank u for the instructions. Very easy to follow. 😅
Joyce Franklin
Why can’t we open the video tutorials
Zoha Malik
Hi Joyce! it might be because of ad blockers if you have them on.
Laiba
I tried your cinnamon roll recipe and they turned out amazing. So soft and delicious!