

This post may contain affiliate links
Add Bake with Zoha as a preferred source on Google and find more of my tried-and-tested recipes.
If you’ve been on the hunt for the Best burnt Basque Cheesecake recipe, you have come to the right place! This cheesecake is easy to make with only 5 key ingredients, and is deliciously creamy with a beautiful caramelized crust. Yum!
WHAT IS BASQUE CHEESECAKE?
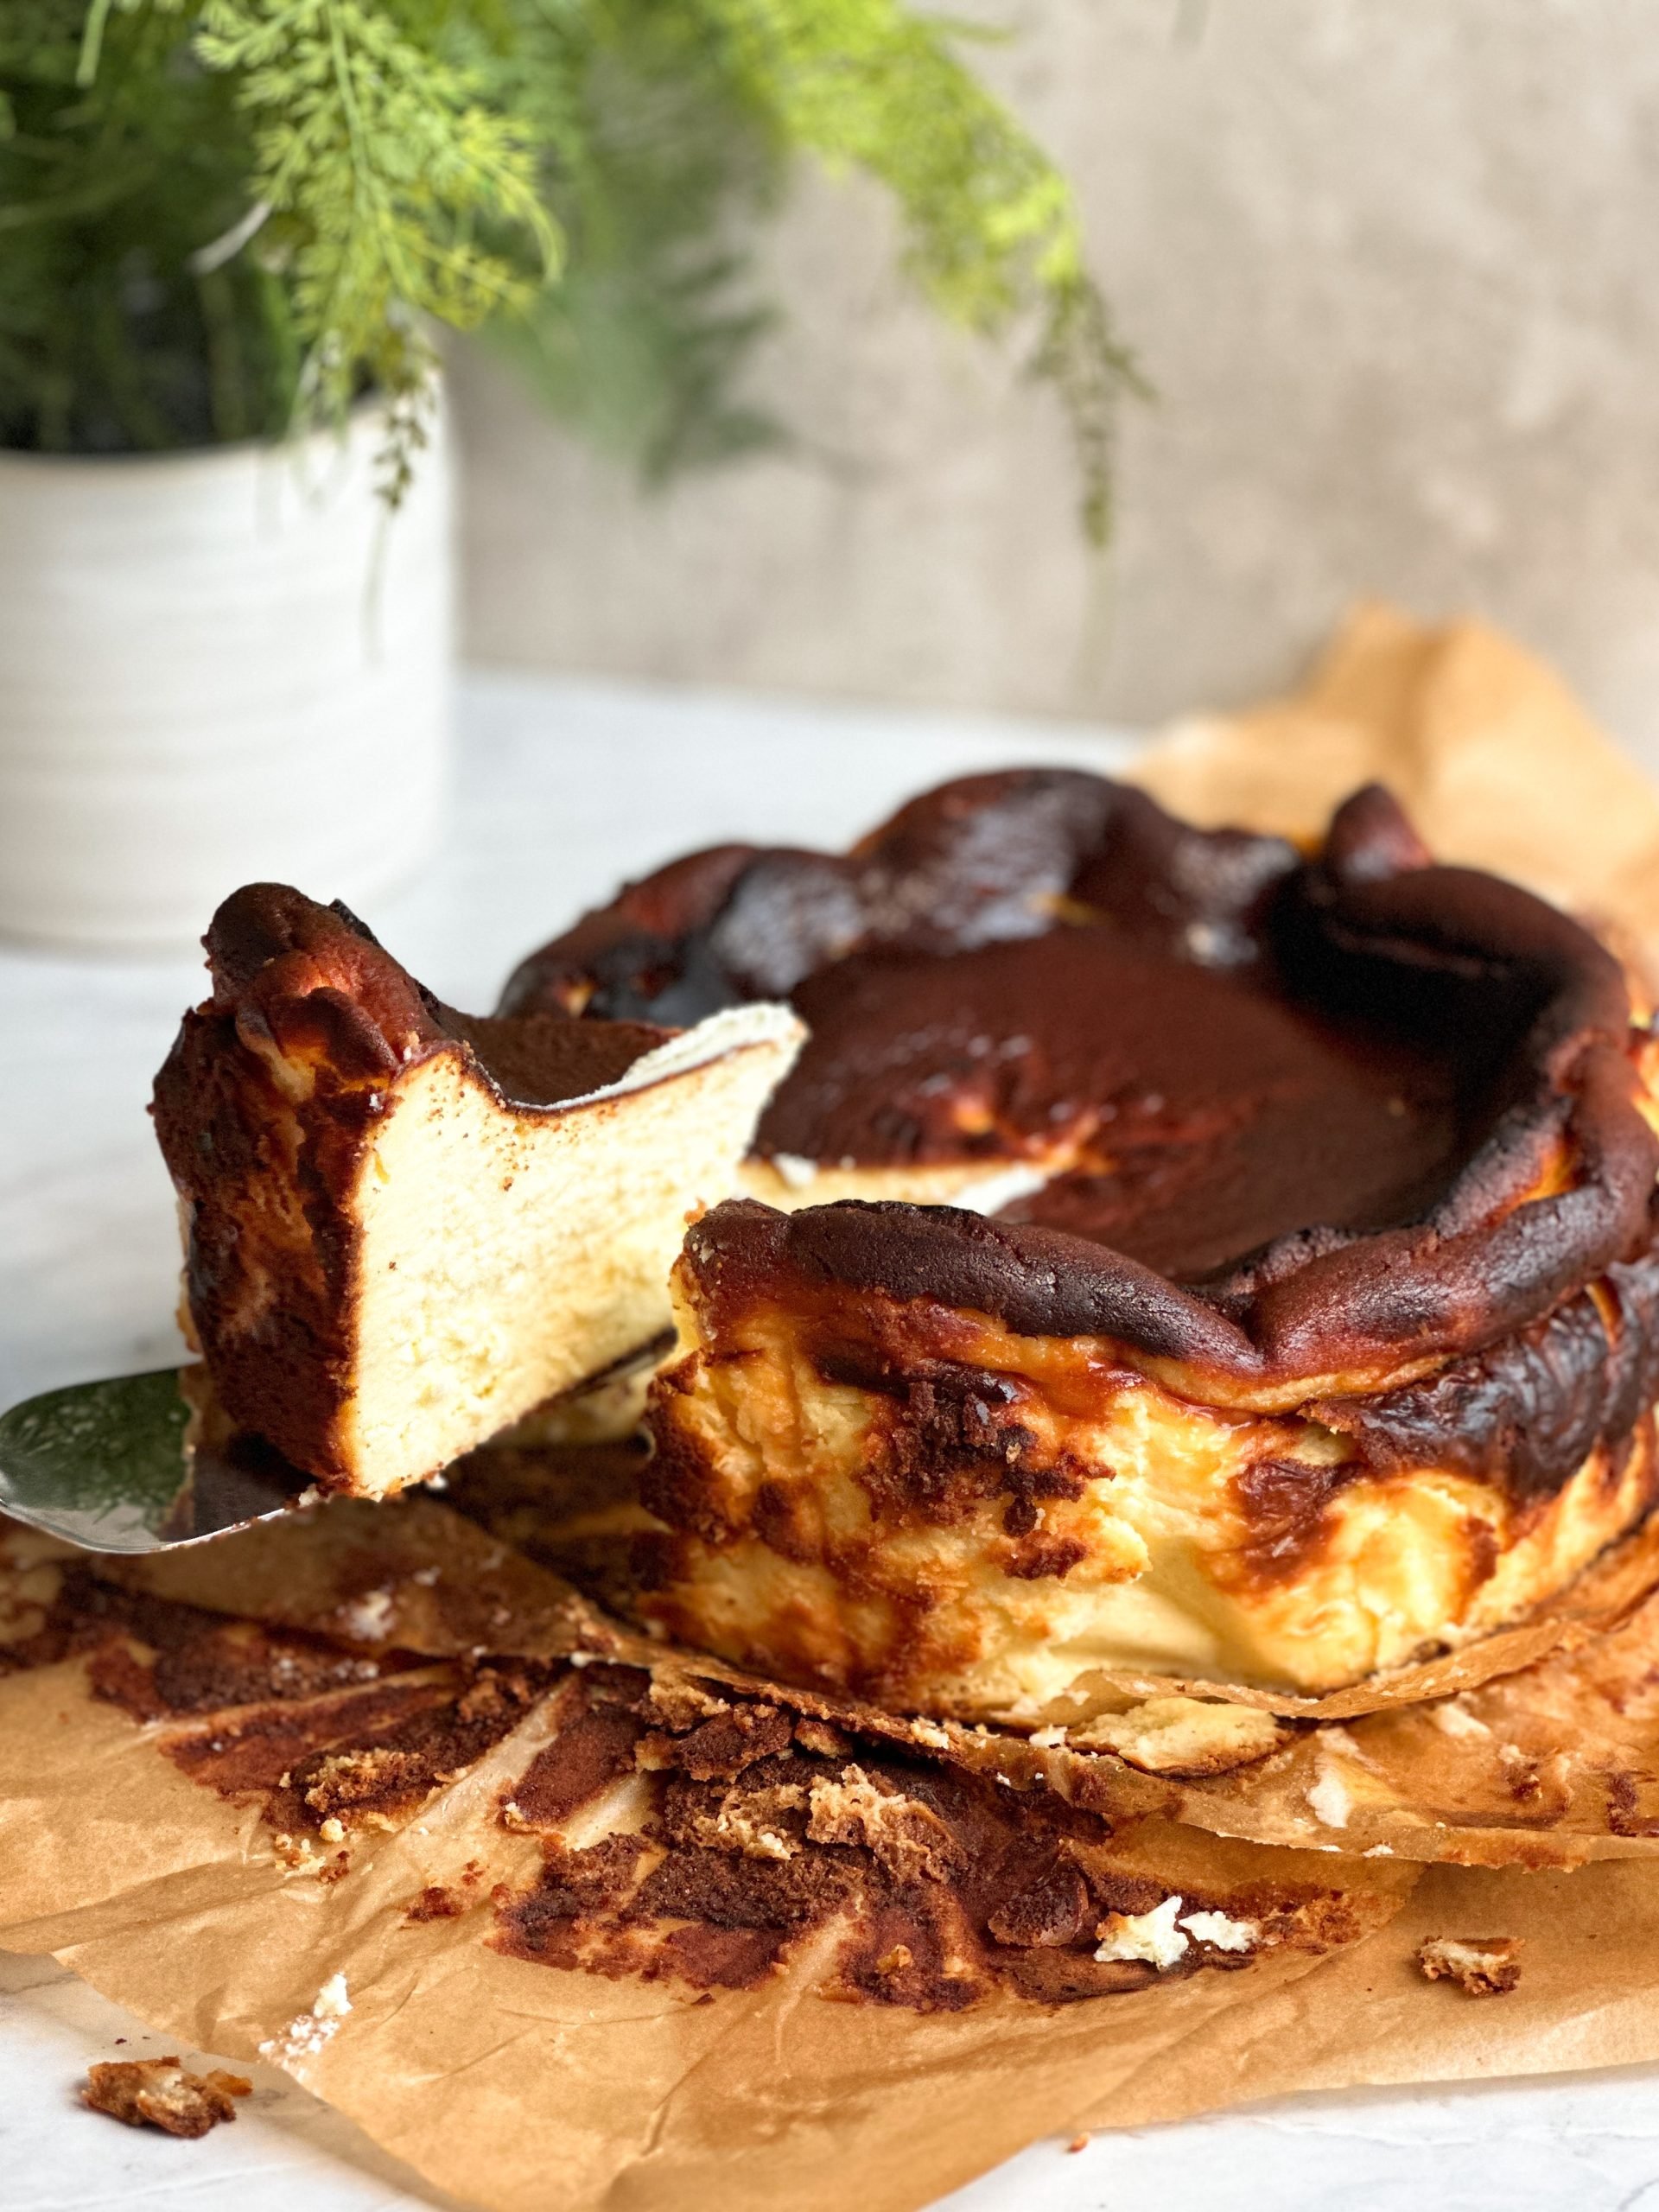
Basque cheesecake is a dessert that originated in the Basque region of Spain. Unlike traditional cheesecake, which is baked low and slow to AVOID forming a crust on top, Basque cheesecake has an INTENTIONAL burnt, caramelized exterior and a creamy, custard-like interior. The burnt crust replaces the biscuit crust in a traditional cheesecake, and gives the Basque cheesecake a slightly bitter taste, which balances the sweetness of the creamy filling.
THE VIRAL BASQUE CHEESECAKE FROM TURKEY
Basque cheesecake became a social media sensation a few years ago, and sounded so good that I immediately went to my kitchen when I saw it. However, I really didn’t like the outcome: it just tasted eggy. A few years later, I gave it another shot. Again – no. It was still just eggy and I much preferred my delicious classic cheesecake.
However, it all changed when I was visiting Istanbul in the fall of 2022. I was staying near Galata Tower, and stumbled upon a cafe which had a whole window display of Basque cheesecakes. Intrigued, I decided to give it a shot.
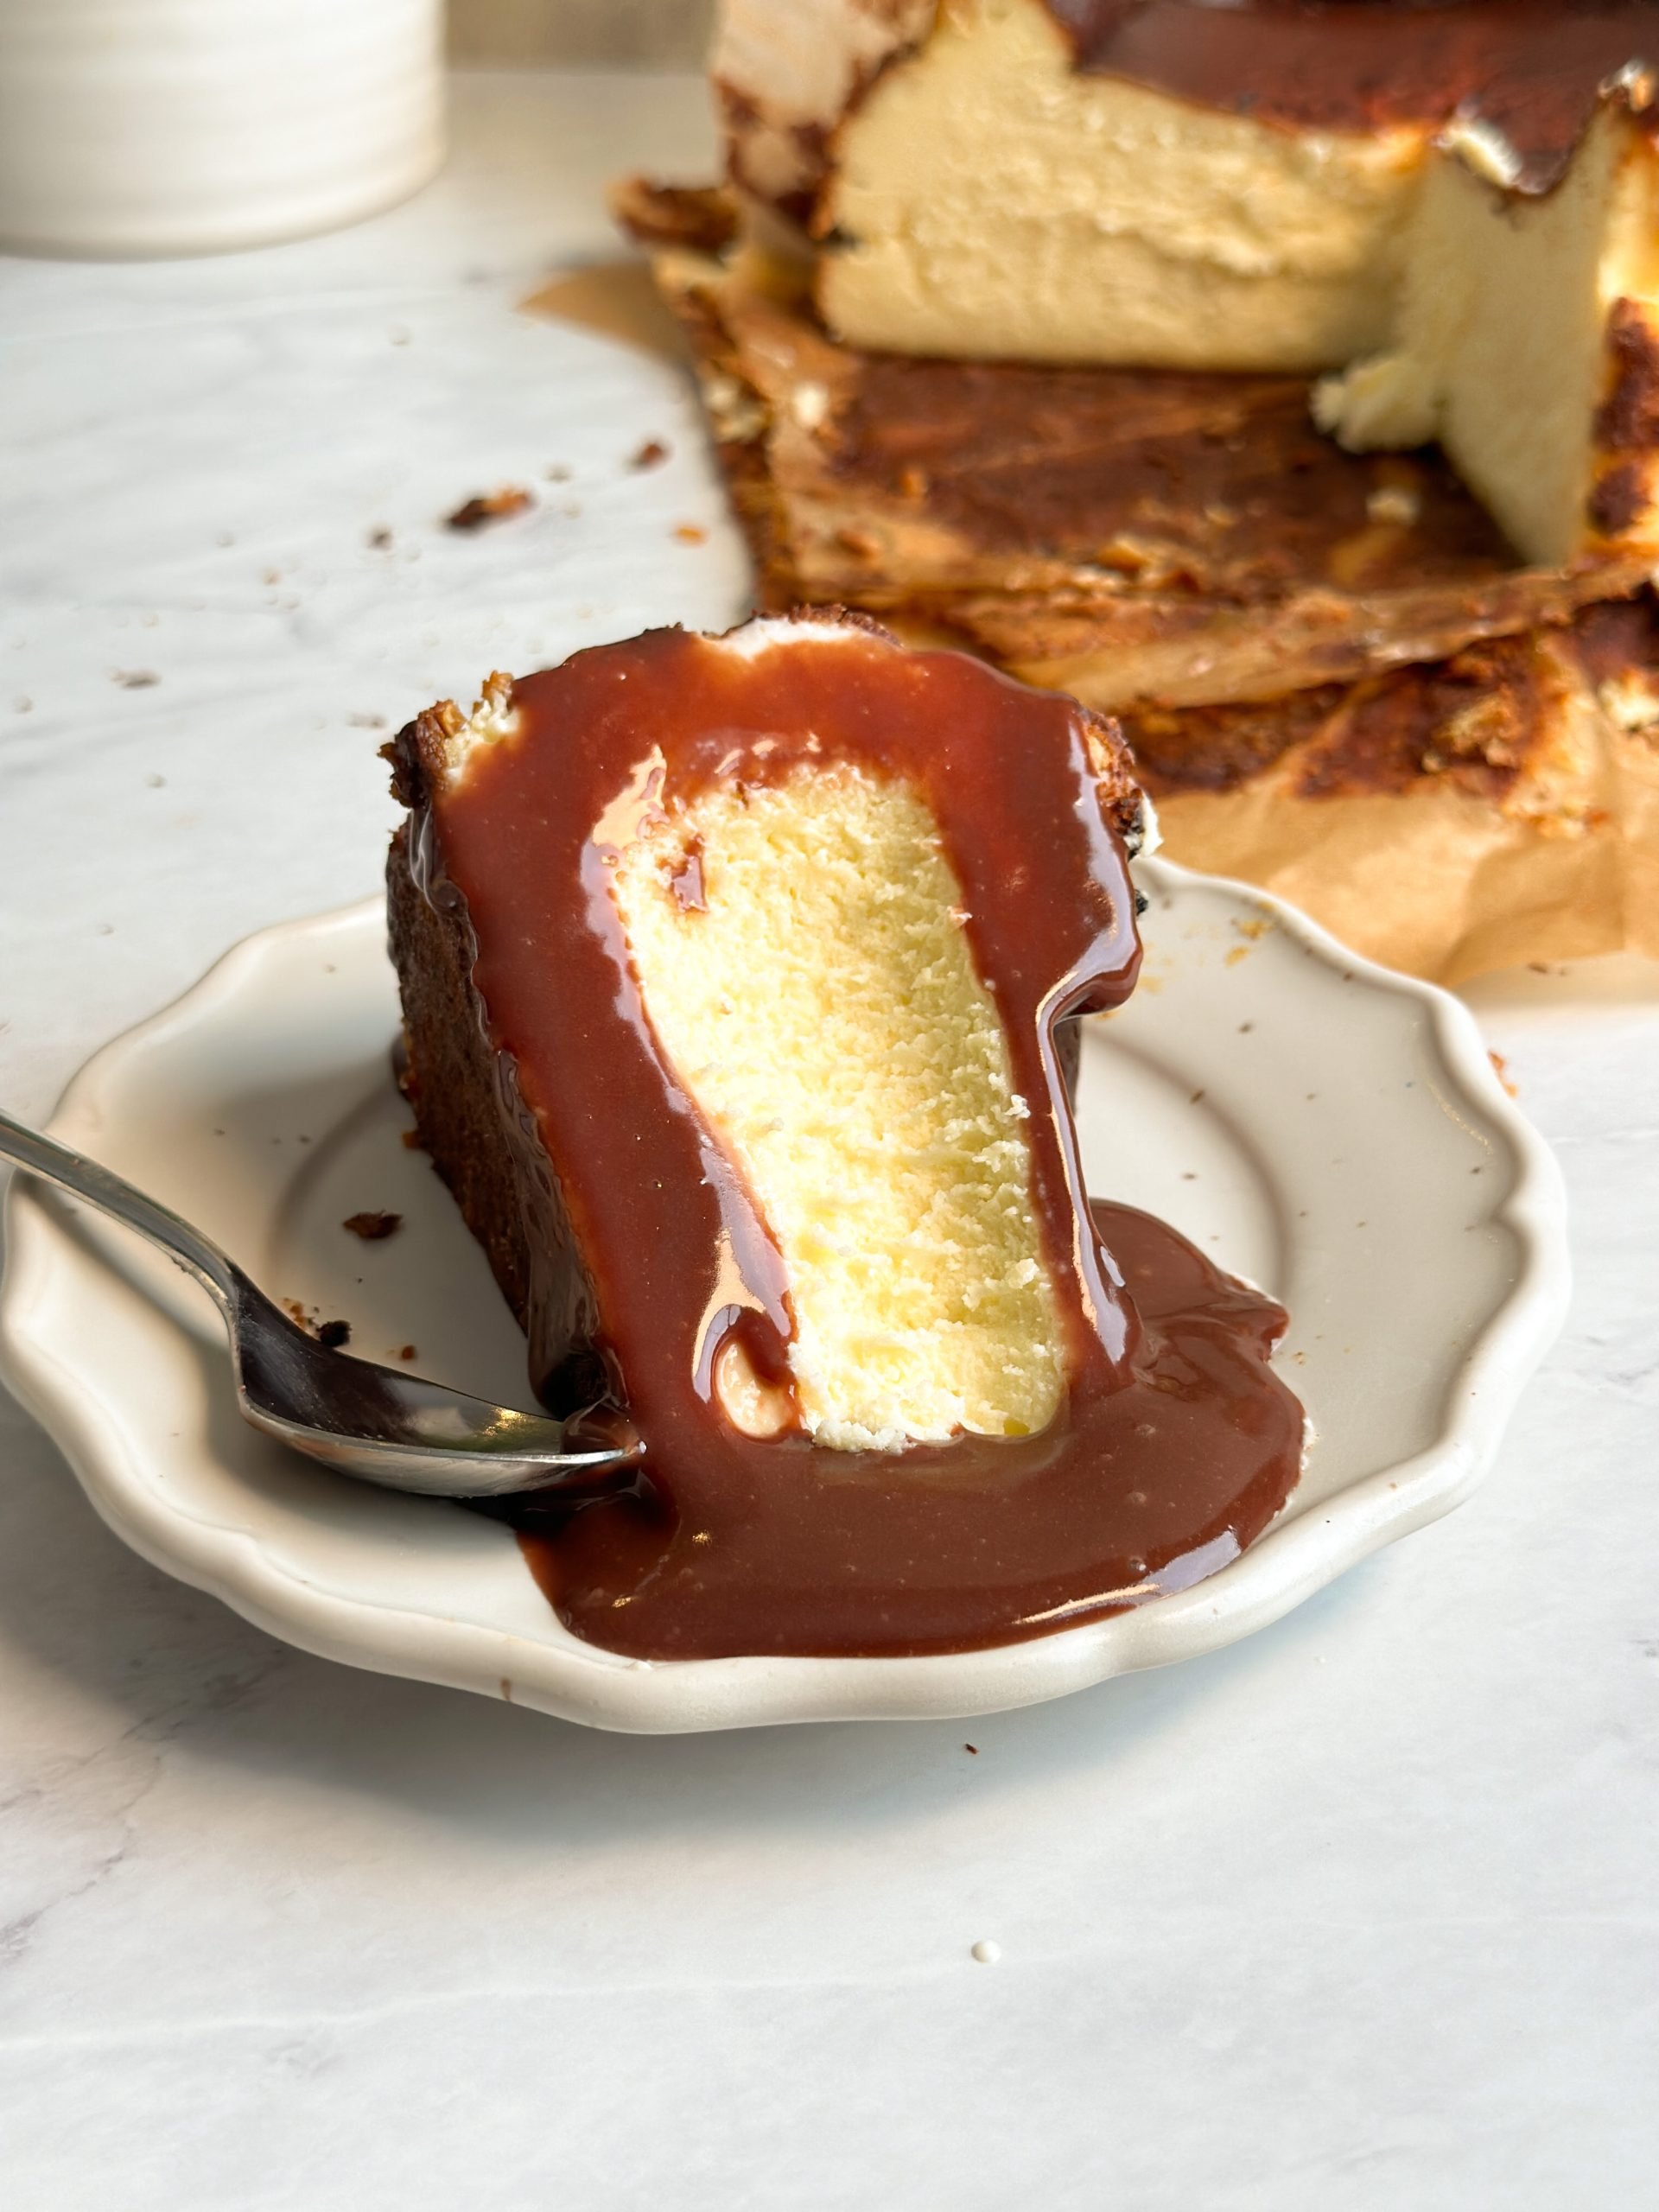
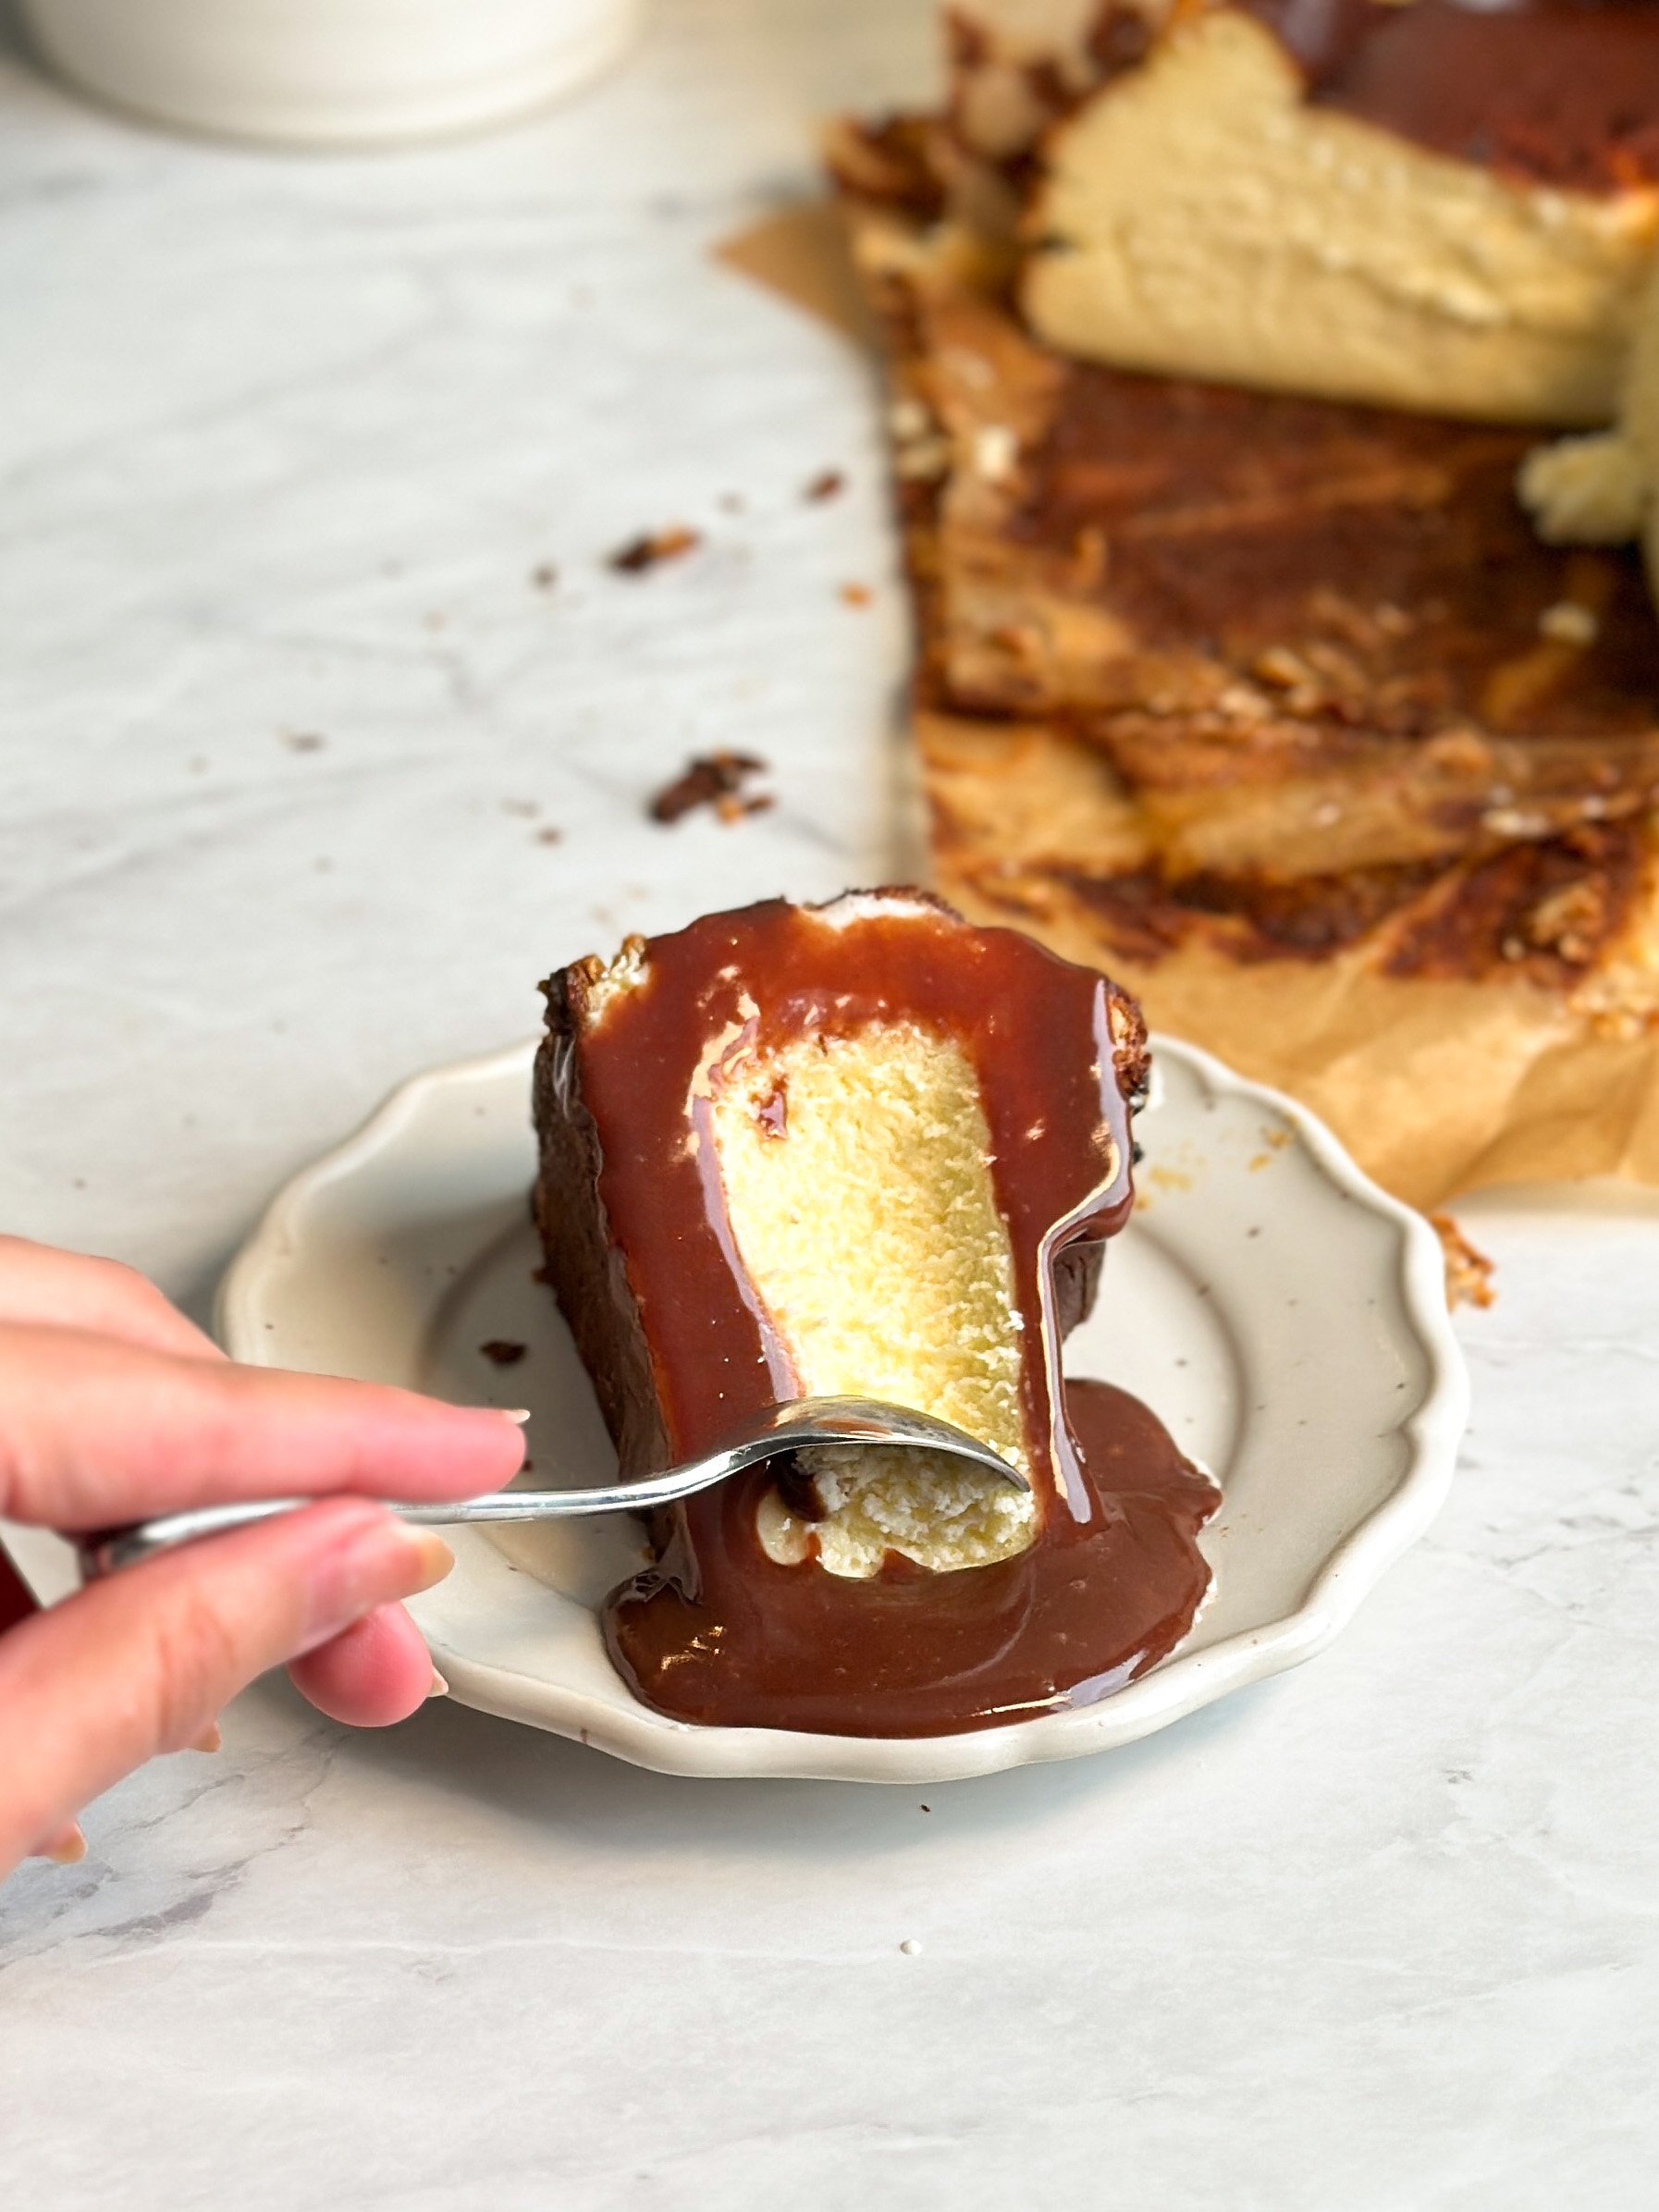
Turns out, this was the exact Basque Cheesecake that had been going viral on social media! The cafe was “Viyana Kahvesi“, and they served slices of the cheesecake drenched in chocolate ganache. While I am usually a chocolate fan, I scraped it to the side to taste the cheesecake itself, and was blown away! It was not eggy – it was creamy and delicious.
So I set off on a mission: I had to recreate the Viyana Kahvesi Basque Cheesecake in all its glorious creamy deliciousness! And that’s exactly what this recipe is.

INGREDIENTS REQUIRED
This cheesecake requires 5 basic ingredients. Make sure all ingredients are at room temperature for best results.
- Cream cheese: Please go for Philadelphia block cream cheese if you can! Rumor has it, the origin of Basque cheesecake, La Vina, also uses Philadelphia! If you don’t have access to Philadelphia, use any full-fat block cream cheese
- Granulated sugar: The quantity provided in this recipe makes for a mildly sweet cheesecake, so I don’t recommend reducing it further
- Eggs: This is a recipe in which eggs cannot be substituted or reduced. They give the cheesecake its structure
- Heavy cream: Use any full fat cream
- Corn starch: A tiny amount is added for structure. You can also use all purpose flour, but I prefer corn starch as it is finer
Additionally, I like to add:
- Vanilla: If you can, get your hands on good quality vanilla bean paste!
- Salt
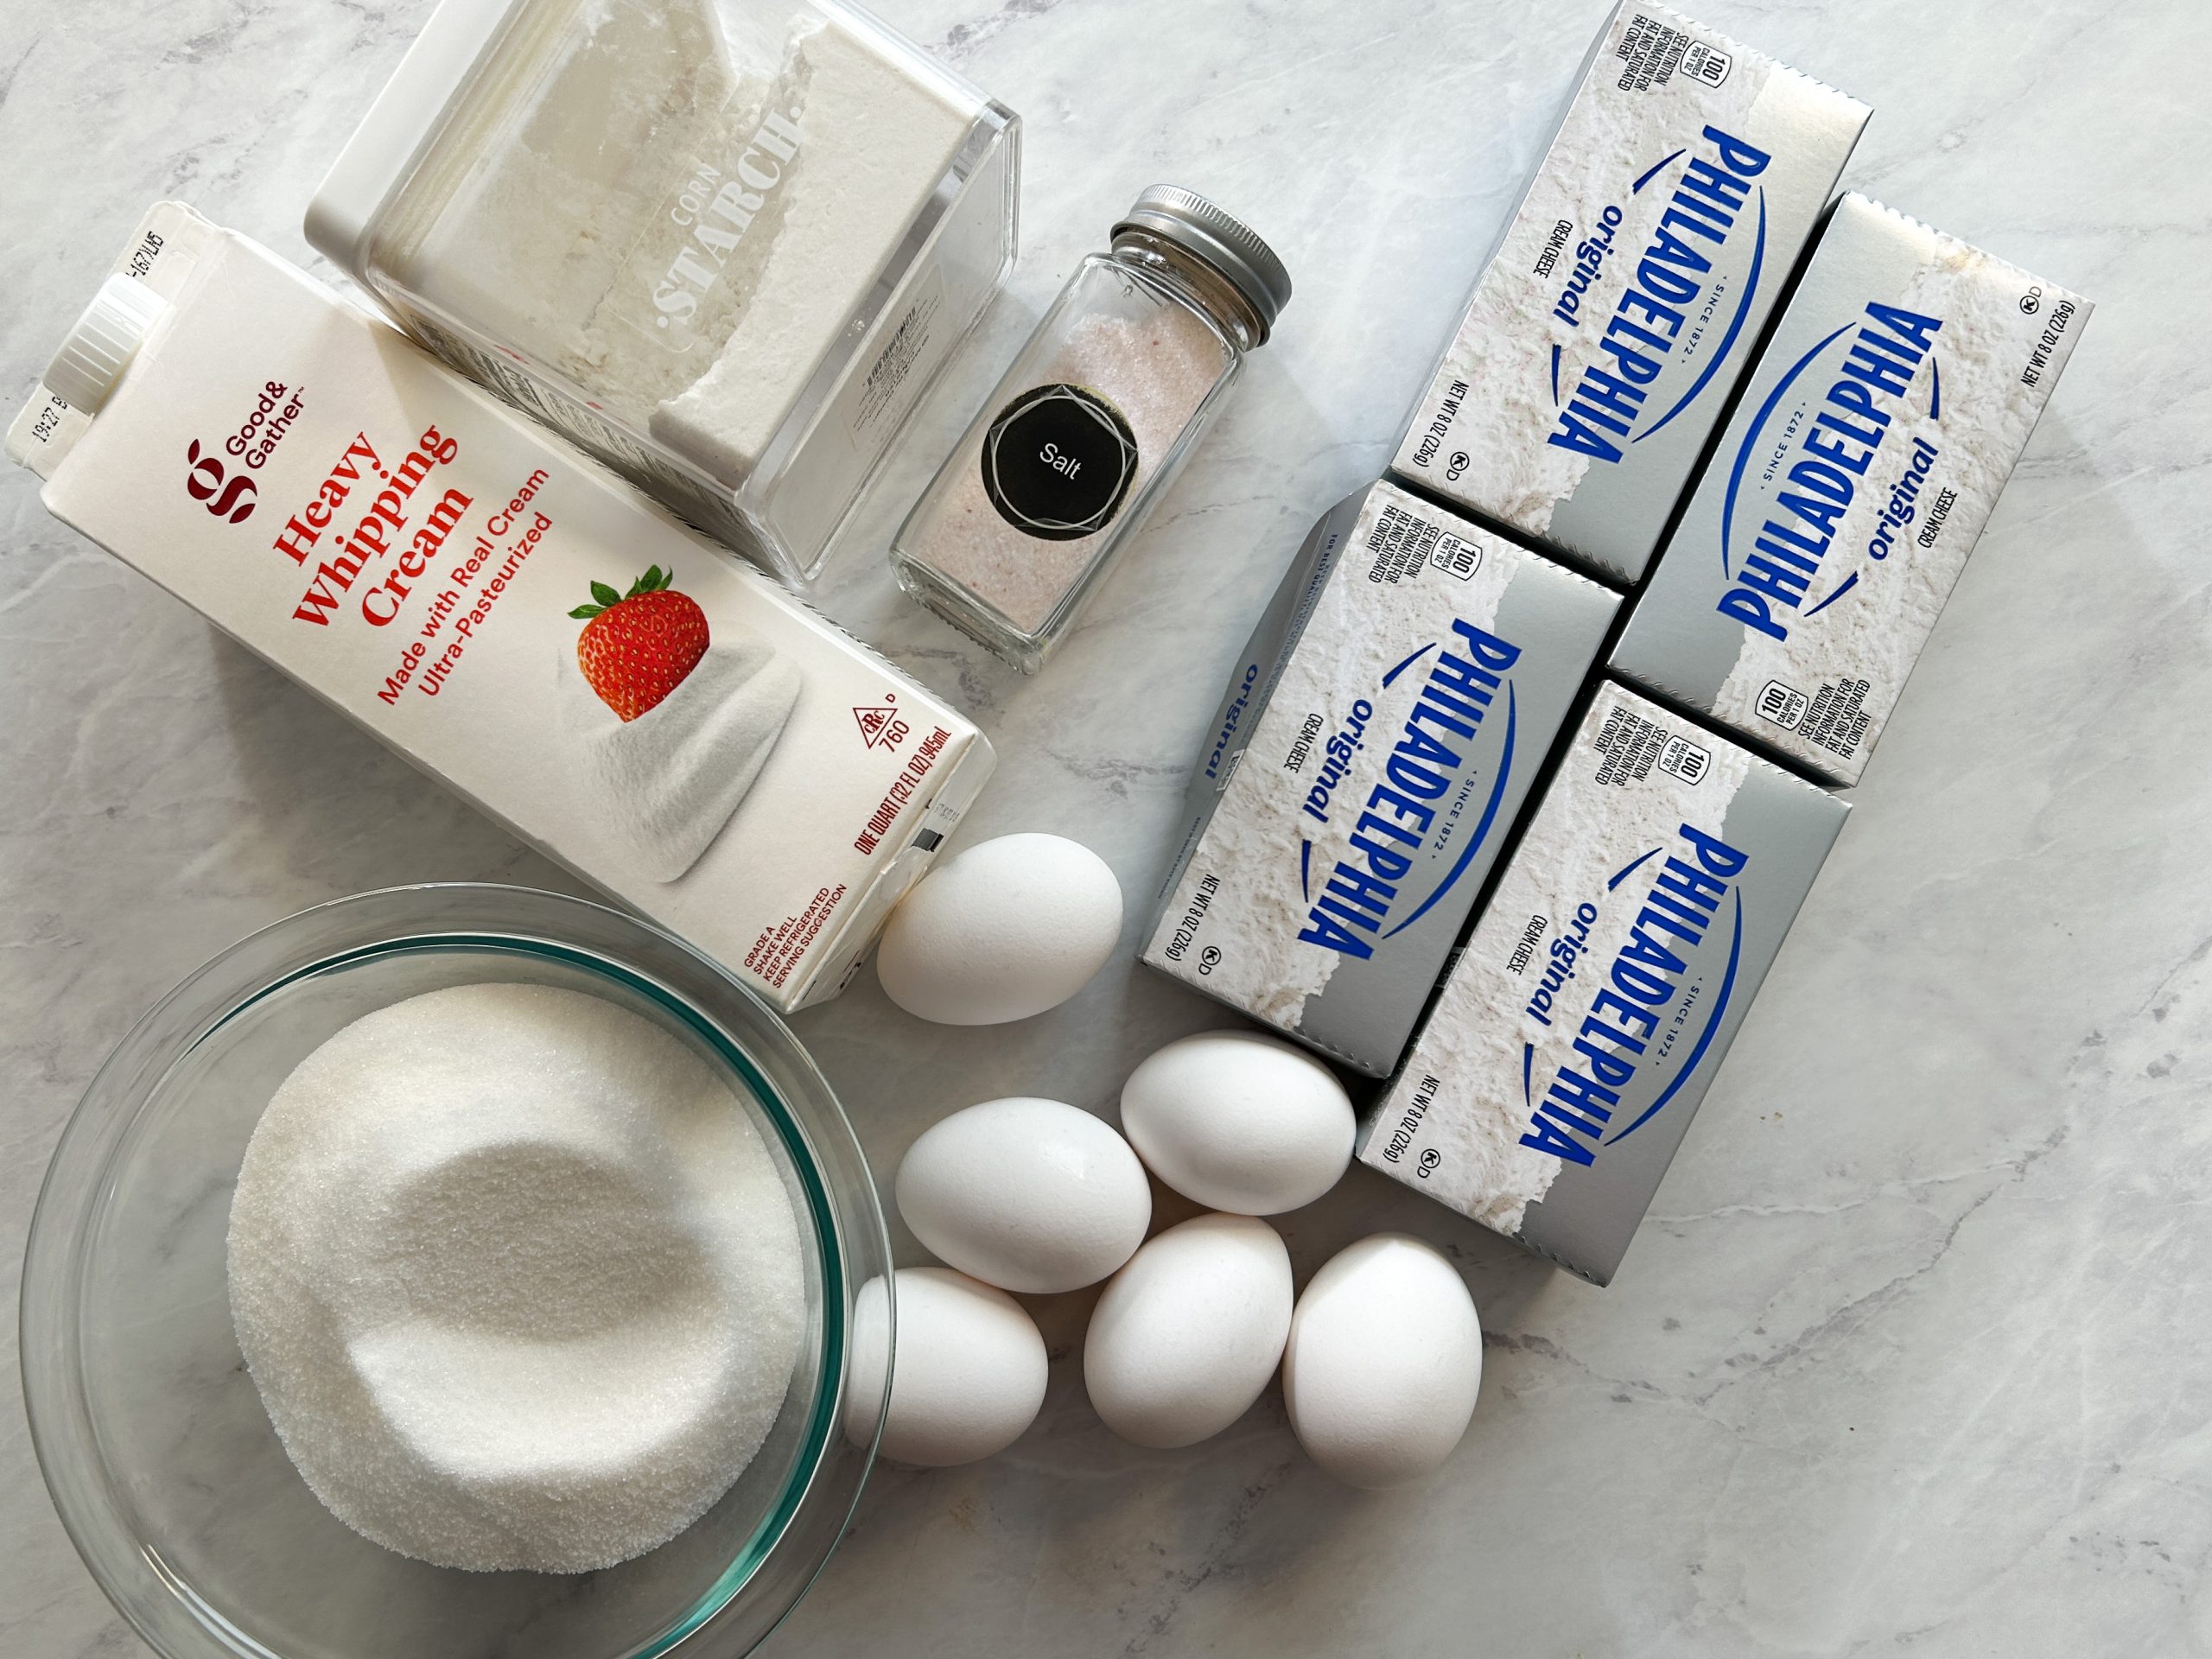
Some recipes also call for lemon zest, but I find this cheesecake to be one which doesn’t work well with sour notes.
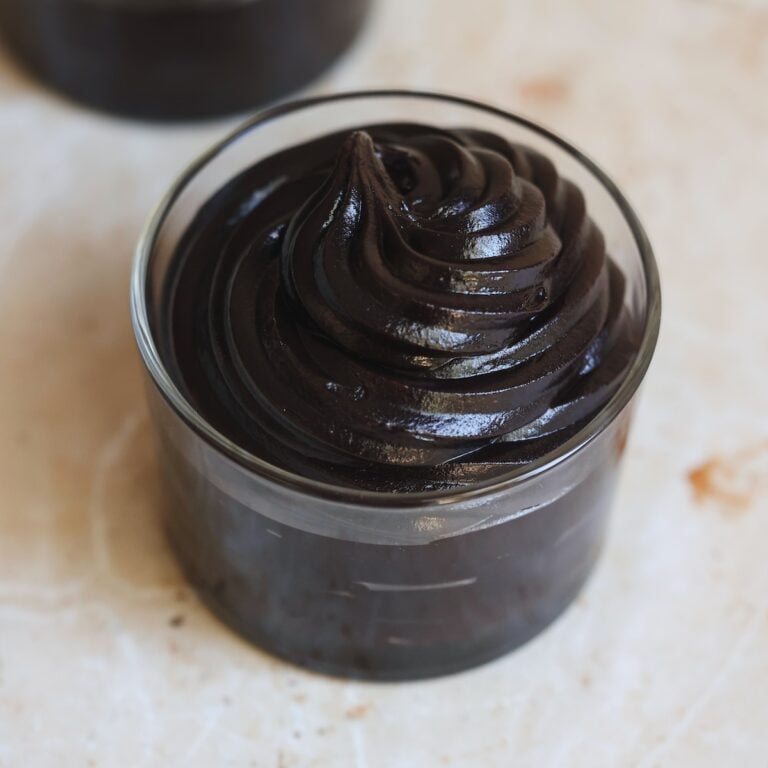
If you want to recreate Viyana Kahvesi’s cheesecake, make a simple chocolate ganache with a 1:1 ratio of chocolate and cream, and drench the cheesecake slices in that before serving!
HOW TO MAKE CREAMY BASQUE CHEESECAKE
Now – here’s the deal. Most recipes on the internet for Basque cheesecake are more or less the same. The same ingredients in slightly different ratios and quantities. The method is more or less the same.
And most recipes on the internet have the same problem: they WAY overbake the cake. That’s what makes it taste eggy and dense and dry instead of rich and creamy and delectable.
So the secret to perfect the Basque cheesecake is to perfect the baking time. Now, this is easier said than done, because this isn’t a cake you can just poke with a toothpick to check for doneness. After many attempts, here is what has worked out best for me:
- Bake at 410F (conventional, no fan, bottom heating only), and make sure to preheat your oven for at least 20 minutes
- Bake for only ~55 minutes (check for doneness around 50 min in). This is for this recipe which makes quite a large 8″ cheesecake.
- Broil in the last 3-4 minutes to get the perfect burnt, caramelized crust (for example, you can back for 52 minutes followed by 3 minutes of broiling to get a total baking time for 55 minutes)
- Wait just 5 minutes at room temperature, and then transfer the cake to the fridge. This will start cooling down the cheesecake so it stops cooking from its own heat
- Refrigerate overnight, and serve cold! I know traditionally this cheesecake is supposed to be served at room temperature, but the overnight chilling is critical to ensure the cheesecake sets (otherwise it might flood everywhere). If you want, you can take out a slice and let it come to room temperature before eating, but I actually prefer it cold.

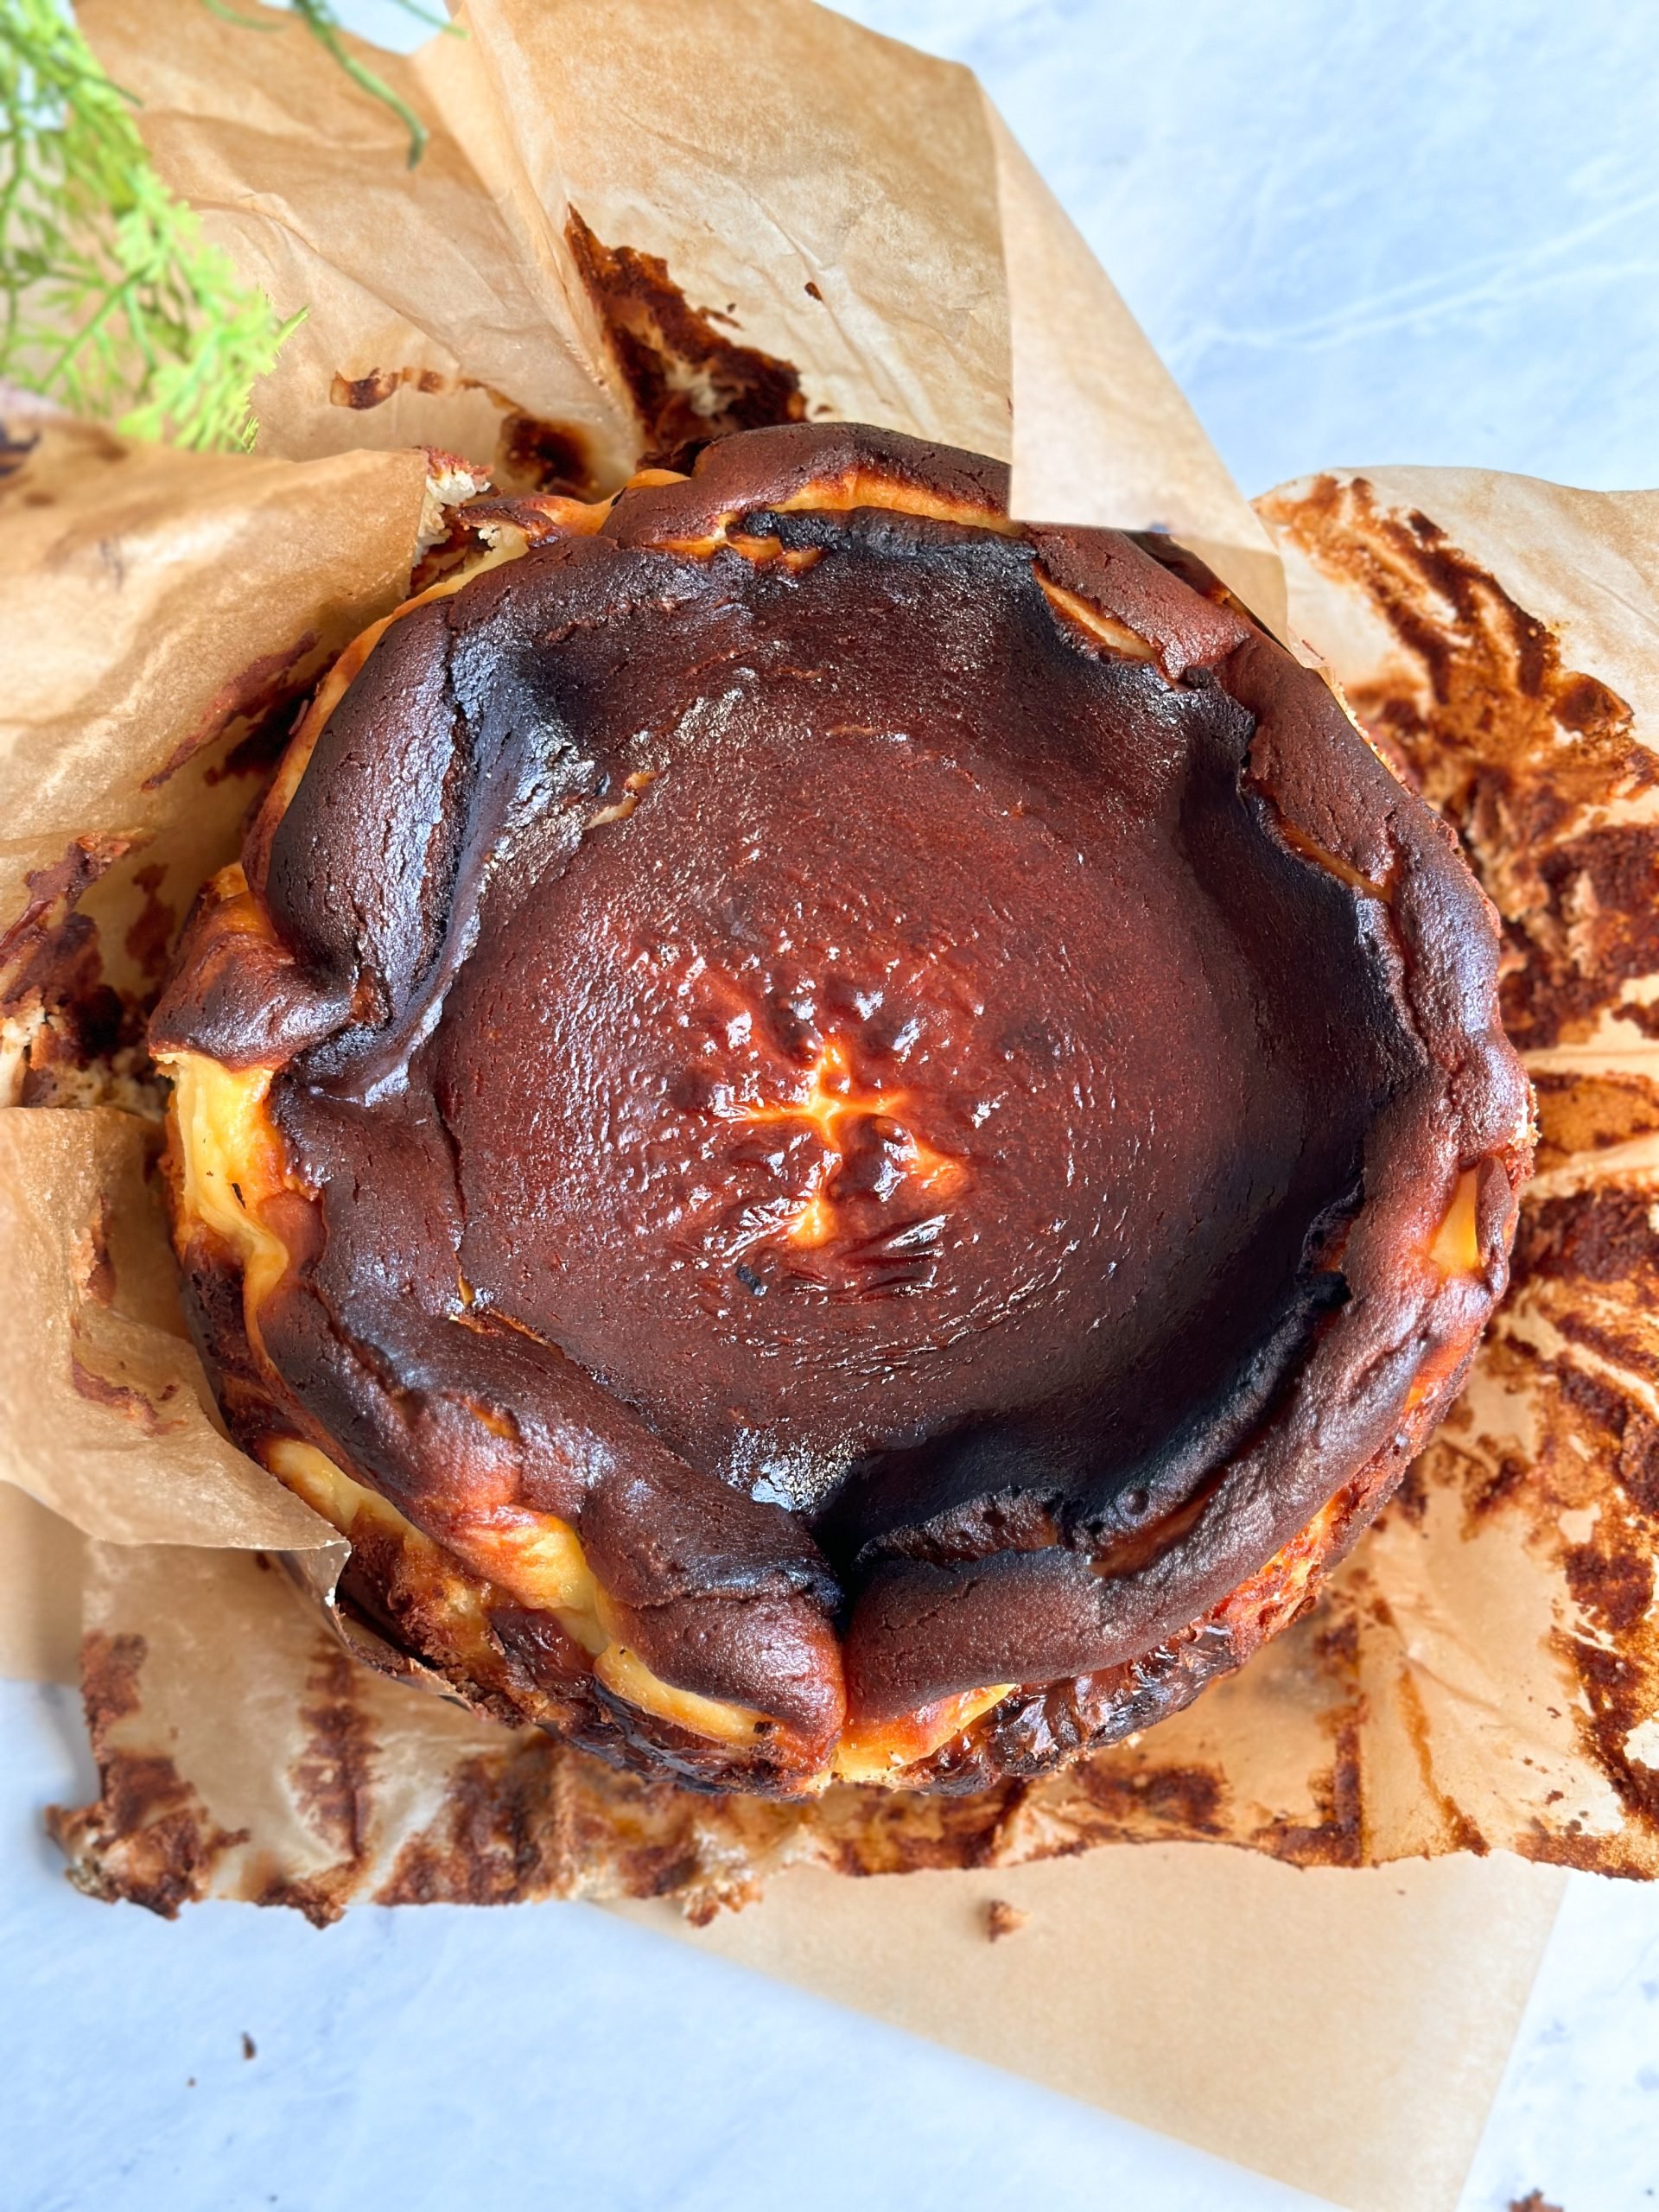
How to tell when the cheesecake is done baking
Figuring out the exact time to take out of the oven can definitely be tricky. Here’s are the cues I looked for which worked for me:
- Around ~50 minutes later, the top of the cheesecake had formed a thin solid film / crust (i.e., it was not liquid anymore)
- The cheesecake had risen significantly, above the height of the pan
- The cheesecake had a PROPER wobble when shaken. It almost felt underdone
- At this point, I turned on the broiler and waited 3-4 minutes for the crust to develop the deep brown color, and took out of the oven
It might take you 1-2 tries to get the timing exactly right. The type of pan and oven you use will also impact the timing.
When you check the cheesecake around ~50 minutes, ask yourself this: would you rather have cheesecake that is underdone and creamy or fully baked but somewhat eggy/dry?
- If underdone, err on the side of caution and stop baking when you feel like it might be done
- If fully baked, wait for a few more minutes until you feel sure it is done (you can bake for 60 minutes followed by broiling)
EQUIPMENT NEEDED
- Stand mixer or electric hand mixer
- Large bowl
- Rubber spatula
- Sifter for cornstarch
- Measuring cups / scale
- 8″ cake pan – make sure to use one with at least 3″ of height; I used this one
- Large parchment sheets
FREQUENTLY ASKED QUESTIONS
You cannot replace eggs in Basque cheesecake.
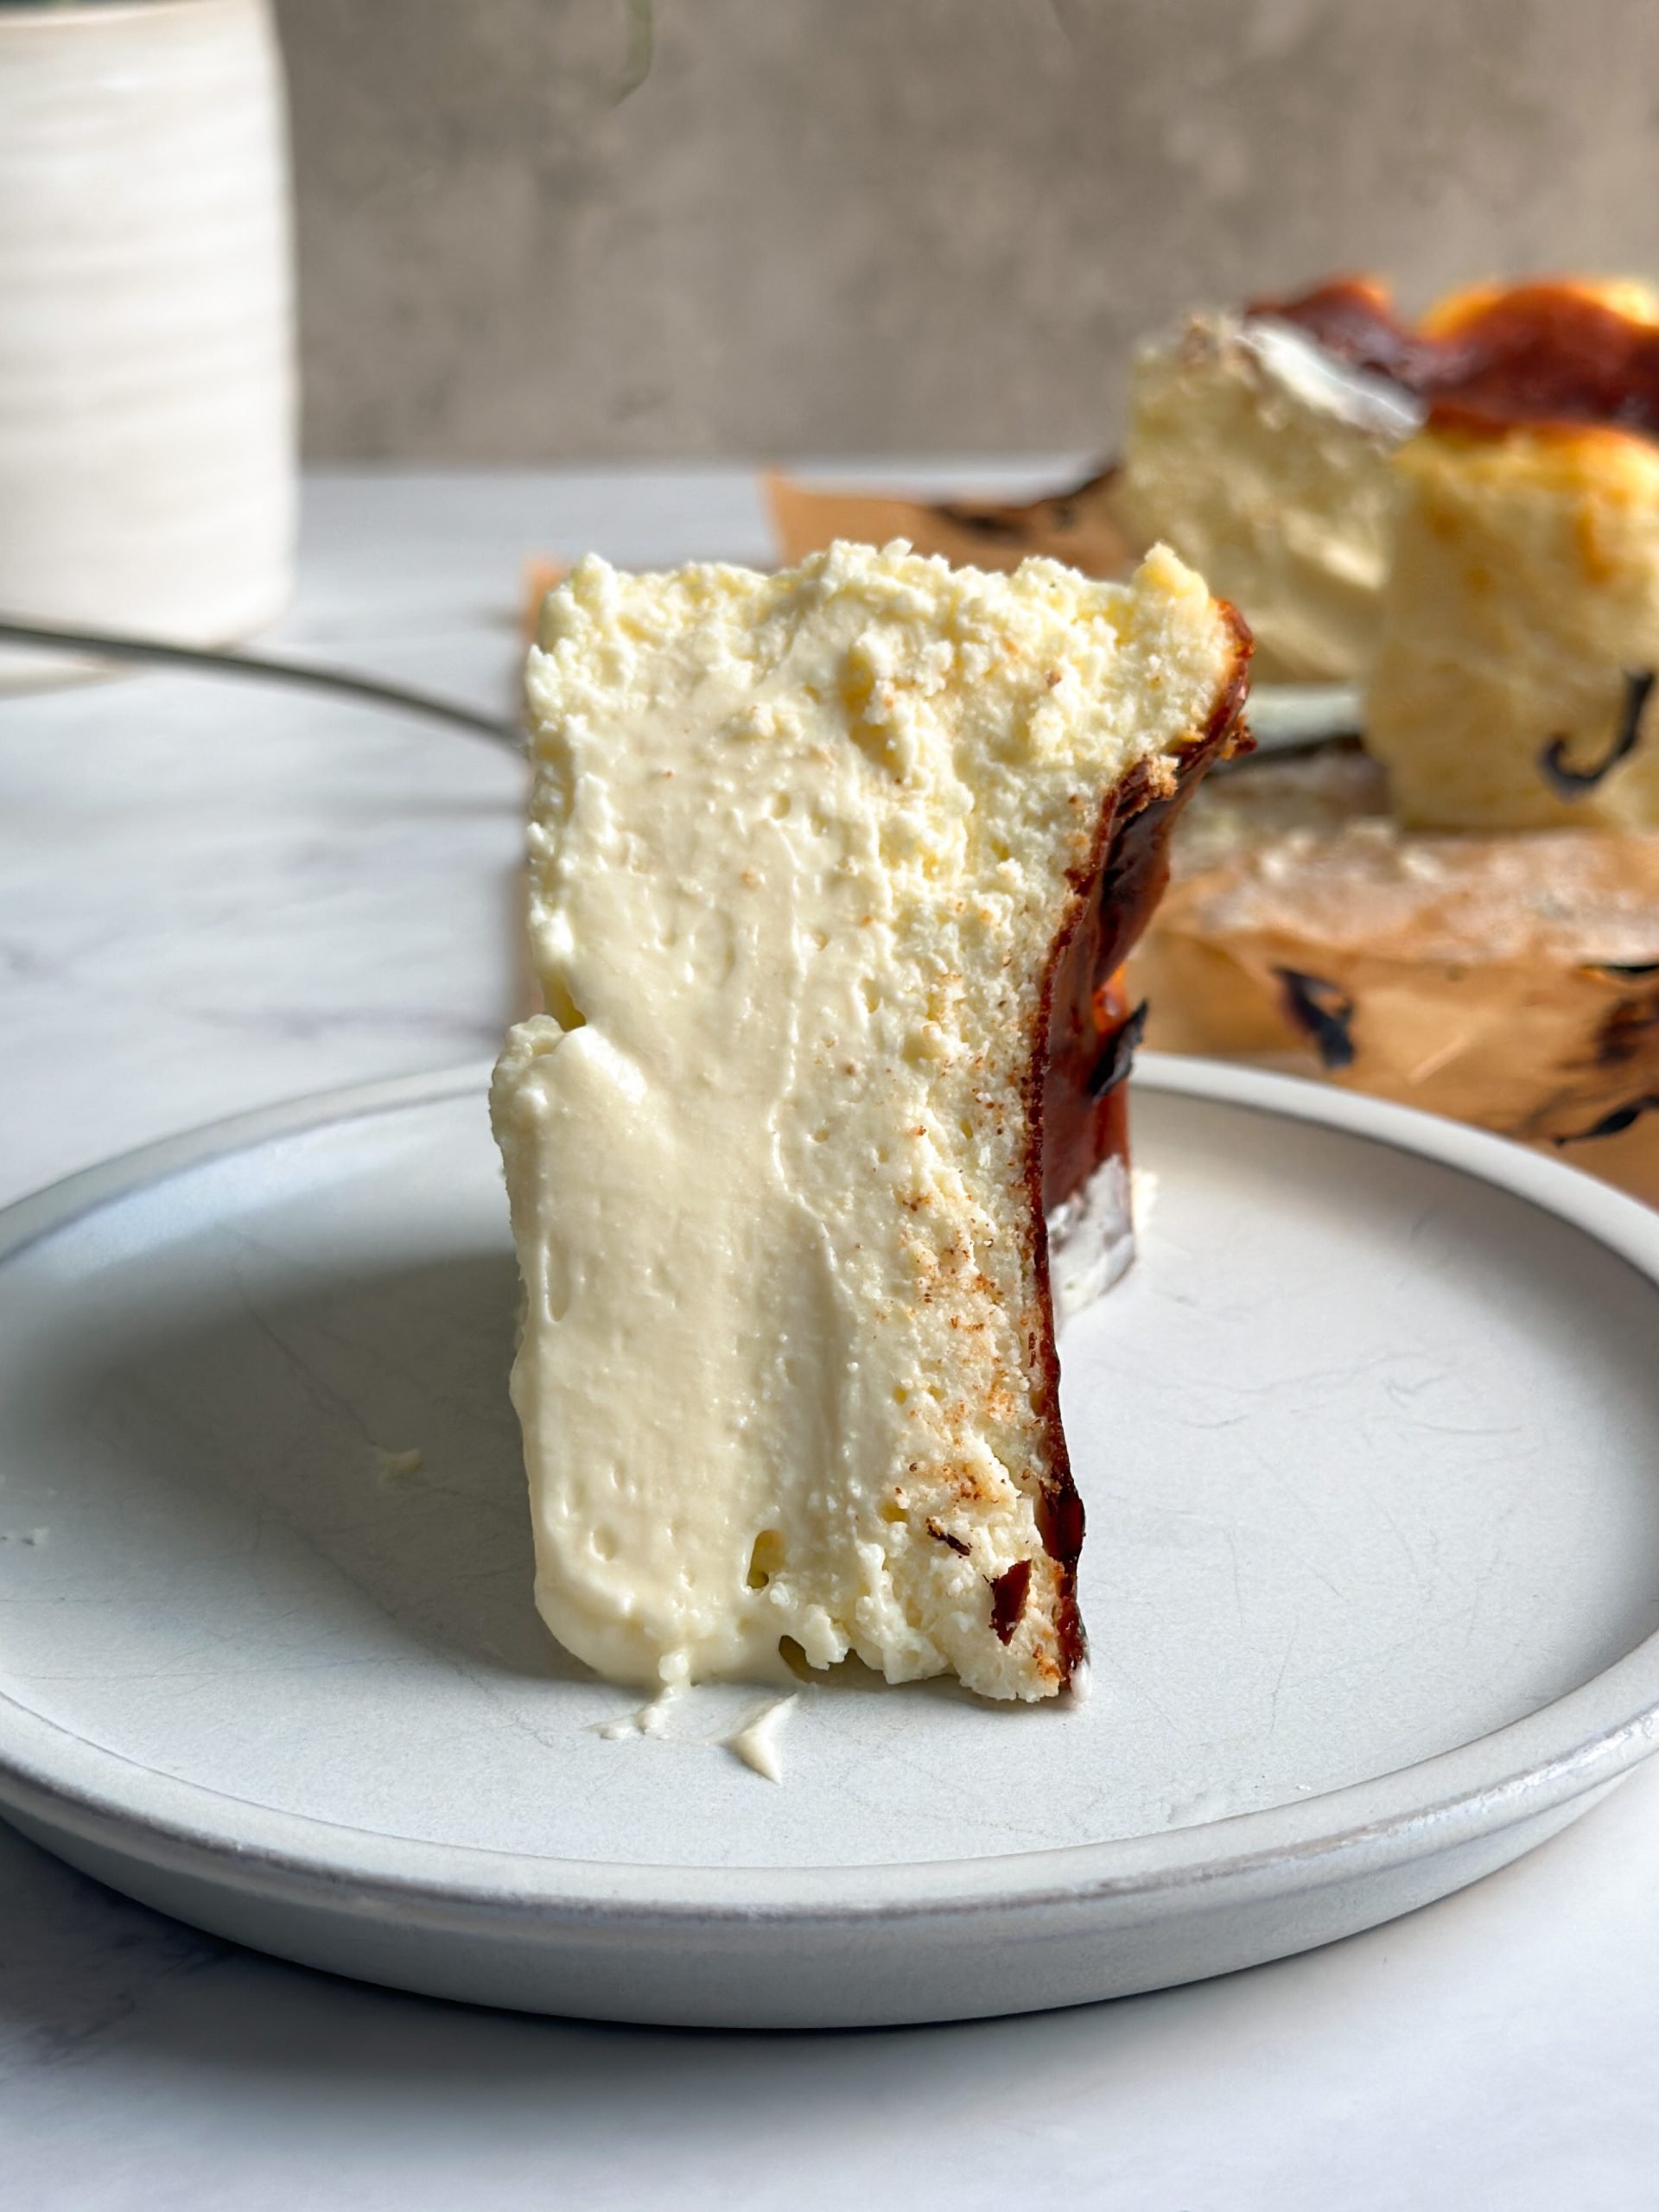
Basque cheesecake is different from traditional cheesecake in a few ways. First, it has a burnt or caramelized exterior that gives it a slightly bitter taste. Second, it has a creamy, custard-like interior instead of the denser texture of traditional cheesecake. Finally, Basque cheesecake is typically crustless.
Yes, you can make Basque cheesecake ahead of time and keep in the fridge for 4-5 days.
Keep the Basque cheesecake in the fridge, covered with cling wrap to prevent it from drying (or in an airtight container). It will keep good for 4-5 days at least!

Email This Recipe
Enter your email and I’ll send this directly to you. Plus you’ll get new recipes from me every week!
Ingredients
- 32 oz Philadelphia cream cheese (4 8 oz blocks, or 905g)
- 6 large eggs
- 1 1/3 cups granulated sugar (290g)
- 2 1/2 tbsp cornstarch (22g)
- 1 1/2 cups heavy cream (360g)
- 1/2 tsp salt
- 1 tsp vanilla bean paste
- Chocolate ganache (optional, this amount makes enough to serve with 1 large slice of cheesecake):
- 20g milk or semi sweet chocolate
- 20g heavy cream
Instructions
- Bring all ingredients to room temperature by taking out of the fridge at least an hour before starting
- Pre-heat oven to 410F (conventional, bottom heating)
- Prepare an 8×3″ cake pan: butter the bottom, and then line with at least 2 large parchment sheets. Stuff the parchment sheets in, facing opposite directions, such that the parchment paper rises above the edge of the cake pan in all directions. This is important because the cheesecake will rise above 3″ while baking, and the parchment paper will hold it in
- Add the cream cheese to the bowl of a stand mixer, and cream for 2-3 minutes with a paddle attachment until creamy. Scrape the edges and bottom of the bowl to ensure no lumps of cream cheese remain
- Add the sugar and mix for another 2-3 minutes until the sugar dissolves. Scrape the bowl and mix for another 30 seconds
- Break the eggs in a separate bowl. Add the eggs one at a time while mixing at medium speed, until each egg gets incorporated. Do not overmix
- Add the heavy cream, vanilla, and salt and mix for 30 seconds
- Sift in the corn starch, and mix for 30-60 seconds until all ingredients are incorporated
- Pour the batter into the prepared cake pan. Tap it onto the counter a few times to ensure the batter flows into all the creases of parchment paper
- Place the pan in the middle rack of the pre-heated oven, and bake for about 55 minutes (checking for doneness around 50 min in). In the last 3-4 minutes, turn on the broiler to allow the top of the cheesecake to develop a deep golden crust. This should give you a very creamy cheesecake. If you prefer the cheesecake to be fully set, bake for 60 minutes.
- Remove from the oven – the cheesecake will be quite wobbly still! Rest at room temperature for just 5 minutes, and transfer to the fridge immediately after.
- Allow the cheesecake to cool overnight in the fridge. Serve cold straight from the fridge
- If serving with chocolate ganache, prepare the chocolate ganache by pouring hot cream over the chopped chocolate, waiting 5 minutes, and mixing until a shiny ganache is formed. Pour over the cheesecake slice while still warm.
Video Tutorial
RELATED
If you enjoy this cheesecake recipe, make sure to also try my PERFECT classic cheesecake (deemed by hundreds of people as the best cheesecake they have ever eaten), and my rich and creamy chocolate cheesecake!

Comments
Maheen
Zoha!!! I’ve tried so many of your recipes, they never disappoint maa shaa Allah!
this basque cheesecake, as well, turned out delicious!! definitely will make it again. your explanations are so helpful that the cheesecake turned out amazing on first try! thank you!!
Zoha Malik
thank you so much, Maheen! Your support keeps me going <3
Fathimath Nazaha Naseer
I followed the recipe to a t, but it tastes a bit eggy..I think my eggs may have being too large / the cream cheese not high fat content. 😩
Aliya Hasan
Insanely good! Just save this recipe and stop looking at others!
Zoha
YAY!!!
Maheen
I’ve been making basque cheesecake for years using a different recipe but the last 3/4 times I’ve used this one and honestly it’s the best, the instructions are super clear and it’s so easy to follow too, always results in compliments!
Zoha
AWWWW thank you so much!!!
Samman
Have probably made this 50 times, comes out absolutely divine everytime!! So easy to make but the taste is exquisite!! *chefs kiss*
Zoha
Thank you Samman!
Maria Waleed
I followed the exact same recipe but didn’t have to broil as it got that nice burnt thing on its own. Probably my oven. Baked for 55-57ish minutes. Thank you so much for such easy and awesome recipe.
Zoha
Glad you liked it!
Fathmath
hi Zoha. i love all your recipes. I tried this recipe for the first time. the taste is amazing. however the texture feels a bit grainy rather than smooth. can you please let me know why.
Abdullah
Hiya Zoha,
Great recipe.
Just wanted to ask how we can maintain the pouring texture of the chocolate as it gets thicker. I wanted to store it in a bottle to pour later.
Also, is any milk chocolate fine or does it have to be Belgian Chocolate?
Abdullah
Just wanted to ask about the type of chocolate so posted again.
Abdullah
Hello Zoha, great recipe.
Does the chocolate that is used for pouring need to be Belgian or any milk chocolate?
Also, how do I stop it from thickening so that it ban be poured later?
Muneeza
slmz hope you are well. can this recipe be halved?
Zoha
Sure! You can halve and bake in a 6″ pan
Elyaelyana
Hi Zoha!
Do i need to reduce the timing if i halves the recipe?
Zoha
Yes you will!
Rj
Amazing recipe. So simple and stunning! My go to at the moment.
Question – any replacement for vanilla bean/essence ? Will lemon work? 🤨
Zoha
Hi!!! Since this isn’t meant to be a lemony recipe, I don’t really recommend lemon. Maybe a different extract like almond?
Sahana Nirranjan
Hello Zoha, your IG and your website is my Go to for baking.. We love your Tandoori chicken Naan bus and lemon loaf. I am planning to make the Basque cheese cake for my husband’s birthday next week, I was wondering if I make this recipe in half.. and put it in a smaller pan.. what will the time be to bake the cheesecake
Zoha
Thank you so so much, Sahana! If you halve the recipe you can use a 5-6″ pan but please make sure the pan is quite tall. The baking time also may be slightly less
Aisha
Hi,
Thank you for the recipe. What temperature should I bake this at in a gas oven?
Zoha
Same instructions!
Z
Hi Zoha!!! So love the recipe!!!! Thank you so much for this!!! Question tho – if I want to make this matcha/chocolate flavored, how much matcha powder/cocoa should I put? Aaaaand, do I need to add anything else? Thank you!!!
Aamer zahid
Hi,
Quick question re heating the cake from the bottom only. Sounds counter intuitive because you don’t want to cook it too much…and still have a burnt top. I am assuming you have tried it all the ways possible and just heating the bottom part of the oven gives the best results ? Another issue / concern I had was that I read several recipes for this cake on other sites etc and was quite surprised to see the cooking times provided….from 30 min to 65 min . That is quite a range …..would be grateful for your insights as to how this is even possible to achieve good results with such differences in timing …and most had similar temperature as you ?
The reason for so many questions is that Philadelphia cheese is quite expensive in Pakistan etc so I want to try and get it right in 1-2 x as opposed to more …?
On a different note …I have joined your baking course and brownie courses so look forward to trying out all your recipes .
Thank you.
Zoha
Hi Aamer! Great question. I find that if you turn on the top grill throughout, the cake might color too quickly on the top. It still needs a long time to cook. Instead, I find using the bottom grill and then broiling at the very end gets the job done.
You’re right that recipes online have a weirdly broad range of times. I think it’s maybe because the cakes are different sizes. And I find a lot of recipes tend to overbake for my liking. I also think every oven is different so ultimately it might take a couple tries for you to perfect it.
And welcome to the courses! Delighted to have you on board. Please be sure to join our group chat too 🙂
Ghidaa
Thanks for your excellent recipe
It was delicious
Zoha
So happy that you liked the recipe! Thank you
Sonia Elahi
Hi Zoha
Thank you for sharing the recipe, I really want to try it! I have a fan oven – how would I change the temperature/baking time?
Thanks!
Zoha
Generally with fan ovens, you need to lower the temperature by 25F!