

This post may contain affiliate links
Add Bake with Zoha as a preferred source on Google and find more of my tried-and-tested recipes.
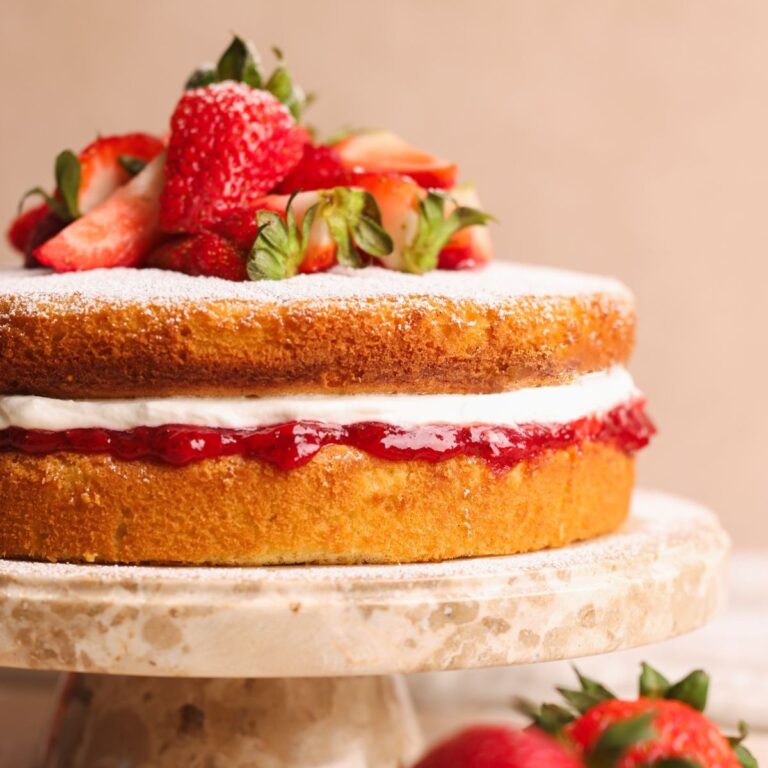
This Victoria Sandwich Cake is a classic made better: a soft, light and buttery pound cake layered with delicious homemade strawberry jam and whipped cream. It is perfectly balanced in sweetness, very easy to make, and comes together in about one hour, making it the perfect accompaniment to the afternoon tea or coffee!

Psst – if you like buttery cakes like this one without the toppings, you will LOVE my Classic Pound Cake recipe!
Why you will love this recipe
A Victoria Sandwich Cake (also known as a Victoria Sponge Cake) is a British classic dating back to the 1800s. It is a pound cake made of equal amounts of butter, sugar, eggs and flour, sandwiched with jam and buttercream.
This recipe makes the classic even better! I have tested and perfected it to be delightfully soft, light and balanced. Here’s how:
- A beautifully soft cake made with reverse creaming. Instead of the traditional creaming method, this cake uses reverse creaming which helps it achieve a more tender, melt-in-the-mouth crumb. It also has a little buttermilk, baking powder and baking soda; all of which help the cake rise more and therefore have a lighter texture
- A delicious homemade strawberry jam. Trust me, it is SO worth the effort to make the jam yourself, especially when strawberries are in season! It takes only ~15 minutes to make, and tastes arguably better than ready made jam (although I won’t judge you if you do use ready made)
- A light whipped cream to bring it together. Instead of buttercream, which is both heavy and overly sweet, this recipe uses plain, unsweetened whipped cream to balance out the richness of the cake. If you’ve ever had strawberries with cream, you’ll know what a great combo it is!

Step by step photos
The detailed recipe with ingredient quantities and instructions is in the recipe card below, but let’s go over the steps with photos to help you visualize everything.
Make the cake

Mix the flour, sugar, baking powder, baking soda and salt in the bowl of a stand mixer.

Add the cubed, softened butter.

Whisk on medium speed until the mixture starts to look like coarse sand (or crumbs).
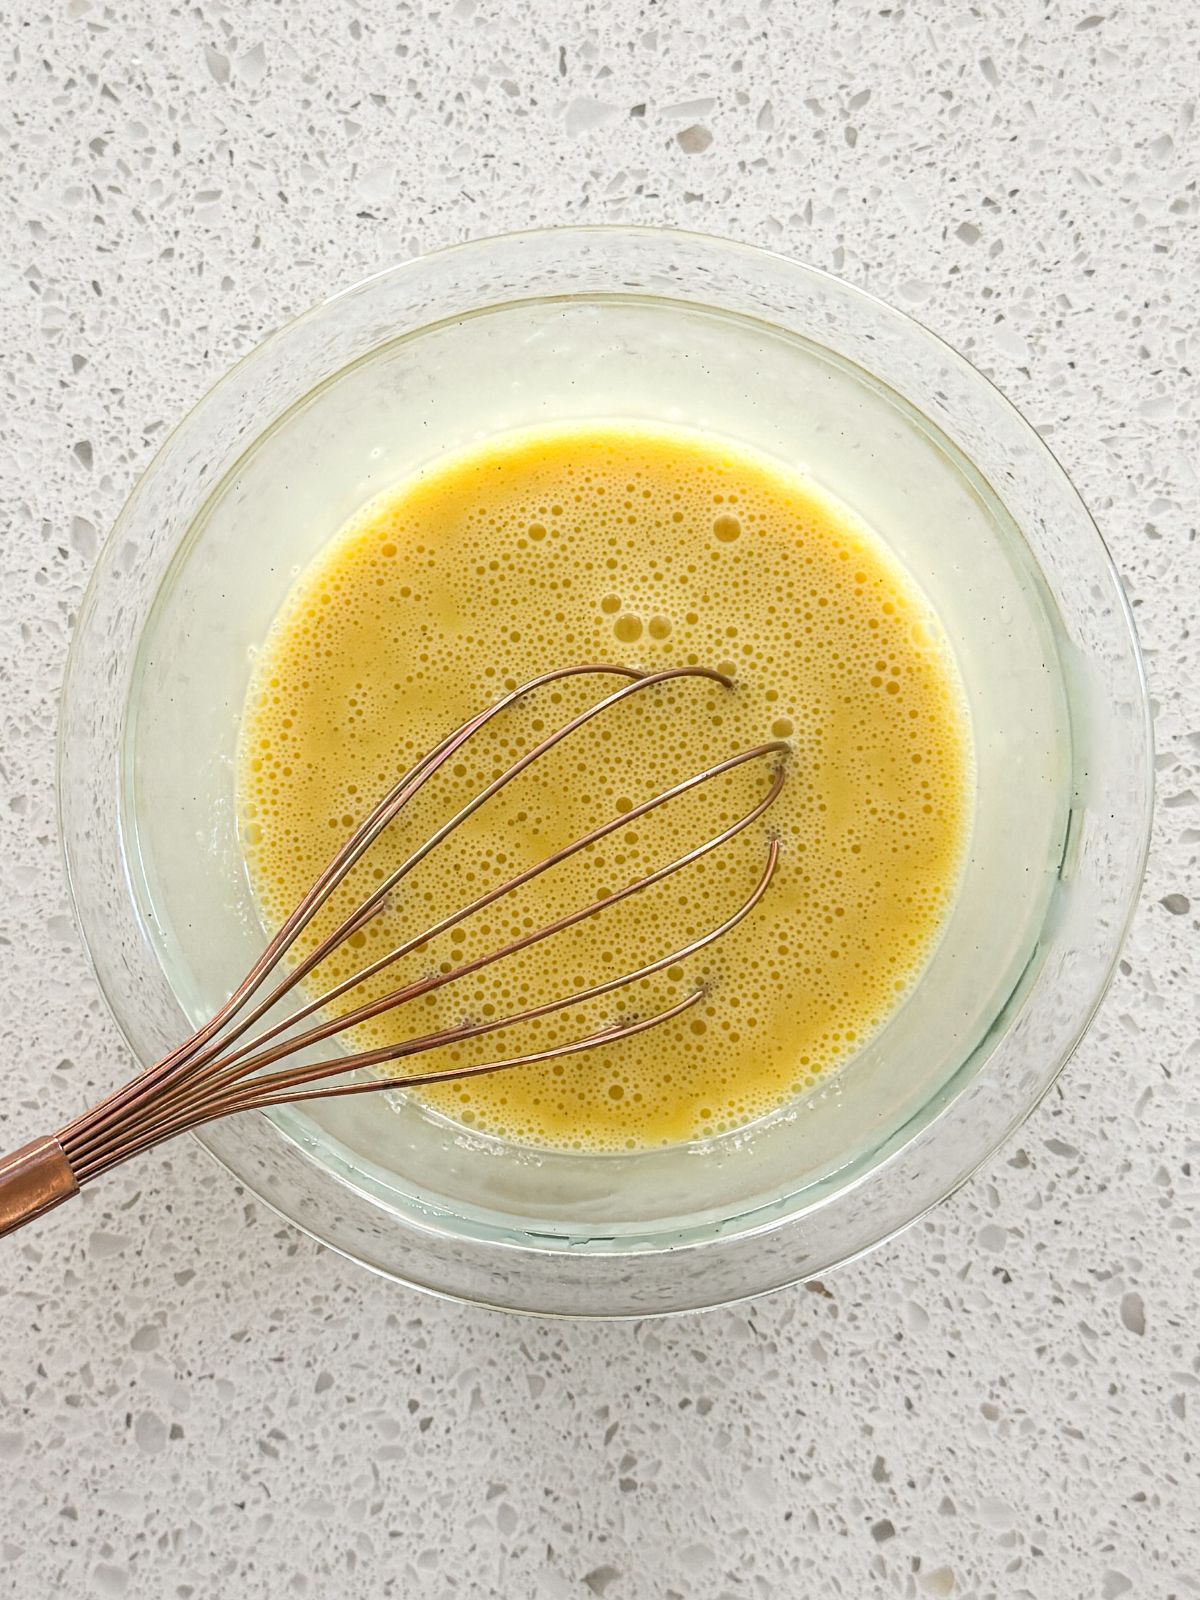
Separately, whisk together the eggs, buttermilk and vanilla.

Pour the egg mixture into the bowl.

Whisk on medium-high speed for ~2 minutes until you have a thick, fluffy, and smooth batter.
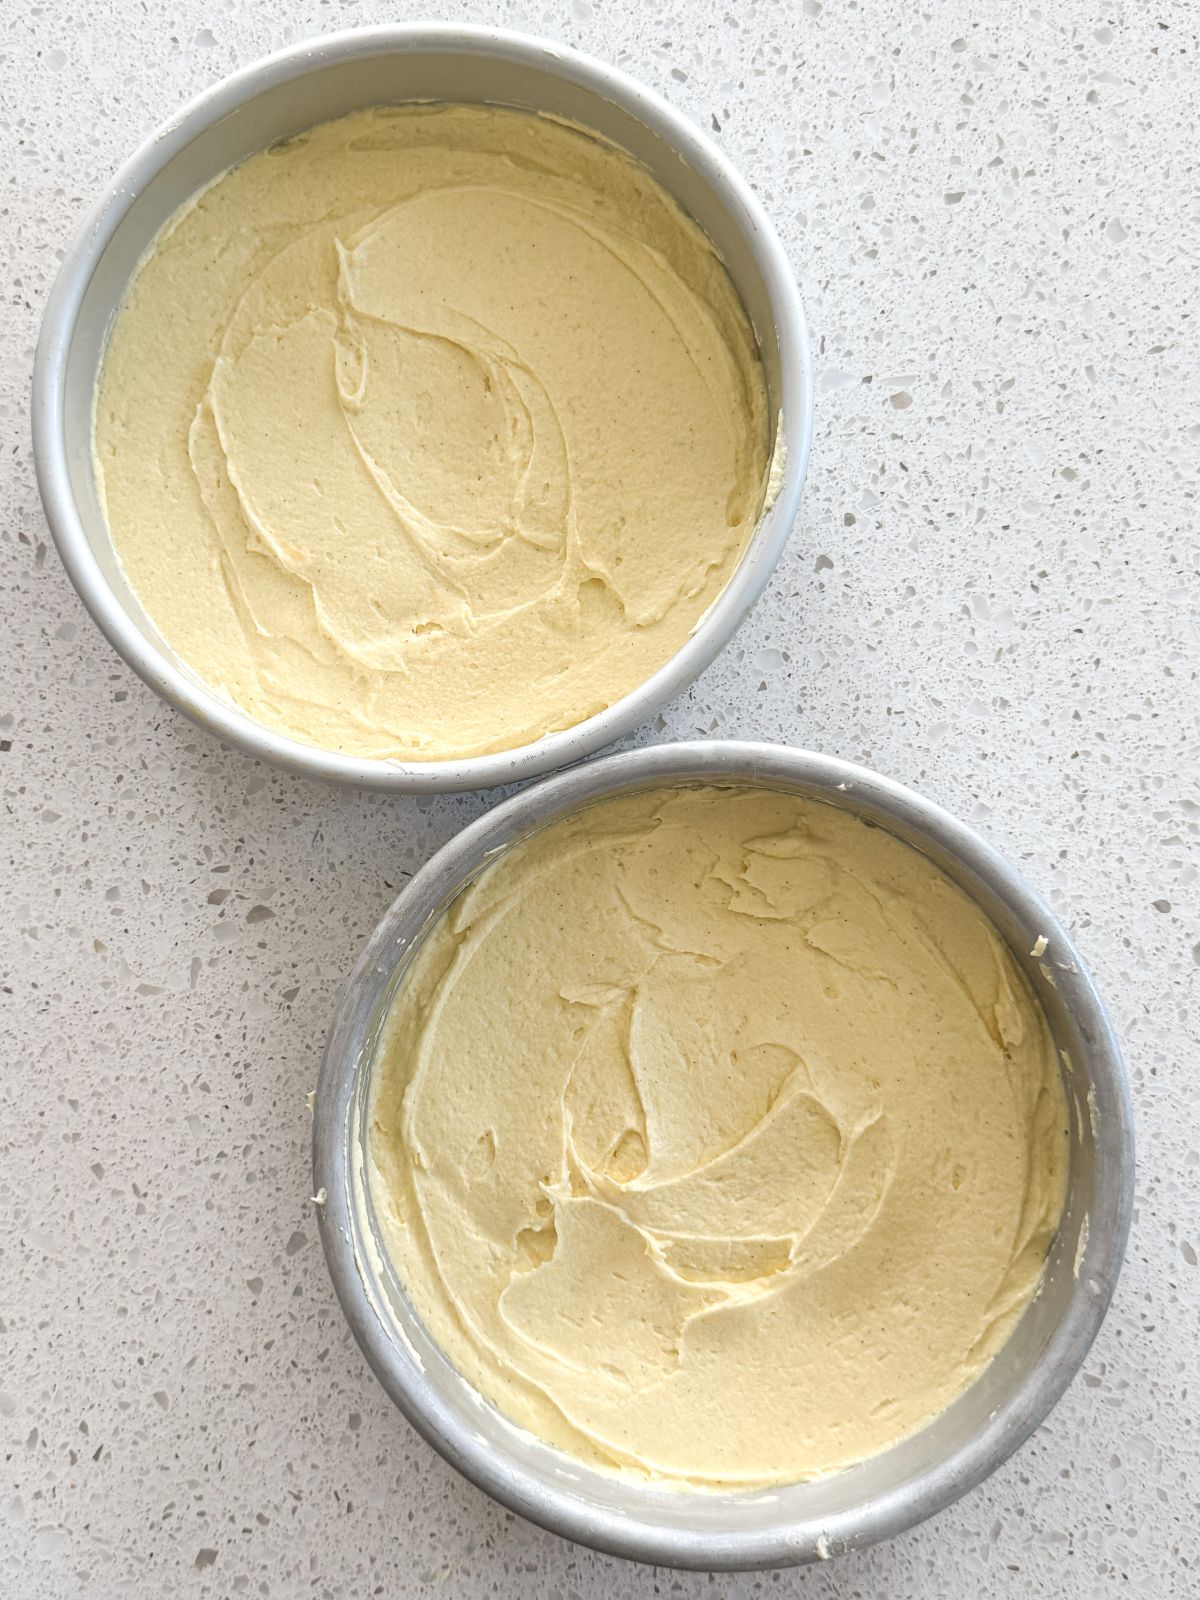
Divide the batter between 2 8″ pans and spread out evenly.
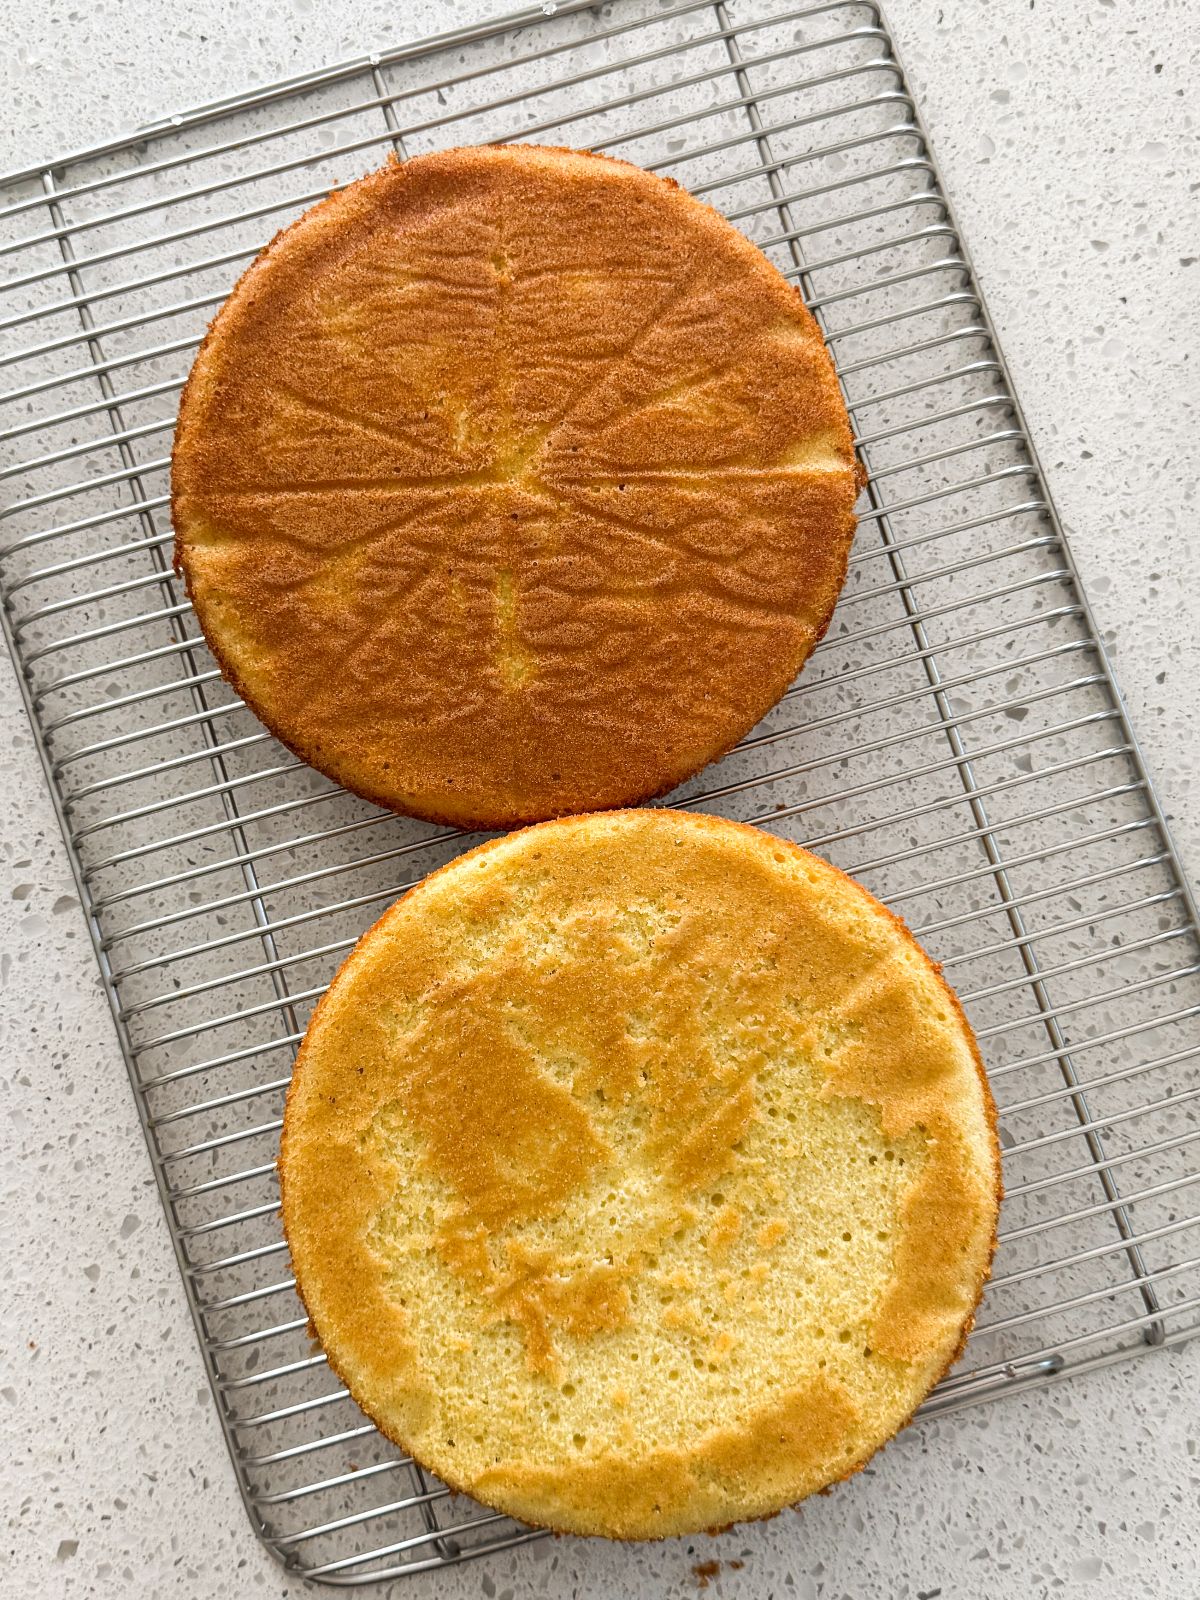
Time to bake the cakes!
Prepare the jam

Add the chopped strawberries, sugar and lemon juice to a saucepan.

Cook and stir on low heat for ~15 minutes until the mixture reaches a jammy consistency (and your kitchen smells heavenly)!
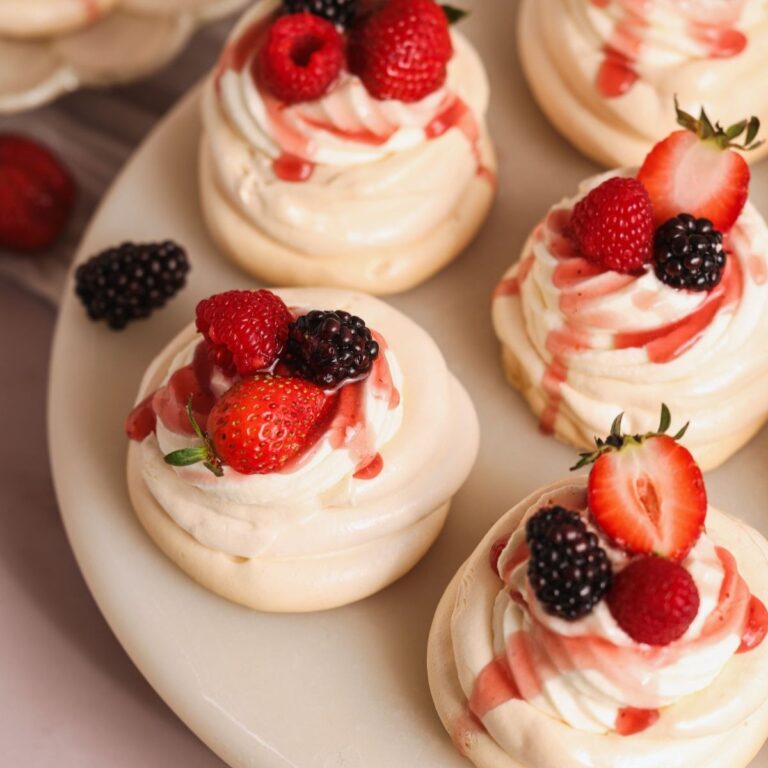
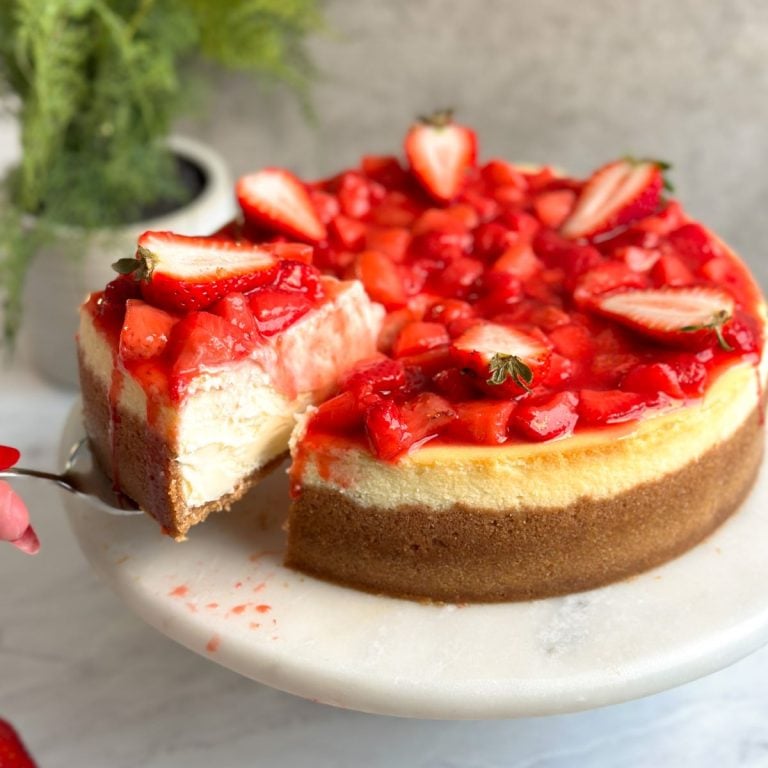
If you like to make jam in larger quantities, you definitely can do that in this step. This homemade jam will go wonderfully on top of New York Cheesecake, or drizzled on my Mini Cheesecake Pavlovas!
Assemble

Spread on the cooled jam on one cake layer.

Top the jam with heavy cream whipped to stiff peaks. Cover with the second cake and that’s it!
Decorate with a dusting of powdered sugar and, optionally, fresh strawberries. And you’re ready to enjoy!

Tips to perfect this recipe
This Victoria Sandwich Cake is a no fuss, straightforward recipe, but it is important to do a few things right for the perfect outcome:
- Measure your ingredients with a scale, especially the flour! This will ensure you don’t add too much, which can result in a dry cake
- Make sure the butter, eggs and buttermilk are at room temperature. This helps ensure a smooth batter
- Do not undermix or overmix the batter. Once you add all the wet ingredients, it is important to properly whisk the batter for ~2 minutes until it looks smooth, pale and fluffy. This incorporates air into it and prevents it from being dense. On the other hand, overmixing beyond this point will create too much gluten, resulting in a tough texture
- Don’t overcook the jam. Once it has thickened into a saucy consistency and looks jammy, remove from heat. Remember, it will continue to thicken as it cools down
- Spread the jam first! Jam is thicker than the cream, so spreading it on top of cream is nearly impossible to do neatly
- Keep the cream ~1/2″ away from the edges of the cake. When you add the second layer of cake on top of the cream, its weight will naturally cause the cream to come to the edges

Email This Recipe
Enter your email and I’ll send this directly to you. Plus you’ll get new recipes from me every week!
Ingredients
Sponge Cake
- 1 1/2 cups all purpose or cake flour (195g)
- 1 cup granulated sugar (200g)
- 1/4 tsp baking powder
- 1/4 tsp baking soda
- 1/2 tsp salt
- 1 cup unsalted butter, softened to room temperature and cut into cubes (226g)
- 4 large eggs, room temperature
- 1/4 cup buttermilk, room temperature (60g)
- 2 tsp vanilla
Strawberry jam:
- 1 1/2 cups chopped strawberries (250g)
- 1/4 cup granulated sugar (50g)
- 1 tsp lemon juice
- Whipped cream:
- 3/4 cup heavy whipping cream, cold (180g)
Instructions
Sponge Cake:
- Pre-heat your oven to 335F (conventional, no fan). Prepare 2 8″ cake pans with parchment paper and butter/oil
- Add the flour, sugar, baking powder, baking soda and salt to the bowl of your stand mixer. Whisk to get rid of any lumps
- Add the cubed, softened butter to the bowl. Use the whisk attachment of the stand mixer to whisk on medium speed for ~30-60 seconds until the mixture starts to look like clumpy, coarse sand. Do not overmix
- In a separate bowl, break the eggs and add the buttermilk and vanilla. Whisk lightly to break the eggs and combine the ingredients
- Turn on the mixer on medium speed and slowly pour the egg mixture into the rest of the batter. Increase the speed to medium-high, and whisk for ~2 minutes until the batter becomes smooth, thick and fluffy in texture and pale in color. It is important to whisk properly at this step to incorporate air into the batter, but don’t overdo it as that can result in too much gluten development
- Divide the batter evenly between the 2 prepare pans (ideally using a scale) and spread out evenly
- Bake in the pre-heated oven for 20-22 minutes until a toothpick inserted in the middle of the cake comes out with light, moist crumbs (no wet batter). Do not overbake as that will dry out the cakes!
- Let the cakes cool in the pans for 15-20 minutes, then gently turn out from the pans for assembly
Strawberry jam:
- While the cakes are baking, start making the strawberry jam. Add the chopped strawberries, sugar and lemon juice to a saucepan
- Place on low heat and cook for ~15 minutes, stirring along the way and mashing some strawberries as they cook, until the mixture starts to resemble a somewhat thick, jammy sauce. The jam will continue to thicken as it cools down, so don’t overdo it!
- Remove from heat and let the jam cool down for 20 minutes
Whipped cream:
- Whisk the heavy whipping cream on medium high speed until it reaches the stiff peak stage. It should be able to hold shape, but do not overmix as that can cause the cream to become grainy / split
Assembly & decoration:
- To assemble, place one cake layer on a cake stand upside down (because the bottom part will be evenly golden and prettier to look at than the top)
- Spread on a thick layer of the strawberry jam – you should ideally use all of it
- Spoon the whipped cream on top of the jam layer, and very gently spread it out. Keep it ~1/2″ away from the edges of the cake so it does not overflow when the next cake layer is added on top
- Cover with the second cake layer, also placed upside down
- To decorate, dust with powdered sugar and, optionally, some fresh strawberries
- Slice, serve & enjoy!
Video Tutorial
Notes
- Flour: Cake flour will give you a very soft and tender crumb, so I recommend using it if you have it handy. Otherwise, all purpose flour works great in this recipe, too
- Buttermilk: If you don’t have buttermilk, you can make your own with 1/4 cup whole milk (60g) and 1 tsp vinegar or lemon juice
- Mixer: If you don’t have a stand mixer, you can also use an electric hand mixer for this recipe
- Bubbles on cakes: It is normal for the cakes to have bubbles on top when they have baked. This happens because the batter is quite thick and traps air bubbles inside, which rise to the surface as they bake. They will not have any impact on the taste and texture of the cake, and won’t be visible once assembled!
- Serving: This cake is best served at room temperature. Refrigerating causes the butter in the cake to harden, which can give it a firmer texture
- Make ahead: You can prepare all elements of this cake one day in advance. Once the cakes have cooled at room temperature, wrap them with cling wrap and keep at room temperature. Keep the jam at room temperature in a jar, and place the whipped cream in the fridge. Assemble when ready to serve
- Storing: You can store this cake at room temperature in an airtight container for 1-2 days provided it isn’t hot where you live. Otherwise, keep in the fridge for 3-5 days and bring your slice to room temperature before eating
Strawberry season? Check out these incredible recipes too:

Comments
Daniah
I made this cake yesterday for my mom’s birthday and IT IS SOOOOOOO GOOODDDDD. PERFECT RECIPE!!!!
Zoha
Aw thank you Daniah!!
R
Hii, I’m trying this recipe out, and i have no idea why the batter is crumbly?
I’ve been whisking it for a while, and am not sure why this is happening.
I mean, the batter tastes really good, haha.
Zoha
Hi there! At what stage was the batter crumbly?
Neha
I am very new to baking, I really wanted to try this recipe but unfortunately I cant find the measurements anywhere. Where are the quantities mentioned for the flour, salt, baking powder etc. Looks yum. I wish I was skilled enough to just know 😅
KC
wow!
Asma Amer
Your best component of blog post is the way you handle all possible troubles a baker might face. Thanks for spot on answers even before questions arise.
Truly a five star blog
Sangeeta
Hi Zoha, I tried this cake. it is relatively simple to make and tastes delicious. However the sponge didn’t rise much. what could be the possible reasons? Will try to improvise next time.
Zoha
Thank you so much!
Yusra Akhtar
I managed to make this with a newborn! Meaning this was extremely easy to make and even prepare beforehand. It turned out great (though I used a ready made jam from a local farm).
Zoha
AWWWW thank you SO much!!! I hope next time you’re able to try with homemade jam too, makes a huge difference
Mae Duncan
newsletter Subscription
Sangeeta
Hi Zoha, I tried this cake. it is relatively simple to make and tastes delicious. However the sponge didn’t rise much. what could be the possible reasons? Will try to improvise next time.
Radia
Excited to try this recipe! I was wondering if the Victoria cake would be a good base to use for a strawberry shortcake cake?
Zoha
Hi Radia! So technically a shortcake is different as it is more like a biscuity texture!