

This post may contain affiliate links
Add Bake with Zoha as a preferred source on Google and find more of my tried-and-tested recipes.
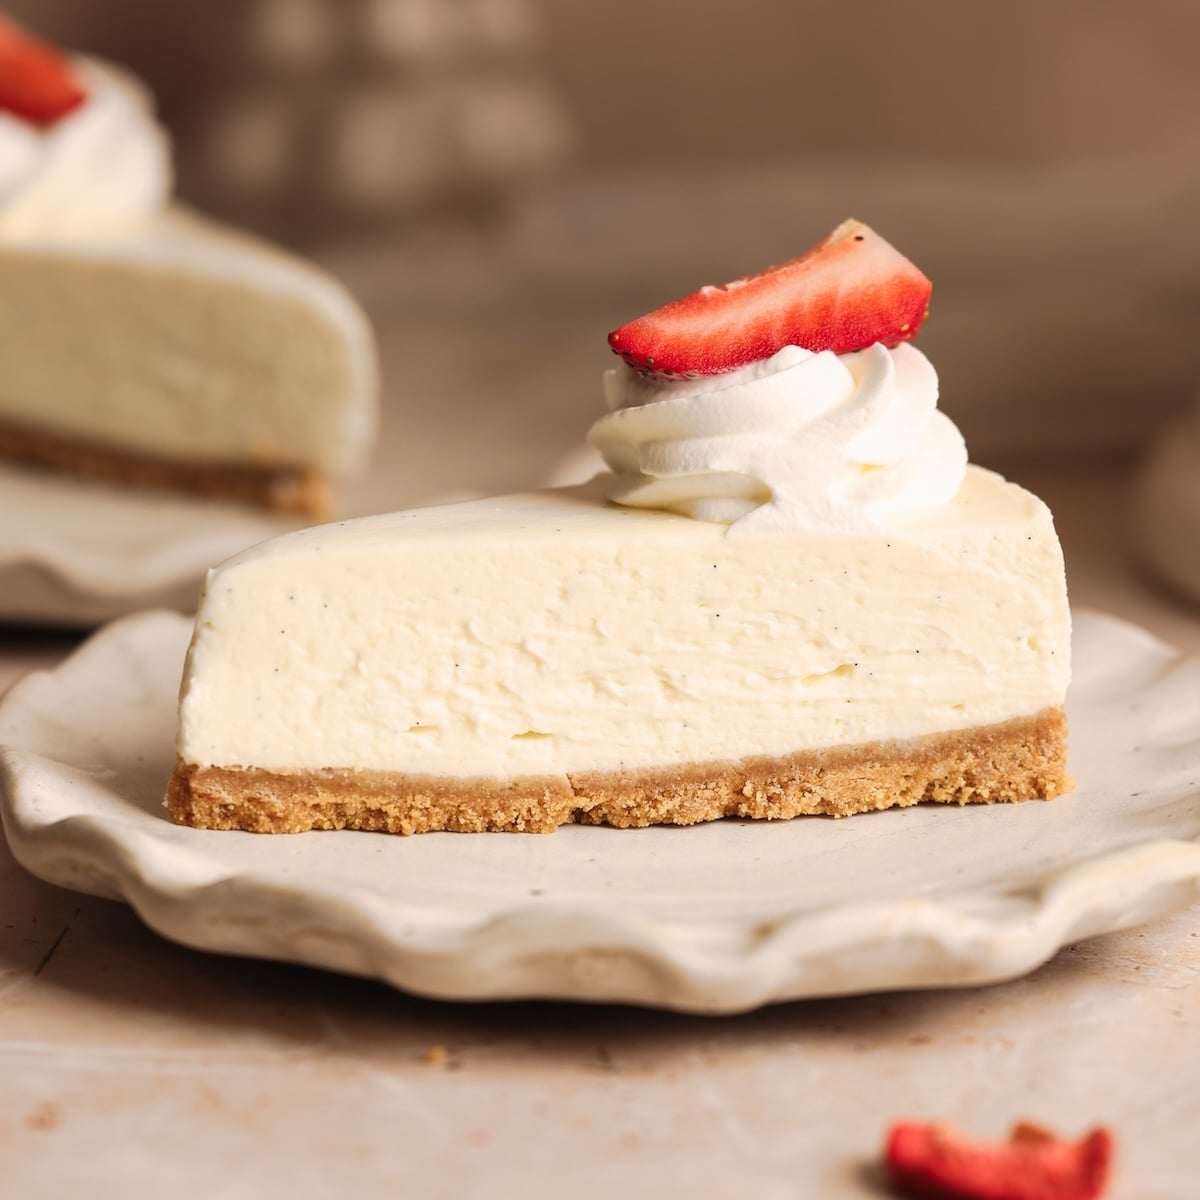
If you have ever wanted the indulgence of a baked New York Cheesecake without the effort, this No Bake Cheesecake is exactly what you need. Unlike most no bake cheesecakes which have a light, mousse-like texture, this cheesecake has the rich, dense texture of a baked cheesecake thanks to a higher ratio of cream cheese. It is slightly tangy from a hint of lemon, perfectly sweet, and slices up cleanly with a thick and crispy graham cracker crust. And it takes only 15 minutes of work, a handful of simple ingredients (no gelatin, no condensed milk, no eggs), and no baking!
How it works
How does a cheesecake set without eggs, gelatin, or white chocolate? A lot of full-fat cream cheese, and a little whipped cream folded into the batter! This adds just enough fat and air into the mix that chilling overnight will set it up like magic (or like butter). I have tested versions with more whipped cream, but I find that these quantities create the ideal rich, tangy flavor and texture that screams cheesecake. It is also not too sweet, and uses vanilla bean paste (you can sub extract), sour cream and lemon (optional) to complement the cream cheese.
The type of cream cheese matters!
Because this recipe has no gelatin, it relies heavily on the amount of fat in the cream cheese for the cheesecake to set. This only works well if you use full-fat cream cheese that comes in blocks, like Philadelphia. Low fat cream cheese, cream cheese spreads, or cream cheese in tubs won’t work as well, and the cheesecake will have a softer texture. If that’s all you can find, I recommend assembling it in a pie dish and serving from that.
Step by step photos
Here are the steps with photos to show you how you can make this simple no bake cheesecake with less than 15 minutes of work. More detailed instructions are provided in the recipe card below.
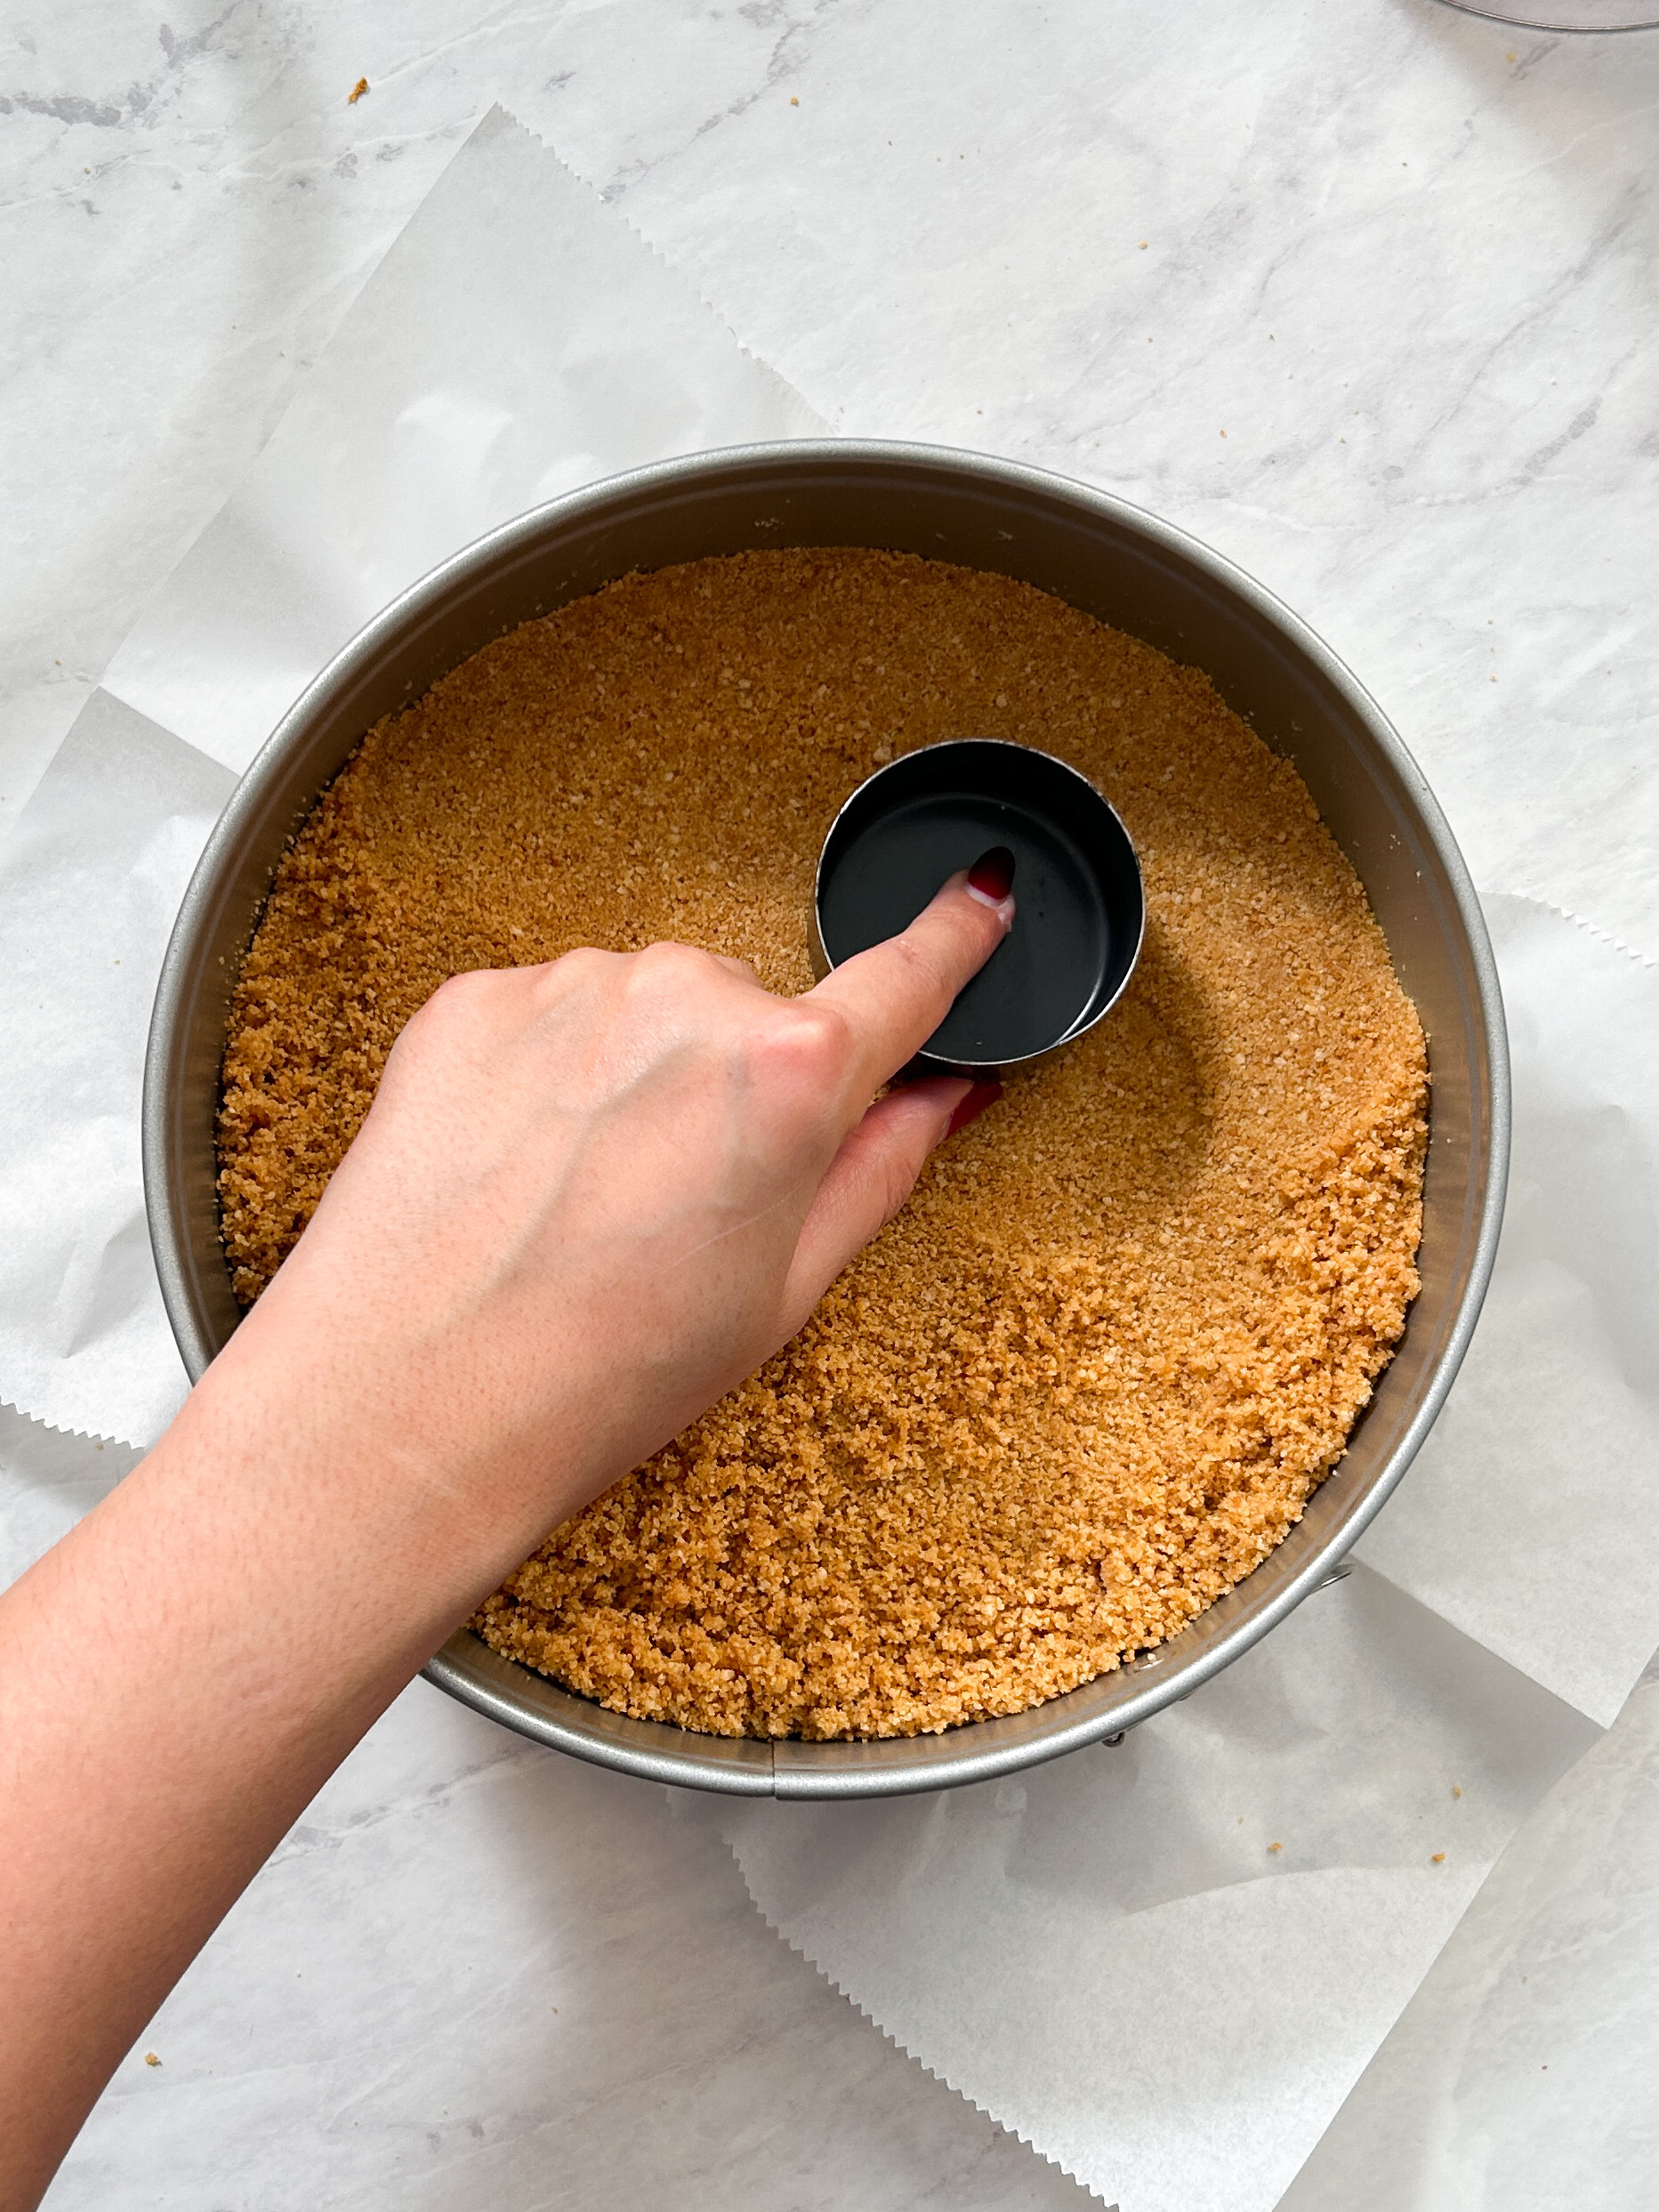
Blitz the Graham Crackers until they turn into a fine crumb, and mix in the melted butter and salt. Transfer to a 9″ springform pan lined with parchment paper.

Tightly pack the crust using the back of a measuring cup. Refrigerate while you make the filling.
Note: This recipe makes for a very thick crust (which I like!), but if you don’t want that, you can also push some of the crumbs up the edge of the cheesecake pan. This will still give you ample crust, but it won’t be as thick on the bottom.
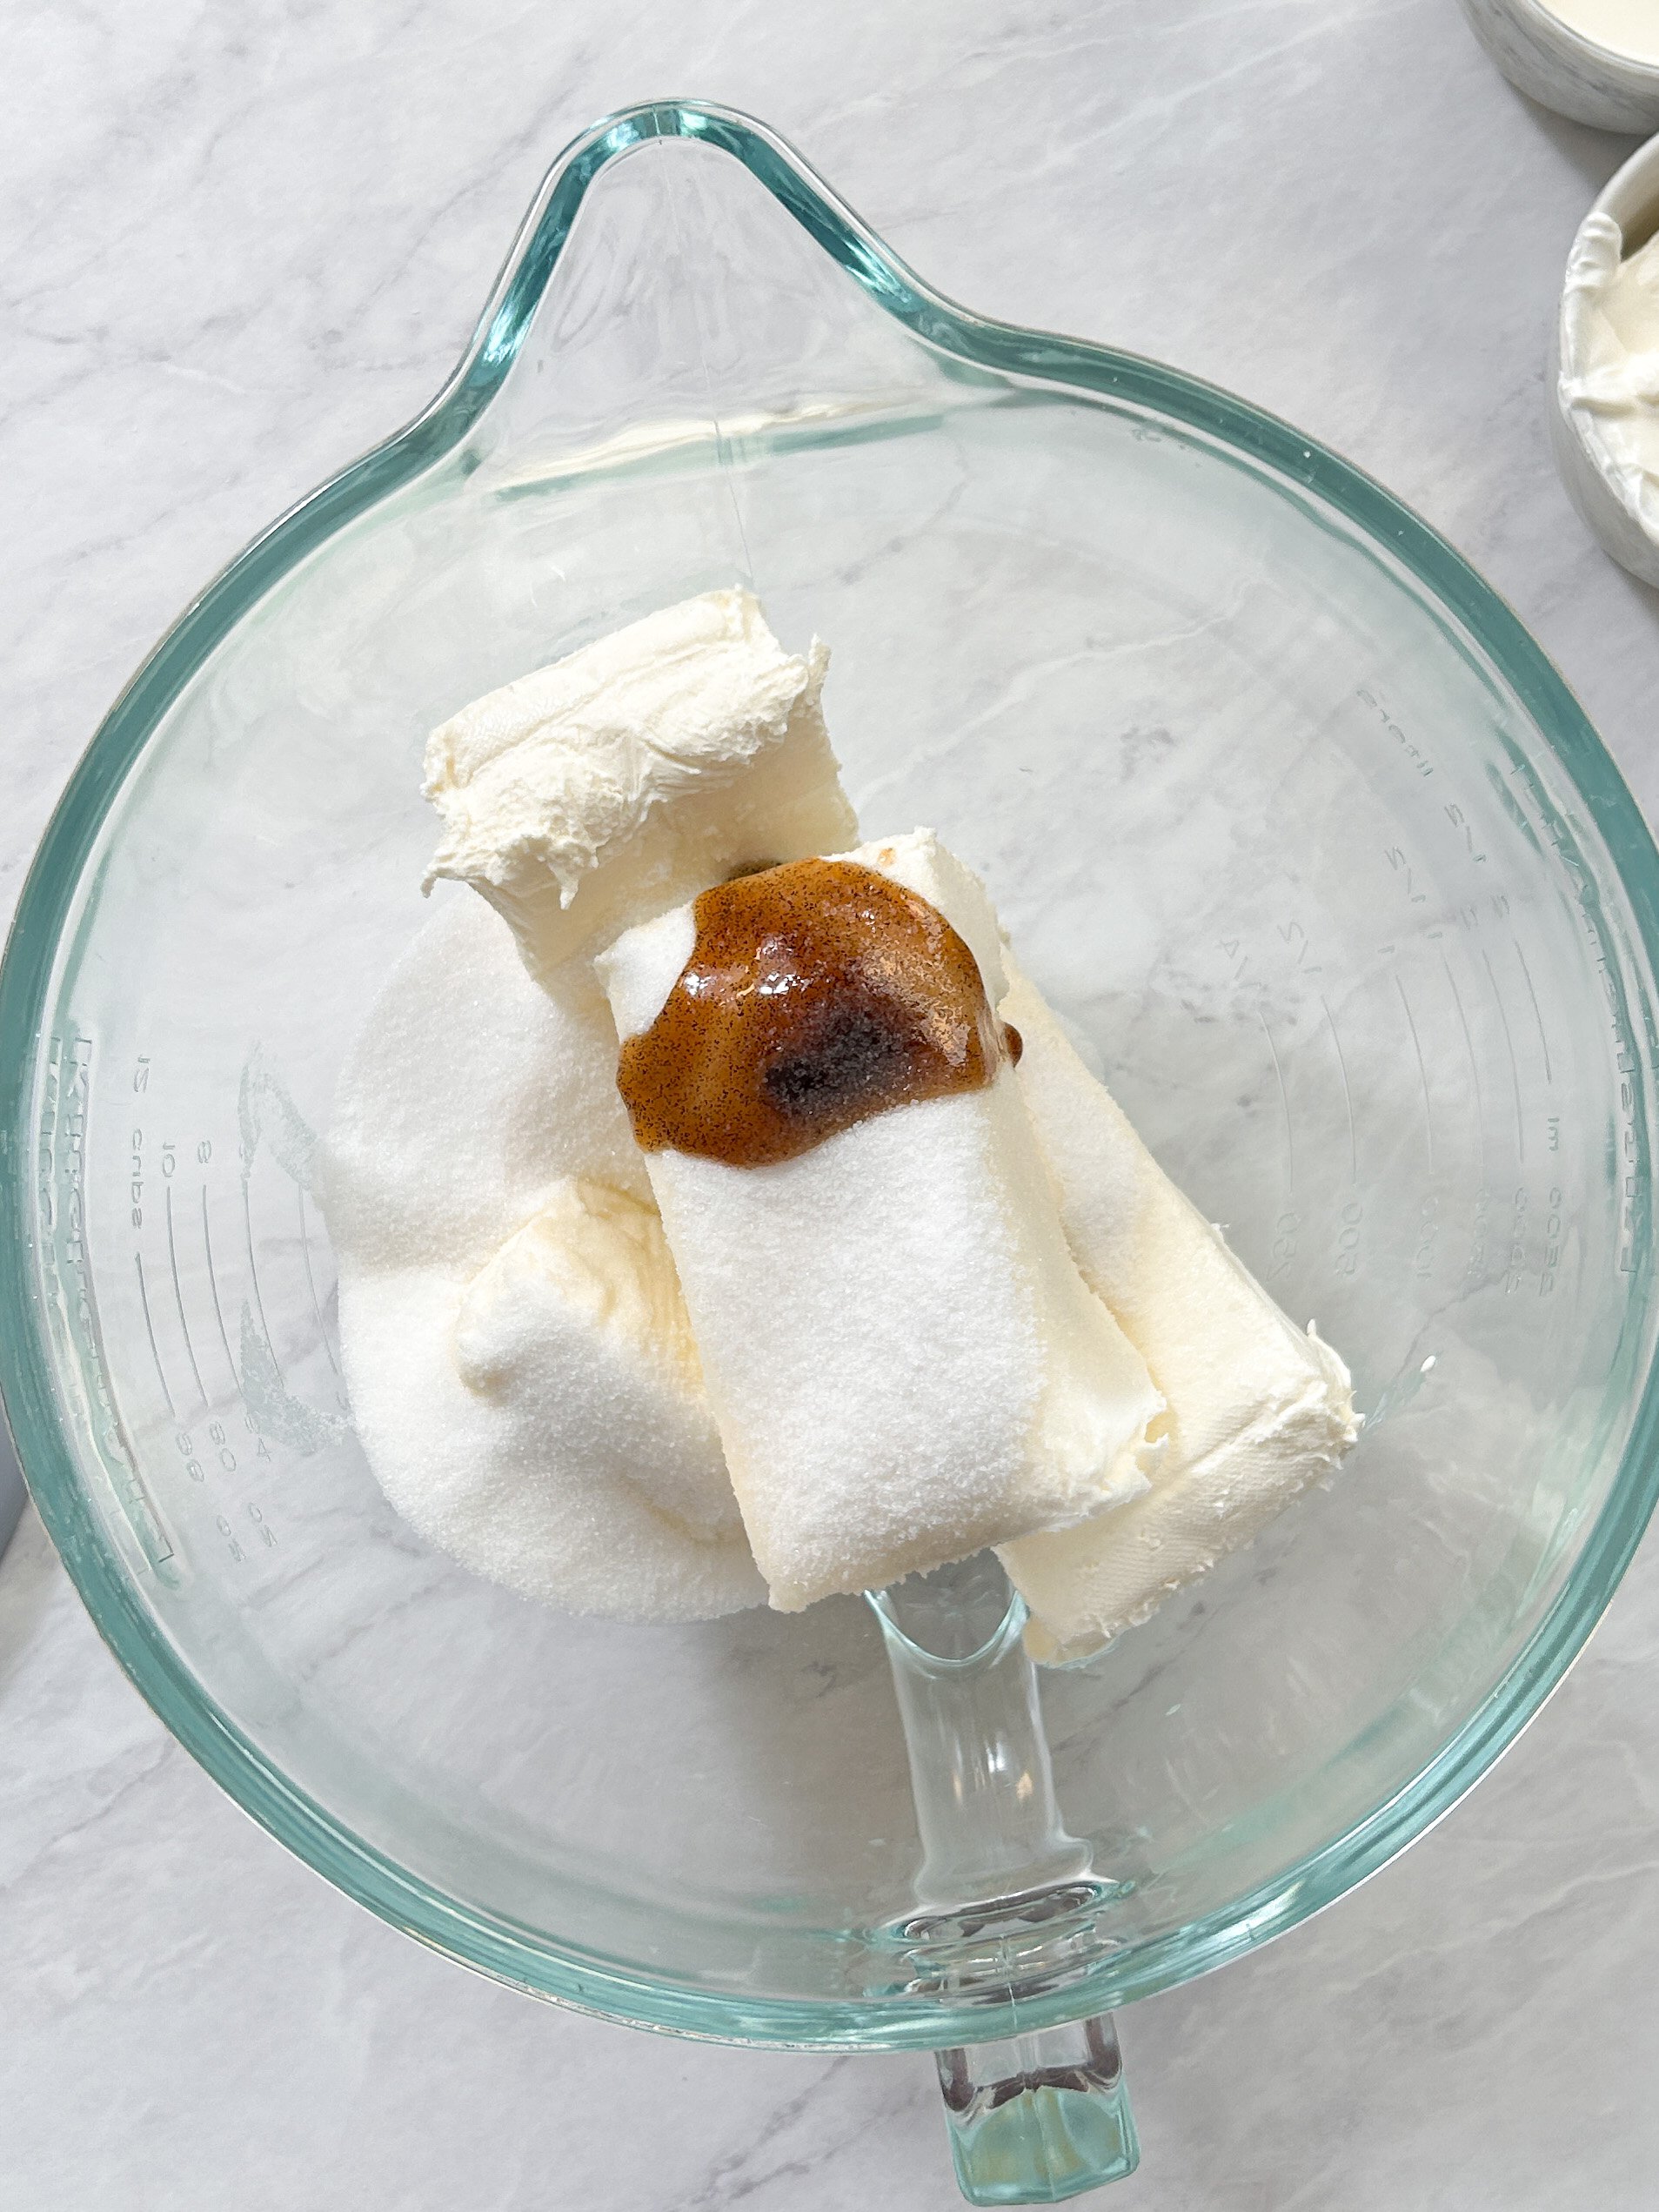
For the filling, add room temperature cream cheese, sugar, salt and vanilla into the bowl of your stand mixer.

Use the paddle attachment to whisk until the sugar dissolves and you have a creamy mixture (about 2 minutes).
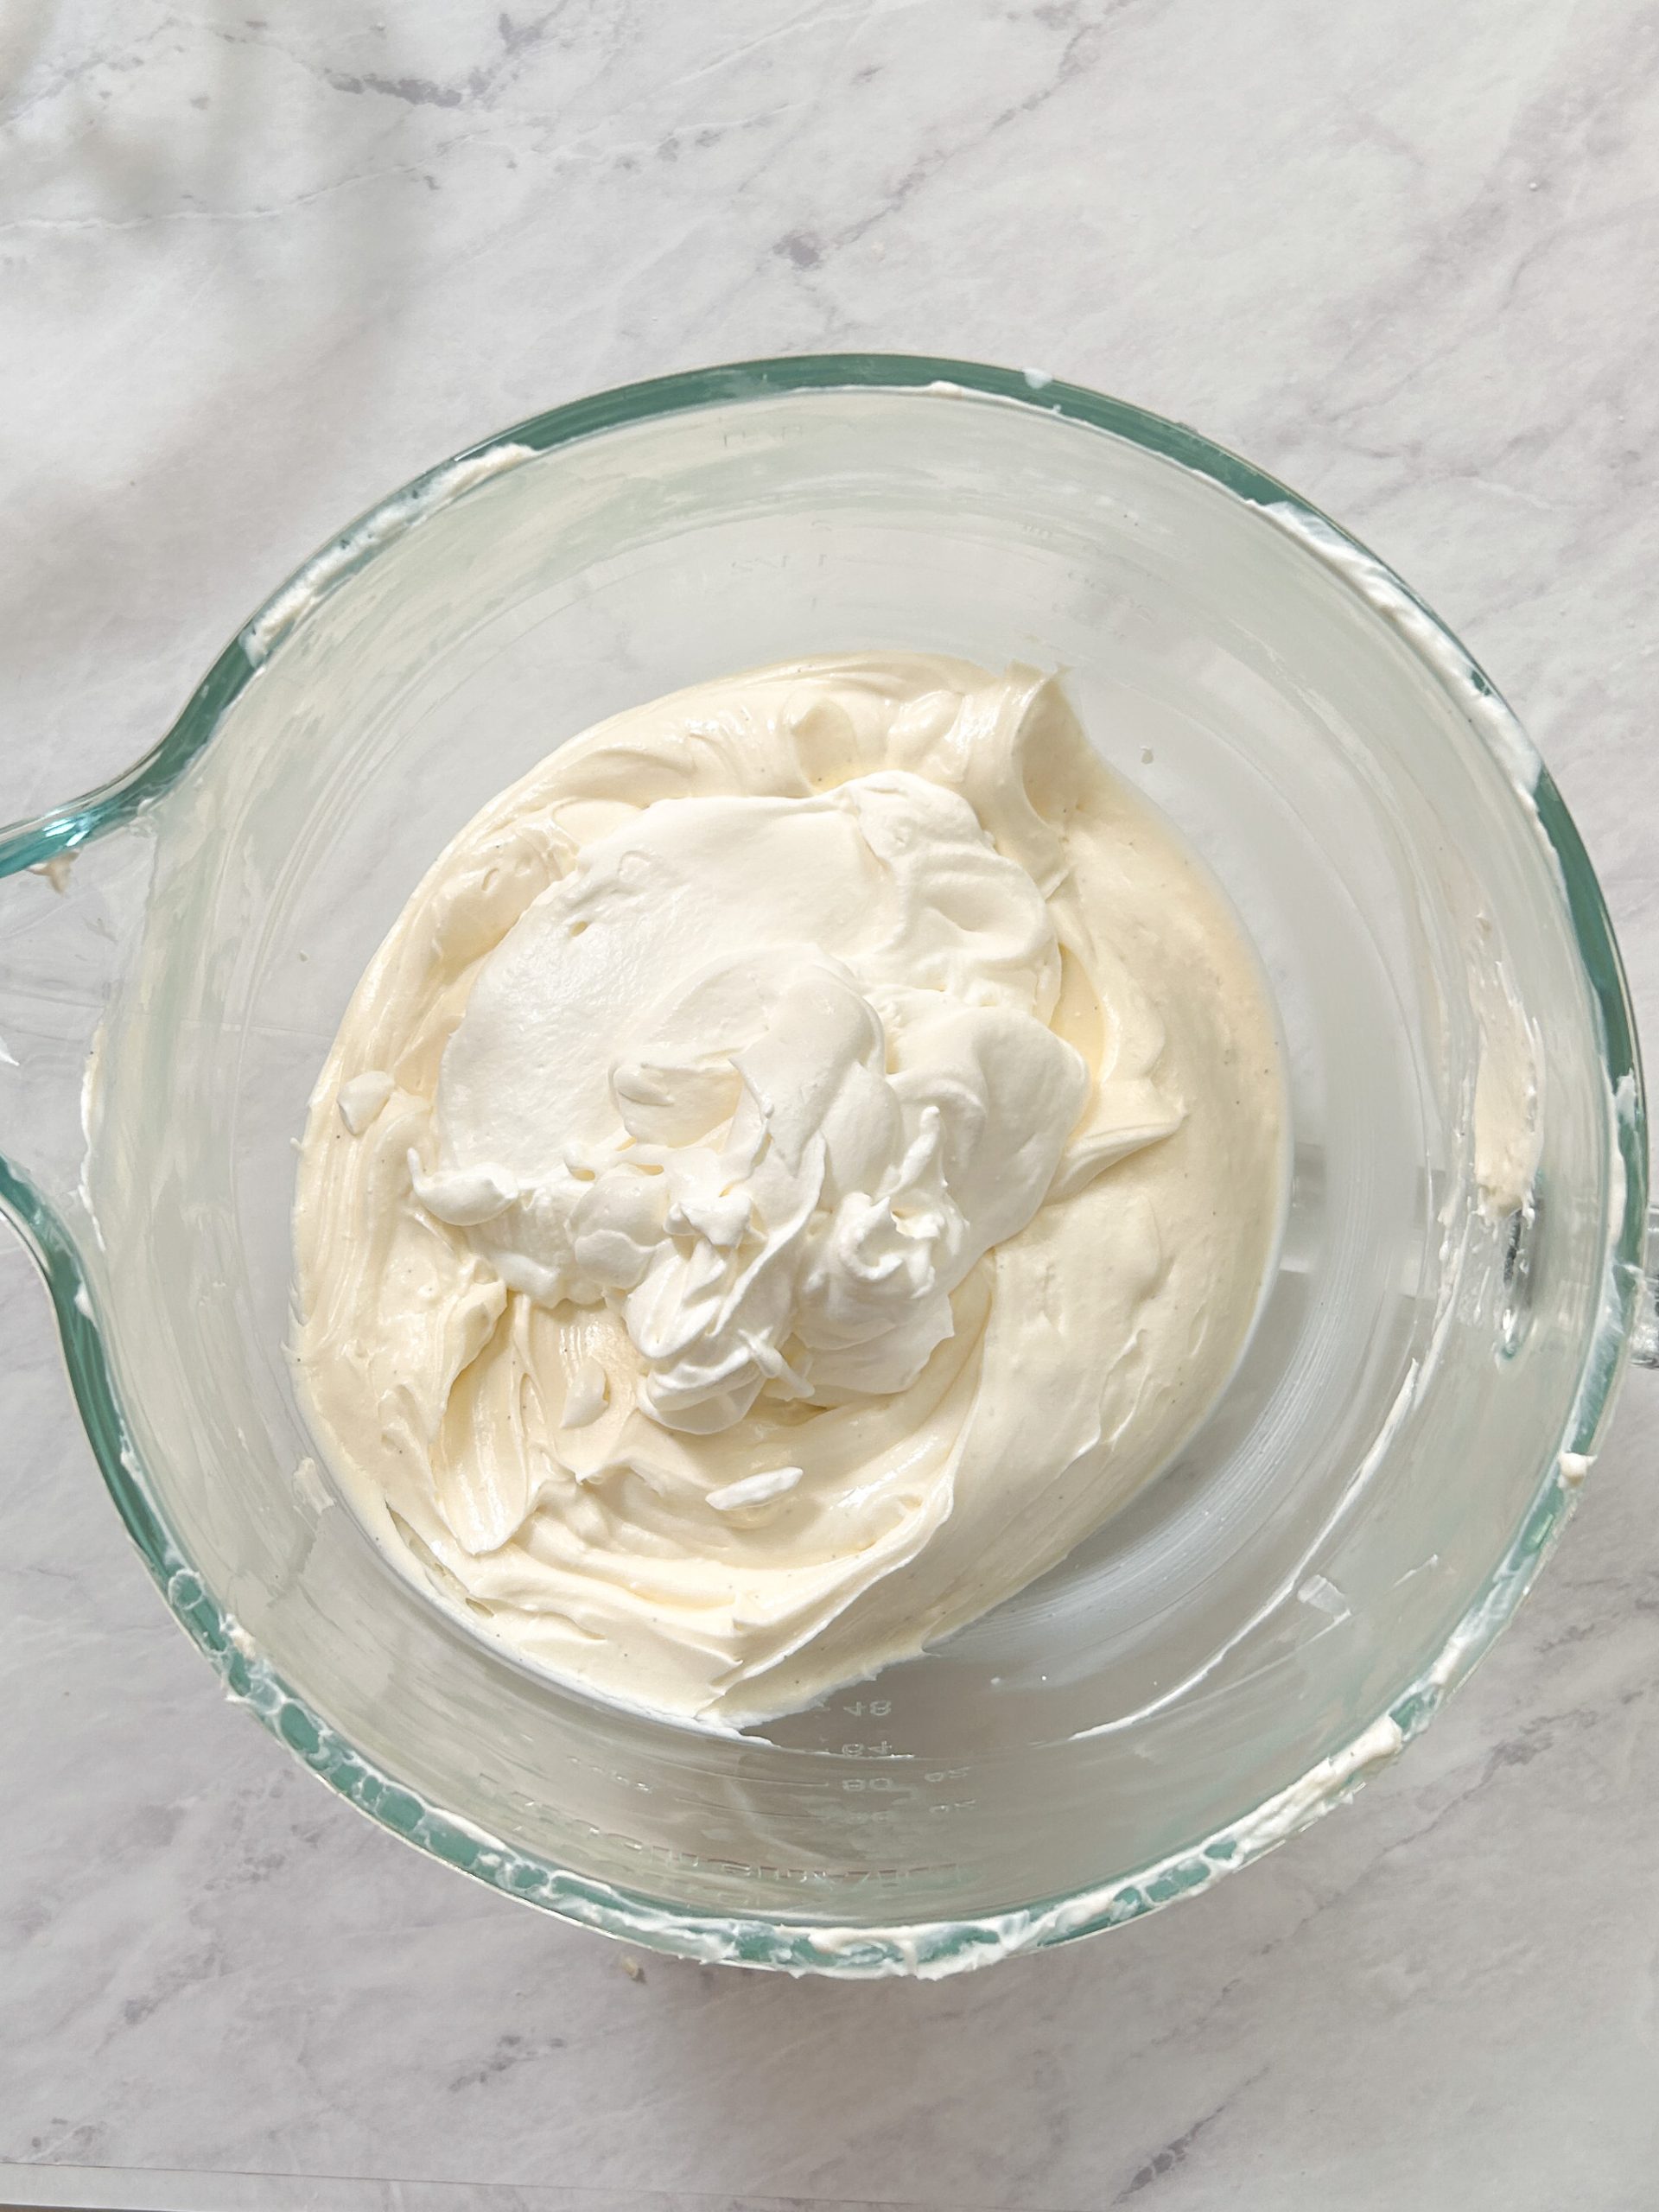
Add the lemon juice and sour cream.

Whisk again until just combined. Scrape the bowl with a rubber spatula to ensure the ingredients are mixed properly.

In a separate bowl, whip up cold heavy cream until it forms stiff peaks.
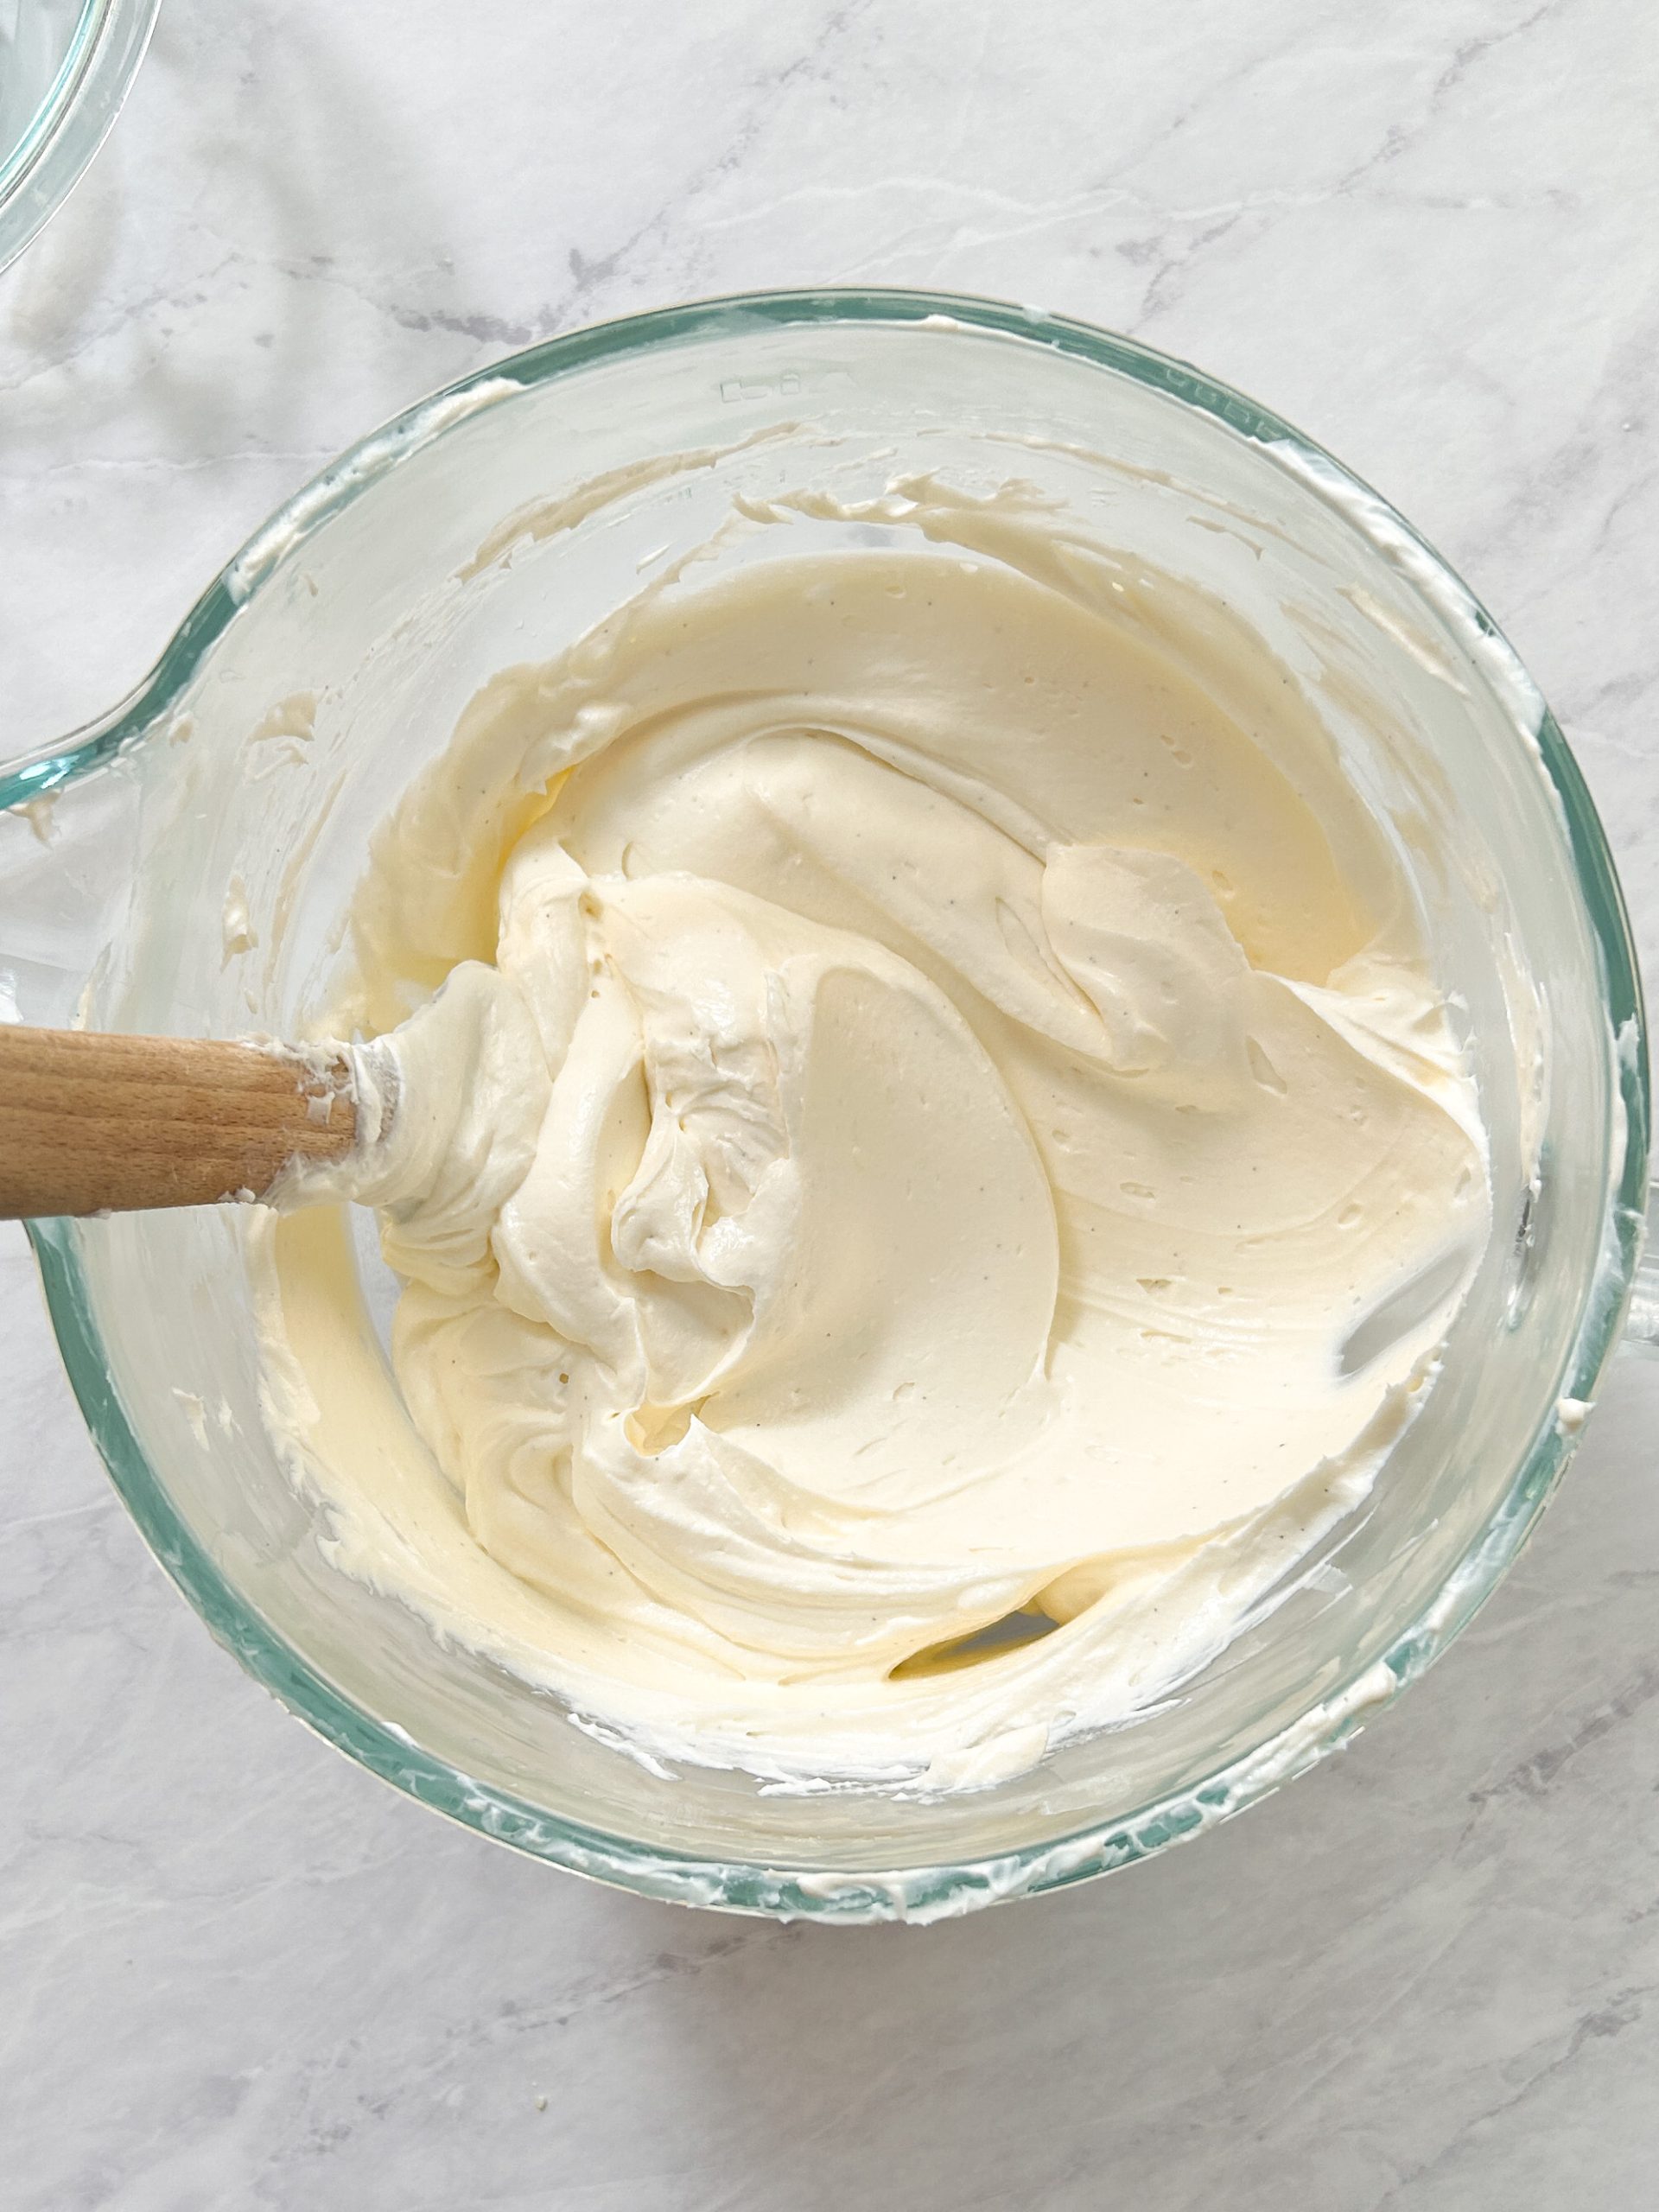
Gently fold the whipped cream into the cheesecake filling using a rubber spatula until combined.
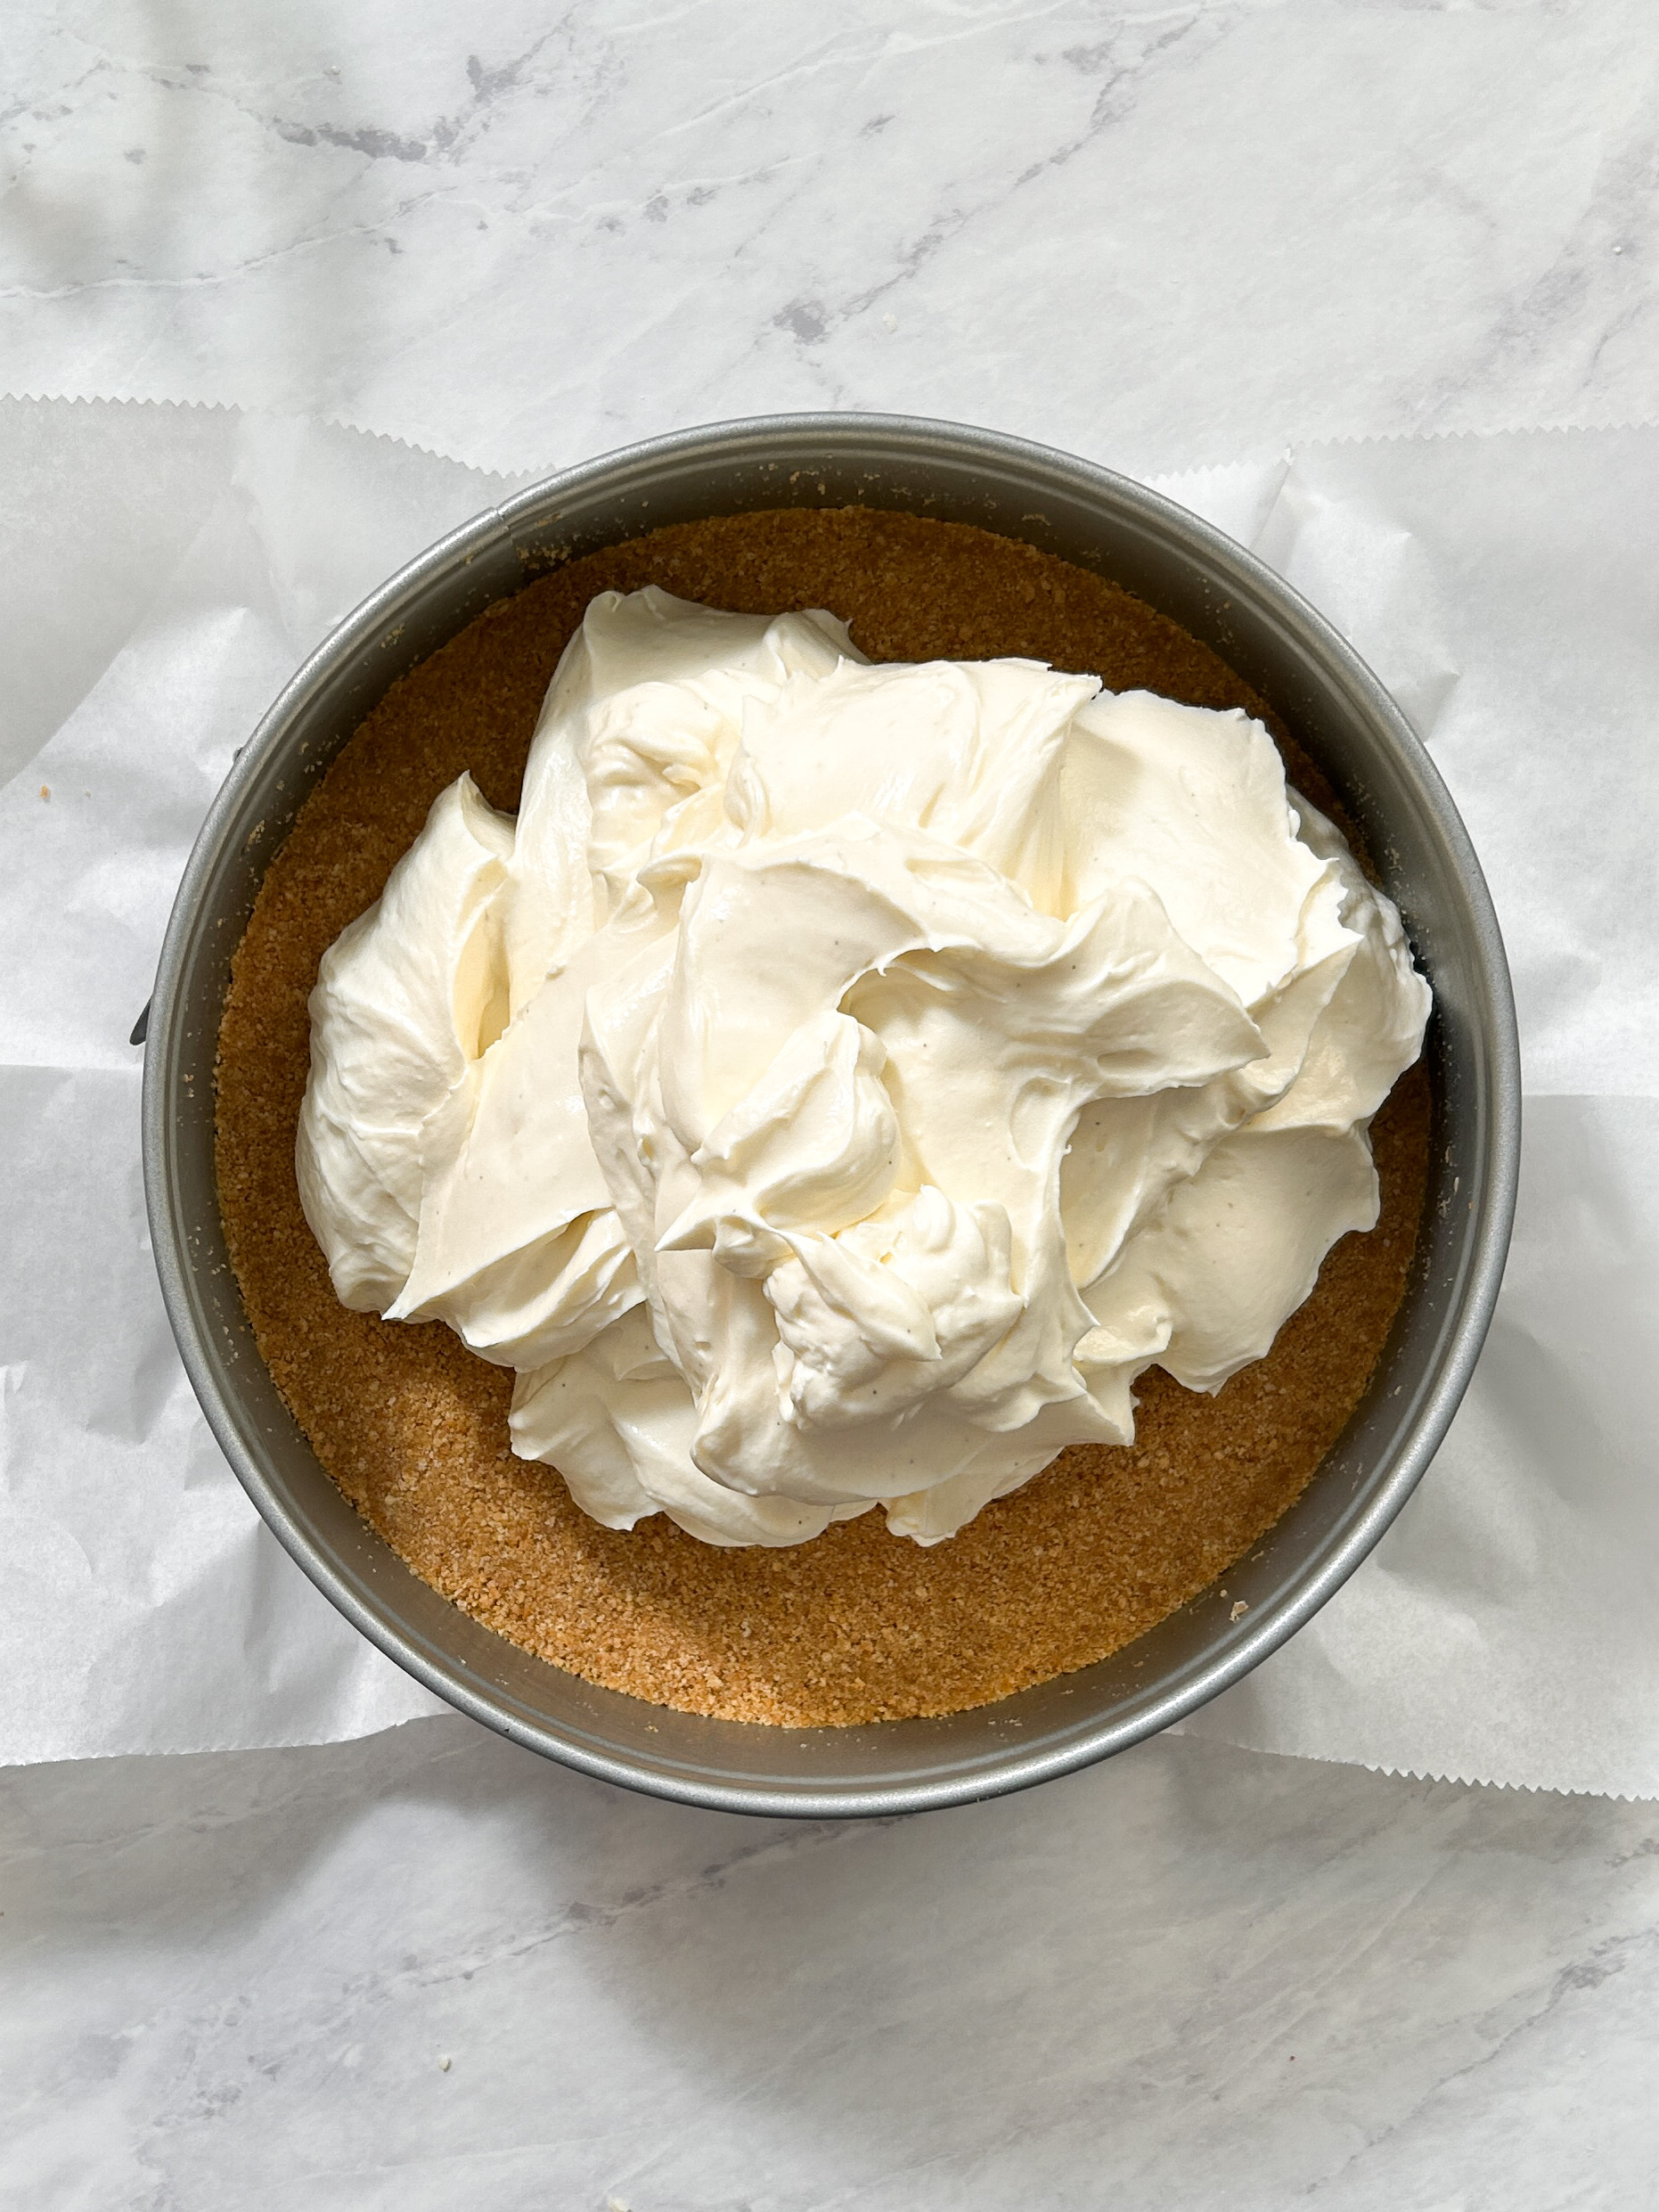
Transfer the cheesecake filling into the pan with the chilled crust, and press down with a spatula to remove air pockets.

Spread the filling evenly. Cover the pan with cling wrap, and refrigerate overnight (or at least 6 hours) to set.
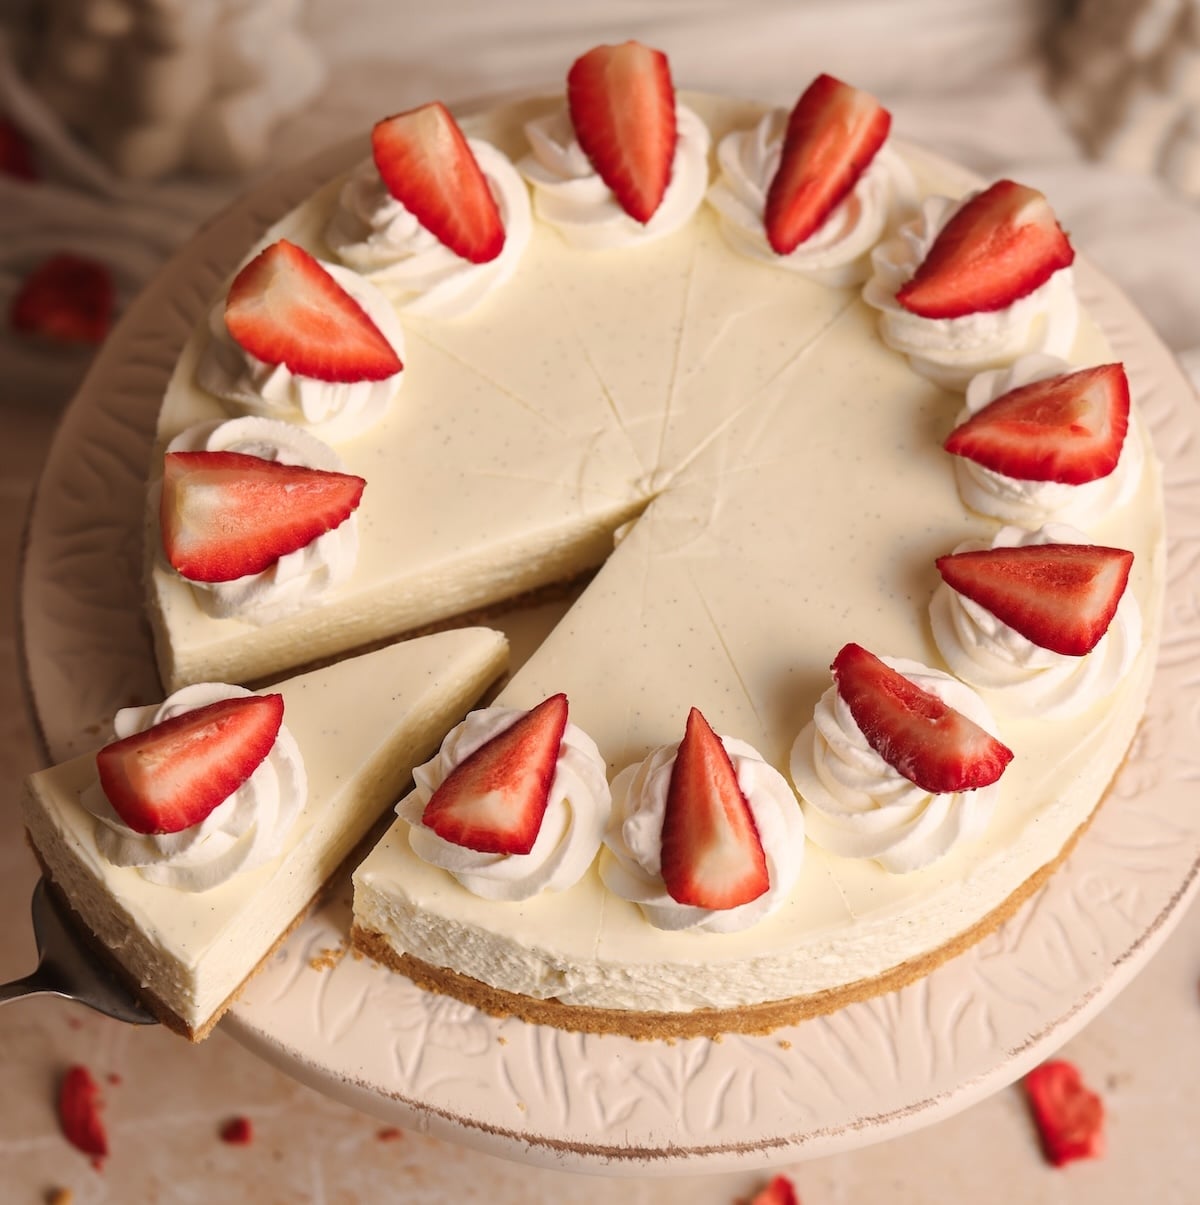
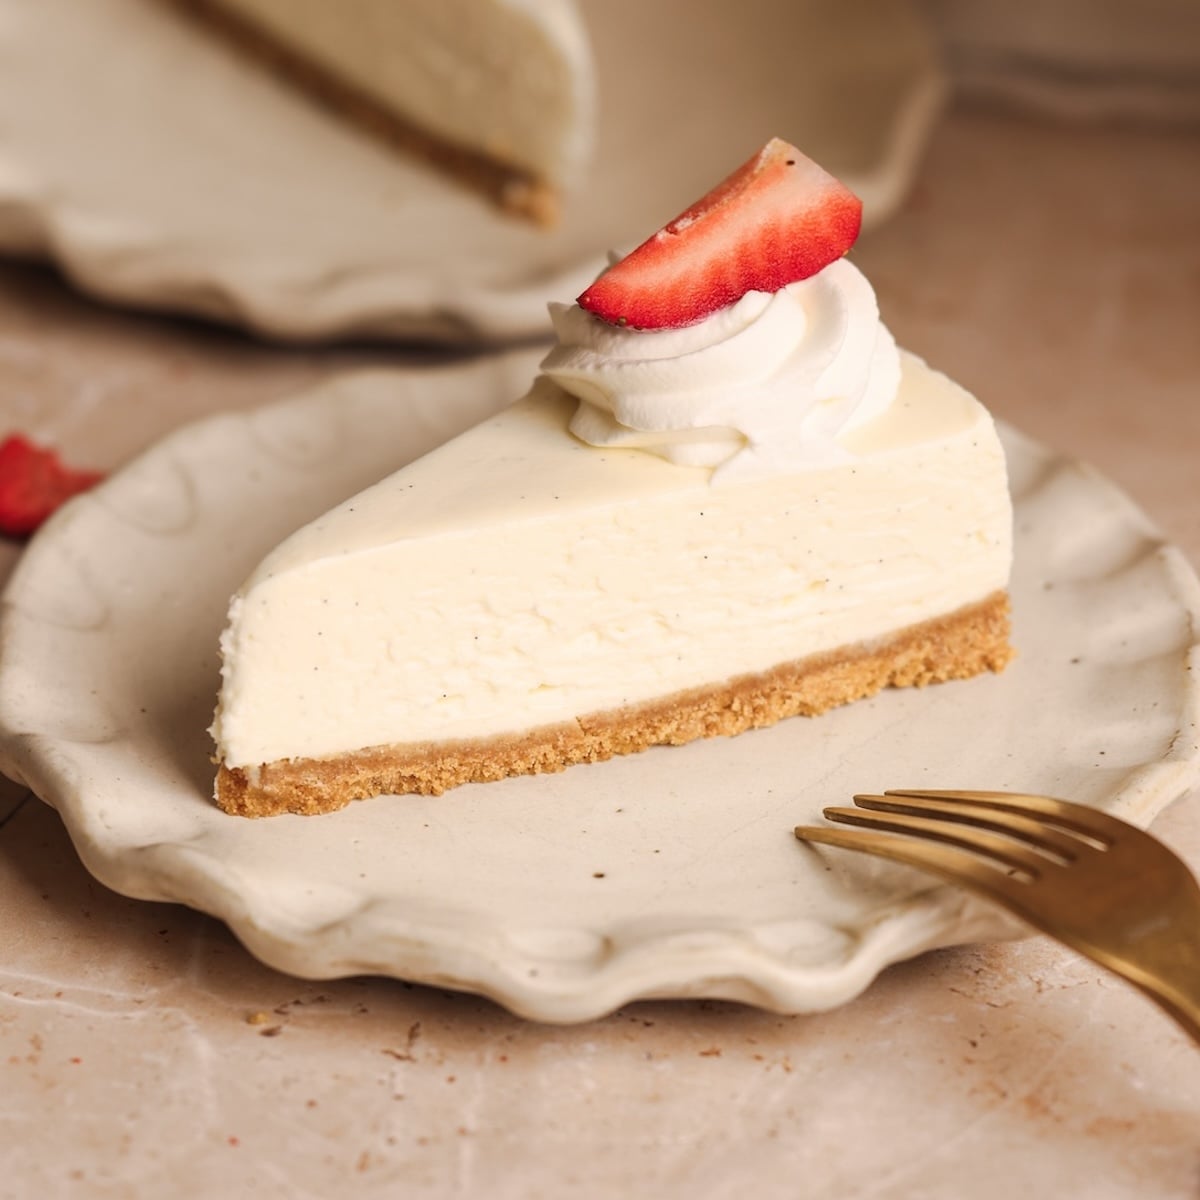
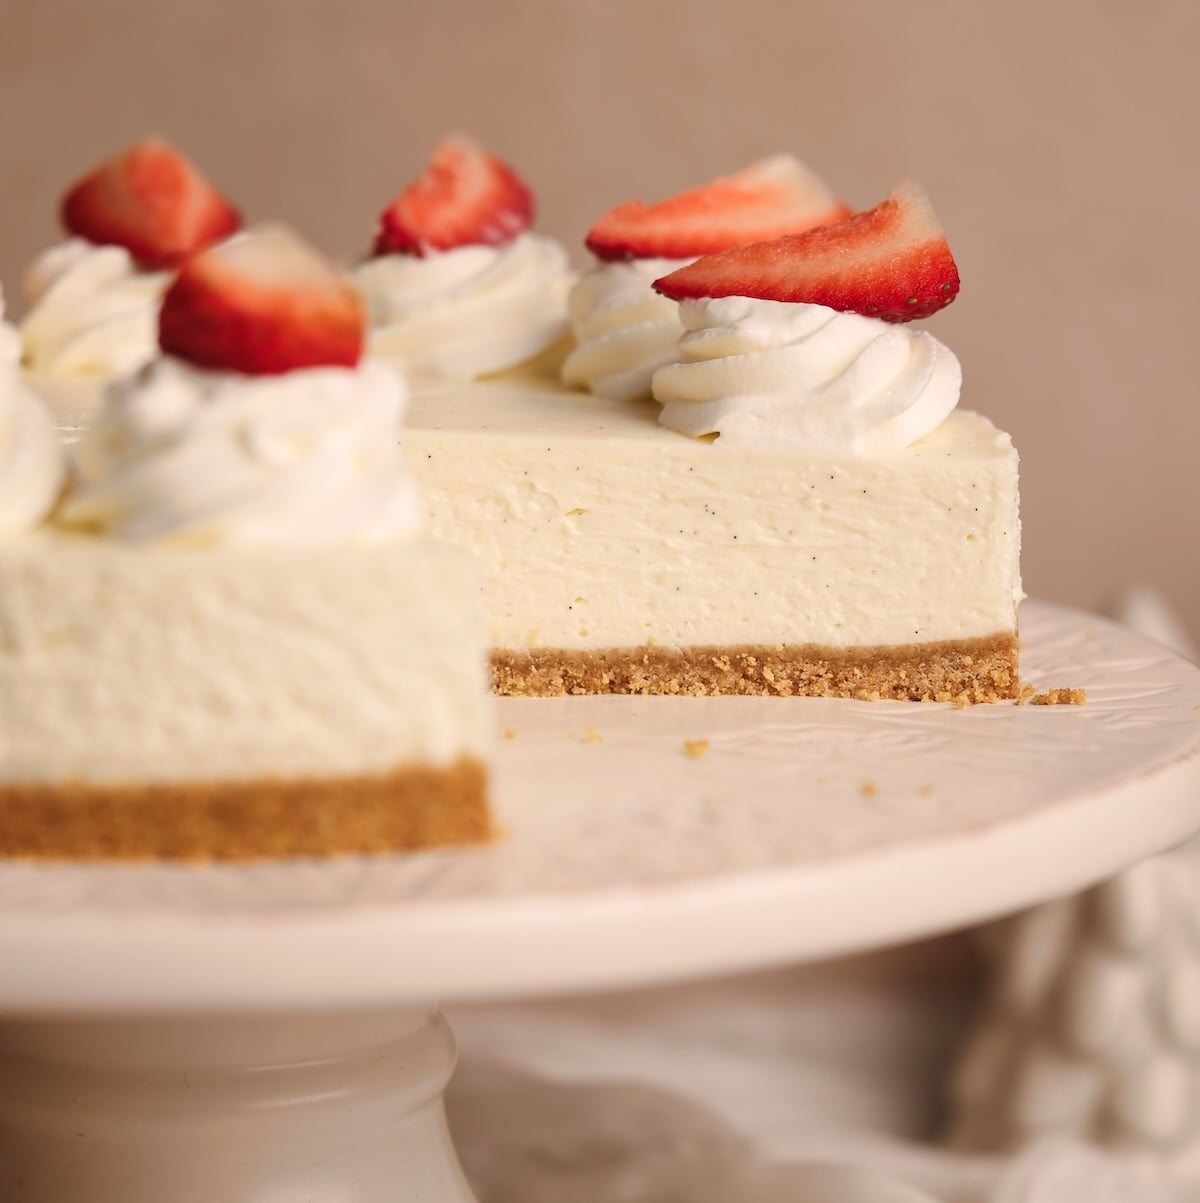
Once the cheesecake is set, carefully remove it from the pan, decorate with whipped cream and fresh berries. Now just slice, serve, and enjoy!
Make it your own!
Not only is this recipe delicious on its own, it also creates a very versatile base you can create different flavors with by simply changing the crust or adding a topping! Some of my personal favorite variations include:
- Upgrade the cream and berries on top to a berry compote, like the strawberry compote on my Strawberry Cheesecake
- A salted caramel source on top just like the one I use on top of my Salted Caramel Cheesecake (in this case, swap the graham crackers for biscoff cookies!)
- A lemon curd to lean into the tangy flavor, like the used in this Lemon Meringue Cheesecake
Final tips before you make it
While this is an “easy” recipe, some people still struggle with getting their no-bake cheesecake perfect. Here are my best tips for you:
- Make sure to pack the crust tightly. Since the crust isn’t baked, packing it tightly will help ensure it is crispy and doesn’t crumble
- Use high quality, full-fat cream cheese. I’ve said this before but it’s important enough to say again!
- Bring the cream cheese and sour cream to room temperature. Take them out of the fridge 1-2 hour before using
- Avoid overmixing the filling. Cream cheese is hygroscopic, meaning it can actually become more runny if it is whisked for too long. Whisk only as long as needed to ensure the ingredients are combined, but not any longer
- Scrape the edges and bottom of the bowl throughout! This ensures you don’t end up with lumps of unmixed cream cheese in your filling
- Do not overwhip the heavy cream. Stop whisking as soon as the heavy cream reaches stiff peaks. Whisking longer will cause it to split and become grainy
- Use high quality vanilla! I strongly recommend using vanilla bean paste, as it has seeds and a much richer flavor
Email This Recipe
Enter your email and I’ll send this directly to you. Plus you’ll get new recipes from me every week!
Ingredients
Crust:
- 200g Graham Crackers or Wheat Digestives (about 13–14 sheets full sheets of graham crackers)
- 90g unsalted butter, melted (slightly more than 6 tbsp)
- Pinch of salt
Cheesecake filling:
- 800g cream cheese (28 oz or 3.5 8 oz packs), room temperature
- 150g granulated sugar (3/4 cup)
- 2 tsp vanilla bean paste
- 1/2 tsp salt
- 2–4 tbsp freshly squeezed lemon juice, to taste – optional, but recommended
- 120g sour cream (1/2 cup), room temperature
- 120g heavy cream (1/2 cup), chilled
Decoration (optional):
- 120g heavy cream (1/2 cup), chilled and whipped to stiff peaks
- Fresh berries
Instructions
Crust:
- Prepare a 9″ springform pan. Lightly brush softened butter inside the pan and line it with parchment paper (I recommend a parchment circle on the base, and a separate strip of parchment along the sides of the pan)
- Grind the graham crackers in a food processor until they form a fine crumb (you can also use a pestle or rolling pin if you don’t have a food processor). Add the melted butter and salt, and blitz again to combine. The mixture will still be crumbly, which is ok
- Transfer the crust ingredients to the pan, and tightly pack them down using the back of a large spoon or a measuring cup. The tighter you do this, the crispier the crust will be, so take your time!
- Place the pan in the fridge to refrigerate the crust while you work on the filling
Cheesecake filling:
- Add the room temperature cream cheese, sugar, salt and vanilla to the bowl of your stand mixer (you can also use a hand mixer). Use the paddle attachment to mix at medium speed about about ~2 minutes until the sugar has dissolved. Scrape the bowl with a rubber spatula 1-2 times along the way
- Add in the sour cream and lemon juice, and whisk until just combined – scrape the bowl again
- In a separate bowl, use a hand mixer to whisk the heavy cream until it reaches stiff peaks (meaning it holds shape). Take care not to overmix as that can cause the cream to split and become grainy
- Add the whipped cream to the cheesecake mixer, and gently fold it in using a rubber spatula. Only mix until just combined – the mixture will be quite thick and fluffy!
- Remove the pan from the fridge and add the cheesecake filling on top of the crust. Use a spatula to press down the filling to remove any air pockets, then spread it out evenly
- Cover the pan with cling wrap on top (shouldn’t touch the surface of the cheesecake) and refrigerate overnight (or at least 6 hours) until fully set
- Once set, carefully remove the cheesecake from the pan. Using the parchment paper on the bottom and the sides will make this easier, and you should be able to peel it off. To transfer the cheesecake from the base of the pan to a serving stand, use two larger spatulas and some help! When the crust is chilled, it is pretty firm which makes this easier
Decoration (optional):
- Whip up the heavy cream until it forms medium-stiff peaks and transfer it to a piping bag with a star piping tip of choice
- Use a knife to mark impressions where you think the slices will go on the cheesecake. Then pipe a dollop of whipped cream on the edge of each slice, and place a berry on top to garnish
- Serve & enjoy!
Video Tutorial
Notes
- Crust: This cheesecake has a thick crust. If you don’t like a thick crust, you can reduce the crust quantity, or push it up the sides of the pan in addition to the bottom to spread it out more
- Sour cream substitute: Sour cream adds incredible flavor and texture to cheesecake. However, if it is not available where you live, you can substitute it with full-fat yogurt
- Make ahead and storage: This cheesecake is great to make ahead as it’s chilled before serving anyway! Covered with cling wrap, it stays good in the fridge for up to 5 days. I recommend adding the decoration right before serving, though.
- Freezing: You can also freeze this cheesecake in an airtight container up to 3 months. Let it defrost in the fridge overnight before enjoying

Comments
Zoha Malik
That’s what I like to hear! hah, thank you so much
Asma @ Bake with Zoha
Thank you so much for trying and liking this cheesecake and the recipe. 🙂
Asma @ Bake with Zoha
Absolutely grateful Farah for liking this awesome cake. 🙂
Samon Humair
Loved it!
Zoha Malik
Thank you, Samon!
Sadaf Azam
Amazing recipe! Thanks ❤️
Farhat
Looks amazing will try
Hafsa ansari ANSARI
made it, it turned out soo gooood
Anas
hi zoha
I wanted to know if I want to make this blueberry cheesecake and include blueberry filling in base instead of on top only I will need to add gelatin for the stability to hold that cheesecake nicely
Zoha Malik
Hi Anas! I don’t recommend adding a fruit into the cheesecake mixture as that will add moisture and it won’t set. At that point it becomes a completely different recipe that I haven’t tested 🙂
Ammara Badar
It’s always exciting trying your recipe and Alhumdullilah they always turn out perfect . Never had a failed attempt . Keep going girl more power to you 🥰🥰
Zoha Malik
big hug to you!
Iman Khan
I love it!!! It’s been so hard to find a recipe without gelatin! Thank youuuu
Zoha Malik
I am so glad to hear that! <3
Amin Visram
so good delicious
Sehr
Every time I try any of your recipie it’s surprisingly soooo delicious even though ‘m trying all your recipes for the first time
Zoha Malik
Thank you so much, Sehr! The trust means a lot to me
Atiya
the best recipe 💯 recommended
GB
love your recipes
tried your tandoori pizza and chocolate cheese cake and this recipe as well. Everyone in my family loved em.
Fatima Ilahi
You’re amazing zoha!!
Asma @ Bake with Zoha
Thank you so much Fatima. You too are amazing and so is your support. 🙂
Asma @ Bake with Zoha
Thank you Laraib and Ameen. May you remain blessed forever as well. Ameen
Sarah
So delicious!! A must try!!
Asma @ Bake with Zoha
Thank you so much Sarah for liking and recommending this easiest version of cheesecake. ❤️
Fatima
I made this last weekend and it was so quick and easy to make and delicious!!
Zoha Malik
YAYYYY I am glad you liked it!
Neha Shinde
Love your videos with all small details covered.
Zoha Malik
Thank you, Neha. Glad you find it helpful 🙂
Asma @ Bake with Zoha
Aww Khadija, that’s the best feedback one could hope for. Thank you for trying and liking our recipes. 💕
Indira Ramnarain
hello can i use yoghurt for this cheesecake instead of sour cream? thank you☺️
Zoha Malik
Hi Indira! I think that should be ok but of course will impact the flavor.