

This post may contain affiliate links
Add Bake with Zoha as a preferred source on Google and find more of my tried-and-tested recipes.
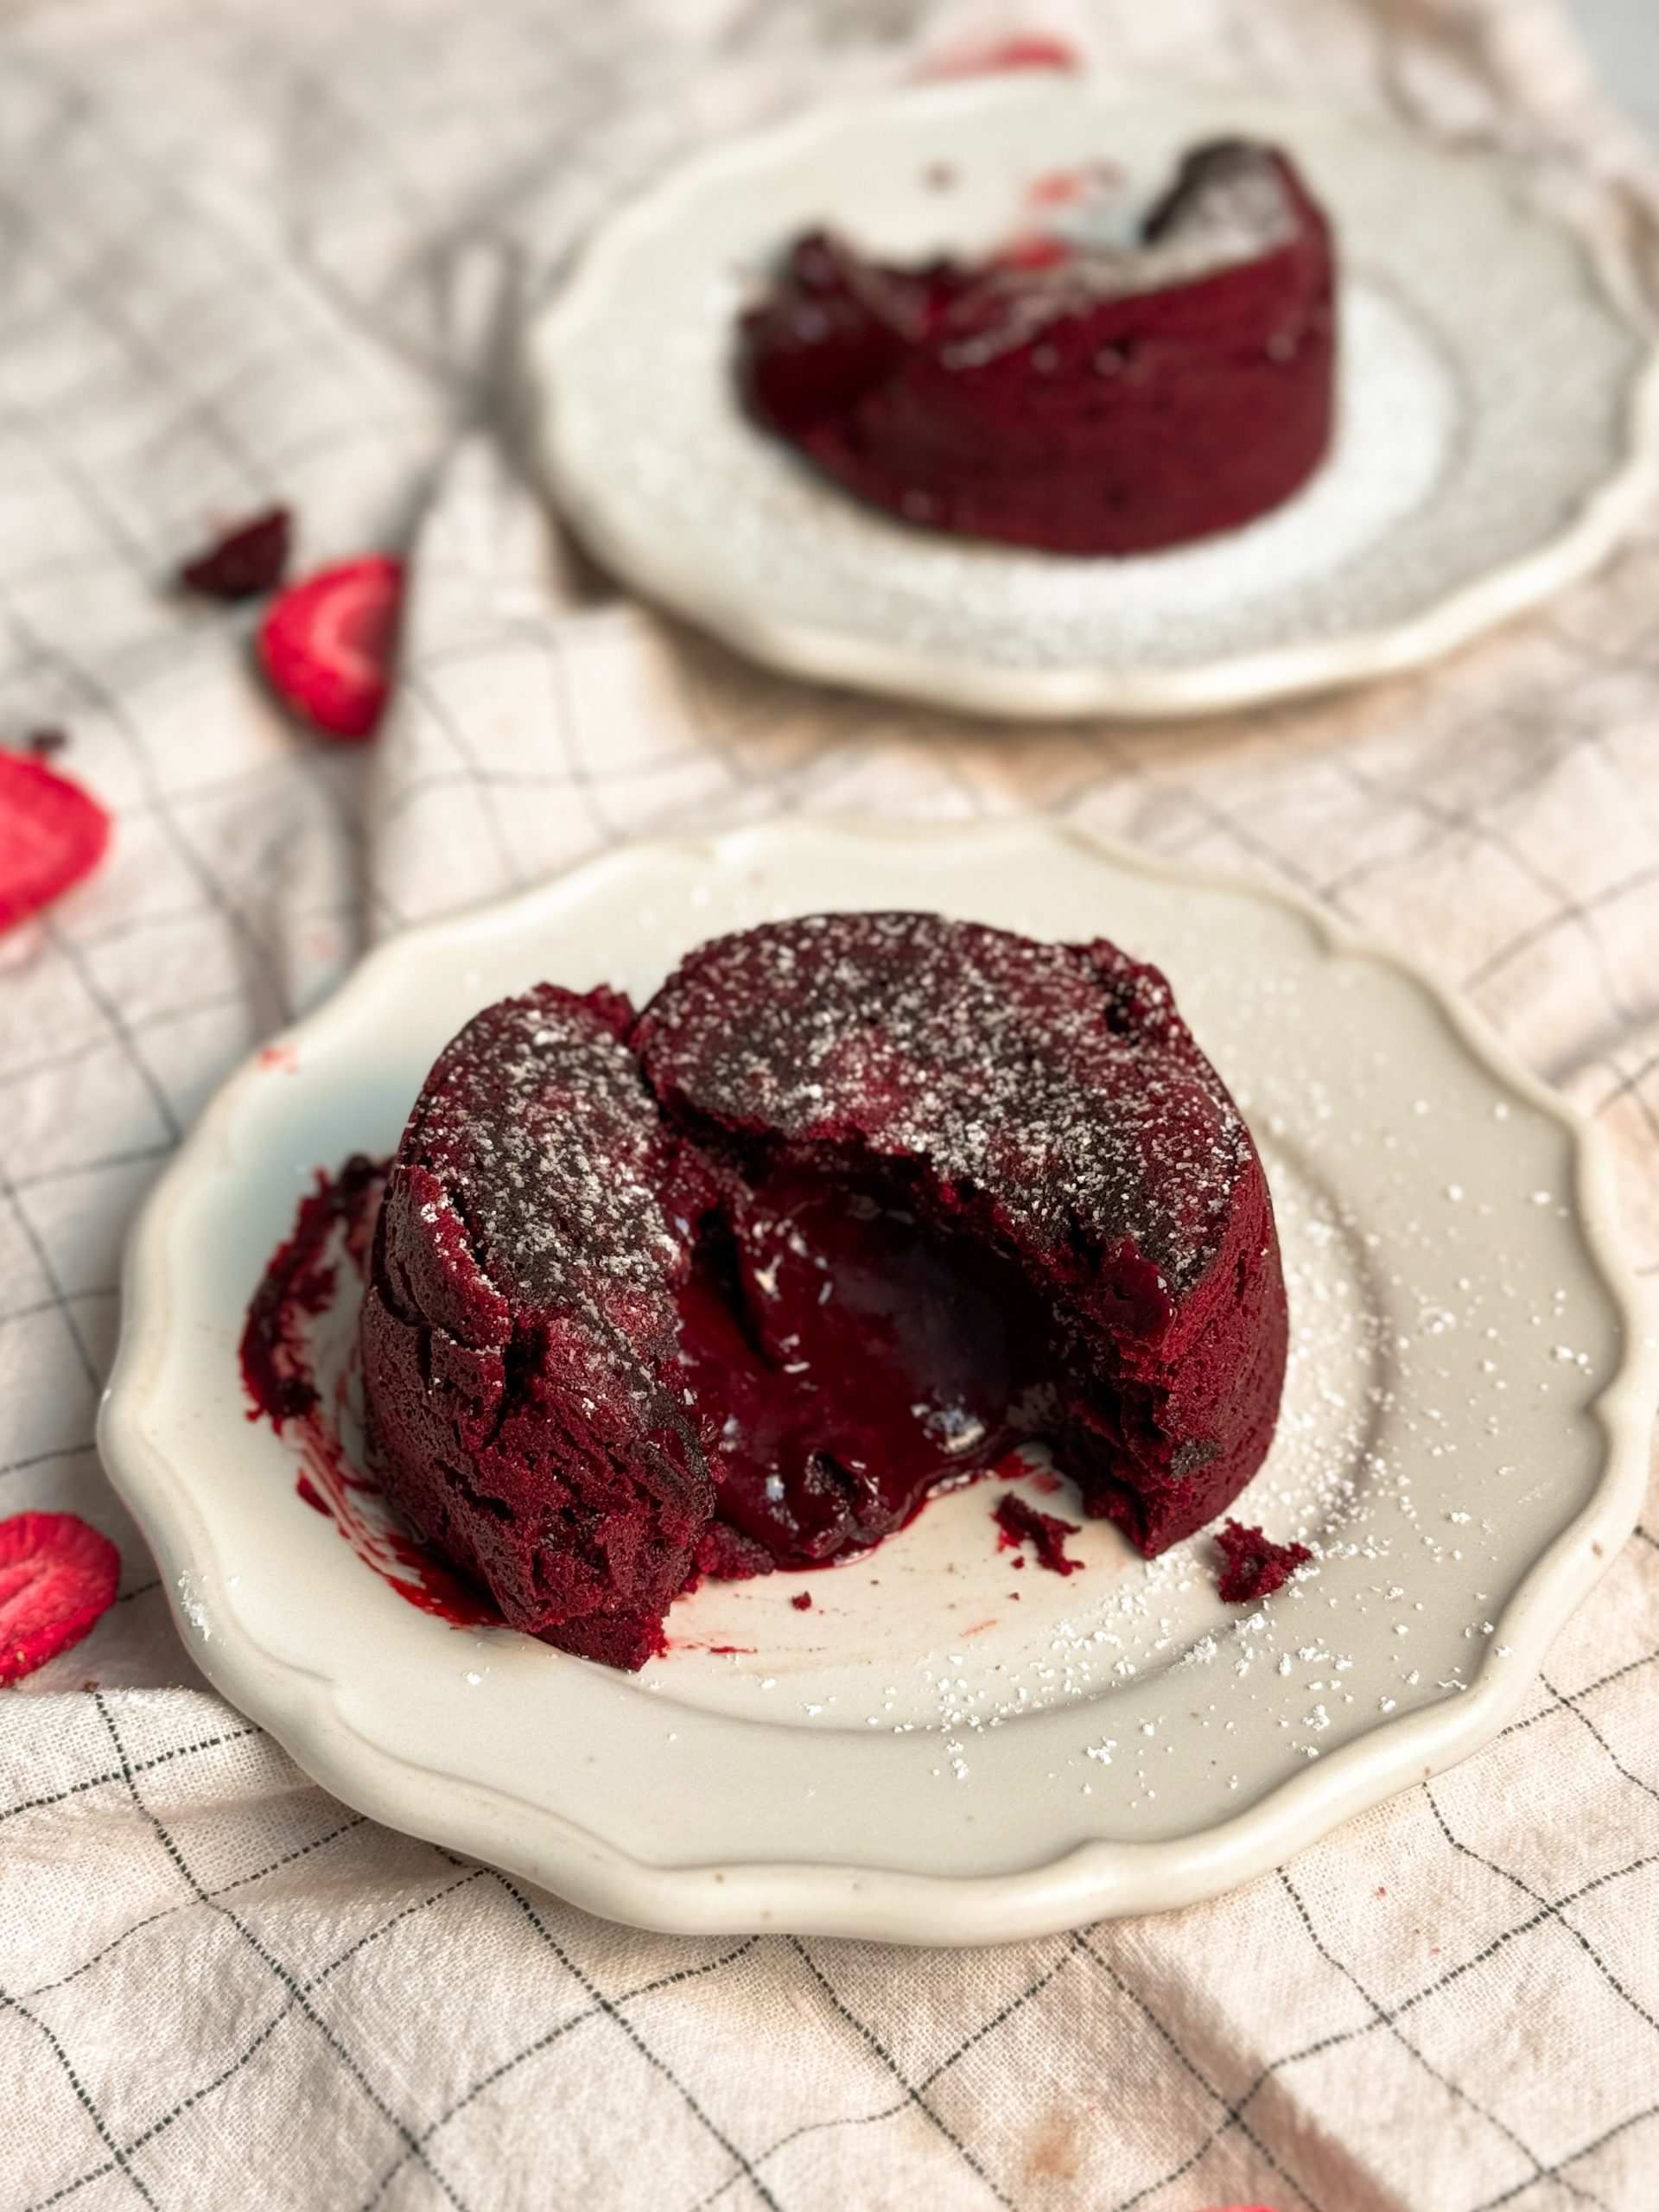
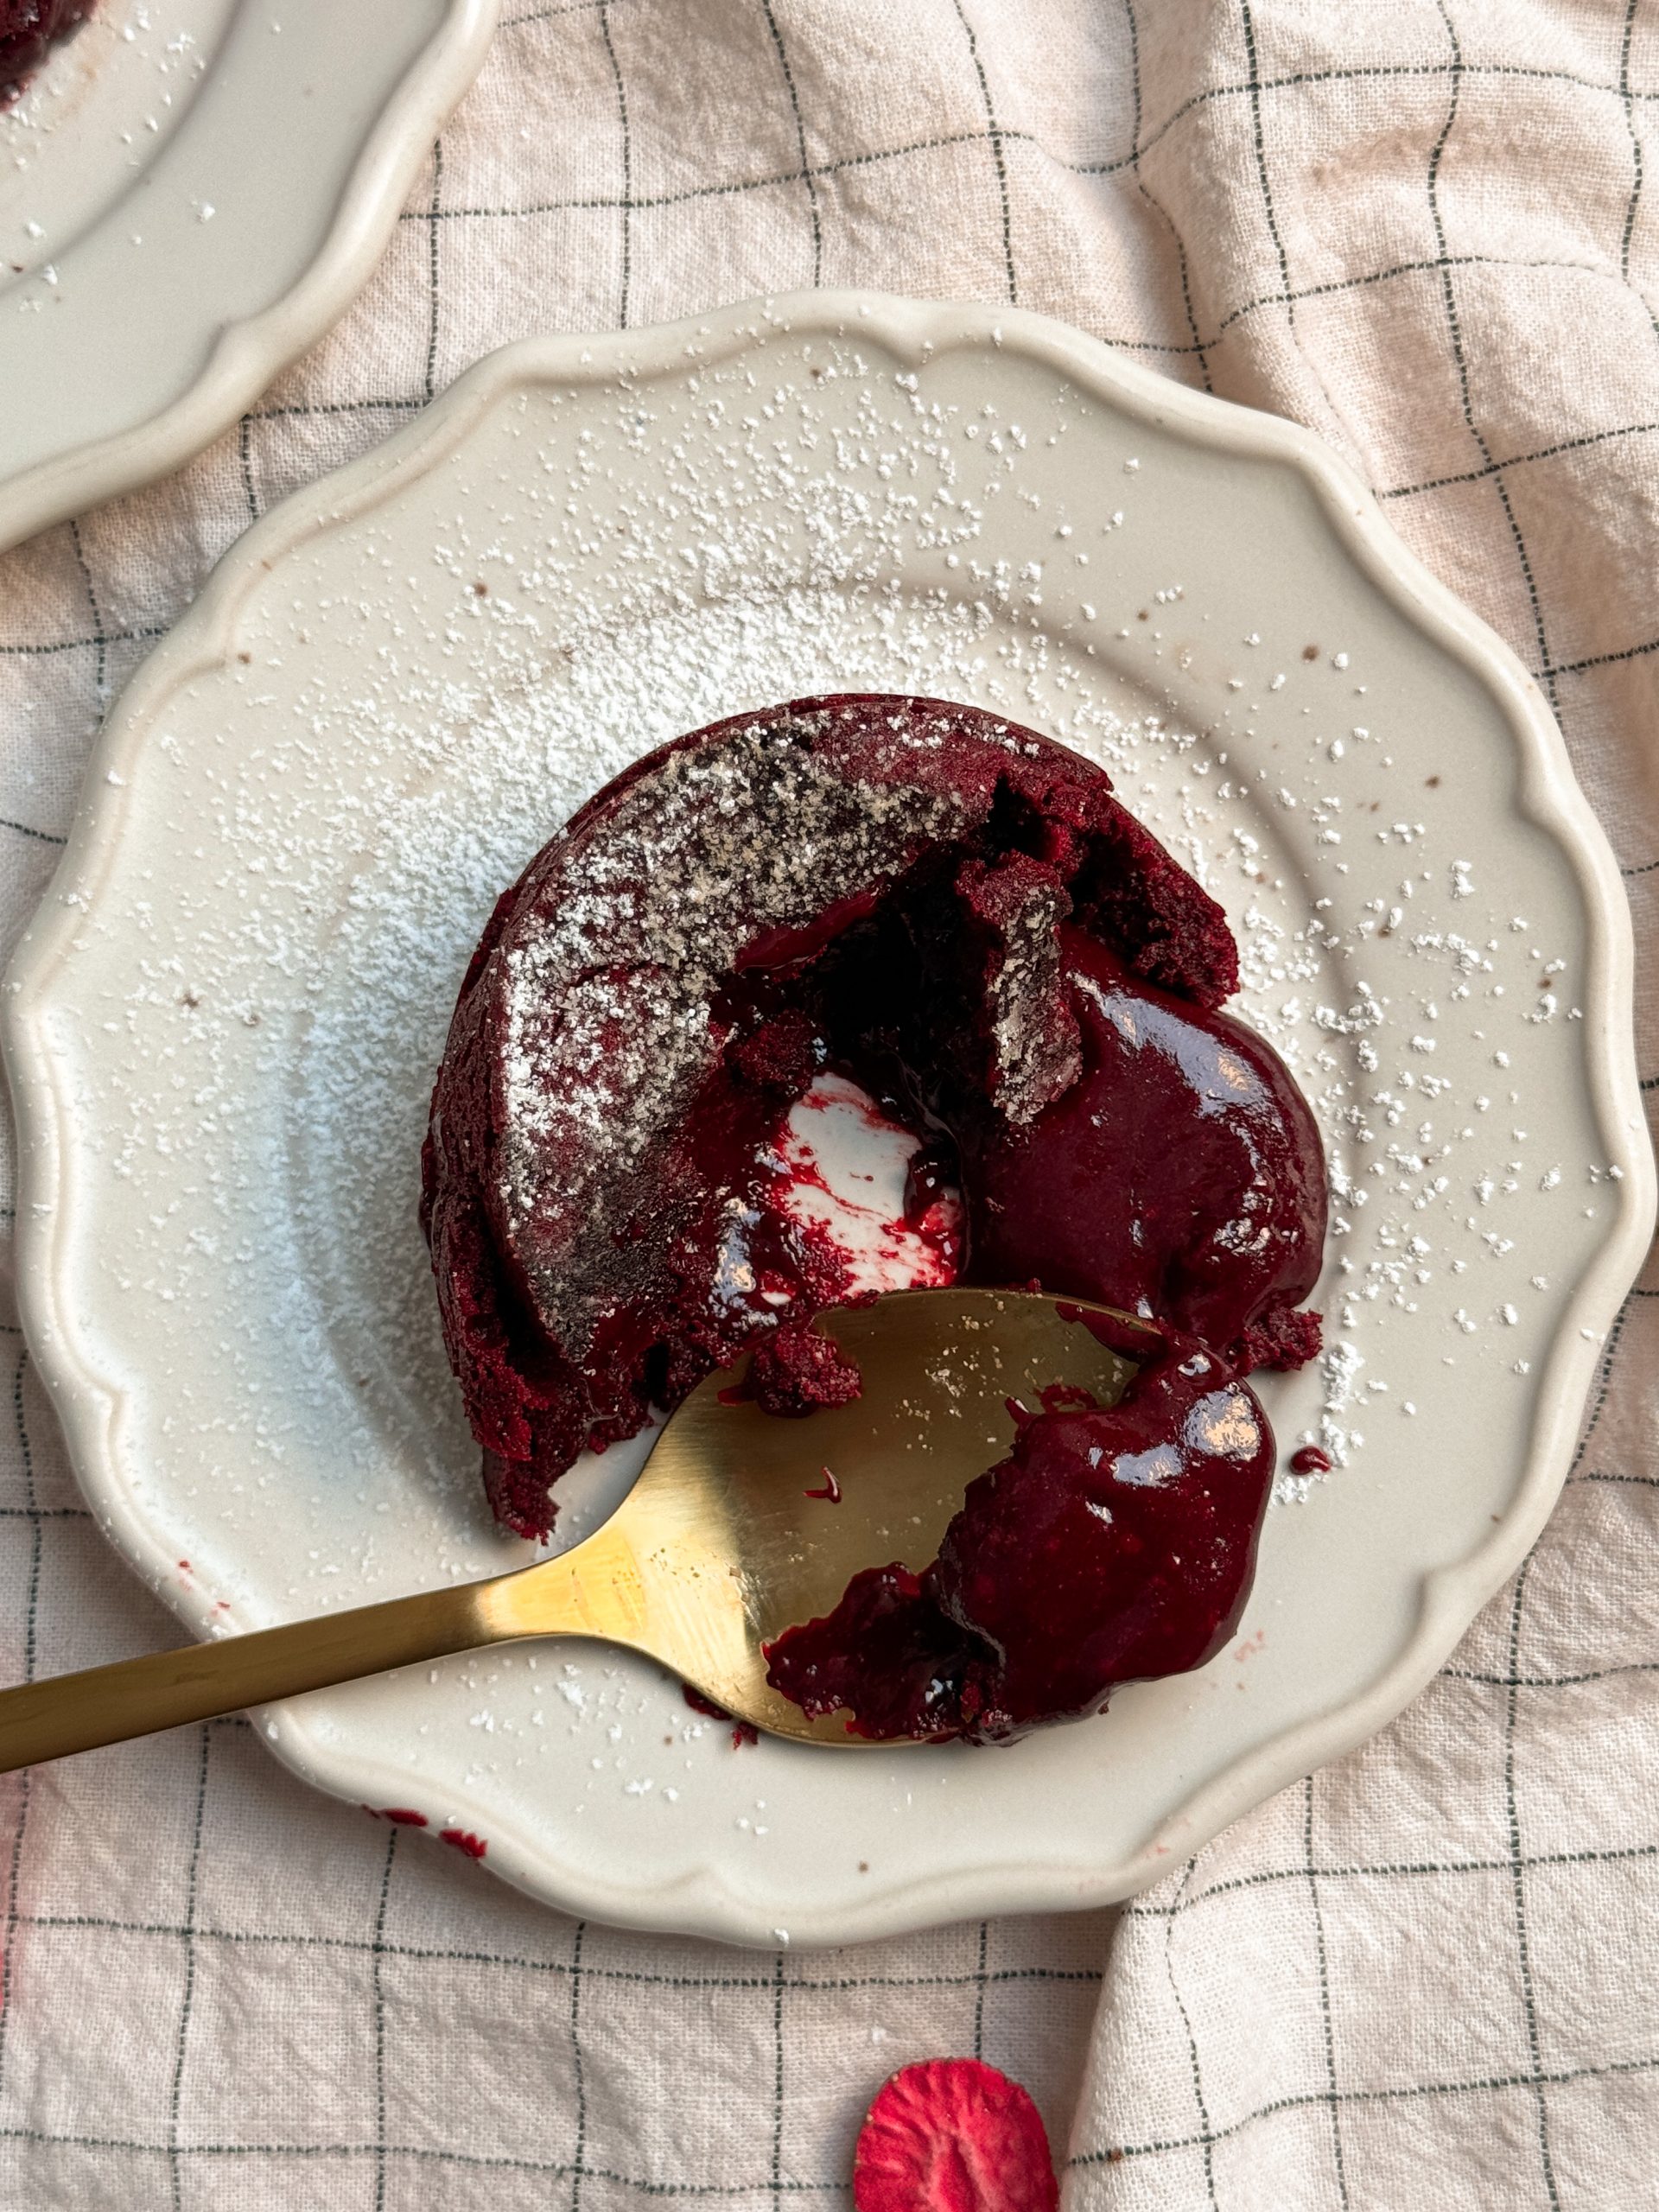
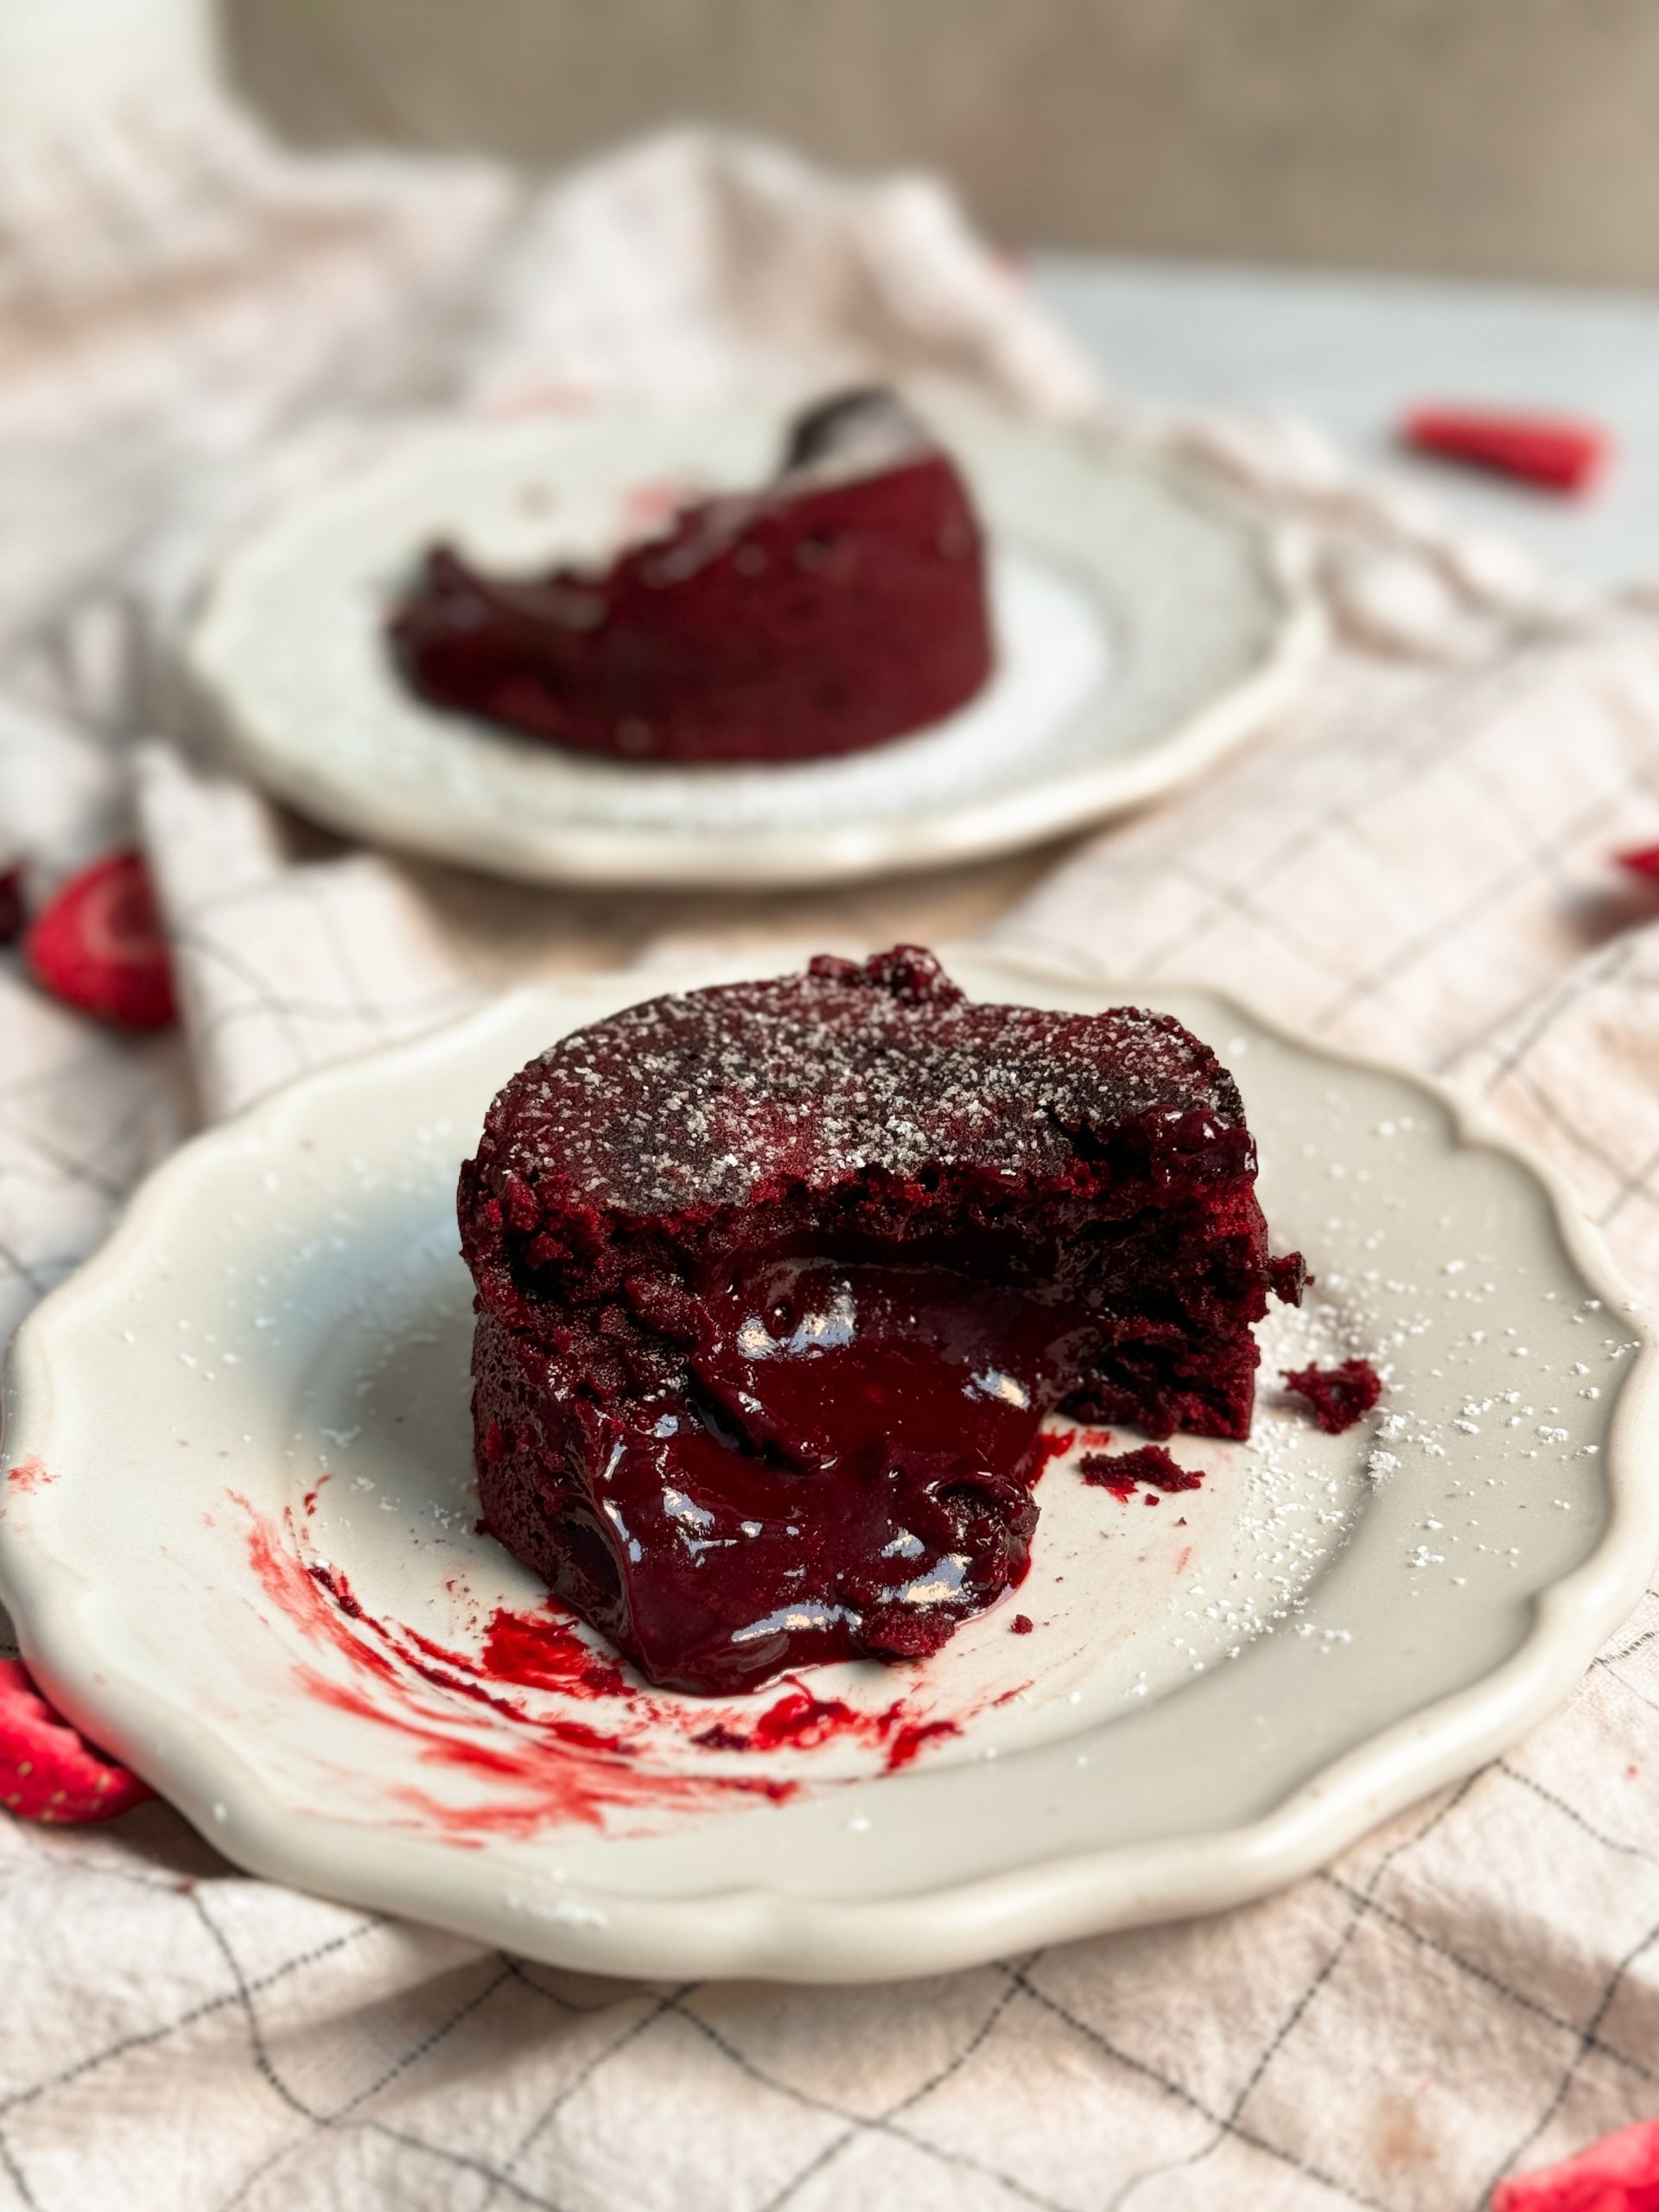
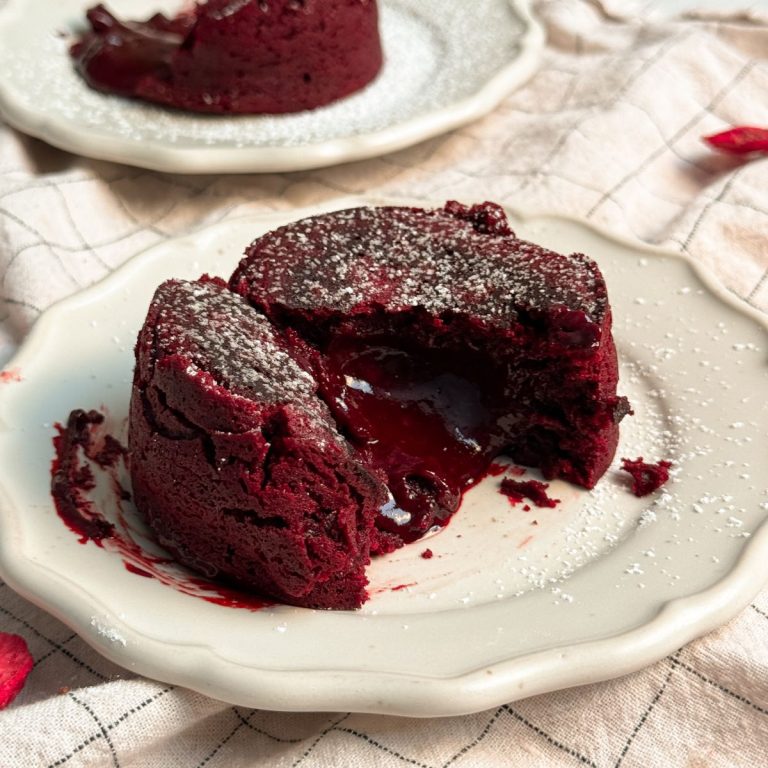
These red velvet molten lava cakes for two are a great dessert choice for date night, Valentine’s, or even Halloween – the recipe takes only 20 minutes start to finish, and the cakes are delectable and chocolatey with a warm molten interior.

THE STORY BEHIND THIS RECIPE
Now, I realize that calling these “red velvet” might be a misnomer, as these are essentially chocolate lava cakes with red food color. But then, I must ask the question, what exactly is red velvet cake? Many would argue it is nothing but a lightly chocolate flavored cake with red color added to it!
I wanted to make these chocolate lava cakes red velvet as that sounds and looks more exciting, and because it’s spooky season and these cakes could fit right in with a Halloween theme with their blood-like interior. So I explored a few options:
- Turn a regular red velvet cake batter into a molten lava cake; but this option was quickly ruled out because the texture of a molten lava cake is heavily dependent on the addition of melted chocolate in the batter
- Use white chocolate instead of dark chocolate and add red food color. This is actually a viable option and one that many recipes use, but at the end of the day I am not the biggest fan of white chocolate and find it to be too sweet, so I personally passed on this. However, you can definitely modify this recipe to use white chocolate instead! I would recommend reducing the sugar and increasing the cocoa powder
- Make a chocolate lava cake and add food color to it; this is the one I clearly opted for because I knew the flavor would be amazing. Now, I did use semi-sweet chocolate instead of dark, because the darker the color of the chocolate, the lower the pay-off will be from the red food color. You can also use milk chocolate
Here’s the best part: since we are only relying on the addition of red food color to make these cakes red velvet, you can easily omit the color and make yourself the most incredible chocolate molten lava cakes!
VARIATIONS
Here are a few ways you can modify this recipe and make it your own:
- Use white chocolate instead of semi-sweet, and increase the amount of cocoa powder while reducing the amount of sugar
- Add a chocolate truffle in the center to get an even more dramatic molten interior. You can use dark, milk or white
- Add a scoop of chilled ganache in the middle
- Cover with cream cheese frosting
- Remove the red food color and make the most incredible chocolate molten lava cakes
HOW TO MAKE RED VELVET MOLTEN LAVA CAKES FOR TWO
Here are the steps you need to take:
Pre-heat your oven to 450F (conventional) and prepare 2 6 oz ramekins by generously brushing butter inside them.
Add chocolate and butter to a heat-safe bowl, and microwave in 20 second increments until both have melted. Stir to combine.


In a separate bowl, add the egg, sugar, salt and vanilla. Use an electric hand mixer to whisk for 2-3 minutes until the mixture is light, frothy and almost triple in volume.
Pour the chocolate mixture into the egg mixture and whisk until just combined.


Sift in the flour, and use a rubber spatula to gently fold until the flour is mixed in. Take care to be gentle and not to overmix.


Add the red food color and gently fold. You can adjust the quantity based on how strong you want the pay-off to be.

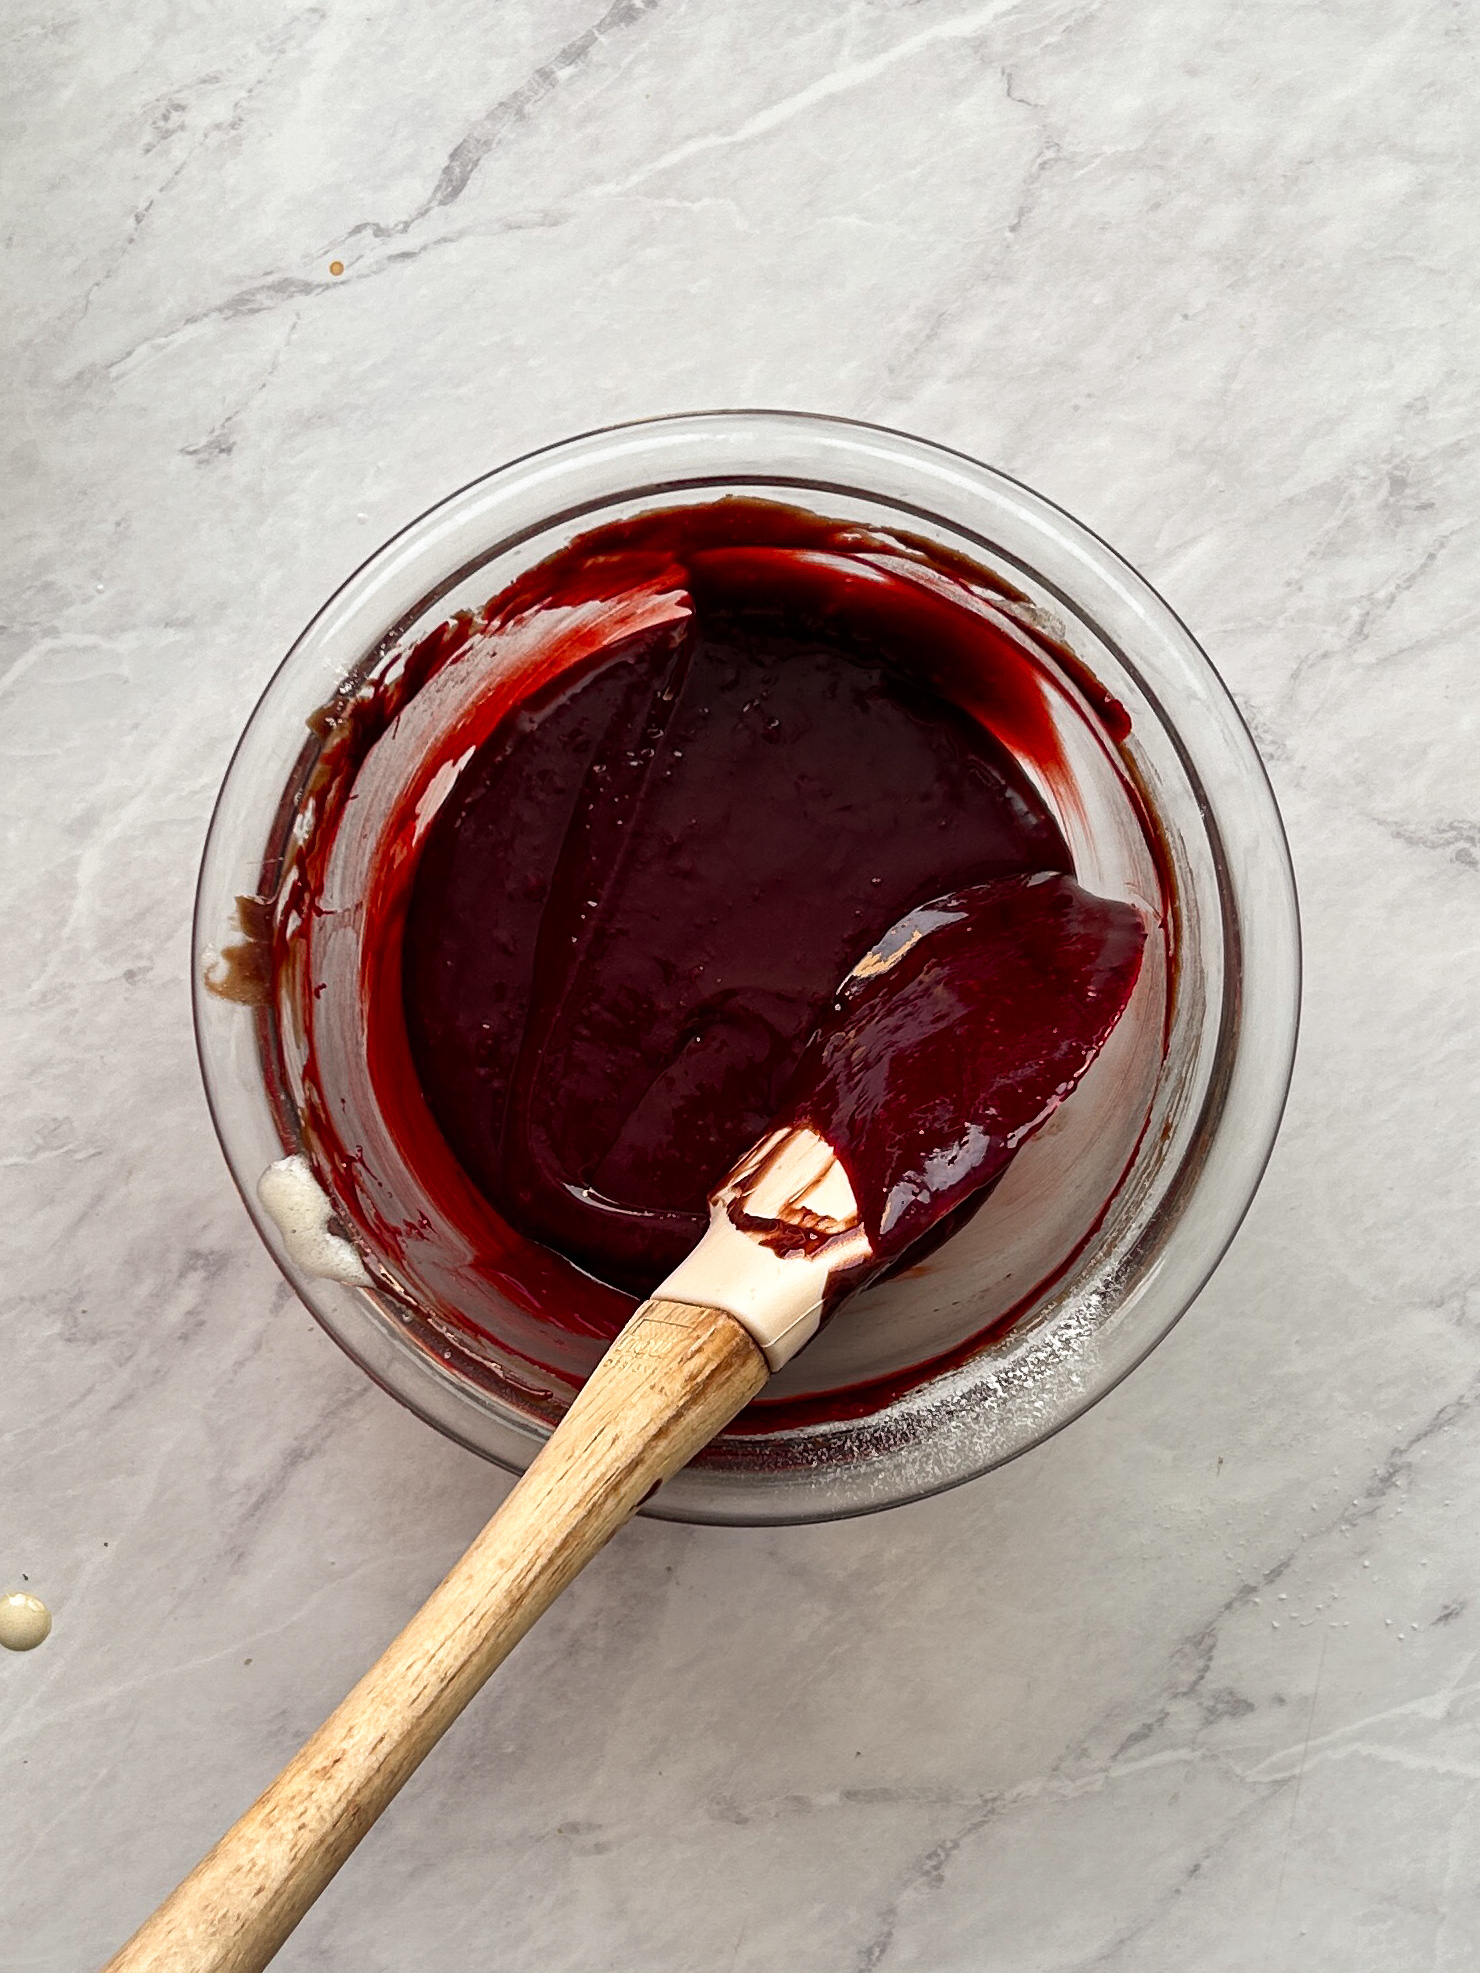
Divide the batter between the two ramekins. Bake for ~10-11 minutes until the edges are done but the center is still molten (you can tell by a wobble in the cakes).
Let the cakes cool inside the ramekins for 1-2 minutes, then carefully turn them out onto your dessert plates. Dust with powdered sugar, and serve!

TIPS TO MAKE THE PERFECT MOLTEN LAVA CAKES
- Grease your ramekins generously with butter. If the cakes stick to the ramekins, they will not come out in one pieces and will spill over
- Use gel food color. I cannot recommend this one enough! It is incredible value and has very strong payoff
- Bake for the perfect amount of time. This can be tricky with molten lava cakes as they can go from perfect to overbaked within seconds. You need to make sure your oven is properly preheated and well-calibrated, and then bake until the top and edges of the cake feel set but there’s still a bit of a wobble when you shake the ramekin lightly. When in doubt, lean towards underbaking!
- Bake one cake as a test before the rest. This is not as helpful for this recipe as it only makes 2 cakes, but if you’re baking a larger batch and are unsure of how long to bake for, you can always put one cake as a test first. This will allow you to adjust the baking time for the remaining to get them exactly right
- Serve straight away! Let the cakes cool for just 1 minute in the ramekins, then carefully turn them out and serve while hot. This is when the molten center will be the most pronounced
Now, without further ado, let’s get into the recipe.

Email This Recipe
Enter your email and I’ll send this directly to you. Plus you’ll get new recipes from me every week!
Ingredients
- 1/4 cup butter (56g)
- 100g semi sweet chocolate, chopped
- 1 large egg
- 1–2 tbsp granulated sugar depending on your preference for sweetness
- Pinch of salt
- 1/4 tsp vanilla
- 2 tbsp all purpose flour
- 1–2 tsp red gel food color
- Butter to coat the ramekins
Instructions
- Pre-heat your oven to 450F (conventional) and prepare 2 6 oz ramekins by generously brushing butter inside them.
- Add chocolate and butter to a heat-safe bowl, and microwave in 20 second increments until both have melted. Stir to combine.
- In a separate bowl, add the egg, sugar, salt and vanilla. Use an electric hand mixer to whisk for 2-3 minutes until the mixture is light, frothy and almost triple in volume.
- Pour the chocolate mixture into the egg mixture and whisk until just combined.
- Sift in the flour, and use a rubber spatula to gently fold until the flour is mixed in. Take care to be gentle and not to overmix.
- Add the red food color and gently fold. You can adjust the quantity based on how strong you want the pay-off to be.
- Divide the batter between the two ramekins. Bake for ~10-11 minutes until the edges are done but the center is still molten (you can tell by a wobble in the cakes).
- Let the cakes cool inside the ramekins for 1-2 minutes, then carefully turn them out onto your dessert plates. Dust with powdered sugar, and serve!
Video Tutorial
Notes
- You can use milk chocolate instead of semi-sweet, but you might want to reduce the sugar
- I strongly recommend using gel food color to get the best pay-off. Liquid food color will not have the strength to turn a chocolate batter red
- You can easily double or triple this recipe
- These red velvet molten lava cakes can be refrigerated or frozen inside the ramekins before baking. You will need to increase baking time accordingly
Note: This post contains affiliate links.

Comments
leanne tauro
made these yesterday came out soo good.
Zoha
WUHU!
Gita
Turned out very well! Thank you !
Zoha
Thank you Gita!!
Aliya
The recipe is so detailed. It shows how much effort was put into it. Thanks for sharing amazing recipes with us.
Zoha
Thank you for noticing the work. means a lot to me <3