

This post may contain affiliate links
Add Bake with Zoha as a preferred source on Google and find more of my tried-and-tested recipes.
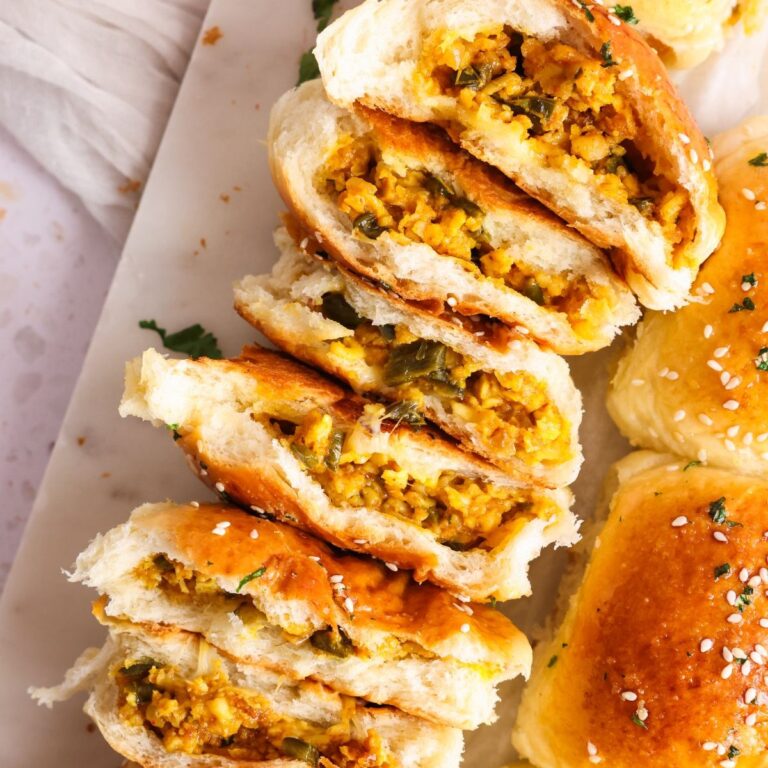
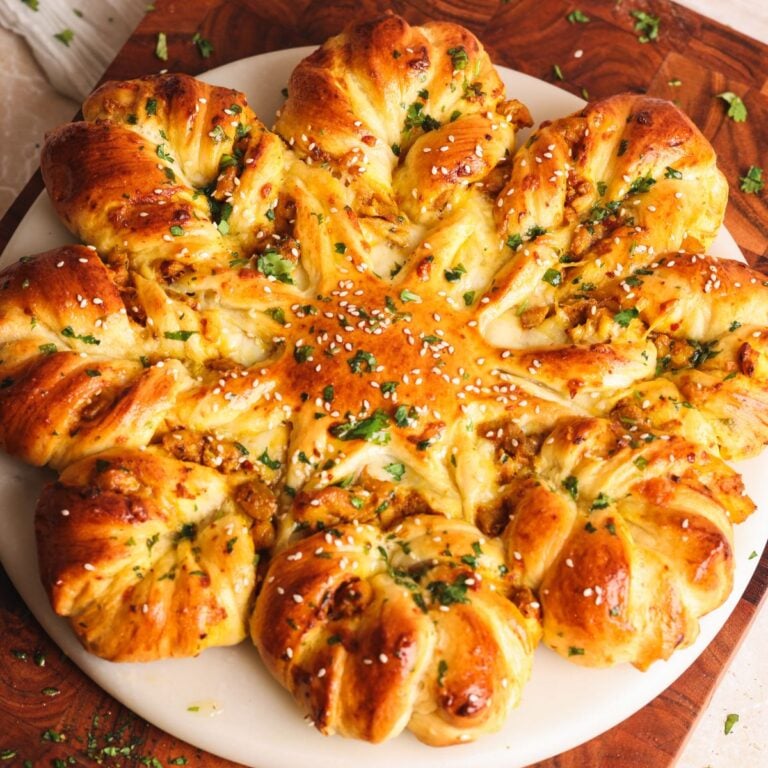
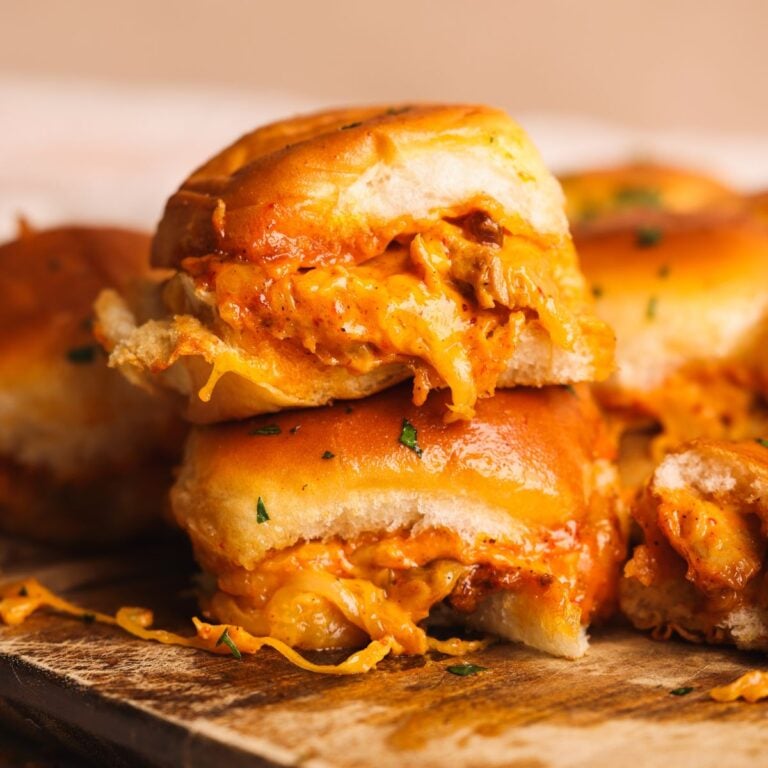
If you’re a fan of Pakistani / Indian cuisine, you are going to LOVE these Paneer Tikka Naan Buns! Made with pillowy soft naan bread filled with a smokey, spicy paneer tikka filling and brushed with garlic butter, they taste just like paneer tikka and naan, but in a much more enjoyable package. They’re absolutely delicious, and the perfect vegetarian version of my uber popular Tandoori Chicken Naan Buns. And as always, they’re very simple to make.

Read the full blog post below for detailed notes, tips, tricks, photos and videos.


What are these buns made of?
These Paneer Tikka Naan Buns are made with 3 components:
- Naan buns. This is a super soft and fluffy bread made with a simple dump and knead method. You can knead it by hand or using a stand mixer
- Paneer tikka filling. Although traditional paneer tikka is made with marinated cubes of paneer, that doesn’t work well as a filling. This filling uses shredded paneer and cooks it in a masala flavors with tikka spices. The filling is then smoked with smoking chips to add the tikka aroma
- Garlic butter. An integral part of the restaurant naan experience, the buns are brushed with a simple garlic butter after baking to bring everything together

Process with photos
The detailed recipe is provided in the recipe card at the bottom of this post, but let’s go over the steps with photos to help you visualize everything.
Add all the flour, instant yeast, sugar, salt, butter, yogurt and warm milk to the bowl of a stand mixer. Knead for 7-10 minutes on medium high speed until a smooth and stretchy dough forms. Let it rise.


In the meanwhile, work on the filling. Start by sauteing diced onion in oil until golden:


Add the diced bell pepper and minced garlic and saute until the pepper softens:


Add all the spices and cook until fragrant:


Now add yogurt and a splash of water to form a creamy masala:


Mix in shredded paneer, and smoke with smoking chips (optional):


Once the dough has risen, it’s time to assemble! Divide it into 12 equal portions:


Working one piece at a time, roll into a ball and then flatten into a 4″ circle:


Add a generous scoop of the paneer tikka filling, and top with some shredded mozzarella cheese. Pinch the dough around the filling to fully seal it in. Then gently shape into a ball again:


Brush the buns with egg wash, and let them rise a second time. Then brush with egg wash again and sprinkle over sesame seeds:


Bake, and brush with garlic butter while still hot. Serve & enjoy!


Tips to perfect this recipe
Before getting started, here are some tips you should keep in mind:
Measure the flour with a weighing scale! People often add too much flour when using cups, which results in harder, dryer buns.
Make sure to properly knead the dough. It should become really smooth and stretchy, and should pass the window pane test. This is important for the bread to properly rise, which then gives the buns their signature soft texture. You can find a lot more details about kneading bread in my garlic butter dinner rolls recipe!
Let the bread properly rise before shaping. It should nearly double in size and spring back part of the way when gently poked. If you don’t let the bread proof properly, it won’t turn out soft. On the flip side, also don’t overproof the bread! This will cause it to deflate.
Taste the filling! Make sure it is to your flavor preferences. If it feels too dry, add a splash or water (or yogurt) and mix in.
Do not overbake. Overbaking the buns can make them crispy and dry.
Frequently asked questions
Yes, you can replaced the shredded paneer with shredded, boiled chicken. You can also just use the recipe for my Tandoori Chicken Naan Buns instead!
The buns will develop a beautiful golden color all over when they are done baking. You can also test by pulling one bun away and looking at the edges – do they look raw or cooked?
Store these buns in an airtight container at room temperature for 1-2 days, or in the fridge for 3-5 days. Reheat in the oven for best results!
Yes! You can bake and freeze these buns in an airtight container. Then reheat in the oven at 350F for ~10 minutes until they are warm again. I personally haven’t frozen the buns before baking as it can mess with the rise of the yeast.
If you like this recipe, you will also love:
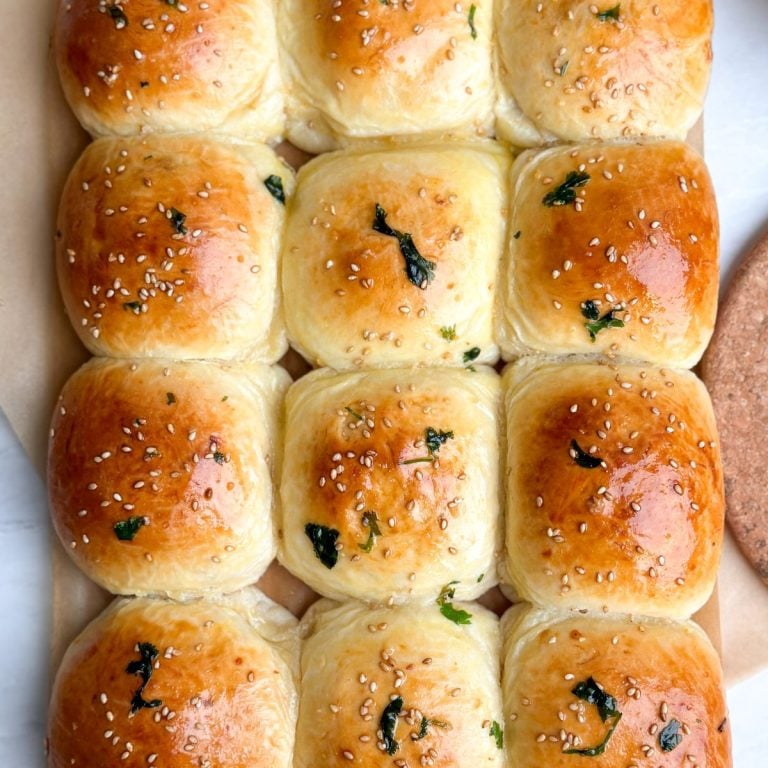 Tandoori Chicken Naan Buns
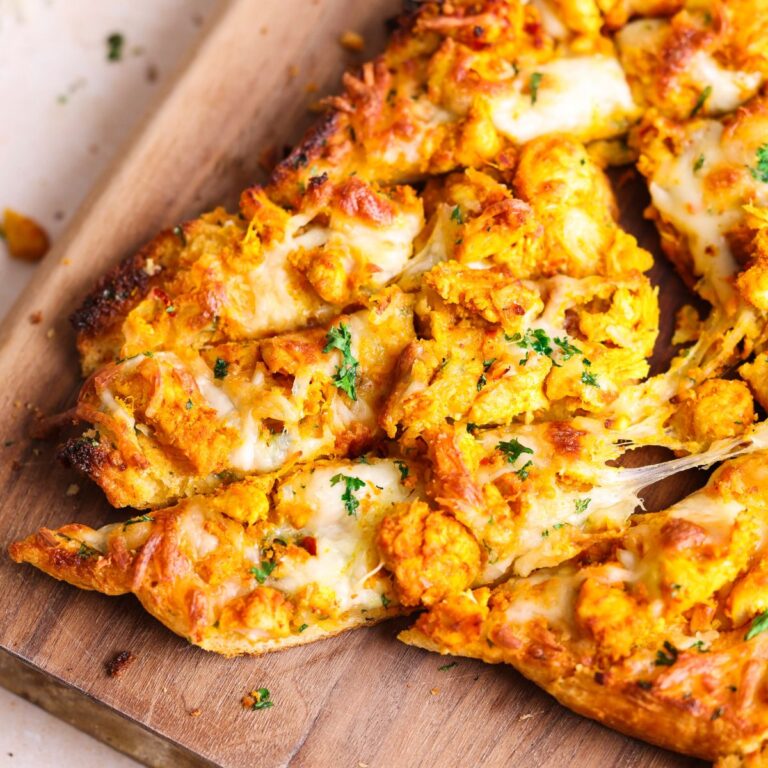 Tandoori Chicken Garlic Bread
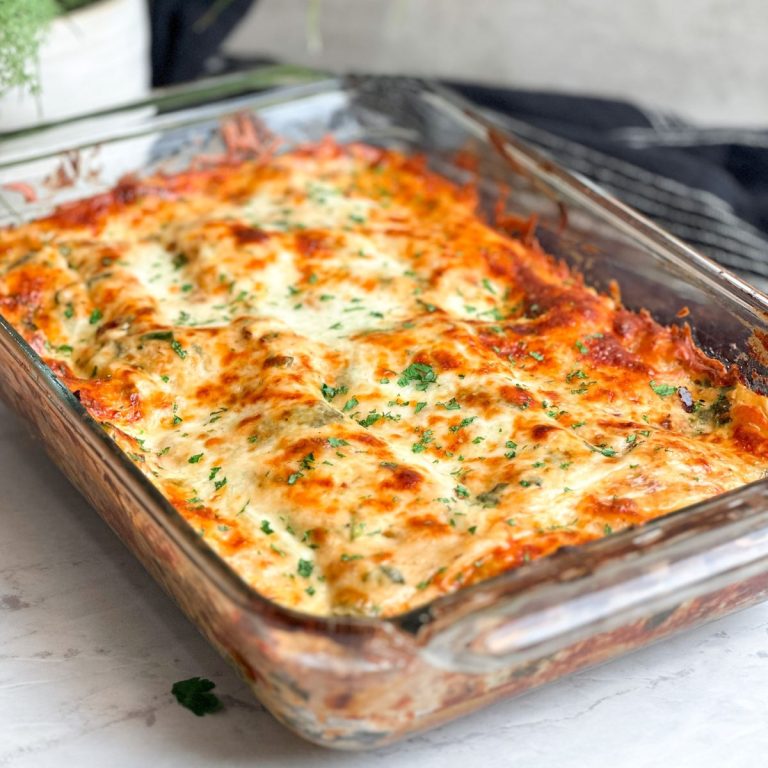 The Best Easy Chicken Alfredo Lasagna
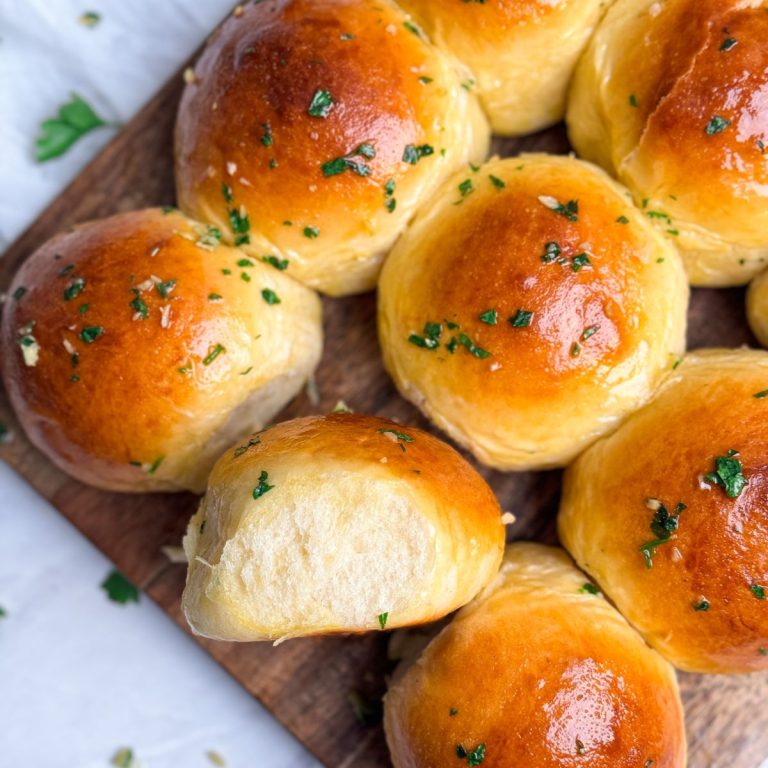 Easy Garlic Butter Dinner Rolls
Email This Recipe
Enter your email and I’ll send this directly to you. Plus you’ll get new recipes from me every week!
Ingredients
Naan buns:
- 2/3 cup whole milk, warmed to 110F (160g)
- 2 tsp instant yeast
- 2 1/2 cups all purpose flour (325g)
- 3 tbsp sugar (40g)
- 1 tsp salt
- 1/4 cup unsalted butter, softened (60g)
- ¼ cup plain yogurt (preferably full fat) (60g)
Paneer tikka filling:
- 2 tbsp olive oil
- 1/2 onion, finely diced
- 2 tsp ginger & garlic paste
- 1 bell pepper (or to taste), finely diced
- 1 to 1.5 teaspoon salt, to taste
- 1 tsp cumin powder
- 1 tsp coriander powder
- 1 tsp chili powder (or cayenne)
- ½ tsp Kashmiri red chili (or cayenne)
- ½ tsp chaat masala
- ¼ tsp garam masala
- ¼ tsp turmeric powder
- 1/3 cup plain yogurt (80g) mixed in 1/2 cup warm water
- 340g paneer, shredded
Assembly:
- 1 cup shredded mozzarella cheese (optional)
- Egg wash (1 yolk + 1 tablespoon milk)
- 1–2 tablespoon sesame seeds
- Garlic butter: 2 tbsp butter, 1 tsp garlic powder or minced garlic
- Chopped cilantro for garnishing
Instructions
Naan buns:
- Add all the ingredients to the bowl of a stand mixer. Knead using the dough hook attachment for 7-10 minutes on medium high speed until a smooth, soft and stretchy dough forms which pulls away from the edges of the bowl. If kneading by hand, first mix all ingredients into a shaggy dough with a spoon. Then turn onto a clean surface and knead for 10-15 minutes with your palm in a push-pull motion. The dough will be sticky at first but avoid adding too much more flour and it will come together!
- Place in a clean bowl sprayed with oil, cover with cling wrap and place in a warm, humid environment for 60-90 minutes until the dough doubles in size. It is done when it springs back part of the way when lightly poked with a finger. While the dough is rising, work on the filling.
Paneer tikka filling:
- Prep all the ingredients if you haven’t already
- Heat oil in a large nonstick pan. Add the onion and saute for ~5 minutes until it becomes golden
- Add the bell pepper and ginger garlic paste and cook for another 3-5 minutes until the pepper softens. Add a splash of water if needed
- Add the spices and cook for 1-2 minutes to toast them. Add a splash of water to deglaze the pan if needed
- Add the yogurt mixed with the water and stir. A creamy masala should form
- Turn the stove off and mix in the shredded paneer. If the mixture feels too dry, add more water and / or yogurt. Taste and adjust seasonings
Assembly and baking:
- Once the dough has risen and the filling is not hot any more, start assembly. Prepare a 9×13″ pan with parchment paper and a spray of oil
- Punch down the dough to remove large air pockets. Divide into 12 equal pieces, and roll each into a ball
- Use a rolling pin on a lightly floured surface to roll a ball into a 3-4″ diameter circle. Place a scoop of filling (about 2 tbsp) in the center of the circle so the edges are uncovered. Add mozzarella cheese if using
- Lift the edges and meet them in the middle to seal and turn into a ball. Pinch together the edges firmly and lightly shape into a ball using your palms. Place the ball into the prepared baking pan
- Repeat until all 12 buns are done. Keep an even spacing between them, they shouldn’t be touching at this time
- Leave the tray in a warm spot for 30 minutes for the second rise.
- In the last 20 minutes, preheat your oven to 350F (conventional)
- After the second rise, brush the buns generously with egg wash using a pastry brush, and sprinkle over some sesame seeds. Transfer to the pre-heated oven (350F), and bake for ~20-22 minutes or until the buns are golden in color
- While the buns are baking, melt the butter in a pan or the microwave. Add the garlic powder or minced garlic to the hot butter and mix. Chop up cilantro for garnish
- Remove the buns from the oven, and brush with the garlic butter. Sprinkle the cilantro, and serve!

Comments
Farzana malik
After the first rise, can i refrigerate overnight and then bake it next morning?
Zoha Malik
Hi Farzana! I actually recommend the first rise in the fridge and the second rise at room temp. and the second rise will take a bit longer 🙂
Amy
So good and really easy. Bread dough is super easy to work with and not needing a second rise make is a game changer because it’s so quick. I have lots of different filling ideas, though yours is GREAT, and I can’t wait to try them.
Zoha Malik
Yay, thank you Amy! I am excited for you to try different fillings 🙂
Shazia Abrahams
The rolls are soft and the filling is fantastic, I use it on normal buns and in pies as well.
Tejaswini Mandadi
Delicious. Your recipes never disappoint.
Zoha
Thank you so much!!
Nadia Kashif
Can I make naana using this recipe?
Himabindu Guddila
Tried these and made these on many occasions always a hit. Keep making more such reciepes.
Zoha
THANK YOU!
Rabiya khanam
Yumm for iftar as well! Thank you!
Zoha
WUHU!!
Sadia
Zoha, I made these today for a gathering. They were so soft, pillowy, and flavorful and delicious. Everyone loved them. I will try your chicken naan buns next!
Zoha
YAY! Thanks Sadia!
Safia
Accurate and precise. Makes perfect dishes each time I follow your recipes. Thank you
Zoha
Thank you, Safia!
Jen
Can you make and freeze these?
Zoha
Yes! 🙂
Mona
Hi! Wanted to try your chicken or paneer stuffed rolls but need to avoid egg as husband is severely allergic. Can you please help me with a substitute? Thank you so much!
Kate
These are so delicious, one of the best things I have made in a while. Would recommend to anyone.
Kate
Honestly so delicious, one of the best things I have made in a while.
Seema
This is an amazing recipe. My family loves it!! Do you have suggestions on how to make gluten free?
Zoha
Thank you so much! Unfortunately i don’t have experience with gluten free baking
Shonali
I already made this twice…and everyone in my family loves it. Thanks for sharing the vegetarian version for this recipe Zoha. It was soft and perfect
Bincy
Baked these and they were so good! Thank you Zoha!
Sara
Made these a couple of times this Ramadan. Best buns i ever baked.thank you for the recipe
Zoha
Making these during Ramadan means so much to me — thank you Sara! ‘Best buns I ever baked’ is everything 🙏
Ishrat Varachhia
Perrrfect👍🏼amaizing recipe
Zoha
Thank you!