
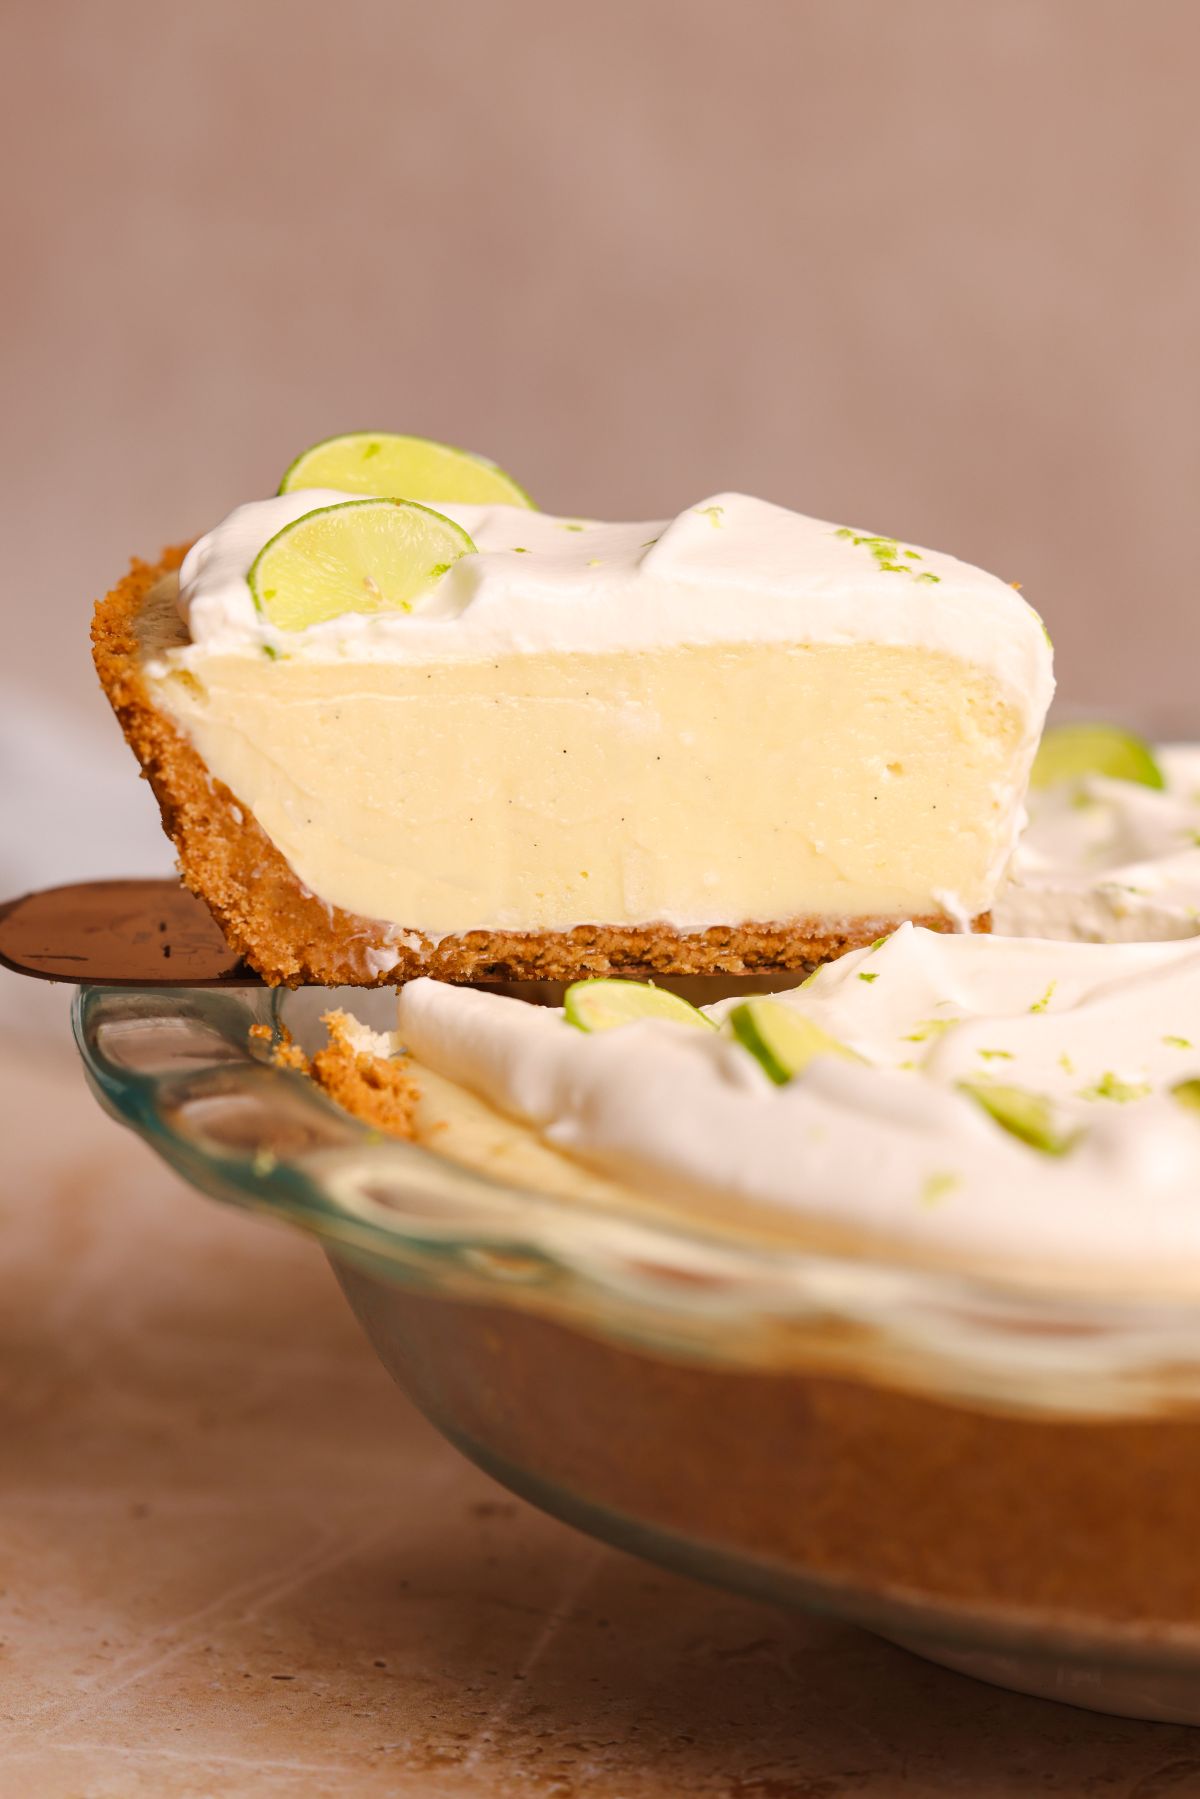
This Key Lime Pie is the perfect summer dessert with a bright, tangy, and irresistibly creamy filling, a crispy graham cracker crust and a light whipped cream topping. It is not too sweet and really lets the key lime flavor shine. This recipe is made with only 8 ingredients and 20 minutes of work, and gets its extra rich and luscious cheesecake-like texture from a touch of cream cheese in its filling. It's the kind of dessert that gets wiped off in minutes, leaving everyone asking for more!
The Role Of Cream Cheese In This Recipe
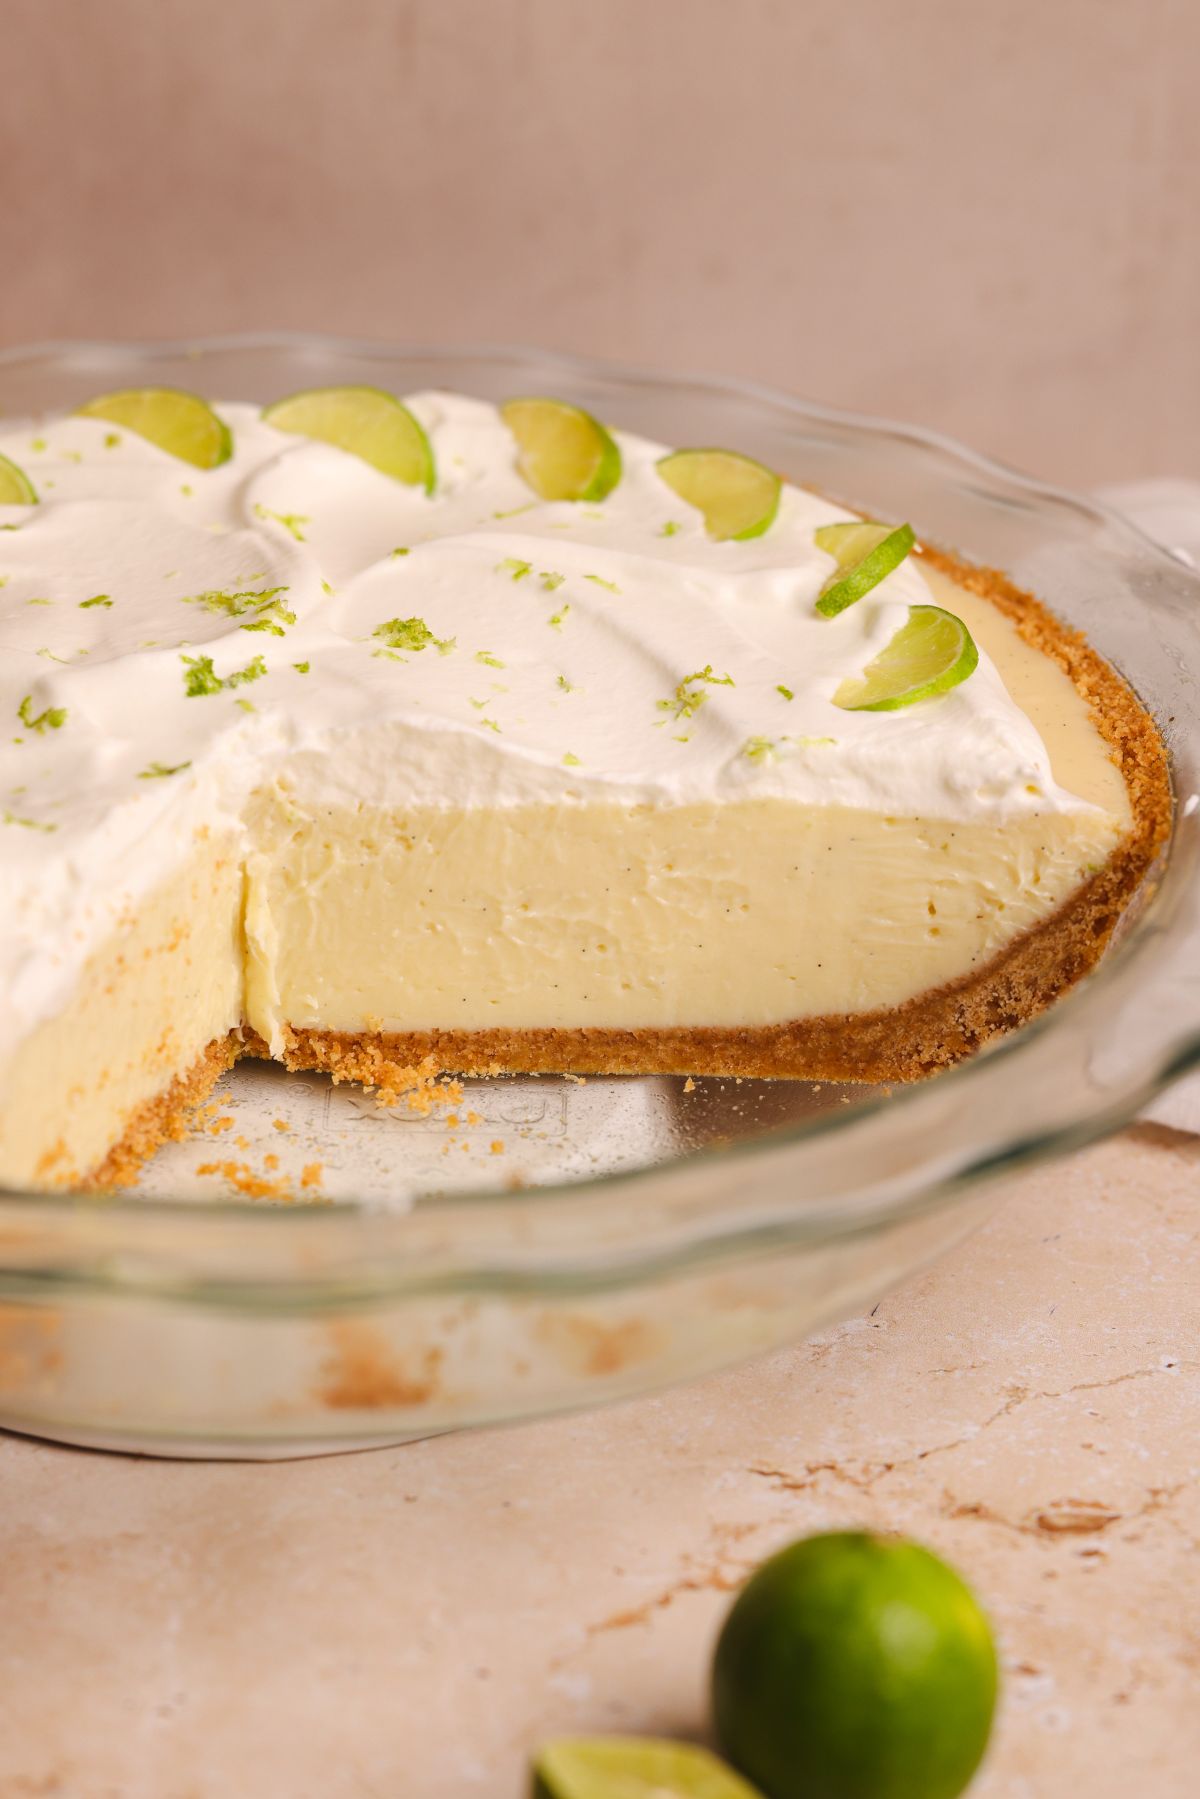
Key Lime Pie is traditionally made with key lime juice, sweetened condensed milk, egg yolks, and sometimes a form of dairy. But the addition of cream cheese in this key lime pie recipe takes it to a whole new level. Cream cheese adds a rich, velvety texture that makes the filling more stable and cheesecake like, without overpowering the sharp, citrus flavor. It also helps the pie hold its shape better when sliced, making for clean, beautiful servings.
If you don't want to use cream cheese, though, you can replace it with 1 cup of sour cream or even yogurt! My incredible key lime pie bars use sour cream instead of cream cheese, and are still incredibly silky and delicious (and frankly, slightly easier to make because of the shape!).
My Best Tips For A Creamy Texture
A good key lime pie is all about the smooth, silky, creamy melt-in-your-mouth texture. Here are my top tips to achieve that texture and blow everyone's minds:
- Bring the ingredients to room temperature, especially the cream cheese. This helps everything mix more easily, resulting in a smoother mixture.
- Whisk the cream cheese thoroughly until it is creamy. Don't leave any lumps in it!
- Don't overmix the filling once you've added the egg yolks. Overmixing can incorporate air into the mixture, making it less creamy
- Strain the filling before baking. This removes any lumps AND the zest (I don't know about you, but I don't love the texture of zest in pies - don't worry, though, the flavor of the zest has already incorporated into the filling and isn't going anywhere). The filling can take some effort to strain, though, especially if you used a fine-mesh strainer (which I don't recommend). If you want to save the time, mix the lime zest into the lime juice first, and strain the juice before adding it into the mixture to remove the zest.
- Don't overbake the pie. The pie should feel set around the edges but still jiggle in the middle when you gently shake it. It will then set fully when you let it thoroughly chill in the fridge. Overbaking can result in an eggier texture.
Step By Step Photos
The full recipe is in the recipe card below, but let's quickly go over the steps with photos so you can visualize everything:
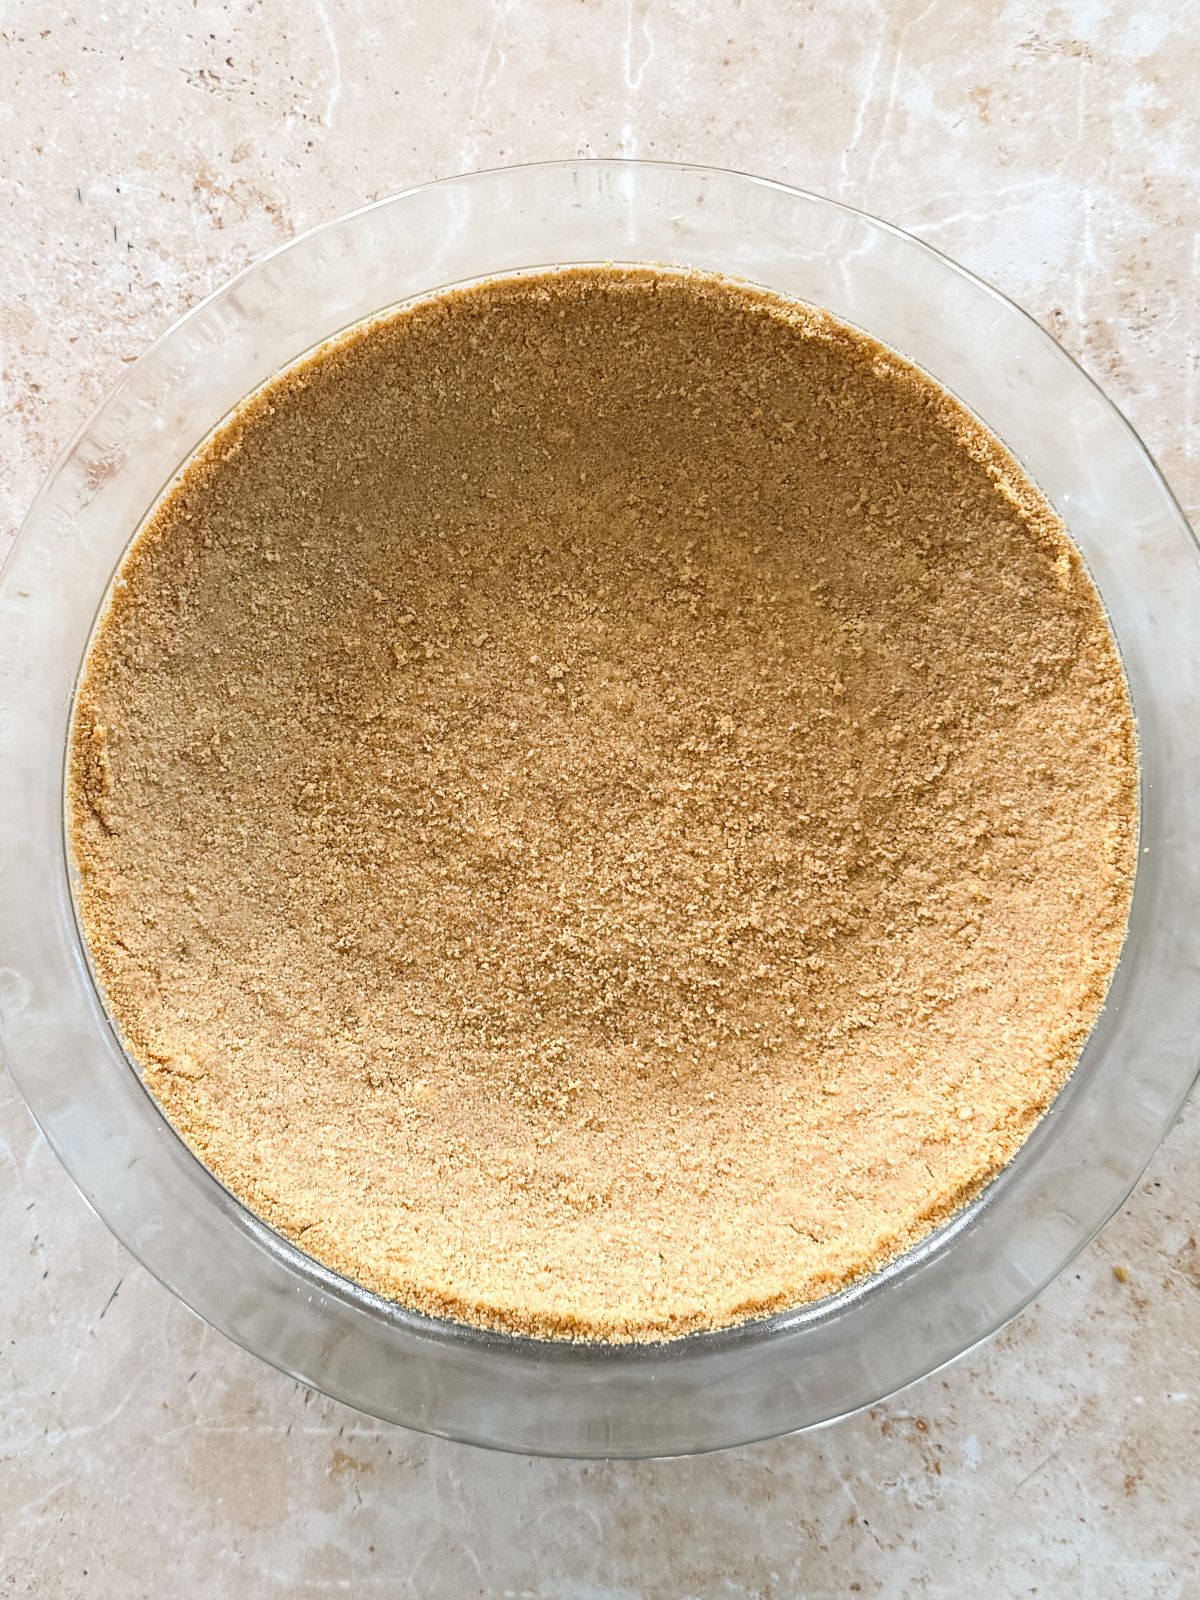
Blitz the graham crackers with melted butter, and press down firmly in a greased pie pan to form the crust.
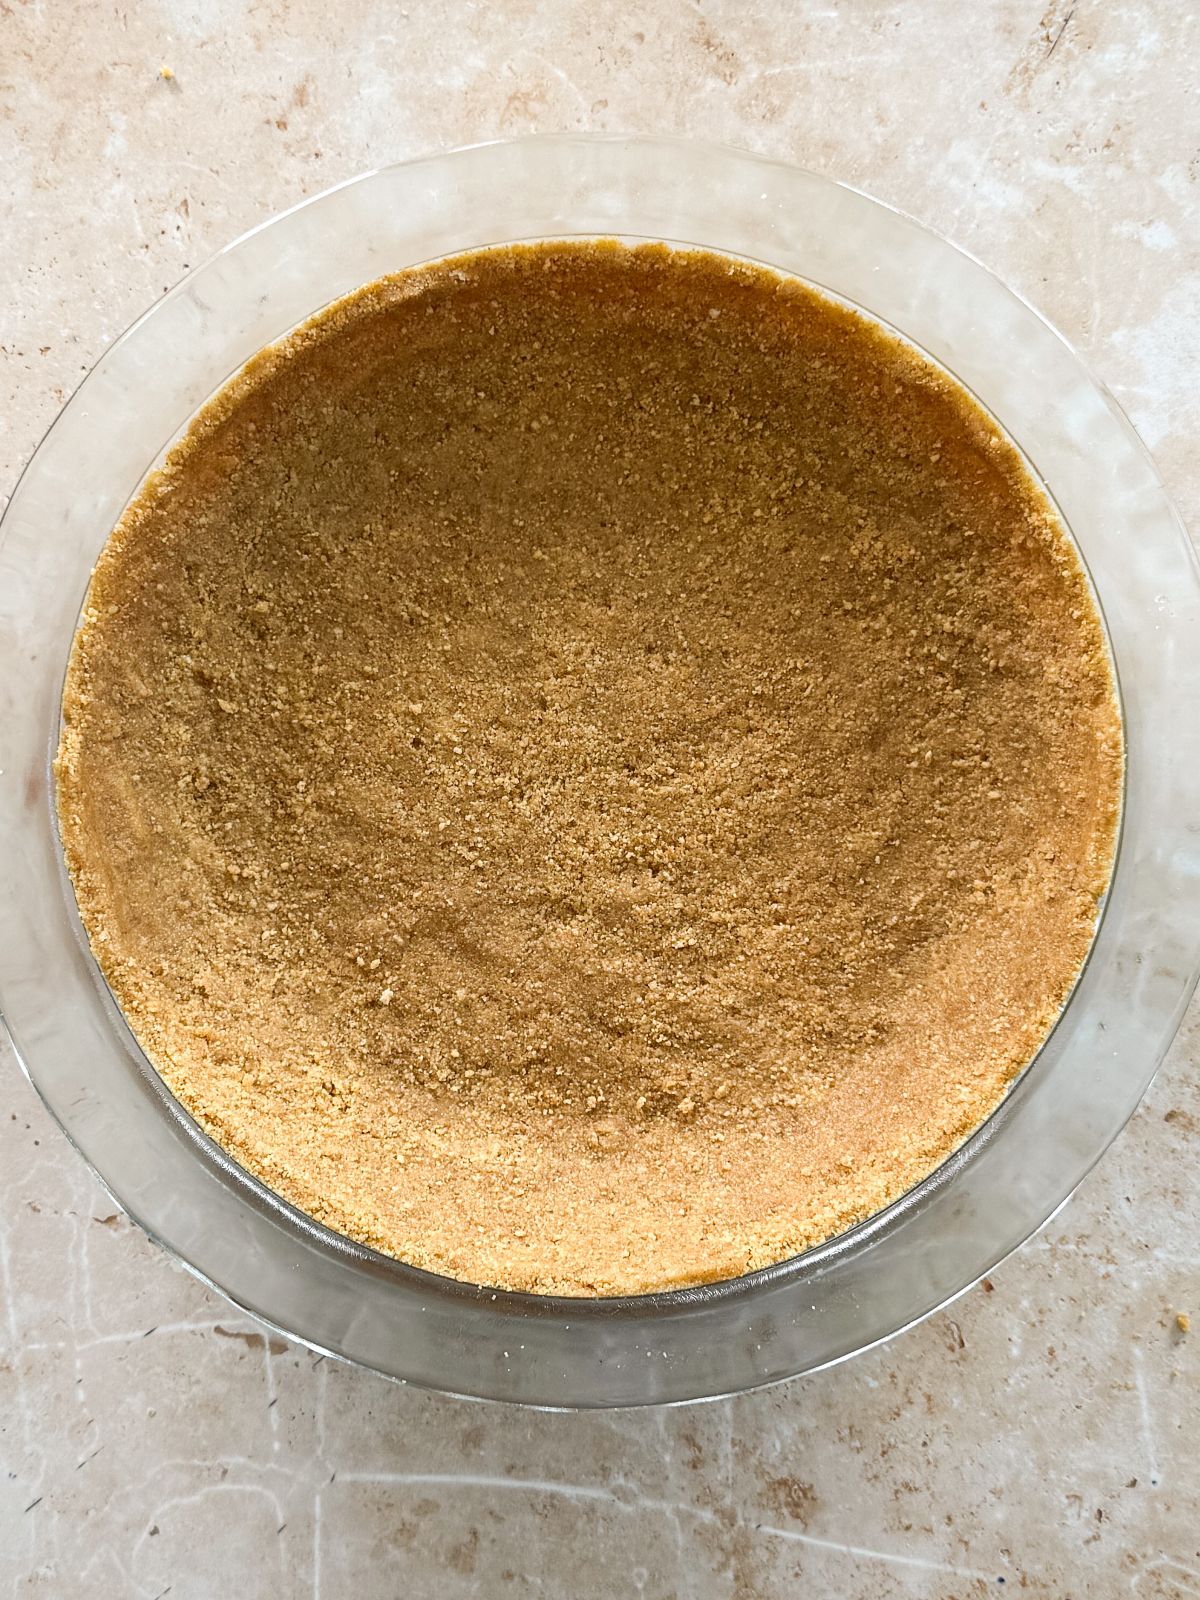
Bake until the crust is golden brown.
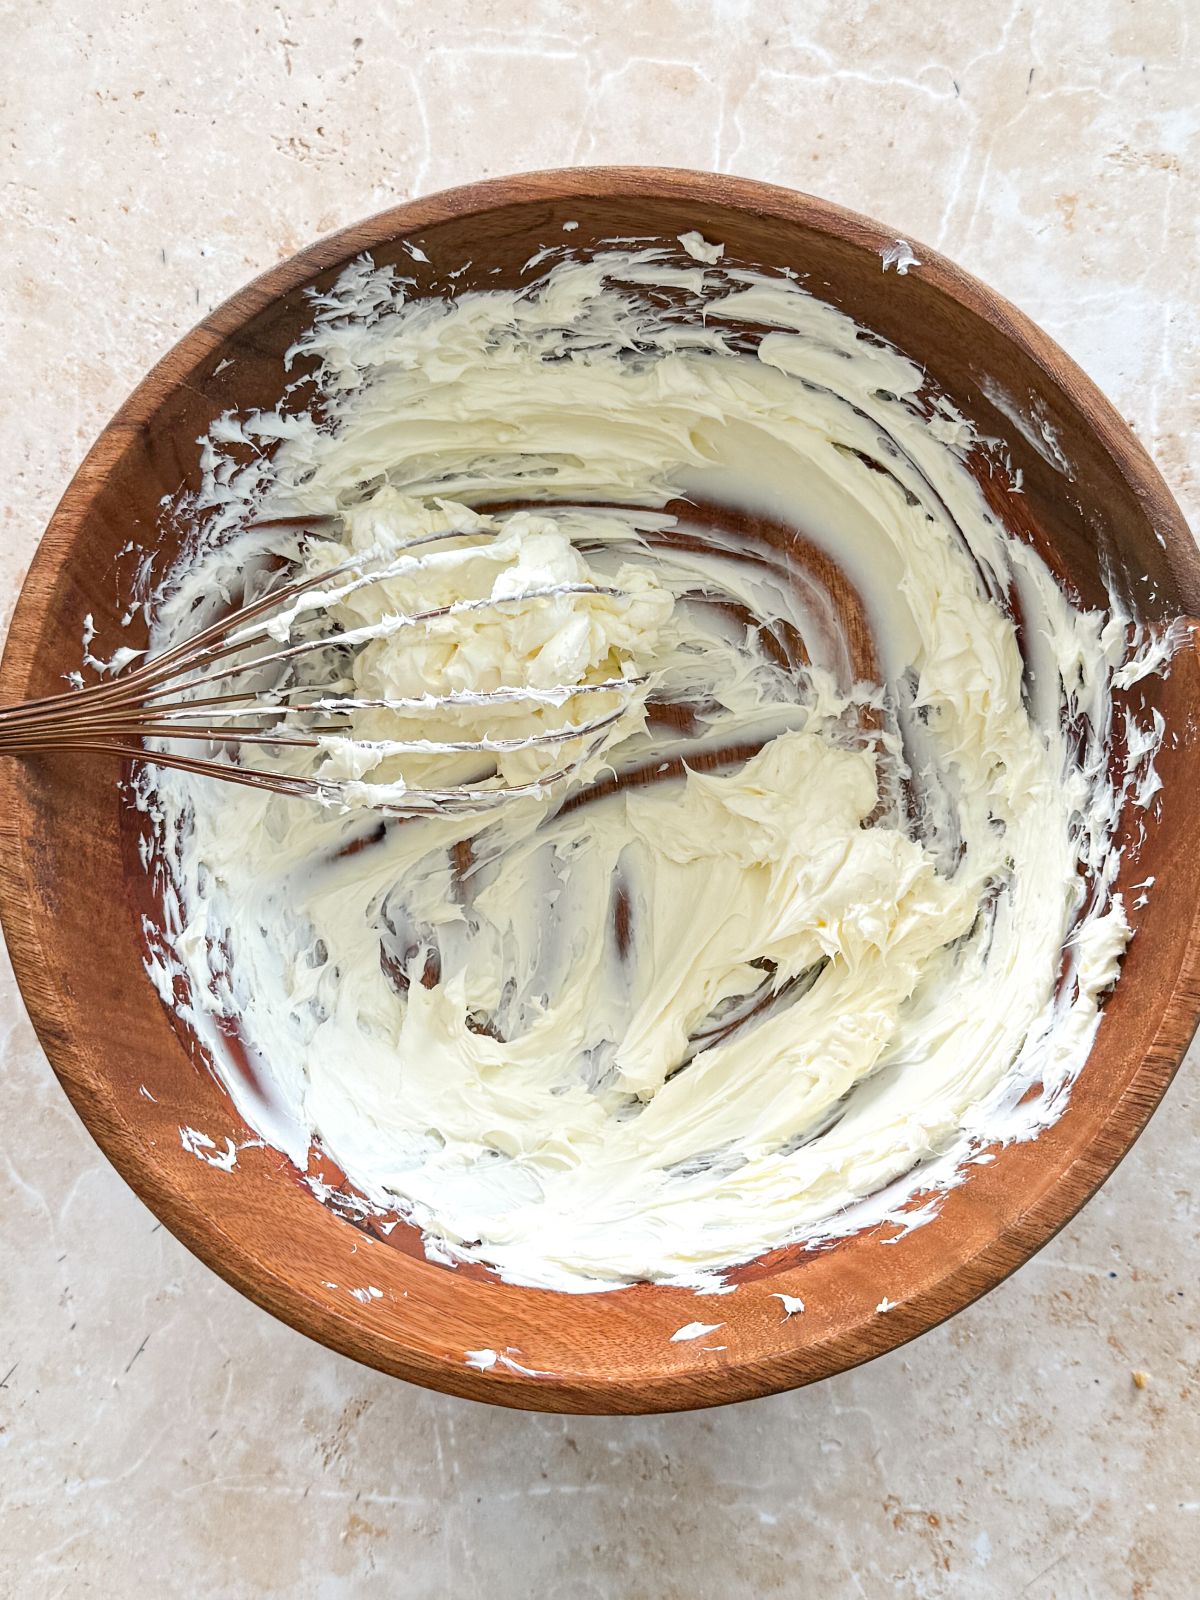
For the filling, whisk the cream cheese thoroughly until creamy.
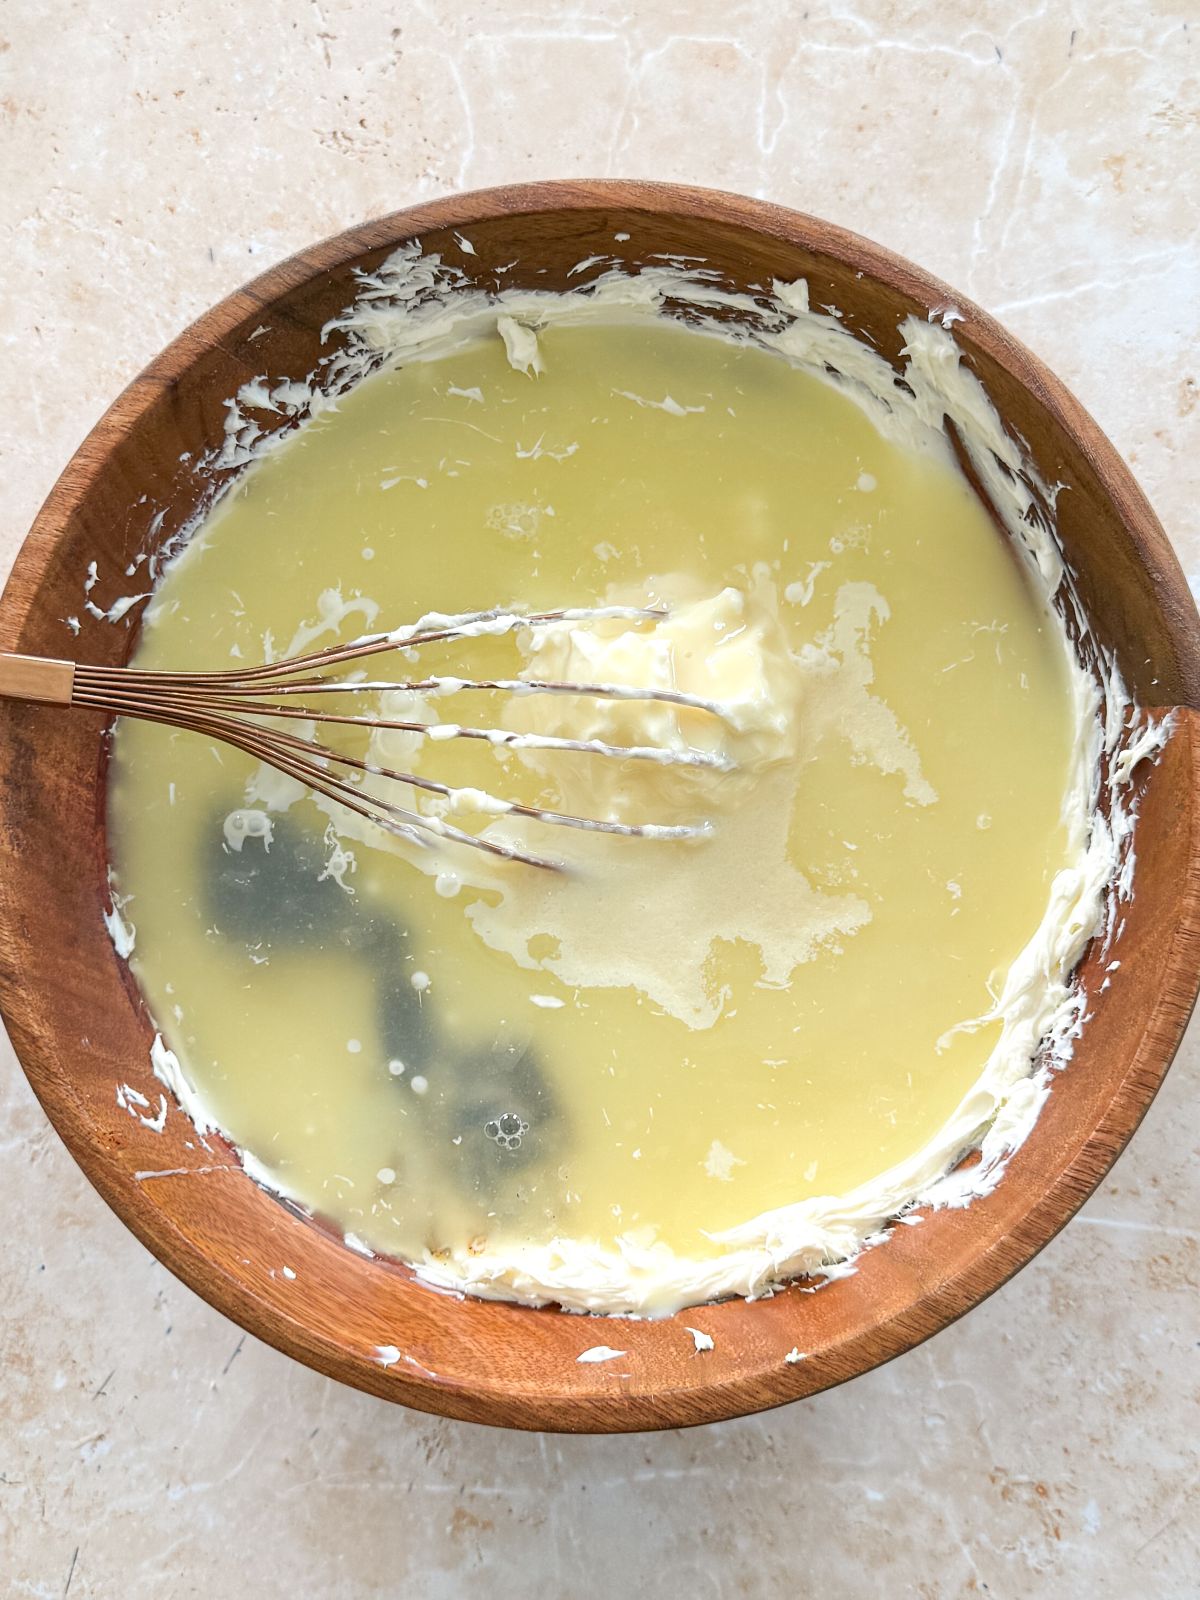
Add the key lime juice, salt and vanilla, and whisk to combine.
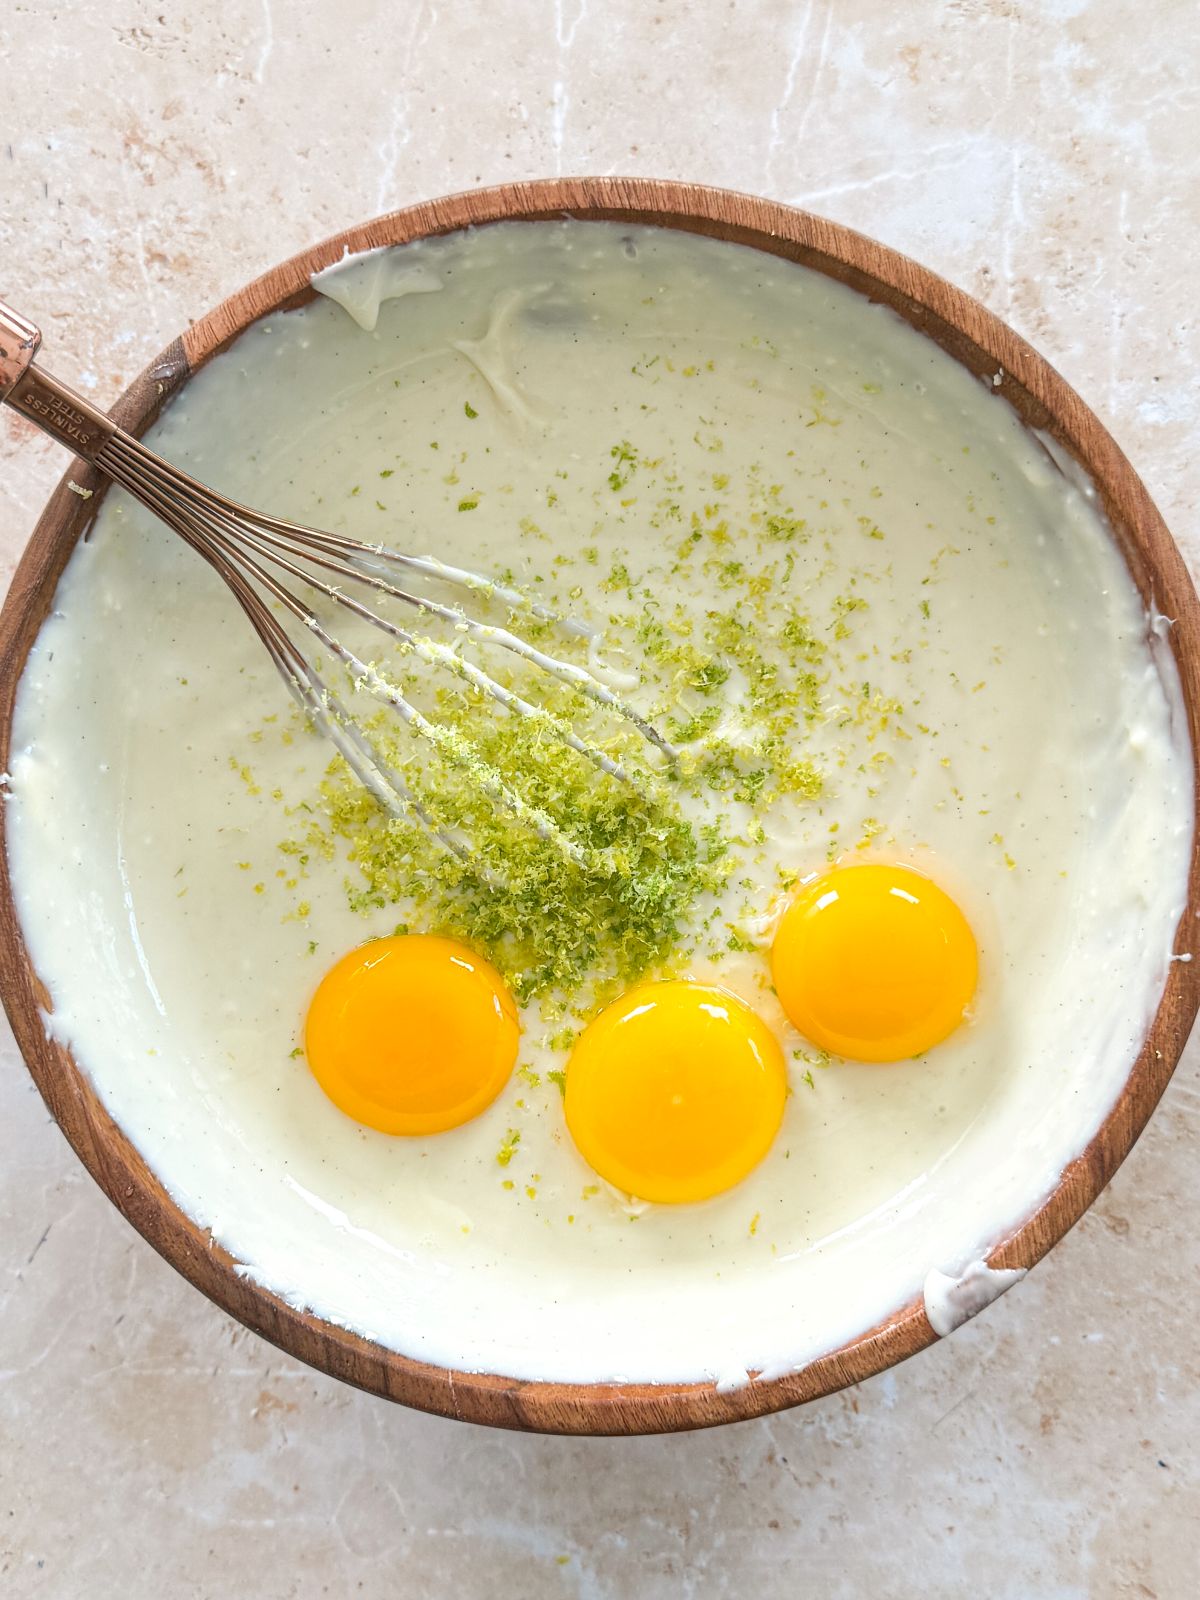
Add the lime zest and egg yolks.
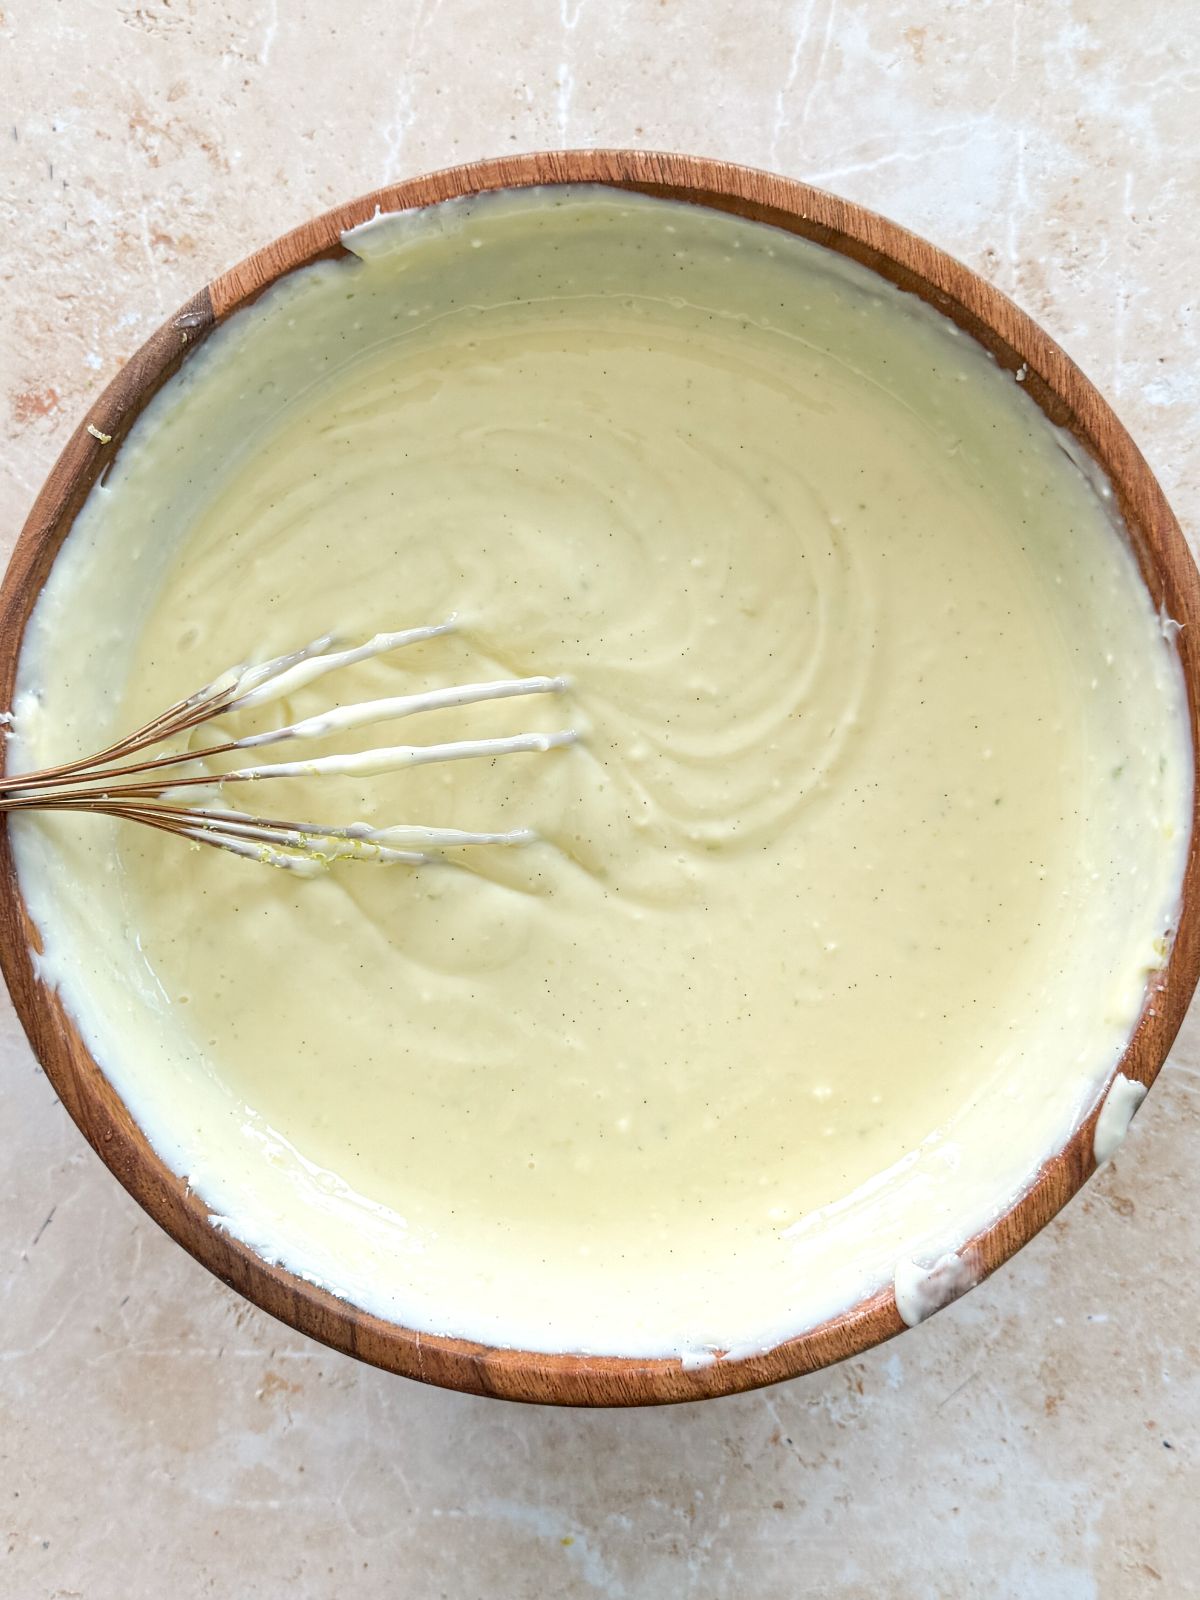
Whisk only until combined.

Strain the filling into the baked pie pan.
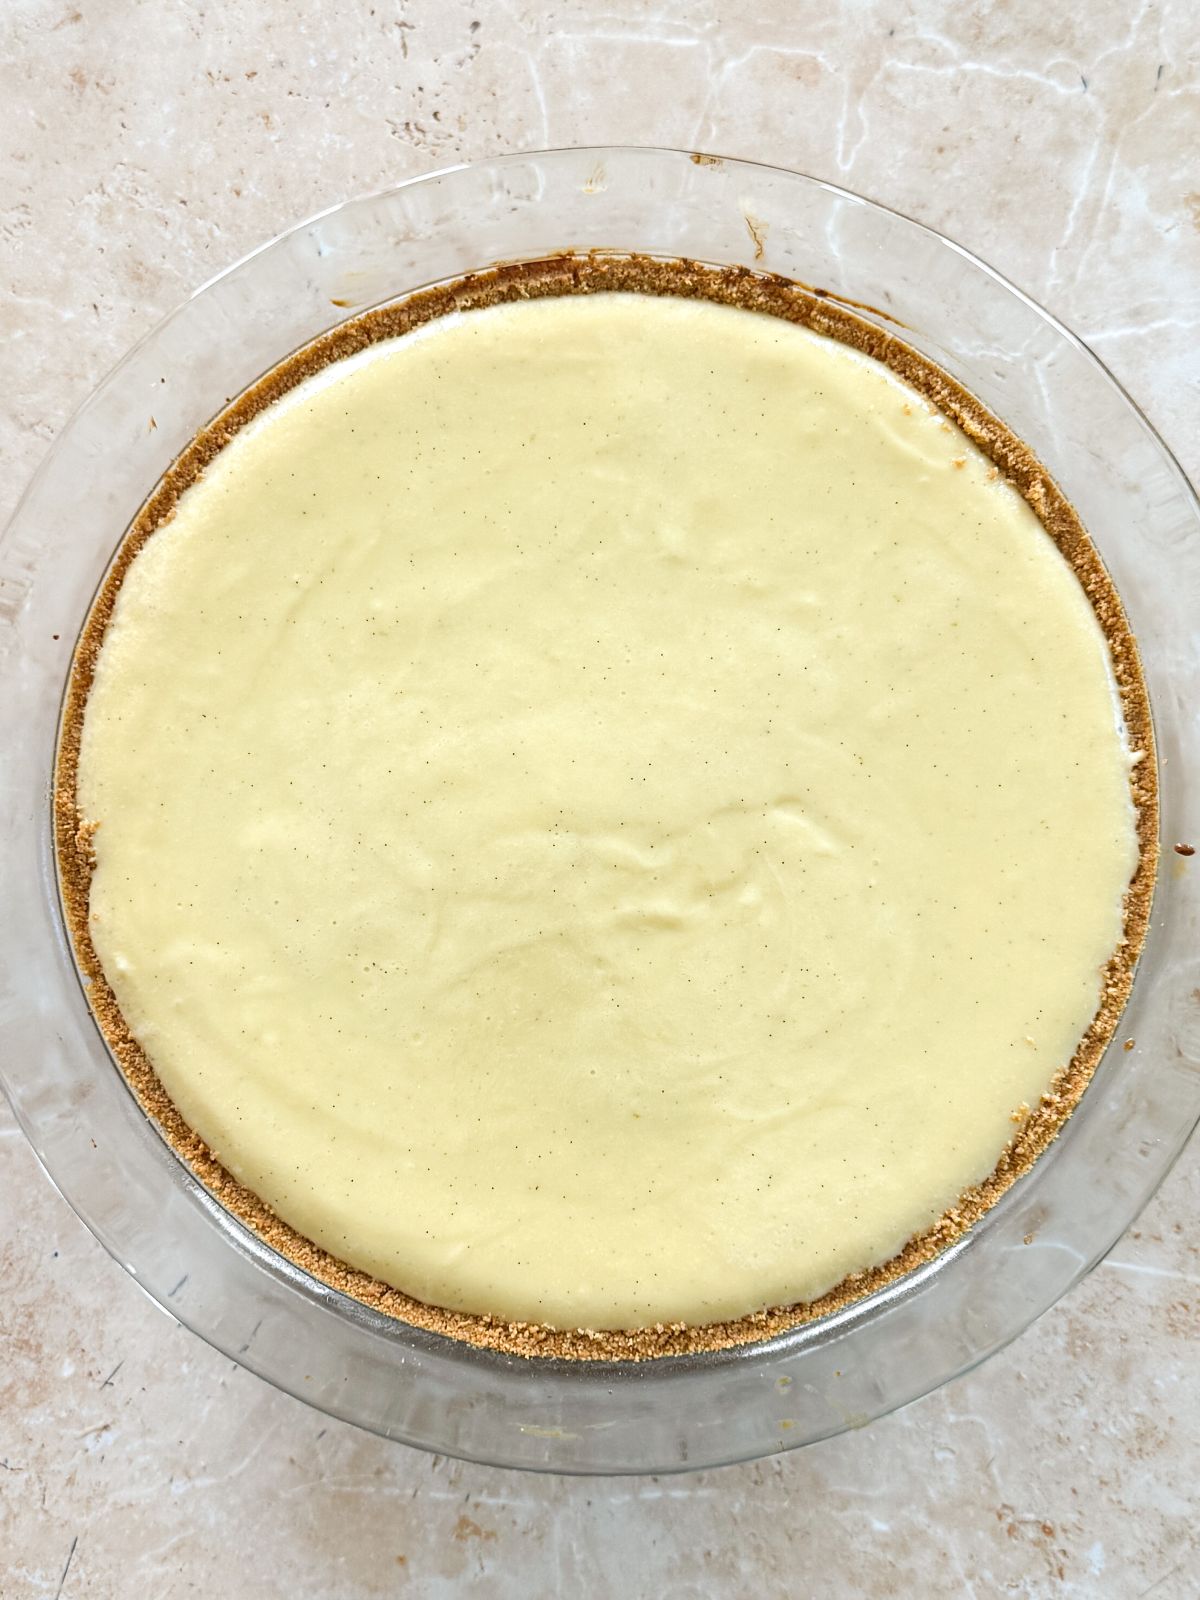
Bake until the pie is set around the edges with a light jiggle in the middle.
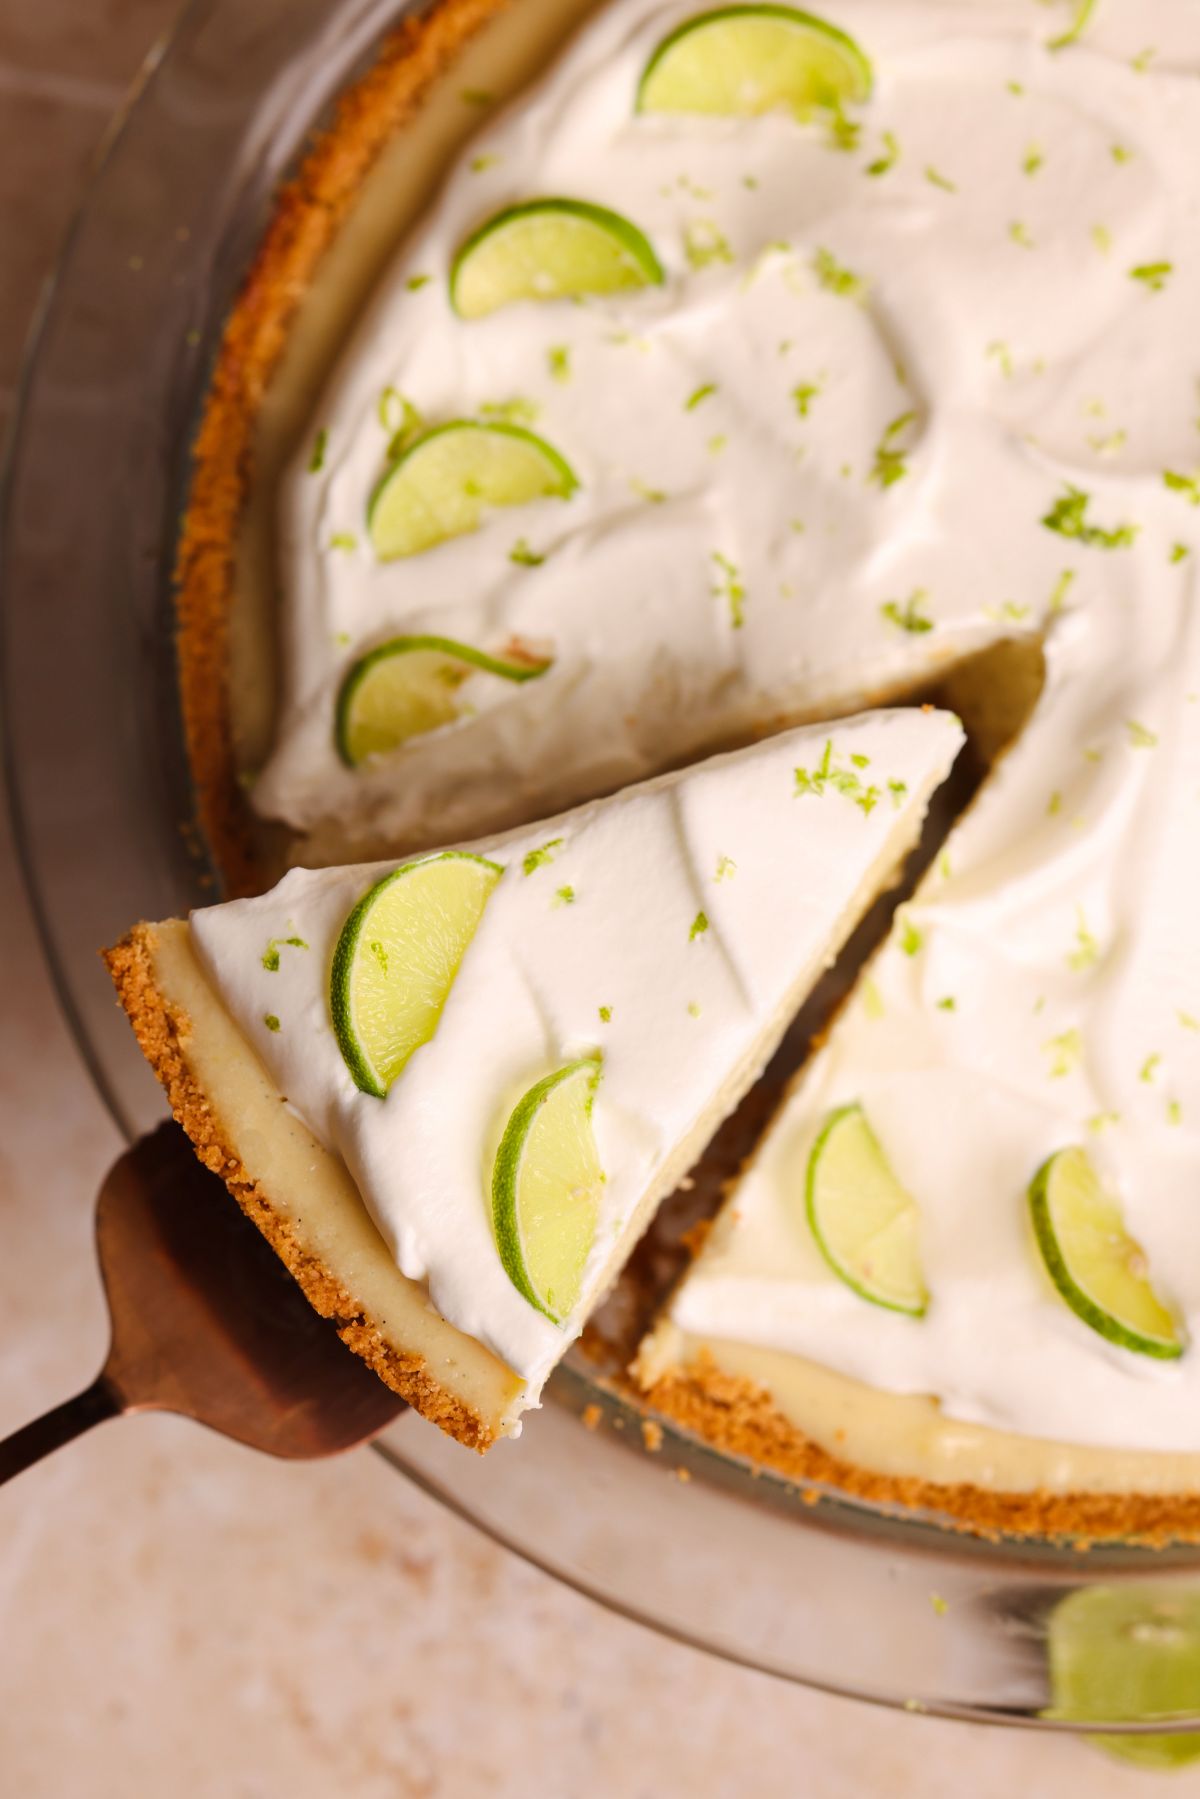
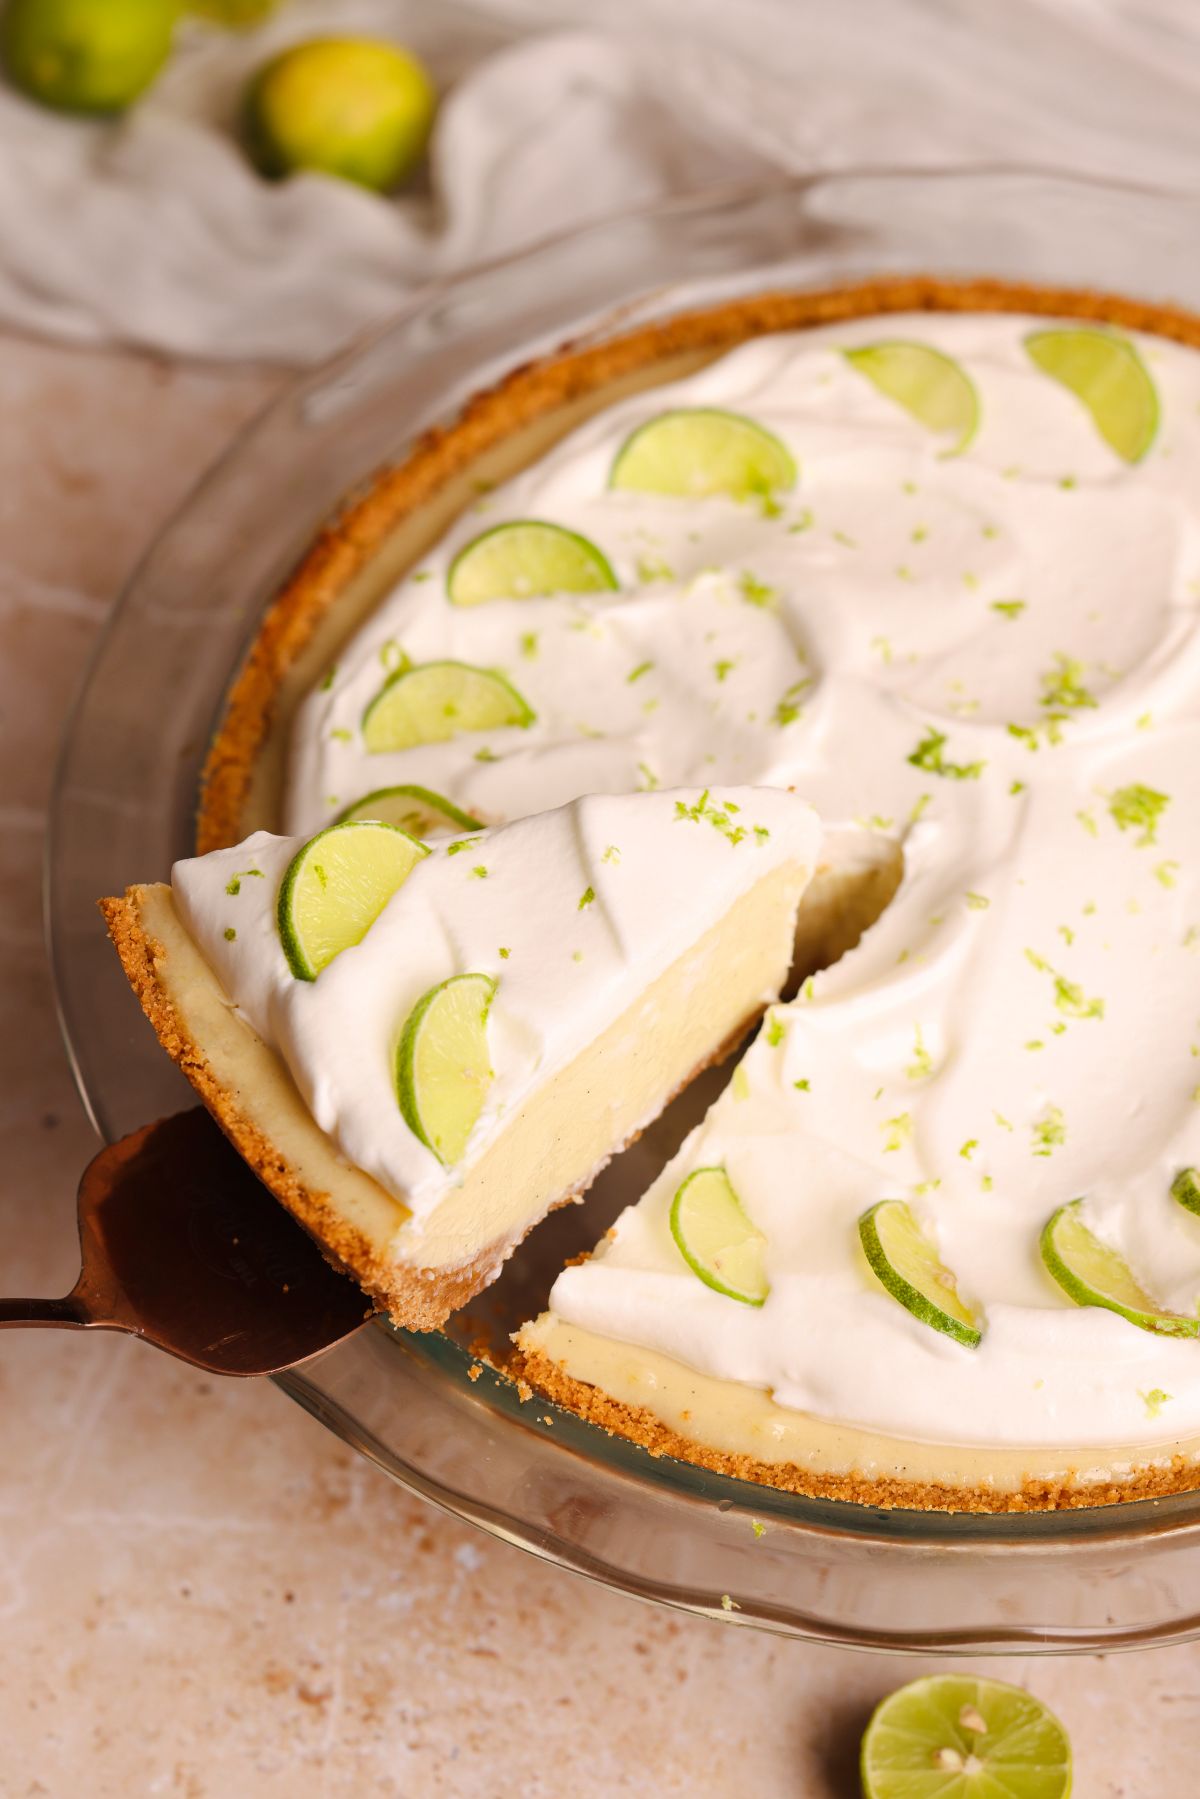
Let the pie chill thoroughly (ideally overnight), then cover with a simple whipped cream topping. Decorate with sliced key limes, serve and enjoy!

Key Lime Pie With Cream Cheese Recipe
- Total Time: 45 min + cooling
- Yield: 10-12 servings
Description
A bright, tangy and ultra creamy key lime pie made with a touch of cream cheese in the filling, a crispy graham cracker crust, and a light whipped cream topping.
Ingredients
Crust:
- 275g graham crackers (~20 full sheets)
- 10 tbsp melted butter (140g)
Key Lime Filling:
- 1 8oz block cream cheese (226g), room temperature*
- 35oz or 2 ½ cans cans sweetened condensed milk (990g)
- 1 cup key lime juice, freshly squeezed (240g)
- 1 tbsp key lime zest (2-3 limes)
- 2 tsp vanilla
- ½ tsp salt
- 3 egg yolks
Whipped Cream Topping:
- 1 ½ cups heavy whipping cream, chilled (360g)
- 2 tbsp granulated sugar
Instructions
Crust:
- Pre-heat your oven to 325F (conventional / no fan) and prepare a 9" pie dish by brushing it with butter
- Add the graham crackers to a food processor and blitz until they form a fine crumb. Add the melted butter and blitz again to combine
- Transfer the crumbs to the pie dish and press down firmly to form a pie crust on the bottom and up the sides. I recommend taking your time with this step to ensure the crust is firm and evenly thick, especially on the edges, because if it is thinner in parts it can easily crack
- Bake in the pre-heated oven for just 7-8 minutes until the crust looks golden. Remove the pie dish from the oven but keep the oven on at 325F
Key Lime Filling:
- Add the block of cream cheese to a bowl and whisk for 2-3 minutes until it is creamy and doesn't have any lumps. Scrape the bowl along the way
- Add the sweetened condensed milk, key lime juice (strain it to remove seeds!), key lime zest, vanilla and salt to the bowl and whisk for 2-3 minutes until the ingredients are combined. You can also taste the filling and add a little more sweetened condensed milk or lime juice if you prefer!
- Add the egg yolks and whisk only until combined - do not overmix at this point
- Strain the filling into the pan with the baked crust to remove the zest and any lumps, using a spatula or spoon to pass it through the sieve. Because the filling is quite thick, it can be tough to strain so I don't recommend using a fine-mesh sieve for this step. If you want to save time, you can skip the straining altogether and just pour the filling into the pan*
- Bake the pie in the pre-heated oven for 22-24 minutes until it looks set around the edges but still slightly jiggles in the middle when you gently shake the pan
- Let the pie cool down at room temperature for 20 minutes, then transfer to the fridge. Refrigerate overnight (or at least for 6 hours) so the pie can fully set
Topping & Serving:
- When the pie has cooled down, make the whipped cream topping. Whisk the heavy cream and sugar until the cream reaches medium-stiff peaks. Spread a thick layer of the cream on the pie (or pipe it on). Optionally, decorate the pie with key lime zest and slices
- Serve & enjoy!
Notes
- Cream cheese replacement: You can substitute the cream cheese in this recipe with 1 cup (240g) or sour cream or full fat yogurt. In that case, skip the step of whisking separately, and whisk directly with key lime juice, vanilla, salt and key lime zest
- Key lime juice: I highly recommend using freshly squeezed key lime juice (even if it does take some time!) instead of going for a bottled option for the best results
- Straining: If you are not straining the filling to save time, but still want to remove the zest, mix the zest with the lime juice separately, then strain the lime juice into the bowl. This will get some of the flavor of the zest and then remove it from the get-go
- Storing: Store the pie in an airtight container (or with cling wrap on the pie pan) in the fridge for up to 5 days in the fridge. You can also keep it in the freezer before the whipped cream topping, and thaw it overnight in the fridge when you are ready to serve it
- Prep Time: 20 min
- Cook Time: 25 min
- Category: Dessert
- Cuisine: American
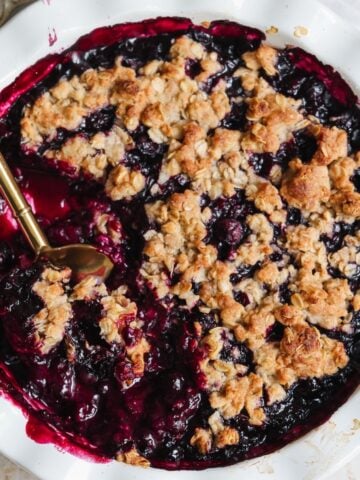
More Tangy Recipes
If you enjoy tangy desserts, here are some more recipes you will enjoy:
- Quick and easy key lime pie bars made with sour cream instead of cream cheese
- Lemon meringue cheesecake with a creamy cheesecake filling, lemon curd and torched meringue
- Soft and moist lemon loaf cake with an easy lemon icing


Asma Amer says
That’s an incredible dessert. Love the simple recipe
Janice L says
if you don't have sweetened condensed milk is there anything to substitute it with?
Falicia Kaye Brown says
This was a hit! Making a 2nd time. I Also toasted some chopped pecans with cinnamon and mixed with my Graham Cracker crust.
Zoha says
YAY thank you!
Mikal Berry says
Really nice .. very light!.
I only used 2 eggs yolks and I made the whipped cream in the food processor to stabilize it.
Quite yummy!!
Zoha says
That sounds so good, Mikal!